Easy Gluten-Free Chocolate Cake
Published
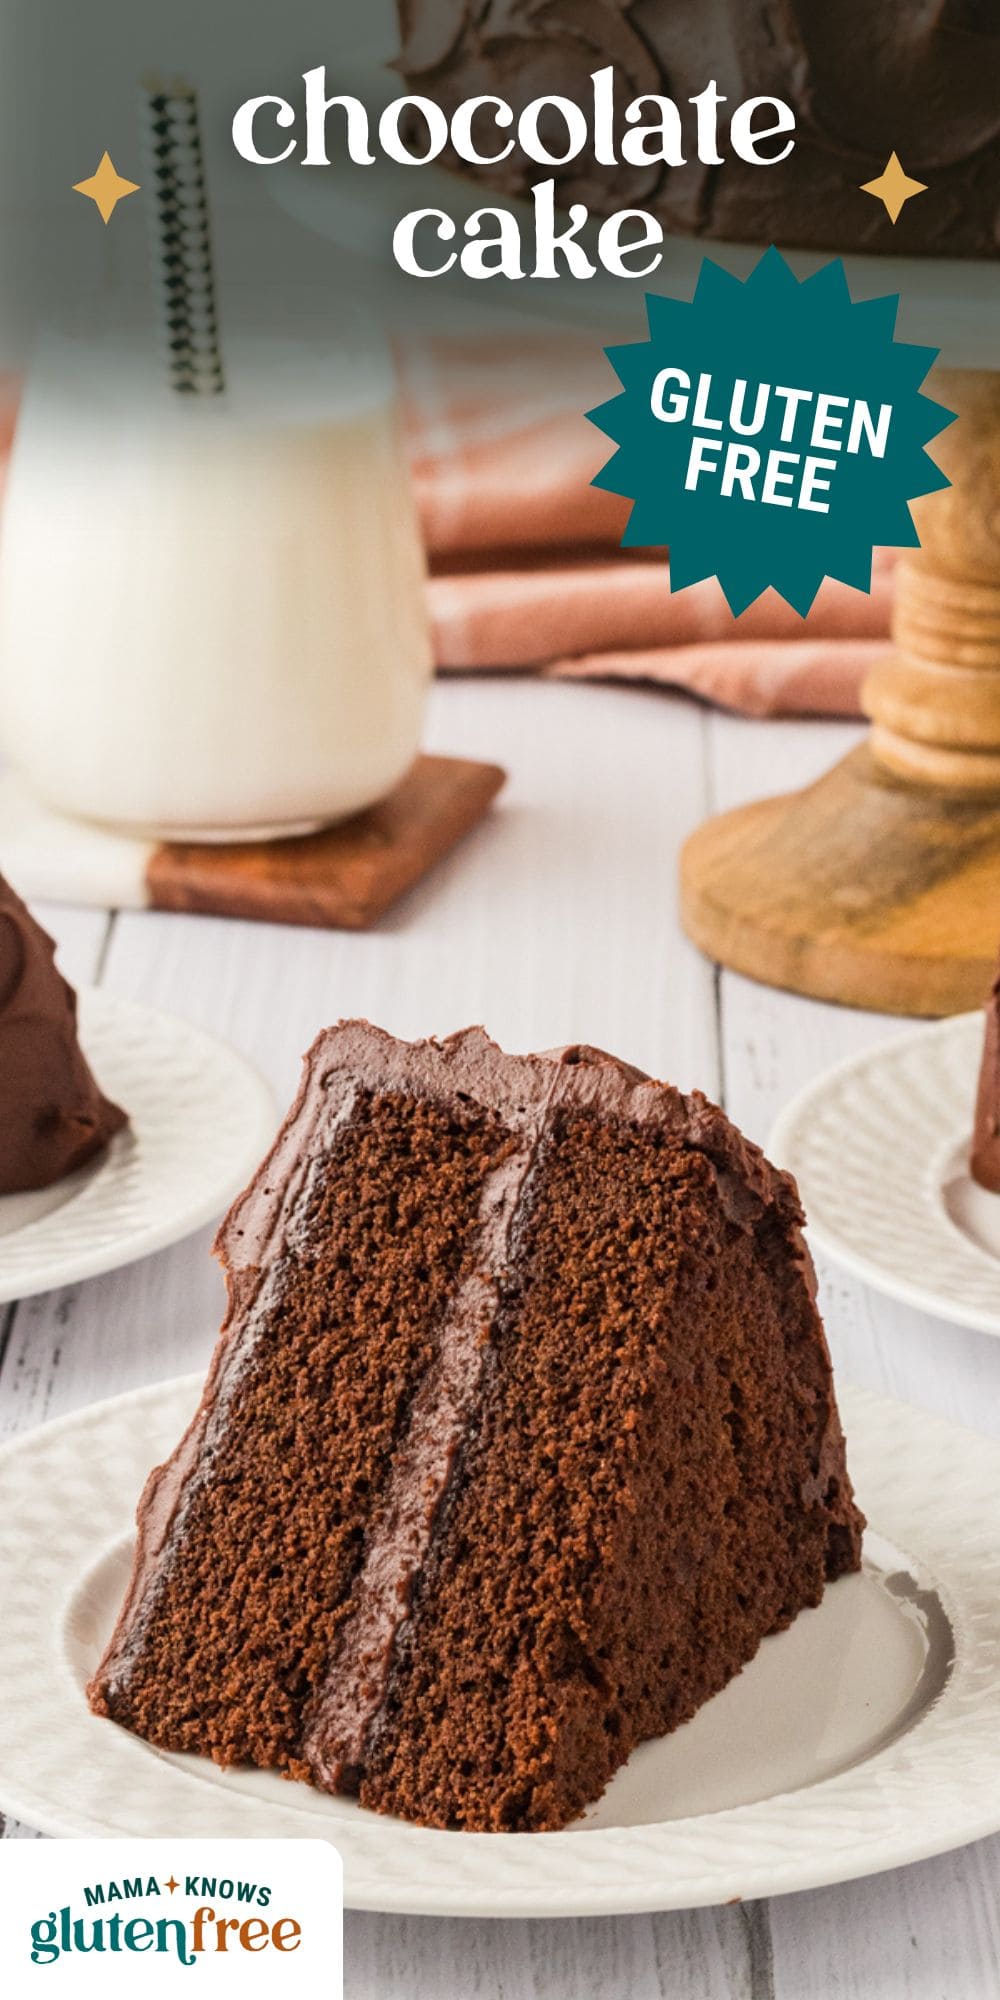
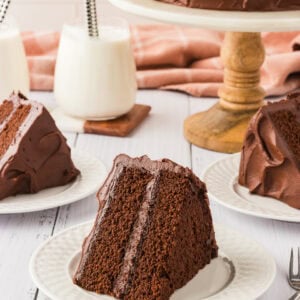
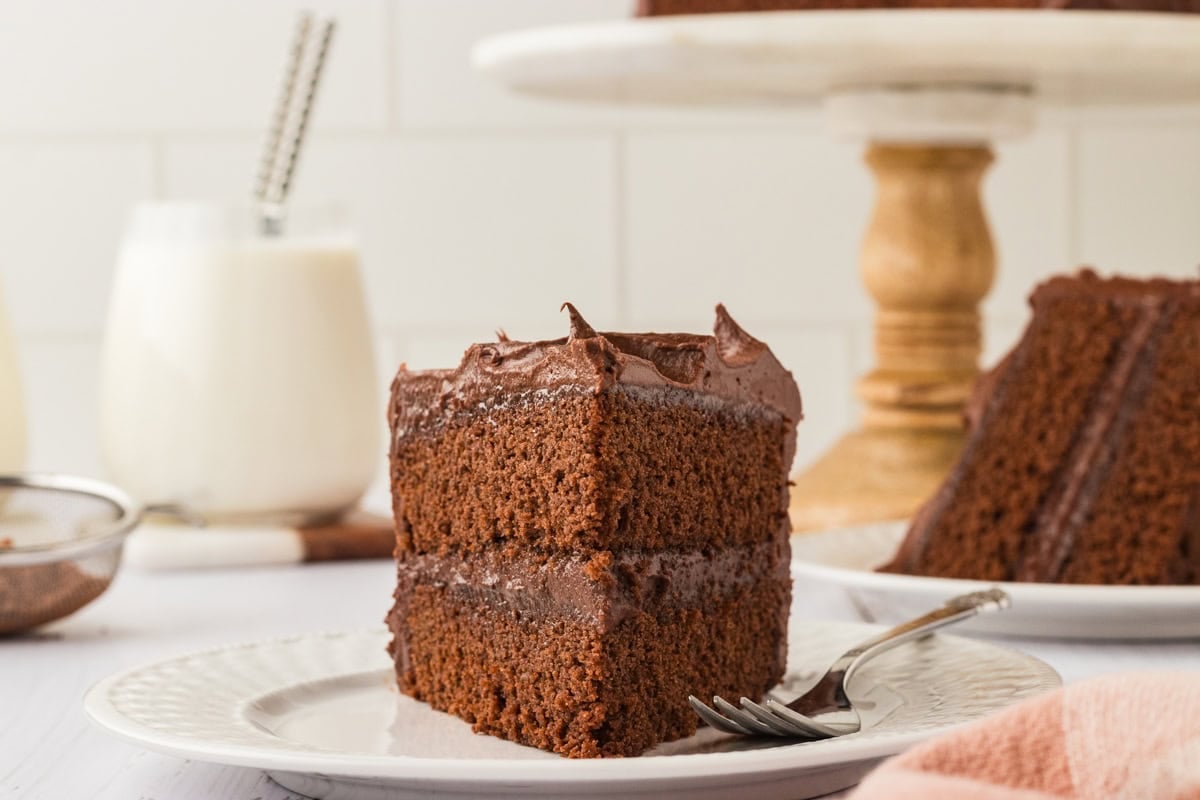
I’ve baked my fair share of chocolate cakes, but this easy gluten-free chocolate cake might just be my favorite. It’s rich, decadent, incredibly moist, and fudgy, with a deep chocolate flavor that no one would guess is gluten-free. Whether you need a simple gluten-free dessert for a special occasion or just want a no-fuss treat, this quick chocolate cake recipe is the one to try.
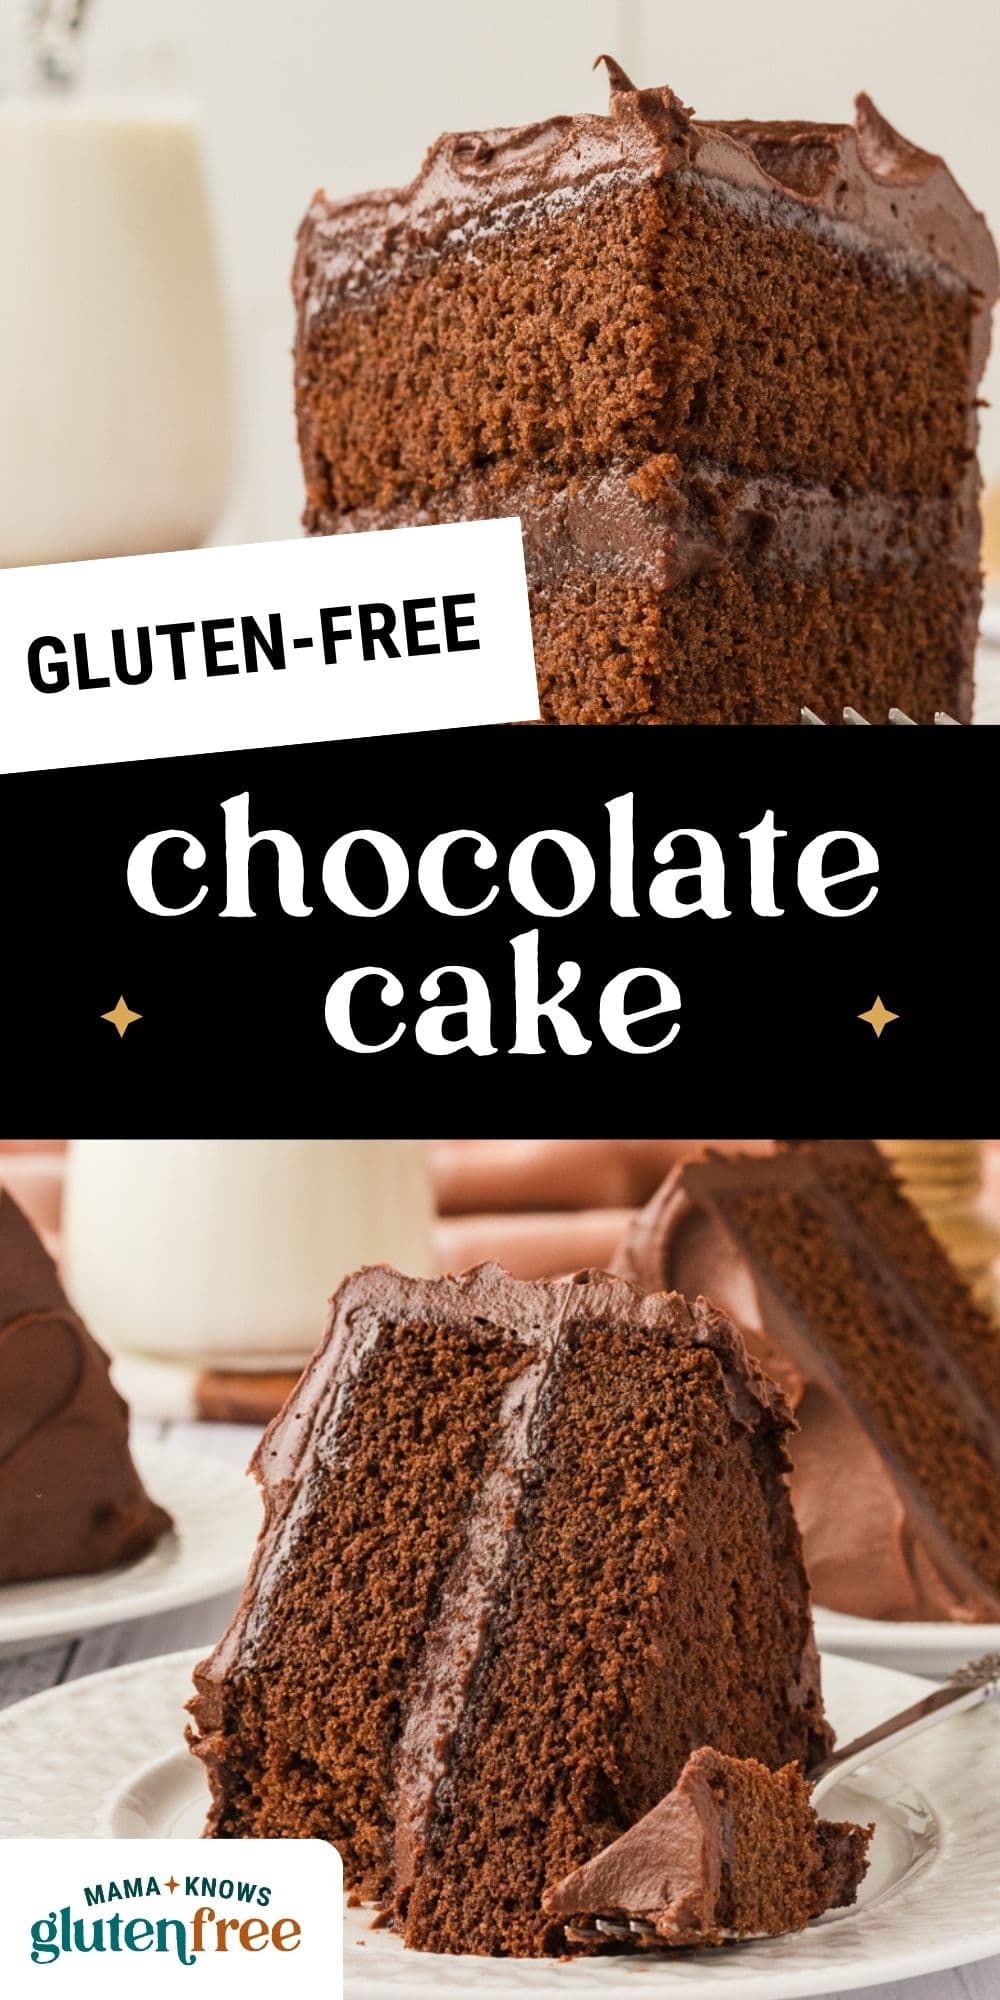
Listen, when I want a truly indulgent and decadent dessert without a ton of effort, I turn to this moist and fudgy cake. It’s everything a chocolate cake should be—rich, deeply chocolaty, and incredibly satisfying. I promise you won’t go back to boxed gluten-free cake mixes after you try my recipe.
I’ve been trying different gluten free chocolate cake recipes for years and have been underwhelmed UNTIL NOW! This cake recipe is superb and I’m so impressed. The only change I made was a slight reduction in sugar for my personal taste. Well done and thank you!
– Chelsie
Tips for Success
- Use the spoon and level method to measure gluten-free flour accurately. Scooping directly from the bag can pack in too much flour, leading to a dry cake.
- Not all gluten-free flours are created equal. You may experience different baking results depending on the gluten-free flour blend you choose. I like Pillsbury gluten-free.
- Use room-temperature ingredients, mix just until combined, and avoid peeking while baking. Not following these steps can lead to a sunken or dense cake.
- Make sure the butter is softened, but not hot.
Gluten-Free Chocolate Cake
Equipment
- 2 9" cake pans
Ingredients
Cake
- 1 cup milk, For a dairy-free option, use unsweetened almond milk
- 1 tablespoon white vinegar or lemon juice
- 2 cups all-purpose gluten-free flour with xanthan gum, I like Pillsbury gluten-free.
- 1/2 teaspoon gluten-free baking powder
- 1 teaspoon baking soda
- 1 teaspoon salt
- 1/2 teaspoon ground cinnamon, optional
- 3/4 cup unsweetened cocoa powder
- 9 tablespoons unsalted butter, softened, 1/2 cup plus one 1 tablespoon. For a dairy-free option use Smart Balance butter.
- 2 cups granulated sugar
- 1 teaspoon pure vanilla extract
- 2 large eggs
- 3/4 cup boiling water
Chocolate Buttercream Frosting
- 1 cup unsalted butter, softened. For a dairy-free option use Smart Balance butter.
- 2 teaspoons pure vanilla extract
- 1/4 teaspoon pure almond extract
- 1 cup unsweetened cocoa powder
- 1 pinch salt
- 4 cups powdered sugar
- 3 tablespoons milk, For a dairy-free option, use unsweetened almond milk
Instructions
Cake
- Preheat oven to 350°F (175°C).
- Cut parchment paper for the bottom of your two 9-inch cake pans and spray with gluten-free cooking spray. I like gluten-free coconut oil spray.
- Add the white vinegar (or lemon juice) to the 1 cup of milk or dairy-free milk to make the homemade buttermilk.
- In a medium-sized bowl, add gluten-free flour, salt, baking soda, gluten-free baking powder, cocoa powder, and cinnamon. Stir to combine the ingredients.
- In a large bowl, cream the softened butter and granulated sugar with a mixer until fluffy.
- Add the eggs and pure vanilla extract to the butter mixture and mix until fully combined.
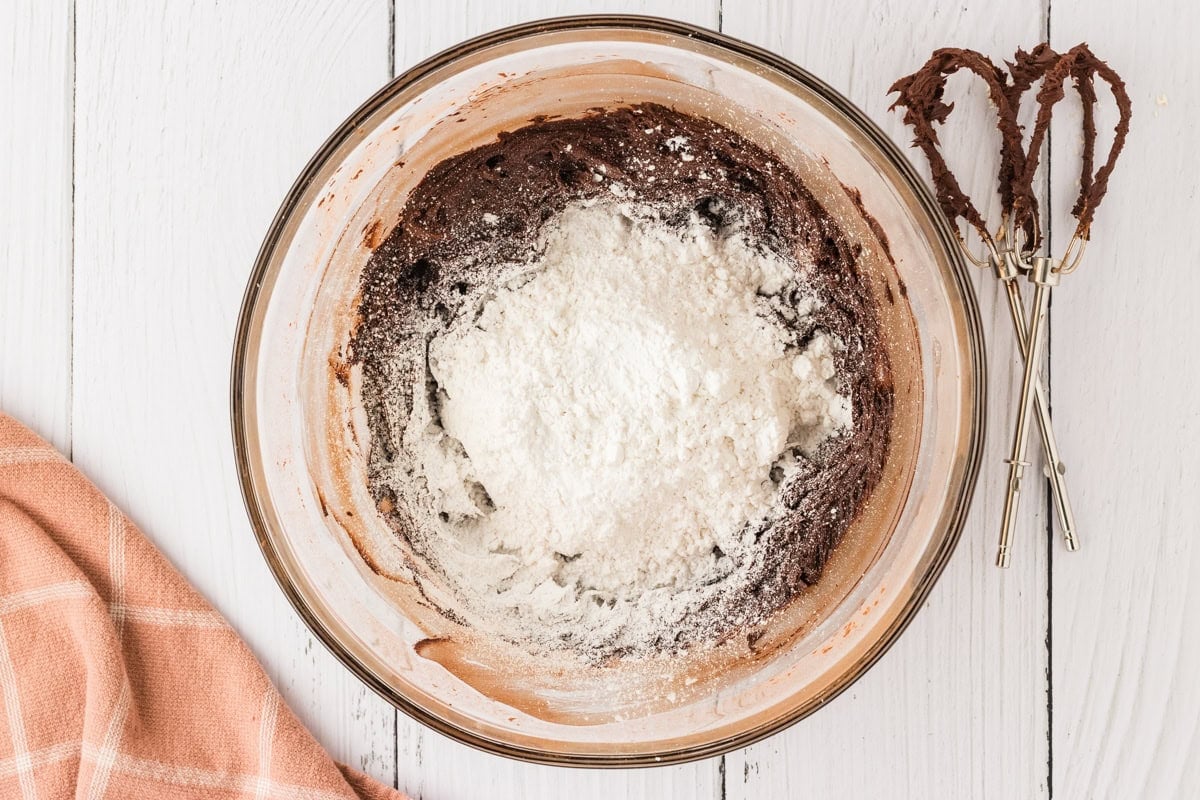
- Add the flour mixture to the butter mixture and mix until fully combined. Scape down the sides if needed.
- Add the homemade buttermilk to the cake batter and mix until fully combined.
- Add the boiling water to the batter and mix until fully combined.
- Pour half of the batter into the first greased 9-inch cake pan and then pour the rest of the batter into the second greased 9-inch cake pan.
- Bake on the middle rack for 30-35 minutes. Please watch your cakes because all ovens are different. Check the center of the cake by inserting a toothpick to make sure it is done. You will also see the sides of the cake pulling away from the side of the pan.
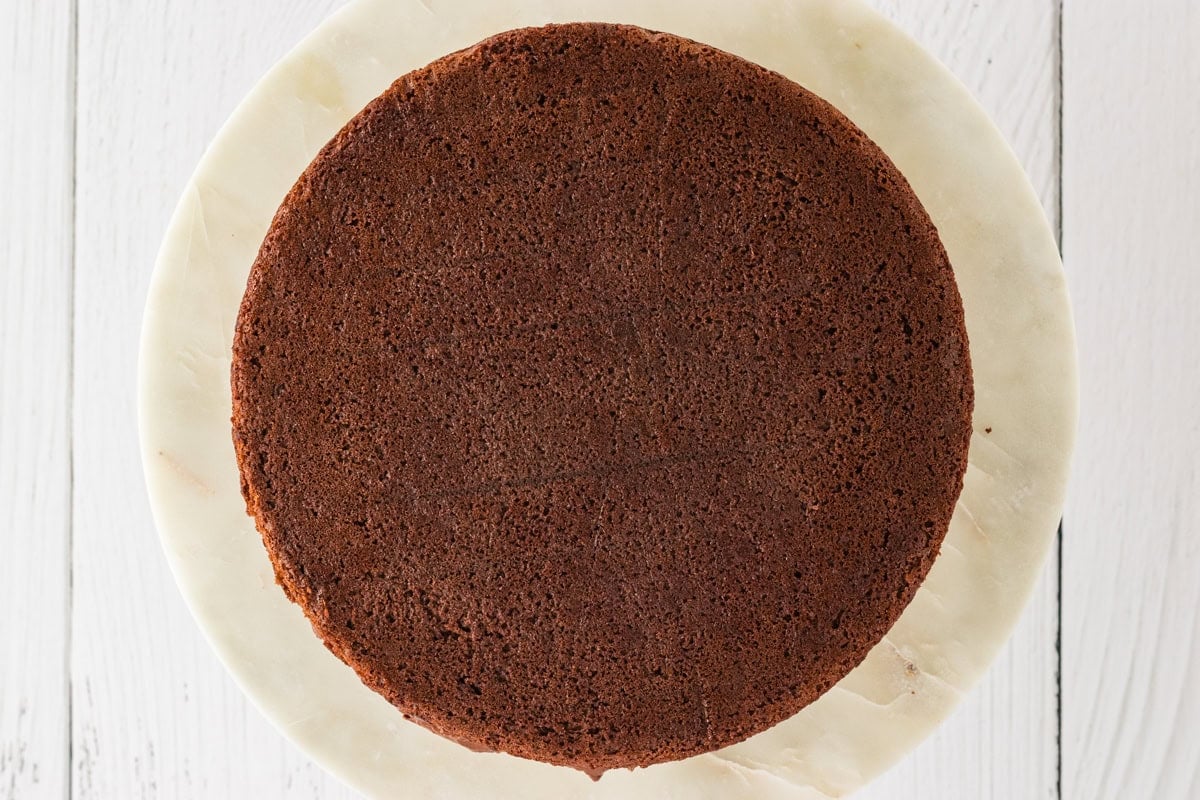
- Allow the cakes to cool fully before frosting. I cool my cakes on a baking rack.
Chocolate Buttercream Frosting
- In a large bowl, cream butter until smooth with a mixer.
- Add the pure vanilla and almond extract to the butter. Mix until fully combined.
- Add the cocoa powder and mix until fully combined.
- Add the powdered sugar one cup at a time to the butter mixture and mix until fully combined.
- Add the milk to the frosting and beat it until smooth and spreadable.
Frost the Cake
- Place the first cake with the shiny side down on a plate or a cake plate.
- Frost the top of the first cake. This will be the frosting in the center of your cake. I like a good amount of frosting in the center.
- Place the second cake on top of the frosted first cake, the shiny side down.
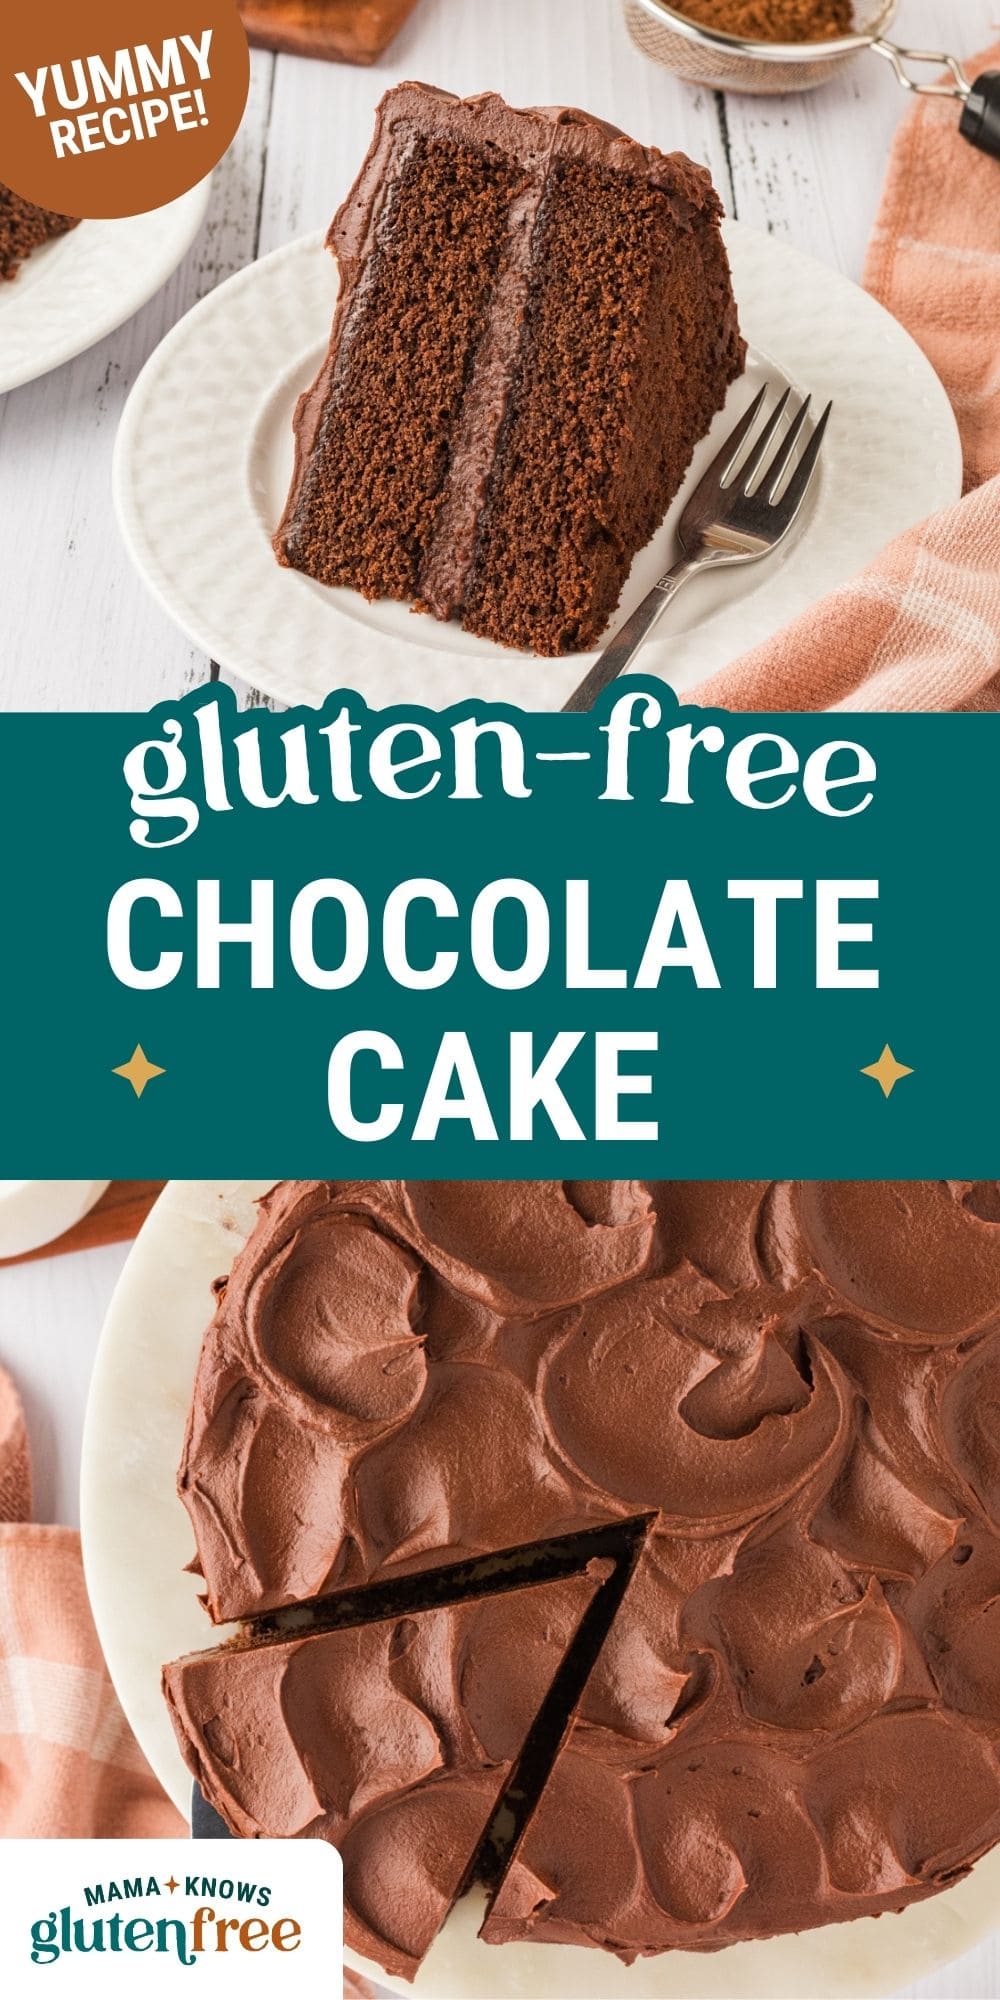
- Frost the top and side of the cake with the remaining frosting. Enjoy!
- I decorated the top with chocolate shavings and frosting flowers using a Wilton 1M tip.
- Store leftovers in an airtight container.
- The cake can be frozen for up to 3 months. You can defrost the wrapped cake at room temperature for 2-3 hours or overnight in the refrigerator.
Notes
- Swap hot water for hot coffee to intensify the chocolate flavor and add a subtle richness.
- For a tender and moist cake, let the batter rest for 10–15 minutes before baking to absorb all the moisture.
- I decorated the top with chocolate shavings and frosting flowers using a Wilton 1M tip.
Nutrition
Nutrition information is automatically calculated, so should only be used as an approximation.
How to Make Easy Gluten-Free Chocolate Cake Step by Step

Prep Ingredients and Oven : Preheat the oven to 350°F. Cut parchment paper to fit the bottoms of two 9-inch cake pans by tracing the pan and trimming it to size.
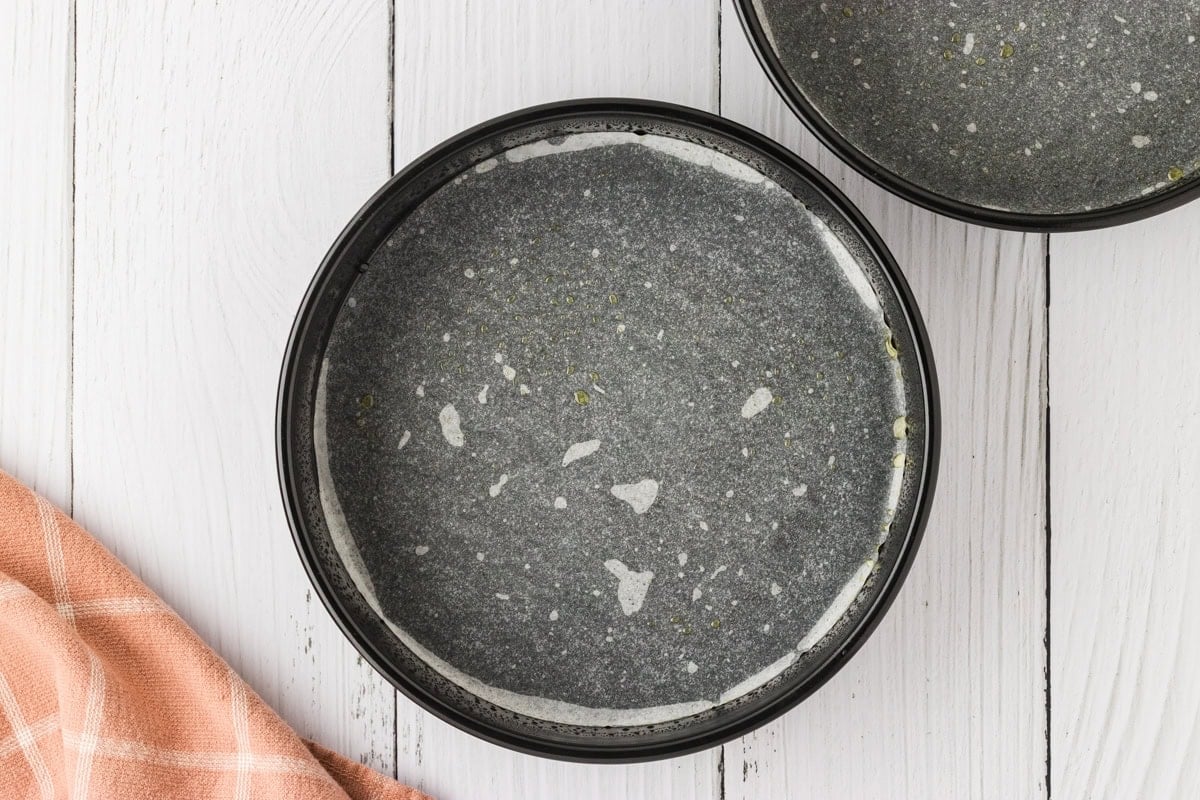
Prep Cake Pans: Place the parchment inside, then lightly coat the sides with gluten-free cooking spray—I like using coconut oil spray for a smooth, non-stick finish.
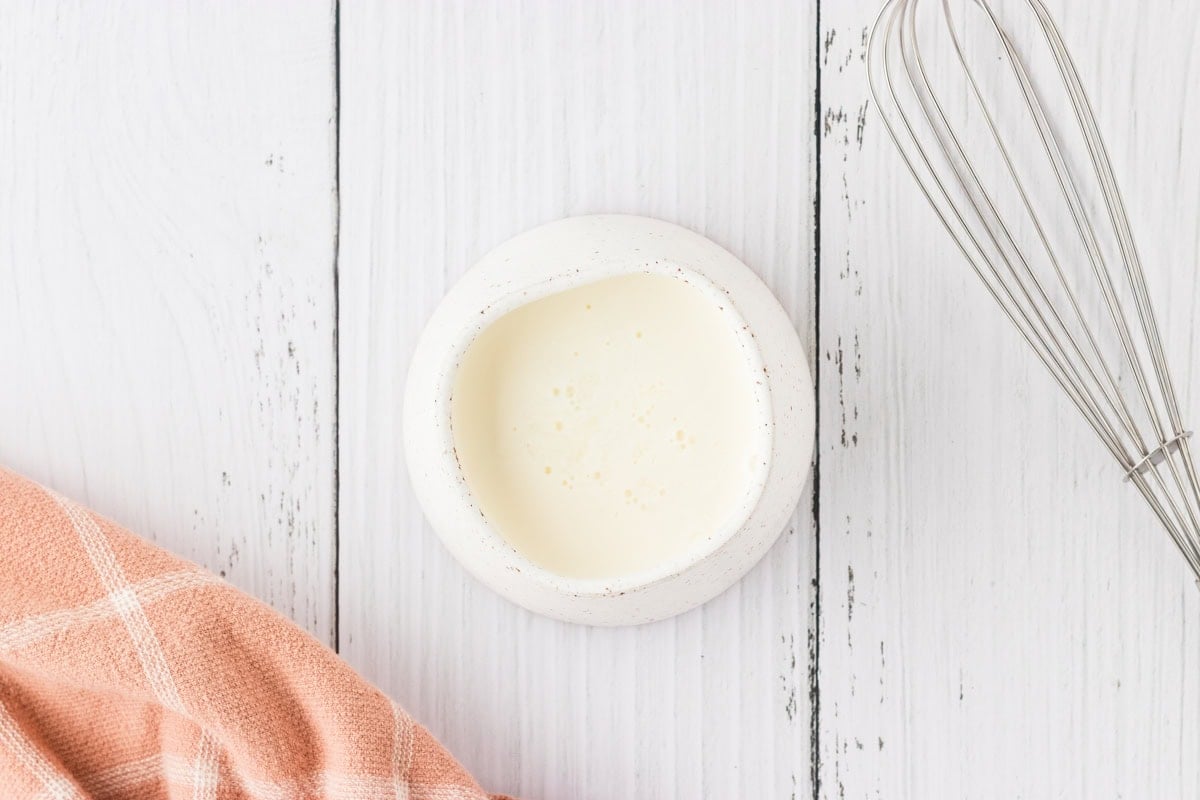
Make the Buttermilk: Combine 1 cup milk (or dairy-free alternative) and 1 tbsp of white vinegar (or lemon juice) in a small mixing bowl or glass measuring cup. Set aside for later.
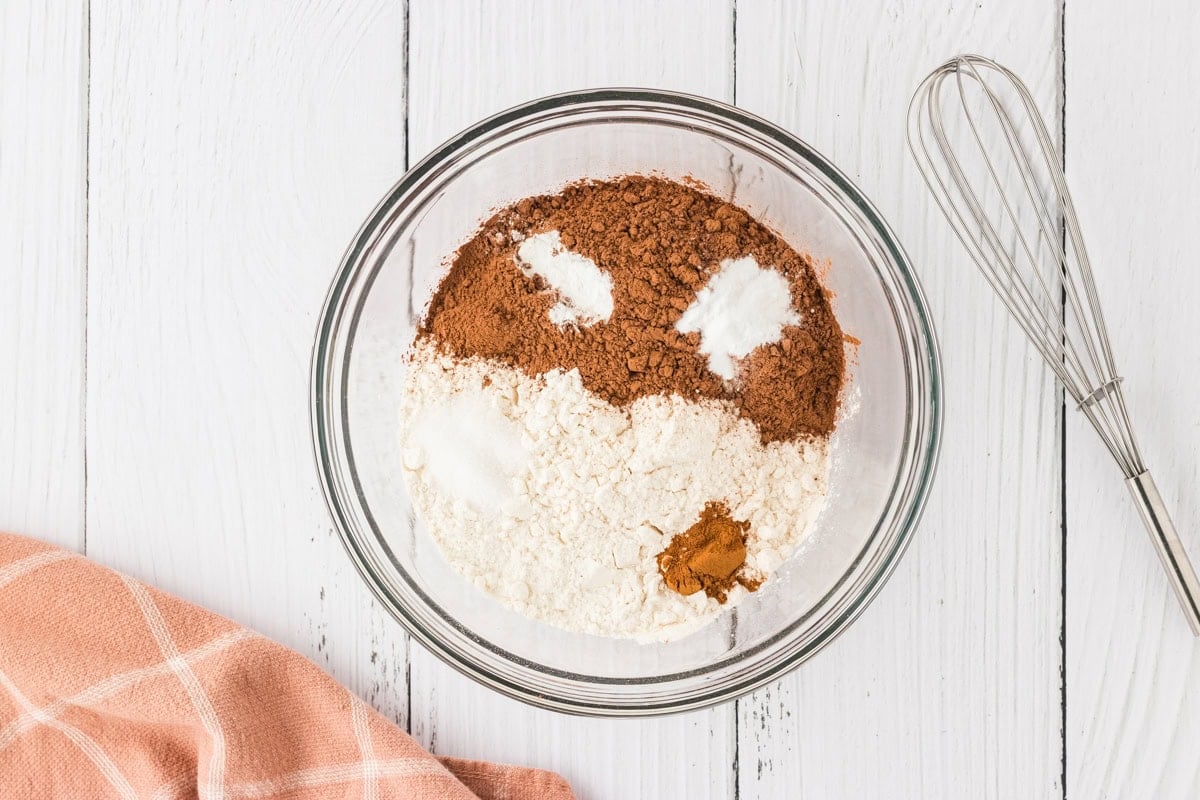
Combine the Dry Ingredients: In a medium-sized mixing bowl, stir together 2 cups gluten-free flour, ½ tsp baking powder, 1 tsp baking soda, 1 tsp salt, ½ tsp ground cinnamon, and ¾ cup unsweetened cocoa powder. Set aside.
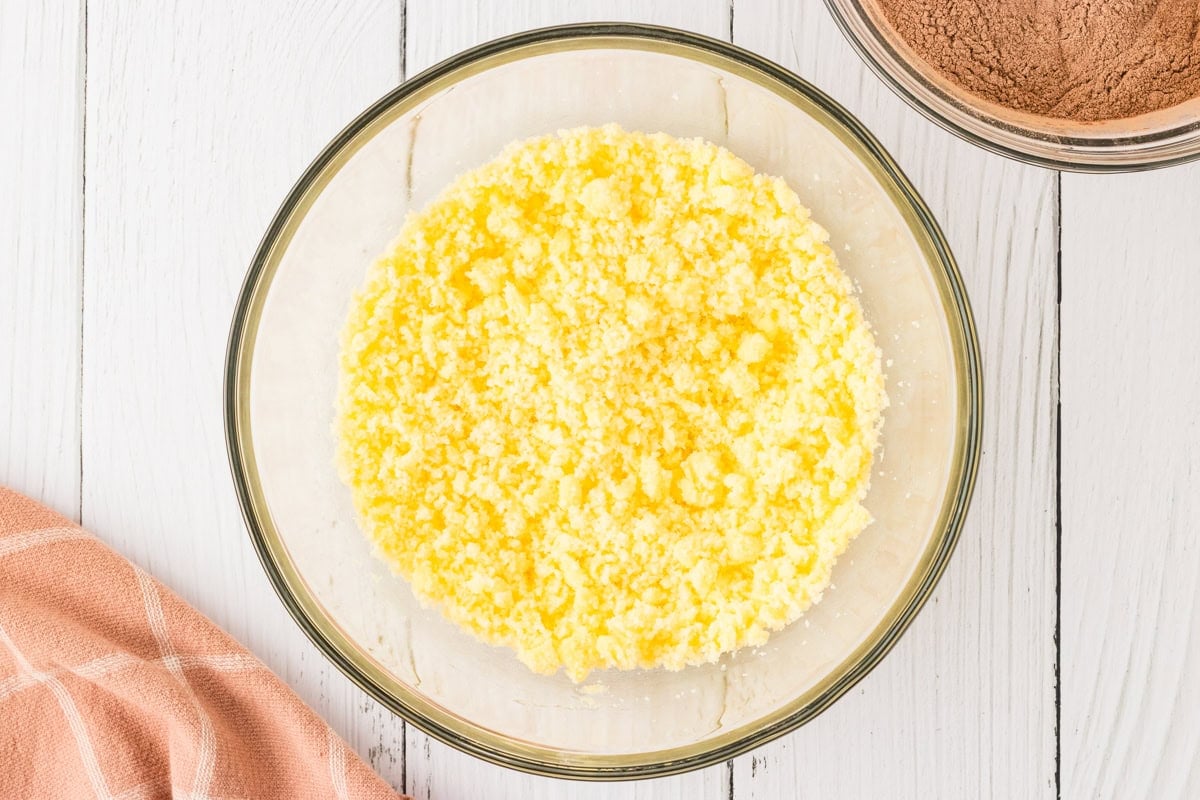
Cream Butter and Sugar: In a separate bowl, using a hand or stand mixer, cream together 9 tbsp unsalted butter and 2 cups granulated sugar until fluffy.
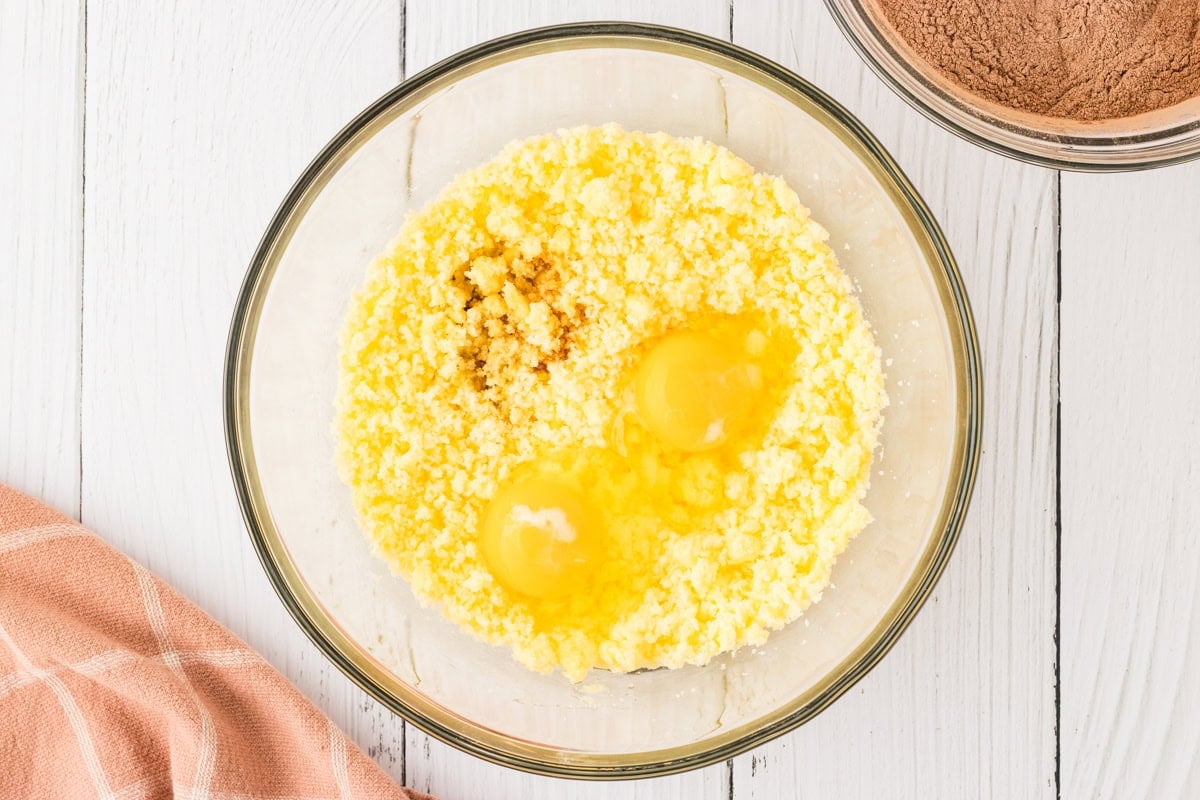
Add the Eggs and Vanilla: Add 2 large eggs and 1 tsp vanilla extract to the butter mixture and mix until fully combined.
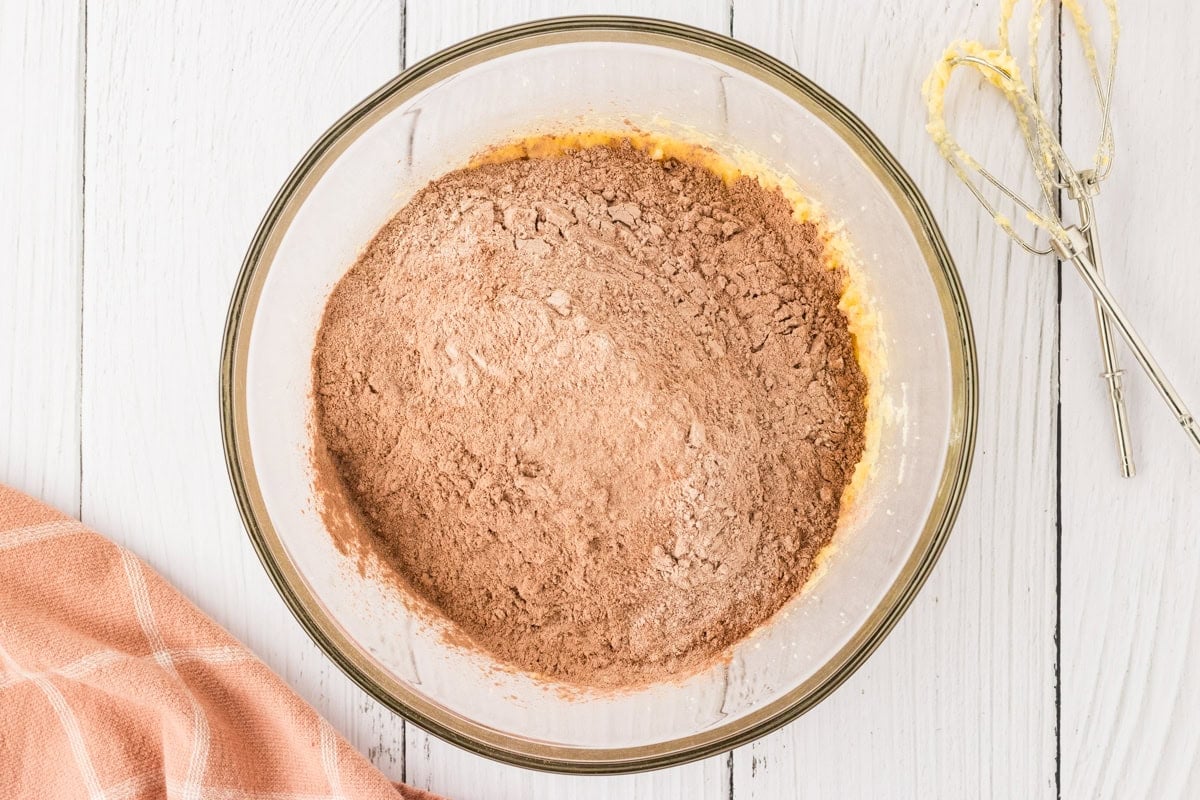
Combine the Flour and Butter Mixture: Add the flour mixture to the butter mixture and mix, scraping the sides down as needed.
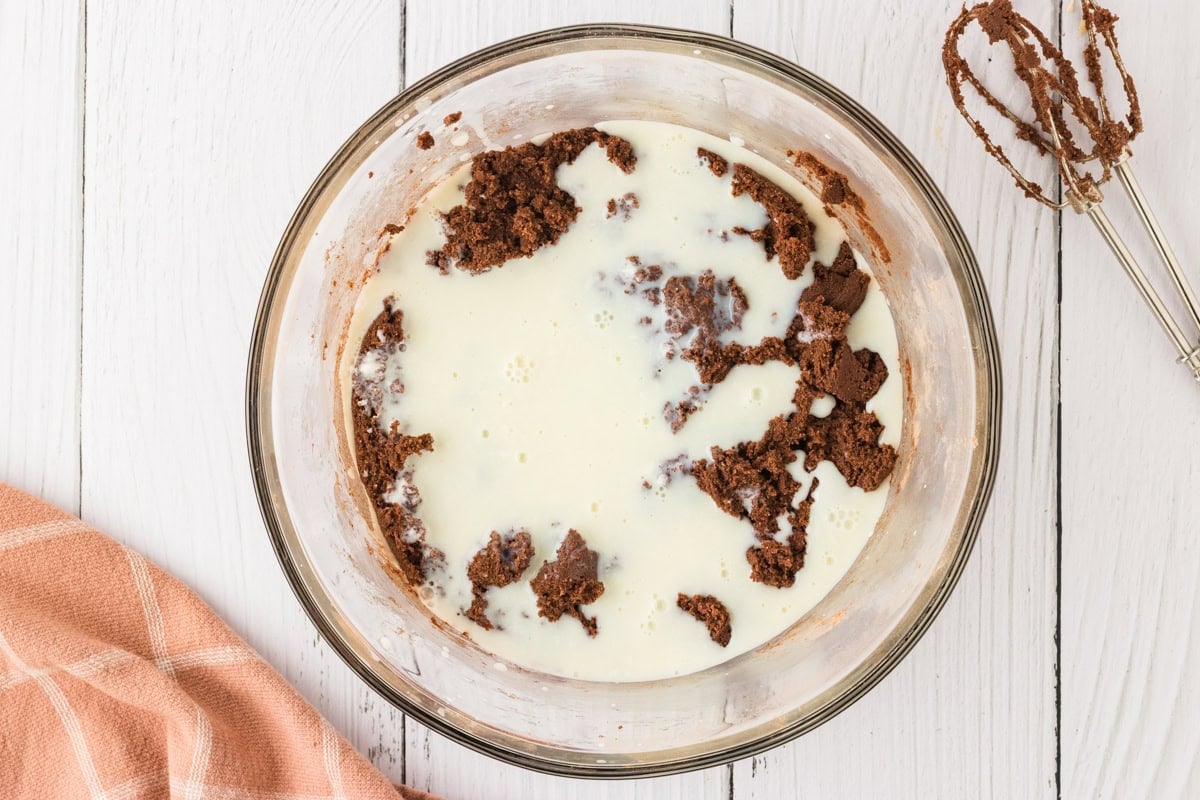
Add the Buttermilk: Pour the buttermilk mixture into the egg mixture and mix until fully combined.
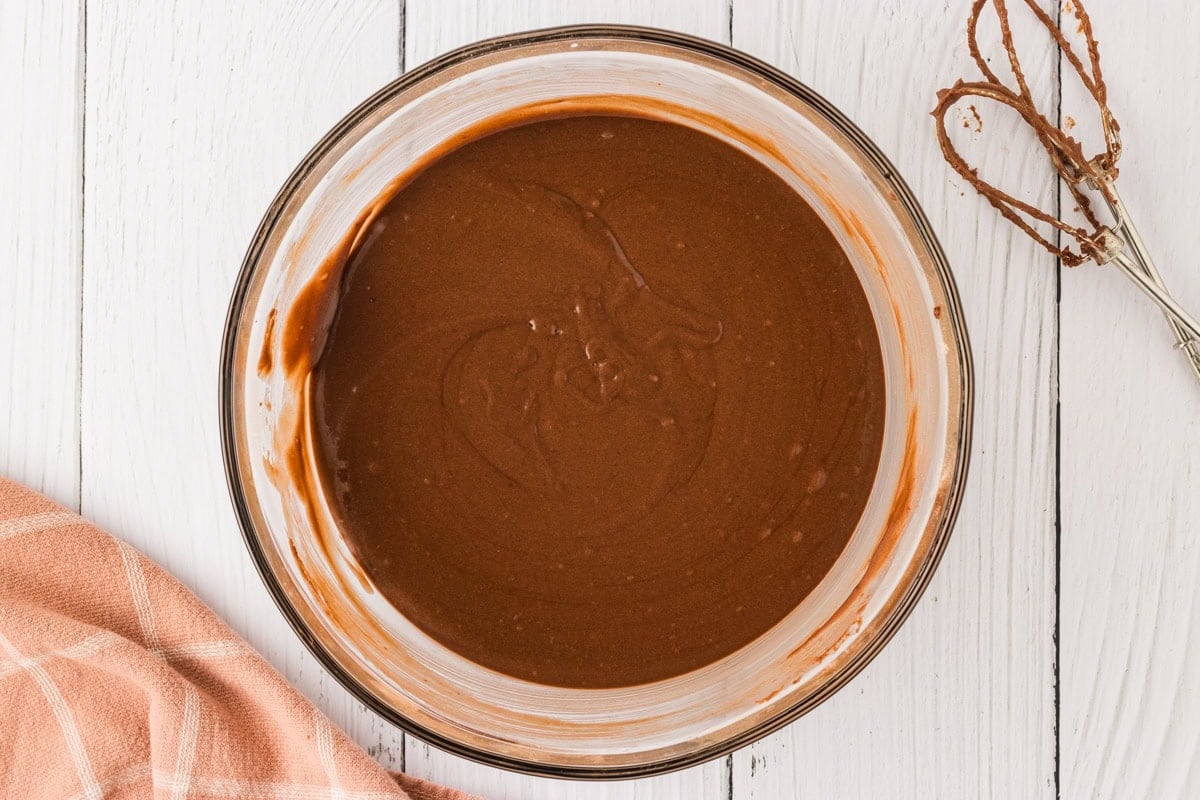
Add Boiling Water to the Batter: Carefully add ¾ cups boiling water to the batter and continue mixing until combined.
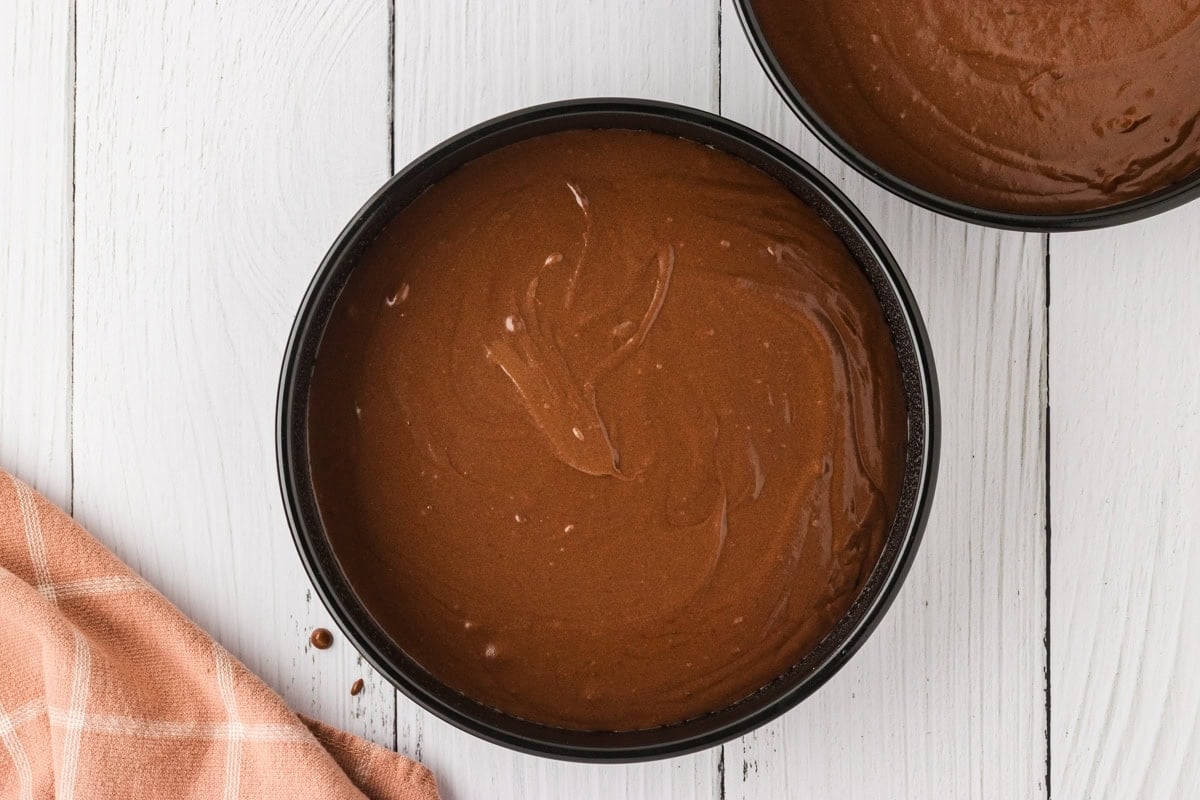
Fill the Cake Pans: Evenly divide the batter between the two greased 9-inch cake pans, pouring half into each.
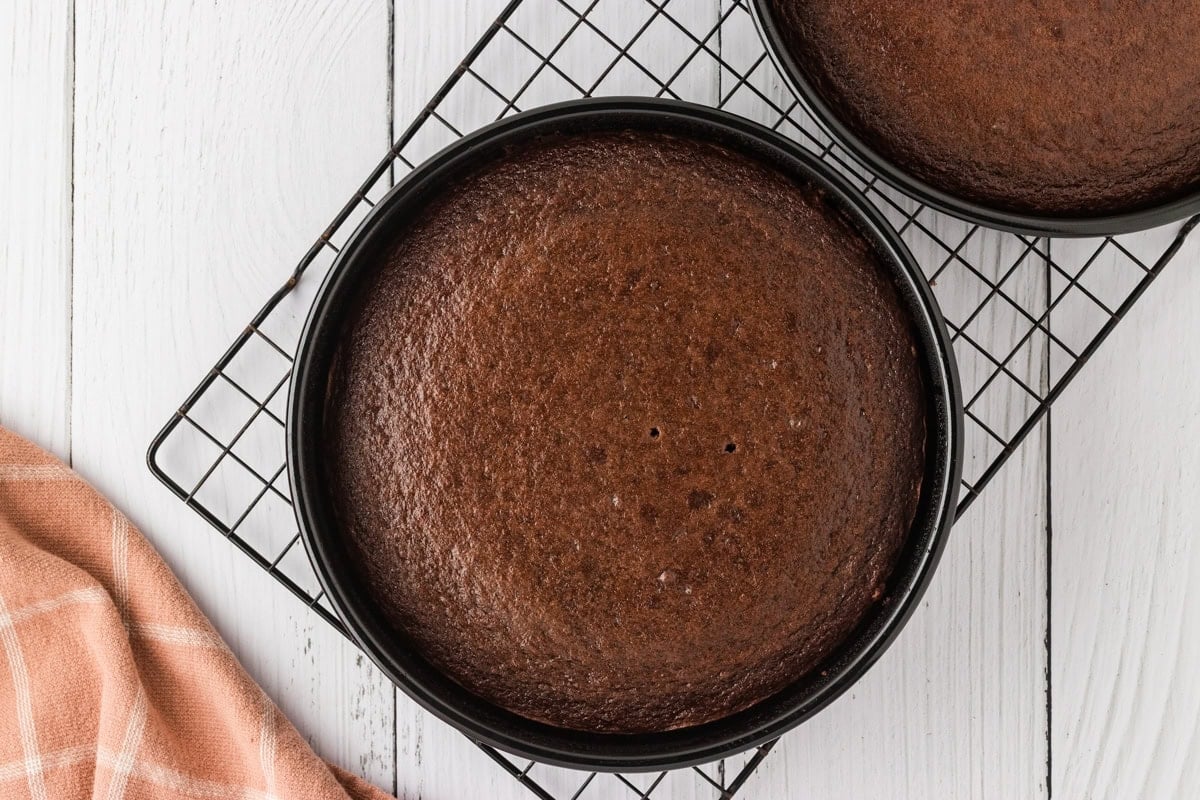
Bake the Cakes: Bake on the middle rack for 30-35 minutes, keeping an eye on them since oven temperatures vary. To check for doneness, insert a toothpick into the center—if it comes out clean, the cakes are ready. You’ll also notice the edges pulling away slightly from the sides of the pan. Allow the cakes to cool in the pans for 15 minutes before placing them on a cooling rack to cool completely.
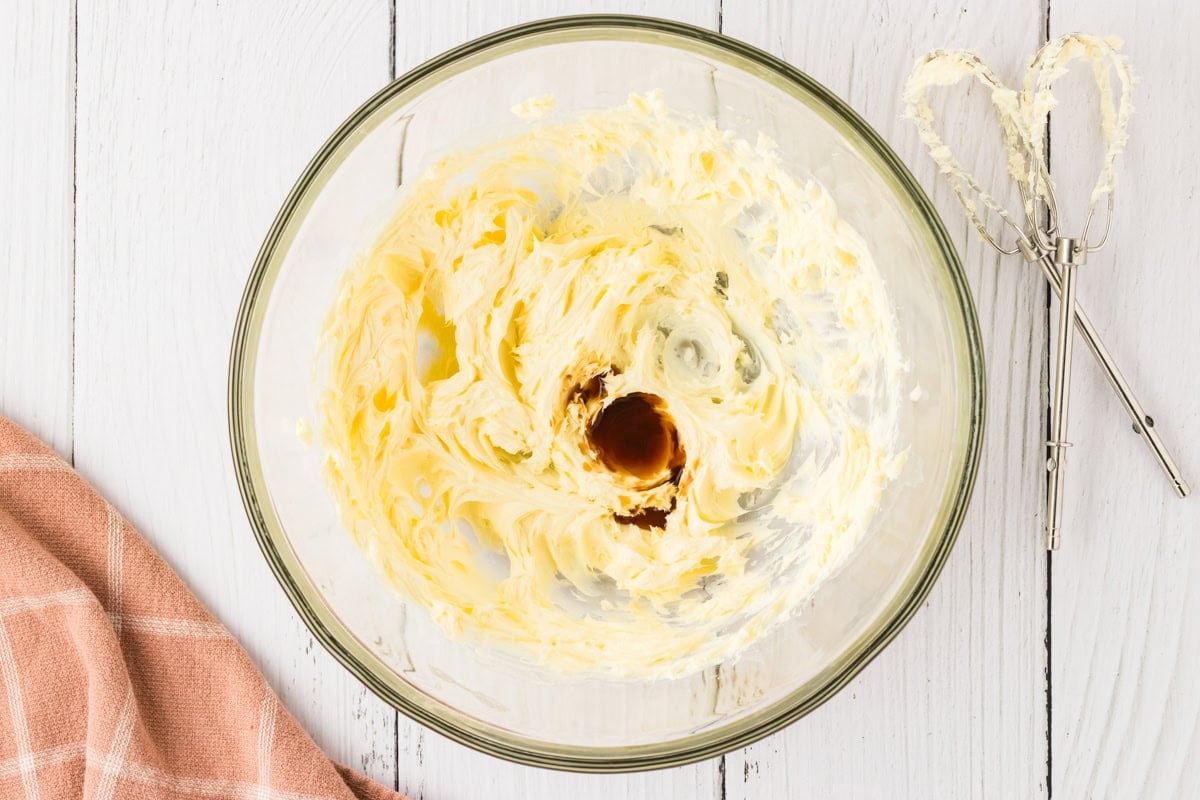
Make the Buttercream: In a large bowl, cream 1 cup of softened unsalted butter with a mixer until smooth. Add 2 tsp pure vanilla extract and ¼ tsp pure almond extract, mixing until fully combined.

Add in the Cocoa: Mix in 1 cup of unsweetened cocoa powder and a pinch of salt until evenly incorporated.
Sweeten the Frosting: Gradually add 4 cups of powdered sugar, one cup at a time, mixing well after each addition.
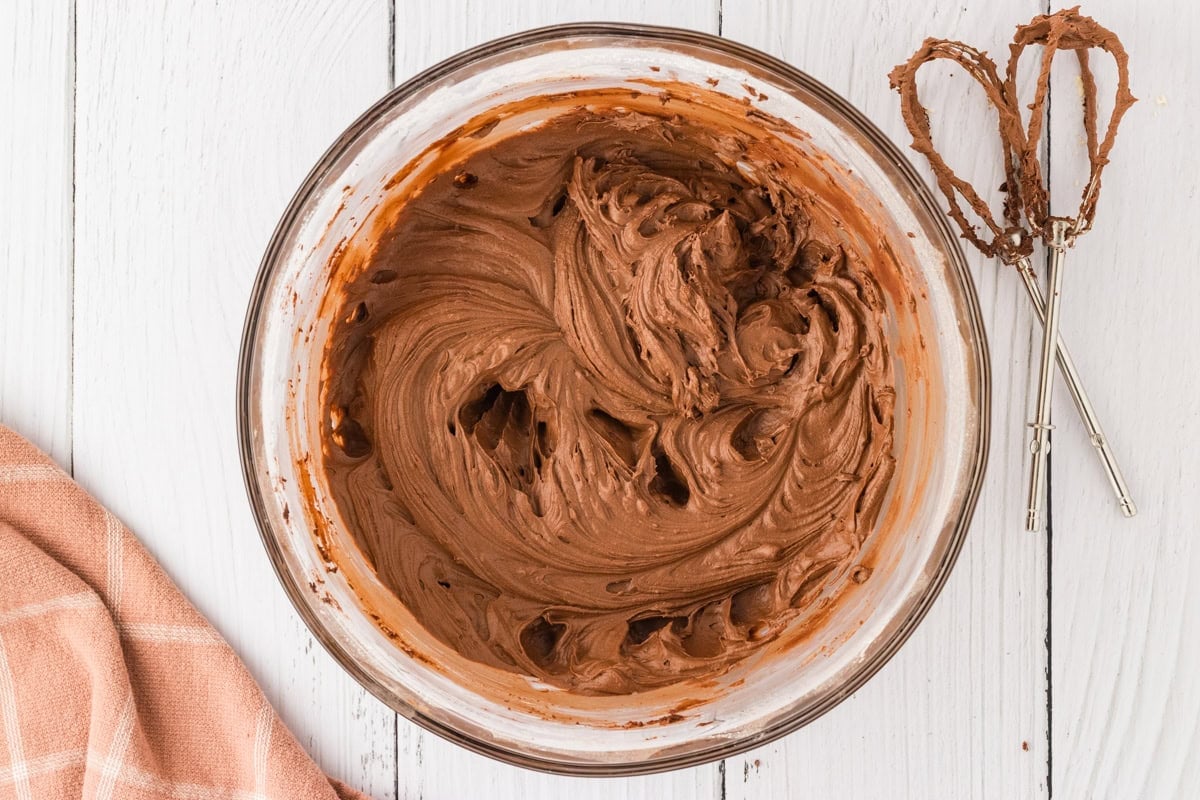
Beat the Frosting: Pour in 3 tbsp milk and beat until the frosting is smooth and spreadable.
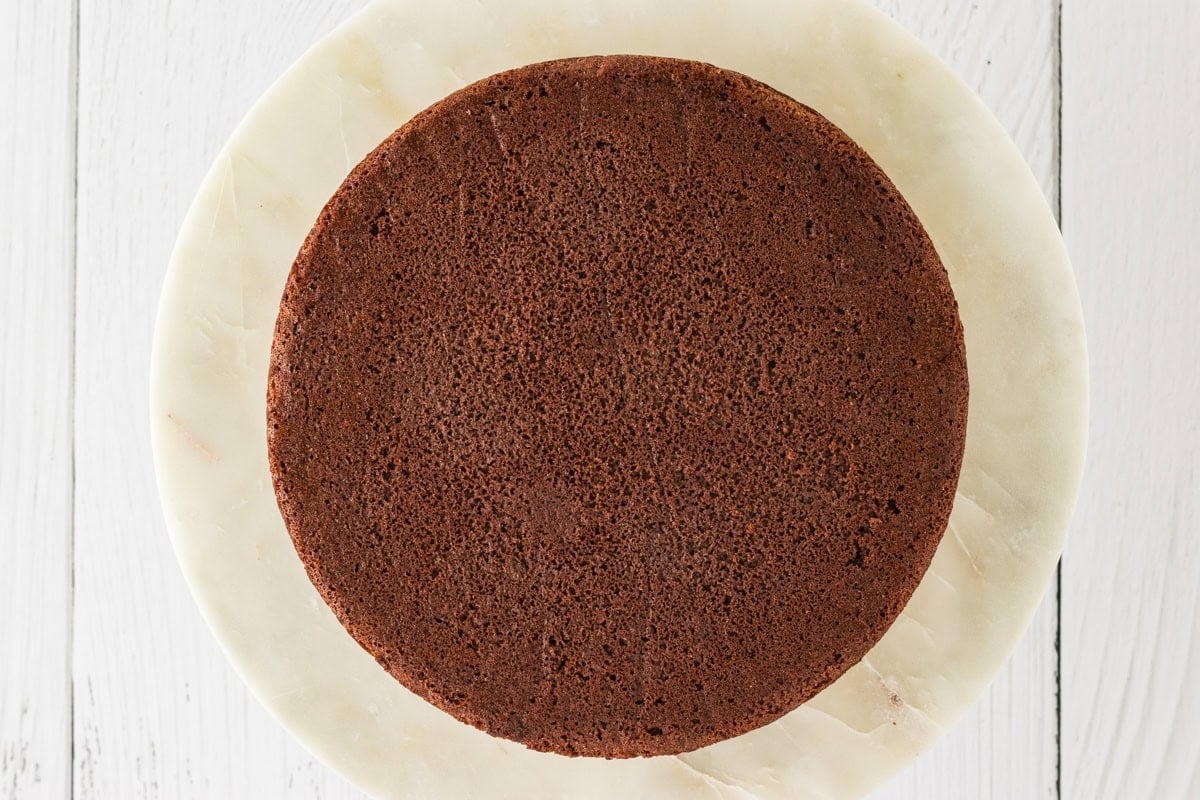
Prep the Cakes: Once fully cooled, place the first cake, shiny side down, on a plate or cake stand.
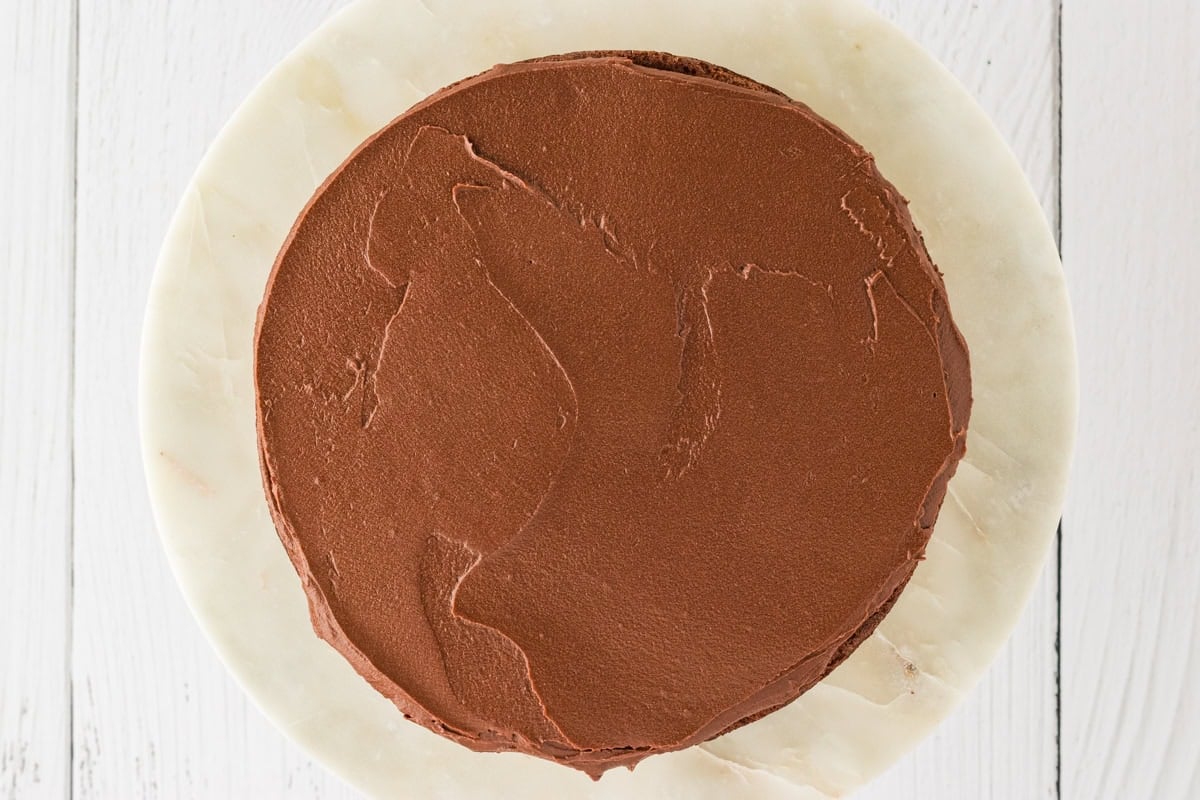
Frost the First Layer: Spread a generous layer of frosting over the top—this will be the filling between the layers.
Add the Second Cake: Set the second cake on top, also shiny side down, pressing gently to secure it.
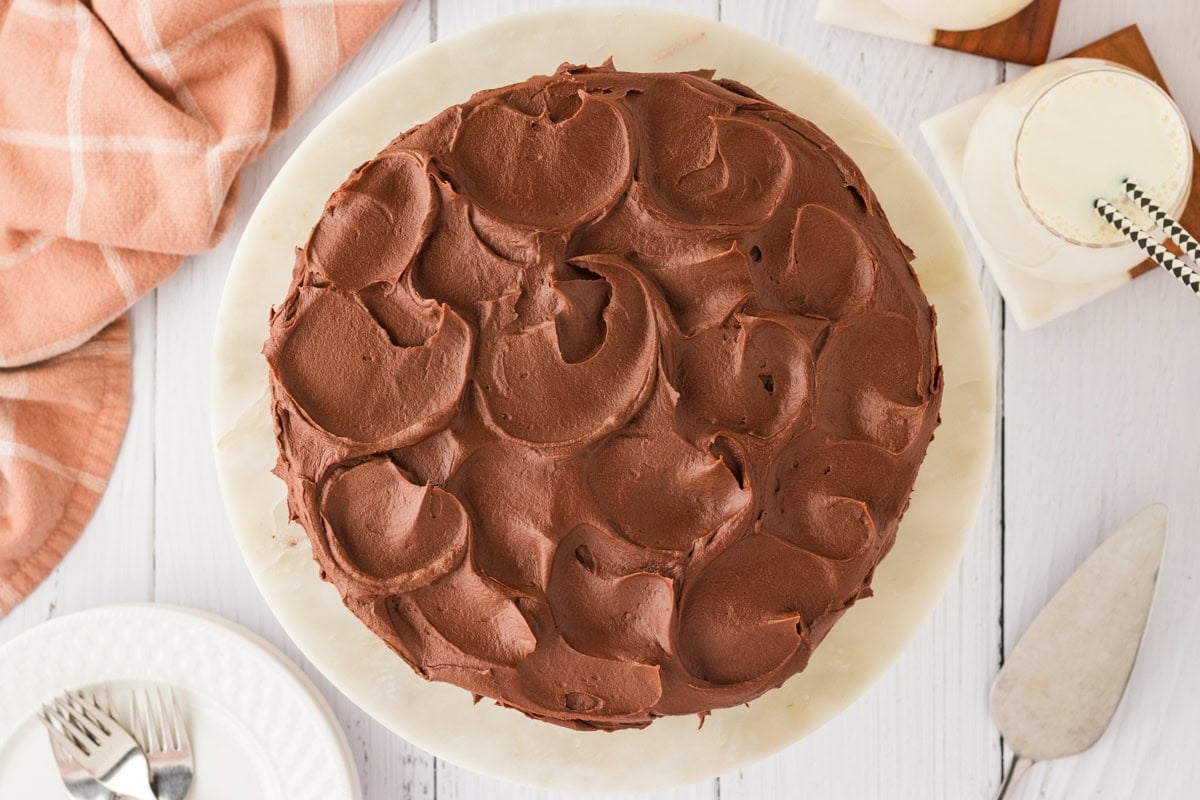
Frost the Cake: Use the remaining frosting to coat the top and sides of the cake evenly.
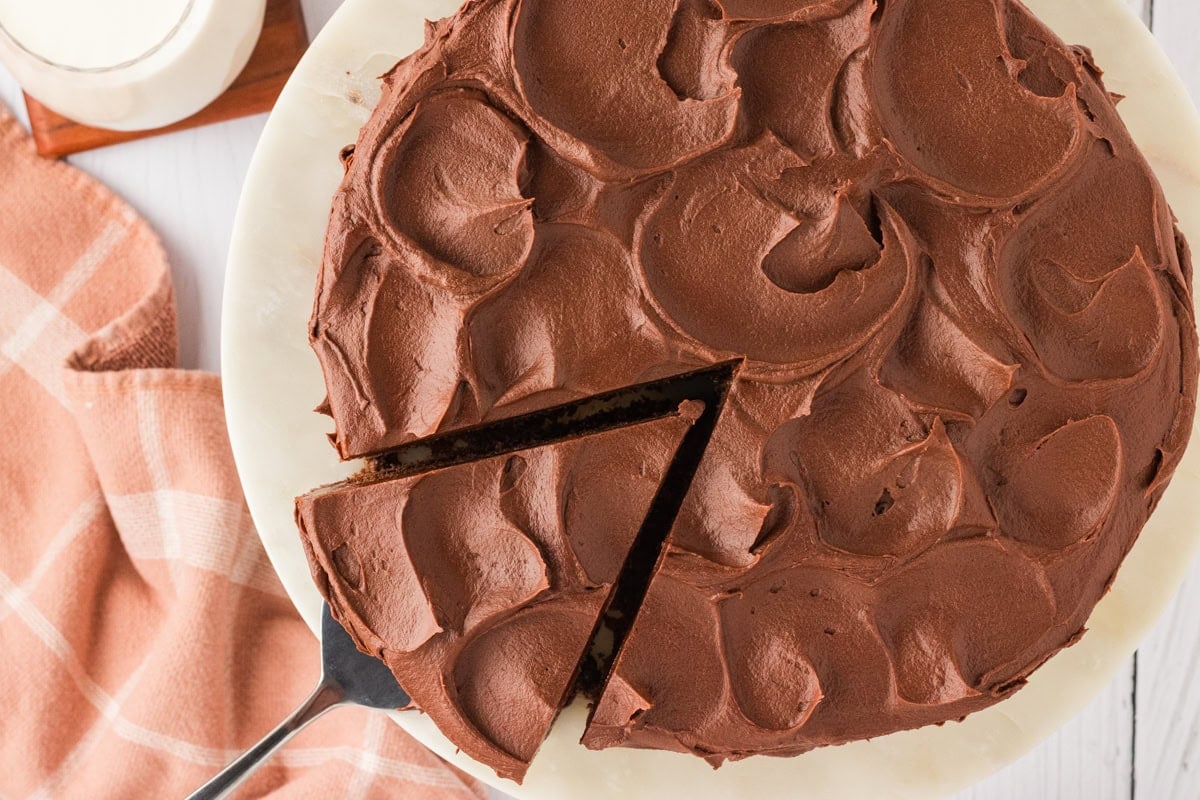
Slice and Serve: Slice up and enjoy!
Serving Suggestions
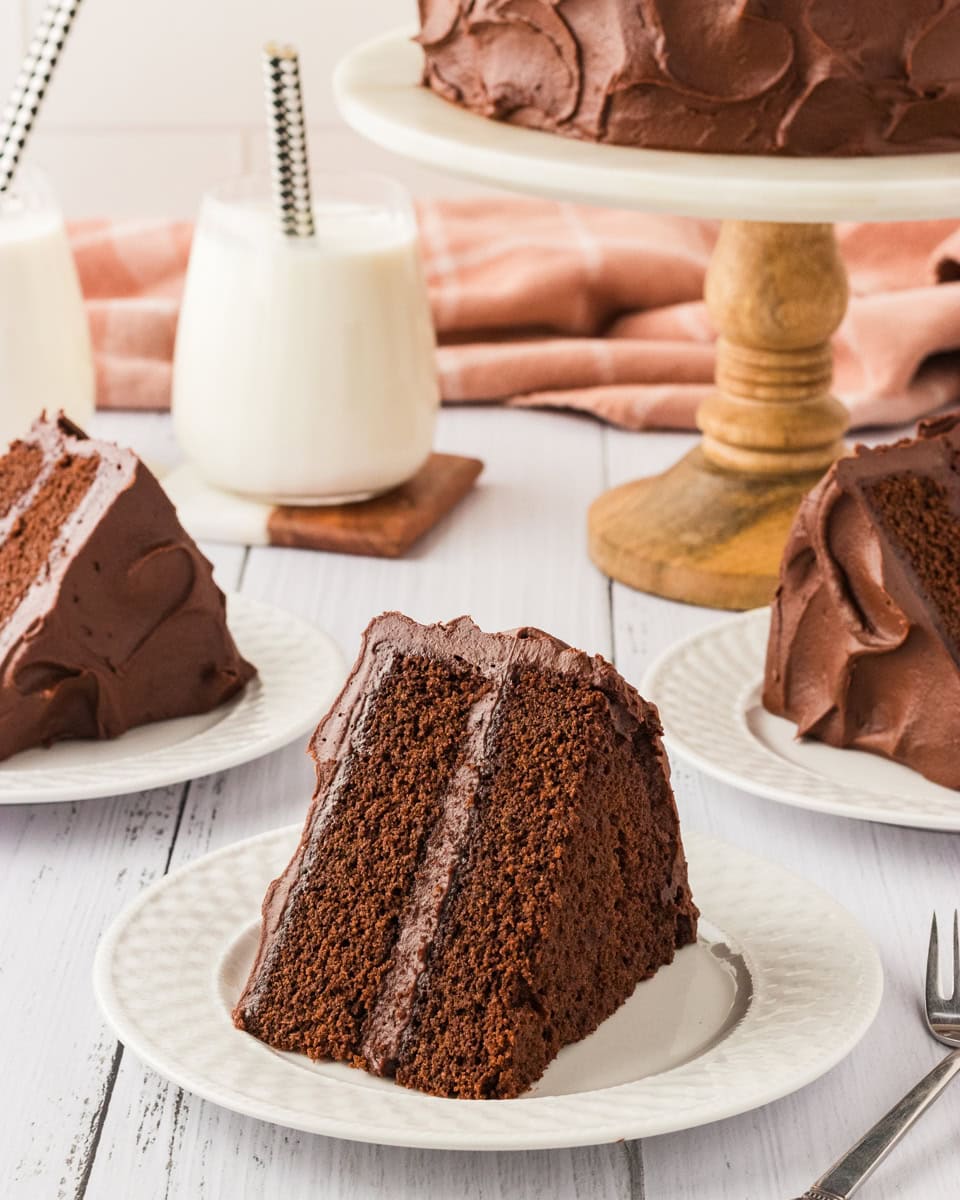
This easy recipe makes a rich and moist gf chocolate cake. It’s the perfect dessert to make for birthdays and parties. Trust me, making a homemade chocolate cake does not get any easier than this. But if you are looking for alternatives, I love making these almond flour chocolate cake and flourless chocolate cake recipes, too.
Storage Instructions
Store leftovers in an airtight container like a cake display.
It’s really easy to freeze unfrosted cakes. Once your cakes are completely cool, wrap the cakes with plastic wrap (I like the press and seal wrap), wrap them again with aluminum foil, and then place them in a plastic freezer bag.


I do not like this recipe at all you can only buy a store bought blends for that matter only a certain kind It doesn’t tell you what gluten-free flours to use. People claim they know gluten-free but when you read a recipe, they want to go right straight to the store and buy one of those expensive blends if you know gluten-free, you should know what flour goes into the recipe you shouldn’t have to buy the blends. I do not like them. I need to know what flour actually goes into it. I hope this will be a challenge for you to maybe search this out
Hi Brenda, Thanks for taking the time to share your thoughts. The reason many gluten-free recipes call for a gluten-free flour blend is that creating a blend from individual flours can be quite complex. Different flours contribute different qualities—some add structure, some add softness, and others add moisture absorption. A tested blend helps ensure readers get more consistent results without having to purchase and measure several different flours.
For this chocolate cake recipe, it was developed and tested with a gluten-free all-purpose blend, so I can’t confidently recommend specific substitutions of individual flours without additional testing. Gluten-free baking is very sensitive to those changes, and I wouldn’t want to suggest a flour combination that might not work well.
I have been GF baking for 25 years and this is by far the best GF recipe I have tried! I did add a bit of instant coffee as well as half package of chocolate pudding mix but that’s because I like that in all my chocolate bakes. This cake did rise really well and stay fluffy! I made some cupcakes too. This recipe is a keeper, thank you !!
This is by far the worst cake recipe I’ve made in a long time. First off you can’t cream together 9 tbsp of butter and 2 cups of sugar, that’s not enough butter. It doesn’t matter how long you leave the mixer going for, that ratio won’t cream. You need at least 3 more tbsp. Second off, why in God’s name are you adding the flour before the milk and water, it’s going to splash all over your kitchen because the thick pasty dough doesn’t want to combine with all that liquid. Regret wasting my time with this bs.
Hi Elle, Thanks for taking the time to share your feedback, and I’m sorry to hear this recipe didn’t work out for you.
On the butter and sugar point—this batter is intentionally designed to be a bit different from a traditional creamed butter cake. With gluten-free baking, the texture often relies more on the balance of liquids and structure from the flour blend rather than a fully “light and fluffy” creamed base. That said, if your mixture felt too dry to cream properly, it’s often related to the specific gluten-free flour blend or even the temperature of the butter (slightly softer butter can help it come together more easily).
As for the mixing order, this method is used to help the batter build structure gradually, but I completely understand your frustration if it made things messy in your kitchen. A slower incorporation of the dry ingredients or alternating additions in smaller amounts can definitely help reduce splashing and improve mixing ease.
I appreciate you sharing your experience—feedback like this helps identify where readers may need more clarity in the instructions.
You have not led me astray-this cake is rich, fudgy, decadent and moist. I am in awe! Thank you for making my gfdf life so delicious!
I am lactose intolerant and my husband is both lactose and gluten intolerant and finding good recipes can be hard. I have baked this for friends and family and they kept asking me if I was sure there was no gluten or dairy in it because it was “too good to be gluten free”. Thank you for this amazing cake recipe, this is our go to recipe whenever we want a sweet treat.
I loved this SO MUCH!!! I shared it on my fb page and this is what I wrote. “Sharing this here, because this is probably the best cake I’ve ever tasted & baked (and I’ve baked a lot of cakes!). I wanted to bake a cake for my granddaughter’s b-day. She’s a chocolate lover, like me, but I wanted to be able to eat it too. I’ll share pictures in the comments. This is gluten-free and loaded with yummy deliciousness. I’ll never make another box cake.” I wish I could share the pictures with you, here. My granddaughter was thrilled with her special cake. Thank you for sharing your recipe.
I’m making cupcakes. What is the recommended baking time for 2 dozen?
Hi Kristi, start looking at your cupcakes at the 15-20 minute mark to see if they are done.
Hello, I don’t know if you you’ll see this in time! But I’m making this cake today for my partners birthday with some tweaks to the recipe for flavor profiles! But I’m using two 8’3x heart shaped cake pans and I’m wondering if i need to adjust the recipe at all?? Thank you!
Hi Ashely, You can use the full recipe without changing ingredient amounts, but since two 8-inch heart pans hold slightly less batter than two 9-inch rounds, your layers will be a bit thicker and may need a few extra minutes to bake—start checking at 30 minutes and expect up to 40. Keep oven temp the same (350°F), fill pans no more than two-thirds full, and use the toothpick test for doneness. Everything else, including prep and frosting amounts, stays the same.
Okay now that I’ve made the cake after your instructions.. it was DELICIOUS!!! The MOST moist perfect gf/df cake I’ve ever had and I made it!! It was a BIG hit!! I did tweak the recipe to fit my flavor profiles! I did a chocolate mocha cake with brown sugar mocha butter cream and a raspberry jam filling!! Thank you so much!!
We all loved this cake!. I made it for my granddaughter’s 18th birthday and used a 9×13 cake pan. I increased the cooking time by 15 minutes. It is delicious! Frosting tastes like fudge!
Thanks Janet!
Just made this today for my husband’s 64th birthday. One son has celiac, so wanted to make a cake we could all eat. Everyone loved it and no one thought it was GF. It was declared the best GF cake any of us had eaten. Super moist and delicious! Love your recipes!