Gluten-Free Red Velvet Cake
Published
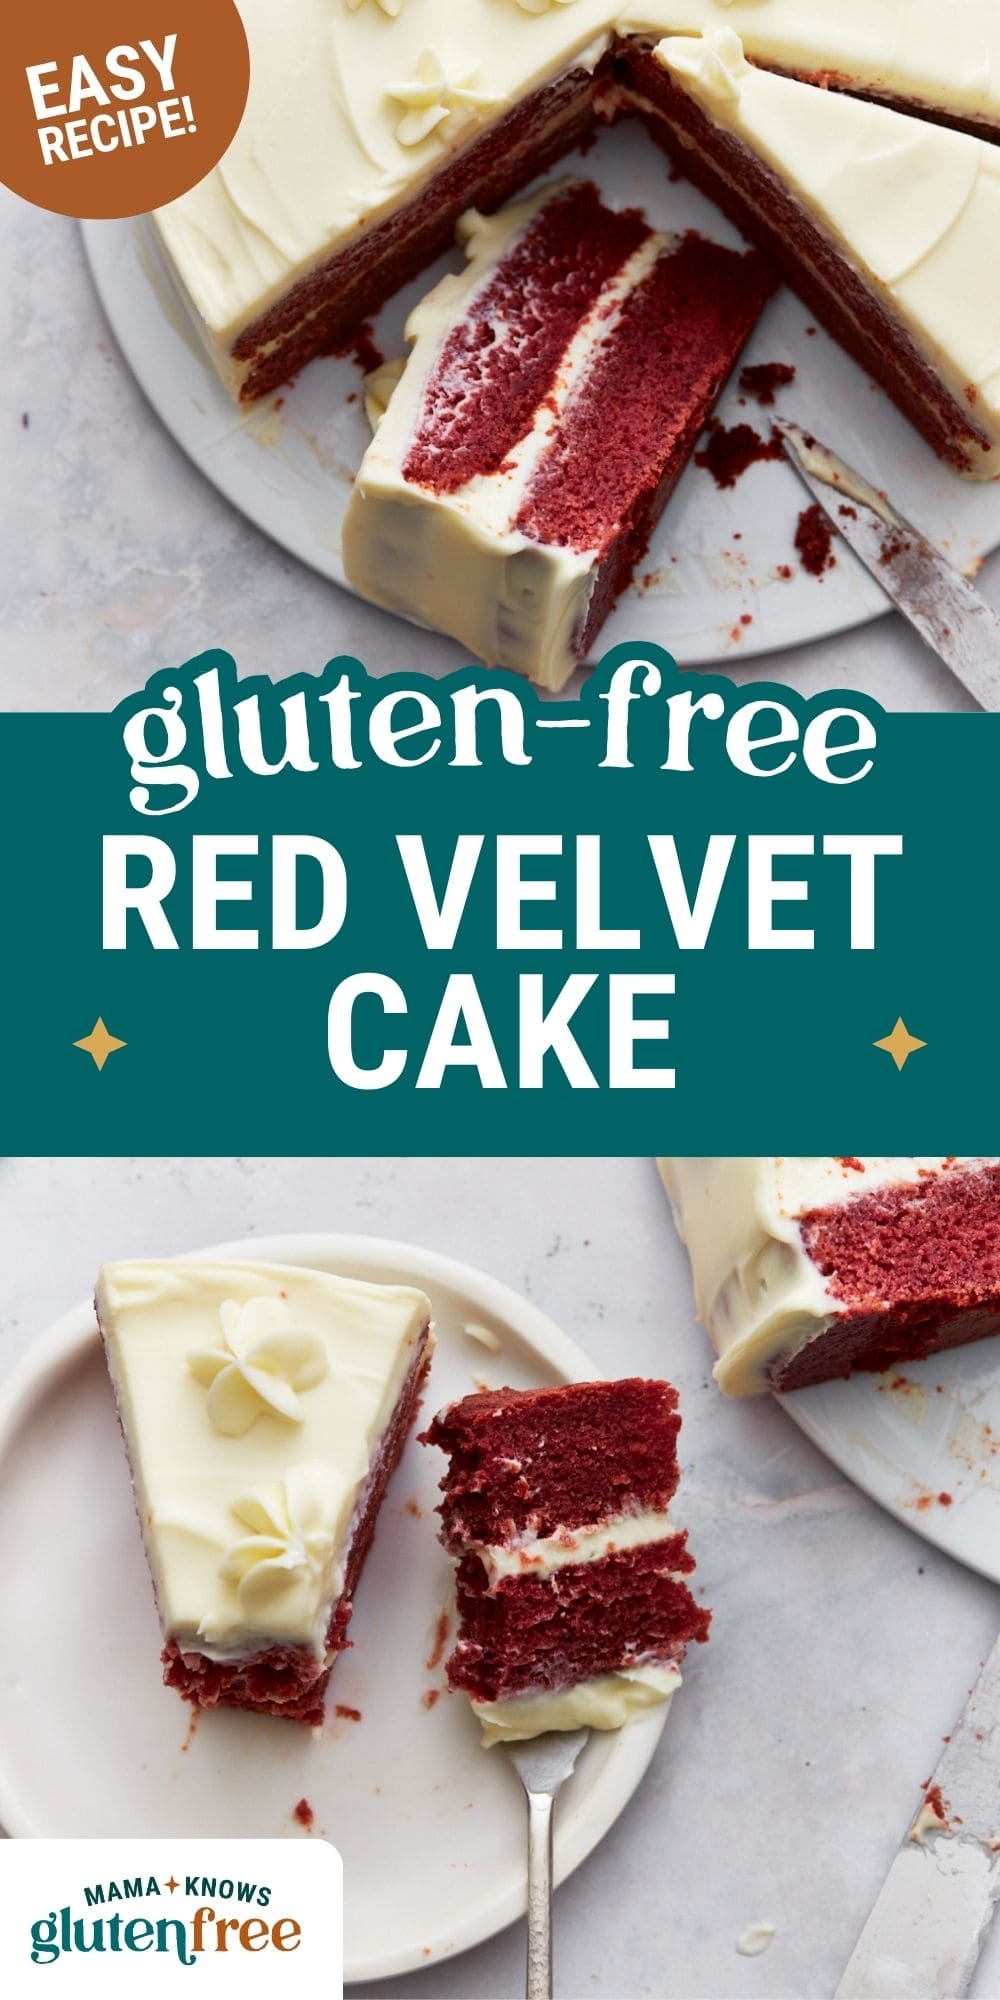

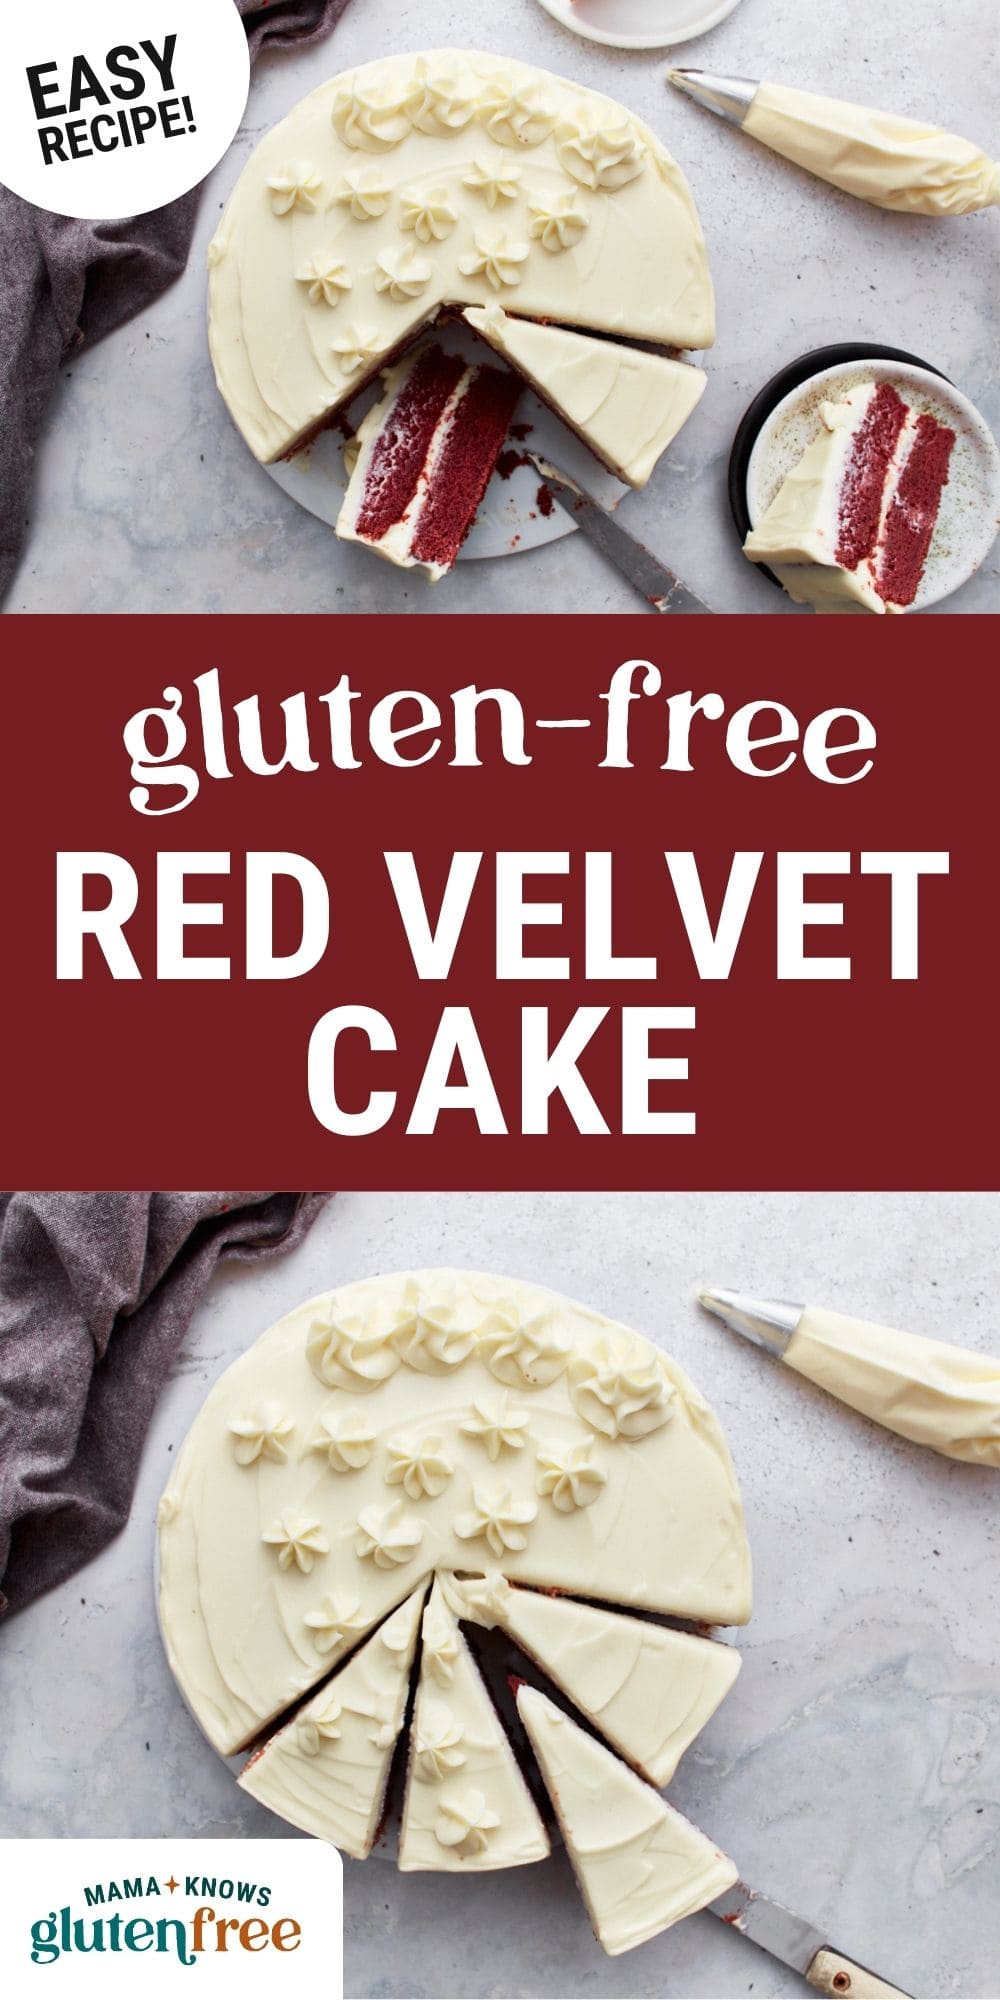
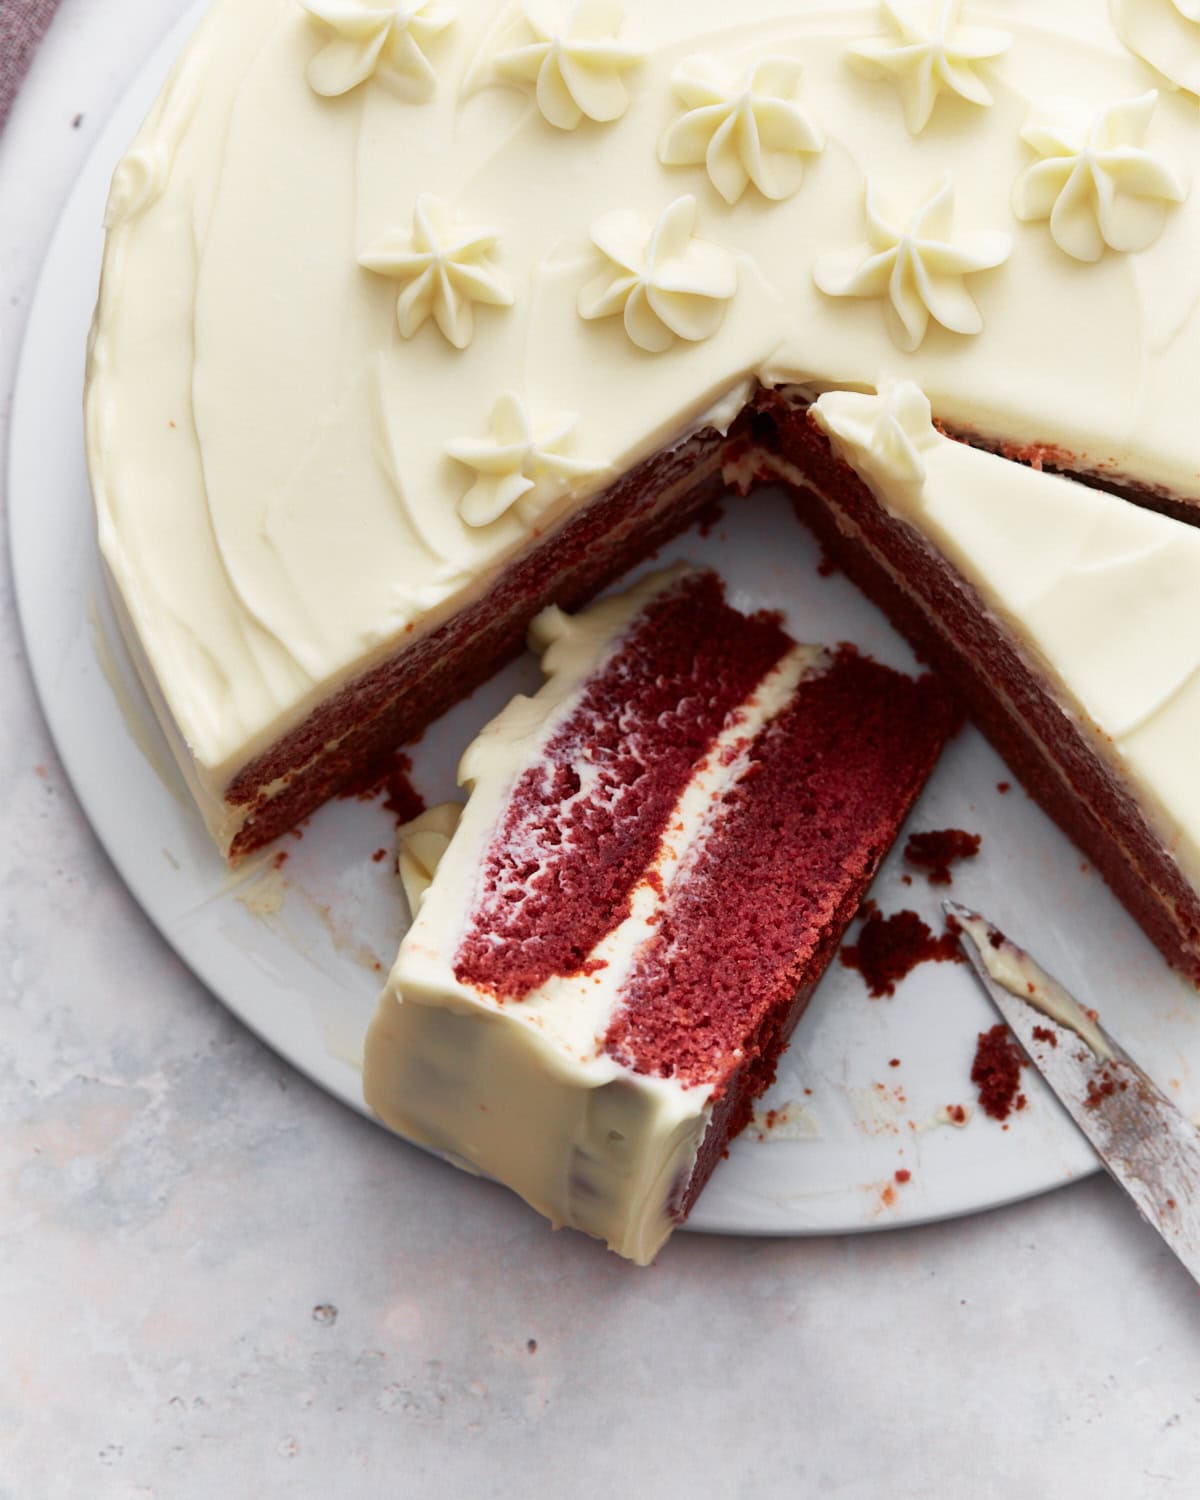
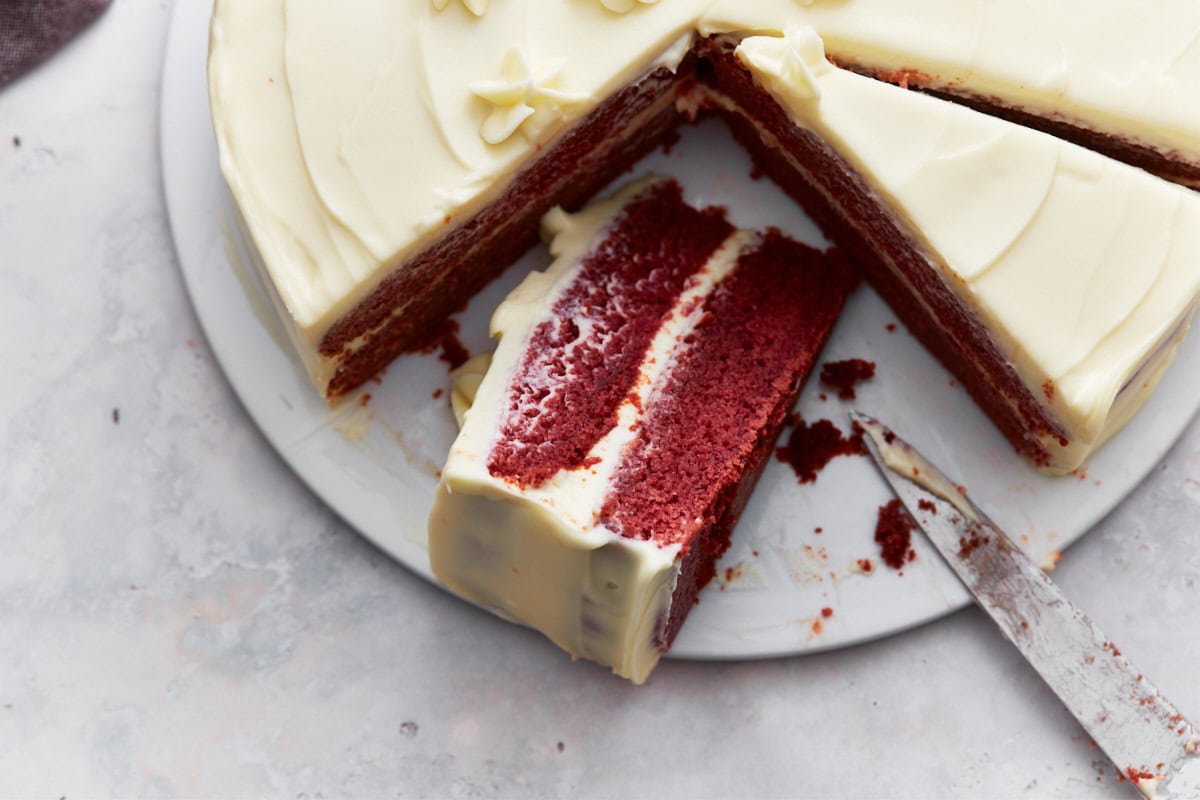
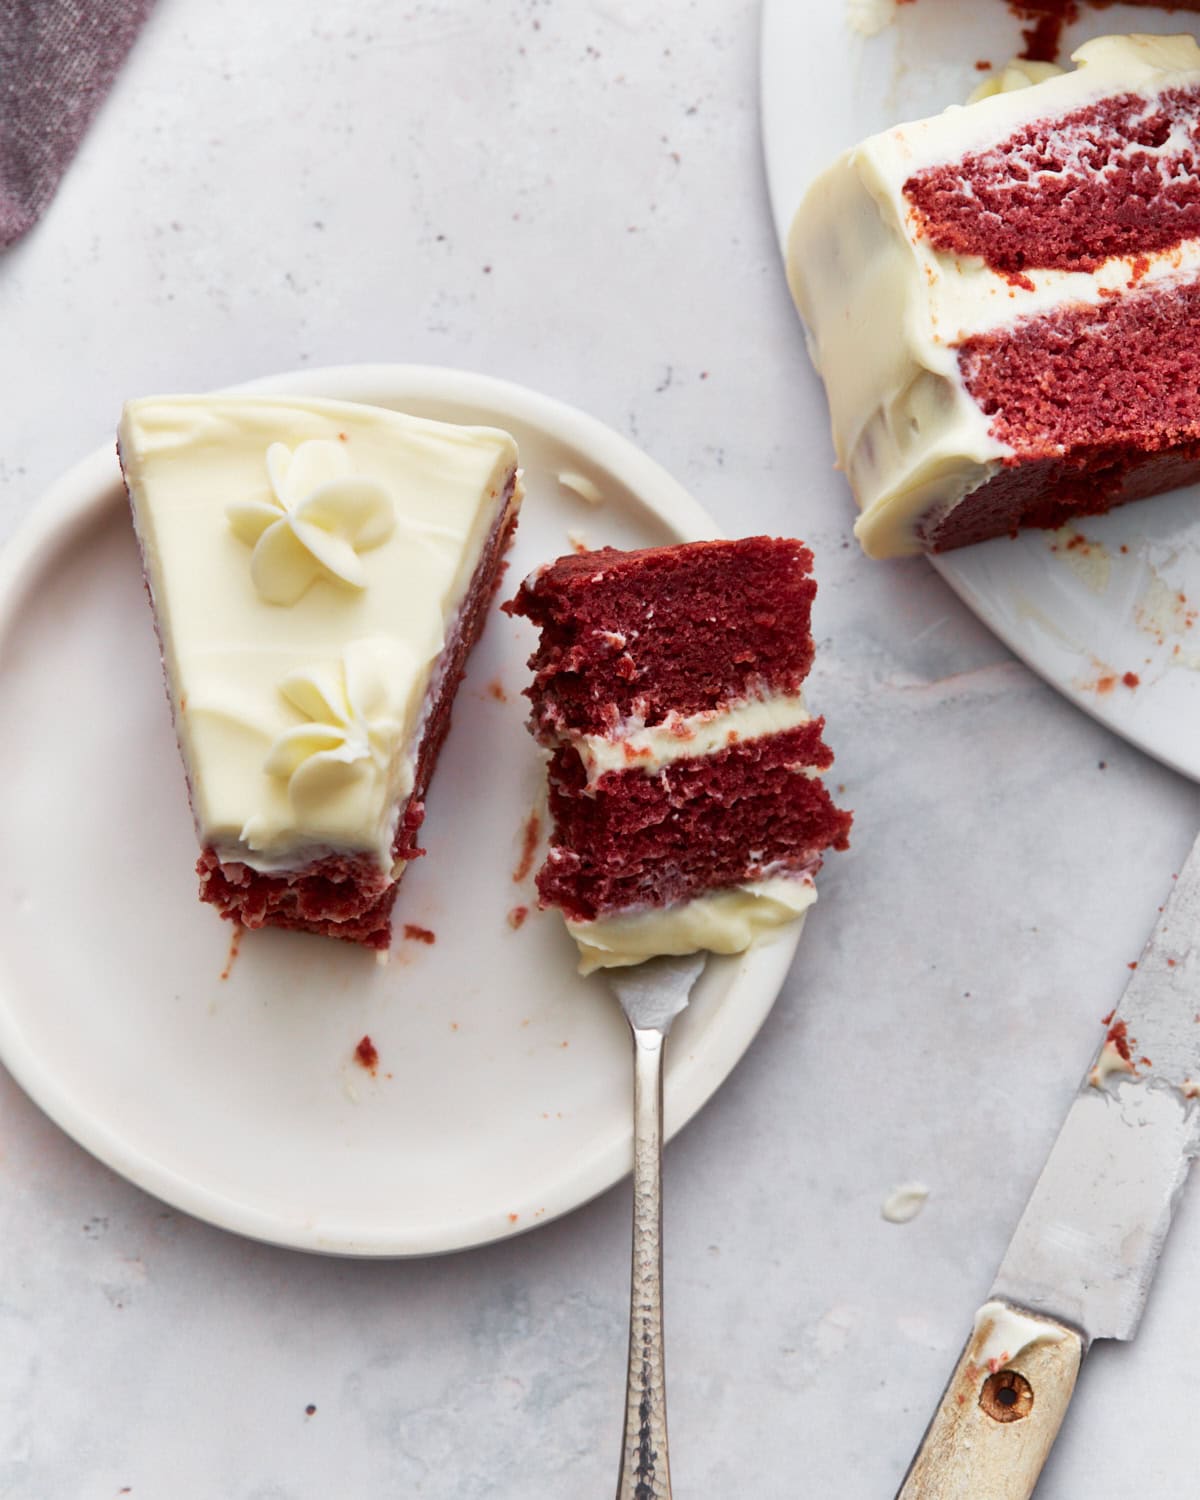
A homemade gluten-free red velvet cake. This classic southern cake is one of my favorites with its rich flavor and velvety texture. The gluten-free cake is moist, flavored with a hint of cocoa, and topped with a delicious cream cheese frosting.
Baked this delicious and moist red velvet cake for my granddaughter’s birthday. I used one and half the recipe amounts to make a three layer cake. Used bob’s red mill cup for cup and full fat buttermilk instead of making my own. This cake did not disappoint!
– Dianne
All the Red Velvet You Could Want
I love everything red velvet. I even have recipes for Red Velvet Cupcakes and Red Velvet Chocolate Chip Cookies, too!
Making a homemade gluten-free red velvet cake is super easy. The unique cake is made with buttermilk which produces the fluffiest light sponge and has a mix of a buttery vanilla and hint of chocolate flavor. I love making this cake for occasions like Christmas or Valentine’s Day. The sponge is moist, and cream cheese frosting enhances the flavors of the cake without overpowering it.
Most of my family are also dairy-free (including me), so I always try to have a dairy-free option for my gluten-free recipes. I added dairy alternatives to this recipe, so this cake can be gluten and dairy-free!
Gluten-Free Red Velvet Cake Recipe

Ingredients
Cake:
- 1 cup milk, Dairy-free use unsweetened almond or coconut milk.
- 1 tablespoon white vinegar
- 2 1/2 cups all-purpose gluten-free flour with xanthan gum, I like Pillsbury gluten-free. Not all gluten-free flours are created equal. You may experience different baking results depending on the gluten-free flour blend you choose.
- 1 teaspoon baking soda
- 1 teaspoon salt
- 2 teaspoons cocoa powder
- 1/2 cup unsalted butter, softened, Dairy-free use Smart Balance butter.
- 2 cups granulated sugar
- 2 large eggs
- 1 teaspoon pure vanilla extract
- 2-3 teaspoons red food color, Substitute 1 tablespoon beetroot powder for a dye-free cake.
- 1 teaspoon white vinegar
- 1/2 cup boiling water
Cream Cheese Frosting
- 1 cup unsalted butter, softened, Dairy-free use Smart Balance butter.
- 16 ounces cream cheese, softened, Dairy-Free use Kite Hill Cream Cheese.
- 1 teaspoon pure vanilla extract
- 1 pinch salt
- 3-4 cups powdered sugar, If you want a stiffer frosting use 4 cups of powdered sugar to the cream cheese mixture. The dairy-free option will need more powdered sugar.
Instructions
Gluten-Free Red Velvet Cake
- Preheat oven to 350°F (177°C). Trace the bottoms of the cake pan on parchment paper. Cut the parchment paper for the bottom of your two 9″ cake pans and spray with gluten-free cooking spray.
- Add 1 tablespoon of white vinegar to 1 cup of milk. Allow it to sit for a few minutes to make homemade buttermilk. Dairy-free option use unsweetened almond milk.
- In a medium-sized bowl, add the gluten-free flour, cocoa, salt, and baking soda. Stir to combine the ingredients.
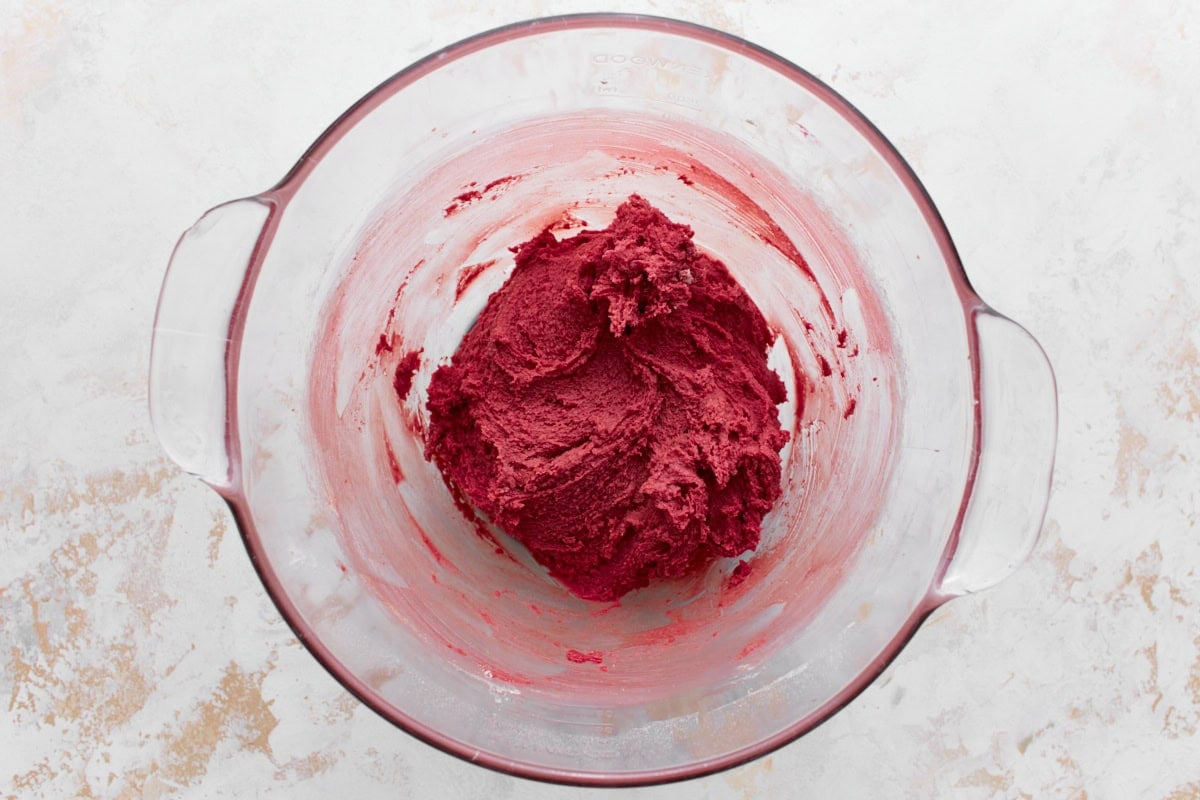
- In a large bowl, cream the softened butter and granulated sugar with a mixer, until fully combined and fluffy.
- Add the eggs, pure vanilla extract, red food color, and 1 teaspoon of white vinegar to the butter mixture and mix until fully combined.
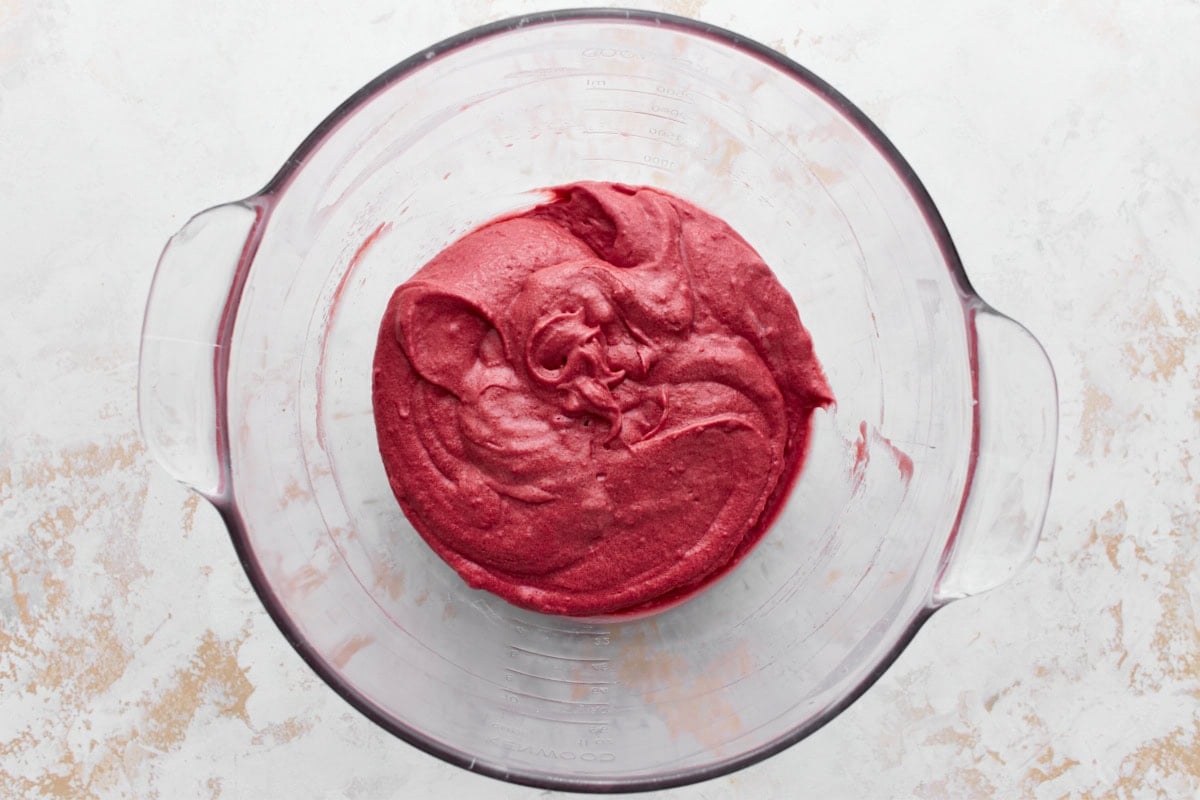
- Add the flour mixture to the butter mixture and mix until fully combined. Scape down the sides if needed.
- Add the milk and vinegar mixture (homemade buttermilk) and mix until fully combined.
- Add the boiling water to the cake batter and mix until fully combined.
- Pour half of the batter in the first 9" cake pan and then pour the rest of the batter in the second 9" cake pan.
- Bake on the middle rack for 30-35 minutes. Please watch your cakes because all ovens are different.
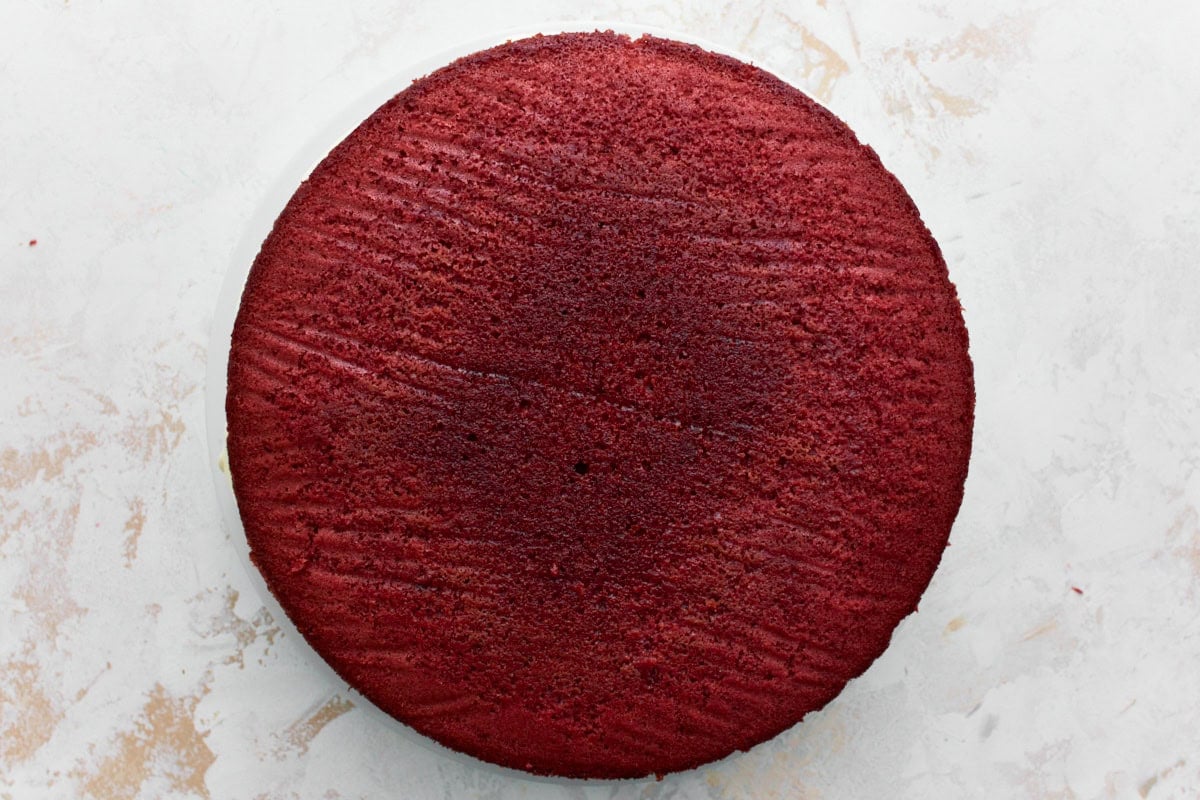
- Check the center of the cake by inserting a toothpick to make sure it is done. You will also see the sides of the cake pulling away from the side of the pan.
- Allow the cakes to cool fully before frosting. I let the cakes cool in the pans for 10 minutes then finish cooling on a baking rack.
Cream Cheese Frosting
- In a large bowl, cream the softened butter and cream cheese together until smooth.
- Add the pure vanilla and mix until fully combined.
- Add the powdered sugar one cup at a time to the butter mixture and mix until fully combined.
- Place the first cake with the shiny side down on a plate or a cake plate.
- Frost the top of the first cake. This will be the frosting in the center of your cake. I like a good amount of frosting in the center.
- Place the second cake on top of the frosted first cake the shiny side down.
- Frost the top and sides of the cake with the remaining frosting. I used a Wilton 1M tip to decorate. Enjoy!
- Store leftovers in an airtight container in the refrigerator.
Notes
- I always measure gluten-free flour using the “spoon and level” method. First, I scoop the flour into the measuring cup with a large spoon. Then, I use the back of a knife to level off the top of the measuring cup. This method gives the most accurate measurement.
- Alter buttercream frosting recipe or canned Pillsbury cream cheese frosting (please check labels).
- As a short cut, you can use Pillsbury’s canned cream cheese frosting. Please check your labels because companies change their ingredients all the time.
Nutrition
Nutrition information is automatically calculated, so should only be used as an approximation.
How to Make Gluten-Free Red Velvet Cake Step by Step
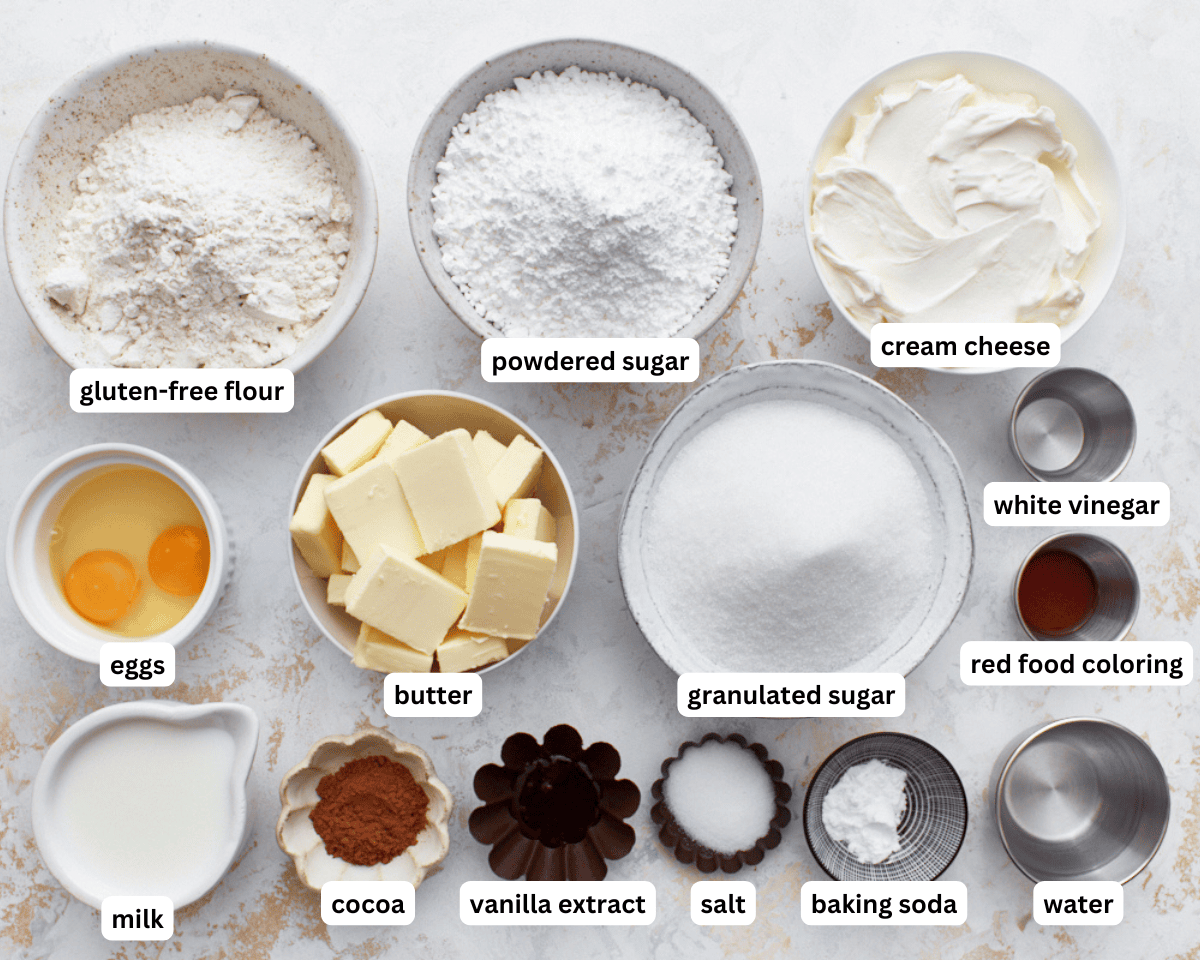
Prep: Gather all your ingredients. Preheat the oven to 350°F. Use parchment paper to trace the bottoms of two 9-inch cake pans. Cut out the parchment circles and place them in the pans, then lightly coat them with gluten-free cooking spray. I like coconut oil cooking spray.
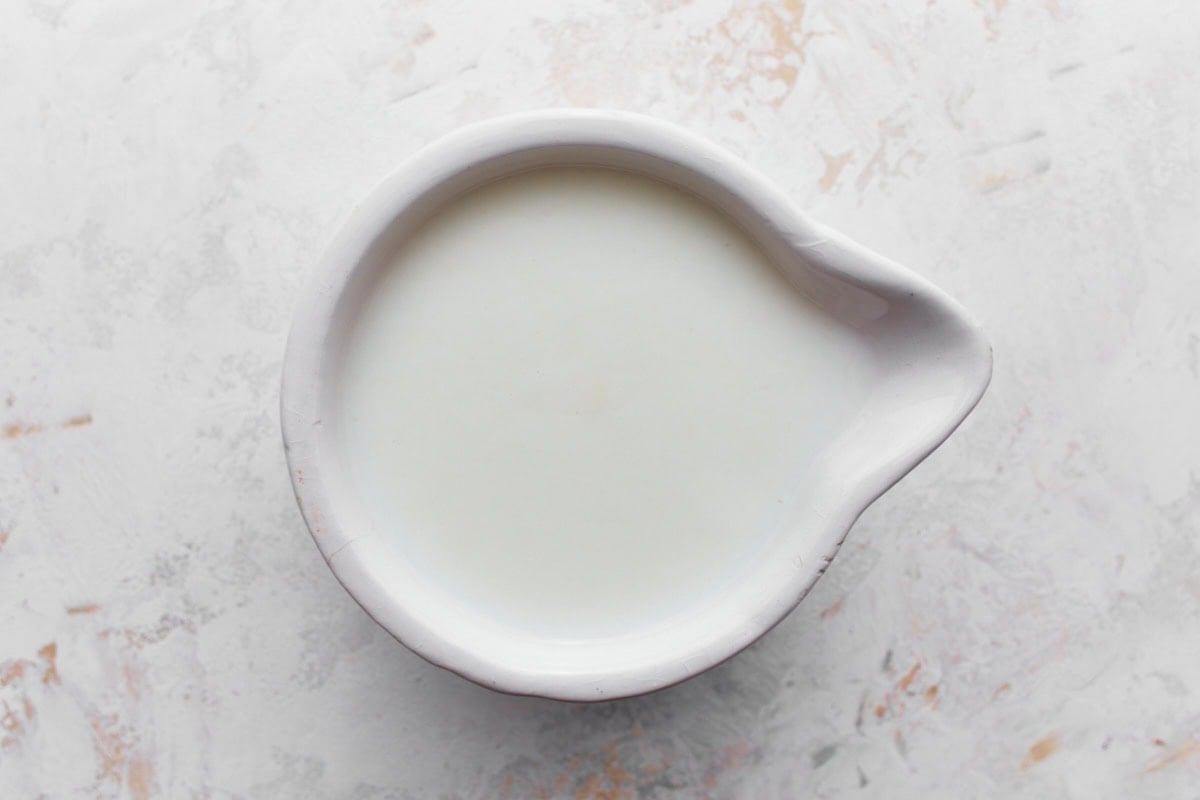
Make the buttermilk: Make homemade buttermilk by combining 1 tbsp of white vinegar and 1 cup of milk (or milk alternative) in a small bowl. Set the mixture aside for a few minutes to fully meld.
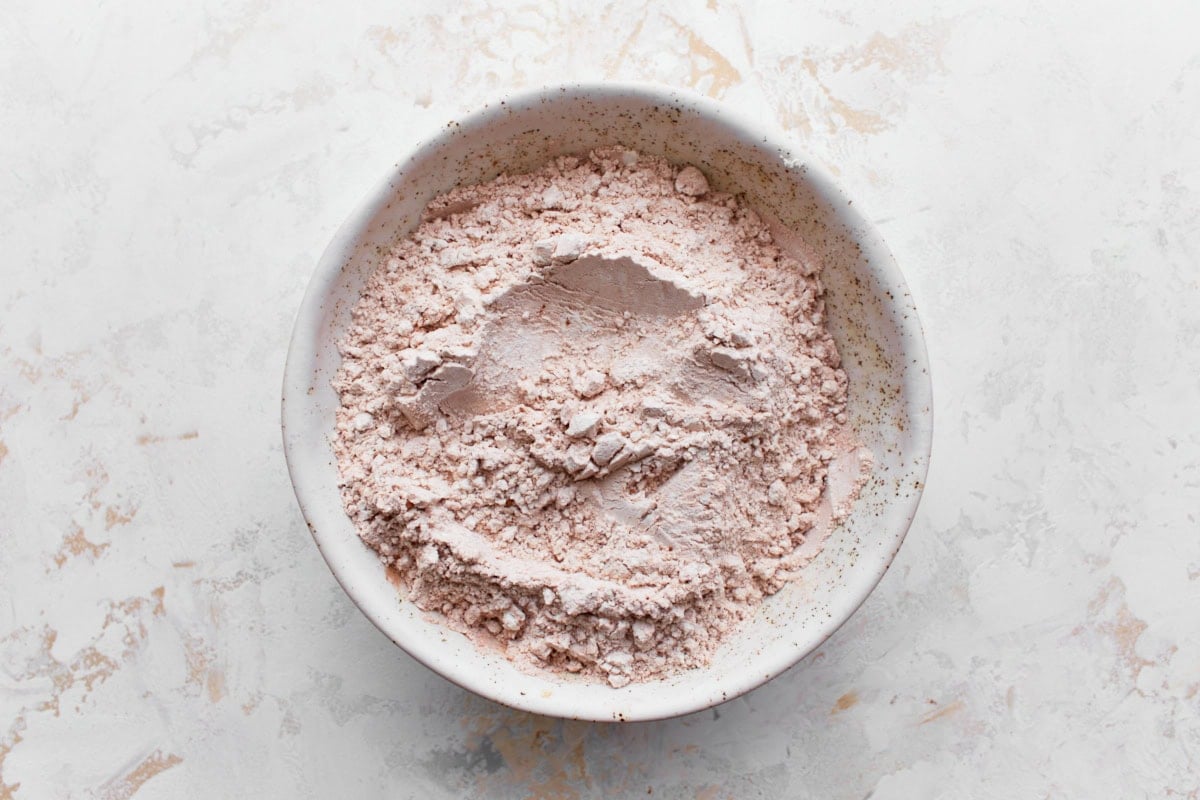
Mix ingredients: Mix 2 ½ cups all-purpose flour, 2 tsp cocoa powder, 1 tsp salt, and 1 tsp baking powder in a mixing bowl and set aside.
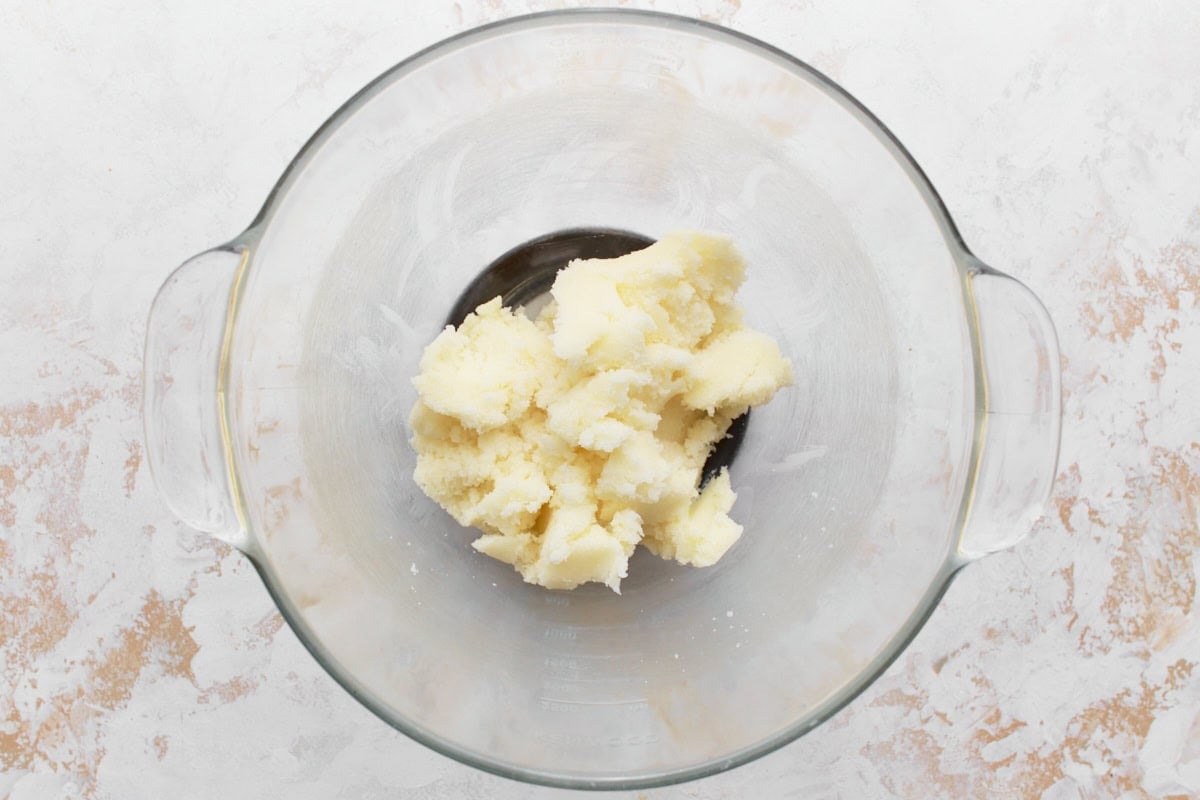
Using a hand or stand mixer, cream together ½ cup softened butter and 2 cups granulated sugar until the mixture is combined and fluffy.
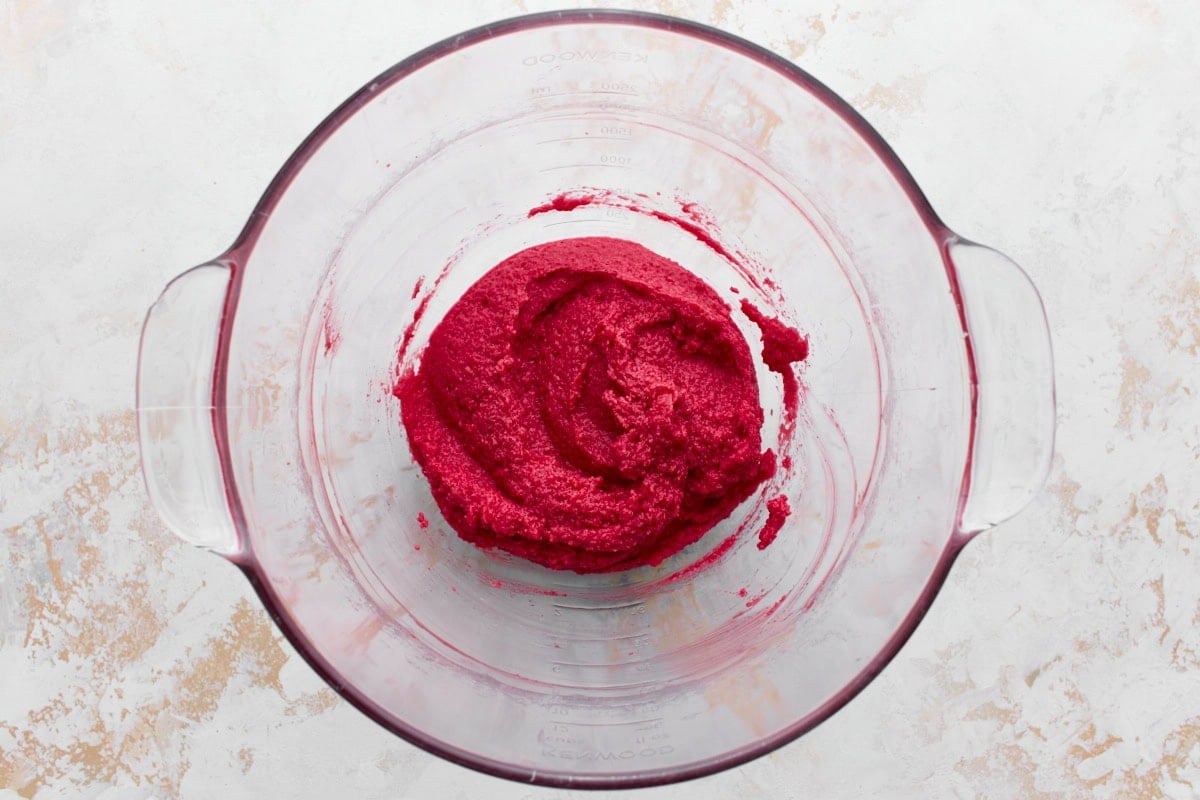
Add eggs: Add 2 large eggs, 1 tsp vanilla extract, 2-3 tsp red food coloring (or dye alternative), and 1 tsp of white vinegar to the butter mixture. Mix until the ingredients are fully combined.
Mix flour and butter mixture: Grab the flour mixture and add it to the mixing bowl with the butter mixture. Keep mixing until the flour is fully combined. You may have to scrape down the sides with a rubber spatula.
Next, mix the homemade buttermilk (vinegar and milk mixture from step 1).
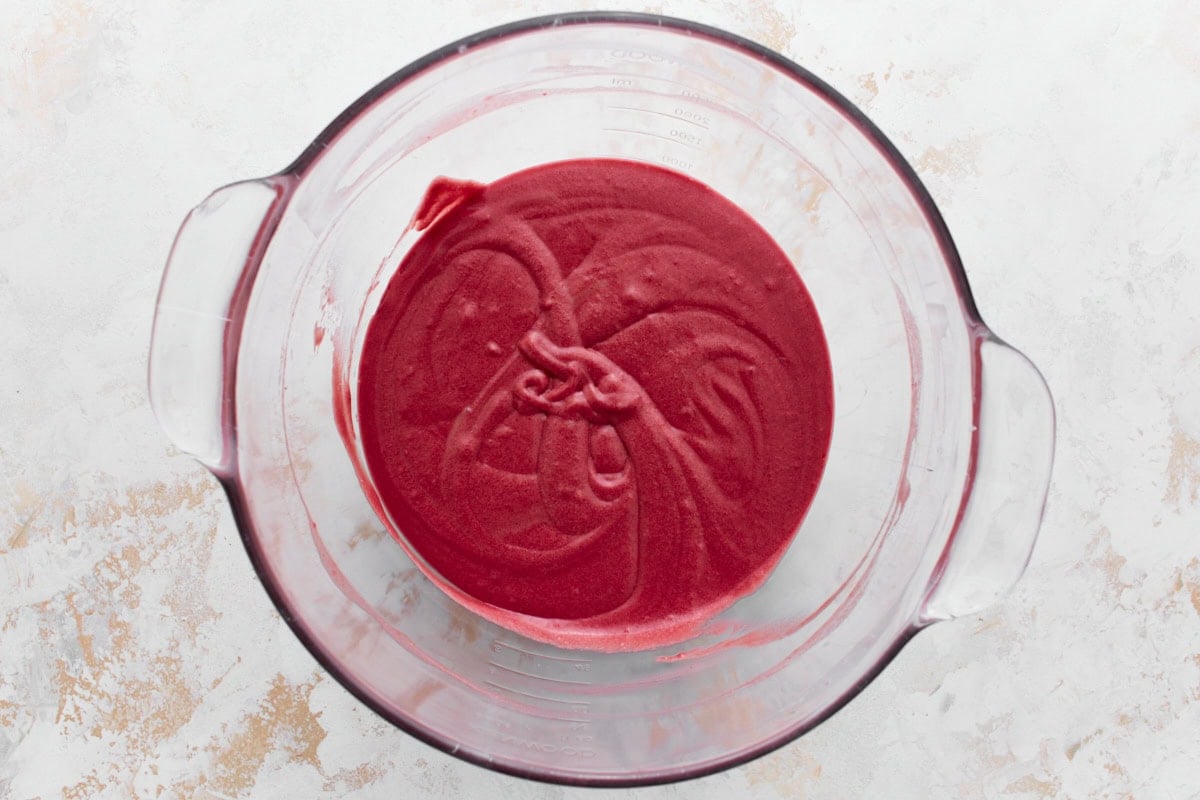
Carefully add ½ cup boiling water to the cake mixture and continue to mix until the water is fully absorbed.
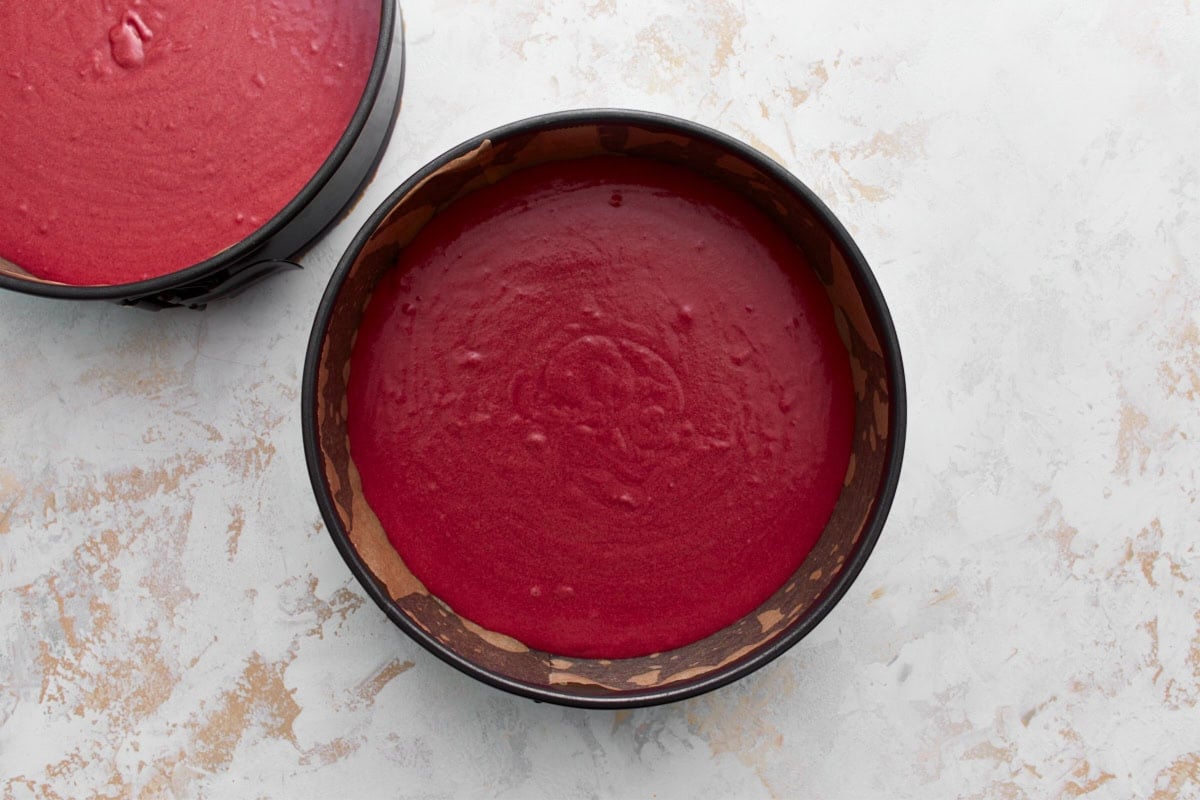
Baker: Grab the lined pans and add half the batter to each pan. Place both pans on the middle rack and bake for 30-35 minutes. Remember to watch your cakes since all ovens are different.
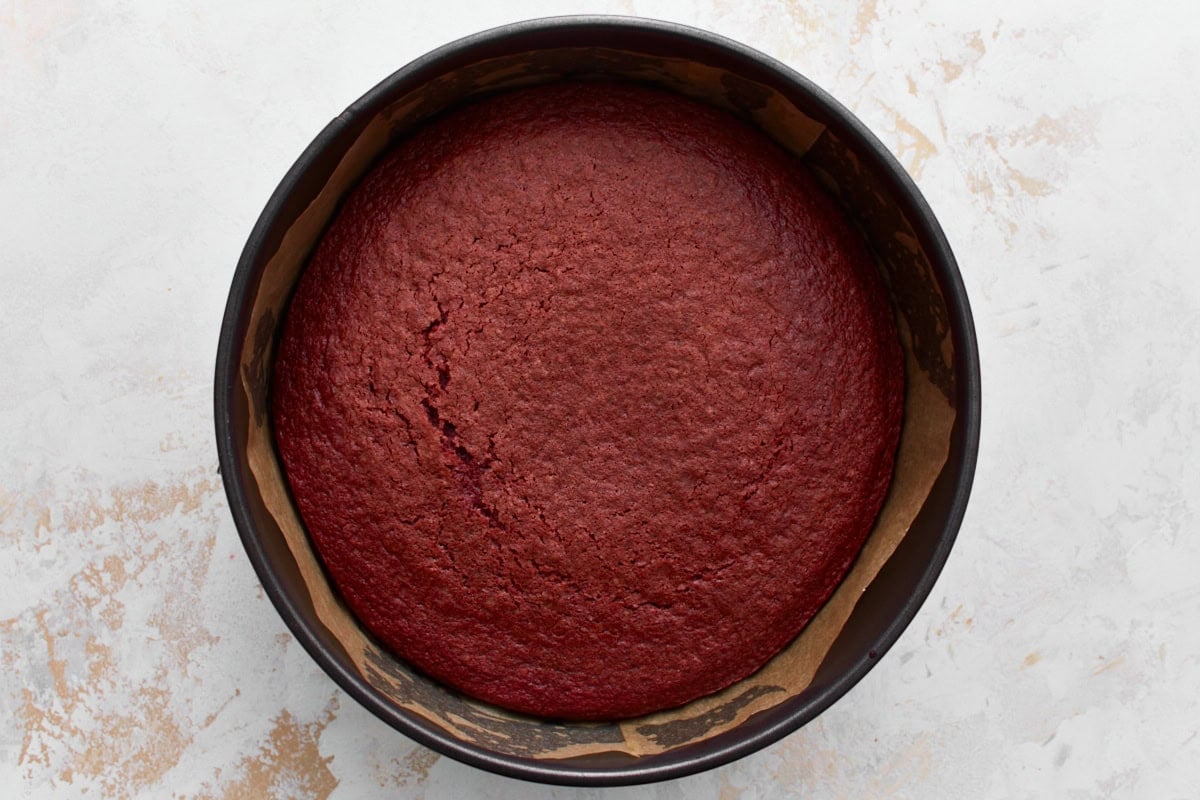
Test for doneness: To test, insert a toothpick in the center of each cake. The toothpick should come out clean, and the edges of the cake should be pulled away from the sides of the pan. Cool the cakes in the pans for 10 minutes, and then finish the cooling process on a baking rack. Allow the cakes to fully cool before frosting them. If you’ve ever tried frosting a warm cake, then you know it doesn’t work. I let my cakes cool on the counter for a couple of hours. To speed up the process, wrap them and add them to the refrigerator or freezer.
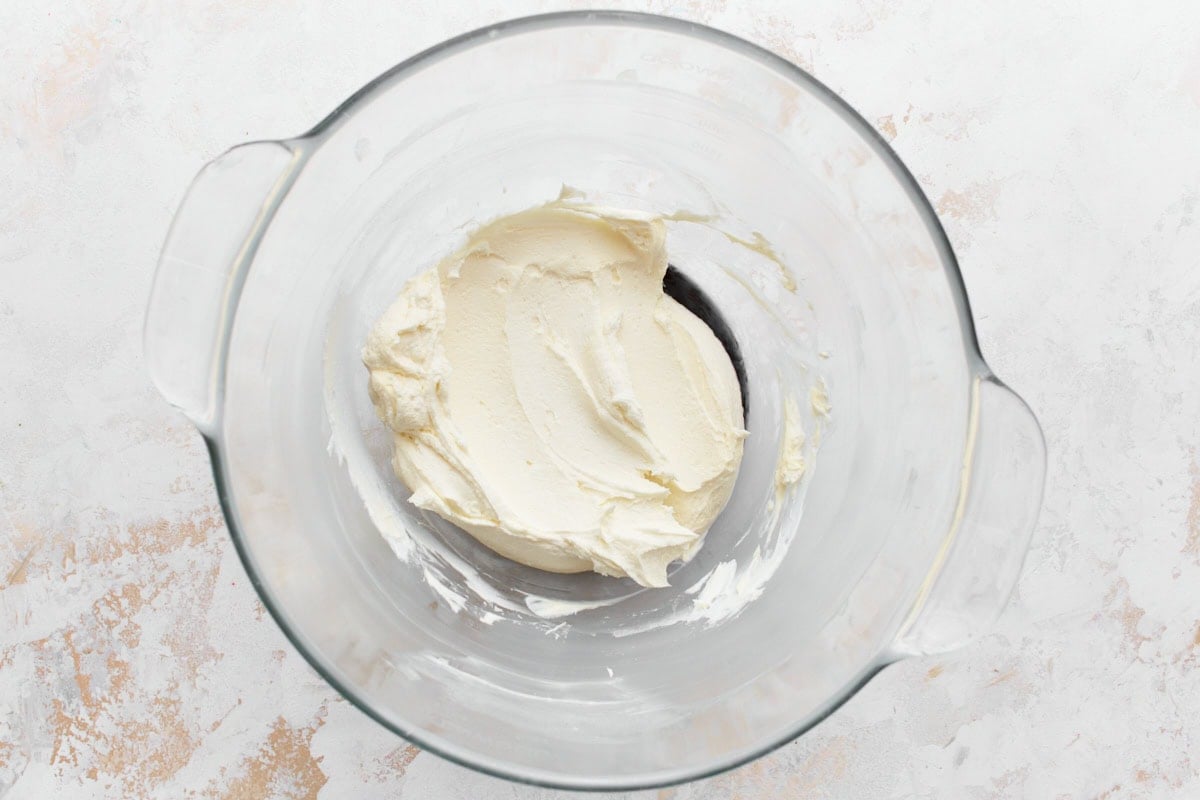
Make the cream cheese frosting: Cream together, with a hand or stand mixer, 1 cup unsalted butter, and 16 oz cream cheese (or dairy-free alternatives).
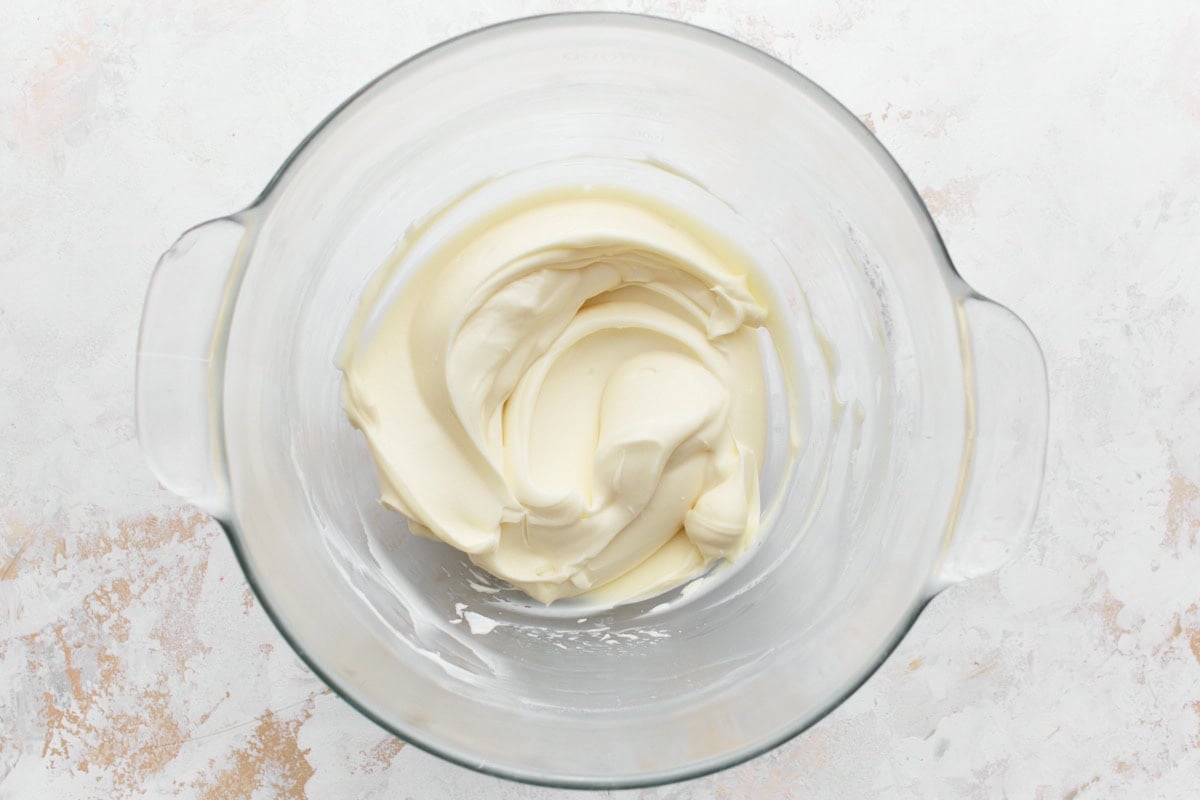
Add 1 tsp vanilla extract and 1 pinch of salt and continue to mix until combined. Gradually add 3-4 cups powdered sugar to the butter mixture, one cup at a time, mixing thoroughly after each addition until fully incorporated. The frosting should be light and fluffy.

Be sure both cakes are fully cooled. Red velvet cake is a really moist cake, and you can get red crumbs when you frost it. You can do a crumb coat first, which is a thick layer of frosting. Chill the cake until the crumb coat is dried, and then add a second frosting layer. Place the first cake, shiny side down, on a plate or cake plate.
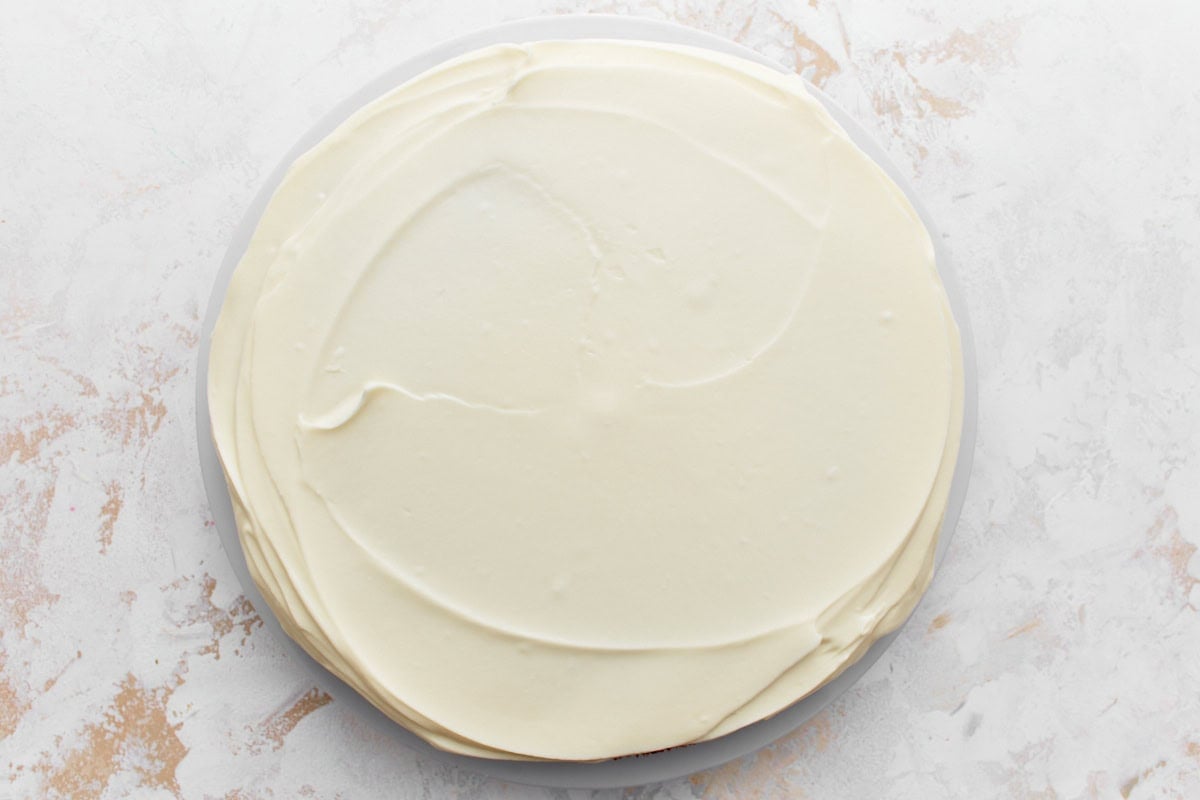
Frost the top of the first cake using a piping bag if desired.
Once the first layer is frosted, place the second layer on the frosted cake, shiny side down.
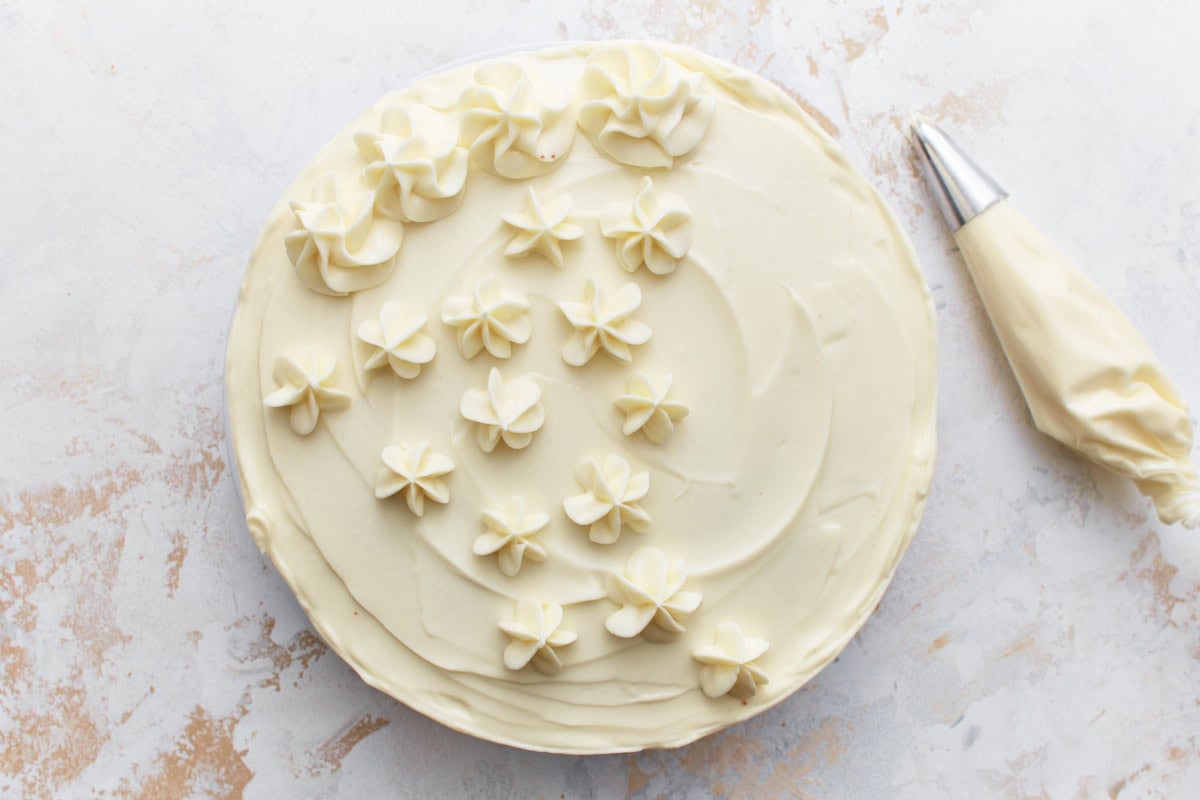
Frost the top and the sides of the cake with the remaining frosting and decorate with your desired design. (I used a Wilton 1M tip to decorate). Cut, serve, and enjoy!
Substitutions
- For a dairy-free option, use unsweetened almond or coconut milk and Smart Balance butter or vegan butter. If you make your frosting dairy-free, you may need to add extra powdered sugar to get the right consistency.
- For a dye-free cake, substitute 1 tablespoon of beetroot powder.
Storage Instructions
Since we’re using a cream cheese frosting, leftovers need to be refrigerated. Place the cake in an airtight container or cover it with plastic wrap to protect it from drying out or absorbing odors from the fridge for 4-5 days.
To freeze the cakes for later use, cool them completely, then wrap the cakes with plastic wrap (I like the press and seal wrap), wrap them again with aluminum foil, and then place them in a freezer bag.
The cake can be frozen for up to 3 months. Defrost them at room temperature for 2-3 hours or overnight in the refrigerator. I have found that it is better to thaw the cake at a slower rate in the refrigerator. To make this cake into cupcakes, use my Gluten-Free Red Velvet Cupcakes recipe.


Amazing cake. Super clear instructions and spectacular results. I made it as GF DF version for my son’s birthday. Everyone commented how delicious it was! Thank you.
Should I use full fat coconut milk or coconut milk from a carton for a dairy free alternative? Can’t use almond milk unfortunately. Thanks!
Hi Colleen, use the Full-fat canned coconut milk 🙂
Can this cake be made in a bundt pan? And would the time change?
Hi Donna, we haven’t tested this red velvet cake in a bundt pan so can’t say for sure.
Our family was thrilled with your recipe for Gluten Free Red Velvet Cake! It was the perfect ending to our celebration! Truly a 5 star dessert!⭐️⭐️⭐️⭐️⭐️
Is there a substitute for vinegar, my daughter cannot eat with it.
Hi Sandy, lemon juice or buttermilk might work. We haven’t tested it that way though.
The recipe for the red velvet cake was amazing! Very delicious!
I baked this for my granddaughter who has recently been diagnosed as gluten intolerant. No more sore tummies!
We all loved it. Light and delicious. It’s a must try.
Thank you Chris!
My son and I decided to try this for his 13th birthday party. Hindsight it was pretty risky since we’d never done it before and we aren’t bakers. We are new to making our own safe food. This was SO easy to follow. The cake turned out INCREDIBLY! Nobody at the party realized it was gluten free and dairy free. The group of kids and parents alike at it up. “This is so moist!” “I can’t believe you made this!” (Hurtful but understandable). “I can’t believe this is gluten free. You’d never know!”
This recipe gave us the confidence we needed to expand our efforts in the kitchen.
Love hearing that Pamela!
Can you use this recipe to make cake pops?
Hi Joni, You should be able to!
How come my batter got really thick? I did use the beetroot powder, does that effect the batter?
Hi Lex, It could have been a couple things. How the flour was measured, which flour you used, or the ingredients were overmixed.