Gluten-Free Cheesecake
Published


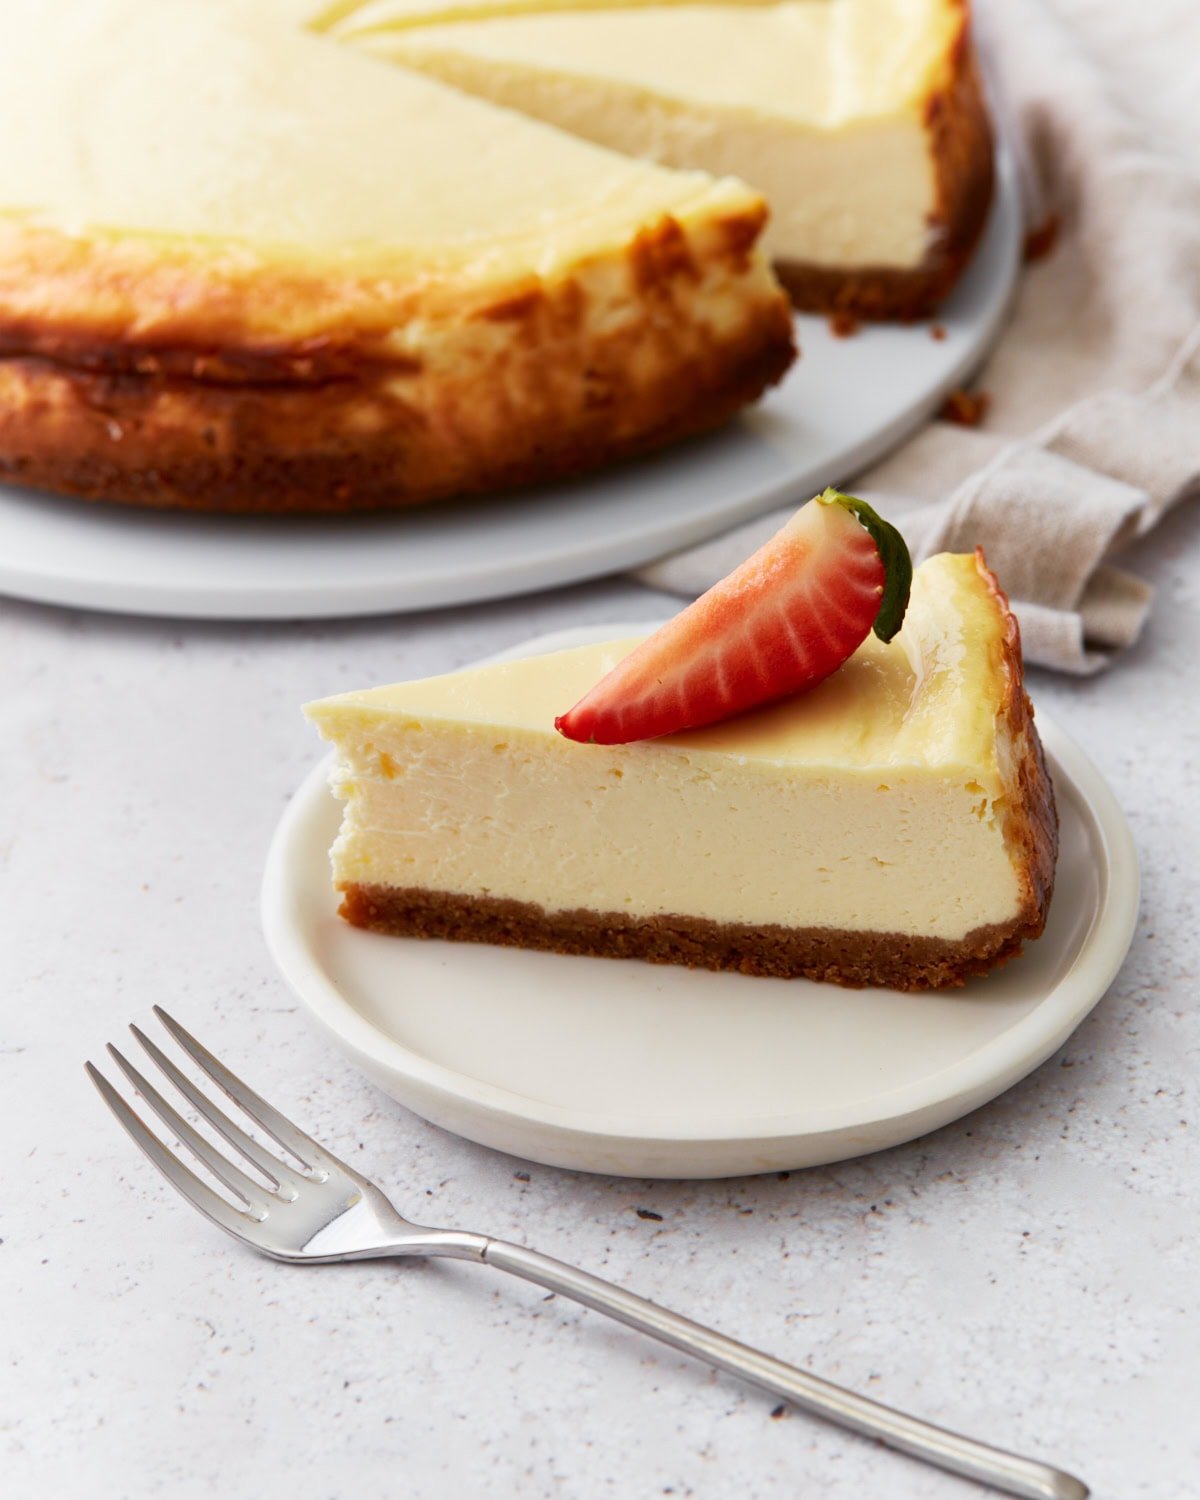
This is my gluten-free twist on a classic, velvety cheesecake. It starts with an easy gluten-free graham cracker crust and is filled with a rich, creamy filling that’s decadent yet surprisingly simple to make. I love whipping this up for holidays, birthdays, or just because—there’s never a wrong time for a slice of homemade cheesecake. Whether you’re baking for a special occasion or treating yourself, this gluten-free cheesecake is sure to impress.
THE GLUTEN FREE CHEESECAKE IS WONDERFUL TO MAKE. FIVE GOLDEN STARS THANK YOU.
– Eileen Delany
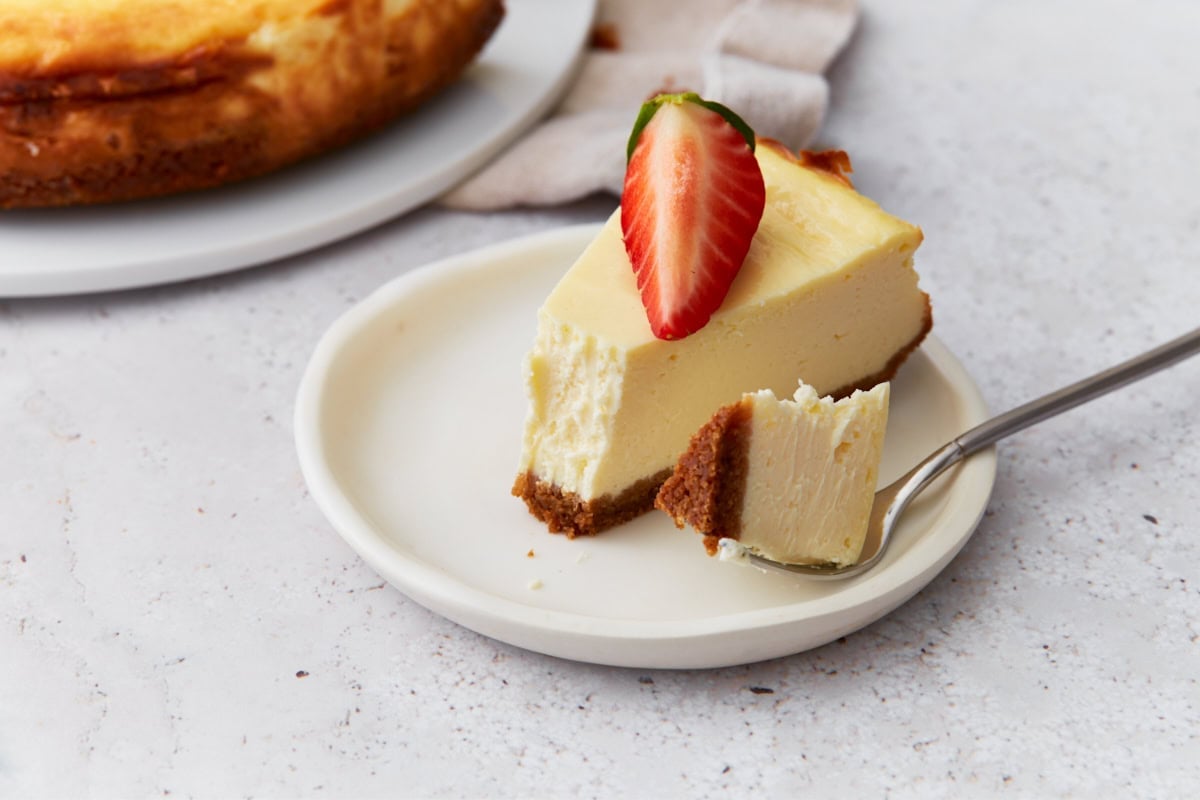
Cheesecake has always been one of my favorite desserts, and it’s even easier to enjoy since going gluten-free—the crust couldn’t be simpler. I use my homemade gluten-free graham cracker crust, but you can easily swap in store-bought or even make your own gluten-free graham crackers from scratch if you’re feeling adventurous. The filling is your classic vanilla cheesecake filling made with cream cheese, sour cream, eggs, and a little cornstarch to thicken it up into a velvety smooth, rich texture. It bakes up perfectly creamy with just the right amount of sweetness—simple, classic, and absolutely irresistible.
Gluten-Free Baking Tips
- Don’t overmix the batter after adding the eggs. Just mix until combined.
- Let the cheesecake cool gradually by leaving the oven door slightly open. Sudden temperature changes can cause the cheesecake to crack.
- If your crust feels a bit too crumbly, you might need more butter. Add a tablespoon at a time until the crumbs hold together when pressed.
- Using room temperature ingredients is key to getting a smooth batter. I like to throw my eggs, cream cheese, and sour cream on the counter for at least 30 minutes before mixing the ingredients.
Gluten-Free Cheesecake

Ingredients
Crust
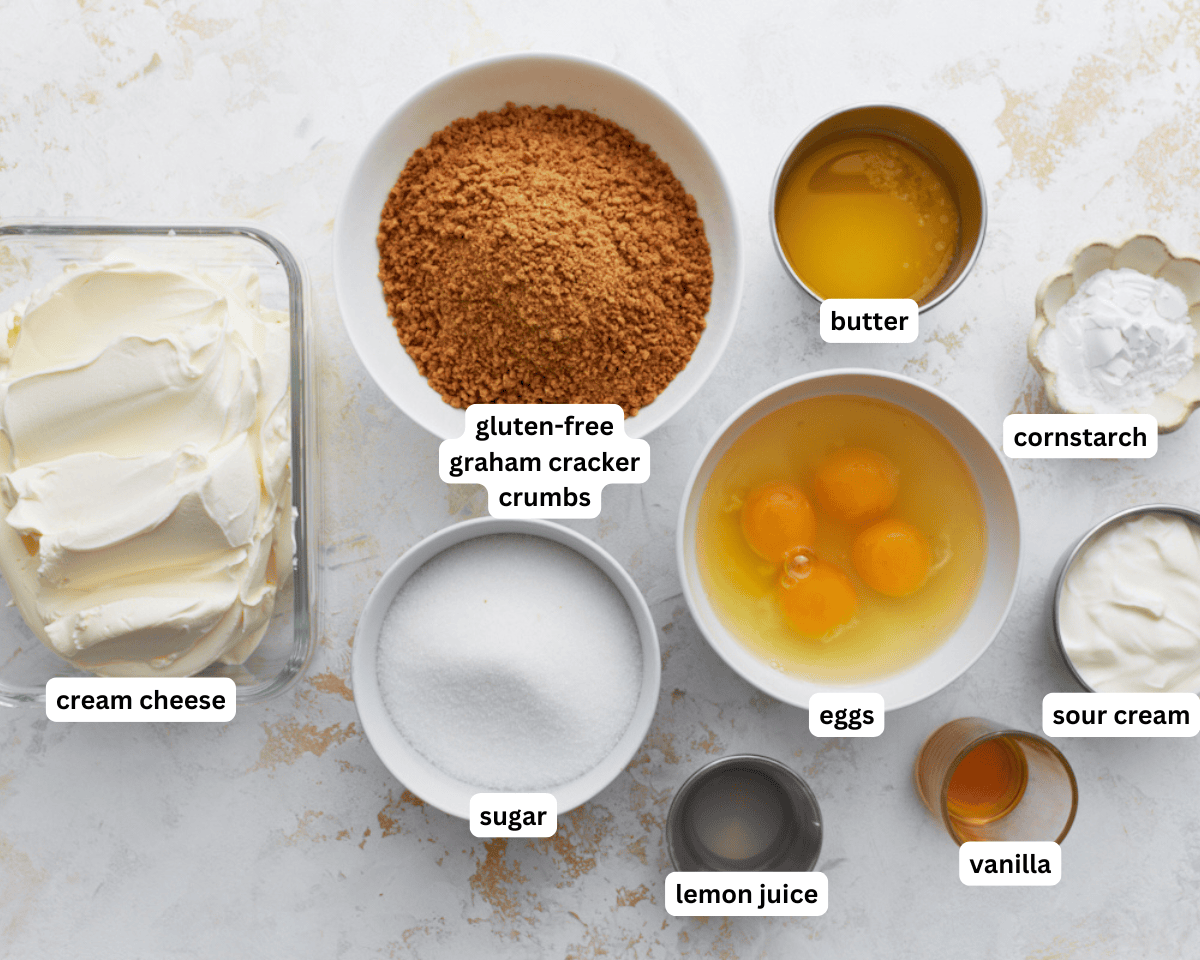
- 1½ cups gluten-free graham crackers, 165g
- 5 tbsp unsalted butter, melted
- 1 tbsp granulated sugar
Cheesecake
- 32 oz. full fat cream cheese, softened
- 1 cup granulated sugar
- 2 tbsp cornstarch
- 4 large eggs, room temperature
- ¾ cup sour cream, room temperature
- 1 tsp pure vanilla extract
- 2 tsp lemon juice
Instructions
- Preheat oven to 325°F (163°C). Lightly grease the bottom and the sides of a 9-inch springform pan or line with parchment paper.
- In a bowl, mix graham cracker crumbs, melted butter, and sugar until evenly combined.
- Press the mixture firmly into the bottom of the prepared pan. Bake for 8–10 minutes, then let cool.
- In a large bowl, beat cream cheese, sugar, and cornstarch until smooth.
- Add eggs one at a time, beating on low speed. Use a spatula to scrape down the sides of bowl. Do not overmix—beat just until combined.
- Mix in sour cream, vanilla extract, and lemon juice until just combined.
- Pour filling over the cooled crust and smooth the top.
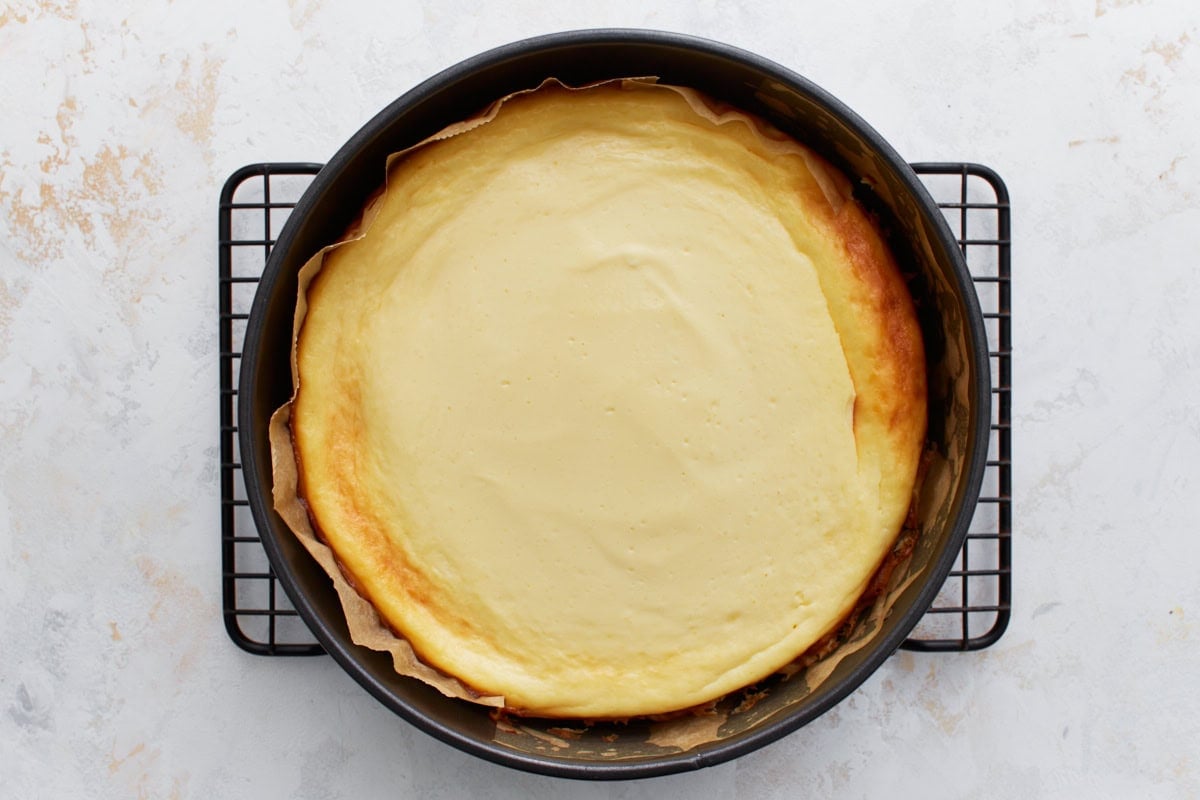
- Bake for 45-50 minutes, or until the center is set but slightly jiggly.
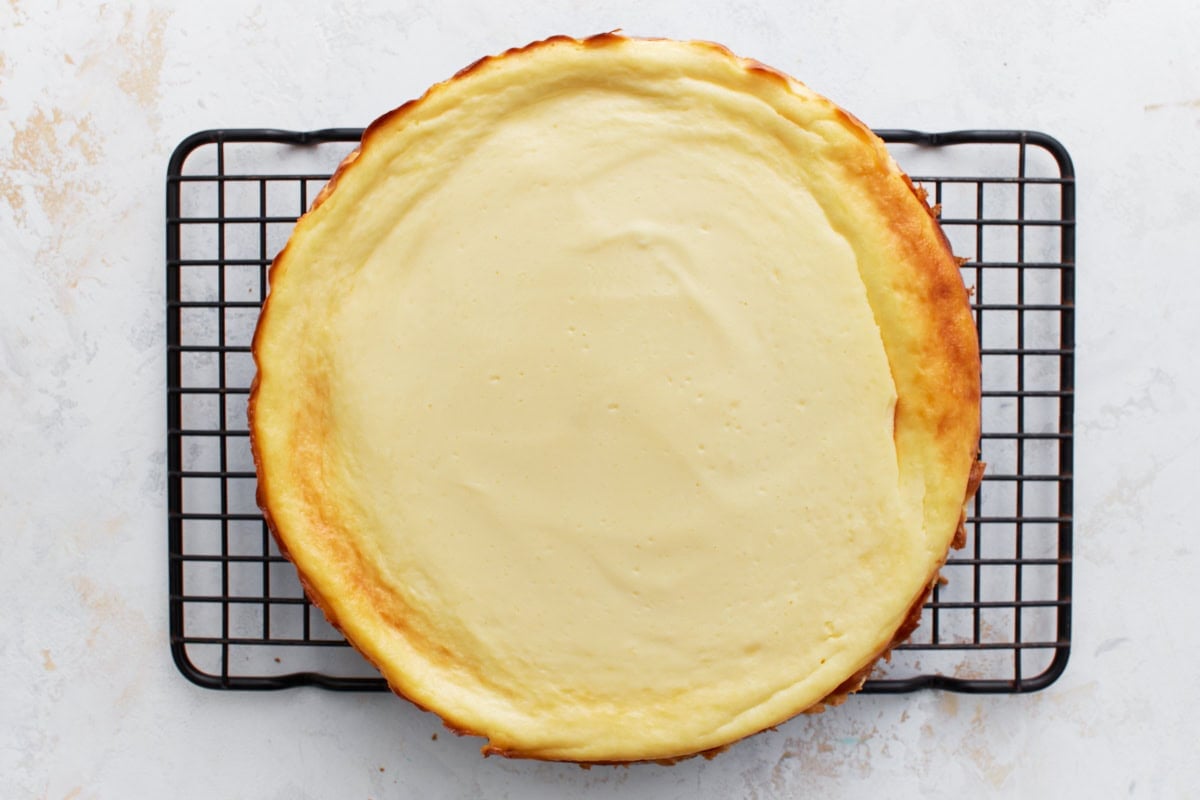
- Turn off the oven and let the cheesecake cool inside with the door slightly open for 1 hour. You can pinch a wooden cooking spoon in the oven door.
- Refrigerate for at least 4 hours or overnight before serving.
Notes
- If you can’t find gluten-free graham crackers, you can substitute your favorite gluten-free cookies.
- If you want to use a water bath, wrap the springform pan in foil and place it in a larger pan filled with an inch of hot water. Then bake according to the instructions.
- Chill completely before slicing for clean cuts.
Nutrition
Nutrition information is automatically calculated, so should only be used as an approximation.
How to Make Gluten-Free Cheesecake Step by Step
Gather the Ingredients: Gather all the ingredients together. Preheat oven to 325°F. Lightly grease the bottom and the sides of a 9-inch springform pan or line with parchment paper.
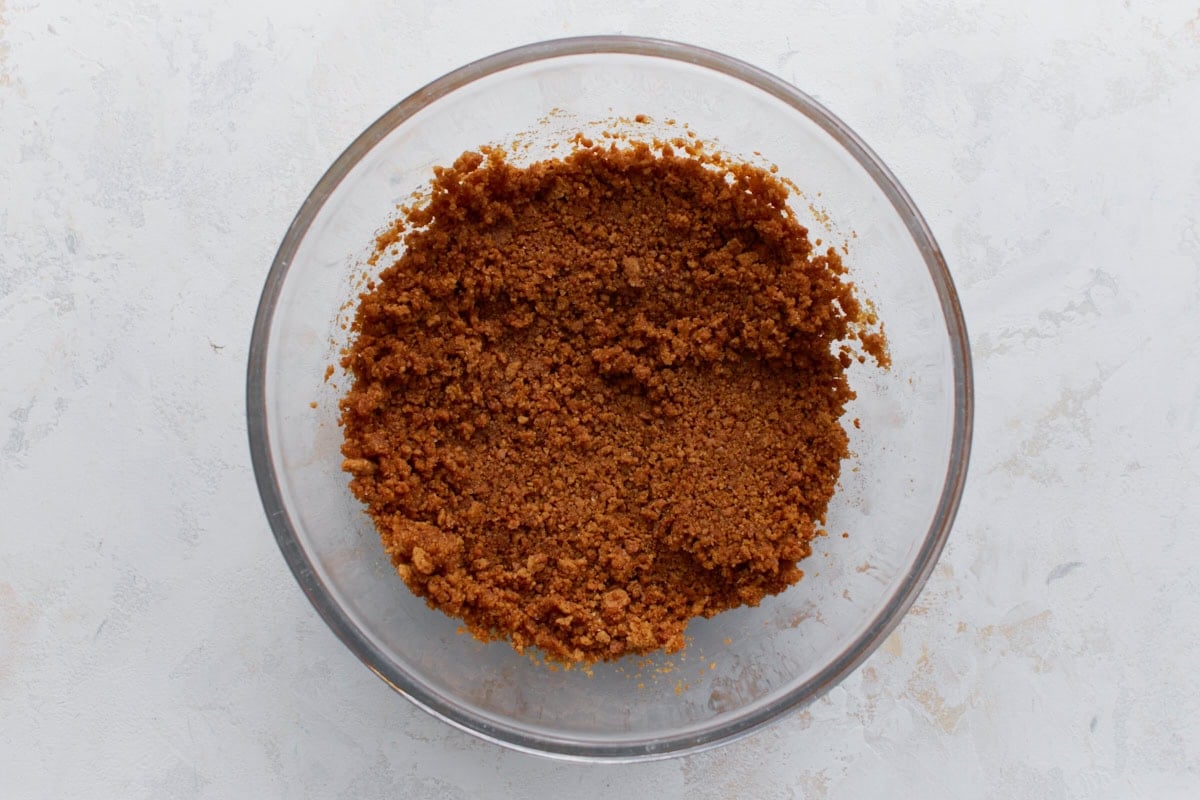
Make the graham cracker crust: In a mixing bowl, mix 1 ½ cups gluten-free graham cracker crumbs, 5 tbsp melted unsalted butter, and 1 tbsp sugar.
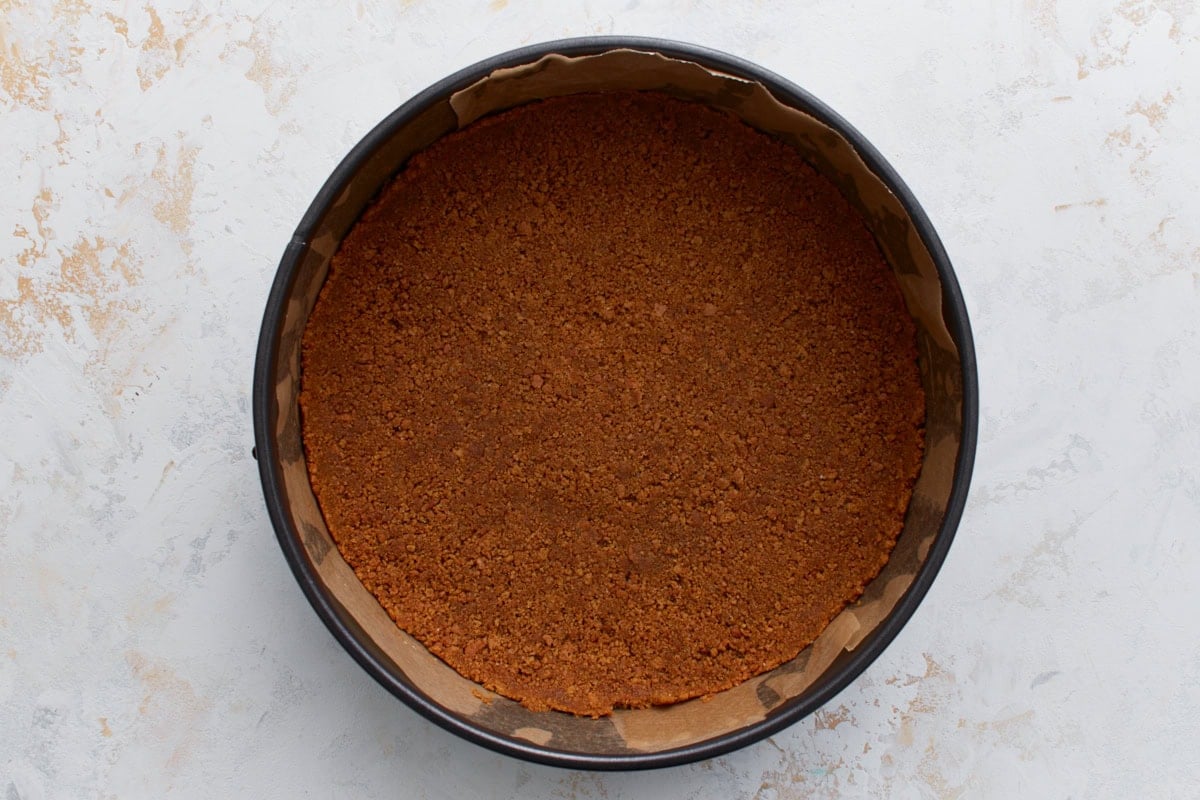
Form the crust: Press the graham cracker mixture firmly into the parchment paper-lined springform pan. Place the crust into the oven and bake for 8-10 minutes. Let it cool completely.
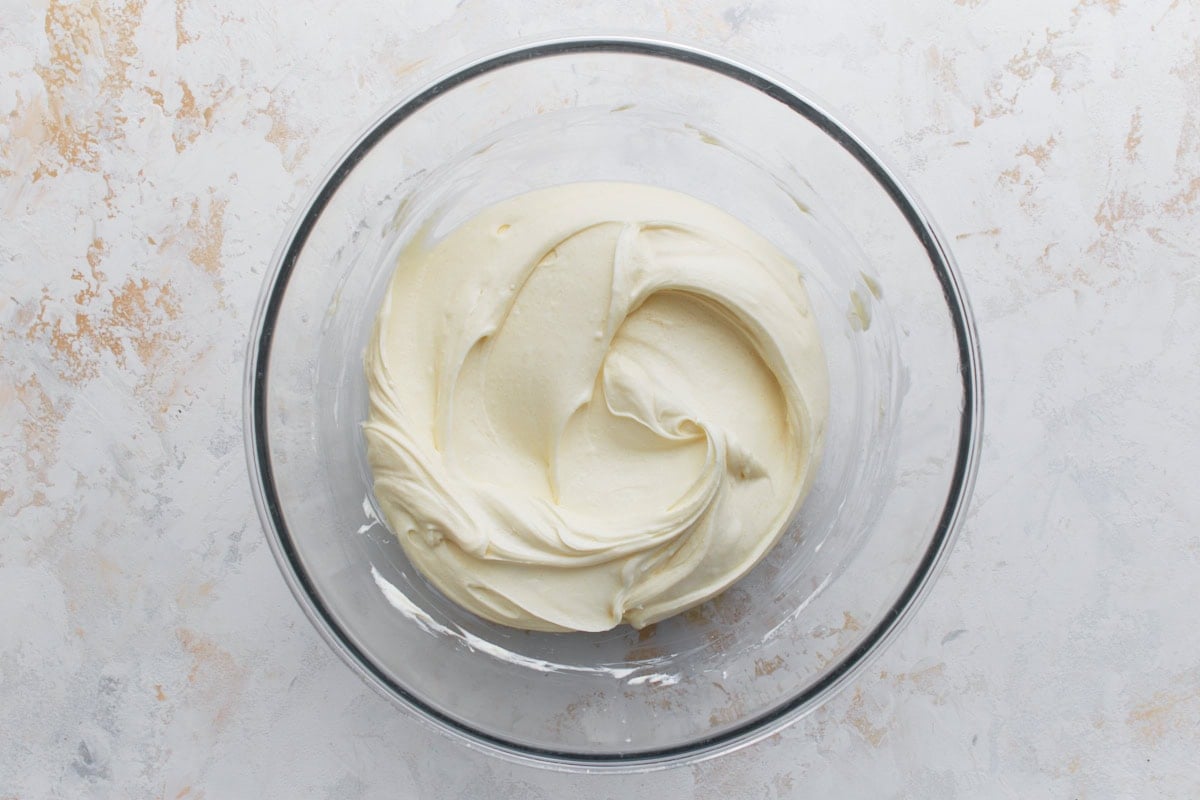
Cream the cream cheese and sugar: Using a stand or hand mixer, cream together 32 oz of softened cream cheese, 1 cup sugar, and 2 tbsp cornstarch until evenly combined.
Beat in the eggs: Slowly beat in 4 large eggs, one at a time, on low speed.
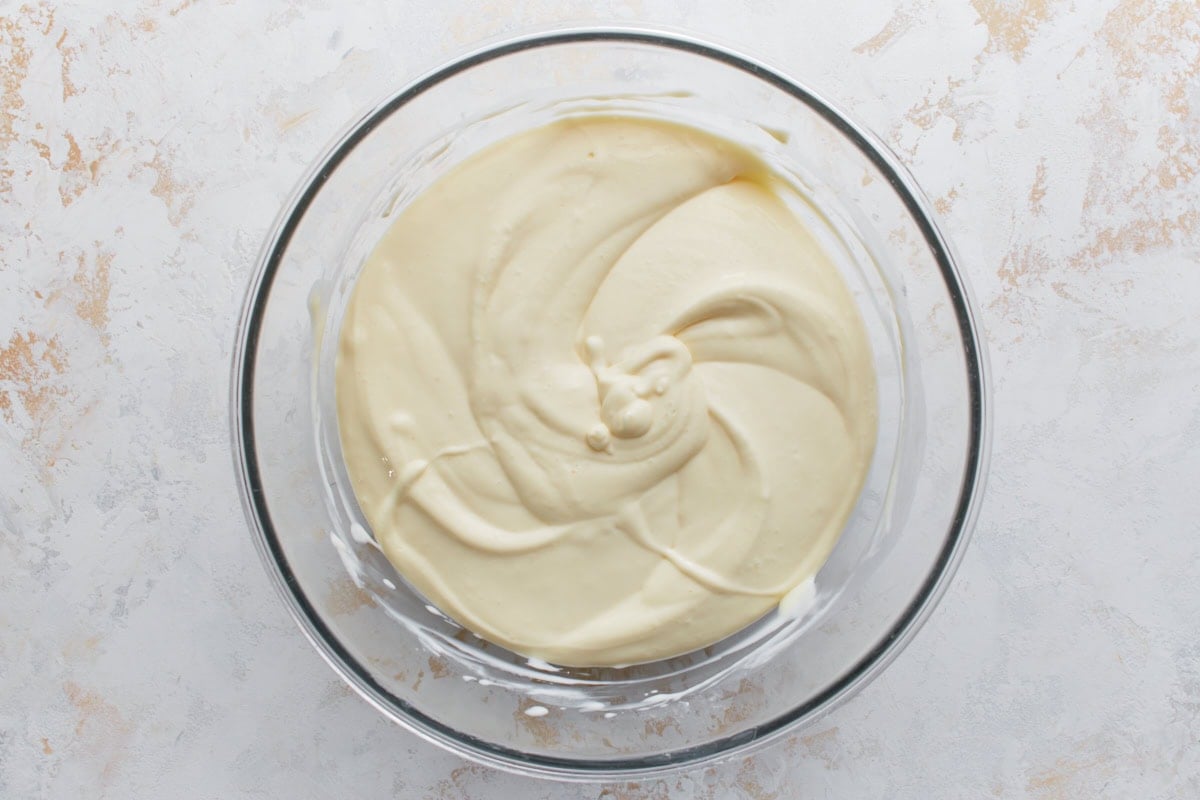
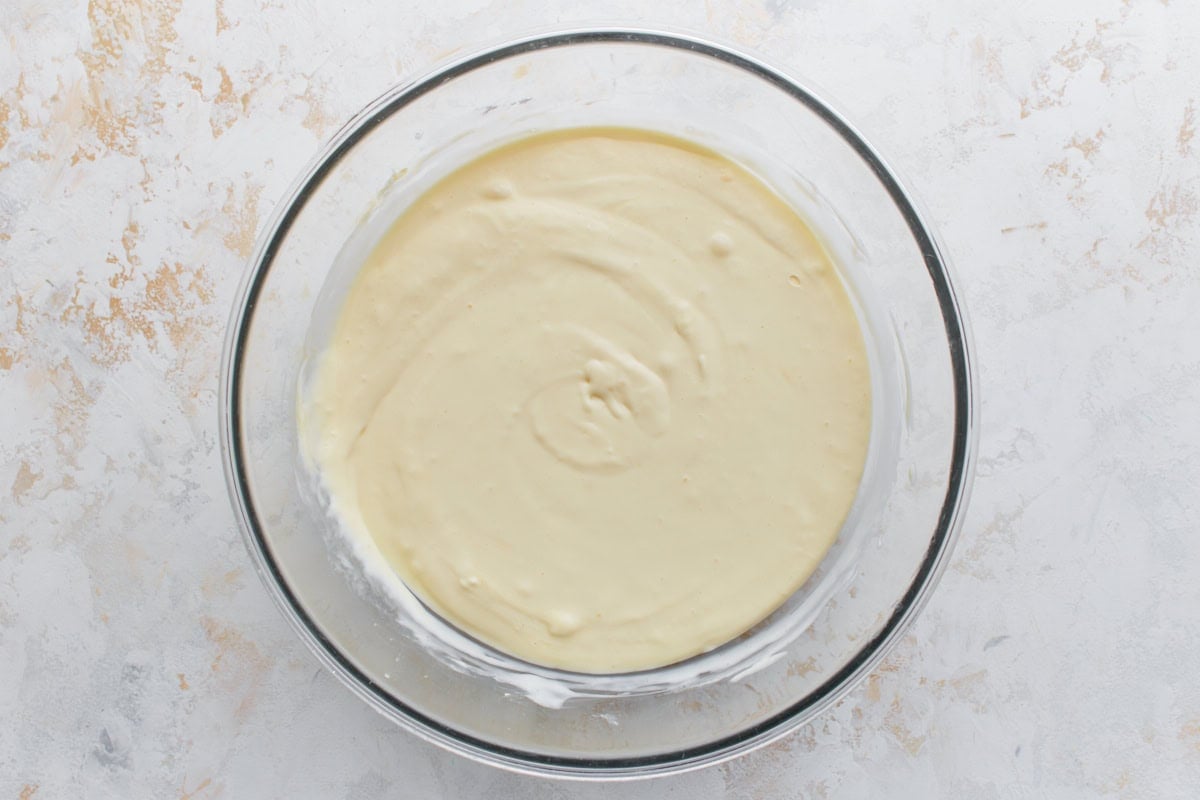
Add the remaining ingredients: Mix in ¾ cups room temperature sour cream, 1 tsp vanilla extract, and 2 tsp lemon juice, until just combined. Be careful not to overmix.
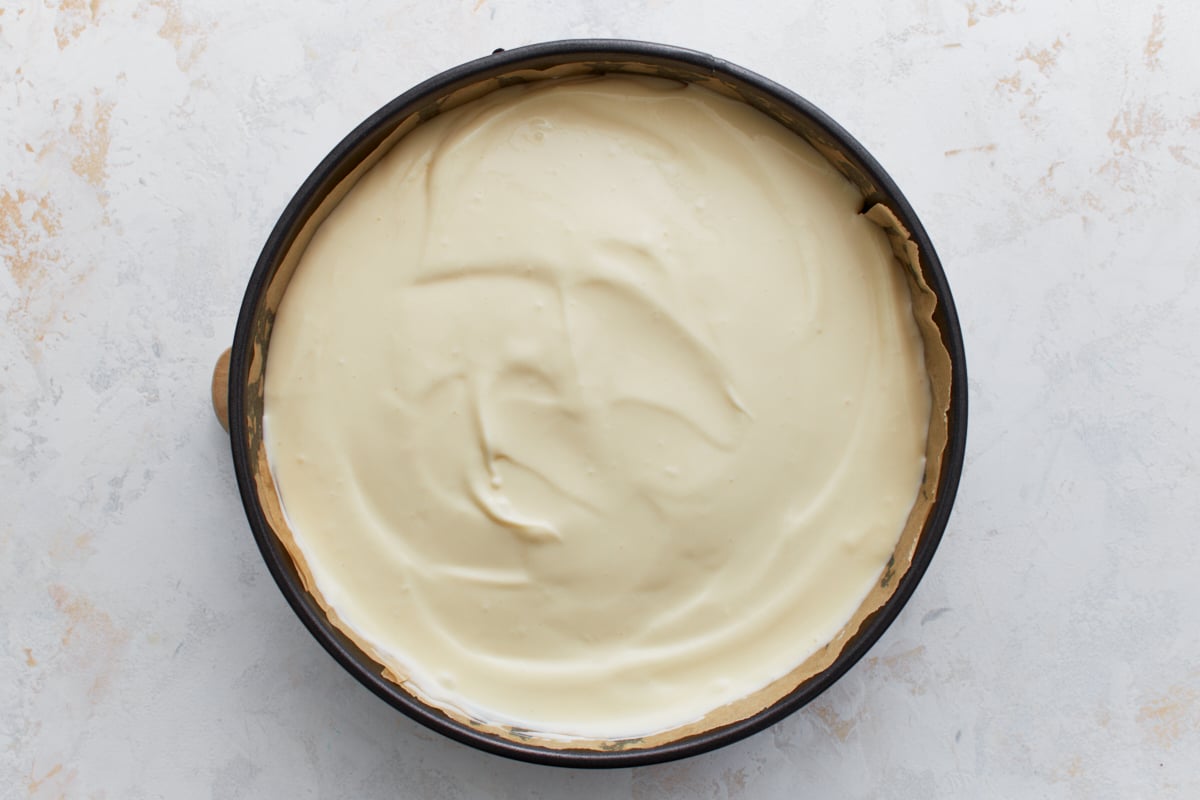
Fill the pan: Pour the cheesecake mixture over the cooled graham cracker crust. Smooth the top down.
Bake the cake: Place the pan in the oven and bake for 45-50 minutes. The center should be fully set but still slightly jiggly.
Chill and rest: Turn off the oven and leave the cheesecake inside to cool for 1 hour with the door slightly cracked open. I like to wedge a wooden spoon in the door to keep it propped just enough for a gentle cool-down. Refrigerate for at least 4 hours, or overnight, before slicing.

Serve and enjoy: Serve with your favorite toppings and enjoy!
Serving Suggestions
I can enjoy a slice of gluten-free cheesecake any time—no special occasion needed! It’s rich and satisfying all on its own, but it’s also amazing layered with fresh berries, a drizzle of strawberry reduction, chocolate sauce, or even a spoonful of lemon curd for a bright twist. For a fun, bite-sized option, try making my mini gluten-free cheesecakes—they’re perfect for parties, showers, or whenever you want a little personal treat!
Storage Instructions
I like to store leftover cheesecake covered in the fridge, where it stays fresh for up to 5 days. Just make sure it’s tightly wrapped or kept in an airtight container so it doesn’t dry out.
If you want to save some for later, you can easily freeze it. Wrap individual slices (or the whole cheesecake) tightly in plastic wrap, then a layer of foil. It’ll keep well for up to 2 months. When you’re ready to enjoy it, just thaw it overnight in the fridge.
Cheesecake tastes best chilled or after sitting out for about 20–30 minutes at room temperature. I don’t recommend reheating it—this one is meant to be enjoyed cool and creamy!


Absolutely perfect! Made for a party and everyone loved it, including me.
There is three different recipes for this cheesecake! Which one is correct? one has lemon jucie the other two don’t, at one point it says to put the cornstarch in with the creamcheese and the other says to put in when you put the vanilla and sourcream. So which is it? does it bake for 55-60 or 45-50… Its says both at different times. I just want some cheesecake what is happening in this recipe?
Hi Georgia, thank you for pointing that out! We have edited the post to be more clear and accurate!
The ingredients list shows 24 oz of cream cheese but in the step by step instructions it references using 32 oz of cream cheese. Which is correct?
Hi Alex, thanks for pointing that out. It should be 32 oz and we have fixed the post!
Can this recipe be made with a 7” springform? If so, should the cooking time change to accommodate that?
Hi Lauren, yes, since the cheesecake will be thicker, I’d suggest adding 5-10 minutes more cook time. Check at 5 minutes.
This cheesecake is absolutely delicious. I make it for my fiancé, and he likes it better than cheesecakes from The Cheesecake Factory. The recipe has substance without being dense, is smooth, and it has a deeper/richer cheesecake tang than many other recipes. Thanks for providing all of your great recipes! You make it easy to prepare gluten-free meals.
can you just pour the cheesecake filling into a pre-made gf graham cracker crust?
Yes you can 🙂
No one knew. Very easy recipe.
THE GLUTEN FREE CHEESECAKE IS WONDERFUL TO MAKE. FIVE GOLDEN STARS THANK YOU.