Gluten-Free Pumpkin Pie
Updated


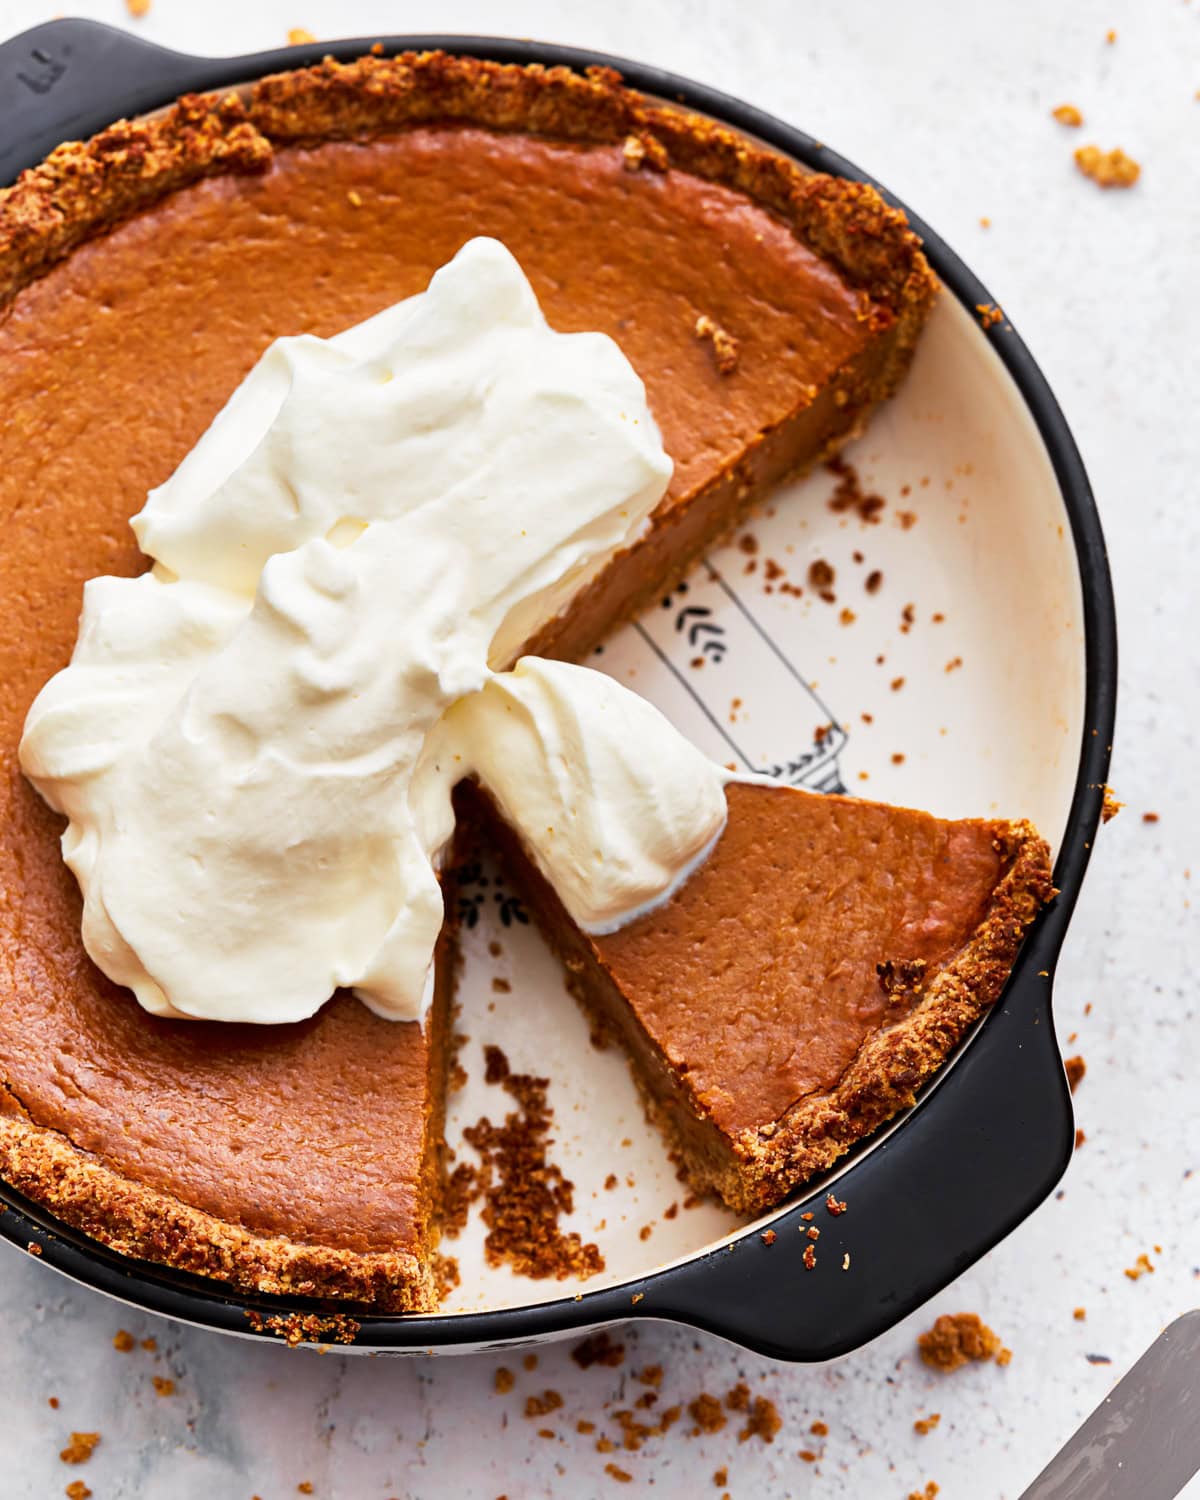
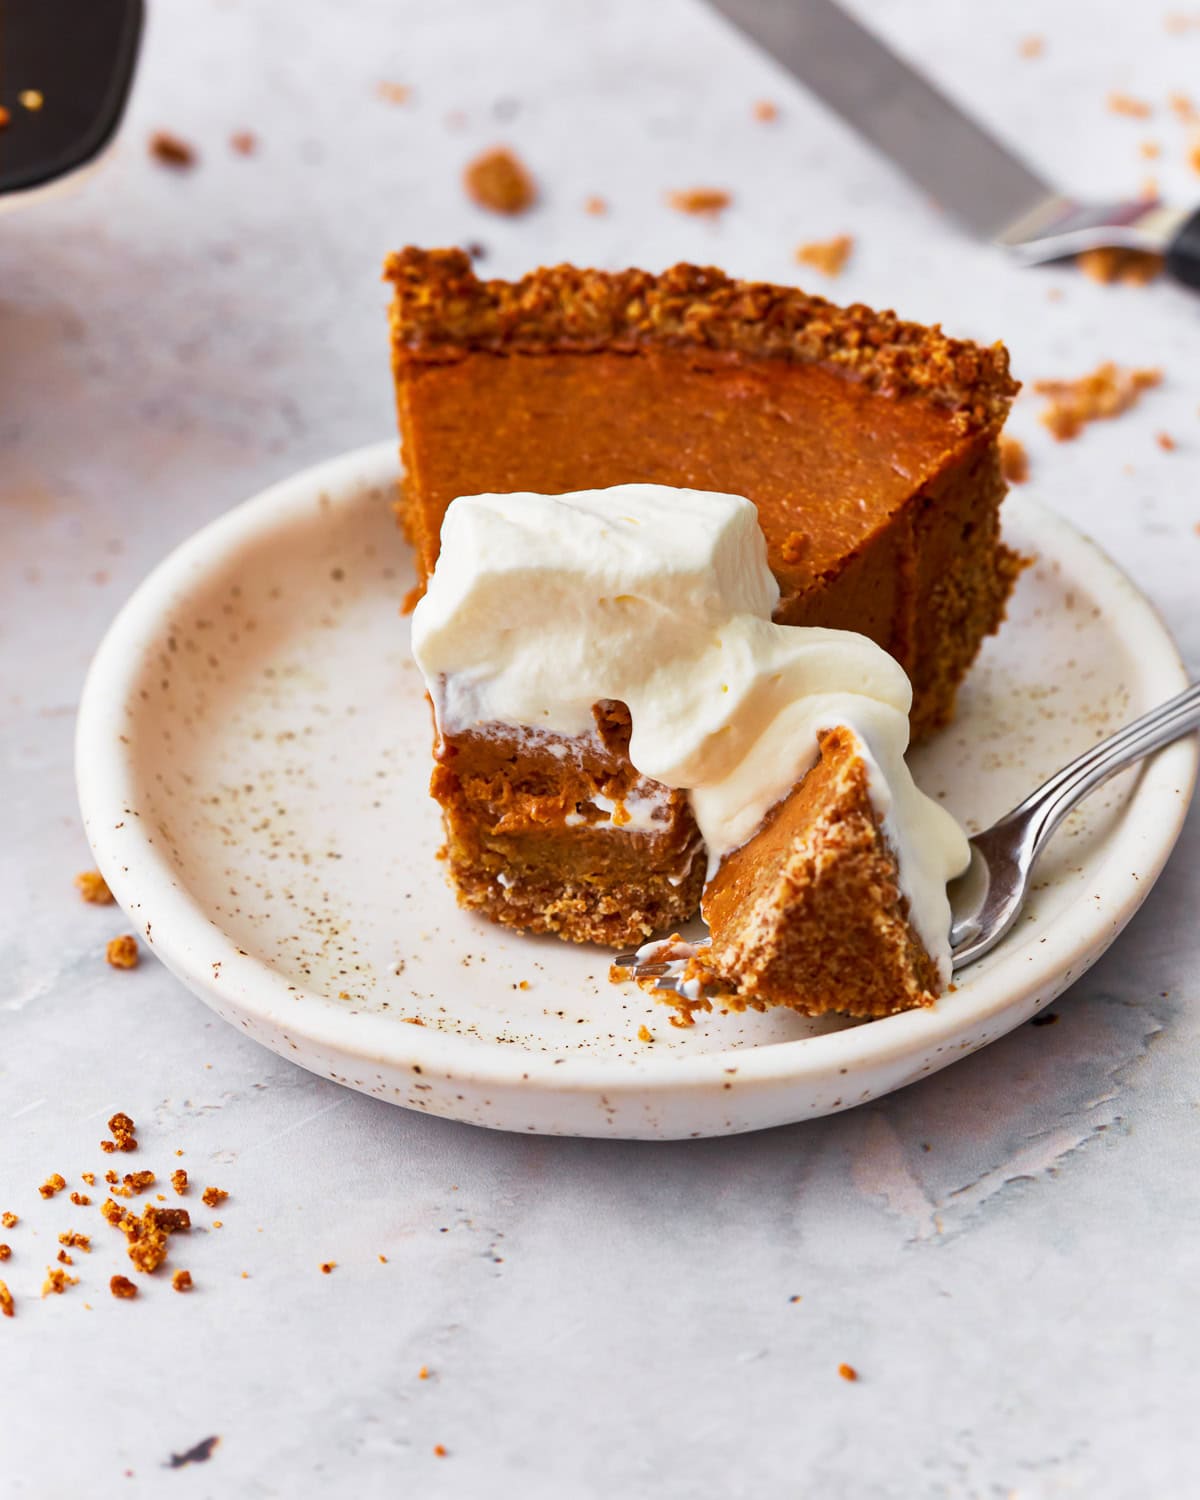
My homemade gluten-free pumpkin pie recipe is quite possibly the easiest fall dessert you’ll ever make! I crush Chex cereal to create a crunchy crust, then fill it with a creamy from-scratch pumpkin pie filling. This gluten-free recipe can also be made dairy-free with a few simple swaps. No more missing out on pumpkin pie over Thanksgiving—I’ve got your back!
“Love this recipe. Have made it about 4 times now., and it is always a hit. My husband keeps requesting it.”
– Wilma
Easy Gluten-Free Pumpkin Pie Recipe
My first few gluten-free Thanksgivings were such a challenge for me. I remember buying a ridiculously expensive frozen gluten-free crust, filling it with my homemade pie filling, only for it to taste horrible! But then I had an idea. What if I made a gluten-free pumpkin pie with a crust made from something else? I was too intimidated to make a crust from scratch, so I tried making one with Chex cereal, and I’ve never looked back!
I mix crushed Chex cereal with butter and gluten-free Bisquick, then pour in a filling made from pumpkin puree, evaporated milk, sugar, spices, and eggs. It bakes up perfectly spiced, firm yet creamy, and never wet or soggy. This recipe is always a hit with my family and friends, and no one can ever tell it’s gluten-free.
Gluten-Free Pumpkin Pie Recipe
Ingredients
Crust:*
- 2 cups crushed gluten-free Cinnamon Chex cereal, or your favorite flavor of gluten-free Chex
- 1 cup gluten-free Bisquick**
- ½ cup unsalted butter, chopped, dairy-free use Smart Balance butter
- 3 tbsp ice water
- gluten-free cooking spray, I like coconut spray
Pumpkin Filling:
- 2 large eggs
- ¾ cup sugar
- 1 tsp ground cinnamon
- 1 tbsp pumpkin pie spice***
- 1 tsp pure vanilla extract
- 15 oz. can pumpkin, not pumpkin pie filling
- 12 oz. evaporated milk, room temperature, for dairy-free – use 1 cup (240ml) of full-fat canned coconut milk
Instructions
- Preheat the oven to 425°F (218°C).
Crust
- Crush the gluten-free cinnamon Chex cereal in a food processor until you have 2 cups.
- Add gluten-free Bisquick and chopped unsalted butter in the food processor. Process until the consistency of thick sand.
- Pour the Chex mixture into a bowl. Add the ice water and mix with your hands until a compact dough has formed. Refrigerate while making the pie filling.
Pumpkin Filling
- In a large bowl beat eggs and sugar together.
- Add cinnamon, pumpkin pie spice, and vanilla and mix until fully combined.
- Add pumpkin and mix until fully combined.
- Stir in evaporated milk and mix until fully combined.
- Spay 9-inch pie dish with gluten-free cooking spray.
- Press the dough into the pie dish.
- Using the middle rack, bake for 5 minutes at 425°F (218°C).
- Remove from oven and pour pumpkin pie filling into the pie crust. Depending on how deep your pie pan is, you may have a little of the filling left over. I always pour it into a custard cup and bake it.
- Using the middle rack bake for 15 minutes at 425°F (218°C) and then lower the heat to 350°F (177°C) and bake for an additional 40 to 50 minutes. The pie is done when the filling is set and doesn't move much when you jiggle the pie plate. The center may still look a little bit wet, but it'll firm up as it cools. Please watch your pie and if the crust is getting too brown for your liking cover crust edges with foil.
- Allow to cool before serving. I like to allow the pie to cool for at least 1 hour before I refrigerate the pie. It's best served cold.
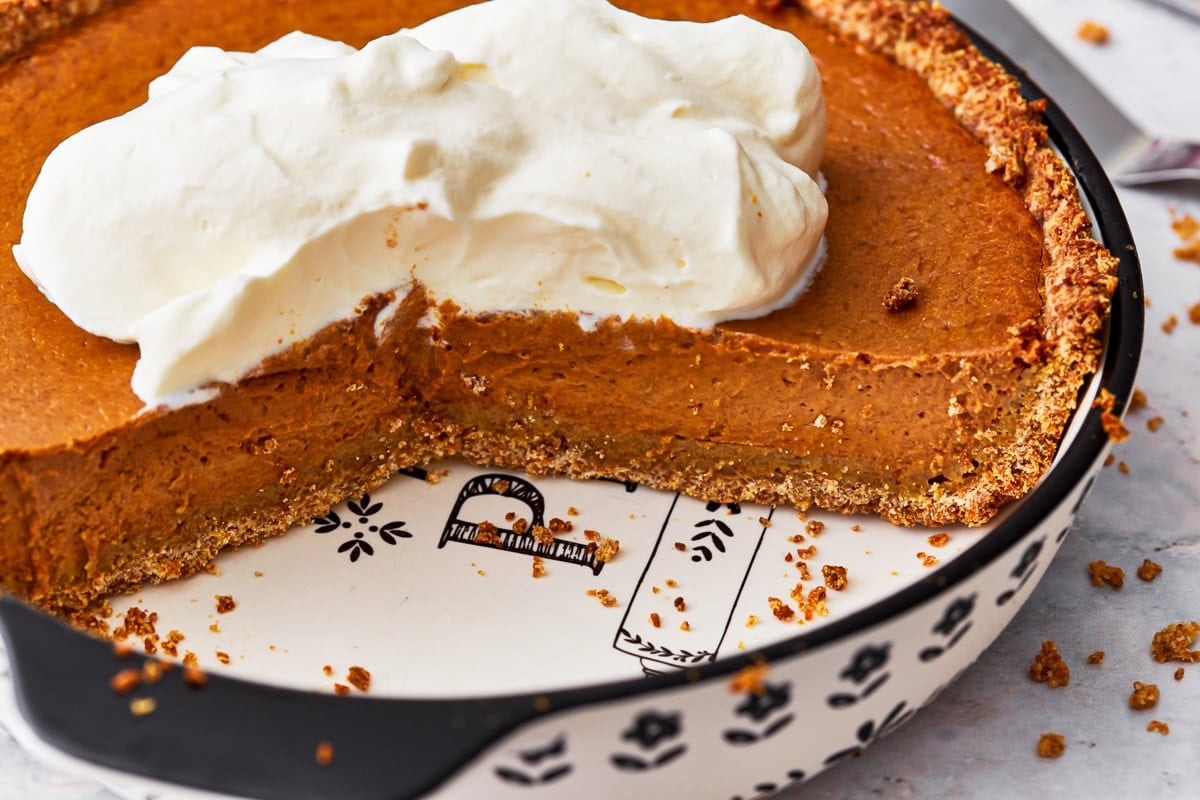
- Serve warm or cold with whipped cream. Enjoy!
Notes
Nutrition
Nutrition information is automatically calculated, so should only be used as an approximation.
How to Make Gluten-Free Pumpkin Pie Step by Step
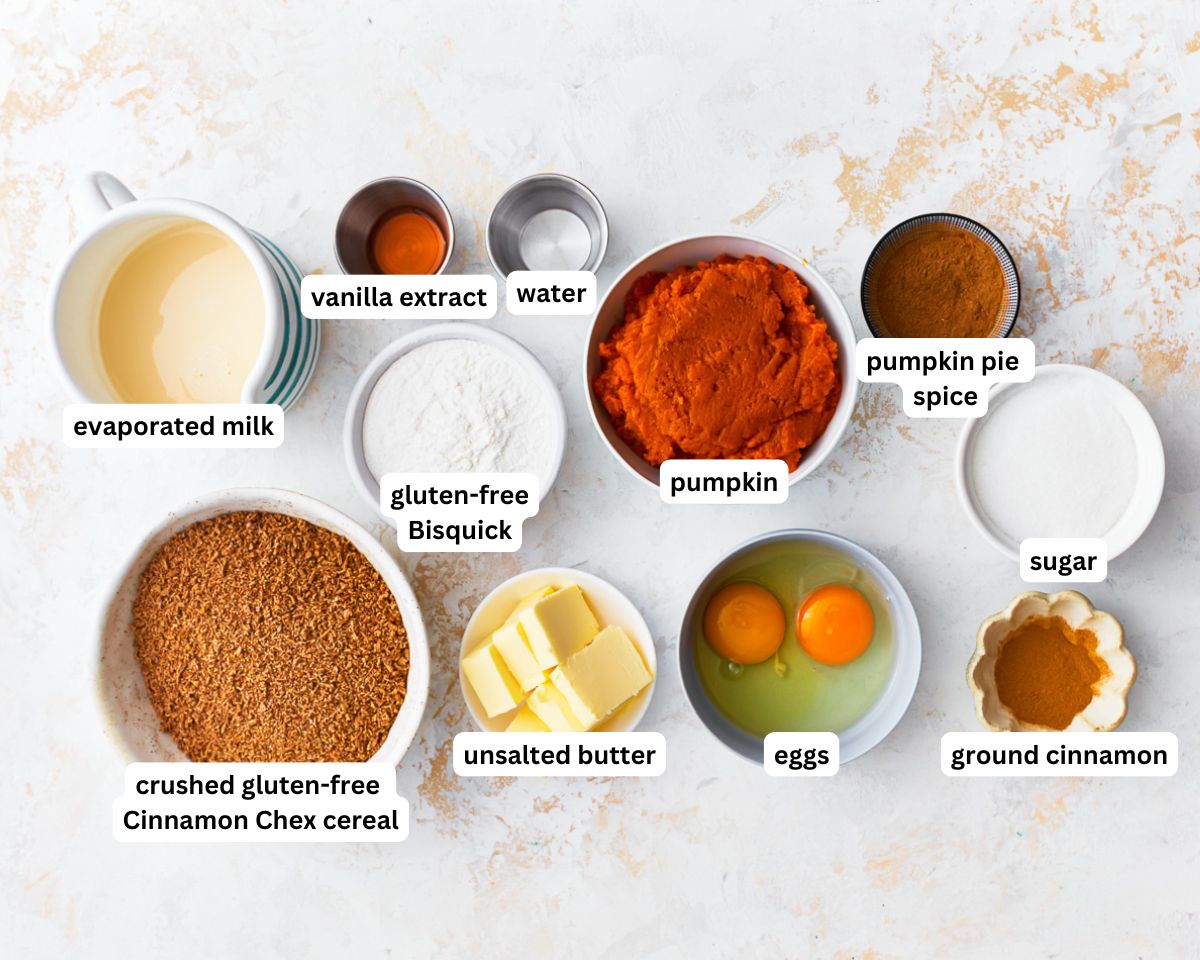
Gather your ingredients.
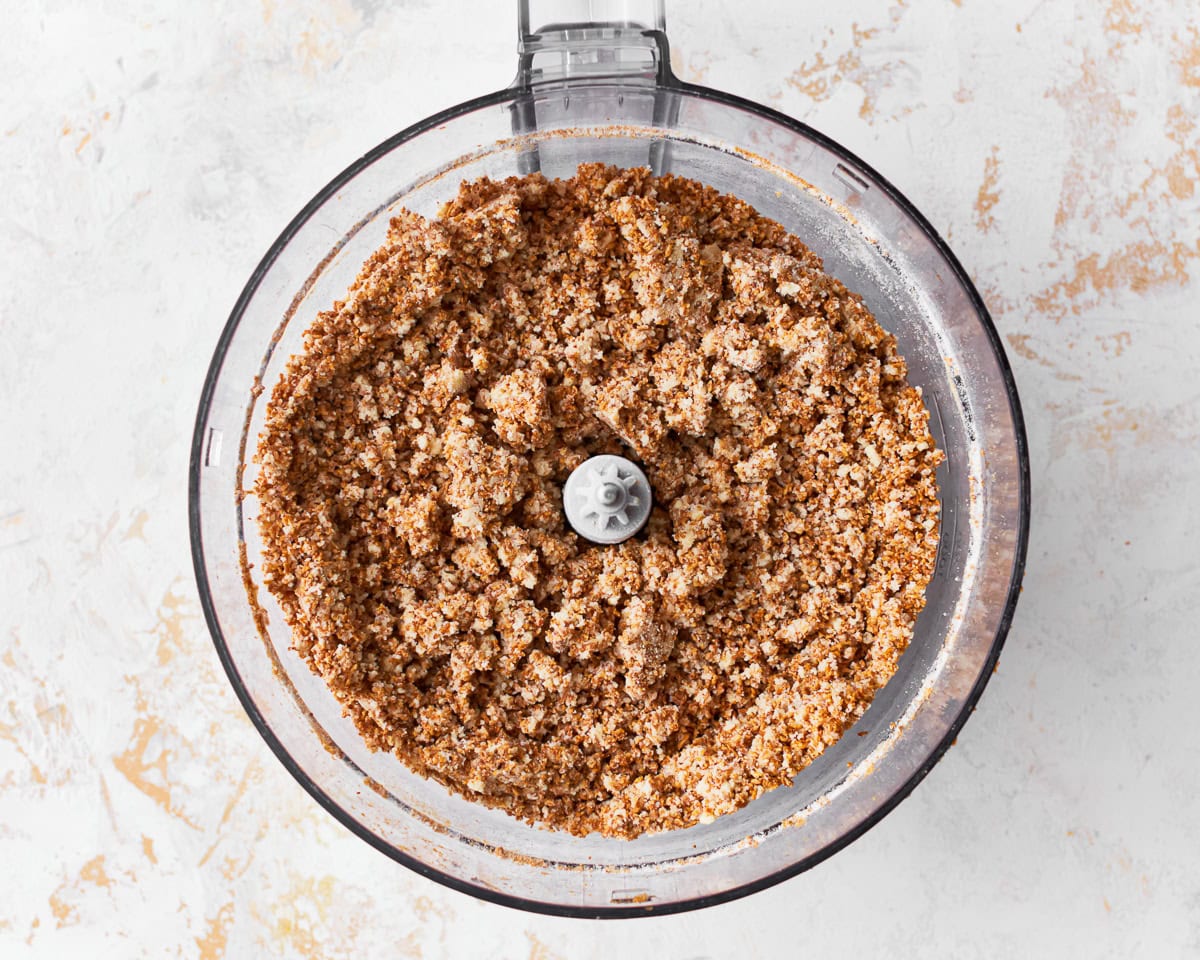
Crush cereal: Crush the gluten-free cinnamon Chex cereal in a food processor until you have 2 cups. Add 1 cup gluten-free Bisquick and ½ cup chopped unsalted butter in the food processor. Process until the consistency of thick sand.
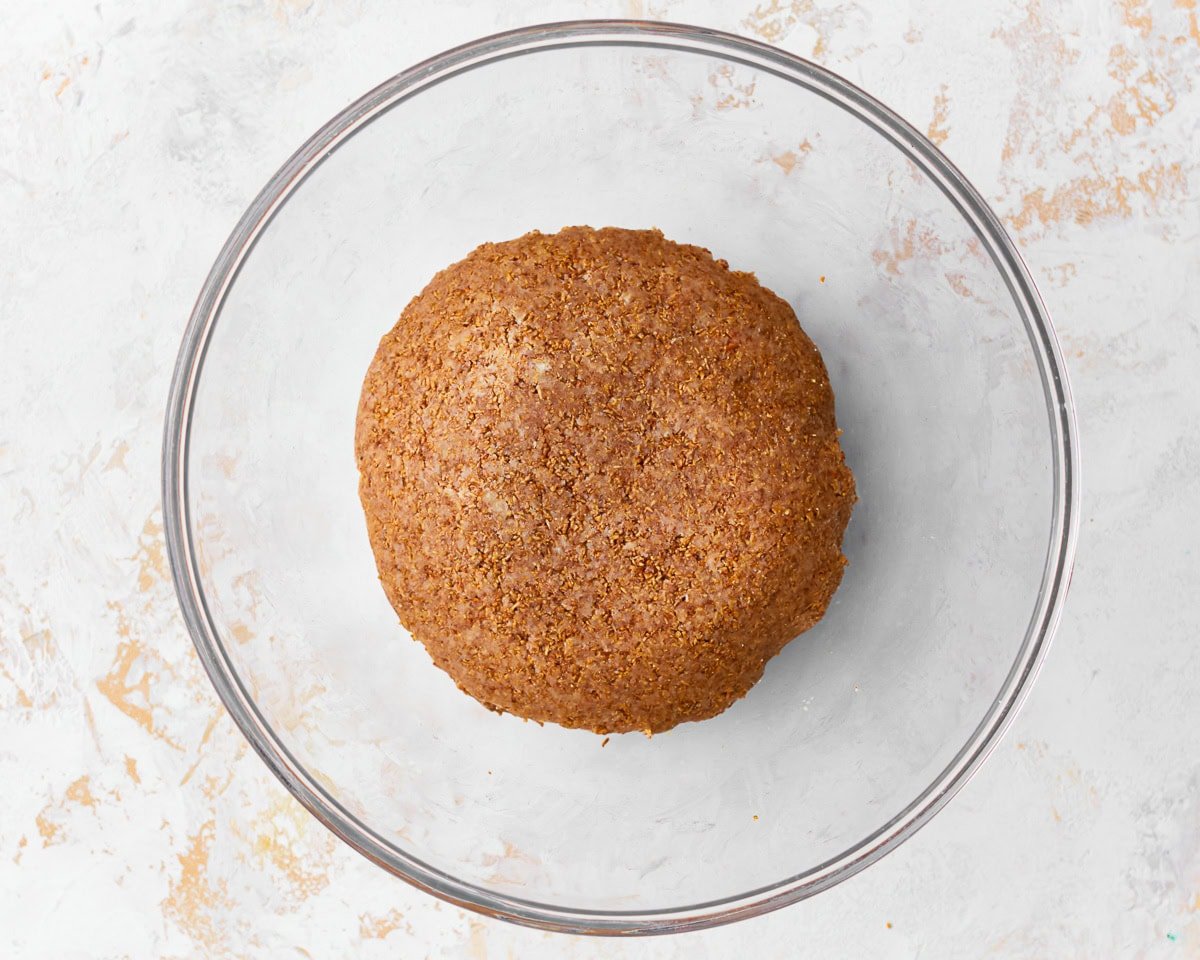
Pour the Chex mixture into a bowl. Add 3 tablespoons ice water and mix with your hands until a compact dough has formed. Refrigerate while making the pie filling.

In a large bowl beat 2 large eggs and ¾ cup sugar together.
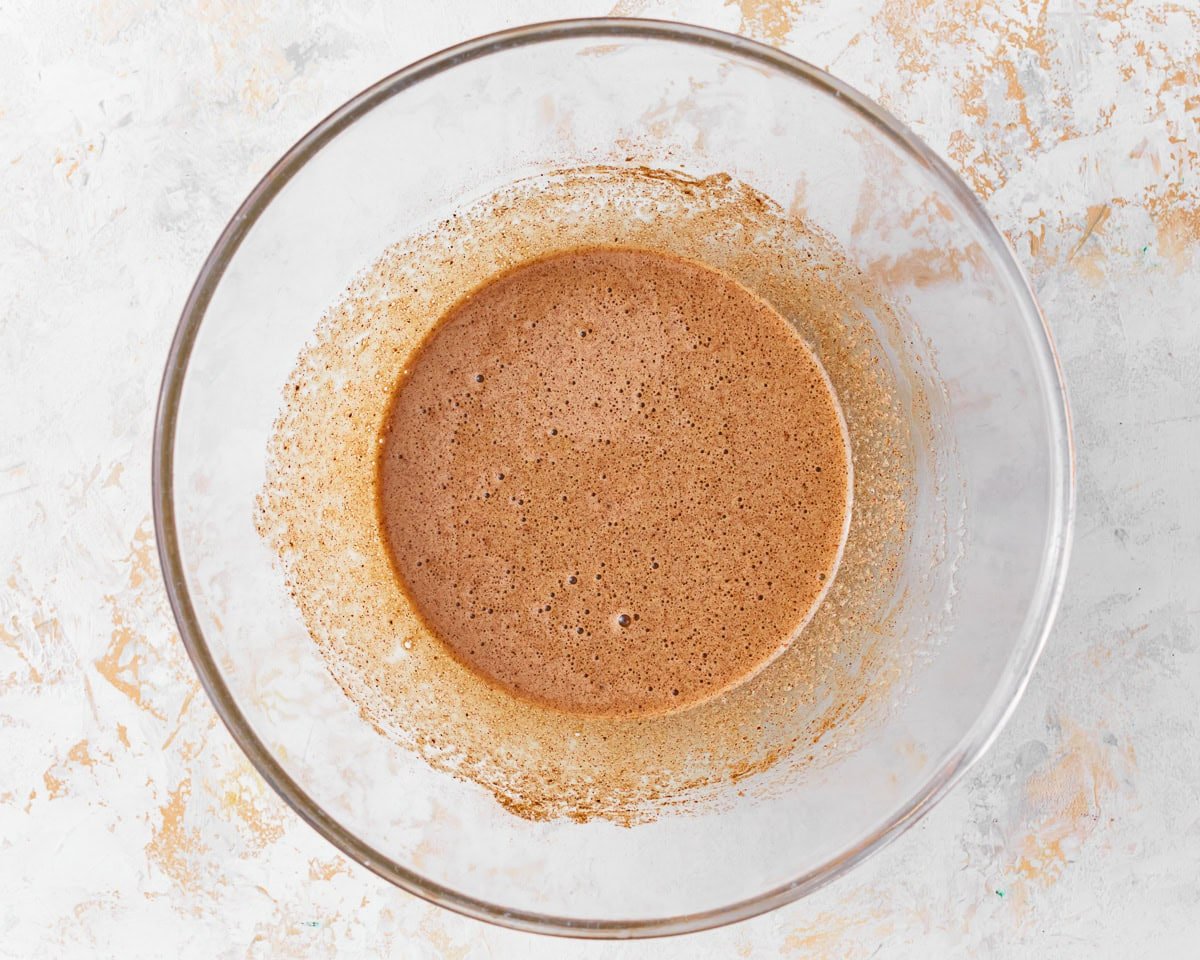
Add 1 teaspoon cinnamon, 1 tablespoon pumpkin pie spice, and 1 teaspoon vanilla and mix until fully combined.
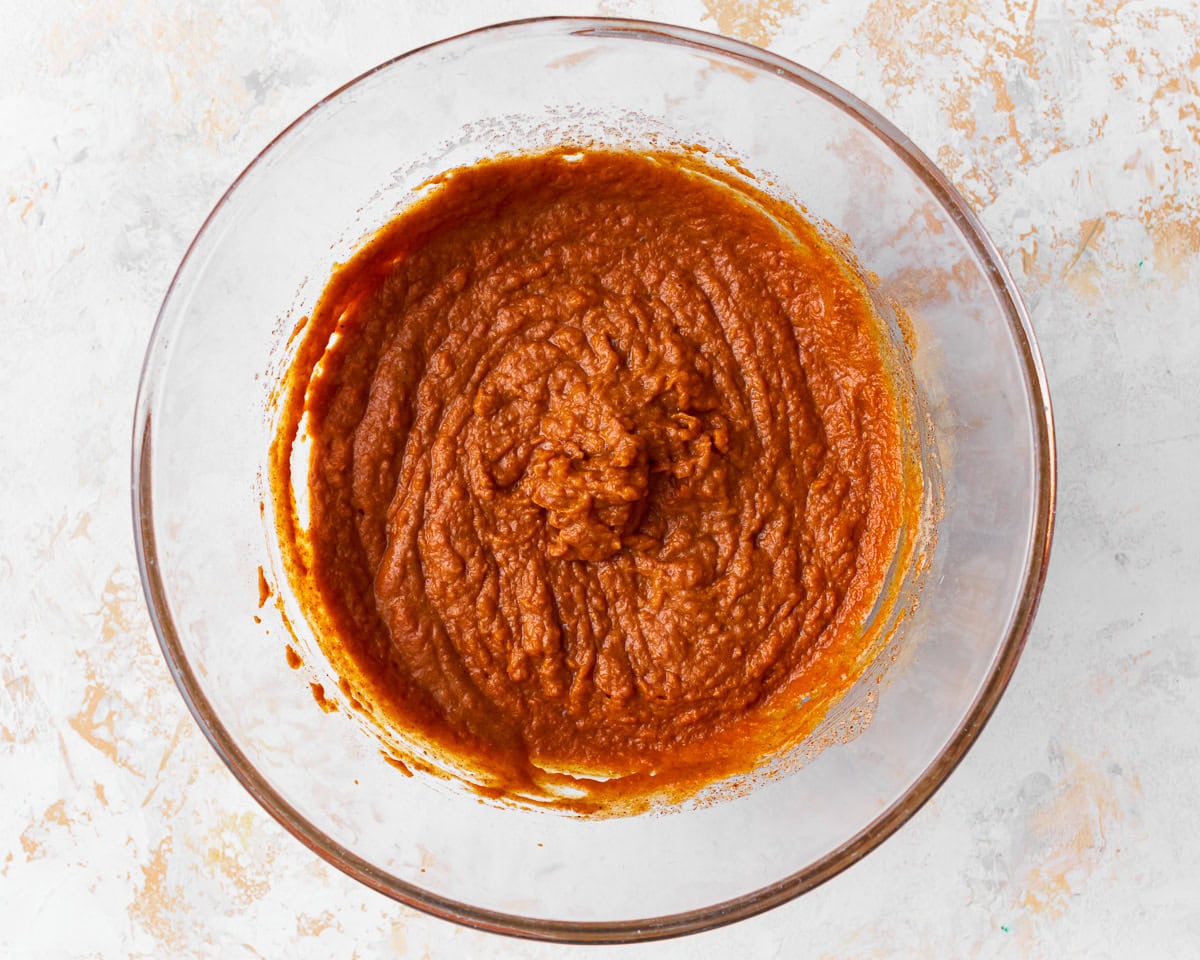
Add pumpkin: Add a 15 oz. can of pumpkin (If you use homemade pumpkin puree, make sure it’s completely smooth and well-strained before adding it. Homemade pumpkin puree is usually more watery than canned, so place it into a fine mesh strainer to let the extra moisture drain out before using. Wait until it resembles the consistency of canned pumpkin puree before proceeding.) Mix until fully combined.

Stir in a 12 oz. can of evaporated milk and mix until fully combined.

Prepare pan: Spay 9-inch pie dish with gluten-free cooking spray. Press the dough into the pie dish. Using the middle rack, bake for 5 minutes at 425°F.

Pour pumpkin filling into crust: Remove from oven and pour pumpkin pie filling into the pie crust. Depending on how deep your pie pan is, you may have a little of the filling left over. I always pour it into a custard cup and bake it.

Bake: Using the middle rack bake for 15 minutes at 425°F and then lower the heat to 350°F and bake for an additional 40 to 50 minutes. Please watch your pie and if the crust is getting too brown for your liking cover crust edges with foil.
This pie is done when the filling is set and doesn’t move much when you jiggle the pie plate. The center may still look a little bit wet, but it’ll firm up as it cools.
Allow to cool before serving. I like to allow the pie to cool for at least 1 hour before I refrigerate the pie. It’s best served cold.

Serve warm or cold with whipped cream. Enjoy! Once cooled cover and refrigerate.
Gluten-Free Baking Tips
- Deep dish pan. I bake this pie in a 9 ½ inch deep pie pan. You’ll likely have some crust mixture left over if you don’t use a deep-dish pan.
- Make a firm crust. Press the crumb mixture into your pie pan, and then press it with the back of a measuring cup. I do this to make a nice firm crust.
- Large eggs. Be sure to use large eggs in this recipe. The filling won’t set properly if you use medium or small eggs.
- Use extra filling. I usually have a little leftover filling, so I put it in a custard cup and bake it separately. It’s like having an extra piece of pie!
- Use foil. if needed Cover the edges of your pie dish with foil if your crust browns too quickly.
- Dairy free? My husband, youngest son, and I are all dairy-free. I always make one gluten-free pie and one gluten-free & dairy-free pumpkin pie. All the diary-free substitutions outlined in this recipe have been tested multiple times and work very well! I use Smart Balance butter in the crust and full-fat, canned coconut milk (unsweetened) in the filling.
Storage Instructions
Keep your homemade GF pumpkin pie in the refrigerator for 3-4 days. I usually cover the pie with plastic wrap or foil before storing it. You can also freeze the pie for 1-2 months. To freeze, let it cool completely, then wrap it in plastic wrap before placing it in a freezer-safe bag or container. Let it thaw in the refrigerator before serving.
More Classic Desserts To Try
- This Gluten Free Angel Food Cake features a light and airy crumb that’s ready to be topped with your favorite toppings.
- These classic Gluten Free Chocolate Chip Cookies are perfectly chewy, with a slightly crisp edge, and are loaded with gooey chocolate chips.
- Gluten Free Pineapple Upside Down is another classic, featuring a soft butter cake with a brown sugar glaze that coats the pineapple slices and maraschino cherry topping.


I made this for Thanksgiving and no one knew. Everyone enjoyed the pie. Thank you so much!!!!
Awesome gfree pumpkin pie a friend made with coconut , and thanks for sharing your recipes , Audrey !
I made this recipe using the Gluten free Pillsbury flour with your pie dough recipe and then using your tip of Smart Balance and coconut milk to make it dairy free as well. It is fantastic!! My daughter recently confirmed after many years of testing both gluten and dairy are a problem for her. So this will be our first gluten and dairy free Thanksgiving. Thank You!
bookmarked!!, I love your blog!
I made this with coconut milk…it turned out great. I like this better than regular pumpkin pie. I baked the crust on a lower temp, 400 and then the whole pie. The crust got a little blackened but still good.
This was very easy and tastes wonderful! I have been going through your recipes and have tried a few, so far everything tastes wonderful. I like that they use simple ingredients and have dairy free options as well.
Can this recipe be used with fresh pumpkin?
Hi Christel, it should work!
Hi Audrey,
I came across this recipe and was wondering about the pumpkin pie filling. I have only been able to find E.D Smith brand, which contains wheat. Can I use the pure pumpkin and add spices, etc or do I have to go on a search for the proper filling?
What brand did you use?
I live in western Canada so not sure what other brands are out there yet.
Thank you,
Lisa
Hi Lisa, we used Libby’s brand, but you can absolutely grab a can of pure pumpkin and add spices and sugar!
Made this on the weekend for desert. This was delicious. My family liked it more than a traditional pastry pumpkin pie. The is a keeper of a recipe!
Hi there! I don’t like the taste of coconut milk, so can I use almond milk instead? Thank you!
Hi Charlene! You could use almond milk instead, but the texture and thickness will not be quite the same because almond milk has lower fat content. If you try it with almond milk please let me know how it goes!