This post may contain affiliate links. To learn more check my disclosure page.
An easy recipe for dairy-free coconut yogurt. This is a recipe I make time and time again at our house and it’s a huge hit with my kids. Learn to make thick, creamy homemade yogurt without any dairy products. This recipe is naturally dairy-free, gluten-free, and vegan.
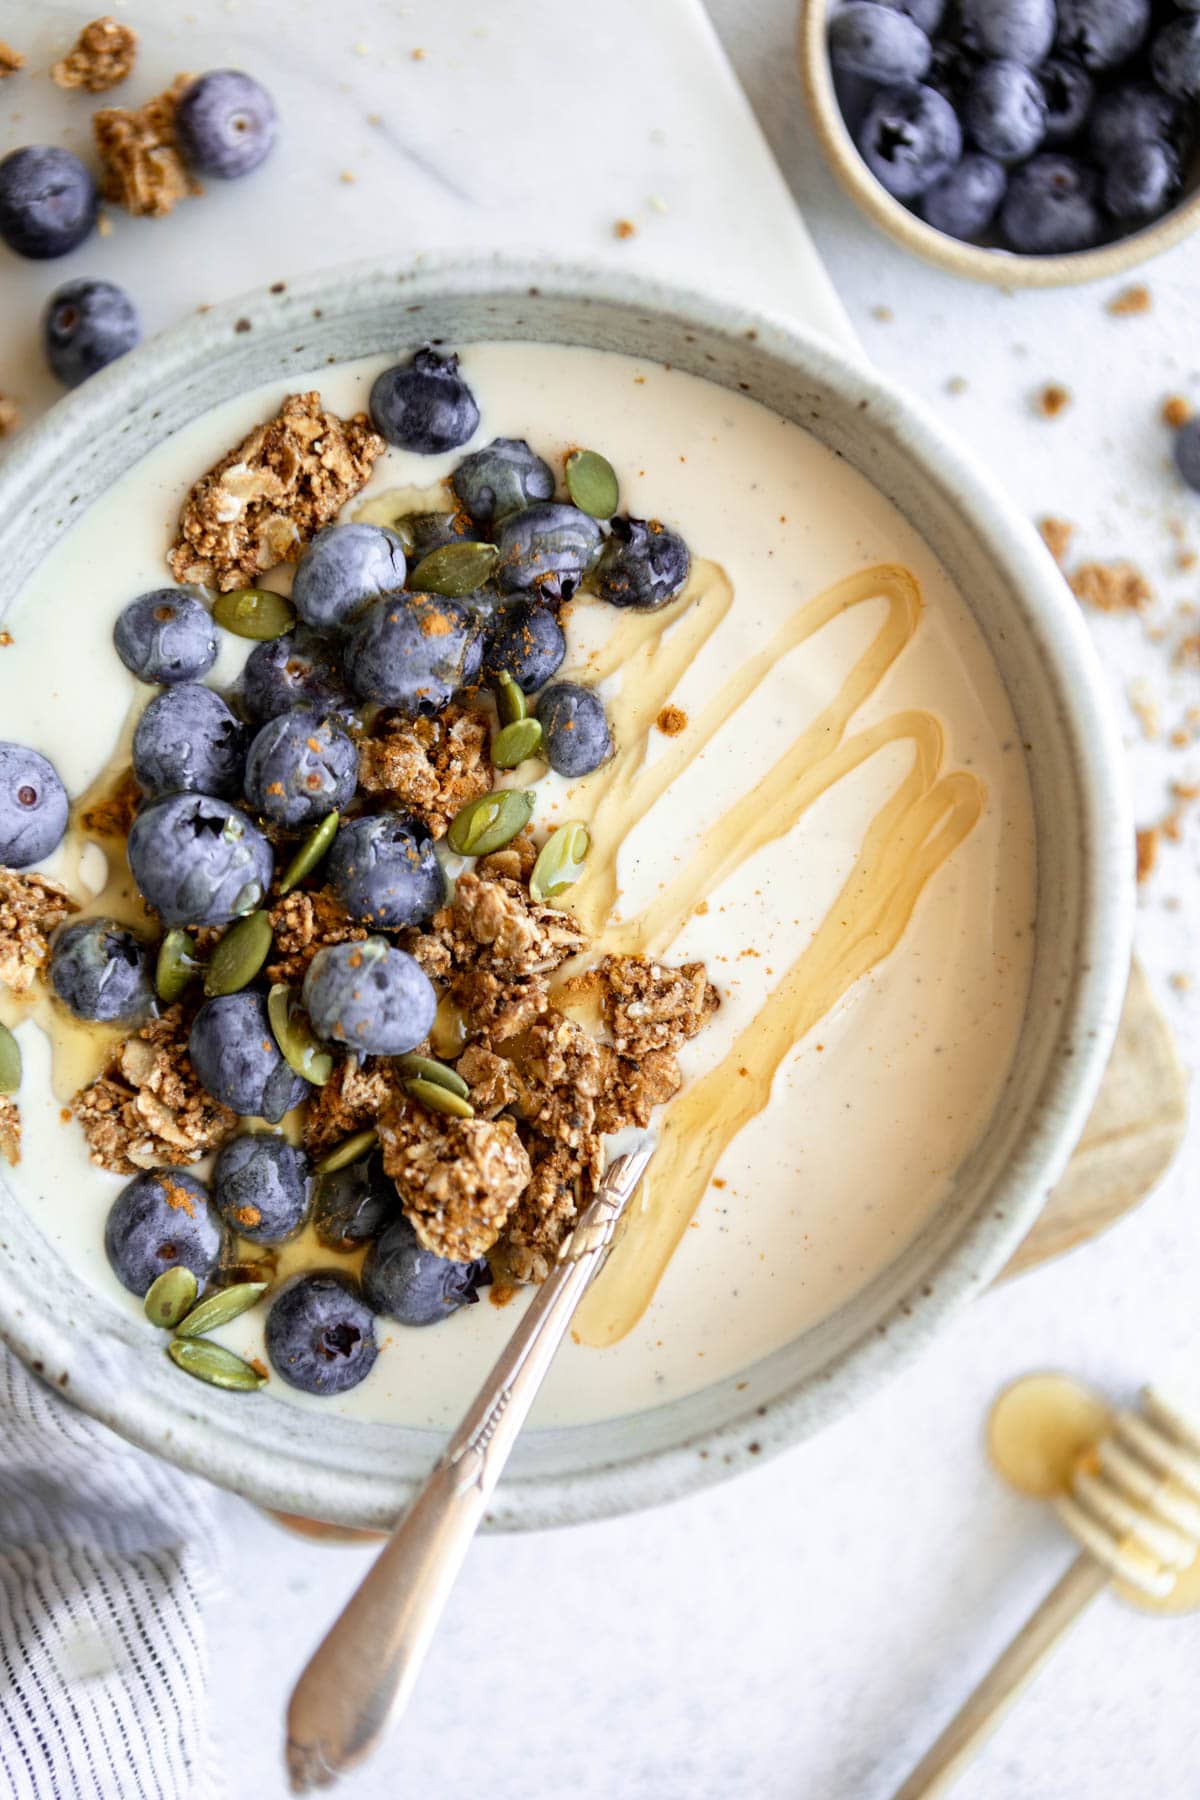
Dairy-Free Coconut Yogurt Recipe
Coconut yogurt is the creamy, dreamy, dairy-free yogurt you’ve been searching for. It’s so rich and flavorful that you won’t believe it’s dairy-free! It’s a perfect substitute for yogurt or sour cream in all of your dairy-free, gluten-free, and vegan baking recipes.
We have created an easy-to-follow dairy-free coconut yogurt recipe. Follow the detailed recipe technique notes and tips along with step-by-step photos to guide you to perfect thick and creamy yogurt.
Ingredients
- Coconut Milk: You’ll need two standard cans of coconut milk, but you’ll only use one can whole. Chill both cans so you can easily separate the coconut cream from the second can.
- Vegan Probiotics: Use a refrigerated multi-strain probiotic. You can also use a vegan yogurt starter culture.
- Maple Syrup: This is optional, but adds nice natural sweetness to the yogurt.
- Vanilla Extract: This is also optional, but it adds delicious warmth and flavor.
Step by Step Instructions
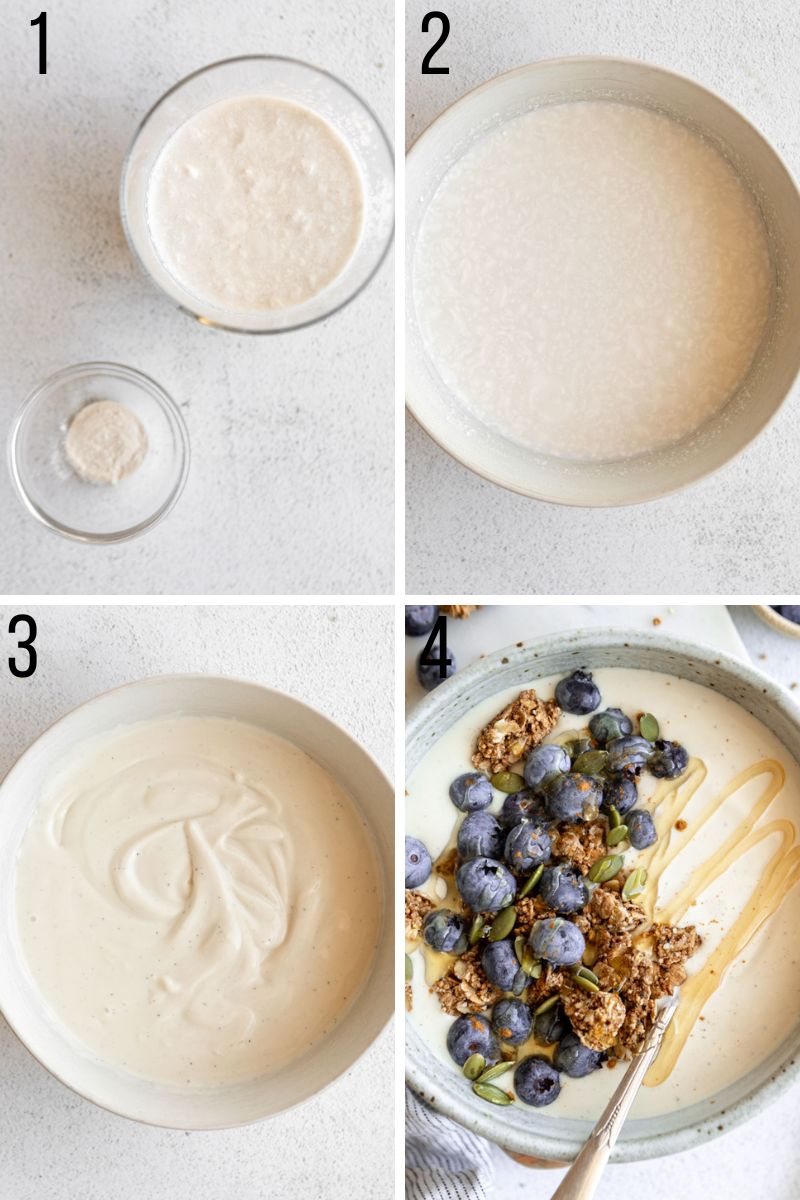
- Open one can of coconut milk and add all contents to a non-metal mixing bowl. Open the other can and use only the top creamy white part. (pic 1)
- Open the probiotic capsules into the bowl.
- Mix really well with a wooden spoon until combined. (pic 2)
- Cover tightly and let rest for 24 hours in a warm environment.
- Chill in the fridge to thicken. (pic 3)
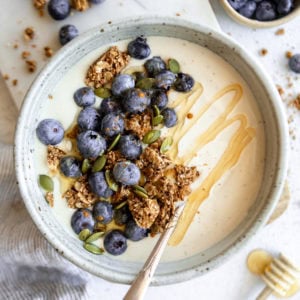
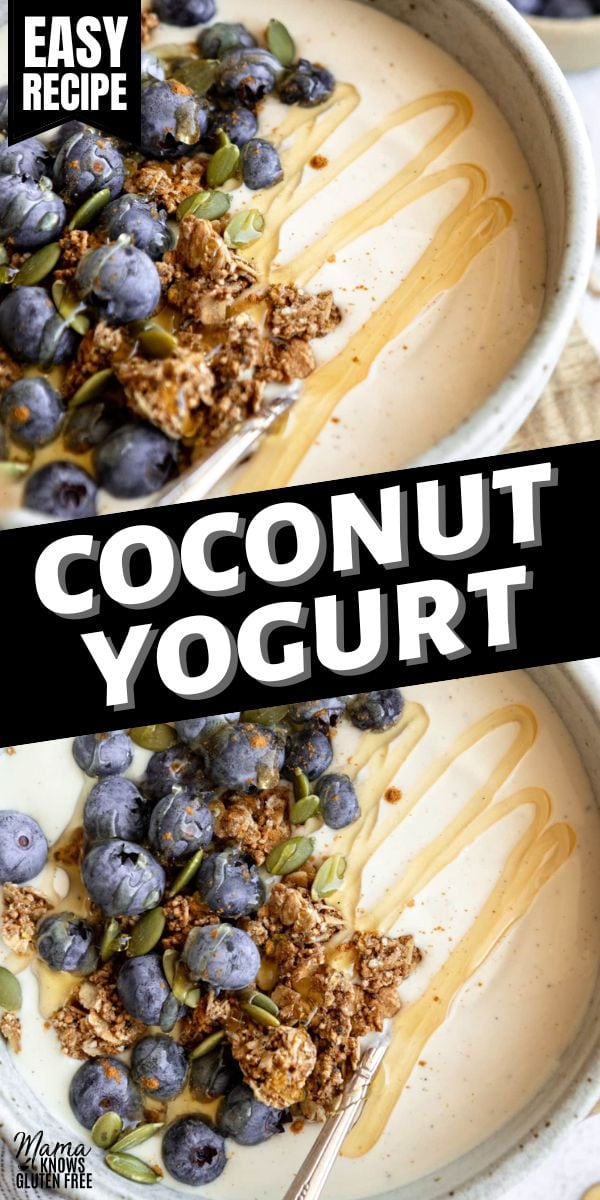
- When ready to serve, top with your favorite toppings such as fruit or honey. (pic 4)
Tips and Suggestions
- Use high-quality probiotics that don’t include prebiotics or other enzymes.
- Use non-reactive, non-metal bowls and utensils.
- If your yogurt separates, that’s ok! Just stir before serving.
- To thicken this yogurt even more, place it in a cheesecloth set over a fine-mesh sieve set over a bowl. This will help drain out any excess moisture.
- If your yogurt takes on an odd odor or color, toss it! It has likely spoiled.
- This yogurt is so yummy topped with fresh fruit, honey, fruit jam or gluten-free granola.
Is Coconut Yogurt Dairy-Free?
Yes, this creamy coconut yogurt is naturally dairy-free, gluten-free, and vegan. Making your own yogurt means you can control what is in it.
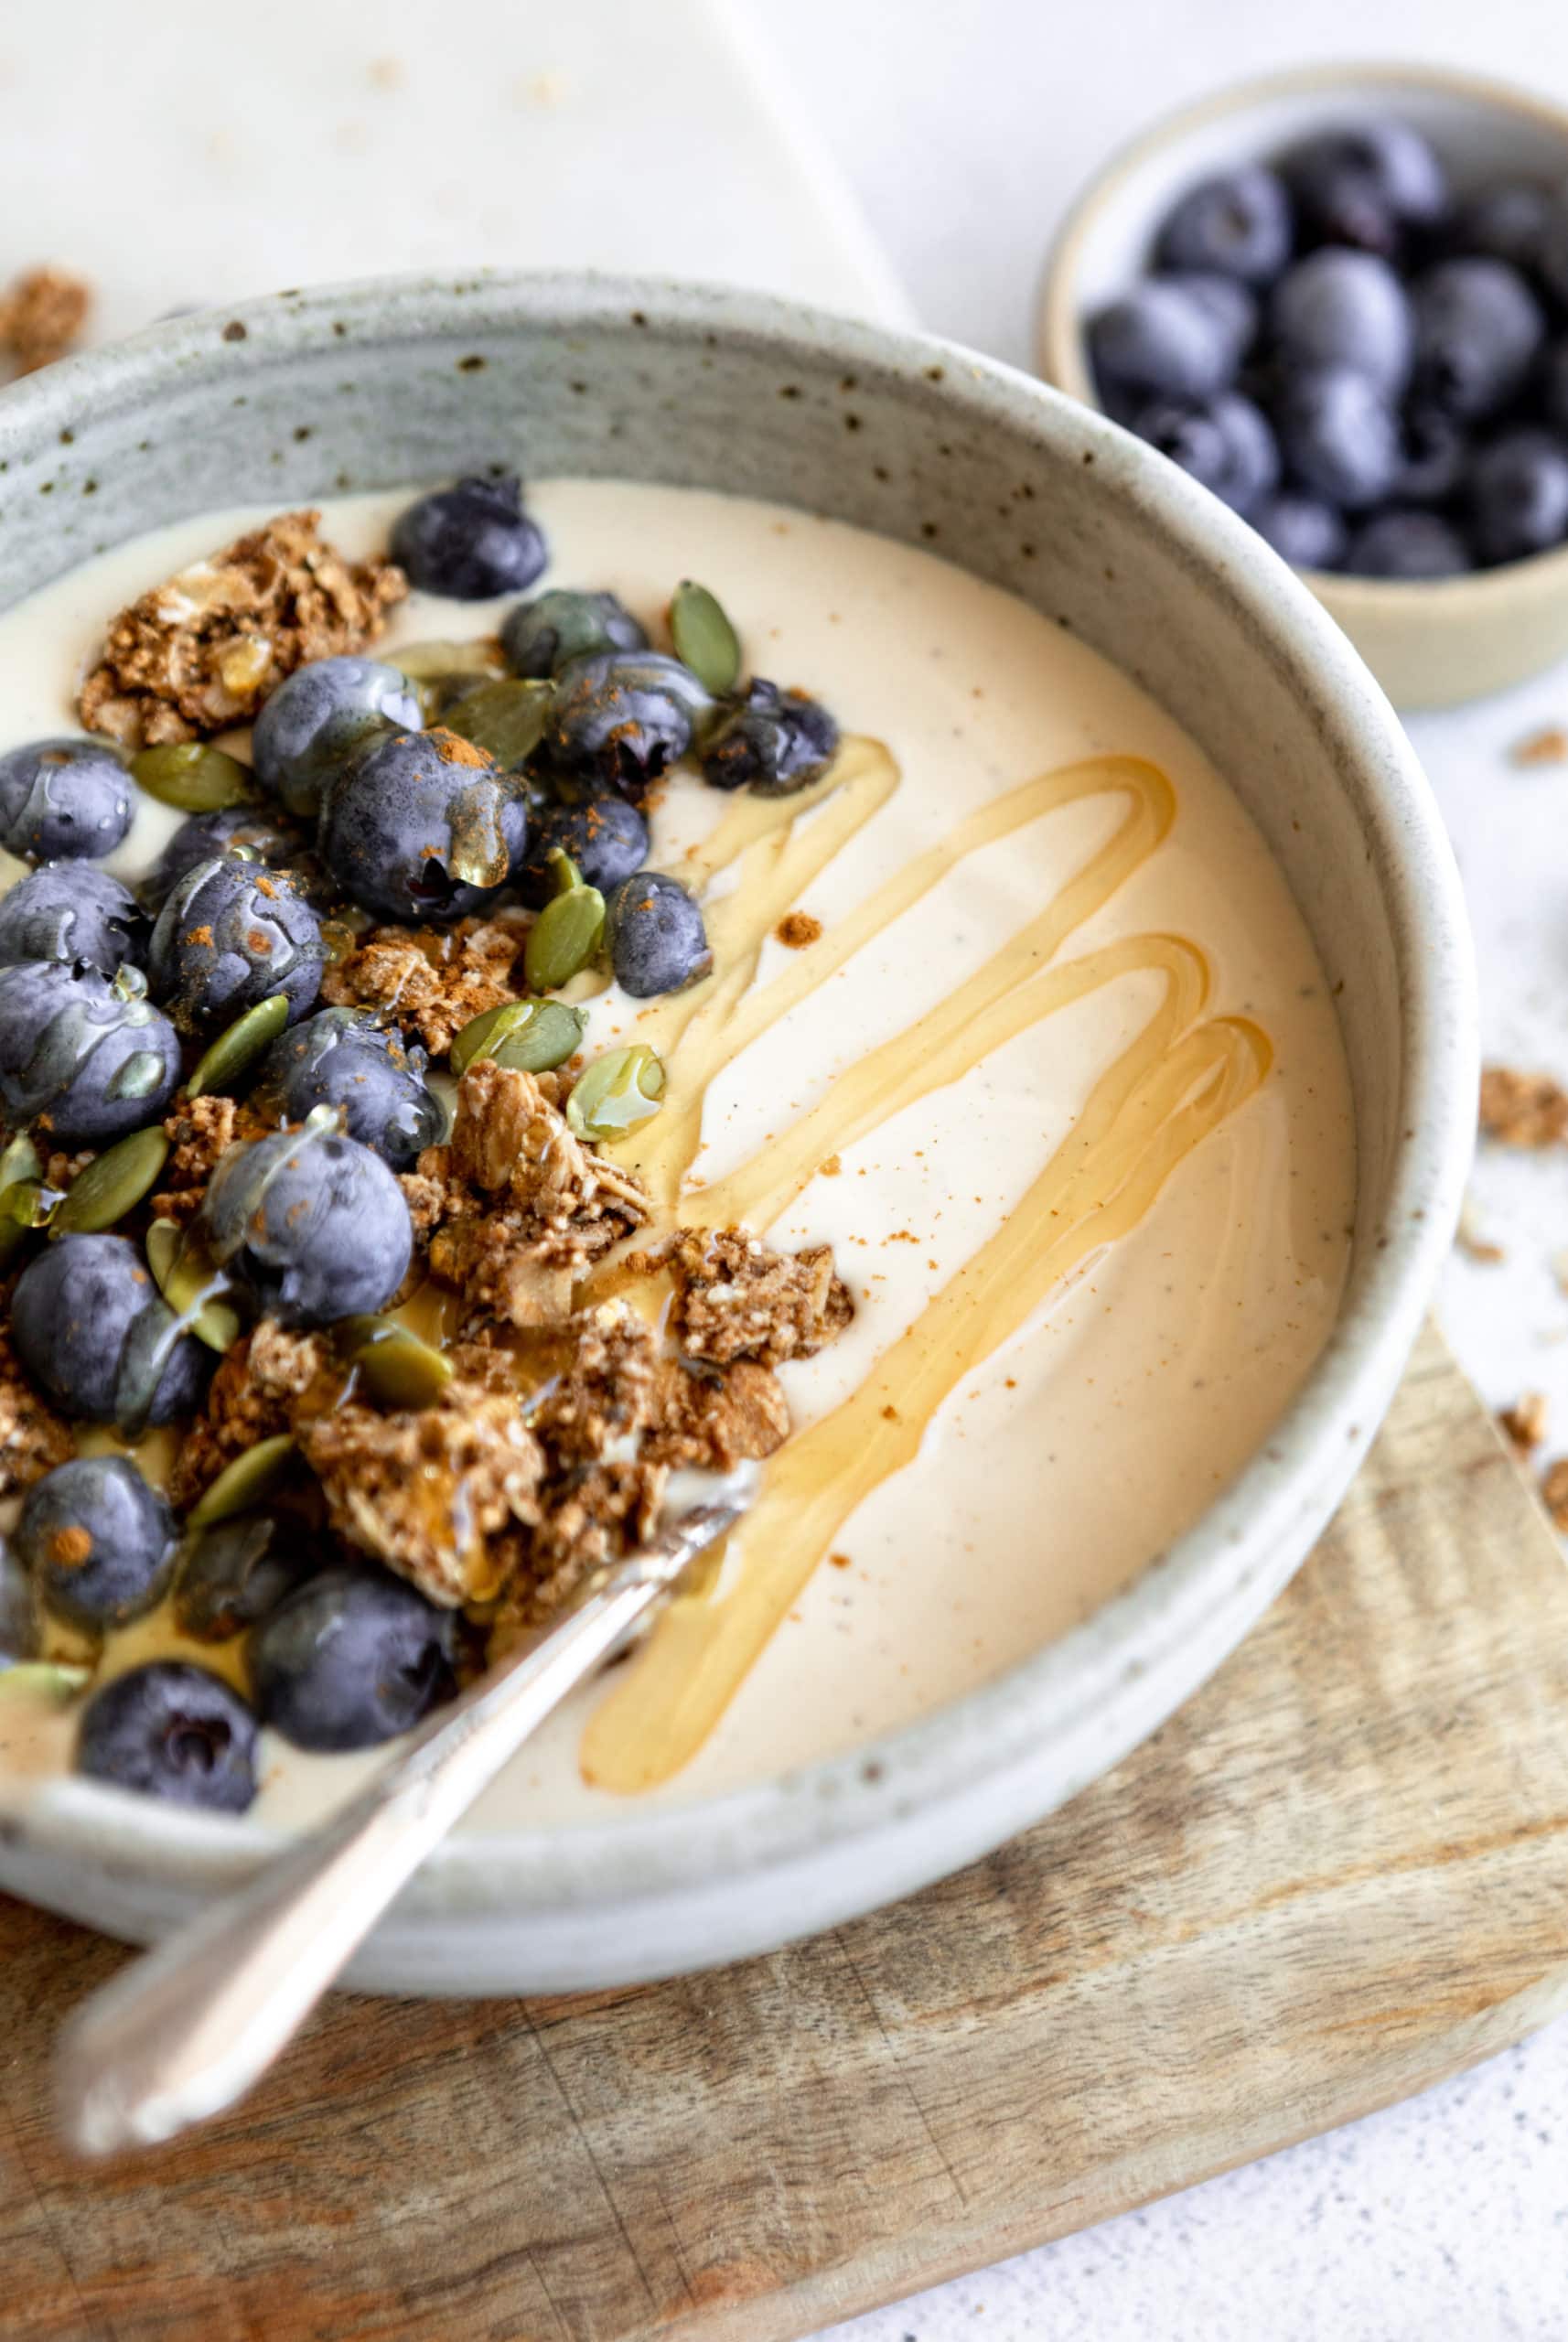
Is Coconut Yogurt Healthier Than Greek Yogurt?
Neither option is truly healthier than the other, as both have different benefits. Coconut yogurt is relatively high in fiber, potassium, and calcium. Greek yogurt has the added benefit of containing more protein, though.
Why Did My Yogurt Not Thicken?
While this coconut yogurt is pretty thick for a dairy-free yogurt, it will not necessarily thicken up as much as traditional Greek yogurt. It’s important to use full-fat coconut for the thickest texture. You can also strain it to help thicken it, or you can add a thickener, such as cornstarch, tapioca starch, or pectin.
How to Store
Once chilled and thickened, this coconut yogurt will keep in the refrigerator in a sealed container for up to 2 weeks. Always visually inspect and smell your homemade yogurt before using it. You can also freeze this yogurt for up to a month, but the texture will change significantly.
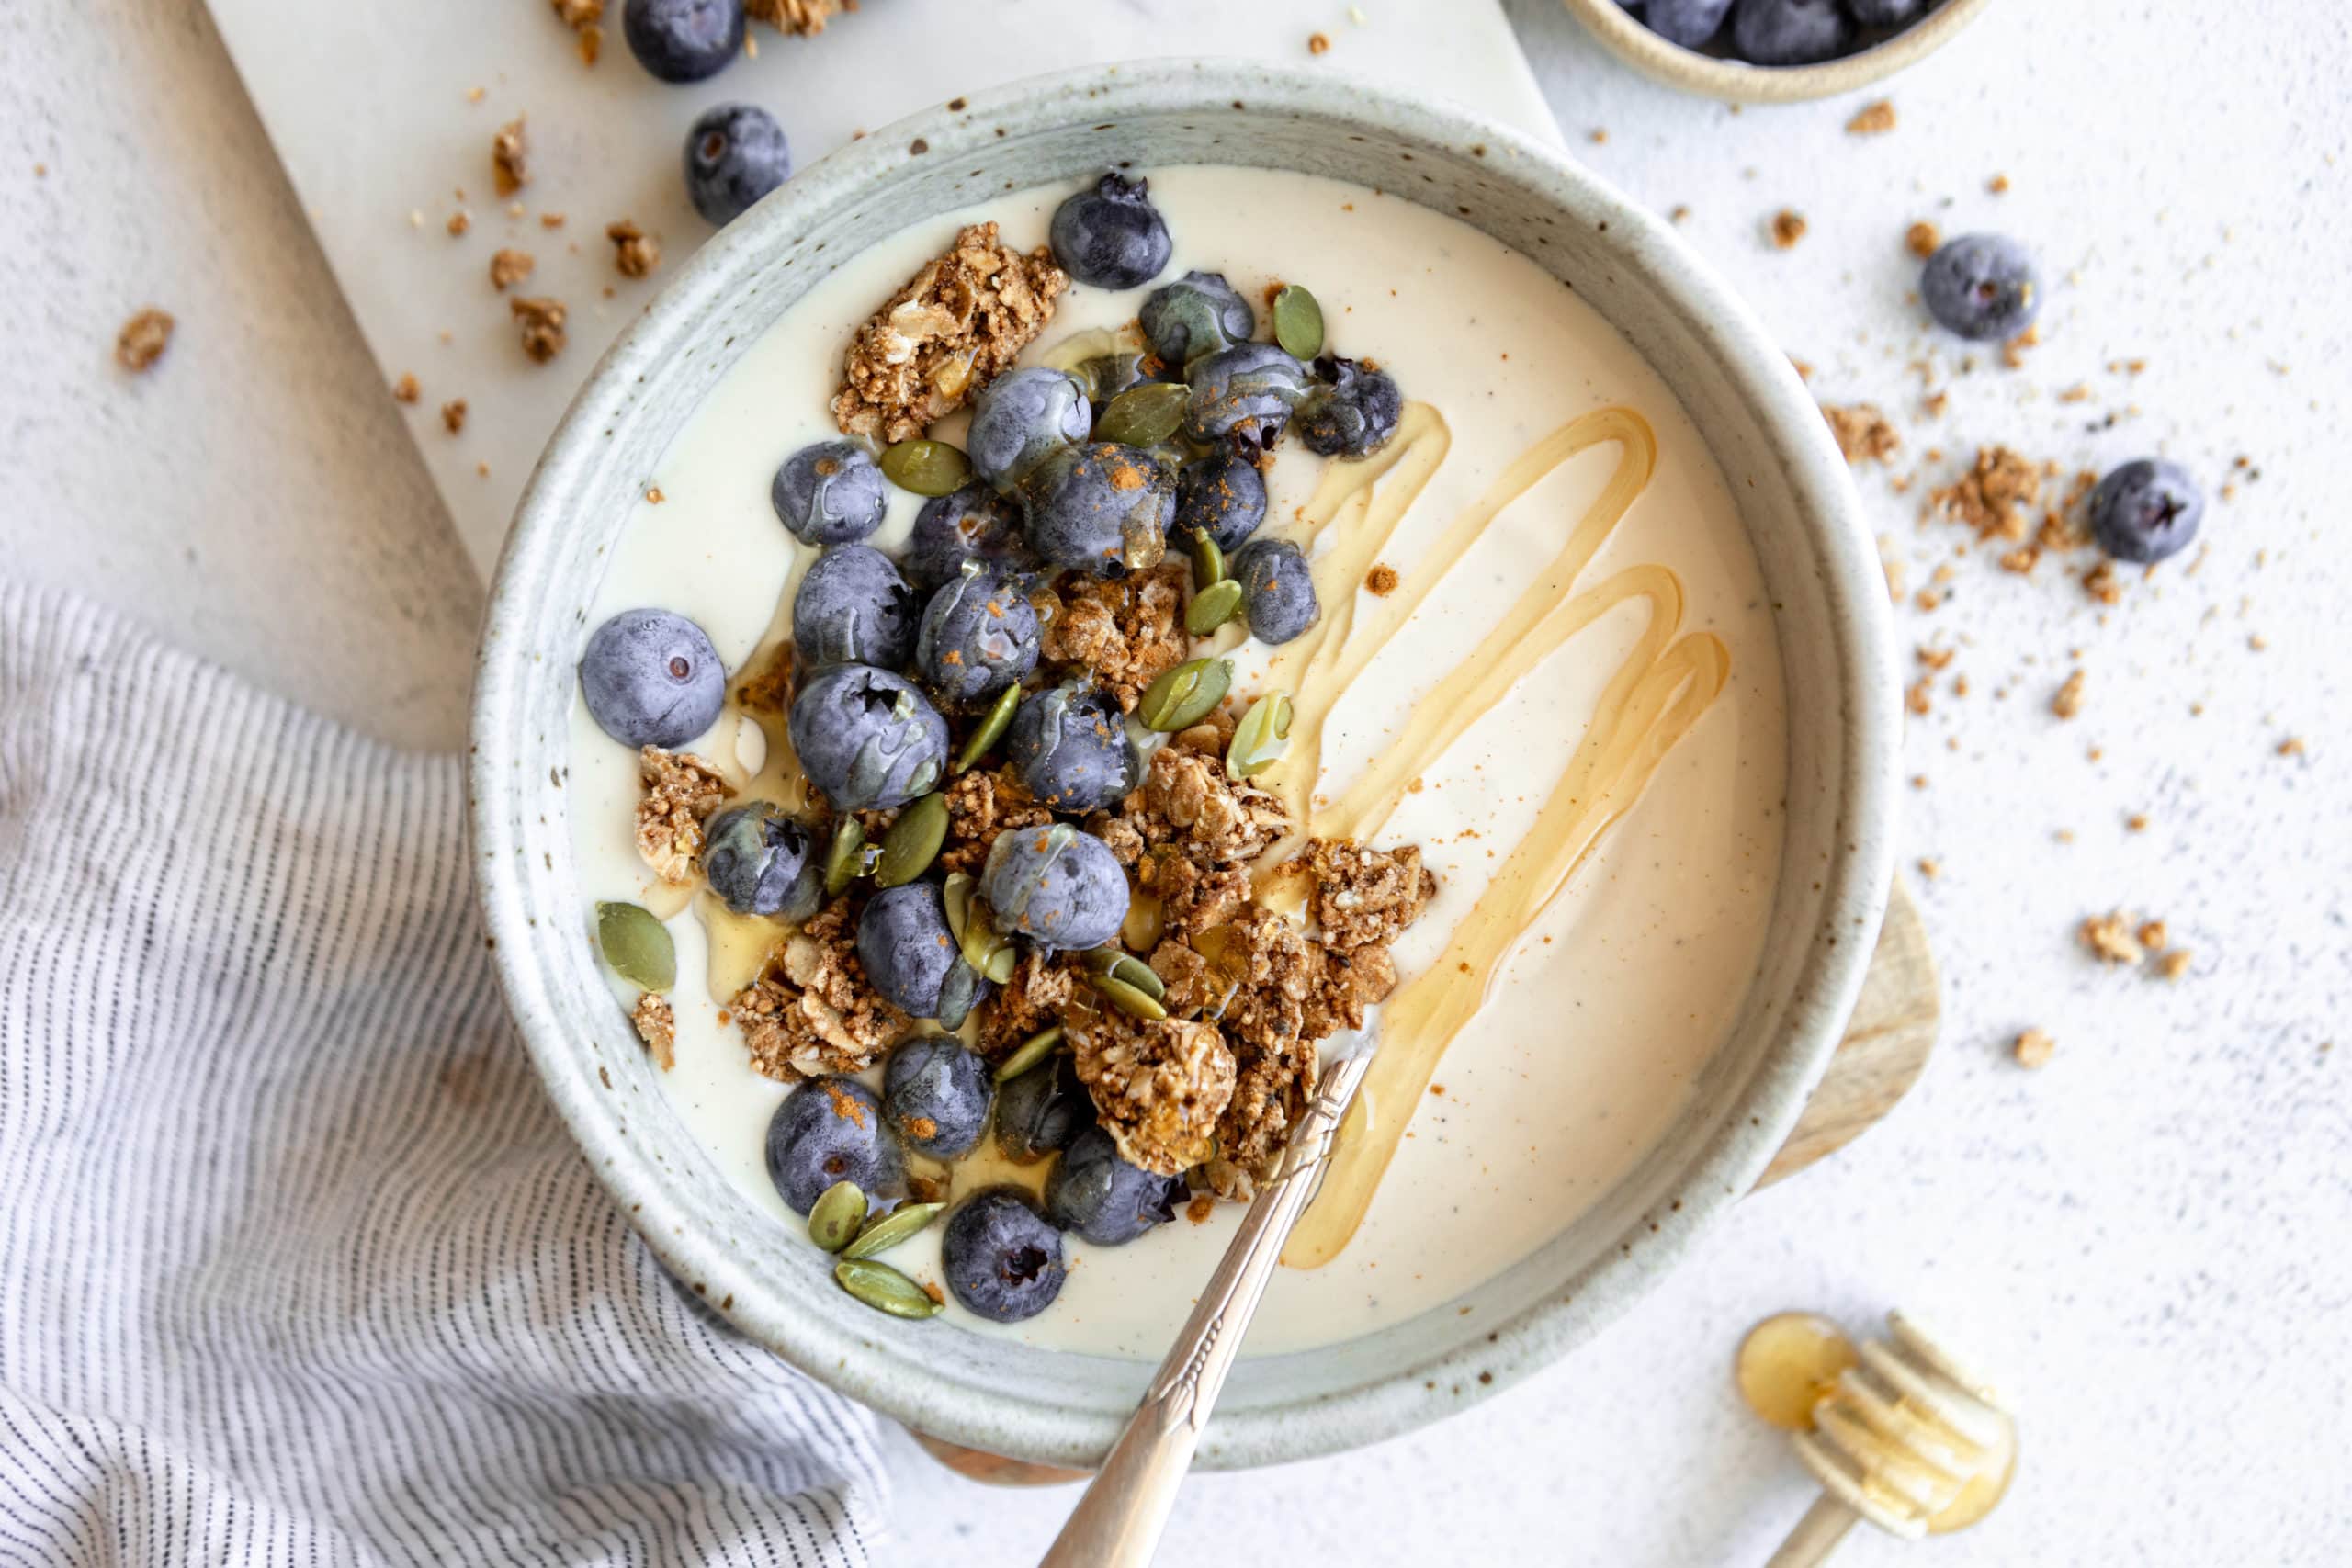
Dairy-free coconut yogurt is a must-have recipe for dairy-free, gluten-free, and vegan baking recipes. It’s also super delicious all by itself for breakfast or as a healthy snack!
More Breakfast Recipes to Try!
Dairy Free Coconut Yogurt Recipe
Ingredients
- 2 15 oz. canned full-fat coconut milk, chilled
- 2 capsules vegan probiotics
- 1 tablespoon maple syrup, optional, for sweetening
- 1 teaspoon pure vanilla extract, optional, for flavor
Instructions
- Open one can of coconut milk and add all contents to a non-metal mixing bowl. Open the other can and use only the top creamy white part.
- Open the probiotic capsules into the bowl.
- Mix really well with a wooden spoon until combined. Avoid metal as this can react with the probiotics.
- Cover tightly and let rest for 24 hours in a warm environment. The longer it sits, the tangier it gets.
- Chill in the fridge to thicken. You can thin it out with the remaining coconut water from the other can, but I like it fairly thick.
Notes
- Use high-quality probiotics that don’t include prebiotics or other enzymes.
- Use non-reactive, non-metal bowls and utensils.
- If your yogurt separates, that’s ok! Just stir before serving.
- To thicken this yogurt even more, place it in a cheesecloth set over a fine-mesh sieve set over a bowl. This will help drain out any excess moisture.
- If your yogurt takes on an odd odor or color, toss it! It has likely spoiled.
- This yogurt is so yummy topped with fresh fruit, honey, fruit jam or gluten-free granola.
- This recipe yields 1.5 cups of yogurt. A serving is ¼ cup.
- To Store: Store coconut yogurt in an airtight container in the refrigerator for up to 2 weeks or in the freezer for up to 1 month.
Nutrition
Nutrition information is automatically calculated, so should only be used as an approximation.



Hi , well I thought I try making the yogurt recipe well mine flopped big time never again in making it , and yes I followed your recipe from beginning to end, it ok. At least coconut milk in can is not expensive,