Gluten-Free Muffins
Updated
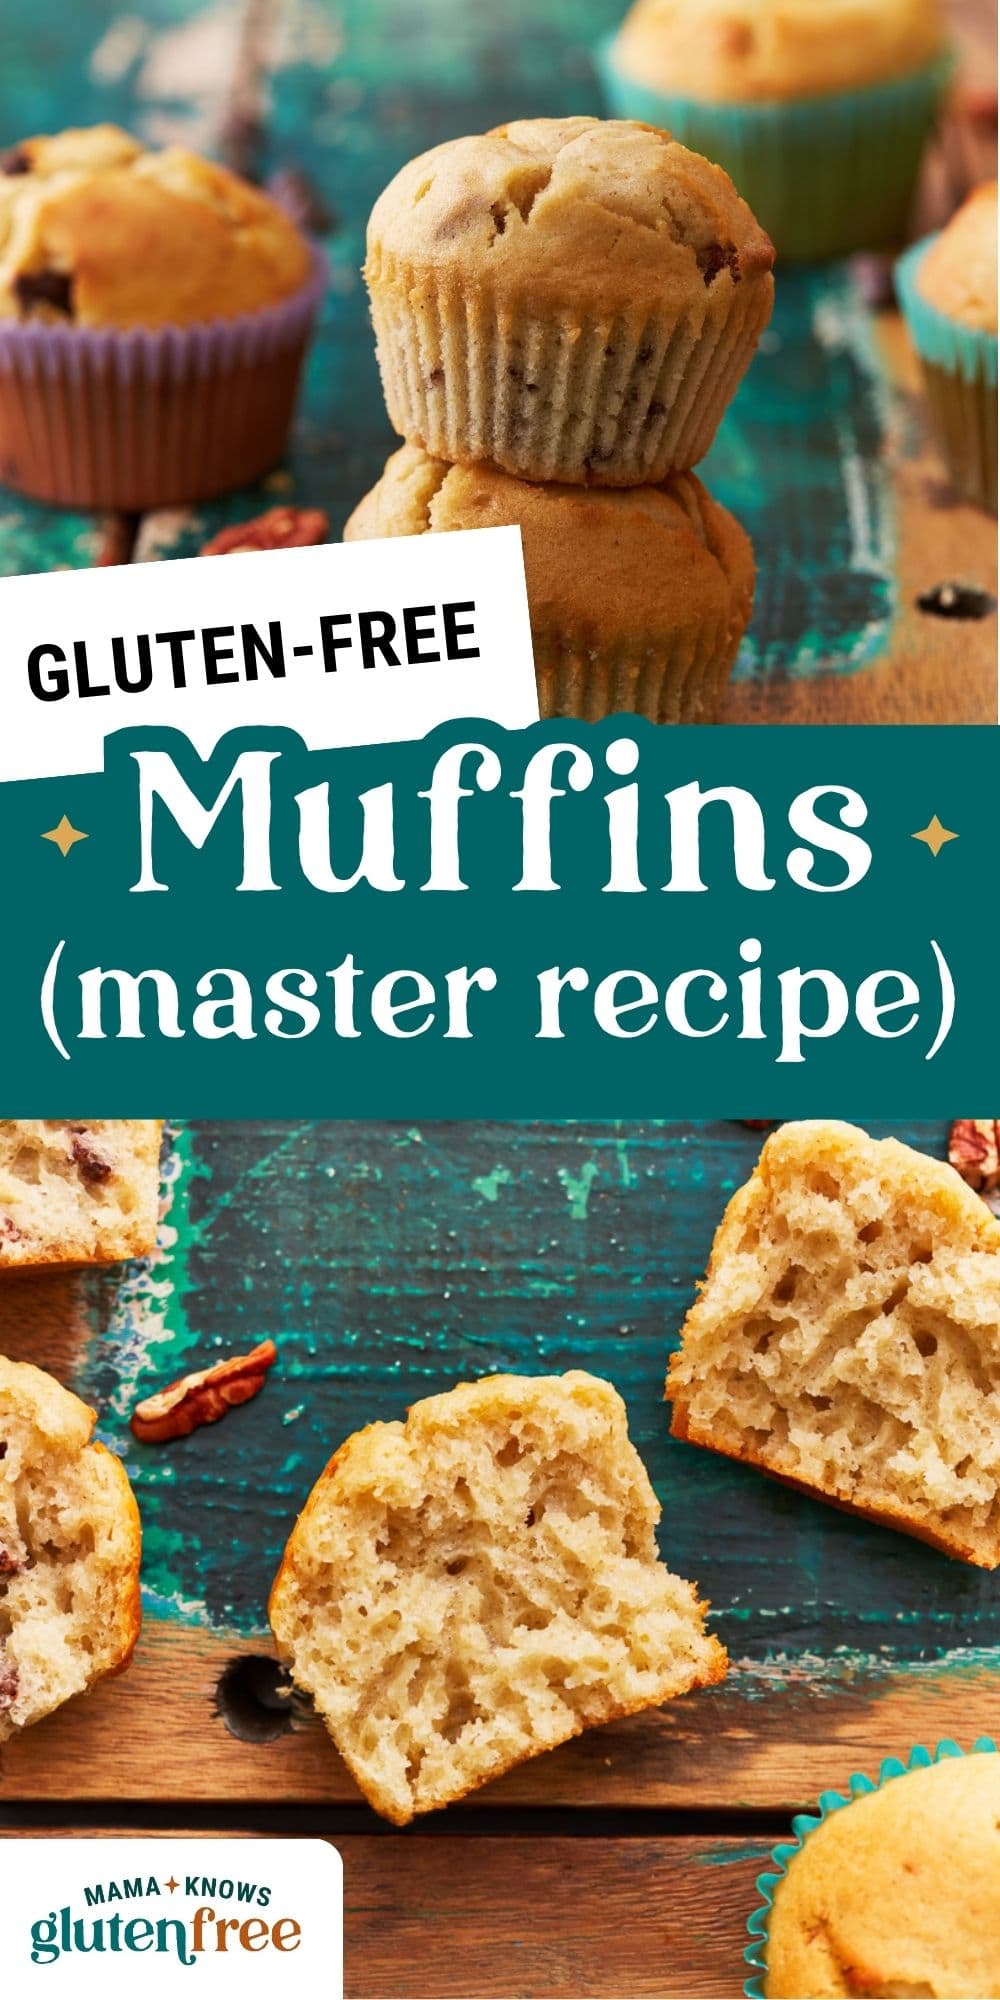
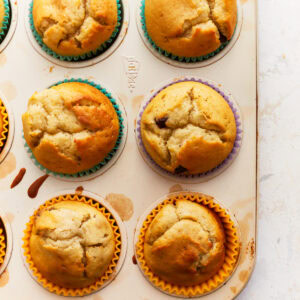
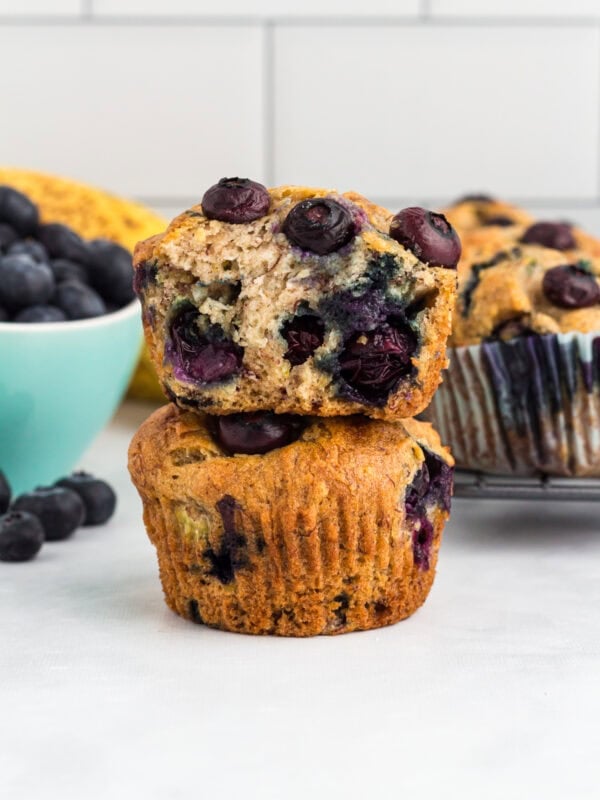
Muffins are one of my favorite easy breakfast items, so I knew I wanted to develop a go-to master recipe for gluten-free muffins that I could turn to on busy mornings. These gluten-free muffins are quick, easy, tender, and flavorful. Plus, they’re super easy to customize, so everyone can have their favorite flavor!
Came out terrific! Really satisfied a craving, and my family enjoyed them as much as they do regular muffins.
– Alisha
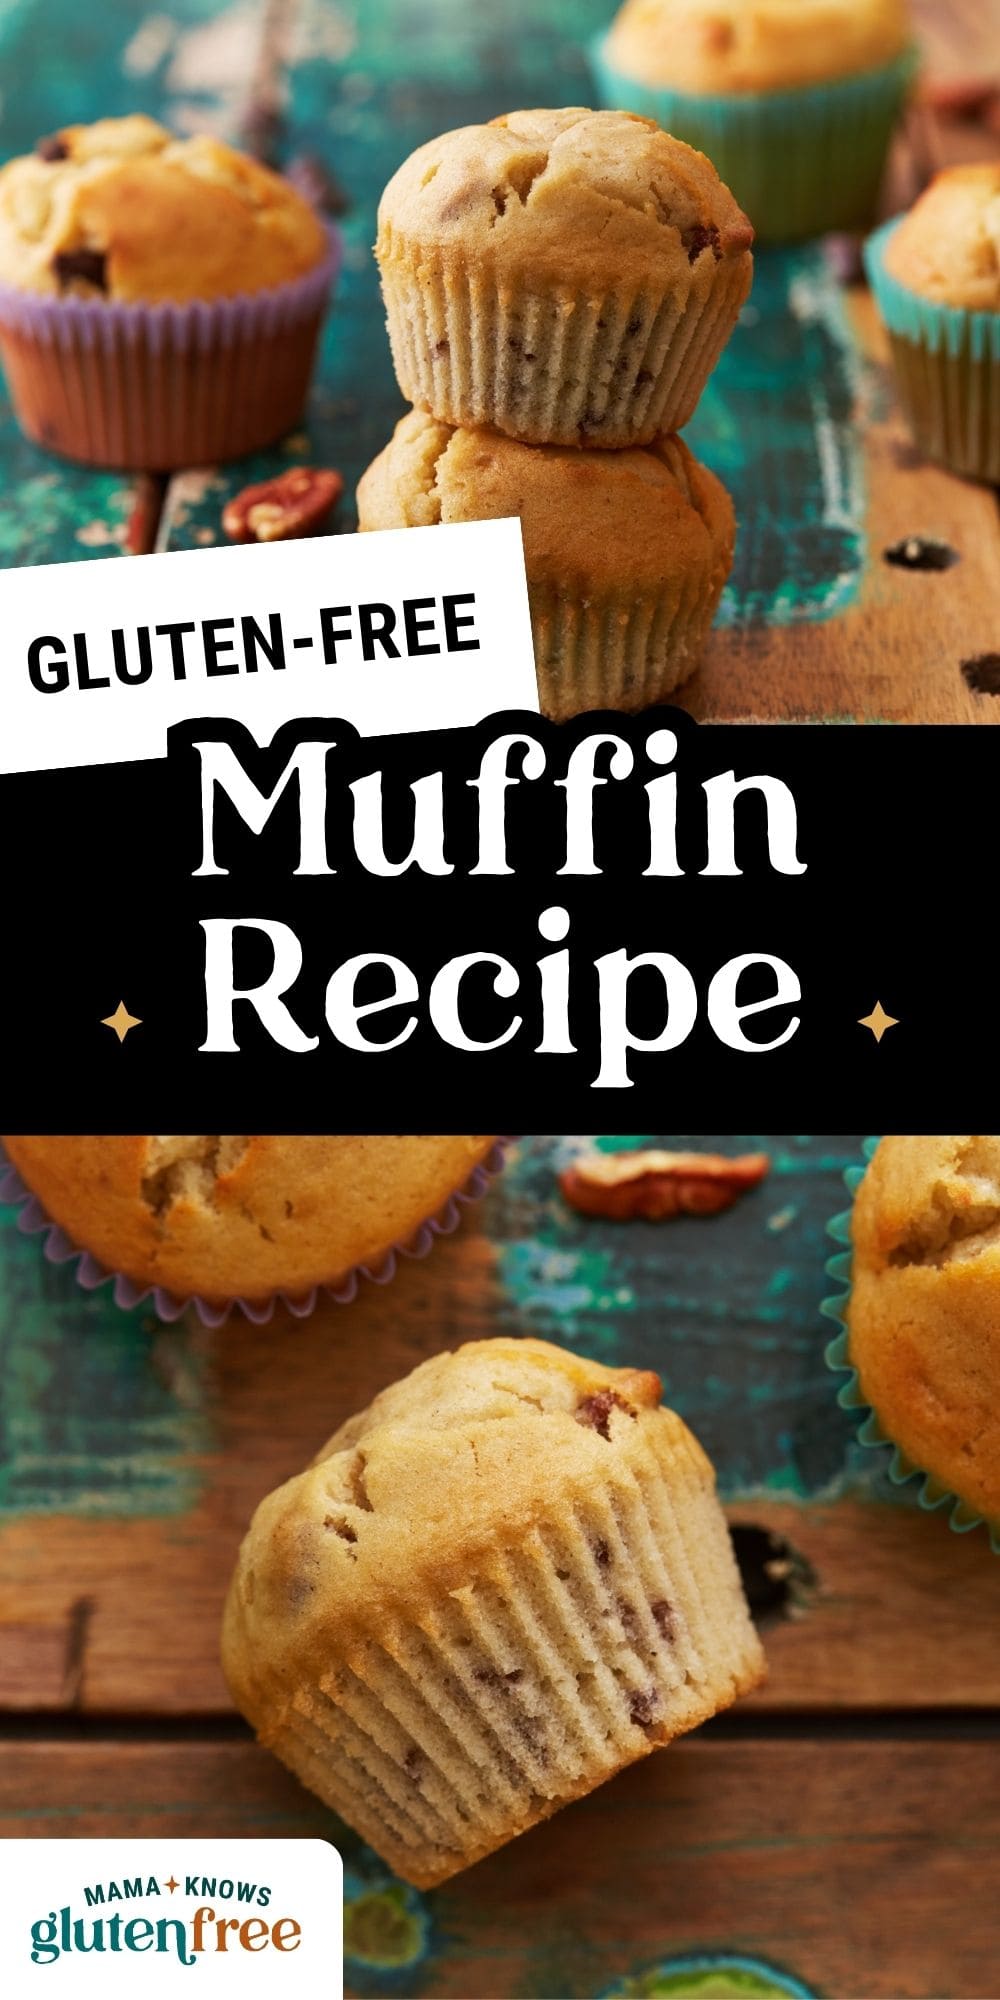
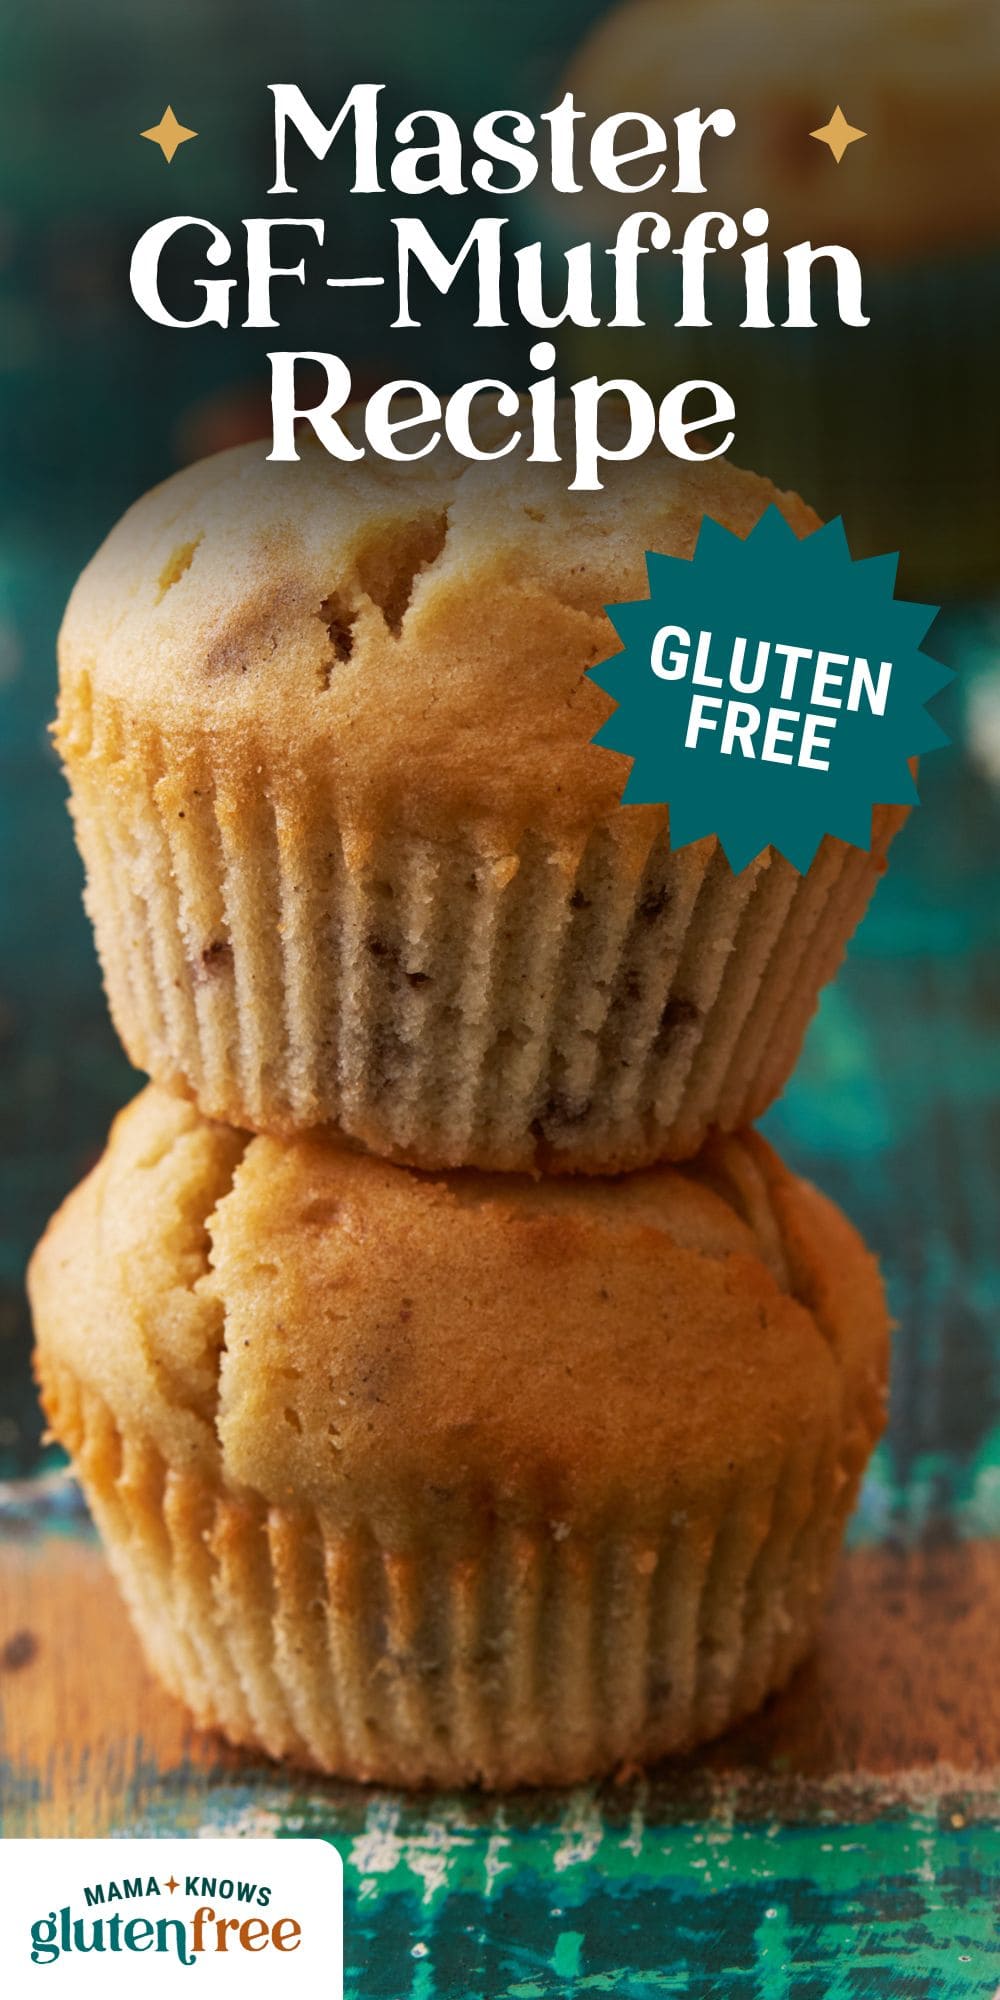
Master Recipe for Gluten-Free Muffins
I love making a big batch of these gluten-free muffins on Sunday night for the long week ahead. They’re great grab-and-go fuel for me and my kids, and they stay super moist all week! This recipe is a master recipe, meaning you can make it using any mix-ins your heart desires. It’s one of my go-to recipes that I use time and time again.
What I Learned While Testing
- Use room temperature ingredients for the best results. Cold ingredients will not incorporate evenly.
- Scoop the flour using the spoon-and-level method to avoid dense, dry muffins.
- I like to use a greased ice cream scoop to portion the batter into the muffin tin with less mess.
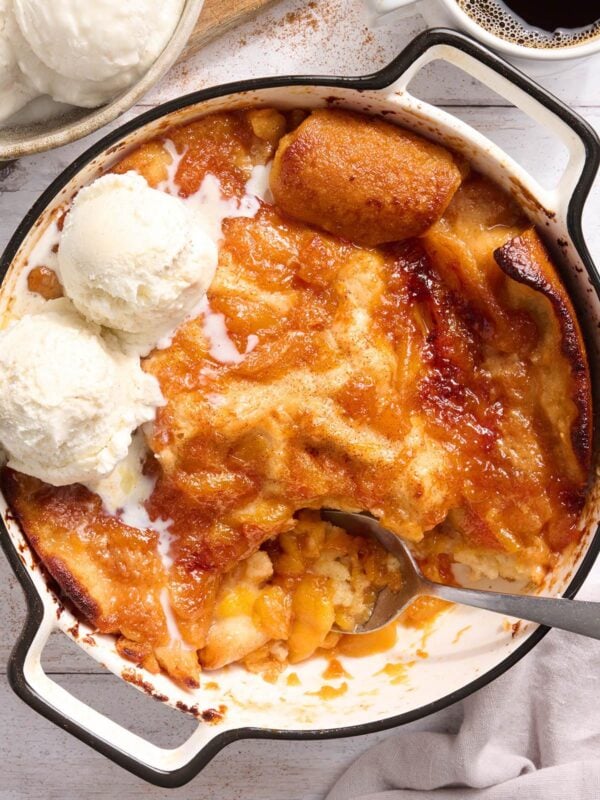
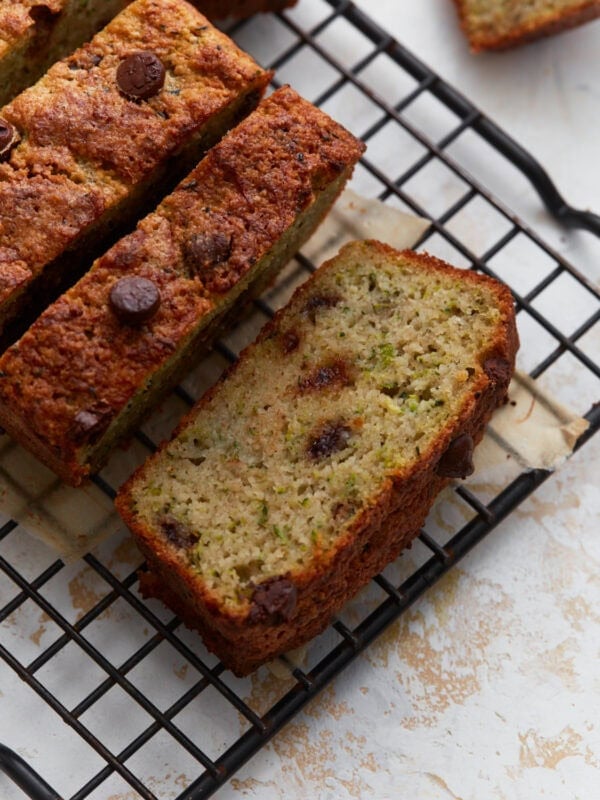
- Add fresh fruit such as berries, diced apples, or chopped peaches to the muffin batter for added flavor and texture. Be sure to gently fold in the fruit to avoid overmixing the batter, which can result in tough muffins.
Gluten-Free Muffins
Ingredients
- 3 large eggs, room temperature
- 1 cup buttermilk, room temperature
- 1/4 cup sour cream, room temperature
- 1/4 cup unsalted butter, melted and cooled
- 1/4 cup canola oil
- 1 tsp pure vanilla extract
- 2 cups gluten-free all-purpose flour with xanthan gum
- 1 tsp baking powder
- 1/2 tsp baking soda
- 1/2 tsp salt
- 1 cup granulated sugar
- 1 cup mix-ins, such as chocolate chips, raisins, or chopped nuts (optional)
Instructions
- Preheat your oven to 375°F (190°C). Line a muffin pan with paper liners or grease the wells with cooking spray.
- In a large mixing bowl, whisk together the eggs, buttermilk, sour cream, melted butter, canola oil, and vanilla extract until well combined.
- Add the gluten-free flour blend, baking powder, baking soda, salt, and granulated sugar. Stir until just combined. Be careful not to overmix; a few lumps are okay.
- If using mix-ins such as chocolate chips, raisins, or chopped nuts, gently fold them into the batter until evenly distributed.
- Divide the batter evenly among the prepared muffin cups, filling each about 3/4 full.
- Bake in the preheated oven for 18-20 minutes, or until a toothpick inserted into the center of a muffin comes out clean.
- Remove the muffins from the oven and allow them to cool in the muffin tin for 5 minutes before transferring them to a wire rack to cool completely.
- Once cooled, store the gluten-free muffins in an airtight container at room temperature for up to 3 days, or freeze for longer storage.
Notes
- You can use alternative liquids such as dairy-free milk (e.g., almond milk, soy milk) or regular milk if you’re not lactose intolerant. You can also make a DIY buttermilk substitute by adding 1 tablespoon of lemon juice or vinegar to 1 cup of milk and letting it sit for a few minutes before using.
- You can reduce the amount of sugar if you prefer less sweetness. However, keep in mind that sugar not only adds sweetness but also contributes to the texture and moisture of the muffins. You may need to adjust other ingredients slightly to compensate for the reduced sugar.
- I also like to use muffin liners to keep the muffins from sticking to the pan.
Nutrition
Nutrition information is automatically calculated, so should only be used as an approximation.
How to Make Gluten-Free Muffins Step by Step
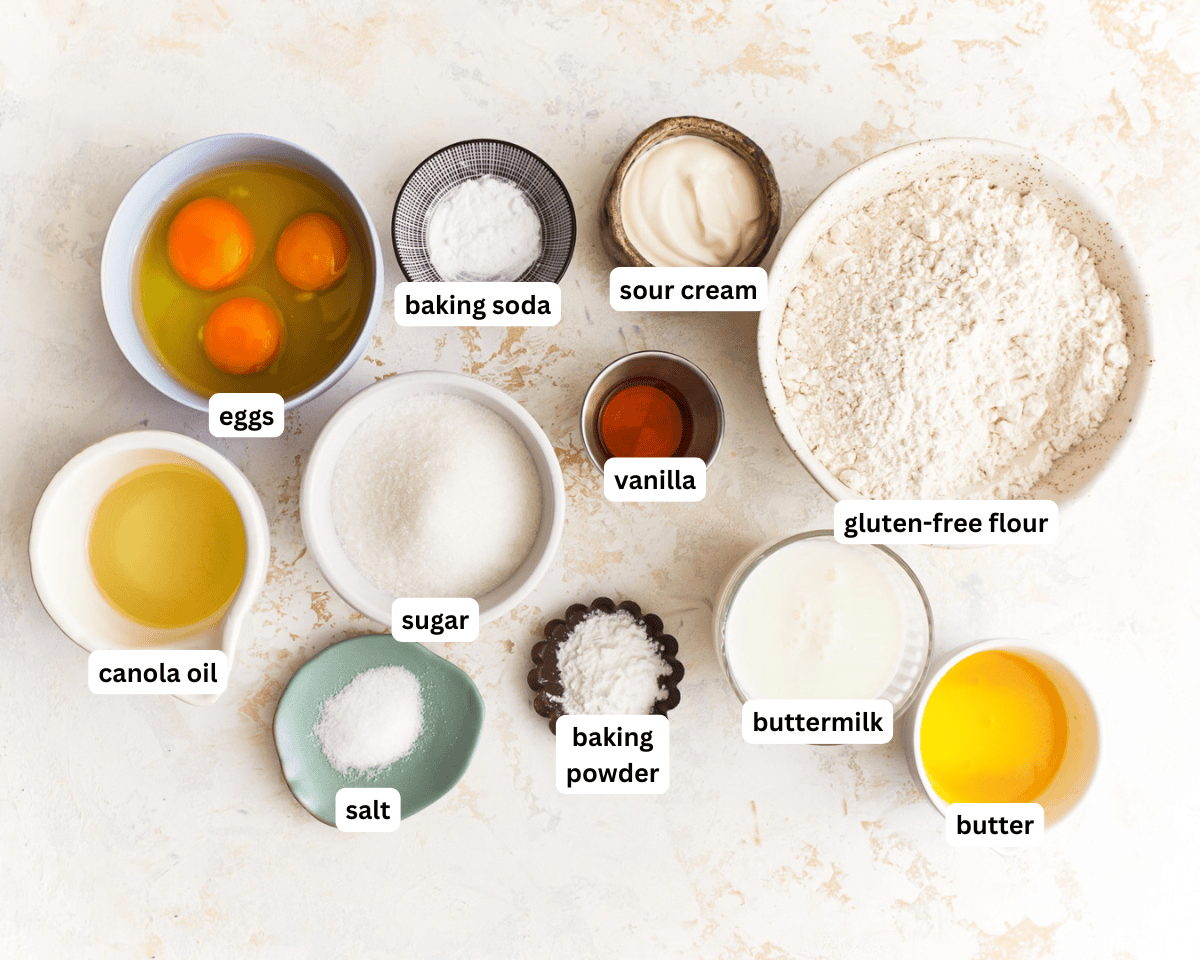
Gather the ingredients: Gather all the ingredients together. Preheat your oven to 375°F. Line a muffin pan with paper liners or lightly grease the wells with cooking spray.

Mix the wet ingredients: In a large mixing bowl, whisk together 3 large room-temperature eggs, 1 cup of room-temperature buttermilk, 1/4 cup of room-temperature sour cream, 1/4 cup of melted and cooled unsalted butter, 1/4 cup of canola oil, and 1 tsp of pure vanilla extract until smooth and fully combined.

Add the dry ingredients: Add 2 cups of gluten-free all-purpose flour with xanthan gum, 1 tsp of baking powder, 1/2 tsp of baking soda, 1/2 tsp of salt, and 1 cup of granulated sugar to the wet ingredients. Stir just until combined—avoid overmixing; a few lumps are okay. If you’d like to add mix-ins, gently fold in 1 cup of chocolate chips, raisins, or chopped nuts until evenly distributed.

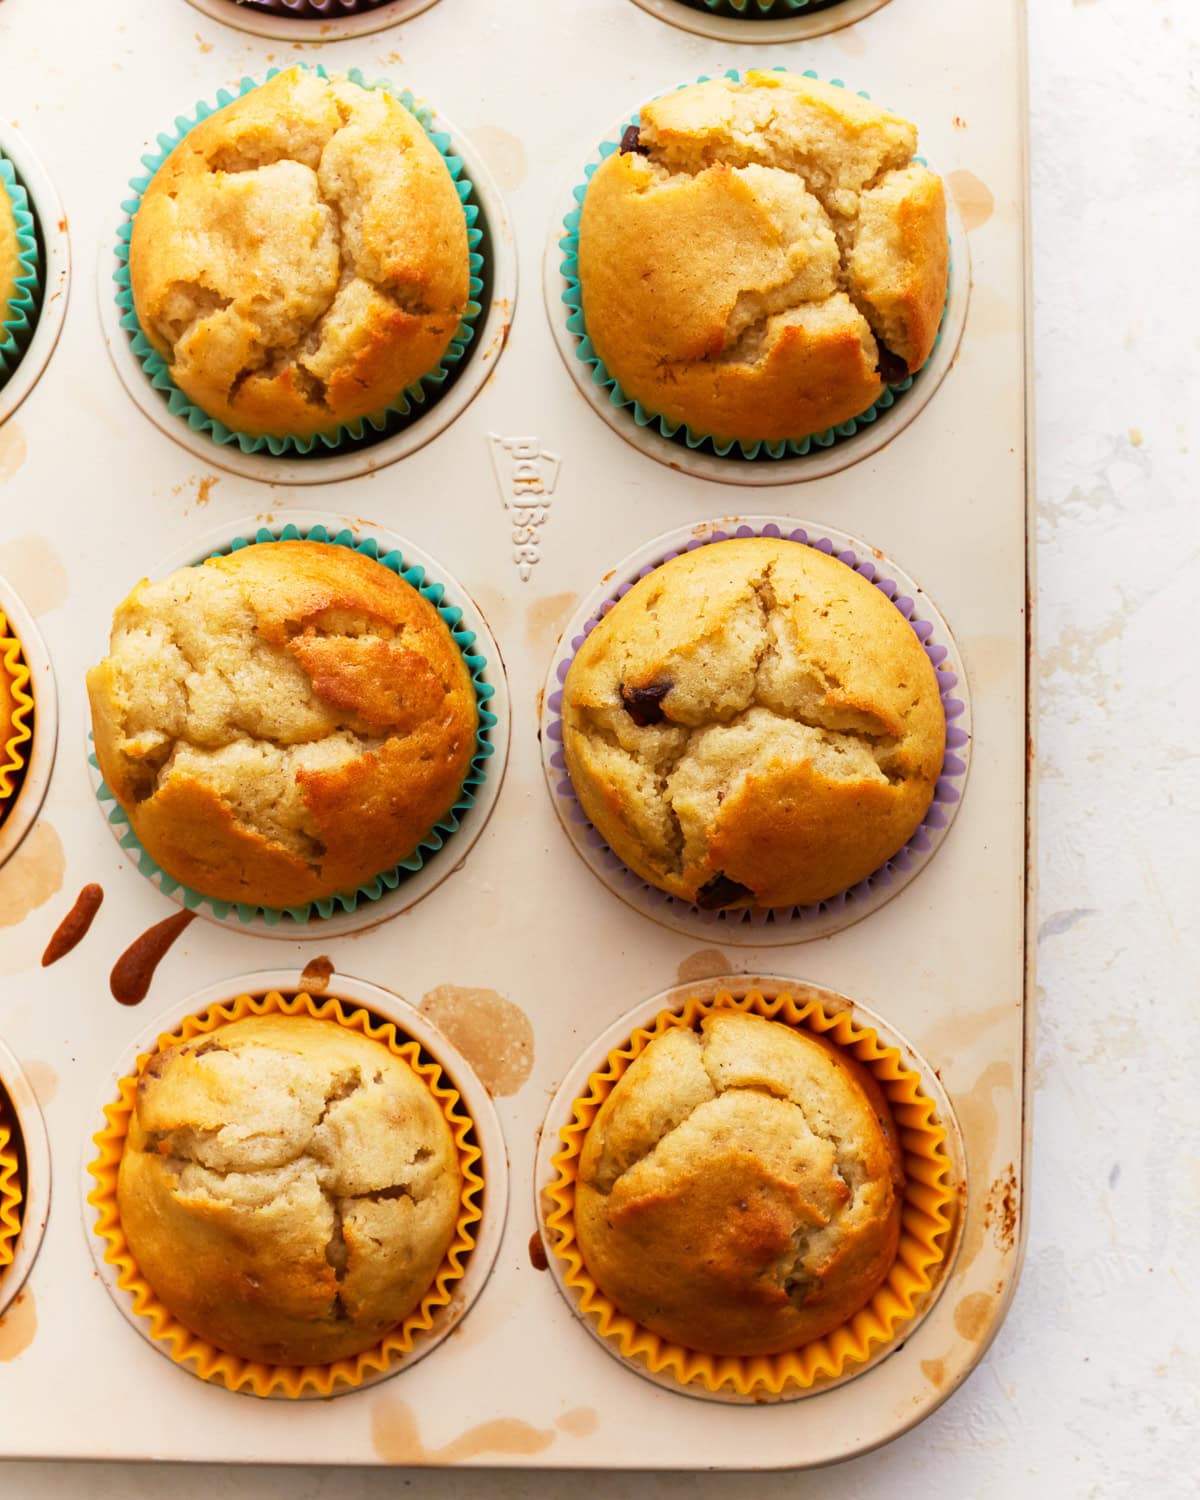
Fill the muffin pan: Divide the batter evenly between the prepared muffin cups, filling each about 3/4 of the way full.

Bake the muffins: Bake for 18–20 minutes, or until a toothpick inserted into the center comes out clean. Let the muffins cool in the pan for 5 minutes, then transfer to a wire rack to cool completely. Enjoy!
Storage Instructions
Storage: Store leftover muffins in an airtight container at room temperature for up to 3 days or refrigerate them for up to 4 days. Reheat them in the microwave before serving if desired.
Freezing: You can freeze the muffins for up to 3 months. Allow the muffins to cool completely to room temperature before freezing. Once cooled, individually wrap the muffins tightly in plastic wrap or aluminum foil to prevent freezer burn. To thaw, simply remove the desired number of muffins from the freezer and let them thaw at room temperature for a few hours or overnight.


I am wondering… does adding fruit (frozen or fresh) affect the muffin texture?
Hi Courtney, it will add to the overall texture.
how much xantham gun would I add if my almond flour doesn’t have it incorporated?
Hi Nicole, When using almond flour, I recommend ½ tsp per cup of flour. The muffins will be a bit denser since almond flour is heavier. We also have a few almond flour muffin recipes you can try!
Came out terrific! Really satisfied a craving, and my family enjoyed them as much as they do regular muffins.
Gluten-free Muffins
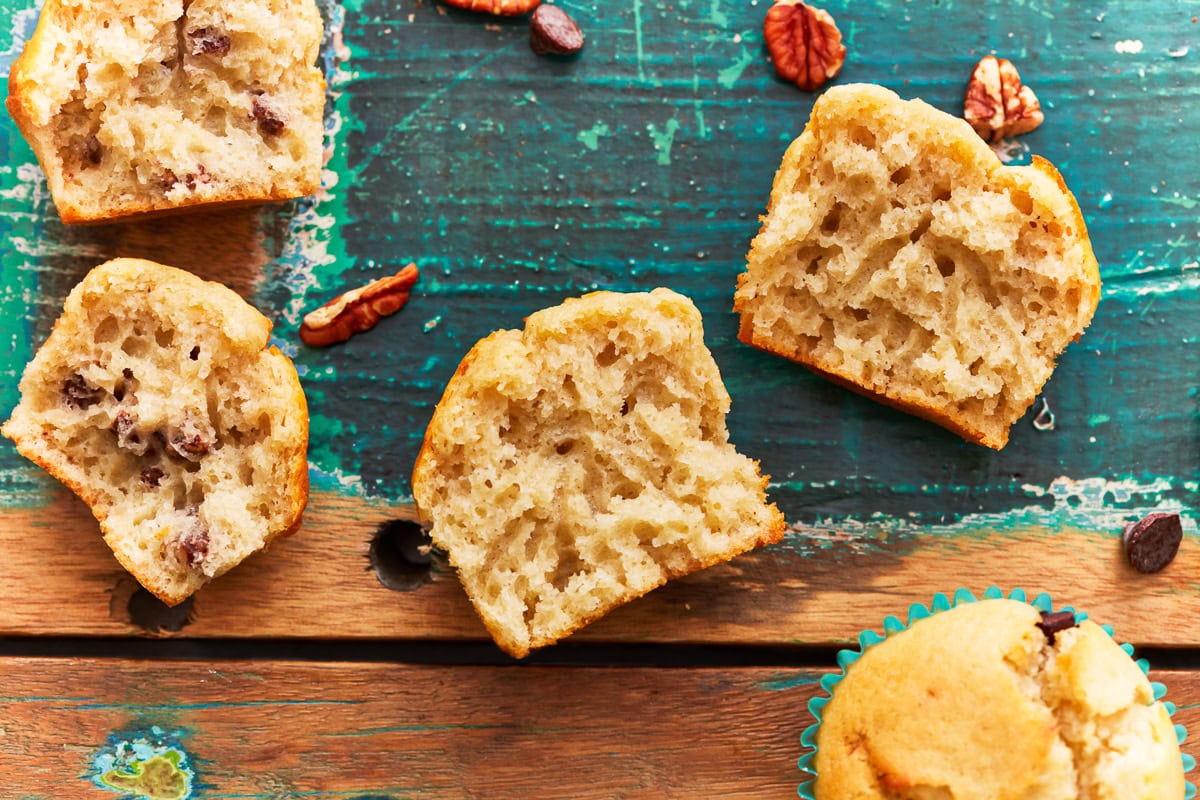
Super easy to make because of the detailed instructions. The texture was a bit crunchy on the surface and light and fluffy inside. I made a choc chip version – absolutely delicious. Thank you!!
Hello, I have a question about the buttermilk. Do you think this recipe would work to use whole milk plain Kefir instead of the buttermilk? That’s what I have on hand 😉
Hi Patty, that should work just fine!