Buckwheat Crepes
Published


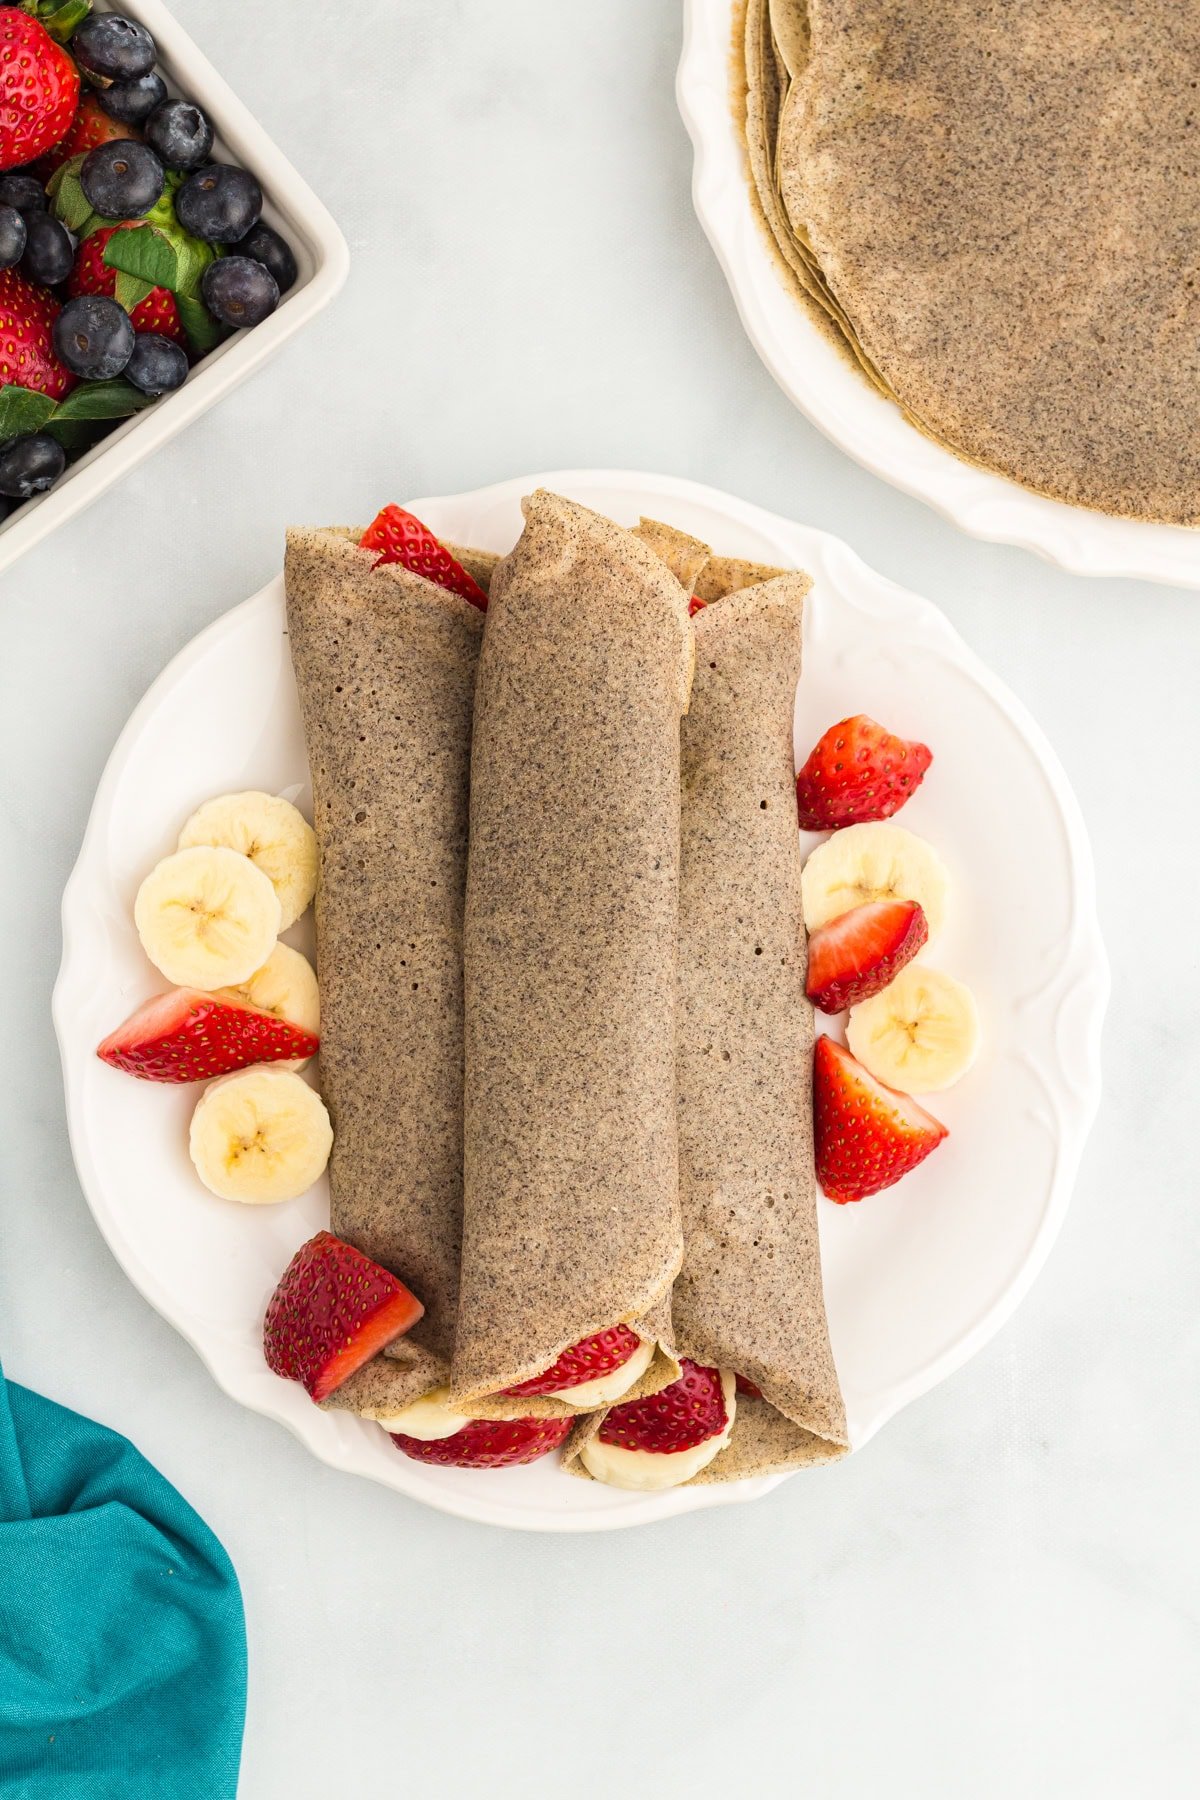
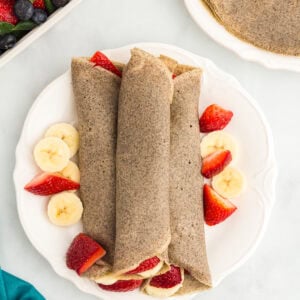
I used to think I’d never enjoy French crepes again—until I discovered that buckwheat crepes, or galettes, actually originate from the Brittany region of France and are naturally gluten-free. These rustic, lacy crepes are surprisingly easy to make at home with just 4 simple ingredients and a blender. In less than 30 minutes, you’ll be flipping, filling, and savoring a little taste of France at your own table.
Easy Buckwheat Crepes Recipe
While I love a classic gluten-free crepe or an almond flour crepe, I also love buckwheat flour. These French pancakes are light, lacy, and slightly more delicate with a subtle nutty flavor I adore. I use 100% buckwheat flour—not a blend—so the crepes stay naturally gluten-free without any added gums or starches. A splash of milk keeps the batter smooth and pourable for the perfect consistency. And they’re incredibly versatile, so they can be filled with any savory or sweet fillings you desire.
Gluten-Free Cooking Tips
- If you feel like the batter is lumpy, keep blending until it’s smooth. You can also strain it through a fine mesh strainer.
- If you feel the batter is too thick, add 1-2 tbsp more milk until you’ve reached a thin batter consistency.
- Flip the crepe when the edges look dry and begin to lift. The top should appear mostly set (no longer shiny), and the crepe should slide easily in the pan when gently shaken. You can also lift an edge with a spatula—if the underside is light golden brown, it’s ready to flip.
Buckwheat Crepes
Equipment
- 1 non-stick skillet or crepe maker
Ingredients
- 2 cups milk, For dairy-free, use almond, oat, or soy milk.
- 1 ¼ cups buckwheat flour, 185 grams
- 4 large eggs
- ½ teaspoon salt
- non-stick cooking spray
Instructions
- Place the milk, buckwheat flour, eggs, and salt into a high-powered blender. Blend on high speed until smooth (about 30 seconds).
- Heat a 10” frying pan over medium-high heat or preheat a crepe maker. If using a crepe maker, skip down to the crepe maker steps.
- Frying Pan: Right before placing the batter into the frying pan, spray the frying pan with non-stick cooking spray. You’ll want to spray the frying pan between each crepe to prevent sticking.
- Lift the frying pan from the heat and turn it towards you. While tilted, start pouring in batter, rotating the frying pan while pouring so that the crepe batter evenly spreads into a thin circle about 8” in diameter. Rotate the pan quickly, as the batter will start cooking the moment it touches the hot frying pan. Use about 1/3 cup of batter per crepe.
- Place the frying pan back onto the heat and cook for 1 to 2 minutes (edges will be set and start to lift slightly.
- Using a silicone spatula, gently flip the crepe to cook on the other side (about 1 to 2 minutes until set).
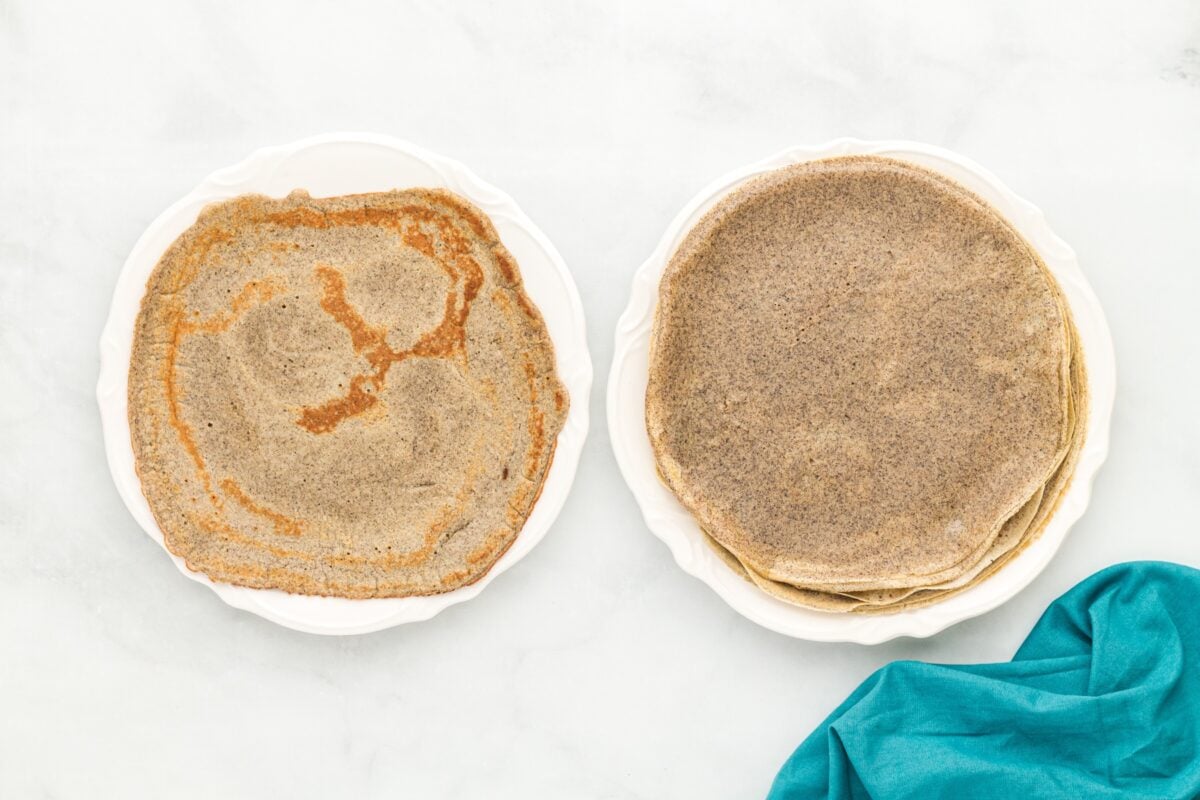
- Crepe Maker: If using a crepe maker, follow the directions for your specific crepe maker. Using a crepe maker will create much thinner crepes – see comparison photo. Crepes are usually pretty thin so this is the preferred method. With thin crepes, they will be more fragile so work carefully with a rubber spatula when removing crepes from the crepe maker.
- Place the cooked crepe on a plate and continue the steps above with the remaining batter.
- Serve crepes warm with your choice of filling.
Notes
- Use ⅓ cup of batter per crepe for 8” size.
Nutrition
Nutrition information is automatically calculated, so should only be used as an approximation.
How to Make Buckwheat Crepes Step by Step
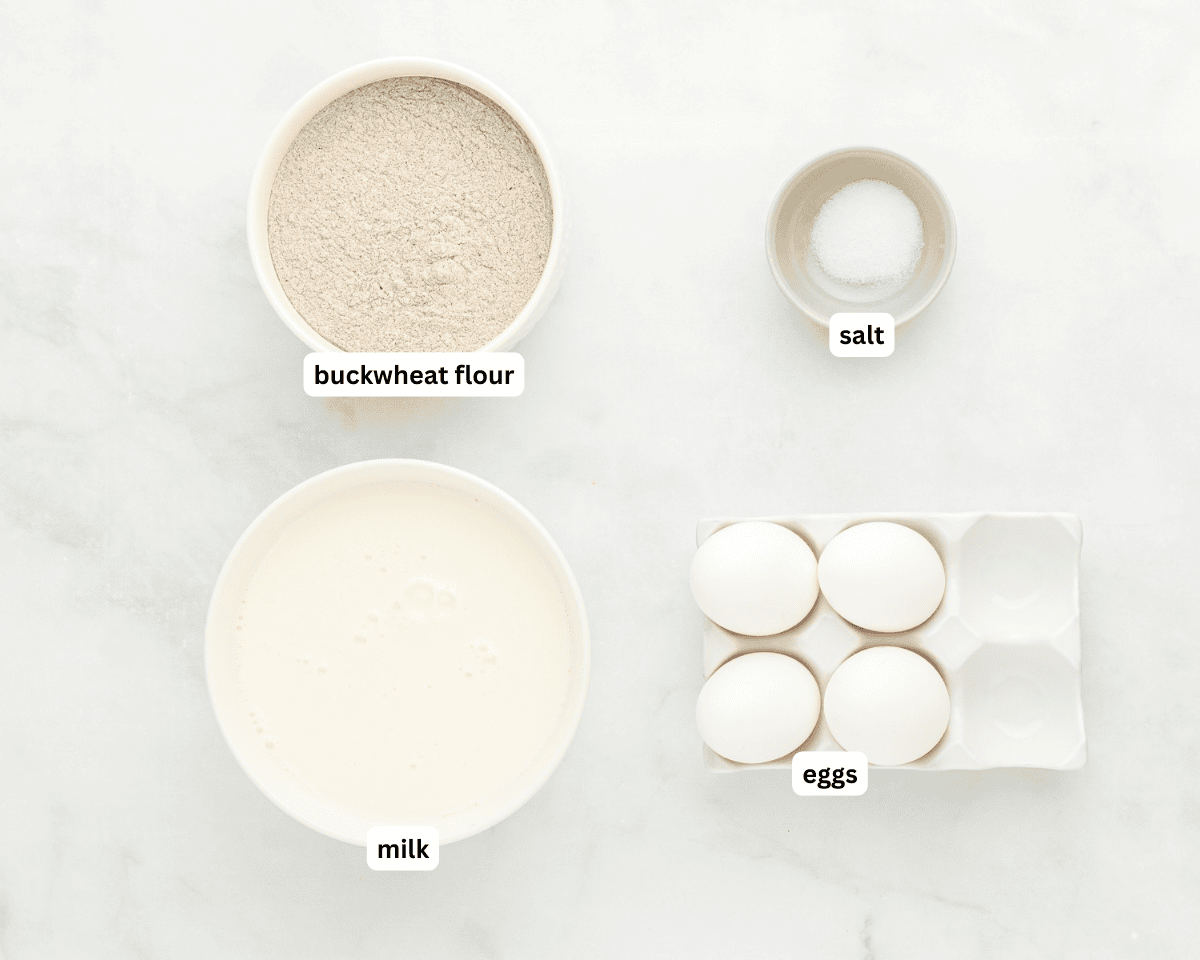
Gather the ingredients: Gather all the ingredients together.
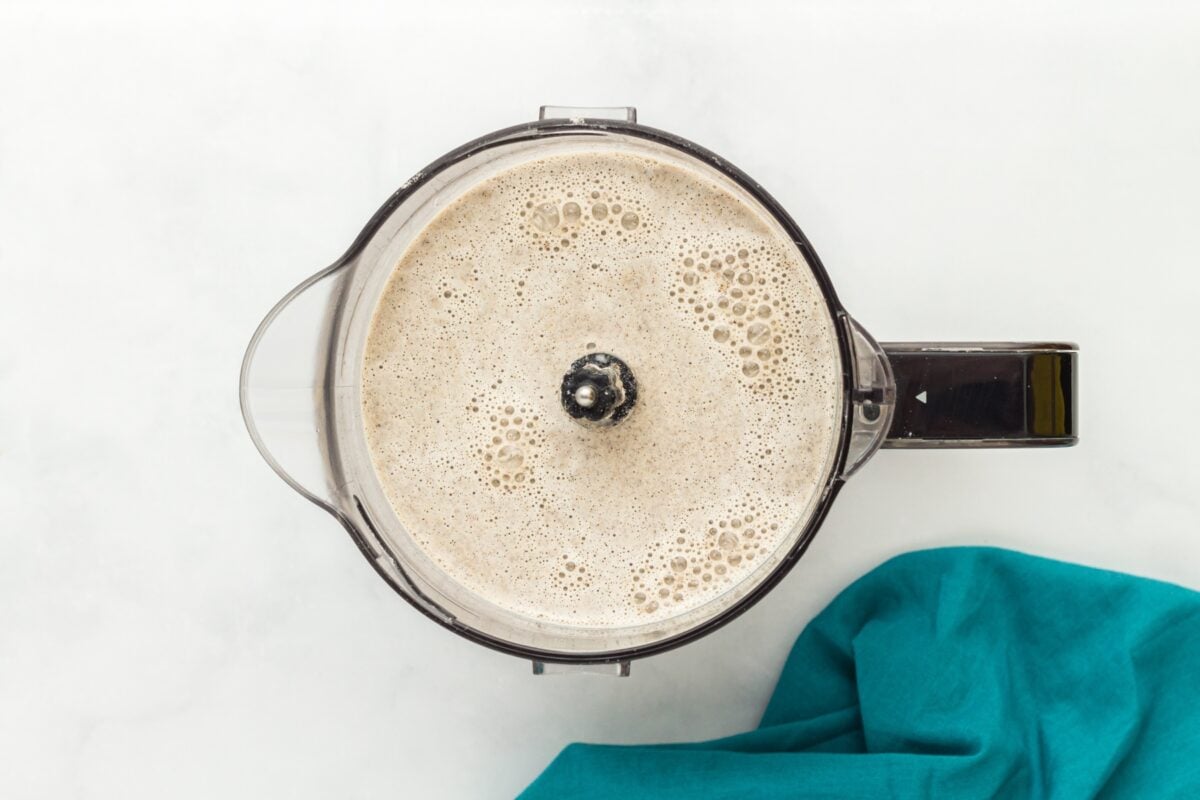
Blend the batter: Using a high-powdered blender, blend 2 cups milk, 1 ¼ cups (185 grams) of buckwheat flour, 4 eggs, and ½ tsp salt on high for 30 seconds.
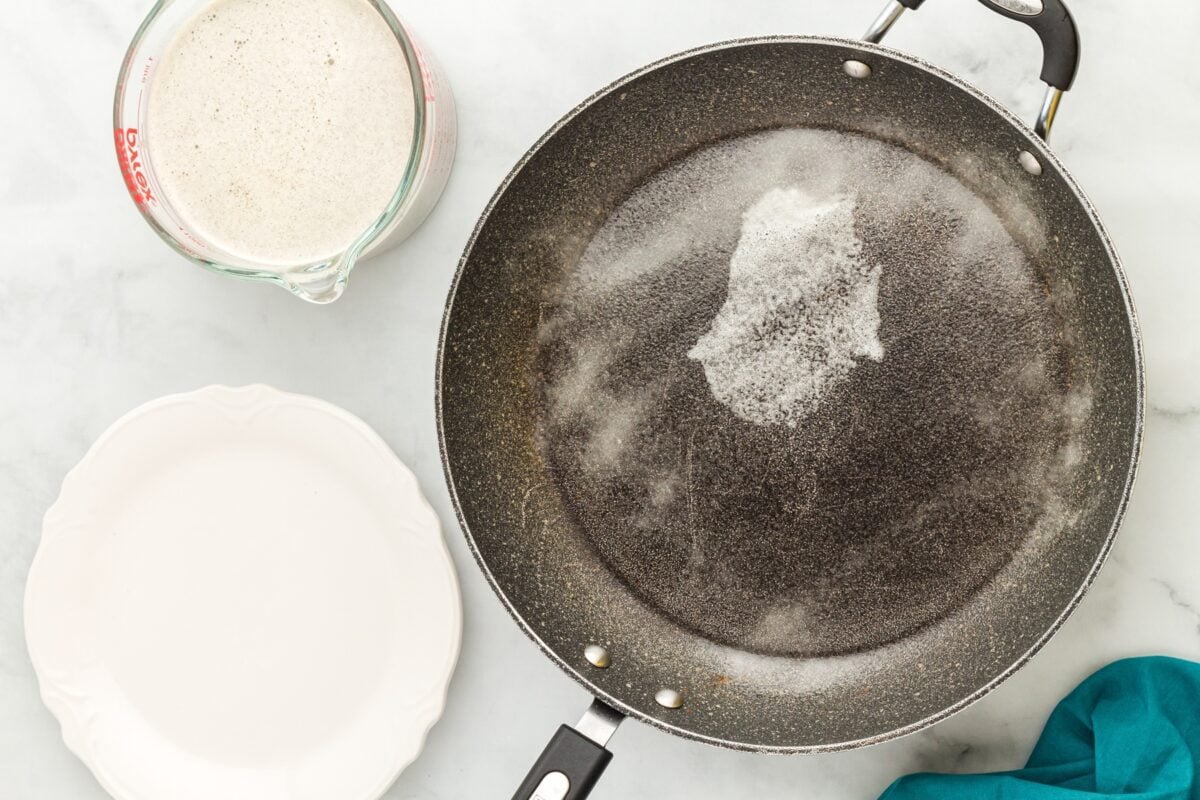
Prep the pan: Warm a 10″ frying pan over medium-high heat. (If using a crepe maker, skip down to the crepe maker step.) Just before adding the batter, spray the frying pan with non-stick cooking spray. Be sure to reapply a light coat of spray between each crepe to keep them from sticking.
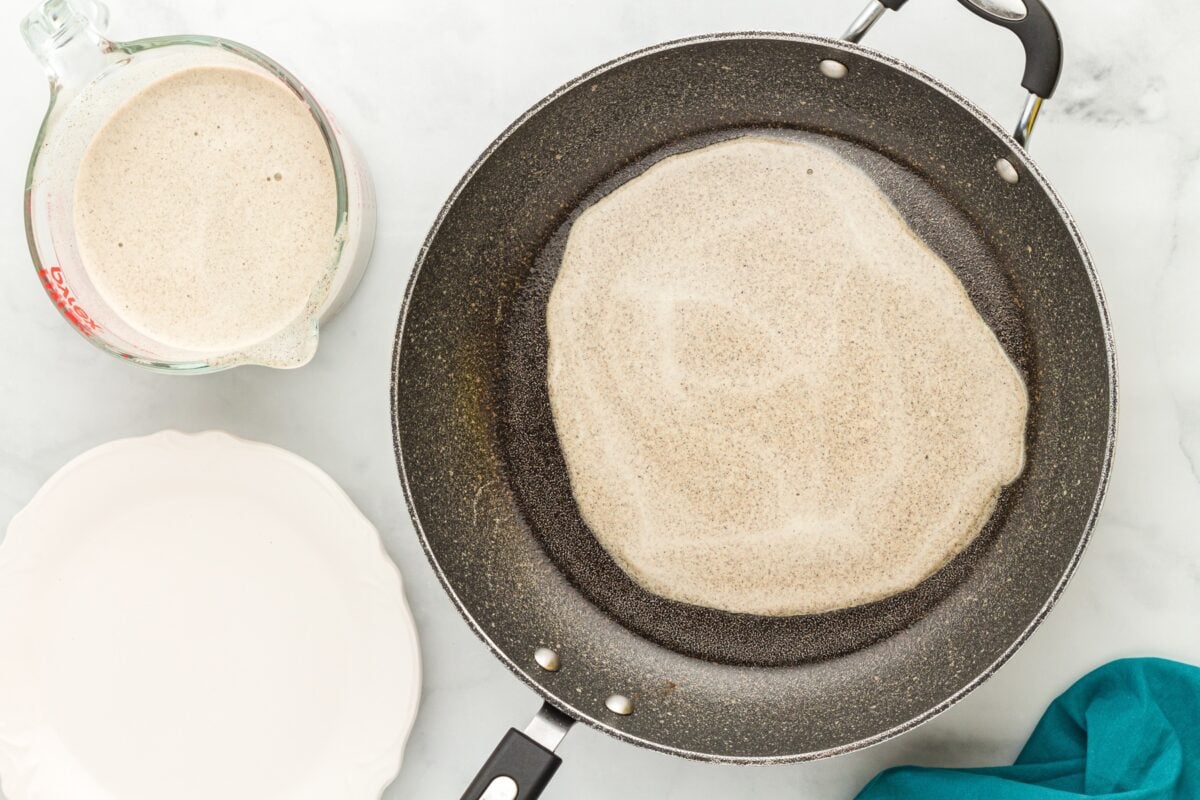
Cook the crepes: Lift the frying pan off the heat and tilt it slightly toward you. Pour in about 1/3 cup of batter while gently rotating the pan in a circular motion to spread the batter into a thin, even layer about 8 inches wide. Move quickly—since the pan is hot, the batter will begin to cook as soon as it touches the surface. Return the frying pan to the heat and cook the crepe for 1-2 minutes, until the edges are set and begin to lift slightly from the pan.
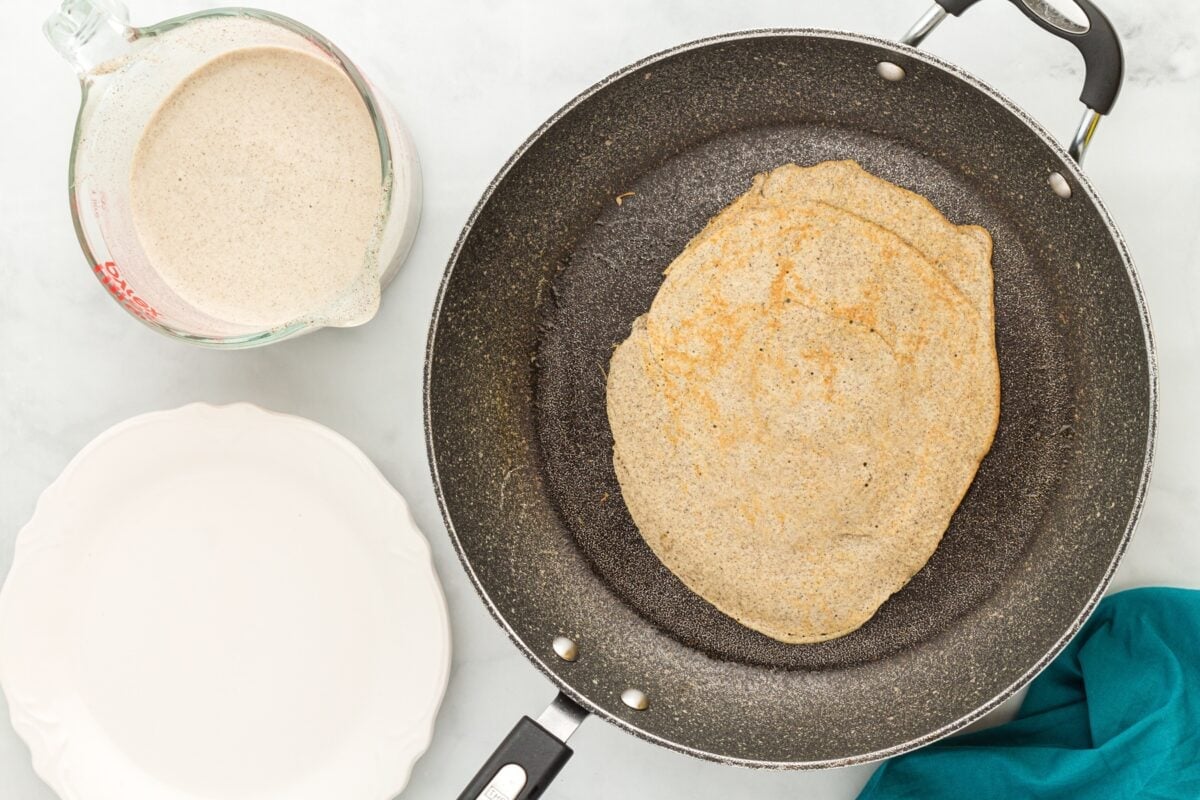
Flip the crepes: Using a silicone spatula, carefully flip the crepe and cook the other side for another 1 to 2 minutes until it’s fully set.
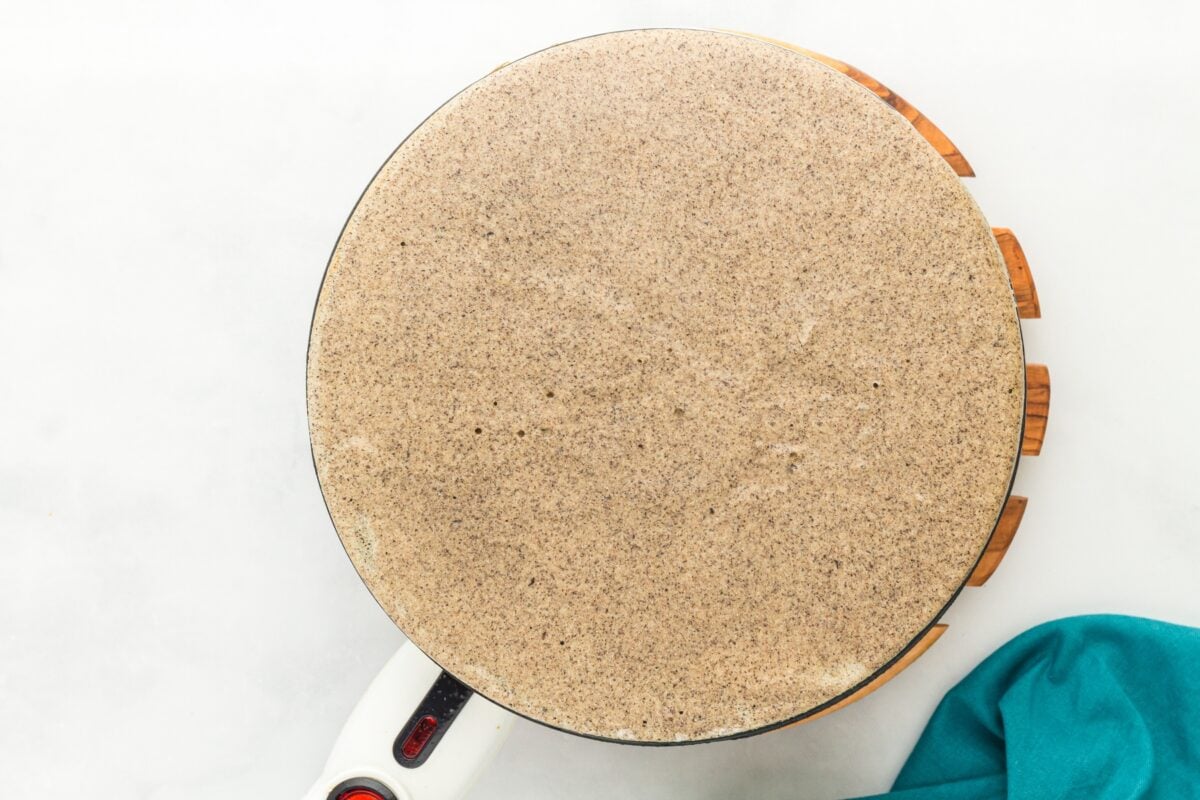
Crepe maker: If you’re using a crepe maker, refer to the instructions for your specific model. Crepe makers typically produce much thinner crepes compared to a frying pan—see the comparison photo for reference. Since crepes are meant to be thin, this method is often preferred. However, the thinner they are, the more delicate they are, so use a rubber spatula and handle them gently when lifting them off the crepe maker.
Repeat and serve: Repeat these steps until you’ve used all the batter, stacking the cooked crapes on a plate or platter. Serve warm with your favorite sweet or savory fillings. Enjoy!
Serving Suggestions
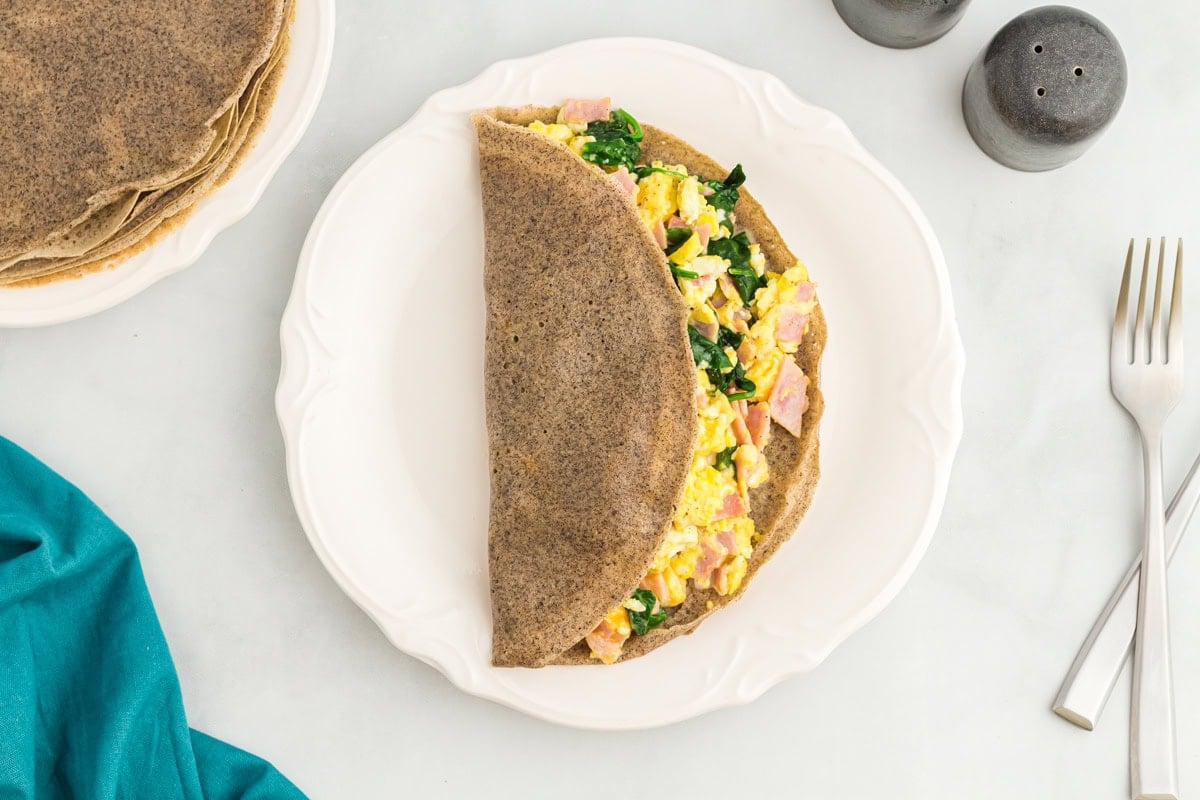
Like all good French crepes, these buckwheat ones are super versatile and can be filled with either sweet or savory ingredients. I love them for breakfast—especially with a quick omelet tucked inside. For a classic experience, fill them with ham and melted Gruyere. When I’m in the mood for something sweet, I go for a generous slather of Nutella and add fresh fruit like bananas and strawberries. They’re great any time of day, whether you’re starting your morning, grabbing a light lunch, or treating yourself to a cozy dessert.
Storage Instructions
I like to make a batch of these ahead of time to keep things easy. You can store them in the fridge for up to 3 days—just keep them stacked, with a bit of parchment in between each crepe.
The batter can also be made 1 day in advance. Make sure to re-stir before pouring.
They also freeze really well. Lay them flat and freeze for up to 2 months. When you’re ready to eat, just reheat them in the microwave or warm them in a skillet. You can even prep the batter ahead of time—just store it in the fridge for up to 24 hours and give it a good stir before using.