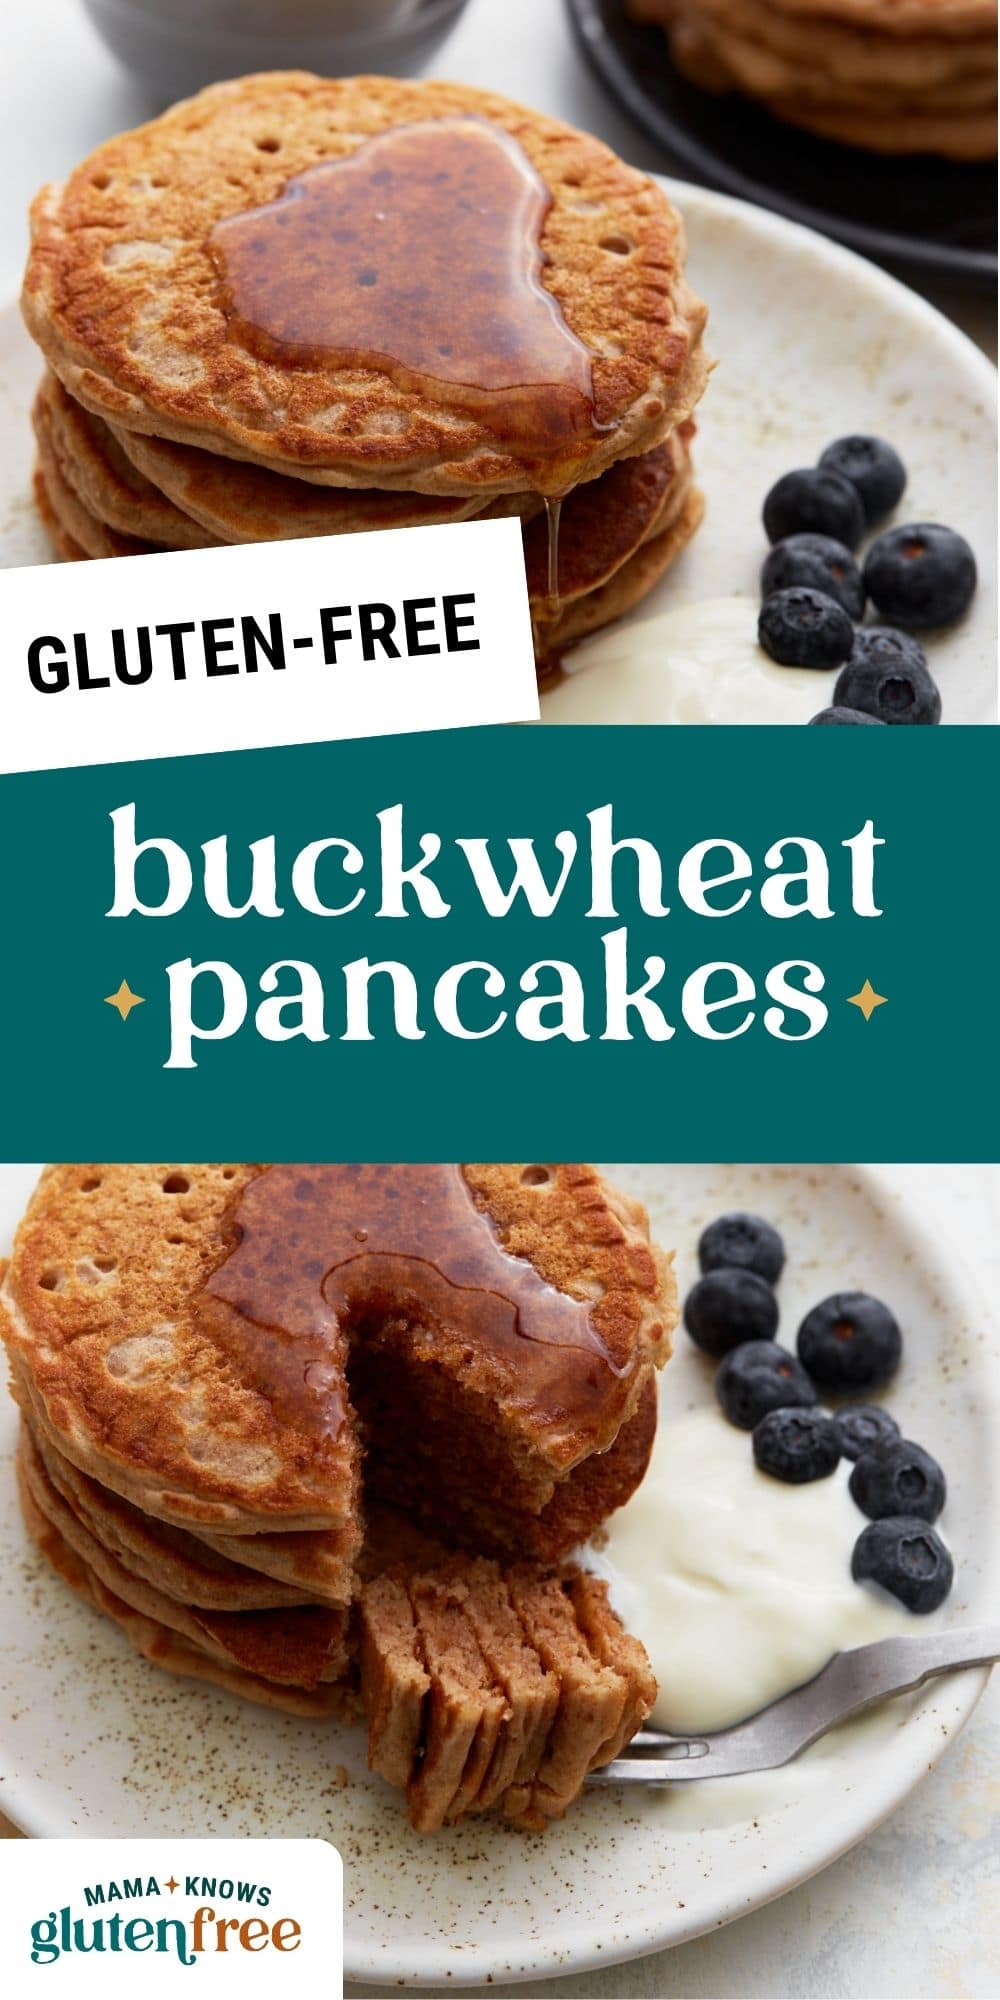
Buckwheat Pancakes
Published
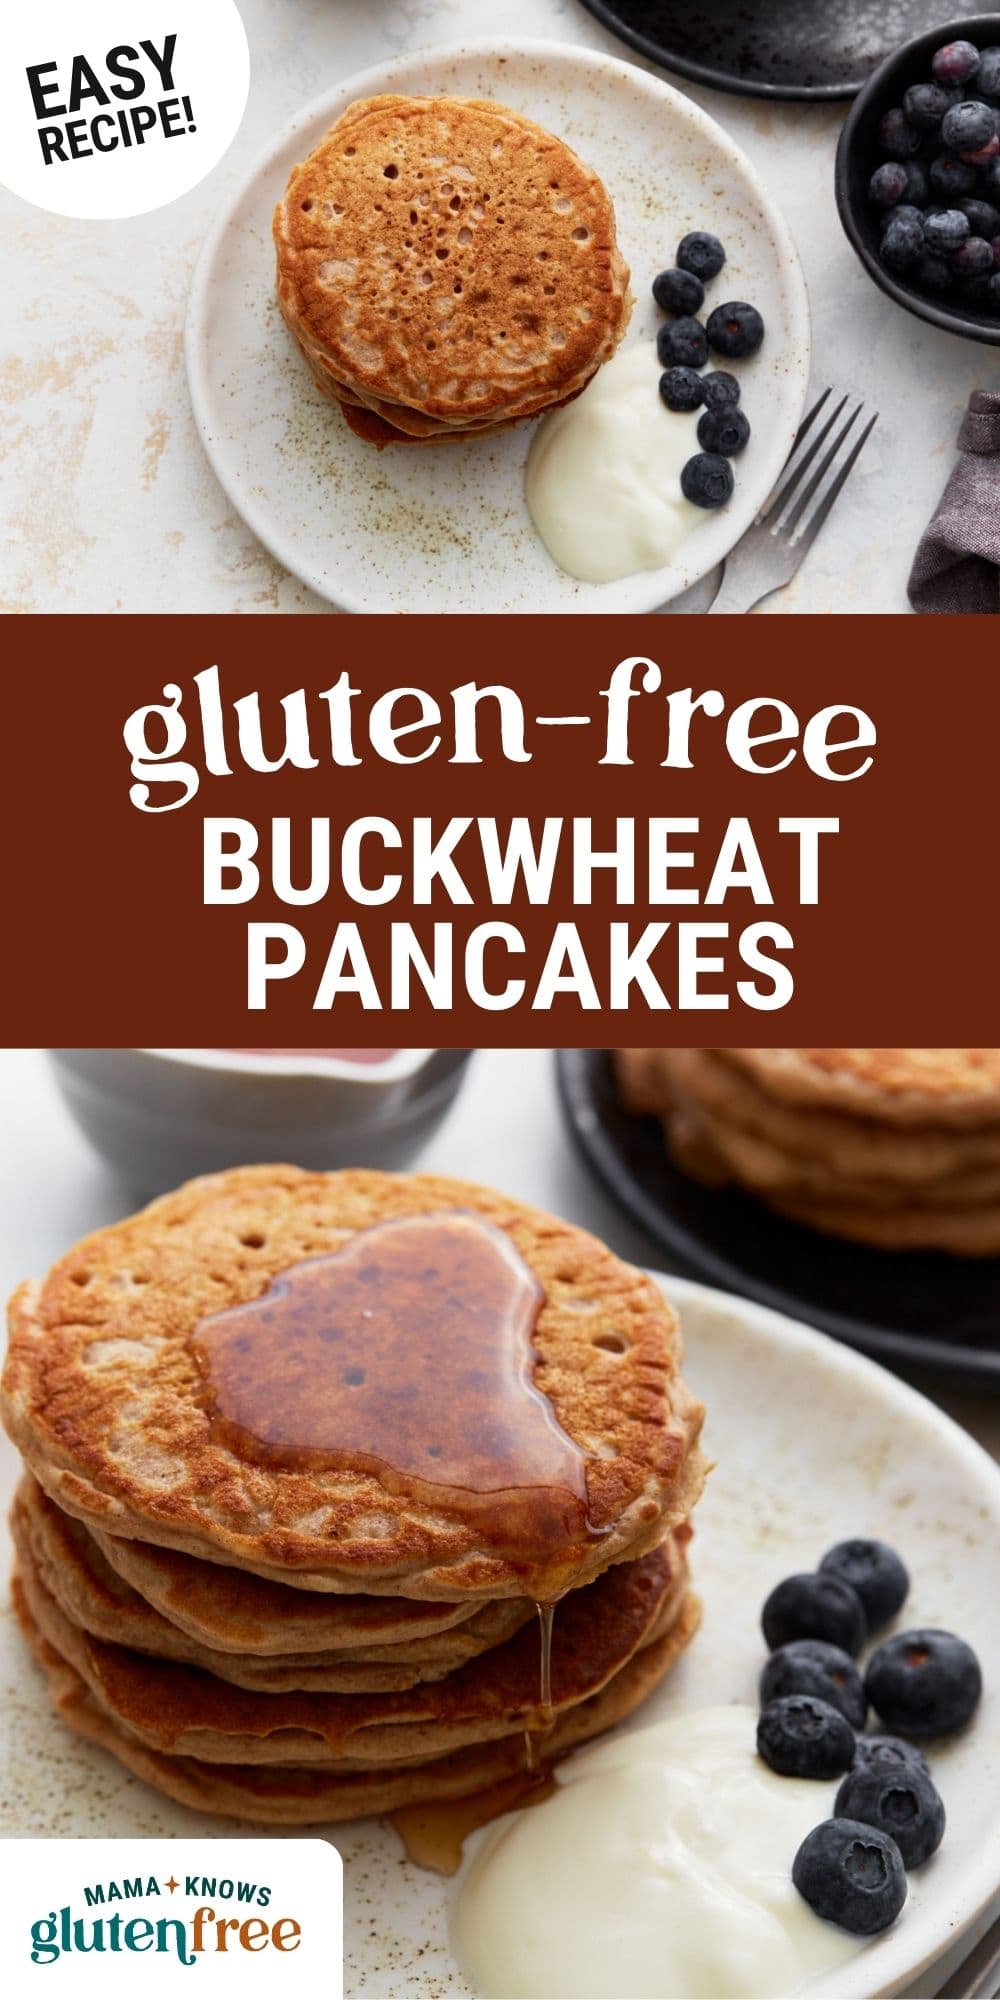
Buckwheat pancakes have quickly become one of my favorite breakfasts. I love the nutty, earthy flavor they bring, which adds something special to my morning routine. The texture is hearty but still light, making them the perfect balance between filling and satisfying. Whether I’m topping them with fresh fruit, a drizzle of maple syrup, or a sprinkle of nuts, they always hit the spot.
Easy Buckwheat Pancakes
These buckwheat pancakes are a spin on my gluten-free pancakes and just as delicious! What I really appreciate is that buckwheat is naturally gluten-free, so I don’t have to worry about gluten sensitivities. Plus, they’re easy to make—ready in just 20 minutes—and feel like a wholesome, indulgent treat without the guilt. Since discovering my love for buckwheat flour, I’ve also learned to love buckwheat waffles. These pancakes are the kind of breakfast that keeps me energized and content, ready to take on the day.
Buckwheat Pancakes

Ingredients
- 1 cup buckwheat flour
- 1 teaspoon baking powder
- 1/2 teaspoon baking soda
- 1/4 teaspoon salt
- 1 large egg, Sub for flax egg or Bob's Red Mill egg replacer
- 1 1/4 cups buttermilk, or dairy-free buttermilk
- 2 tablespoons unsalted butter, melted
- 1 tablespoon sugar, Swap for 1 tablespoon of honey or maple syrup for a natural sweetener.
- 1/2 teaspoon vanilla extract
Instructions
- Whisk together buckwheat flour, baking powder, baking soda, and salt in a bowl.
- Whisk the egg, buttermilk, melted butter, sugar, and vanilla extract in a separate bowl.
- Pour the wet ingredients into the dry ingredients and stir until smooth. Let the batter rest for 5 minutes.
- Preheat a non-stick skillet over medium heat and lightly grease with butter or oil.
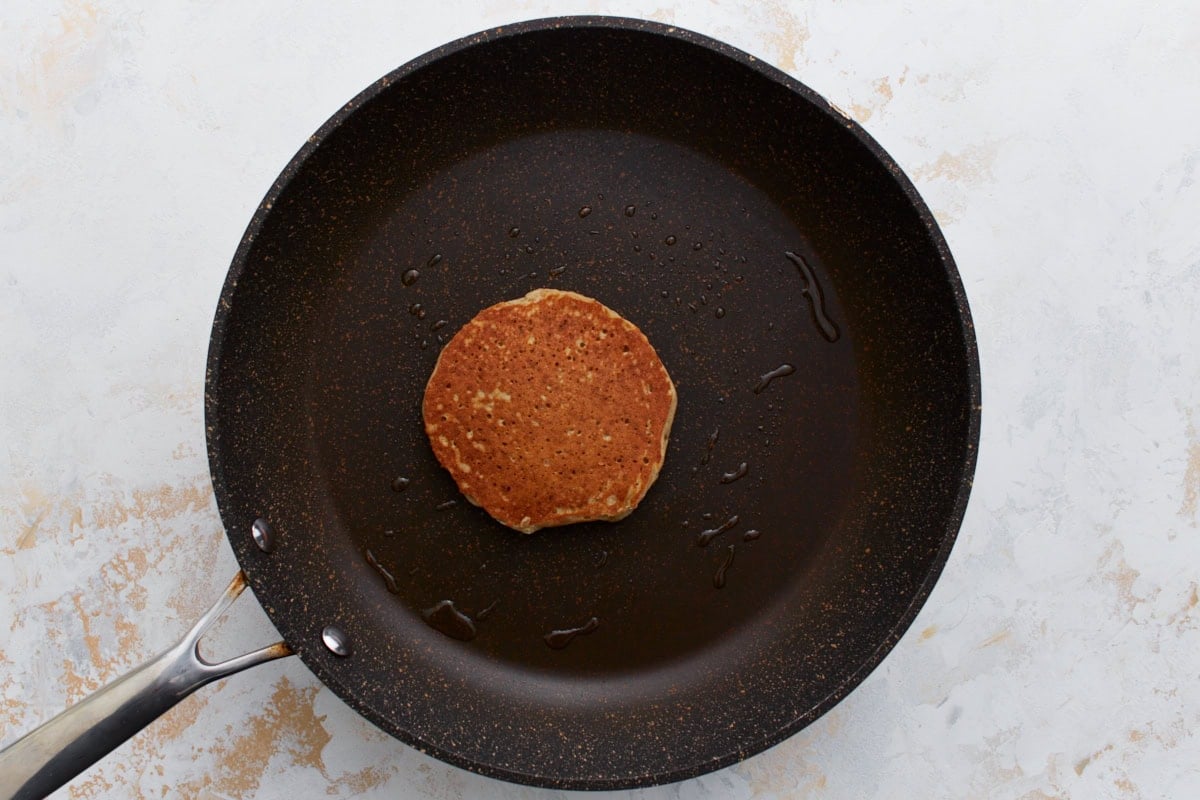
- Pour 1/4 cup of batter onto the pan for each pancake. Cook for 2–3 minutes until bubbles form, then flip and cook for another 1–2 minutes until golden brown.
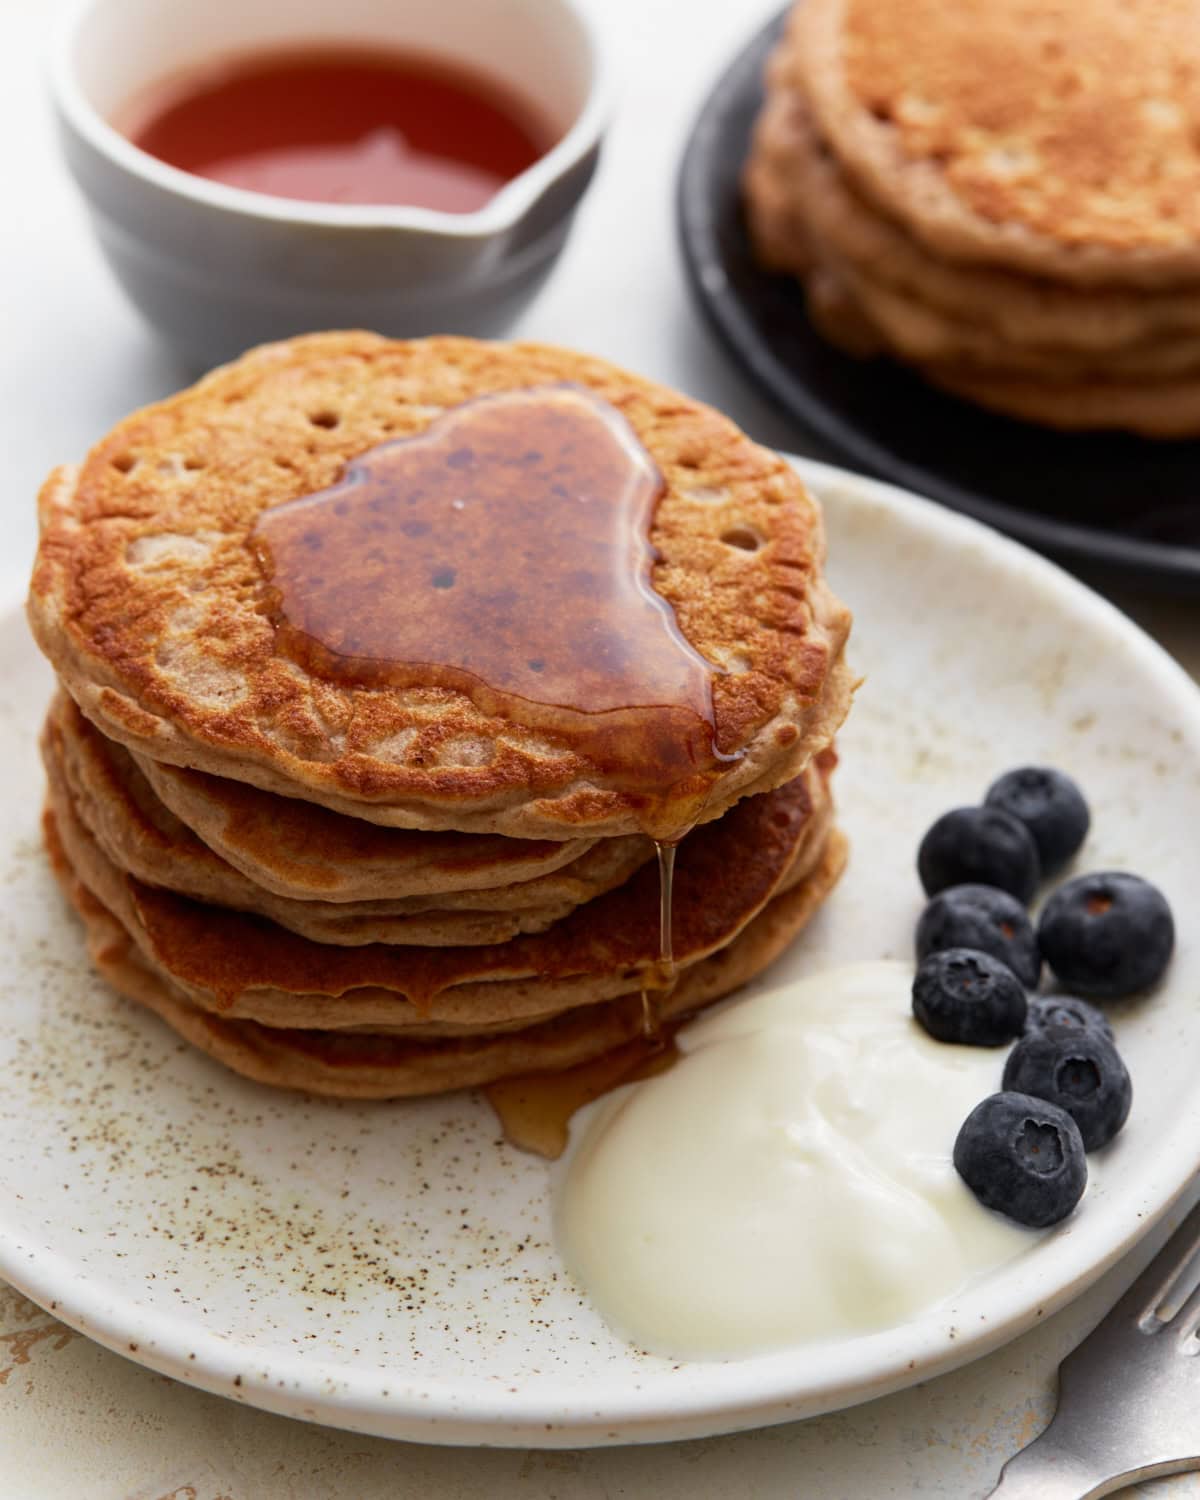
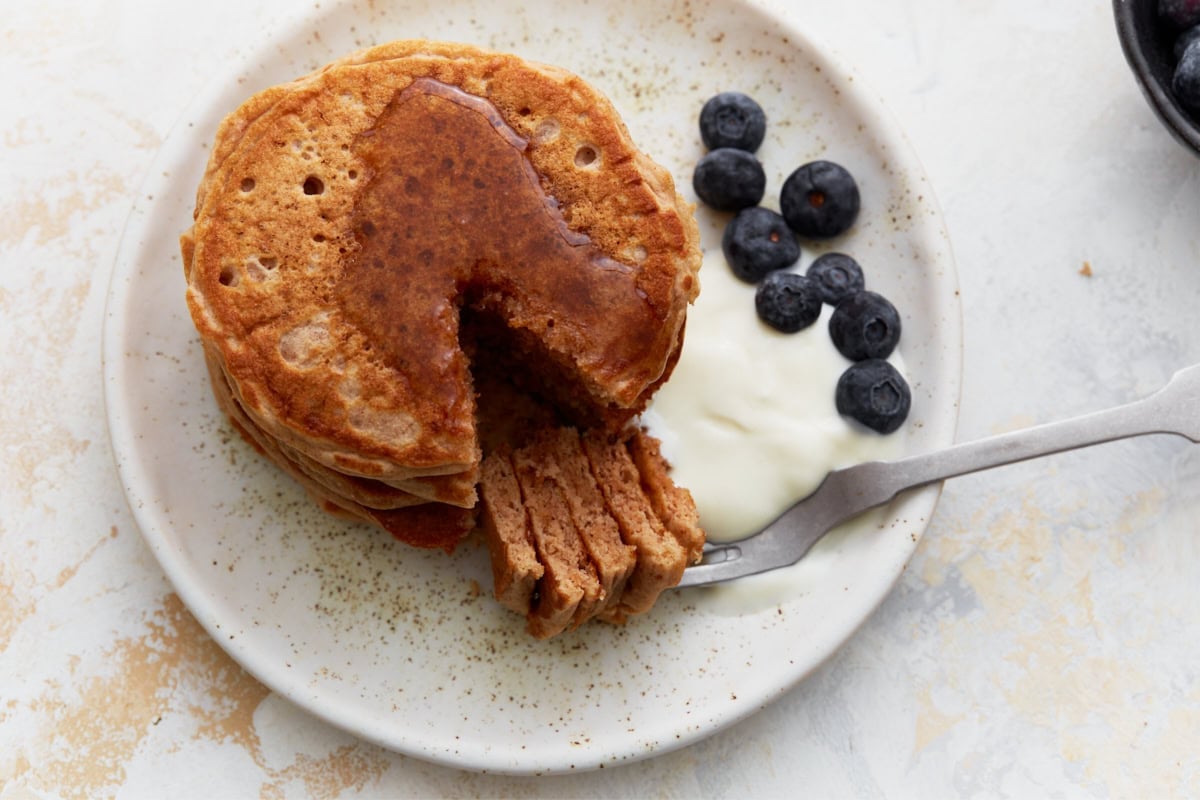
- Serve warm with maple syrup, butter, fruits, or yogurt.
Notes
- Create your own buttermilk by mixing 1 ¼ cups of milk (or dairy-free alternative) with 1 tablespoon of white vinegar. Let it rest for 5–10 minutes before using.
- Buckwheat flour has a distinct, earthy flavor. For a milder taste, opt for light buckwheat flour or mix it with another gluten-free flour, such as oat flour, in a 50/50 ratio.
- Buckwheat flour absorbs liquid quickly. If the batter thickens too much, gradually add more buttermilk, 1 tablespoon at a time, until it reaches a smooth, pourable consistency.
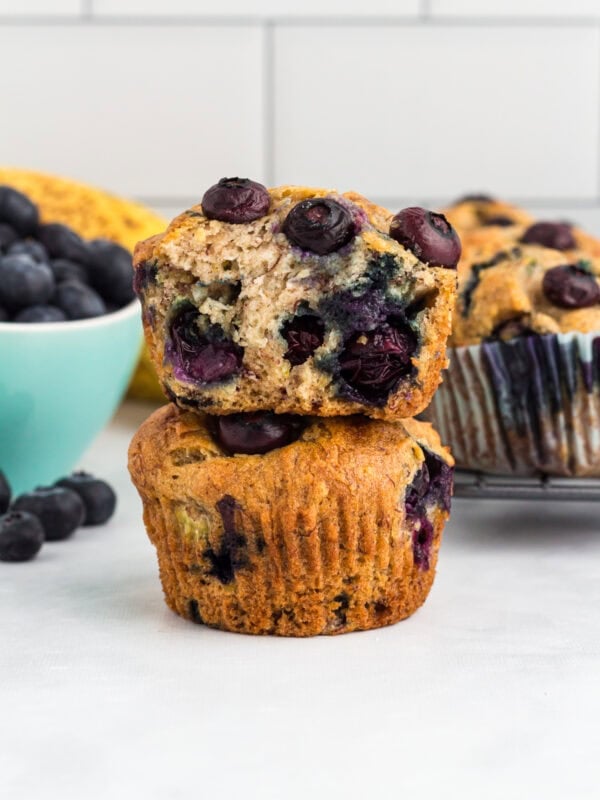
- Customize your pancakes with mix-ins like blueberries, chocolate chips, chopped nuts, or a dash of cinnamon for added flavor.
Nutrition
Nutrition information is automatically calculated, so should only be used as an approximation.
How to Make Buckwheat Pancakes Step by Step
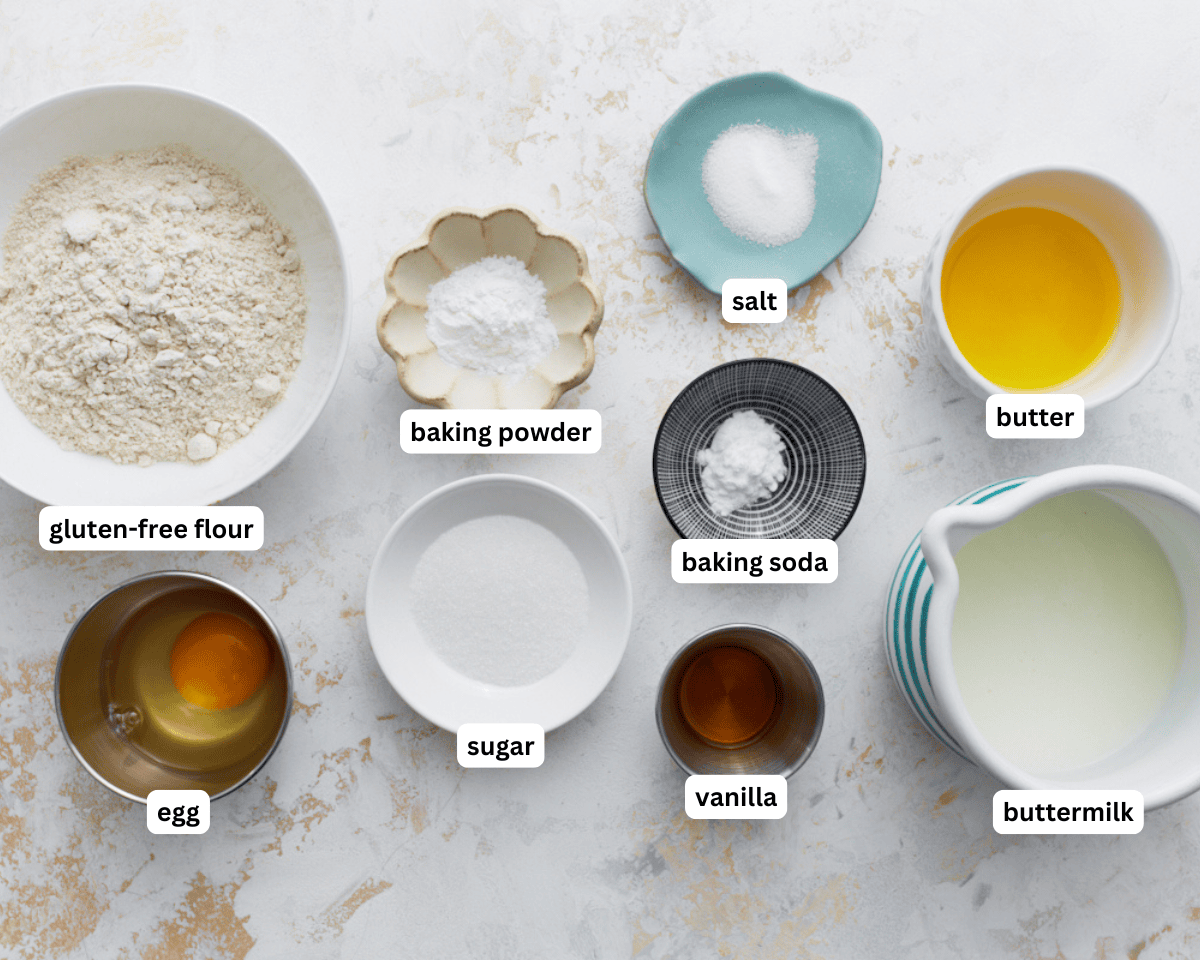
Gather the Ingredients: Gather all the ingredients together.
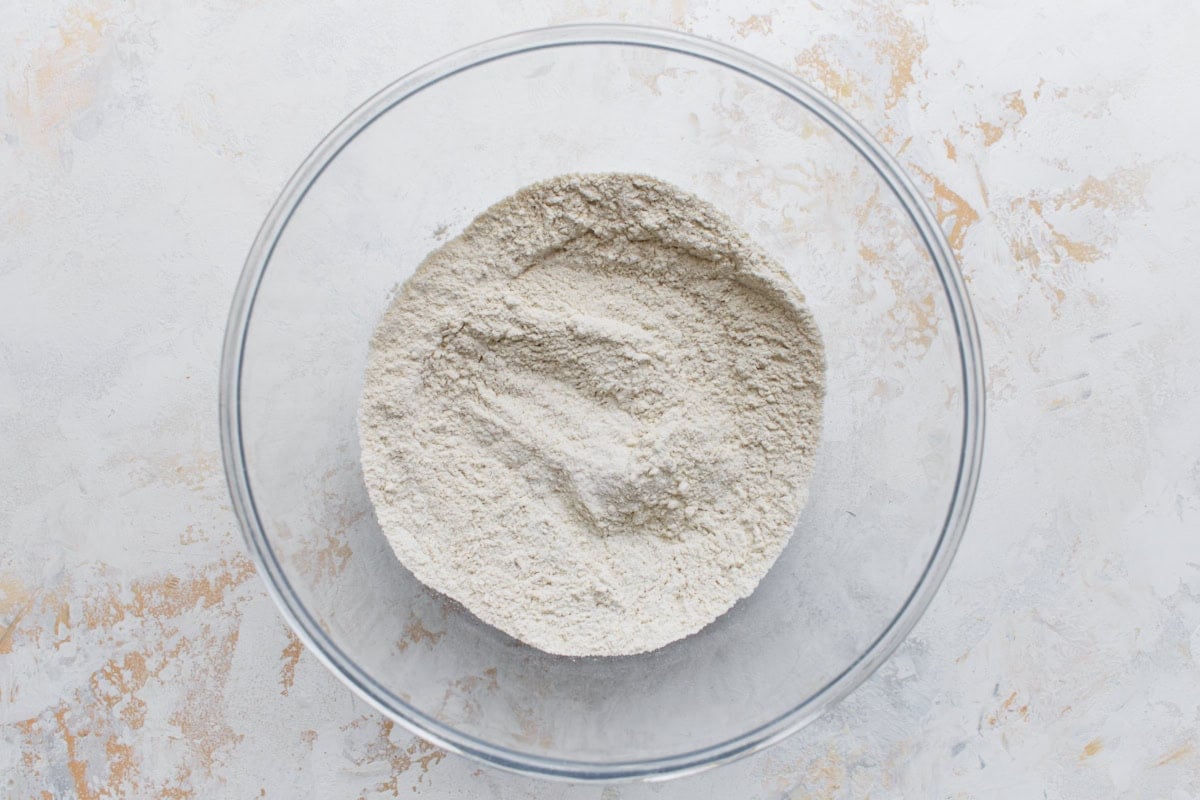
Mix the Dry Ingredients: In a large mixing bowl, whisk together 1 cup buckwheat flour, 1 tsp baking powder, ½ tsp baking soda, and ¼ tsp salt.
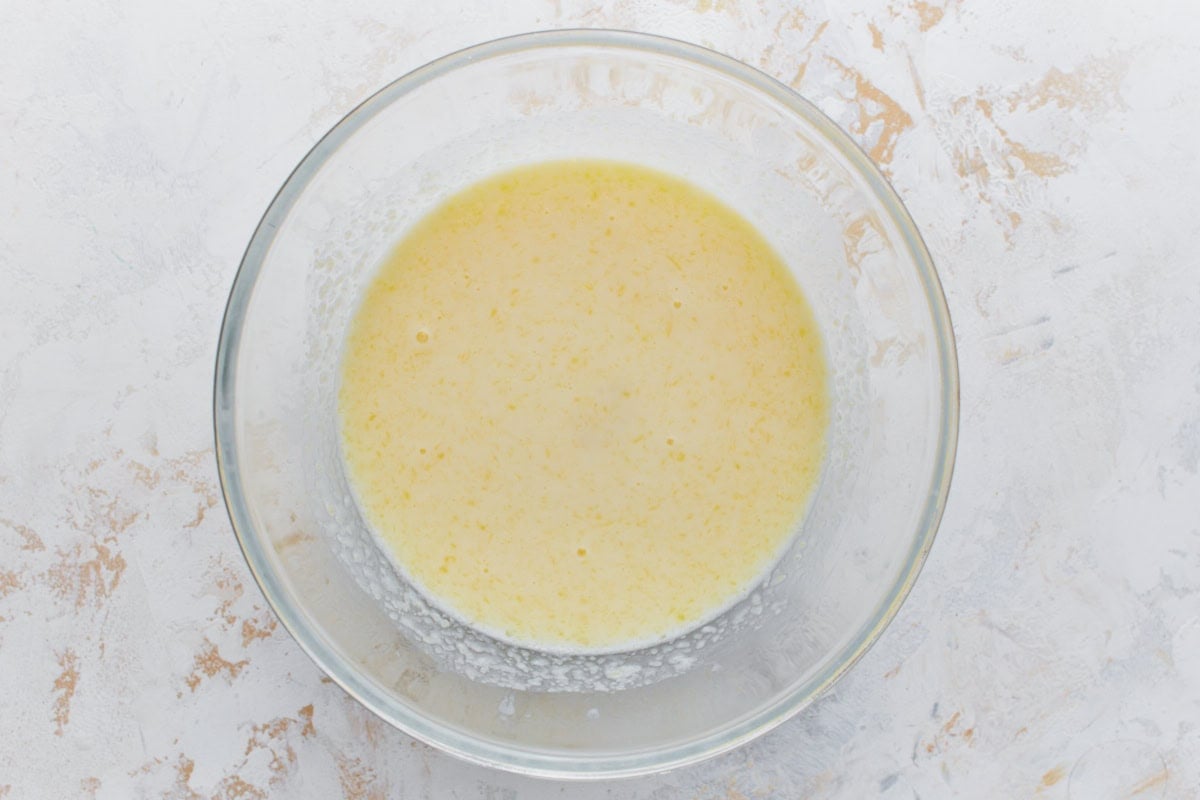
Mix the Wet Ingredients: In a separate bowl, whisk together 1 large egg, 1 ¼ cups buttermilk, 2 tbsp melted unsalted butter, 1 tbsp sugar, and ½ tsp vanilla extract.
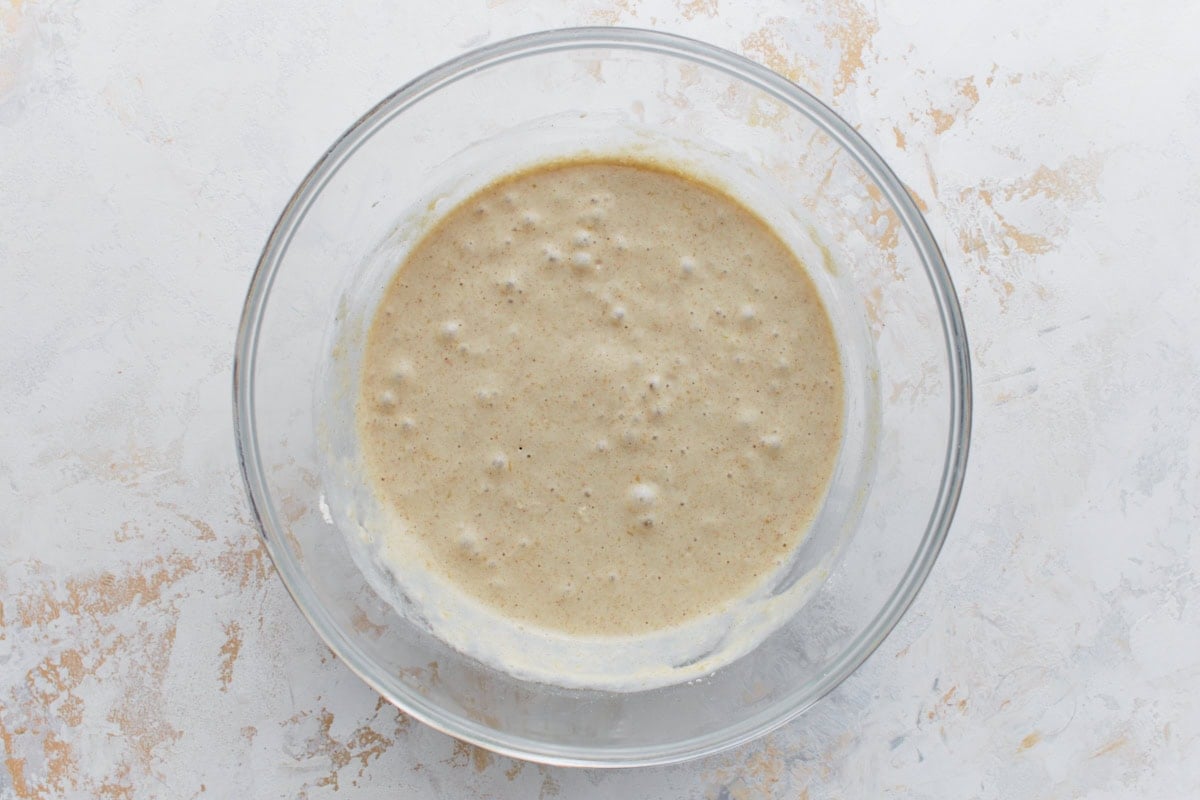
Combine the Ingredients: Pour the wet ingredients into the dry ingredient bowl and whisk until the batter is smooth. Rest the batter for 5 minutes before cooking.
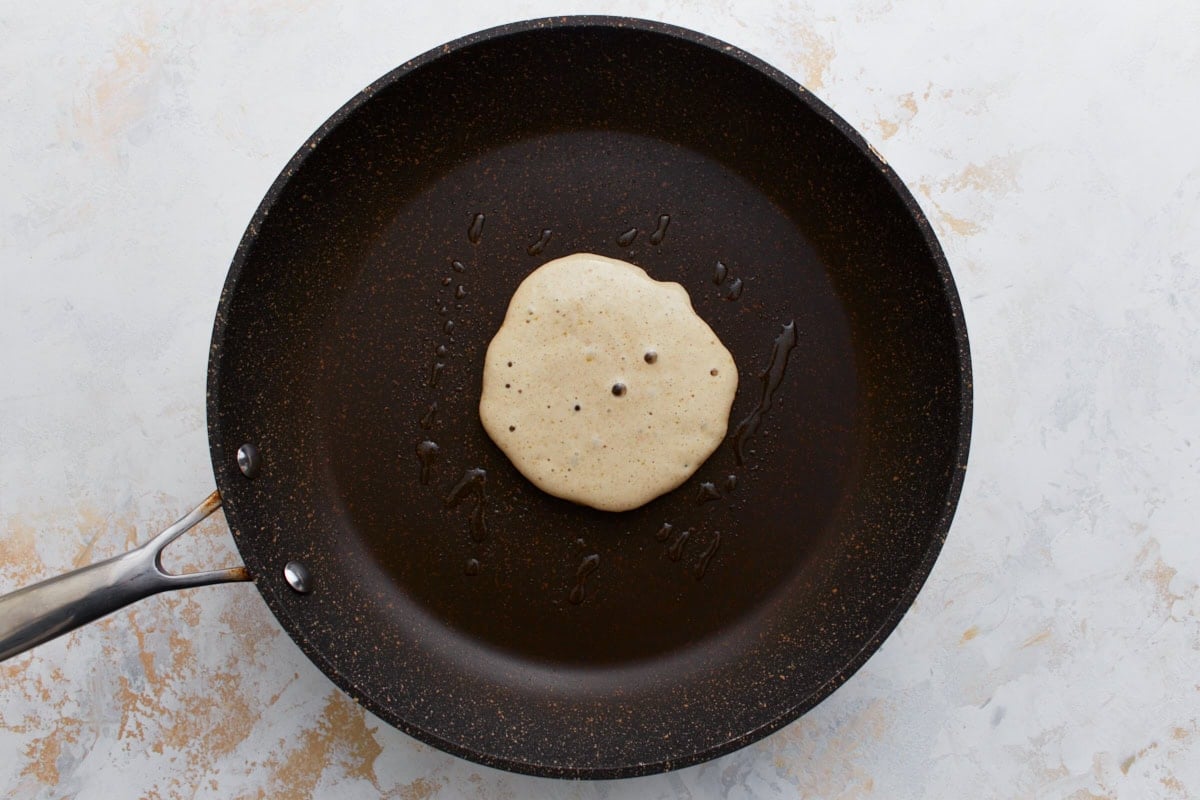
Cook the Pancakes: Heat a non-stick skillet over medium heat and lightly coat it with butter or oil. Pour ¼ cup of batter onto the pan for each pancake. Cook for 2–3 minutes until bubbles appear on the surface, then flip and cook for another 1–2 minutes until golden brown.
Serve and Enjoy: Serve the pancakes up with your favorite toppings like fruit, butter, yogurt, and a drizzle of maple syrup. Enjoy!
Serving Suggestions
I love serving buckwheat pancakes with a drizzle of maple syrup and a handful of fresh berries for a naturally sweet touch. For something heartier, I top them with homemade cashew cream, chopped nuts, or a smear of almond butter. These pancakes are also delicious with savory pairings. Top with a fried egg and a sprinkle of cheese.
Storage Instructions
Make the batter ahead and store it in the fridge for up to 12 hours. Stir it gently before using.
Store them in an airtight container in the fridge for up to 3 days or freeze them for up to 2 months. Reheat in a toaster, microwave, or skillet.


These were easy to make and the pancakes taste delicious