Cassava Flour Tortillas
Published

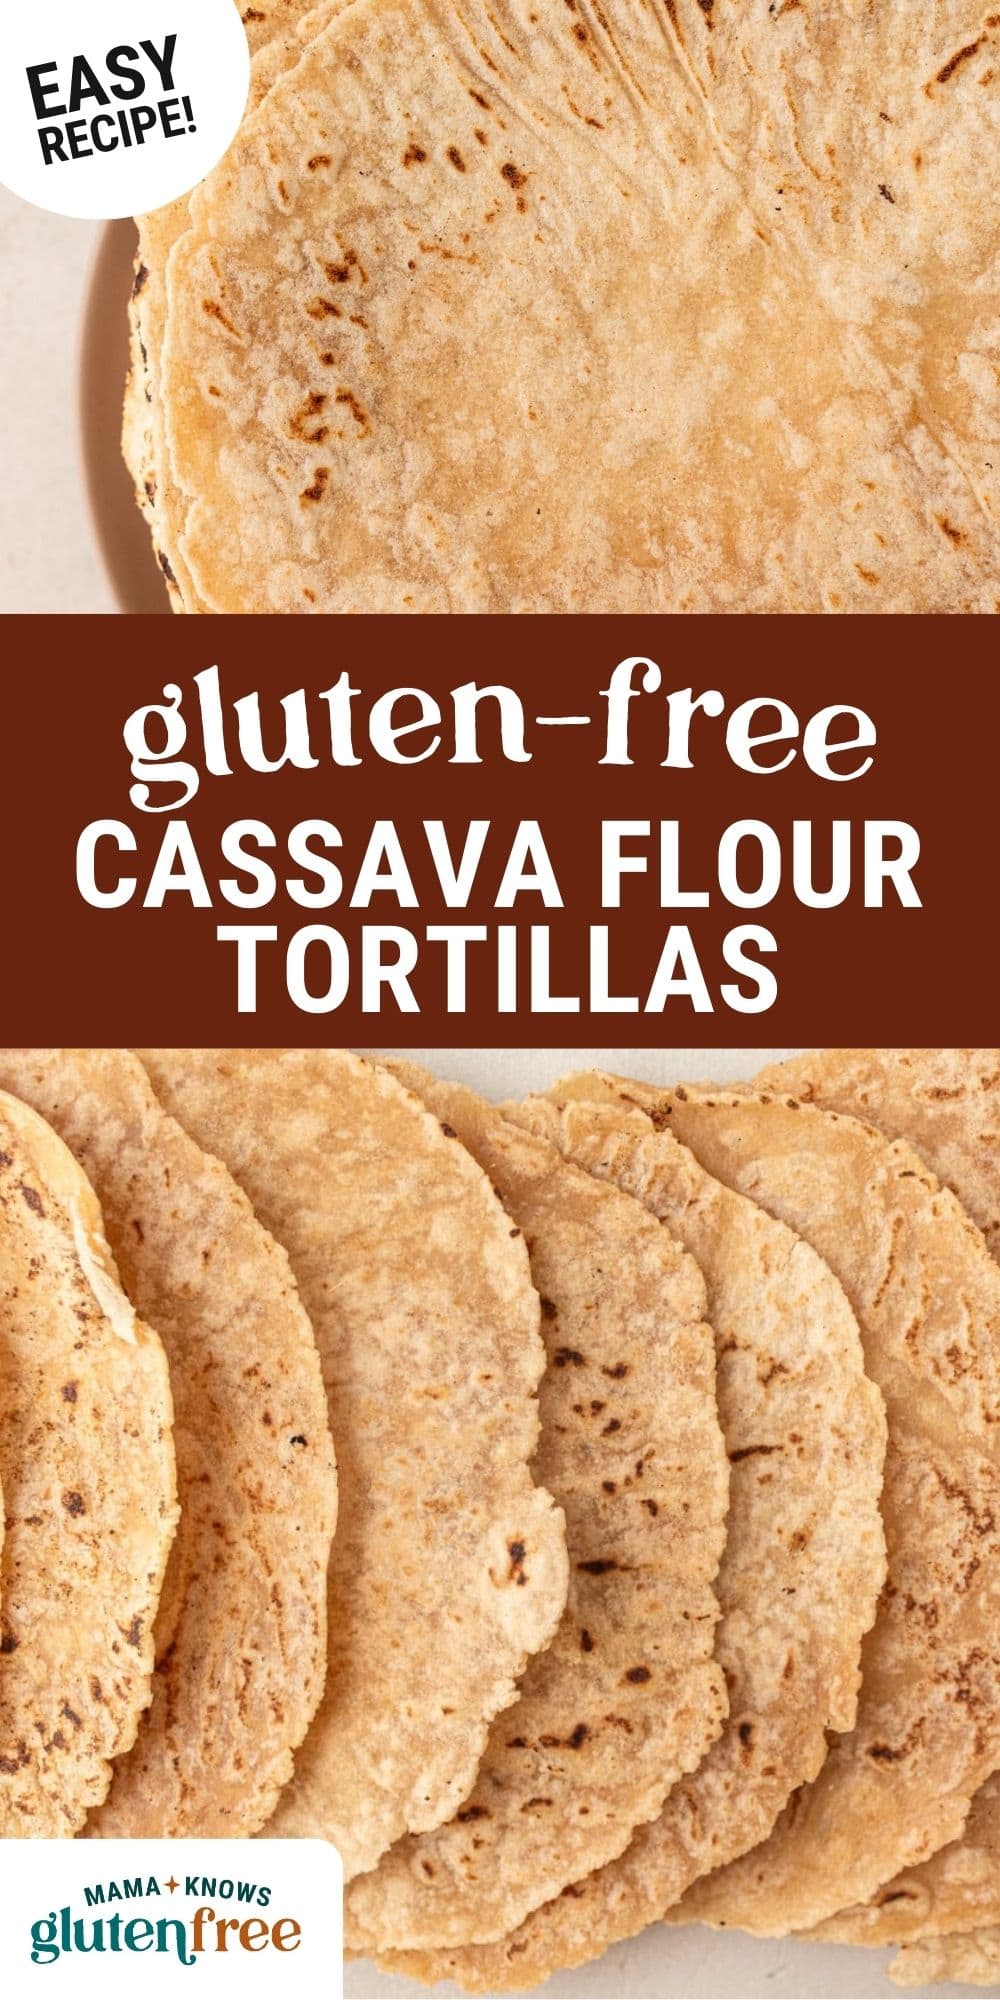
I’ve made just about every kind of gluten-free tortilla out there, and these cassava flour tortillas are hands down the easiest. Thanks to the naturally starchy root of the cassava plant, the flour creates soft, slightly chewy tortillas with just the right amount of flexibility. They are perfect for tacos, wraps, or snacking straight from the skillet—and all you need are 6 ingredients.

I always make homemade tortillas instead of buying them—honestly, they’re just that easy. My go-to has always been gluten-free tortillas, but since testing this cassava flour version, I might have a new favorite in the house. Cassava root is ground into a mild, neutral flour that’s super versatile and pairs well with just about anything. I also add a bit of tapioca flour to the mix—it gives the tortillas extra flexibility and that soft, slightly chewy texture we love. We use them for taco nights and school lunch wraps. I even fry them up and make chips!
Gluten-Free Cooking Tips
- I’ve found that cassava flour loves to soak up moisture, so I always use hot—but not rolling boiling—water. Too much heat or liquid can make the dough sticky, and too little makes it crumbly. It should feel soft and easy to press without sticking.
- Whether I use a tortilla press or a rolling pin, I aim for a 6-inch circle about 1/8-inch thick. Even rolling means even cooking—no burnt edges or raw spots.
- A medium-high skillet works best. Too hot and the tortillas burn before they cook through. I let my pan heat while I roll to keep things moving smoothly.
Cassava Flour Tortillas

Equipment
- 1 cast iron skillet
Ingredients
- 1 ¼ cups cassava flour
- 1/3 cup tapioca flour
- ½ teaspoon kosher salt
- ¾ teaspoon xanthan gum
- 4 tablespoons butter, melted (can also use coconut oil)
- ¾ cup very hot/boiling water
Instructions
- In a medium bowl, whisk together the cassava flour, tapioca flour, salt, and xanthan gum.
- Stir in the melted butter and hot water until thoroughly combined. Make sure everything is well incorporated so there isn’t any grittiness from unmixed flour in the cooked tortillas, about 1 ½-2 minutes. You should be able to press into the dough, and it should not stick to your finger.
- Divide the dough into 10 balls, about 43g each. The dough may be a little loose, but it will continue to firm up. Cover the dough balls with a damp towel and allow to sit for 3-5 minutes, to firm up a bit.
- Place each dough ball between two pieces of parchment paper and press down lightly to form a thick disc.
- You can use a tortilla press if you have it, otherwise, roll the dough into a 6” circle, about 1/8” thick.
- Repeat with the remaining dough balls. Meanwhile, heat a cast-iron skillet over medium-high heat.
- Working on one at a time, remove the tortillas from the parchment and carefully lay them into the pan. Cook for 45-60 seconds, flip the tortilla with a spatula, and cook an additional 45-60 seconds. Serve warm with your favorite fillings and toppings.
Notes
- I stack the tortillas in a clean kitchen towel as they come off the pan. It keeps them soft and steamy—no one likes a stiff tortilla.
- Cassava flour is pretty mild, so I don’t skimp on salt or fat. Sometimes, I even mix in garlic powder or spices to give them a little something extra.
Nutrition
Nutrition information is automatically calculated, so should only be used as an approximation.
How to Make Cassava Flour Tortillas Step by Step

Gather the ingredients: Gather all the ingredients together.

Mix the dry ingredients: In a medium mixing bowl, whisk together 1 ¼ cups cassava flour, 1/3 cup tapioca flour, ½ tsp kosher salt, and ¾ tsp xanthan gum until evenly combined.
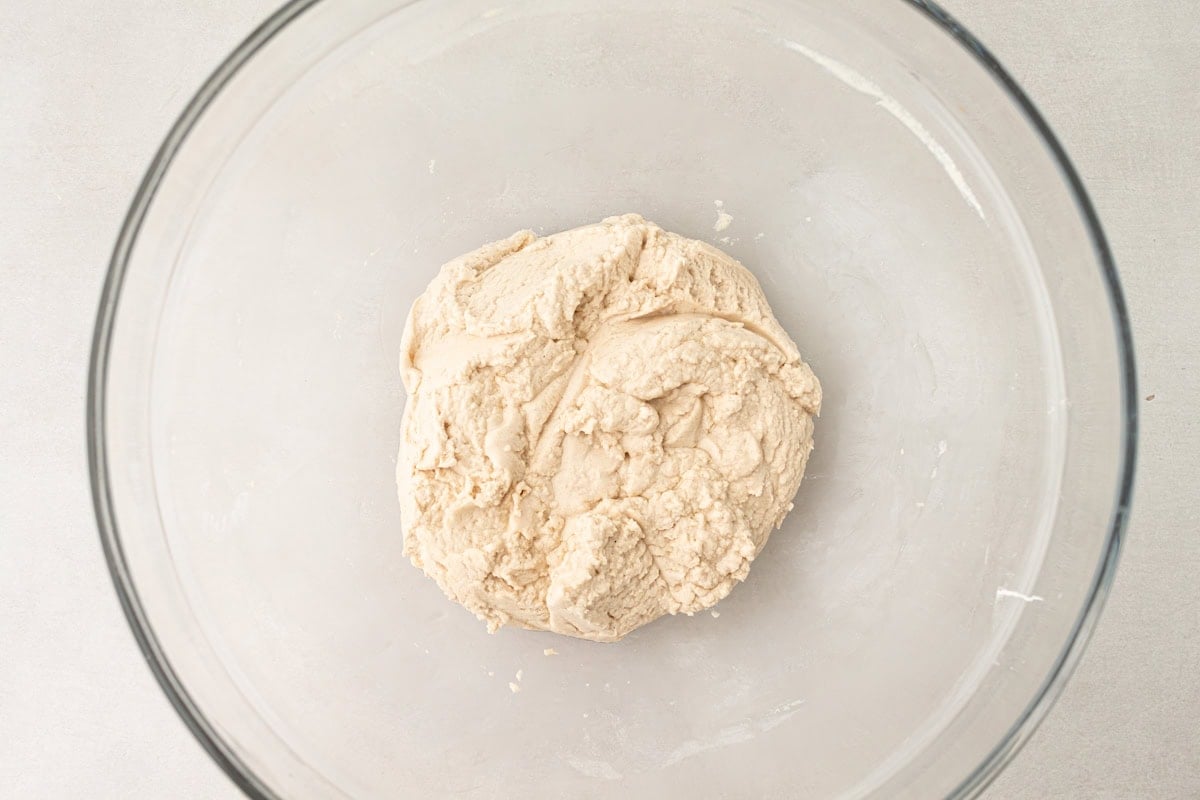
Add the wet ingredients: Pour in 4 tbsp of melted butter (or coconut oil for a dairy-free option) and ¾ cup of very hot or water that was just boiling but is no longer at a rolling boil. Stir until the mixture comes together and is fully combined—this should take about 1½ to 2 minutes. The dough should feel cohesive and smooth, not gritty, and should not stick to your fingers when pressed.

Divide and rest the dough: Divide the dough into 10 equal portions, about 43 grams each. The dough may seem a little soft at this stage, but it will firm up while resting. Cover the dough balls with a damp towel and let them rest for 3 to 5 minutes. Cassava dough dries fast, and this little step keeps it smooth and easy to roll without cracks.
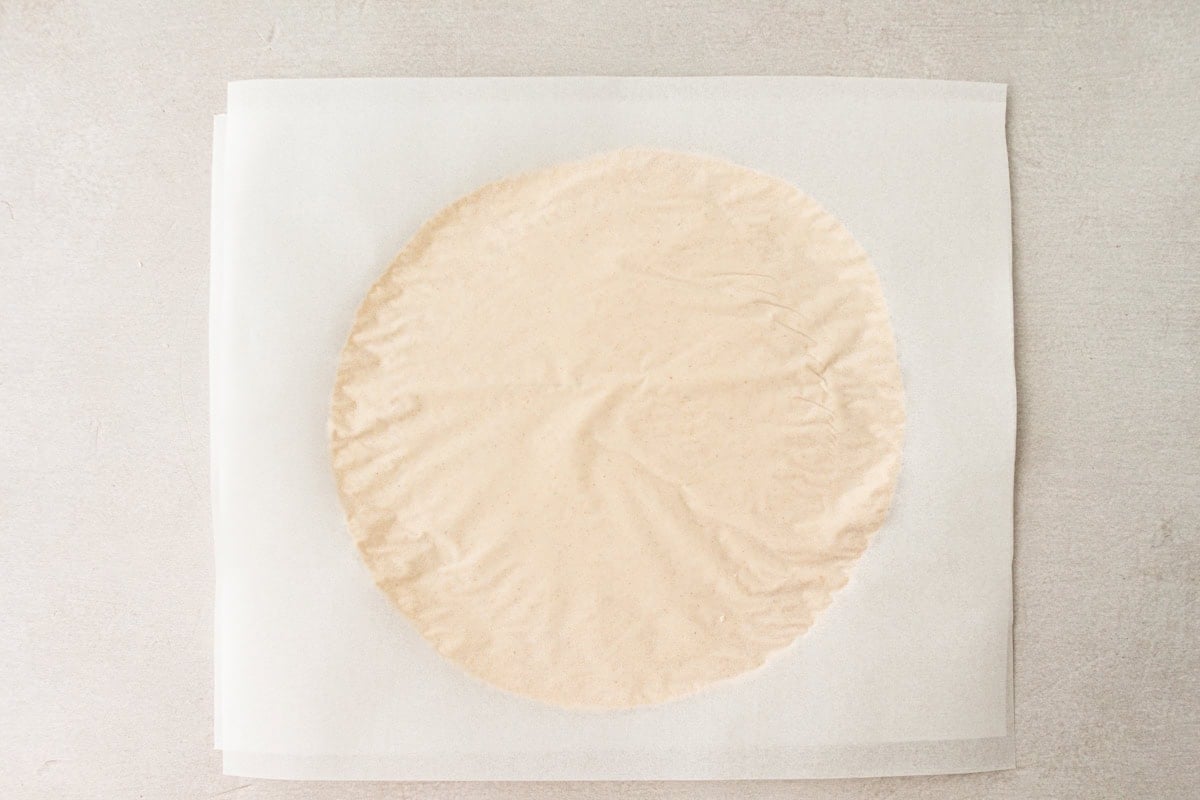
Shape the tortillas: Place each dough ball between two pieces of parchment paper and press down gently to form a thick disc. Use a tortilla press if you have one, or roll each disc out into a 6-inch circle about 1/8 inch thick.
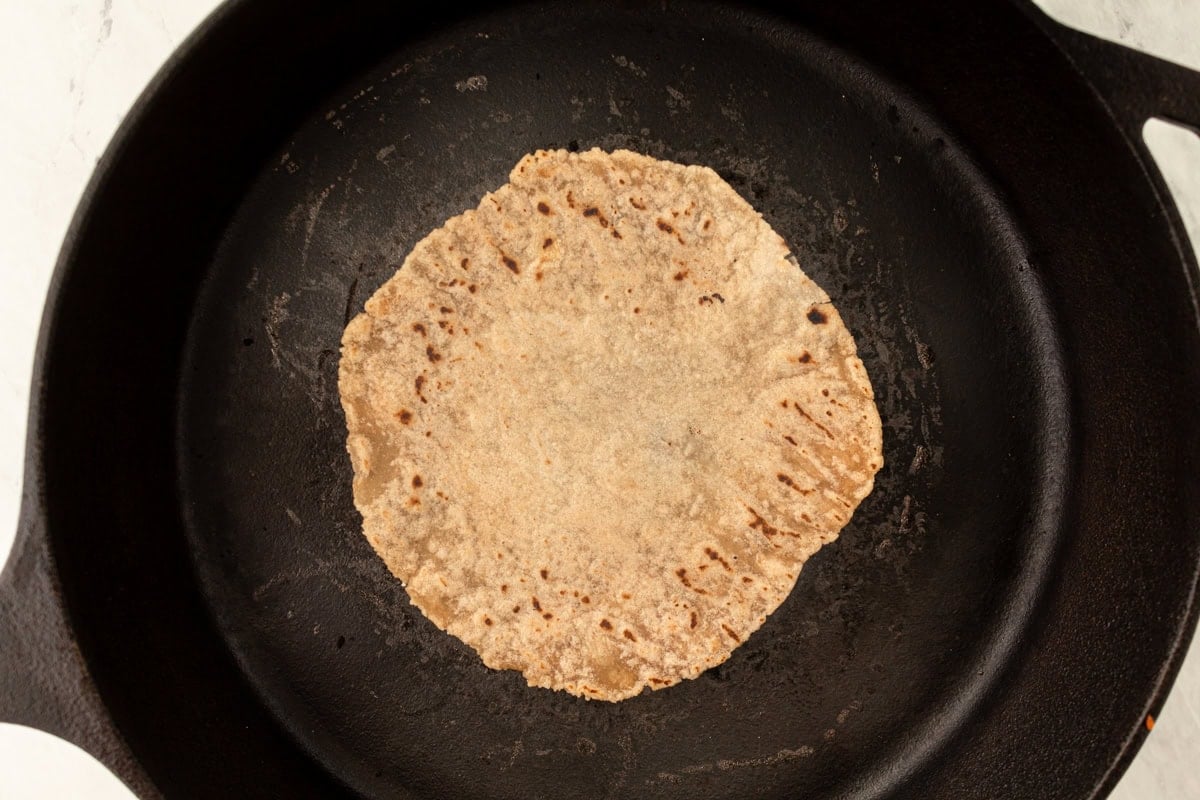
Cook the tortillas: Preheat a cast-iron skillet over medium-high heat. One at a time, peel a tortilla from the parchment and place it carefully into the hot skillet. Cook each side for 45 to 60 seconds, flipping once, until lightly golden and cooked through.

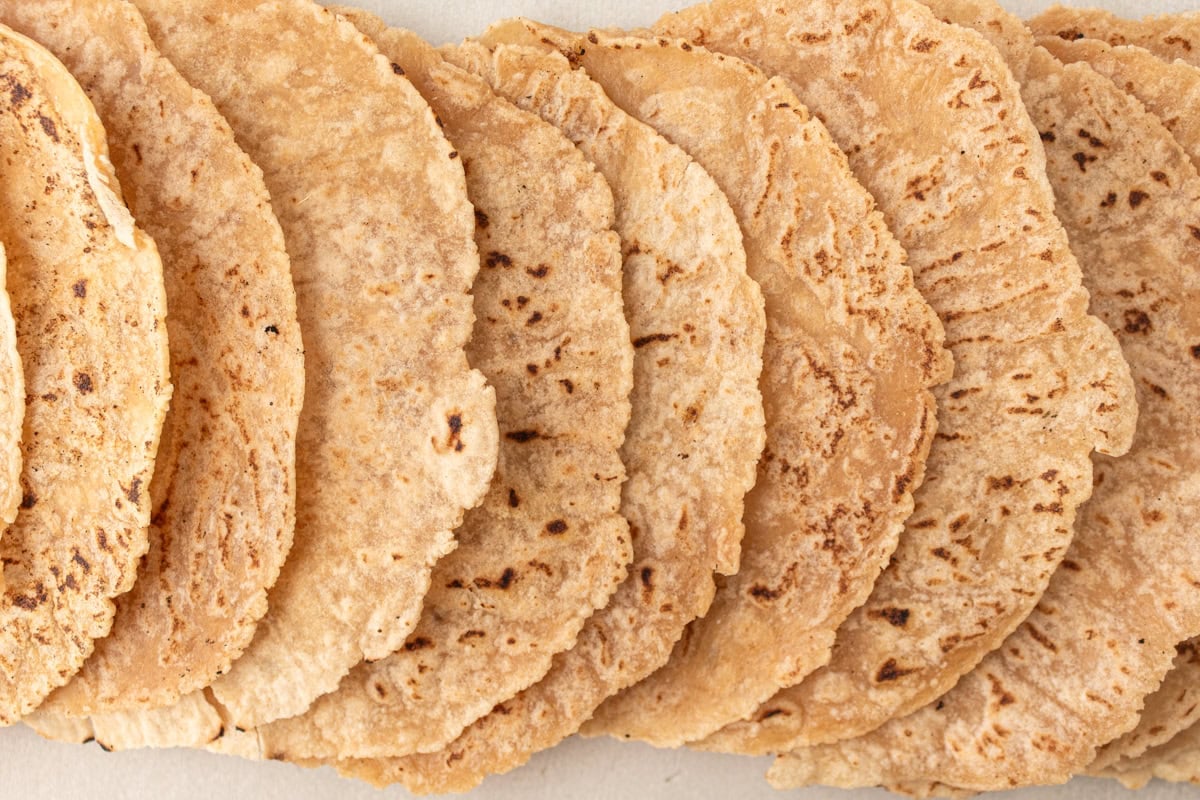
Serve and enjoy: Serve the tortillas warm with your favorite fillings and toppings. They’re best enjoyed fresh, but you can also keep them wrapped in a towel to stay warm and pliable until ready to use.
Serving Suggestions
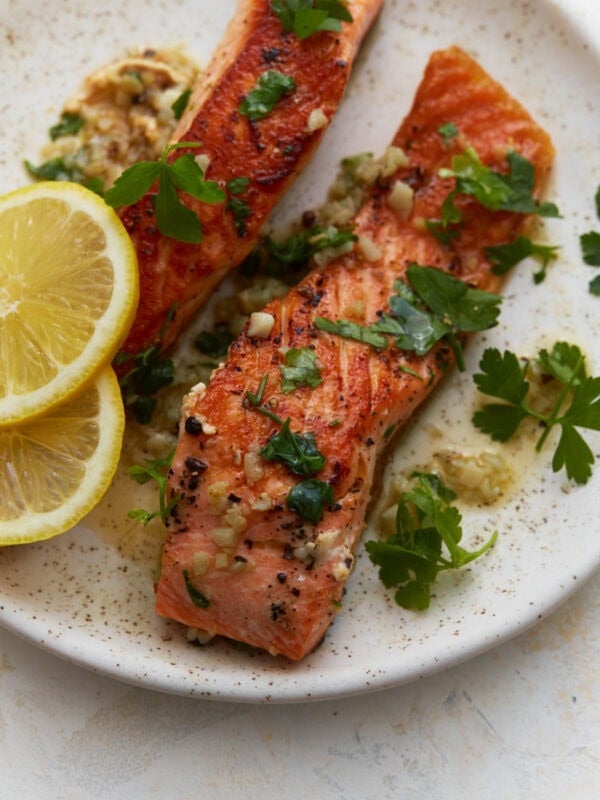
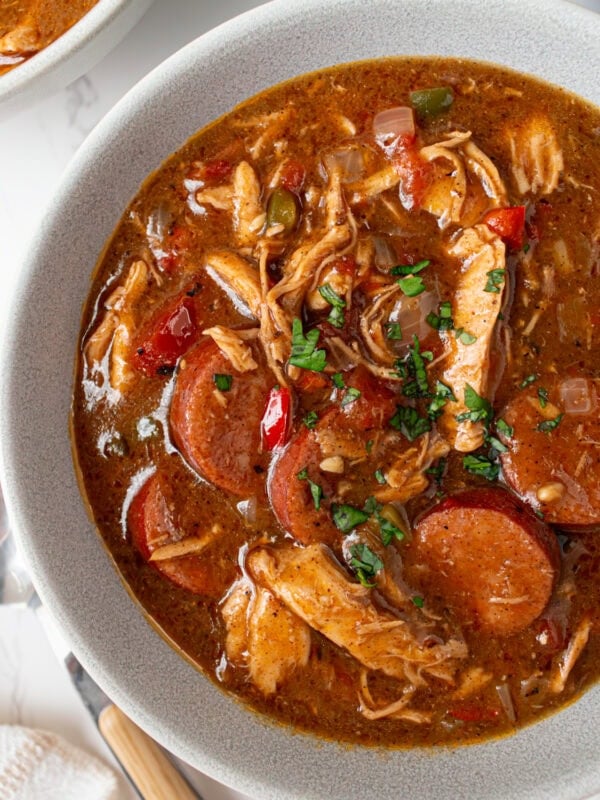
Cassava flour tortillas are perfect for just about any kind of wrapping. I use them for everything from hearty breakfast burritos to light vegan chickpea tuna salad wraps. They’re sturdy enough for your taco nights and soft enough to fold up around anything from pulled chicken to grilled shrimp. My kids love them for school lunches around their favorite sandwich fillings. I’ve even used them as a quick pizza base, cut them into wedges for tortilla chips to serve with vegan queso, or strips to serve over a burrito bowl.
Storage Instructions
Once the tortillas have cooled completely, I stack them with a piece of parchment paper between each one to keep them from sticking. Then, I store them in an airtight container or zip-top bag in the fridge for up to 4–5 days. To reheat, I warm them in a skillet over medium heat for about 30 seconds per side—they’ll soften right back up. You can also microwave them for 10–15 seconds wrapped in a damp paper towel if you’re in a rush.
I always keep extra in the freezer by freezing them flat (with parchment in between) in a freezer-safe bag. When I need one, I just thaw it for a few minutes at room temperature, then heat it in the pan as usual.
More Gluten-Free Tortillas and Flatbreads
- Arepas
- Socca (Chickpea Flatbread)
- Almond Flour Tortillas
- Coconut Flour Tortillas
- Gluten-Free Flatbread
Try my cassava bread recipe, too!


I didn’t have any xantham powder, but was anxious to try, so I just reduced the hot water by a smidge and it actually still worked. Fantastic! Going to try with the xantham powder next time.