Easy Gluten-Free Bread
Updated
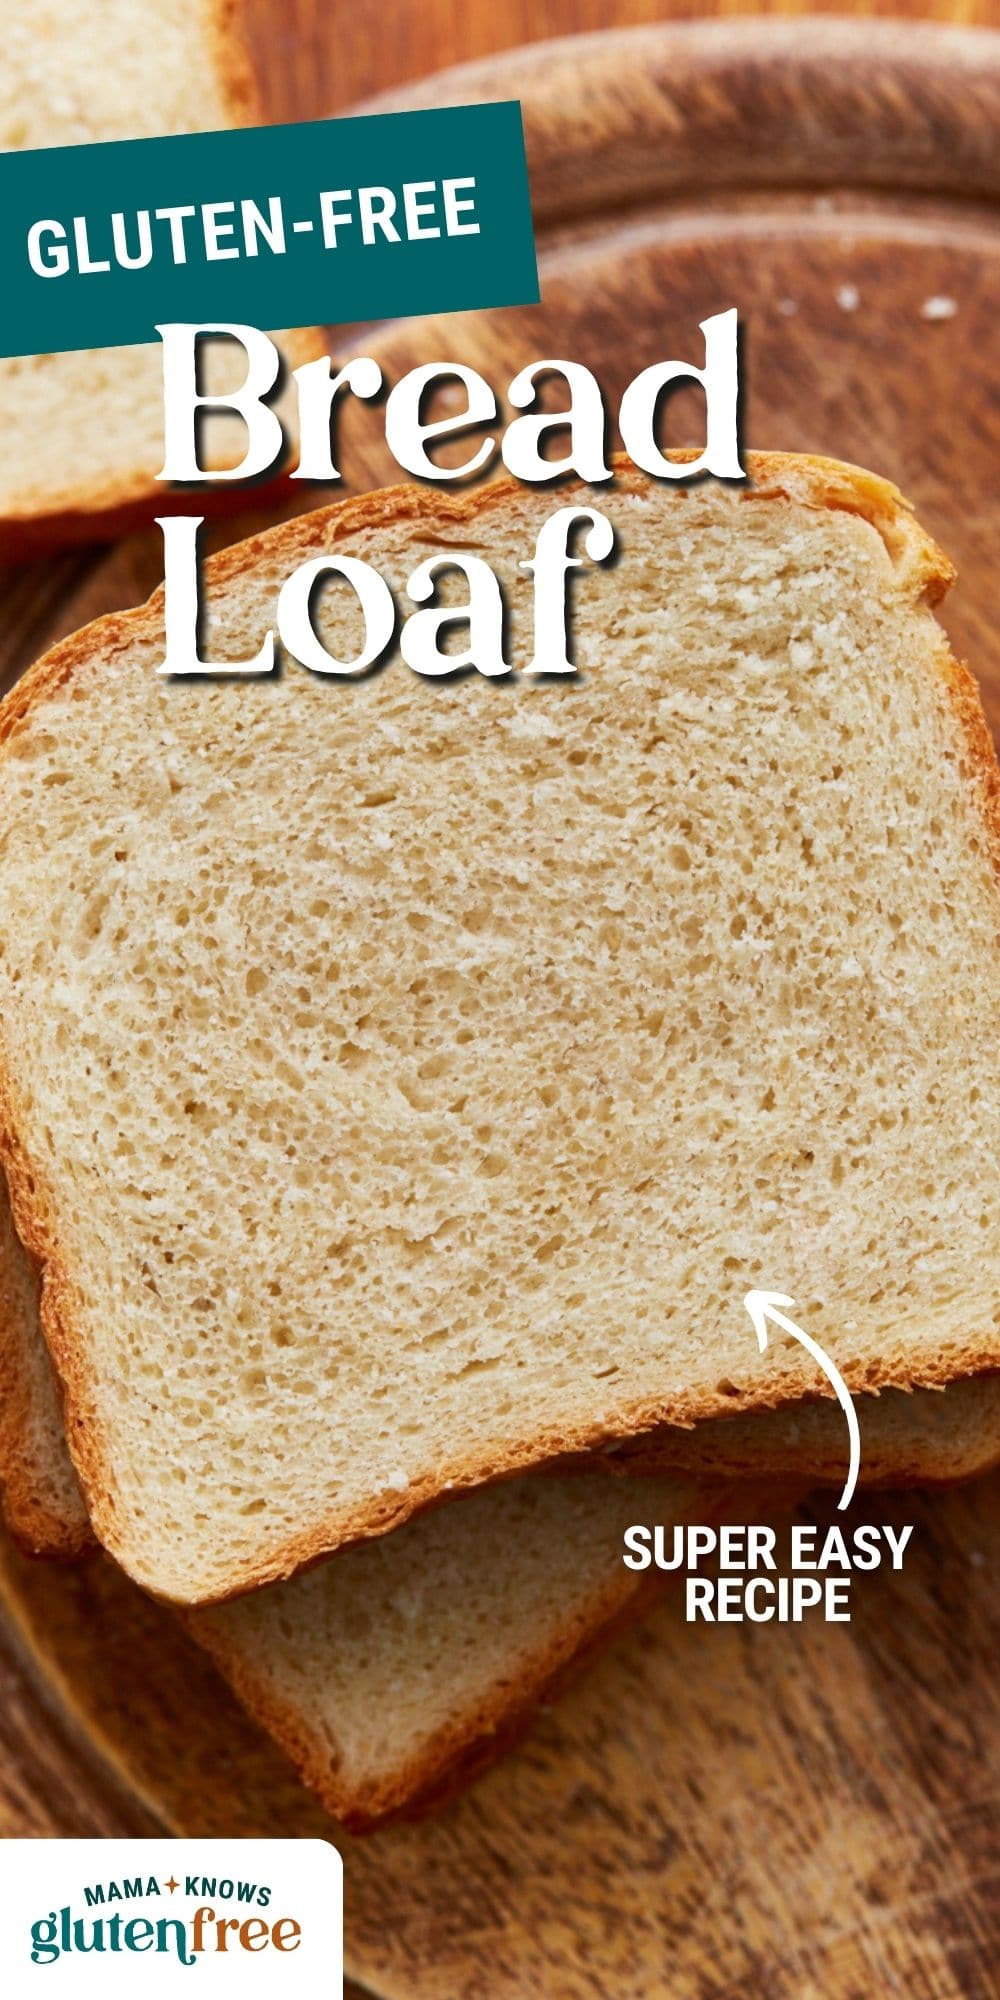
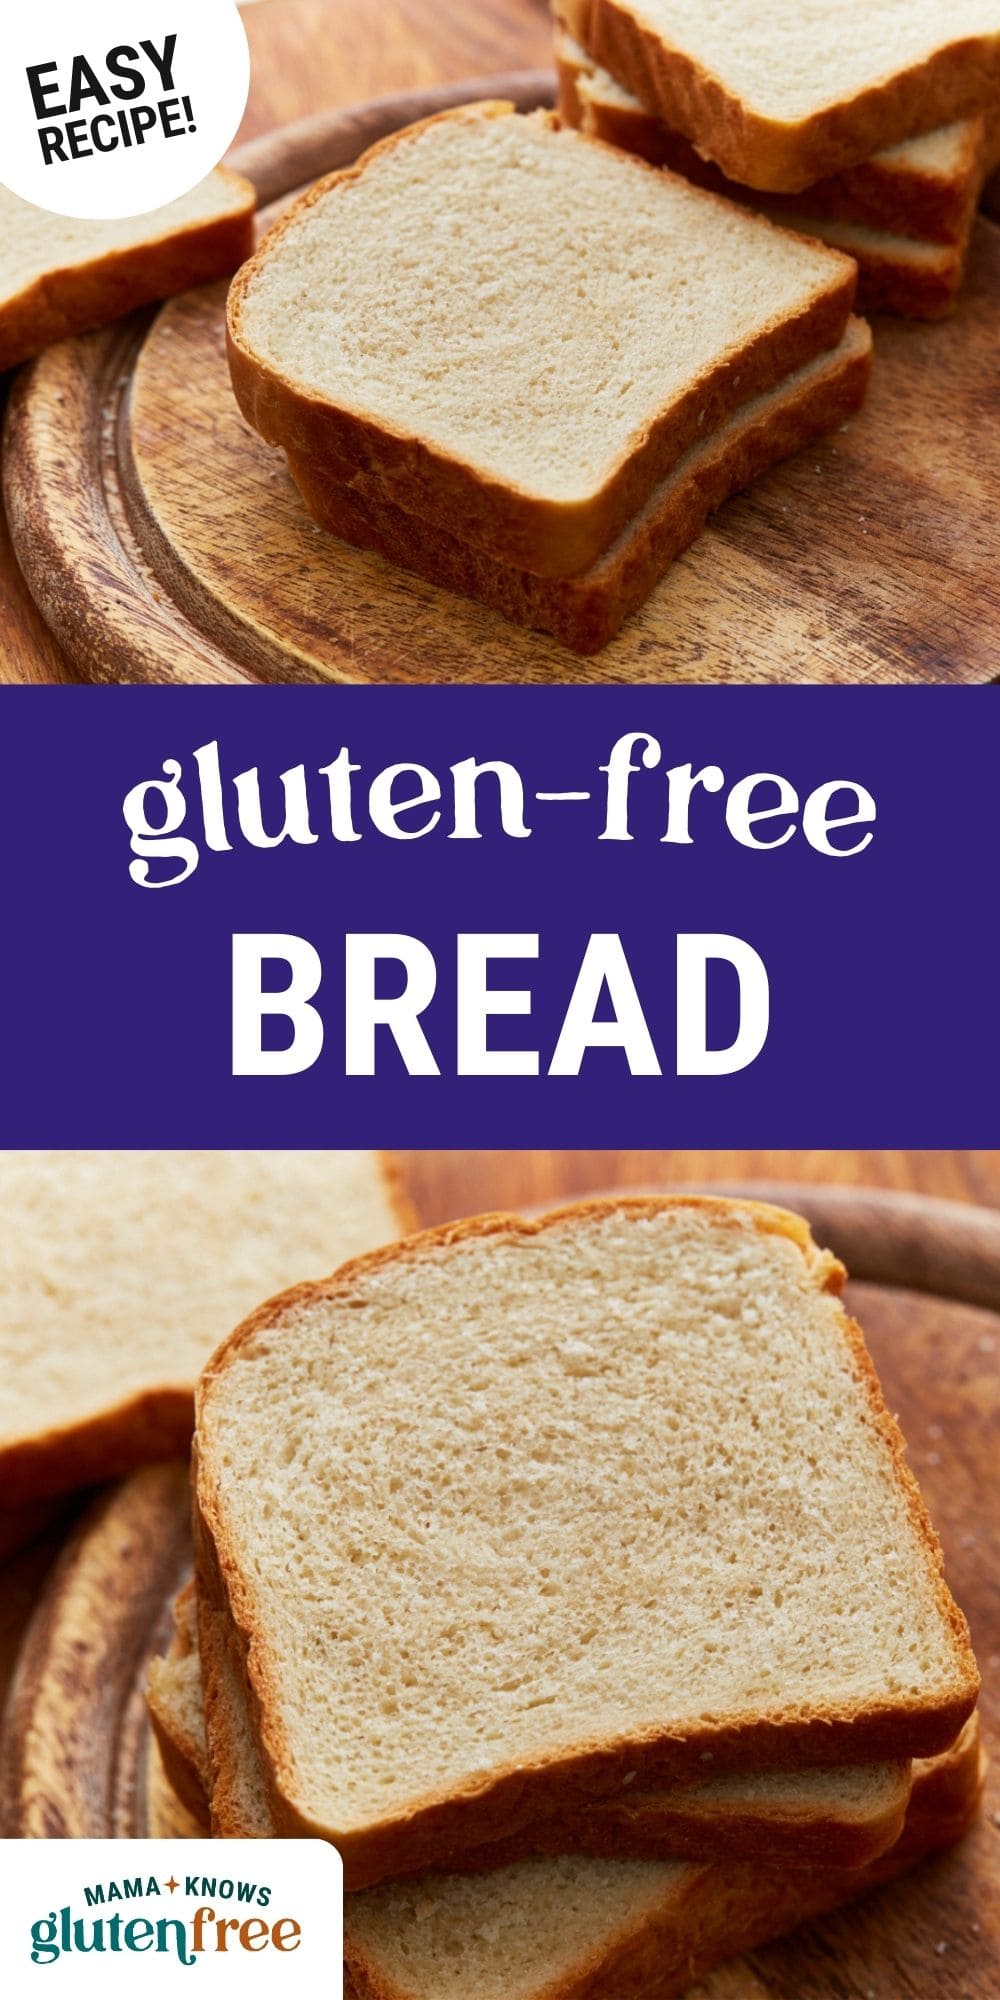
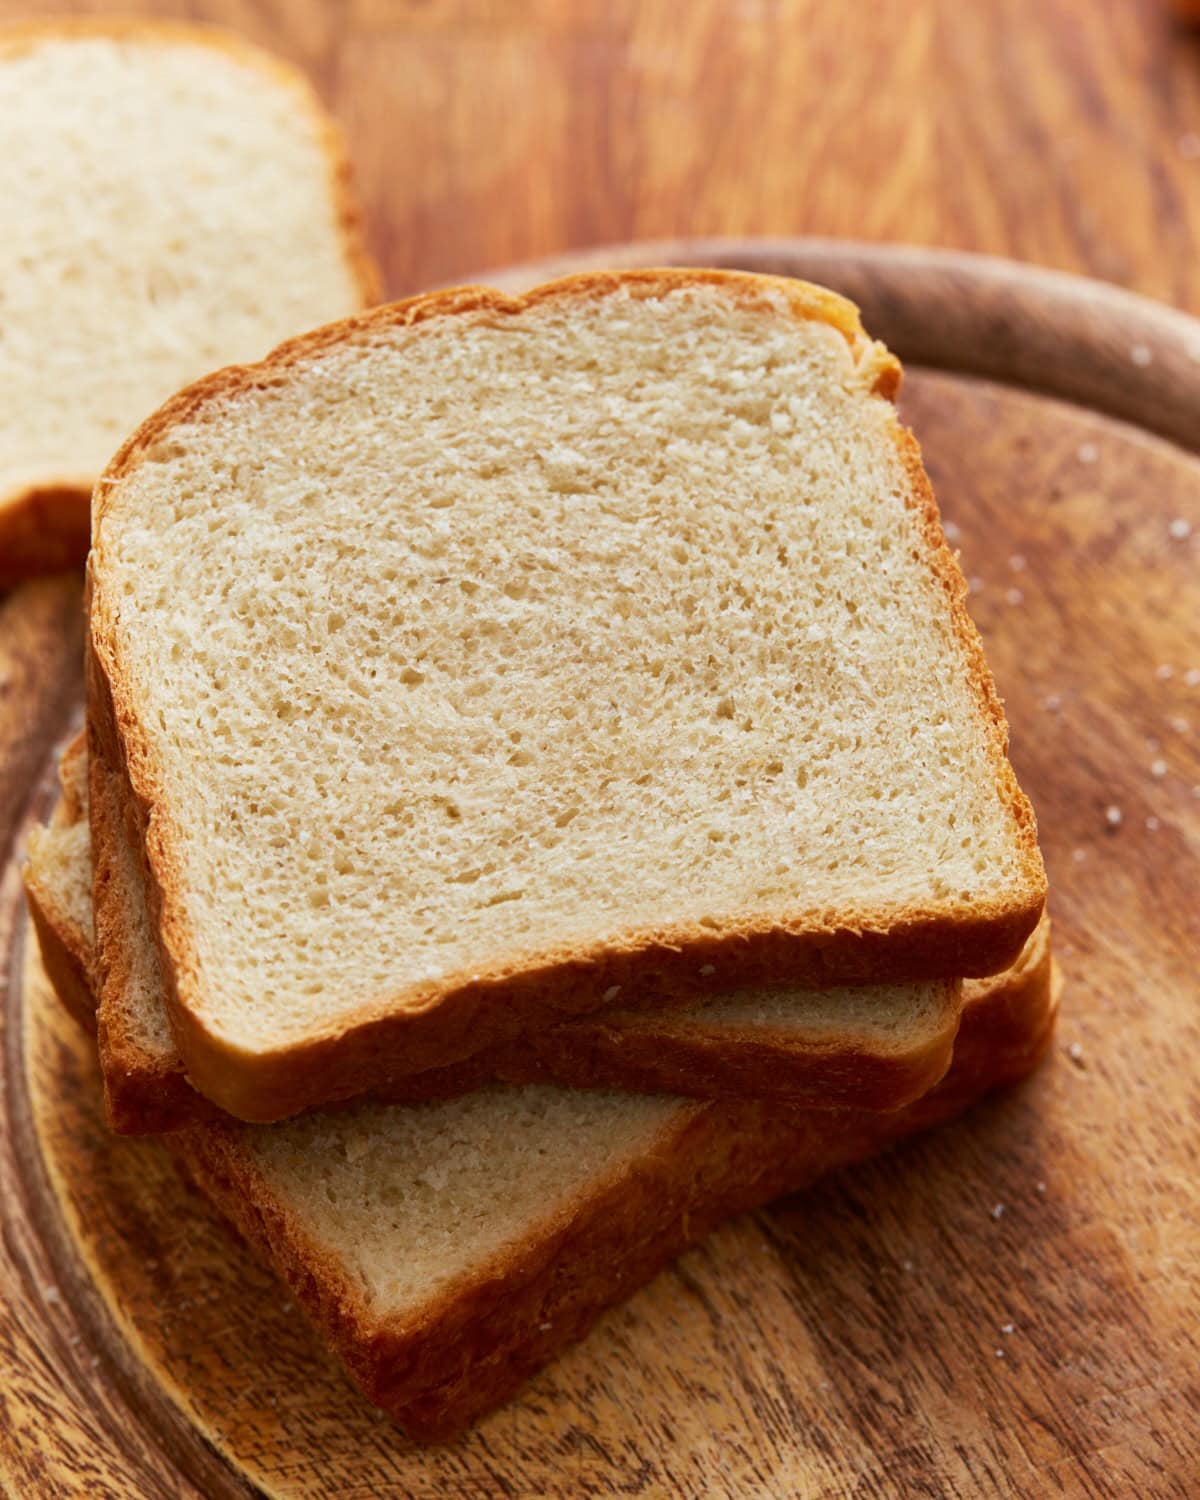
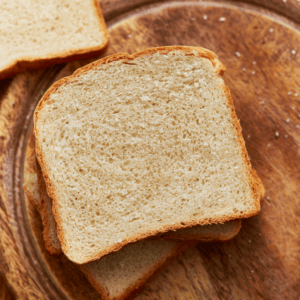
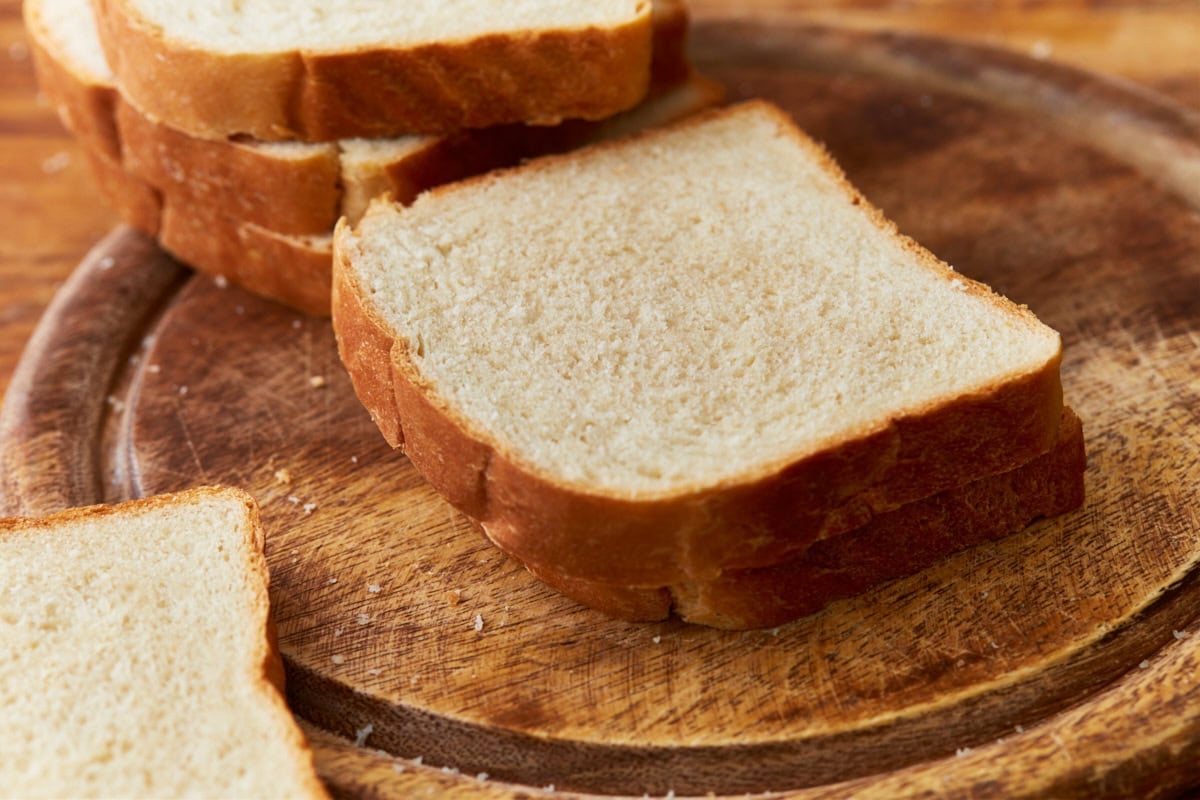
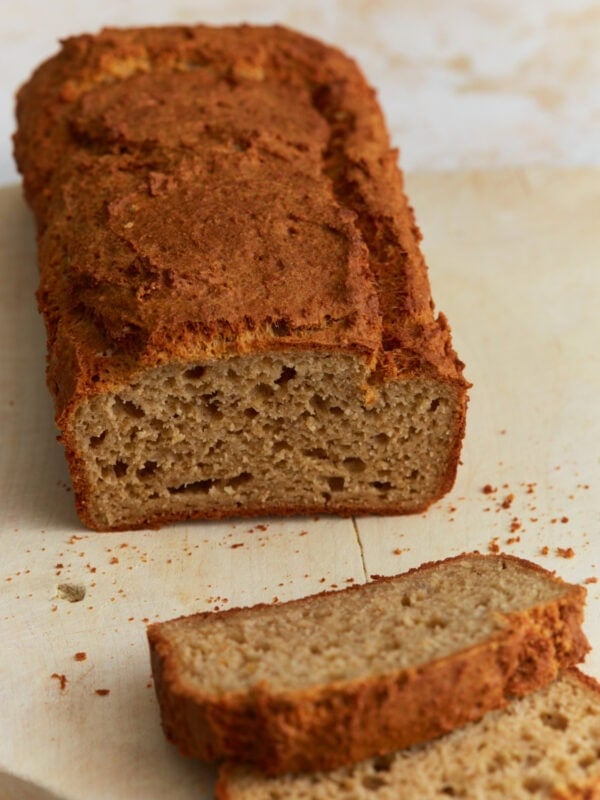
The easiest gluten-free bread recipe is baked right at home in your oven. This soft, fluffy white sandwich bread is made with amazing dexterity. I make it every week and slice it up for all my kids’ sandwiches.
Gluten-Free Bread Recipe
For years, readers have been asking me how to bake my Bread Machine Recipe in the oven. I have always baked my bread in an Oster bread machine with a gluten-free setting, but I wanted a recipe that could be made right in the oven.
This oven-baked gluten-free homemade bread is also completely dairy-free, a dietary must in my house. Instead of using milk, I used a mixture of olive oil and warm water to activate the yeast and add moisture to the bread. This recipe makes excellent gluten-free sandwich bread! This yeast bread is so soft, has an amazing texture, bends and squishes, and is easy to slice.
Gluten-Free Baking Tips
- Bread rises best in a warm location. My oven has a bread proofing mode. When the oven is set in bread proofing mode, it is 100°F.
- Best baked in a 9″x 4″ small Pullman loaf pan. If you use a 9″x 5″ bread pan, the bread will not rise as tall. I tried it with both a 9″x 5″ bread pan and a 9-inch x 4-inch Small Pullman loaf pan. I HIGHLY recommend using the small Pullman loaf pan.
- The best way to measure gluten-free flour is the “spoon & level” method. Using a spoon, scoop the flour into the measuring cup. After you’ve spooned the flour into the measuring cup, use the back of a knife to level off the top of the measuring cup. Do not scoop the flour out of the bag with the measuring cup.
- Gluten-free dough doesn’t benefit from being over-proofed. Once the dough doubles in size, it’s time to bake!
Easy Gluten-Free Bread
Equipment
- 1 Stand Mixer
Ingredients
- 2 1/2 cups all-purpose gluten-free flour, I like Pillsbury gluten-free flour. Not all gluten-free flours are created equal. You may experience different baking results depending on the gluten-free flour blend you choose. Bob's Red Mill 1 for 1 and King Arthur Measure for Measure state on their website and/or package that their blends are not recommended for yeast baking.
- 1 teaspoons xanthan gum, leave out if your flour already has it in it
- 1 teaspoon gluten-free baking powder
- 1 packet rapid rise/instant yeast*, (2 1/4 teaspoons)
- 1/4 cup extra virgin olive oil
- 1/4 cup honey, You can use agave nectar or maple syrup.
- 1 teaspoon apple cider vinegar
- 1 1/2 cups warm water, 100-110°F
- 3 egg whites, from large eggs and room temperature**
- 1 teaspoon salt
Instructions
- Spray a 9-inch x 5-inch bread pan or 9-inch x 4-inch small Pullman loaf pan with gluten-free cooking spray. Move the top oven rack to the middle rack. Preheat your oven to 350°F. I used both a 9-inch x 4-inch Small Pullman loaf pan.
- Add the gluten-free flour, baking powder, and instant yeast to a large bowl and stir to combine the ingredients.
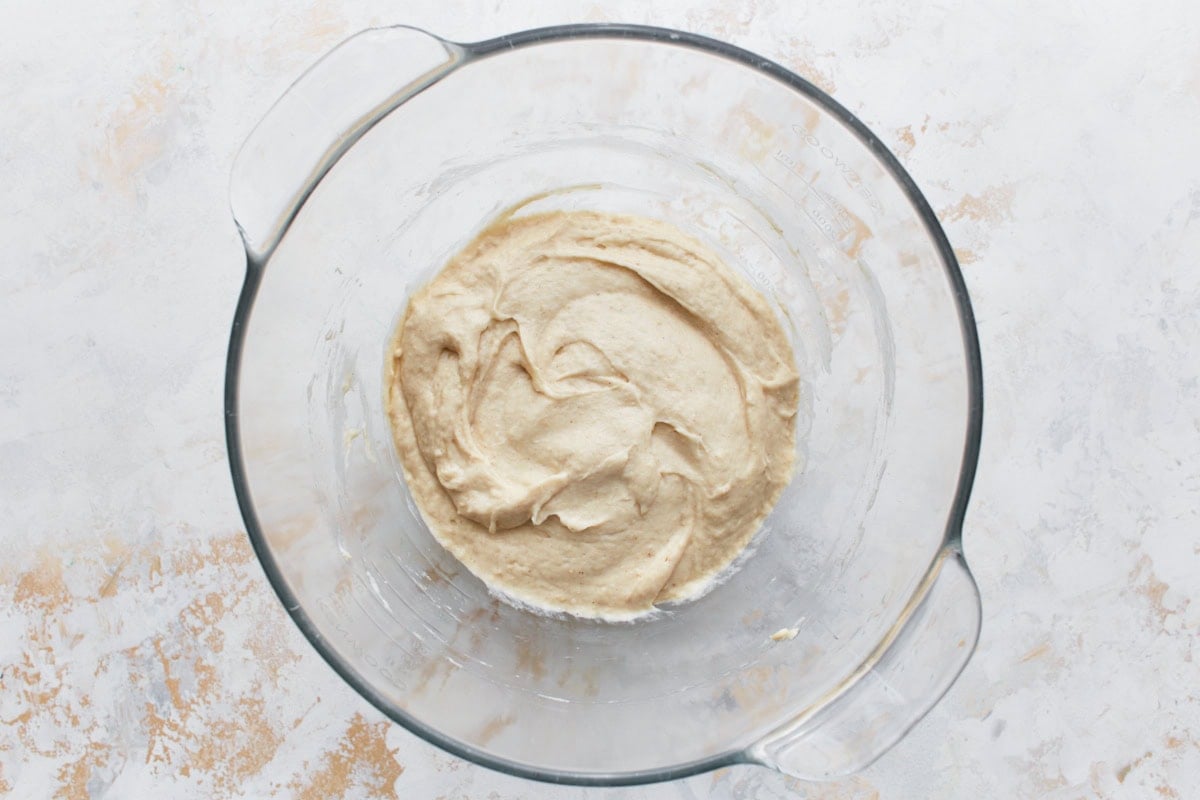
- Add the olive oil, honey, and apple cider vinegar, and warm water to the flour mixture and mix on low for 1 minute. If you are using a stand-up mixer use the paddle attachment, not the dough hook.
- Add the egg whites and salt to the dough and mix on medium for 1 minute. The dough will look like a thick cake batter.
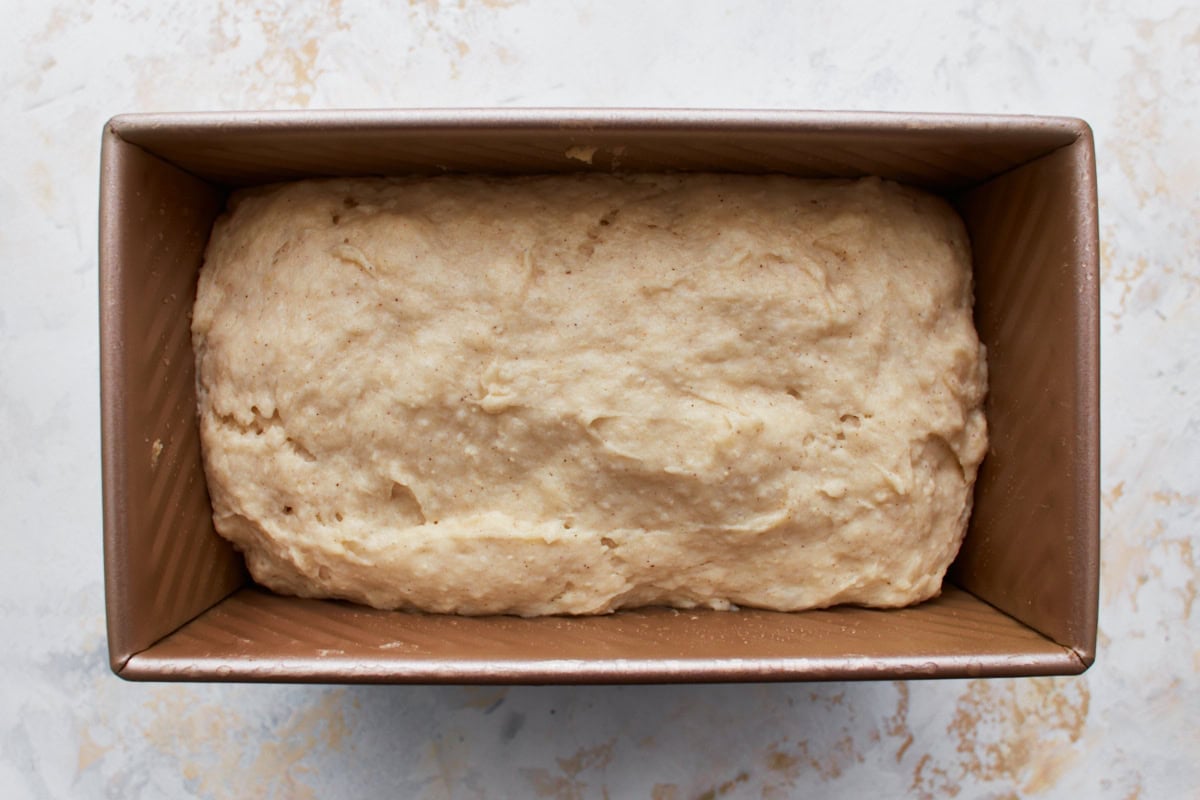
- Pour the dough into a greased 9-inch x 5-inch bread pan or the 9-inch x 4-inch small Pullman loaf pan. I HIGHLY recommend using a 9-inch x 4-inch Small Pullman loaf pan. Spray plastic wrap with gluten-free cooking spray and cover the top of the pan. Cover the pan with a kitchen towel and allow the bread to rise in a warm place for 30 minutes.
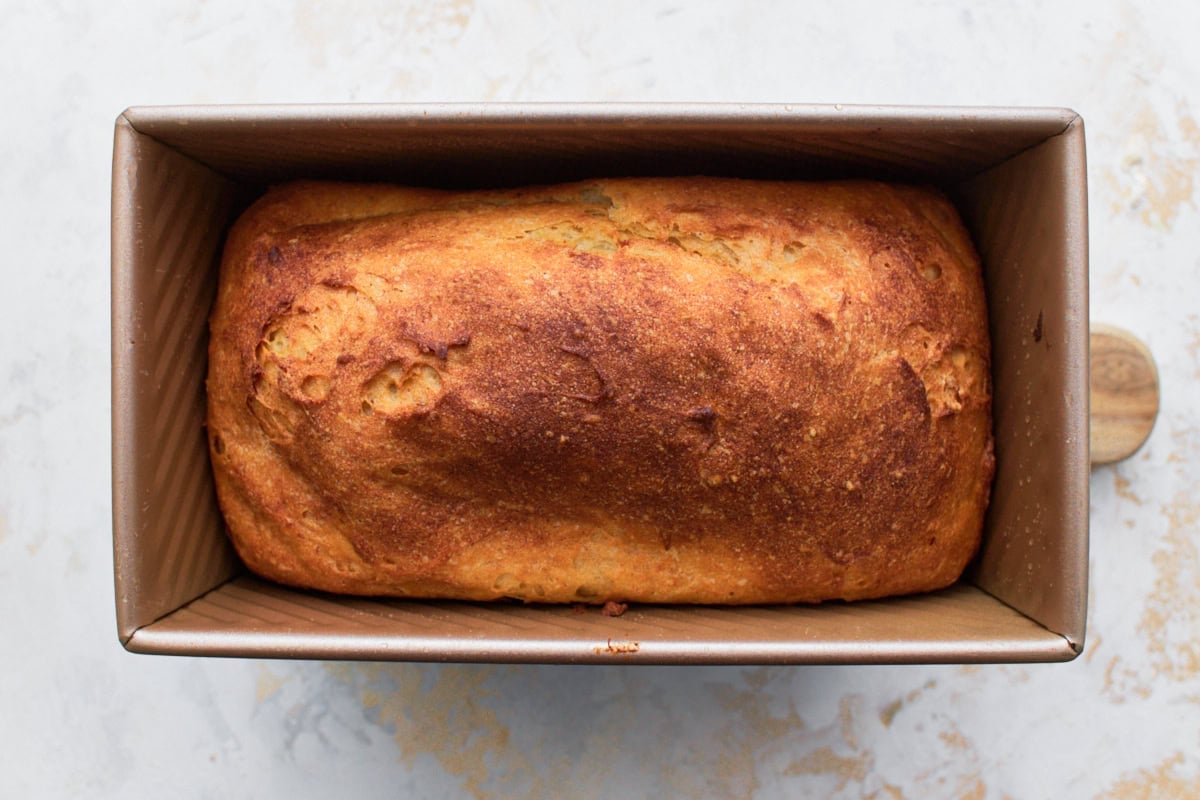
- Place in the oven to bake for 30 minutes at 350°F. Bake the bread on the middle rack horizontally. The bread will be golden brown and have the internal temperature between 205-210ºF.
- Allow the loaf to cool for 10 minutes in the pan. Remove the loaf from the baking pan and place it on a cooling rack. If the bread completely cools in the pan, the steam can get trapped and the loaf can get soggy, especially on the bottom. Allow the bread to cool completely before slicing.
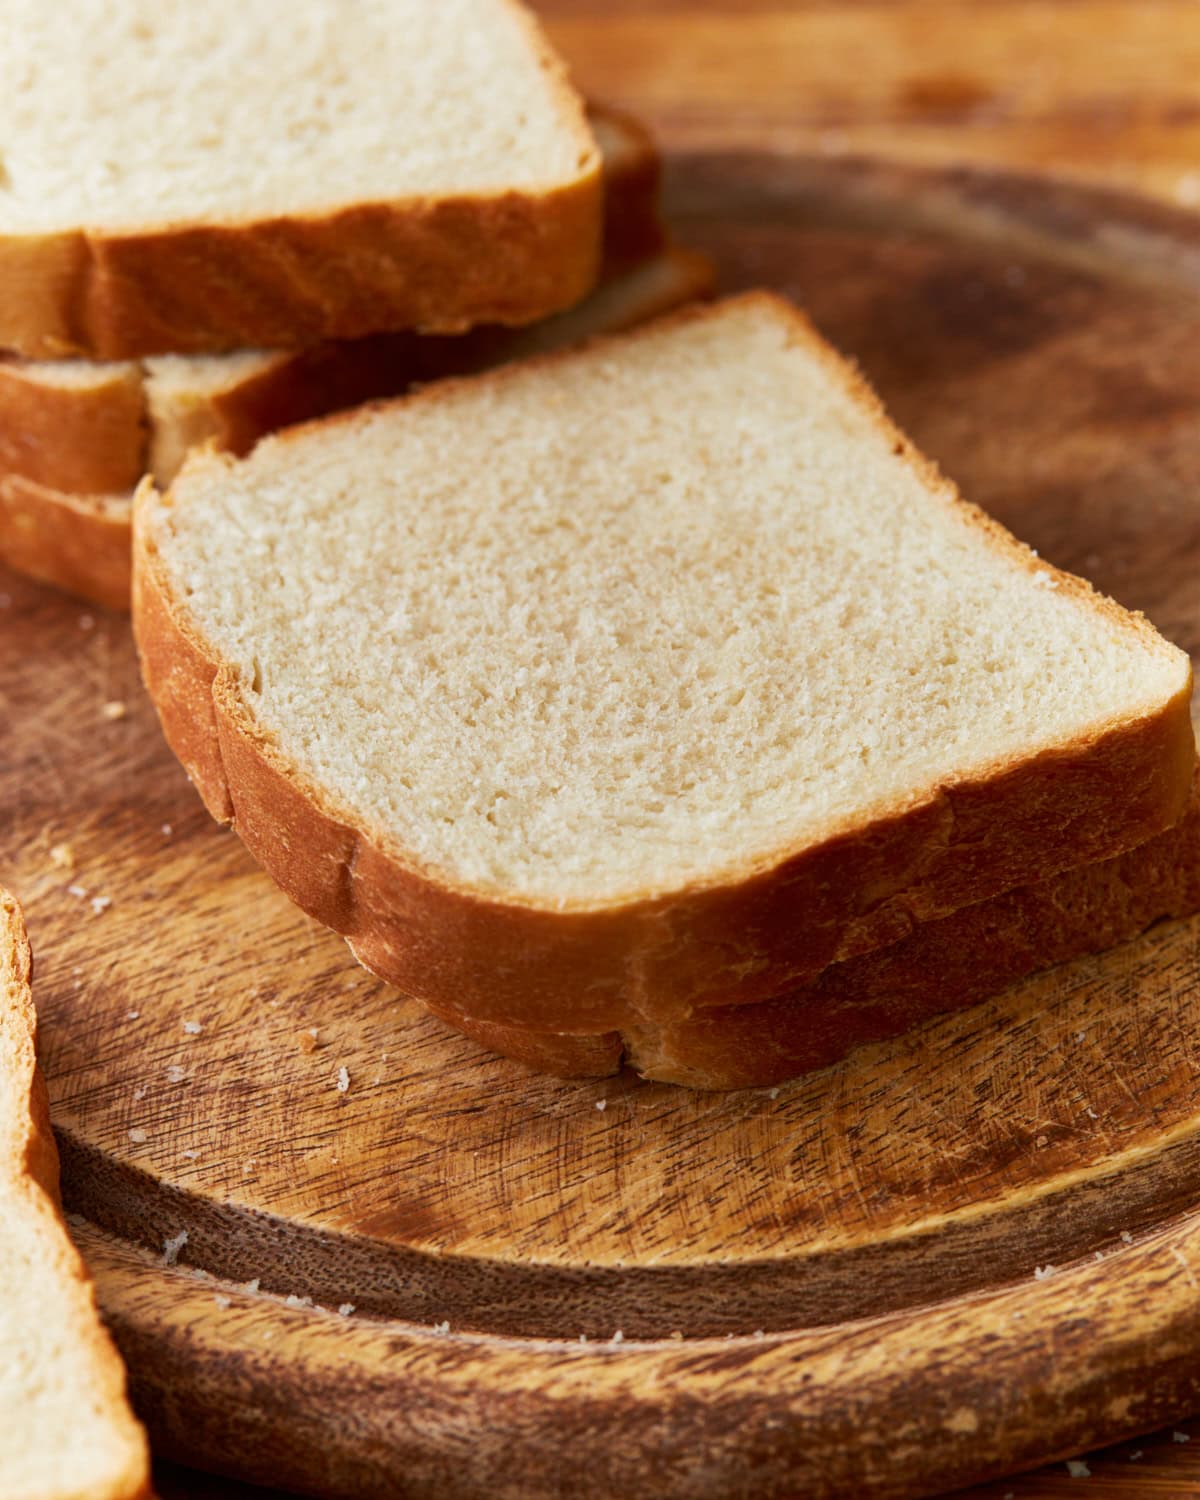
- Use a serrated knife to slice the bread. Using a smooth-blade knife can squish the bread.
- Store the leftover bread in an airtight container, once it’s completely cooled. It may be kept on the counter at room temperature. It is also best not to pre-slice the bread before you store it, so just store the leftover portion of the loaf.
- The bread can be frozen once it is completely cooled. Wrap the loaf tightly in plastic wrap, then wrap it in foil or freezer paper. Place the wrapped loaf in a freezer bag. The bread can be frozen up to 3 months. Thaw the bread in the refrigerator overnight.
Notes
Nutrition
Nutrition information is automatically calculated, so should only be used as an approximation.
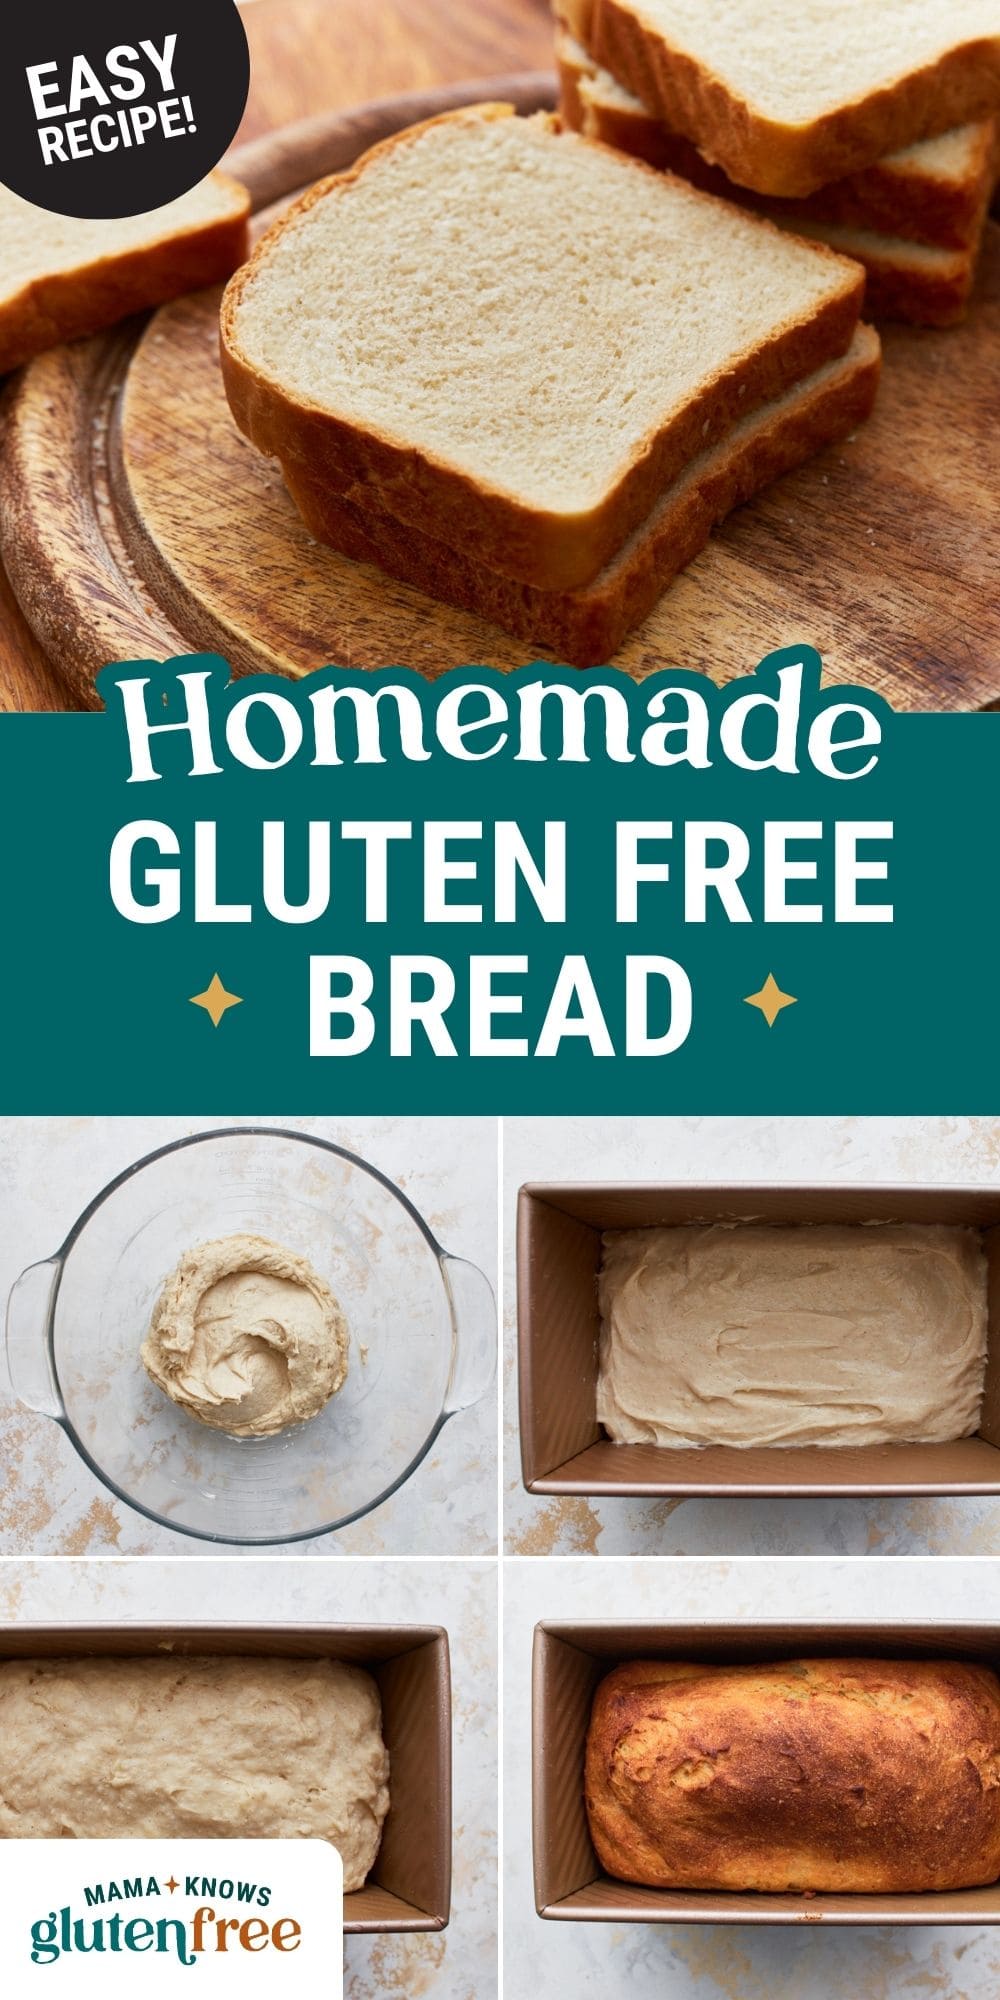
How to make Gluten-Free Bread Step-by-Step
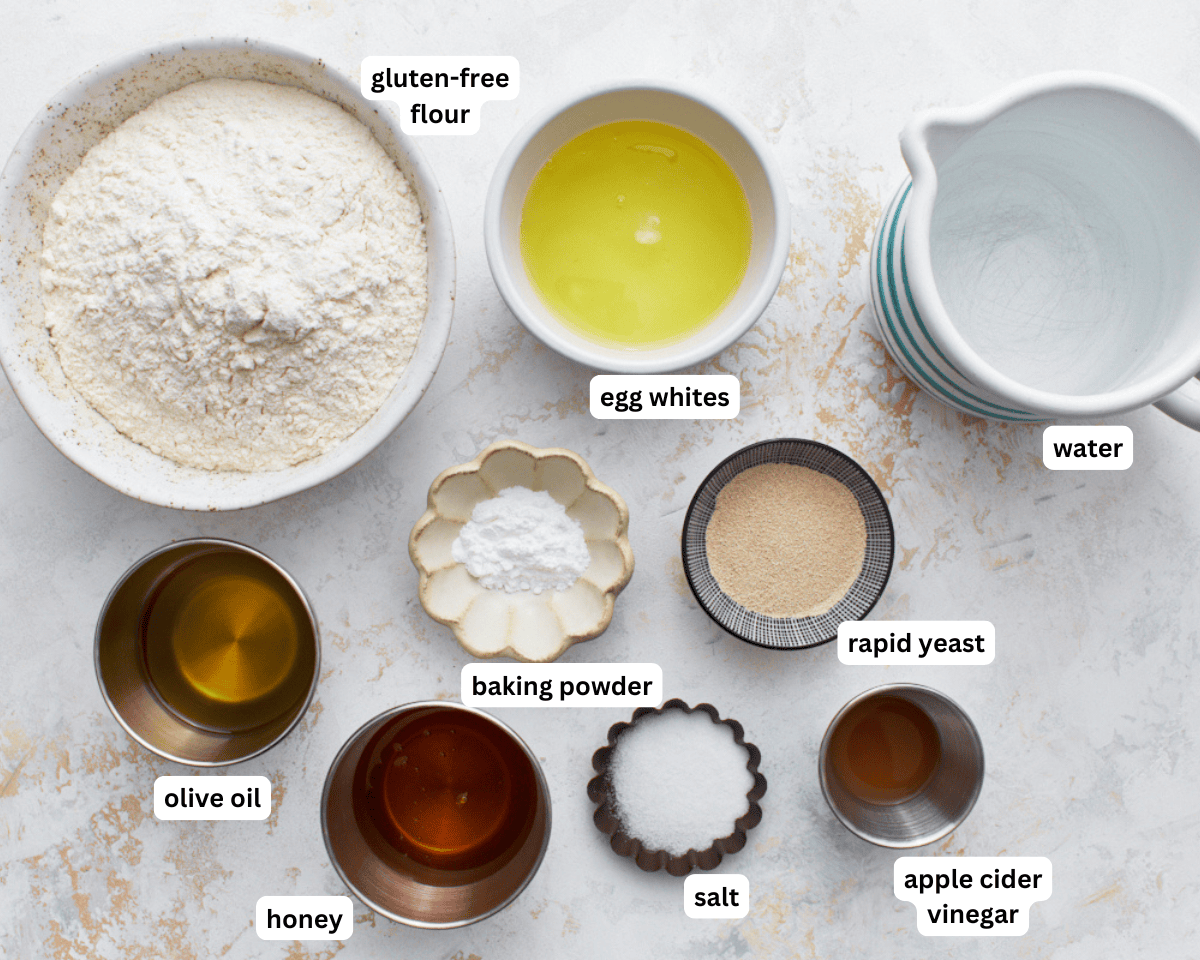
Gather your ingredients.

Spray a 9-inch x 5-inch bread pan with gluten-free cooking spray. Using a large bowl, add 2 ½ cups gluten-free flour, 1 tsp baking powder, and 1 packet of instant yeast. Stir to combine the ingredients fully.
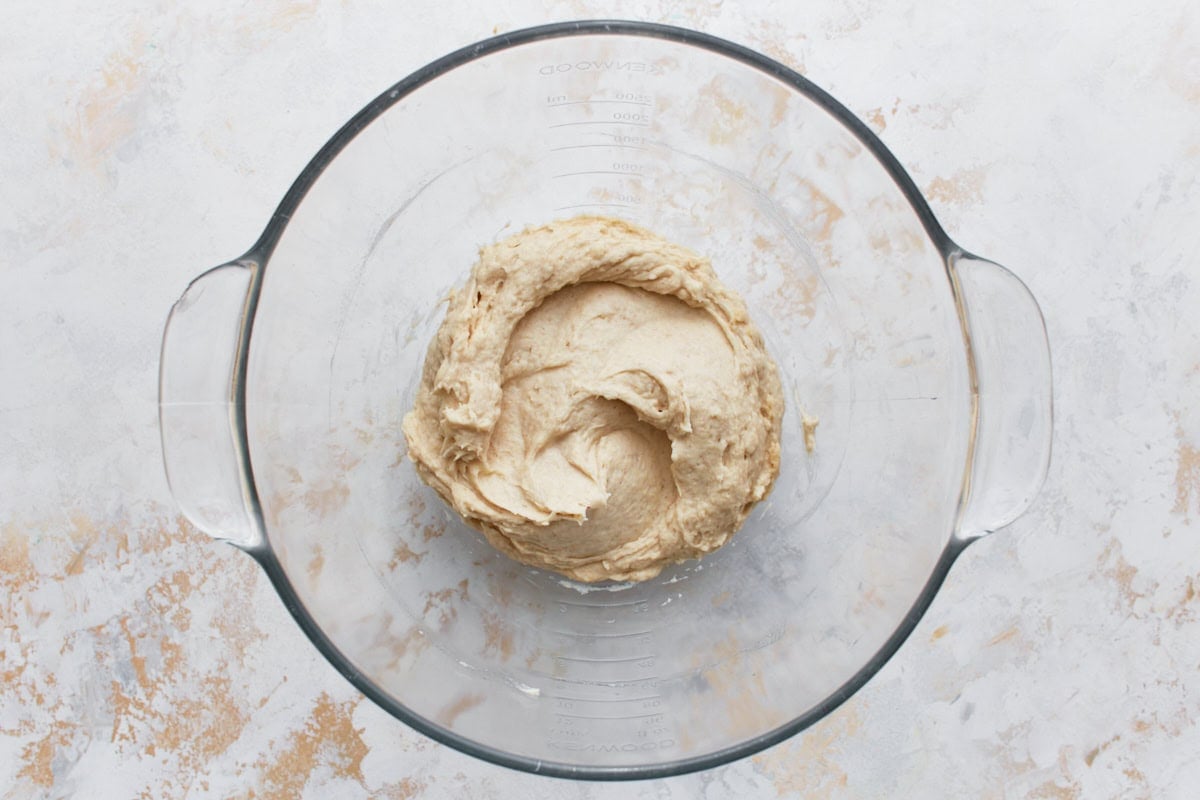
Make the dough: Add 3 large egg whites and 1 tsp salt to the dough and mix on medium speed for 1 minute. The dough should look like a thick cake batter.
Pour the gluten-free dough into the greased 9” x 5” bread pan. Place greased plastic wrap over the pan and drape a kitchen towel on top.

Proof dough: Set the dough aside in a warm area to proof for 30 minutes to rise.
Bake: Once proofed, place the bread pan on the middle rack horizontally. Bake at 350 degrees F for 30 minutes. The bread should be golden brown and reach an internal temperature between 205-210 degrees F.
Let the loaf cool for 10 minutes, remove it from the loaf pan, and place it on a cooling rack. Let the loaf cool completely before slicing.
Making it in a bread machine
Even though I developed this gluten-free bread recipe to be an oven-baked recipe, I also tested it in my bread machine. Just swap out these ingredients for the ingredients in my gluten-free bread machine recipe and follow the recipe’s directions. I always recommend using a bread machine that has a gluten-free setting.
Serving Suggestions
This is an everyday gluten-free bread recipe. I make this sandwich bread for my family every week to enjoy for morning toast and sandwiches like my homemade Uncrustables.
Storage Instructions
Store the leftover bread in an airtight container once it’s completely cooled. It may be kept on the counter at room temperature. It is also best not to pre-slice the bread before you store it, so just store the left-over portion of the loaf.
Place the wrapped loaf in a freezer bag. The bread can be frozen for up to 3 months. Thaw the bread in the refrigerator overnight.
More Gluten-Free Bread Recipes
- Gluten-Free Pita Bread: If you love baking simple gluten-free breads like this easy loaf, try this gluten-free pita bread. These soft, fluffy pockets are perfect for stuffing with sandwiches, wraps, or dipping into hummus and sauces.
- Gluten-Free Garlic Bread: Once you’ve mastered easy gluten-free bread, turn it into gluten-free garlic bread. It’s buttery, garlicky, and crisp around the edges—perfect for serving alongside pasta, soups, or salads.
- Gluten-Free Baguette: For a bakery-style option, try this gluten-free baguette. It bakes up with a crisp crust and soft interior, making it perfect for sandwiches, crostini, or slicing alongside dinner.


I’m starting your GF sourdough starter this week. Is there a way to incorporate it into this bread once it’s ready? My son loved my homemade sourdough until his celiac diagnosis. I see so many great reviews for this bread and I’d like to try to combine the two ideas together. Any suggestions?
Hi Jackie, yes here is our sourdough bread recipe: https://www.mamaknowsglutenfree.com/gluten-free-sourdough-bread/
I made this bread and followed the directions using the metric weights. From the outside it looked great and the internal temperature was 208. However about a quarter of the loaf near the bottom was gummy and dense. Can you make a suggestion as to what I could do to correct that the next time. It’s the first of your recipes that hasn’t been perfect. It was in the oven for 50 minutes and still gummy near the bottom. I know my yeast was good because I also made a regular loaf of bread that was fine.
Hi Linda, Even if the internal temp reads 208°F, gluten-free bread can still have a slightly under-set area, especially toward the bottom where moisture tends to settle. A few things that usually fix this: try baking the loaf one rack higher in the oven so the bottom doesn’t get insulated by too much direct heat, and if your pan is on the heavier side, switching to a lighter metal pan can help it bake more evenly. I’d also recommend letting the bread cool completely in the pan for about 10 minutes, then removing it to a wire rack right away so steam doesn’t get trapped underneath and create that gummy layer. If it happens again, you can tent the top with foil and bake it an extra 5–10 minutes to help the center and bottom fully set without over-browning.
Hello!
I tried this recipe, and omgosh!! It turned out perfect and my father and I loved it. Although, I do think I made a mistake when the recipe said 2 1/4 tsp. I accidentally put two 1/4 tsps instead of 2 and 1/4. I also had to rub butter on the top of the bread because it wasn’t browning. Nonetheless, it was a 10/10!!
Thank you 🙏
I have attempted this recipe several times.
The first time, it came out fine, other than still being a bit dense on the bottom.
I have tried to repeat the recipe, even trying different types of gluten free flour, and having to use bicarb instead of baking powder, because I’m struggling to find gluten free baking powder, using 1.25g of bicarb.
The bread rises beautifully in the oven, and I check the core temp, baking times are a little longer than stated, and as soon as it comes out the oven, it completely deflates.
I’ve have 5 loaves in a row do this and I have no idea why. Please help with possible remedies.
Live in South Africa so use local gluten free flour, which includes the gum. I therefore don’t add gum to the recipe.
Hi Sandra, Thank you so much for sharing all of that detail, it really helps! The biggest issue here is the substitution of baking soda for baking powder. Baking soda is much stronger and requires an acidic ingredient to activate properly, while baking powder already contains the acid needed for a controlled, steady rise. Without that balance, the bread can rise quickly in the oven and then collapse as soon as it comes out because the structure isn’t properly supported. That’s exactly what you’re describing. I would strongly recommend using baking powder for this recipe rather than baking soda. You can make your own by combining 1 teaspoon baking soda, 2 teaspoons cream of tartar, and 1 teaspoon cornstarch. It’s great that your flour blend already includes a gum, so you’re on the right track there. Since you’ve had consistent collapse across multiple loaves, I’m confident this adjustment will make a big difference. I’d love to hear how it turns out if you try it!
Such an easy recipe, not sure what I did wrong but it does not look like a loaf of bread 😁 we did slice it up and it is delicious!
Wondering if this website would be willing to post recipe ingredients by weight as well as volume for baking recipes? Far easier to whip out a scale than to spoon and level.
Hi Sarah, if you click metric on the recipe card, the measurements convert 🙂 We’re slowly adding all the metric measurements to our step by step instructions as well!
That’s awesome! Thank you
I love this recipe! It tastes great. My only problem is with baking it. Something always goes wrong, whether it be not cooking all the way through, or overflowing the pan. But this last time I spooned the mix into a muffin tin and made fantastic rolls! Thanks for all the wonderful recipes!
Absolutely a most delicious bread and full size slices. Had not found a good GF bread recipe until now. Am excited about your other recipes.
This looks amazing! Just one question: if I use a hand mixer with the regular attachments (not dough hooks), do you think that might work? Would you change anything about the timing/speed/etc? Thanks.
Hi Laura, Yes, that will work great and is actually better for gluten-free bread. The dough is more like a thick batter, so you don’t need dough hooks and regular beaters are perfect. Just start on low to combine, then mix on medium for about 2–3 minutes until smooth, scraping the bowl as needed. Once it looks fully mixed and cohesive, you’re good to go.
Thank you for the info!
I have tried to make gluten free bread many times for my son, I’ve bought 3 cook books to make bread… All failures!!! I had given up!!! I made this bread, which was easy without weird starches, The bread not only looked like real bread, it tasted like real bread. Finally!!!!!! A success!!!!!!