Gluten-Free Cut-Out Sugar Cookies
Published
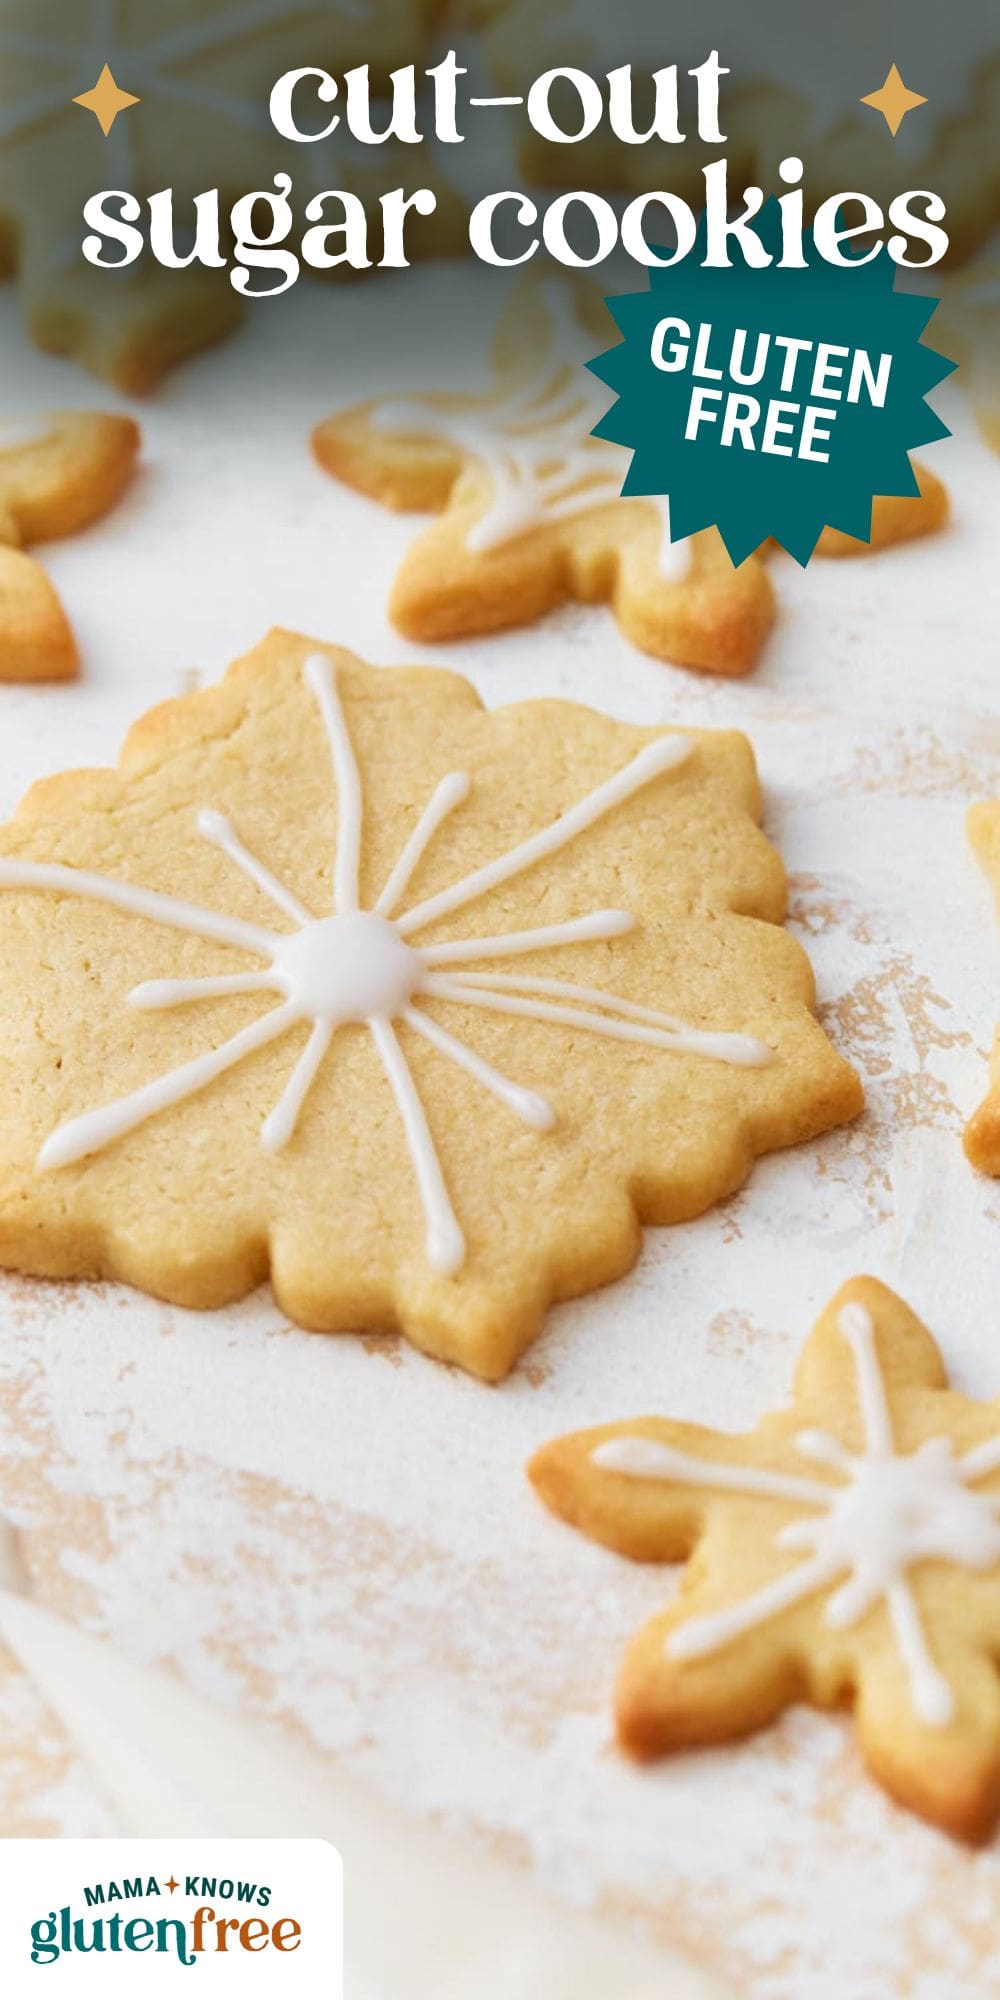


Baking cut-out cookies with my kids is one of my favorite traditions, and this gluten-free sugar cookie recipe is my go-to. Each year, we pick a new cookie design that’s fun to decorate together. Our annual Christmas cookie decorating party is always a highlight, and my kids absolutely love being creative with their cookie designs.

Gluten-Free Cut-Out Sugar Cookies Recipe
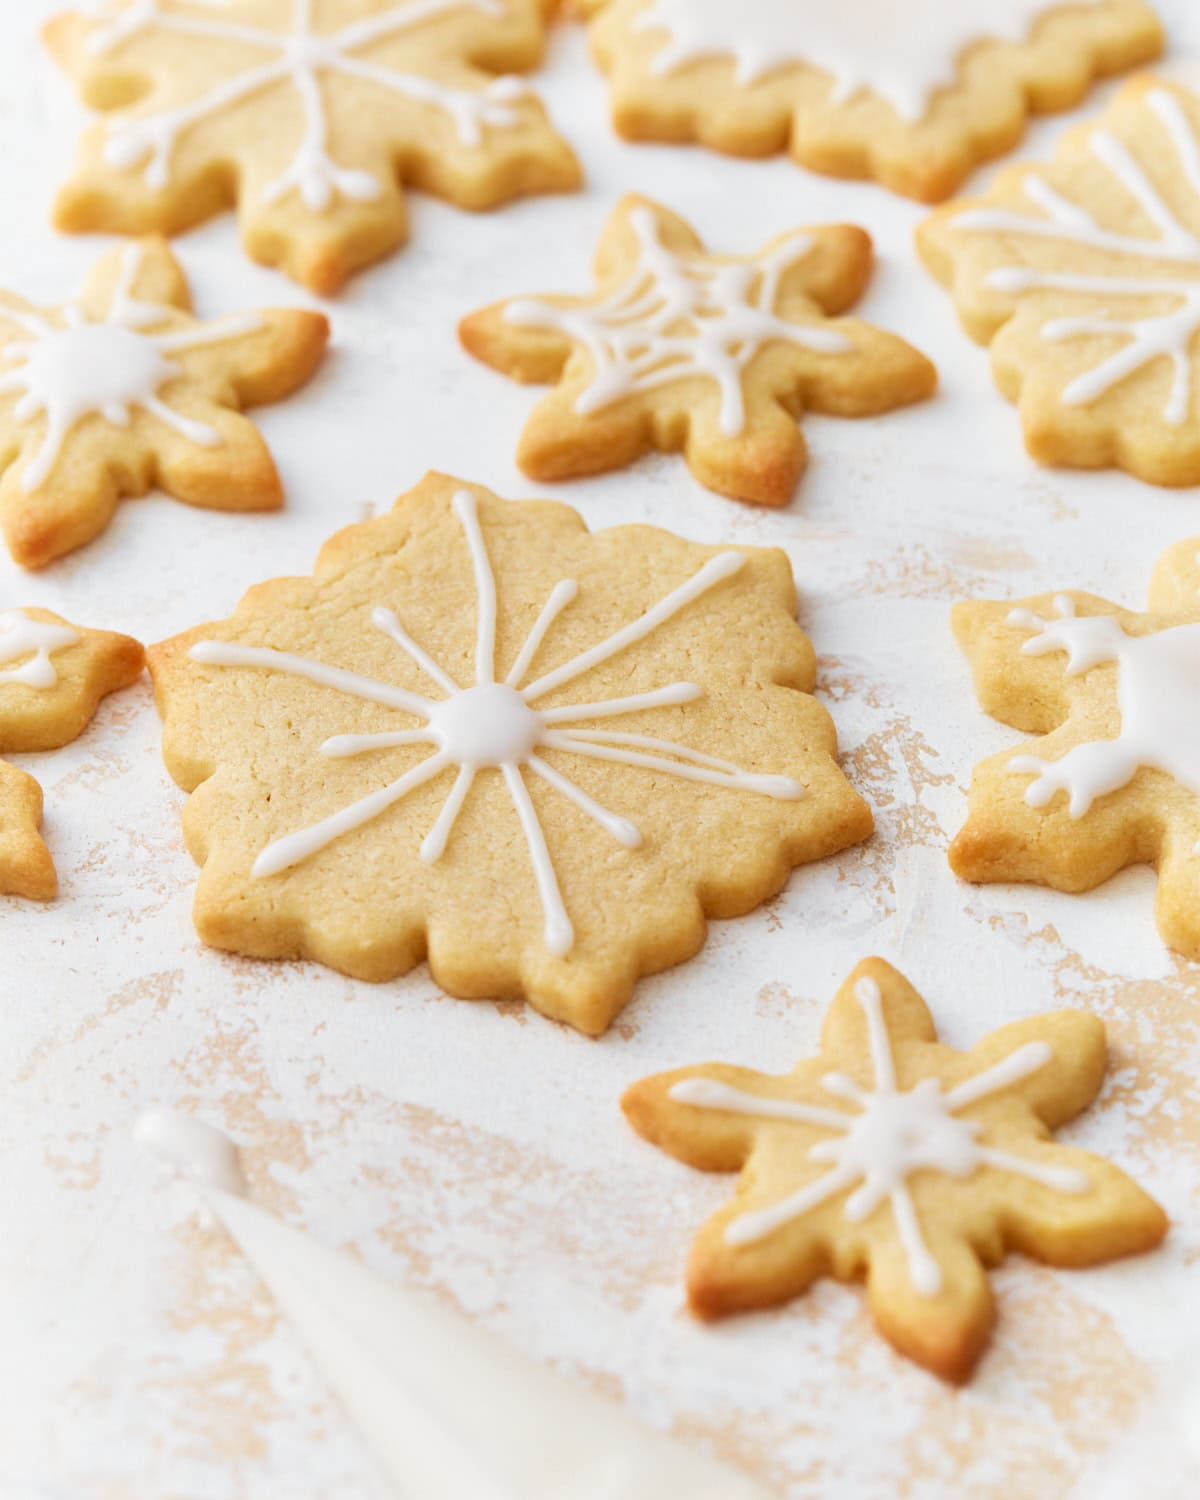
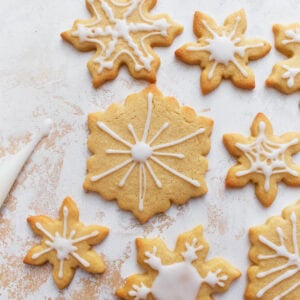
These classic cookies are soft and chewy with a perfect golden brown crust that is ideal for decorating. I used to love the pre-made, refrigerated Pillsbury sugar cookie shapes you see in grocery stores. This gluten-free version is a hit all year round with my family.
These cookies are buttery, fluffy, and lightly sweet, with a gluten-free dough that holds its shape beautifully without spreading during baking. Make these cut-out cookies with your friends and family for any holiday!
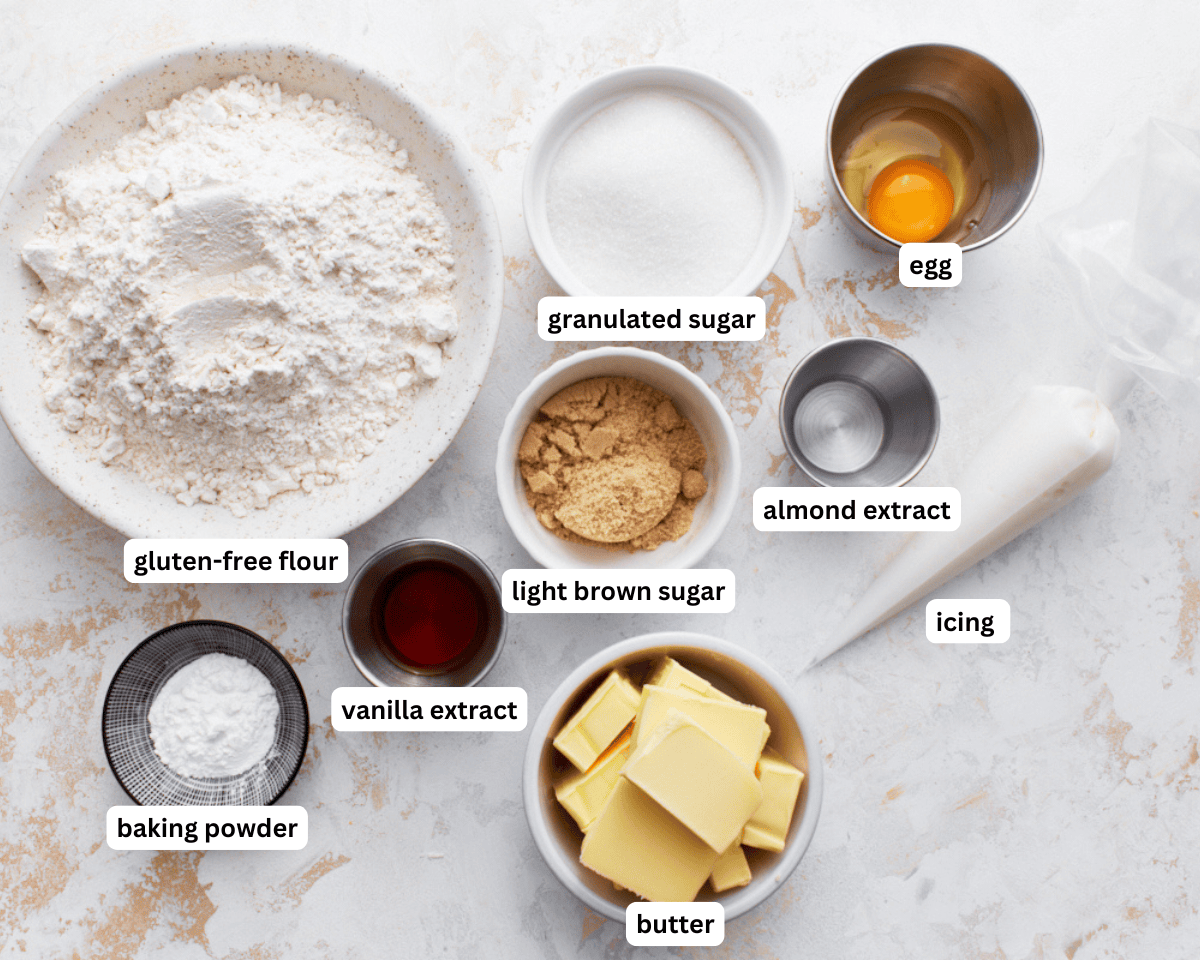
Ingredients
- Brown Sugar & Granulated Sugar: A mix of the two sugars keeps the cookies soft while also making them crumbly.
- Gluten-Free Flour: I use Pillsbury’s gluten-free flour mixture for all my gluten-free baking. Bob’s 1 to 1 is a really popular gluten-free flour mix, I’d like to note that it is very different than Pilsburry, and you may need to add a bit more flour to get the play dough consistency.
- Vanilla & Pure Almond Extract: Adds a warm and frangipane-like flavor.
- Eggs: Eggs bind all the ingredients together while giving the dough moisture. Use Bob’s Red Mill egg replacer for egg-free baking.
Tips and Suggestions
- Baking requires the ingredients to be at room temperature before baking. I leave my butter and eggs out on the counter for 30 minutes before I start preparing the recipe.
- If I’m making these with my kids, things take a bit longer. I like to keep dough chilled to prevent it from spreading. I like to stick the cut-out dough in the refrigerator on the baking sheet for 20 minutes before adding it to the oven. This is an important step to ensure your cookies keep their shape!
- Gluten-free flour is different than traditional wheat flour. The best way to measure gluten-free flour is the “spoon & level” method. I use a spoon to scoop the flour out of the bag and into the measuring cup. Then, I use the back of a knife to level off the top of the measuring cup.
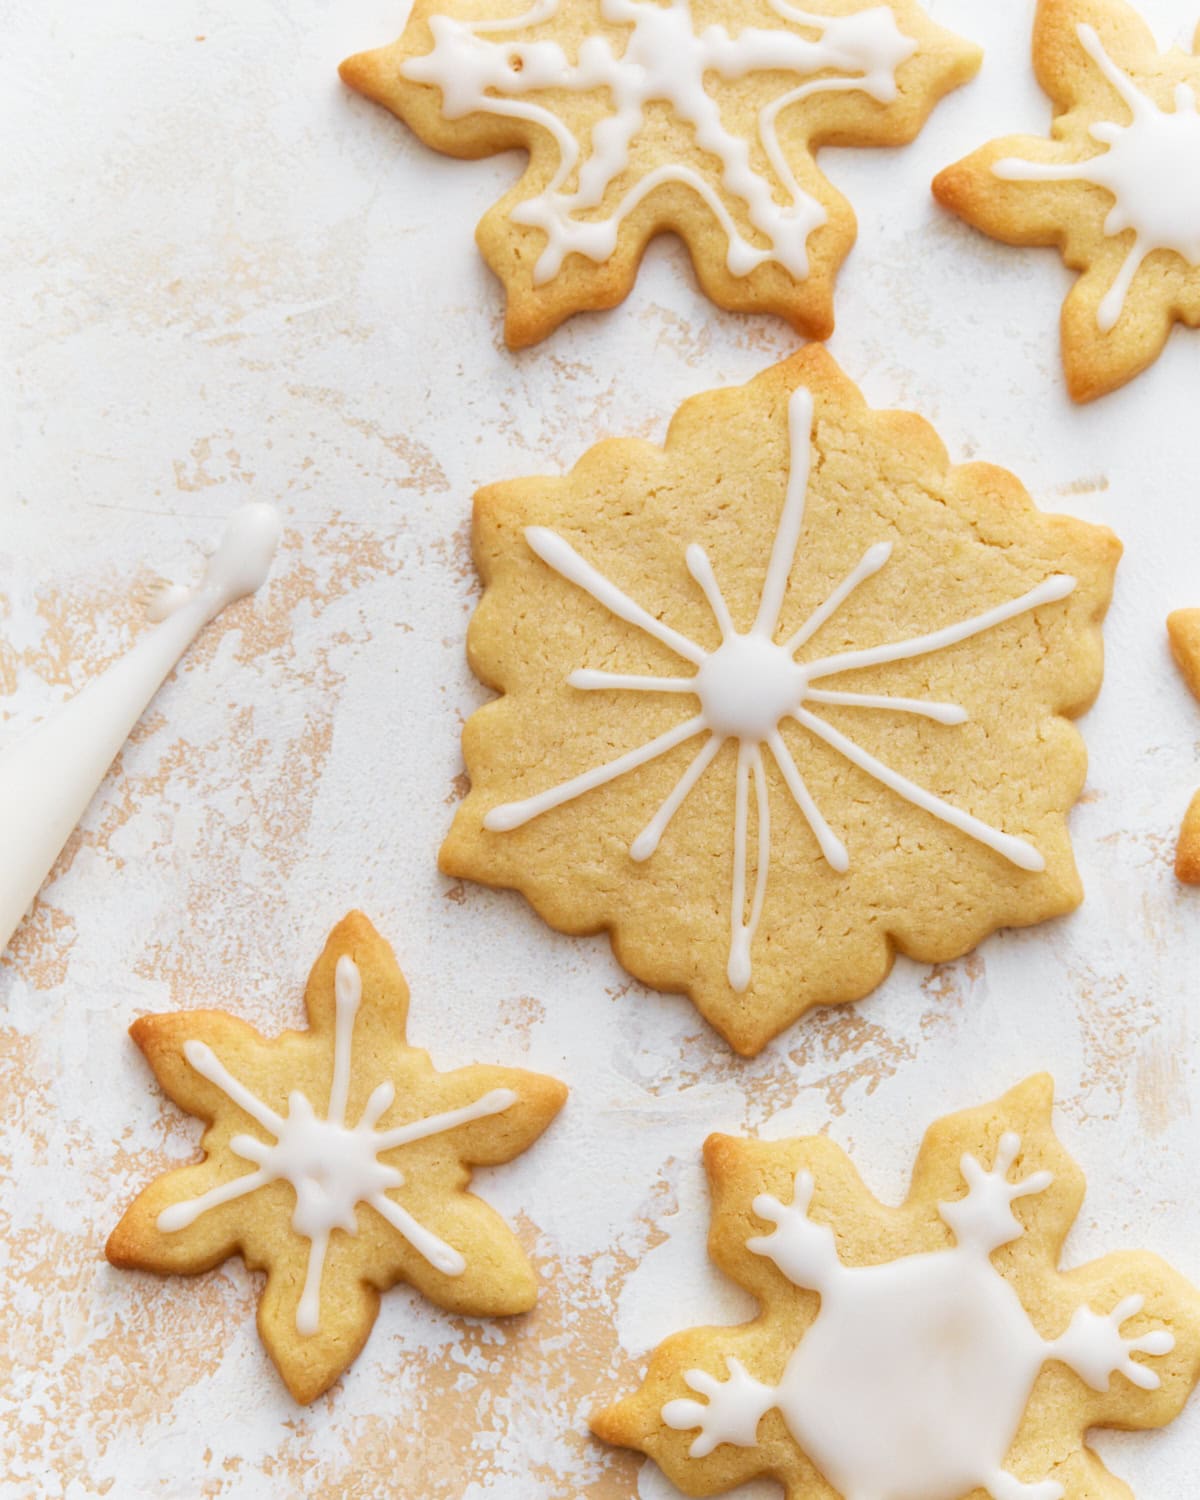
- This sugar cookie recipe would work well with several types of frostings. You can decorate them with buttercream, royal icing, or even pre-made cookie icing (like me)! Just make sure your cookies are completely cooled before icing them.
- I used the pre-made Wilton’s cookie icing that I bought at Walmart. It was super easy to use, and I just added food coloring to it.
- If you’re using sprinkles to decorate the cookies, make sure you add them before you bake.
Storage Instructions
Sometimes, I make my dough beforehand and store it in the refrigerator for up to 3-4 days.
Store cookies in an airtight container at room temperature for 1 week.
More Gluten-Free Sugar Cookies
Gluten-Free Cut-Out Sugar Cookies
Equipment
- 1 hand or stand mixer
Ingredients
- 1 cup unsalted butter, butter must be softened, but not melty, dairy-free use Smart Balance butter
- 1/4 cup brown sugar, packed
- 3/4 cup granulated sugar
- 1 tablespoon pure vanilla extract
- 1/2 teaspoon pure almond extract
- 1 egg
- 2 1/2 cups gluten-free all-purpose flour, I like Pillsbury gluten-free flour. Not all gluten-free flours are created equal. You may experience different baking results depending on the gluten-free flour blend you choose.
- 1/2 teaspoon xanthan gum, (leave out if your flour already has it)
- 1 1/2 teaspoons baking powder
- 2 tablespoons gluten-free all-purpose flour, for rolling
- gluten-free cookie icing, I used Wilton’s cookie icing.
Instructions
- In a large bowl cream the butter, brown sugar and sugar together with a mixer.
- Beat in the egg, pure vanilla, and pure almond extract
- In a medium bowl add the gluten-free flour, xanthan gum (leave out if your flour already has it) baking powder and stir to blend ingredients.
- Slowly pour flour mixture into the batter and mix until fully combined. The cookie dough will be like soft play dough.
- Cover cookie dough and refrigerate for 30 minutes.
- Preheat oven to 375°.
- Divide the dough into 2 equal parts. Sprinkle a tablespoon of gluten-free flour on top of parchment paper. Roll one of the dough balls onto to about 1/4″ thickness. While you are cutting out the first set of sugar cookies place the second dough ball in the refrigerator. Cut the cookies out using a cookie cutter and place the shapes carefully on a parchment lined cookie sheet. Roll out the second dough ball and repeat the steps from above so you will have two cookie sheets of cutouts.
- Bake for 10-12 minutes or until the edges are very lightly browned. If you like your cookies a little crispy bake for the full 12 minutes. Please watch your cookies because all ovens are different.
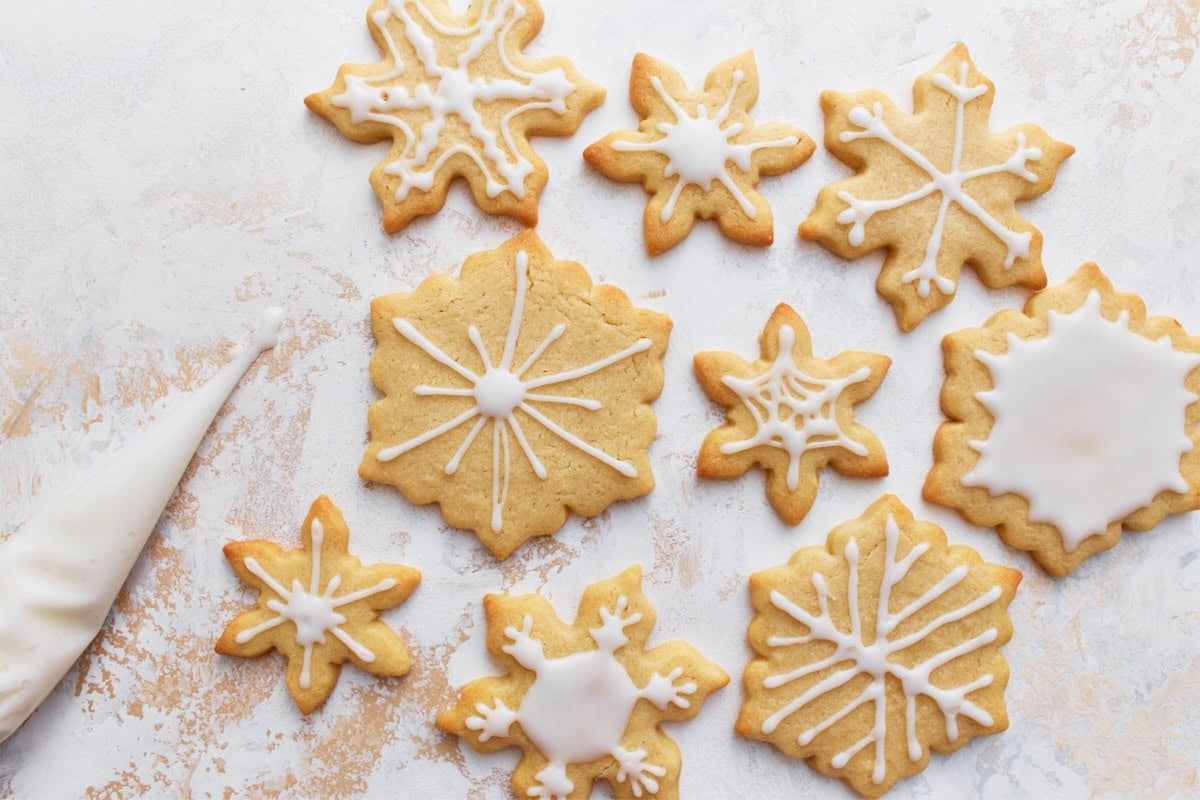
- Allow cookies to completely cool before icing. Enjoy!
Notes
- Baking requires the ingredients to be at room temperature before baking. I leave my butter and eggs out on the counter for 30 minutes before I start preparing the recipe.
- If I’m making these with my kids, things take a bit longer. I like to keep dough chilled to prevent it from spreading. I like to stick the cut-out dough in the refrigerator on the baking sheet for 20 minutes before adding it to the oven. This is an important step to ensure your cookies keep their shape!
- Gluten-free flour is different than traditional wheat flour. The best way to measure gluten-free flour is the “spoon & level” method. I use a spoon to scoop the flour out of the bag and into the measuring cup. Then, I use the back of a knife to level off the top of the measuring cup.
- This sugar cookie recipe would work well with several types of frostings. You can decorate them with buttercream, royal icing, or even pre-made cookie icing (like me)! Just make sure your cookies are completely cooled before icing them.
- I used the pre-made Wilton’s cookie icing that I bought at Walmart. It was super easy to use, and I just added food coloring to it.
- If you’re using sprinkles to decorate the cookies, make sure you add them before you bake.
- Sometimes, I make my dough beforehand and store it in the refrigerator for up to 3-4 days.
- Store cookies in an airtight container at room temperature for 1 week.
Nutrition
Nutrition information is automatically calculated, so should only be used as an approximation.
How to Make Gluten-Free Cut-Out Sugar Cookies Step-by-Step

Using your hand or stand mixer, cream together 1 cup of unsalted softened butter, ¼ cup packed brown sugar, and ¾ cup granulated sugar.
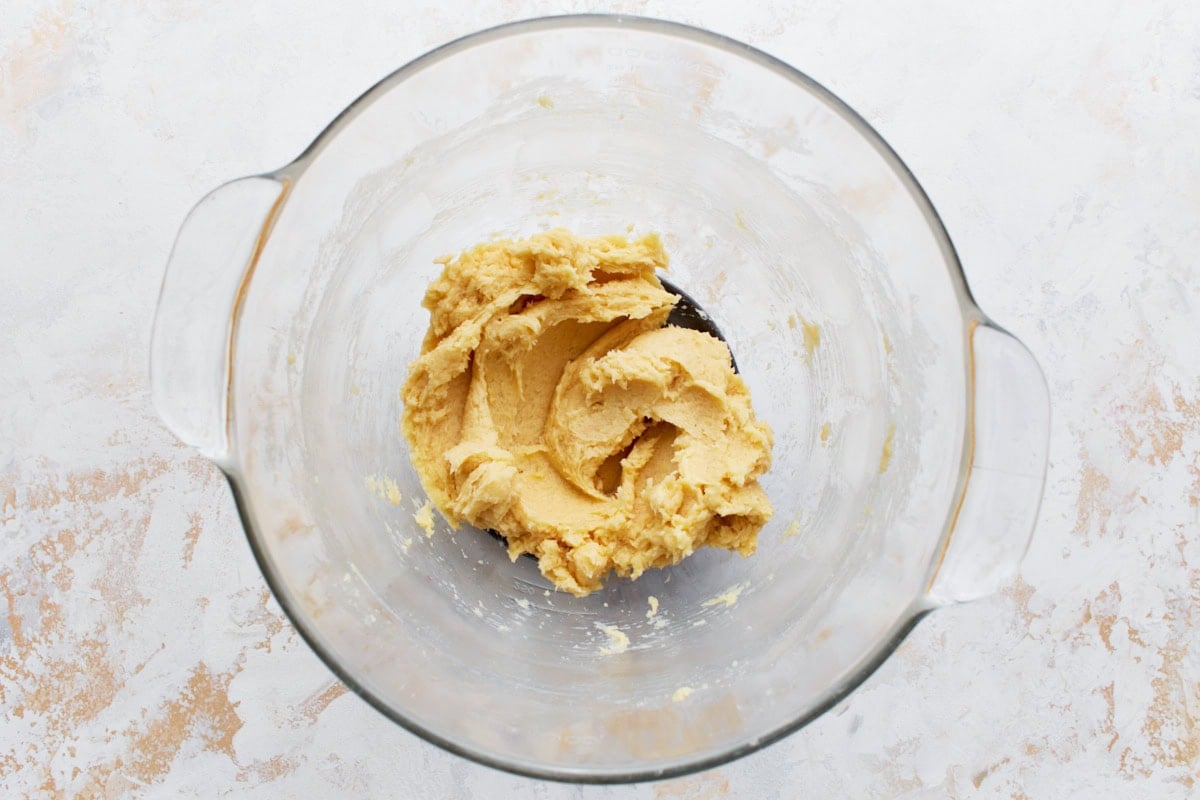
Beat in 1 egg, 1 tbsp vanilla extract, and ½ tsp pure almond extract.

Add 2 ½ cups gluten-free all-purpose flour, ½ tsp xanthan gum (if needed), and 1 ½ tsp baking powder in another mixing bowl. Stir to combine all the ingredients.
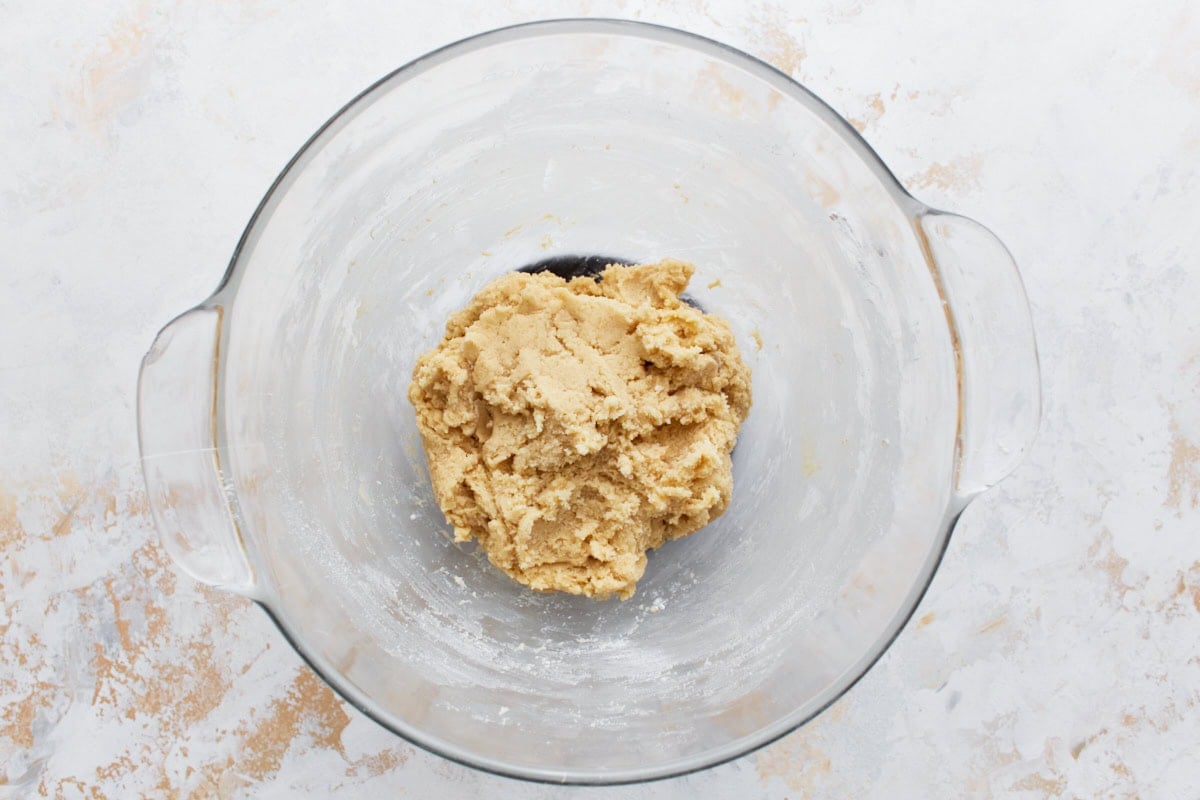
Slowly pour the flour mixture into the wet ingredients and mix to fully combine. The dough should be like play dough. Cover the bowl and let the dough rest in the refrigerator for 30 minutes. Preheat the oven to 375°F while the dough chills.
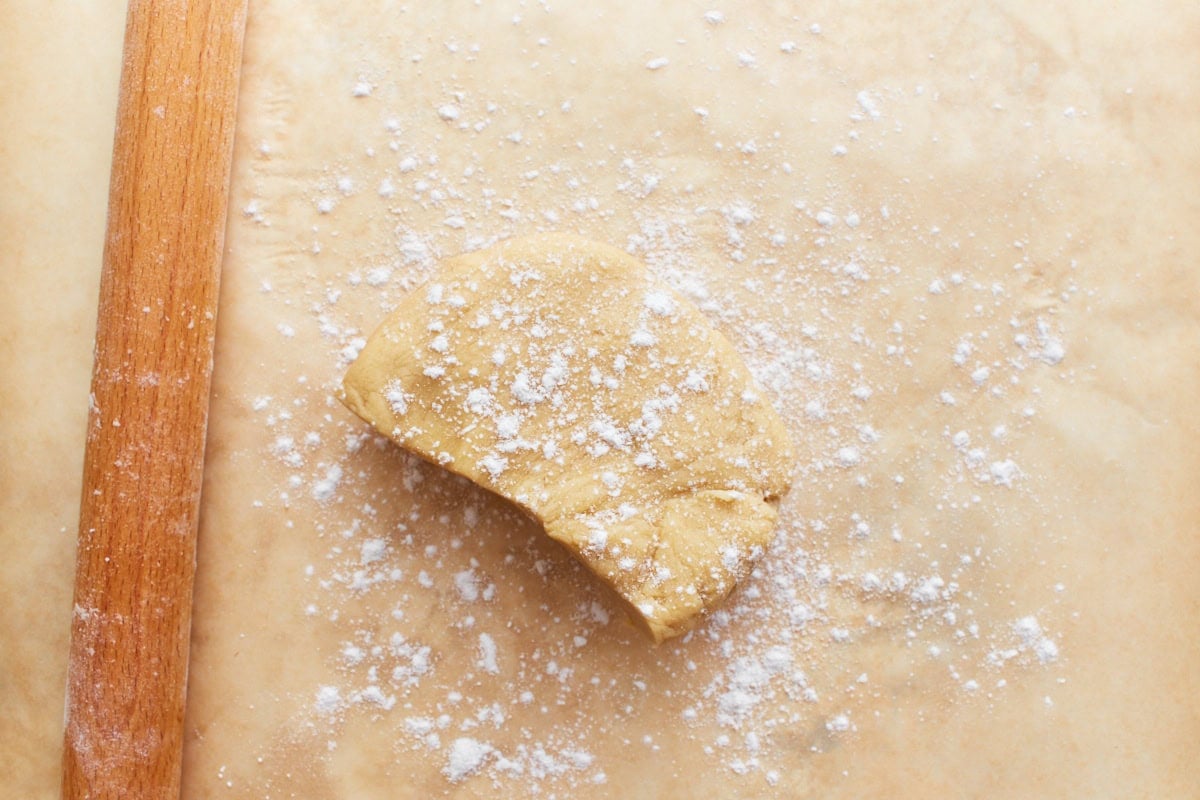
Divide the dough into 2 equal parts and sprinkle a tbsp of gluten-free flour on top of parchment paper.
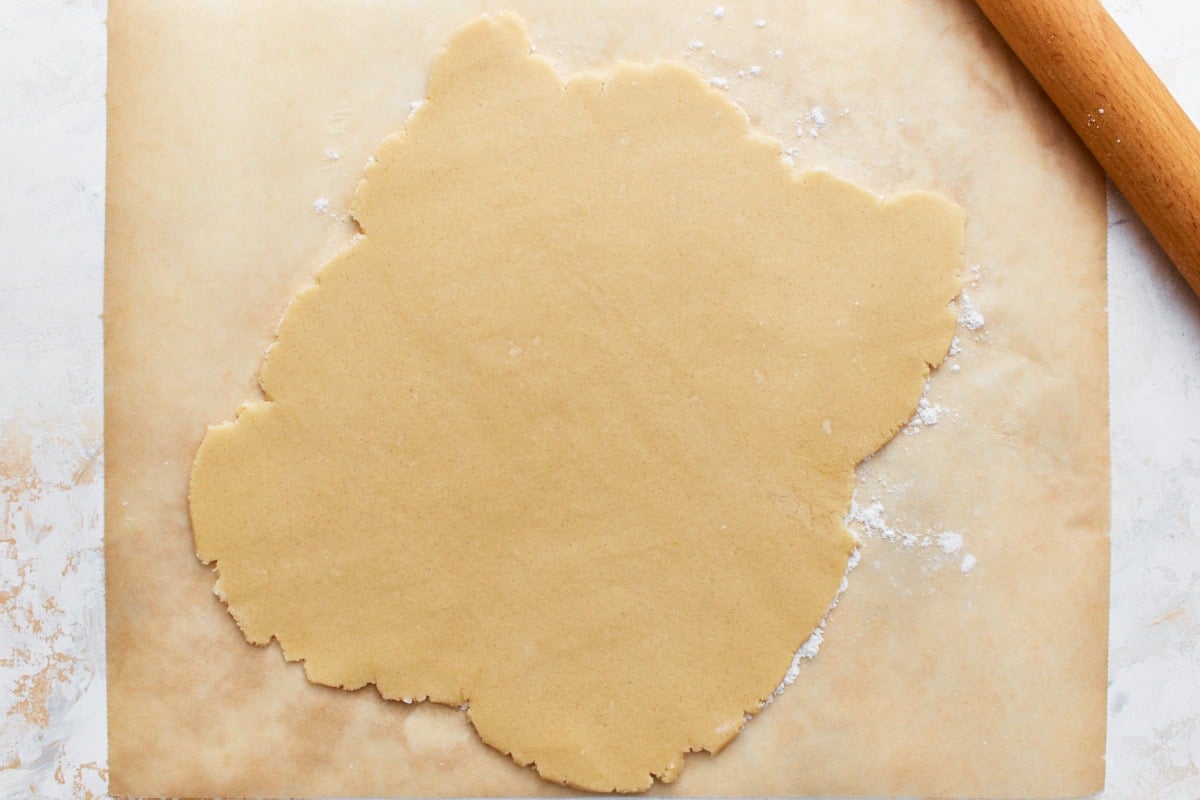
Roll out one of the dough balls to approximately 1/4″ thickness. While cutting out the first batch of sugar cookies, keep the second dough ball in the refrigerator.
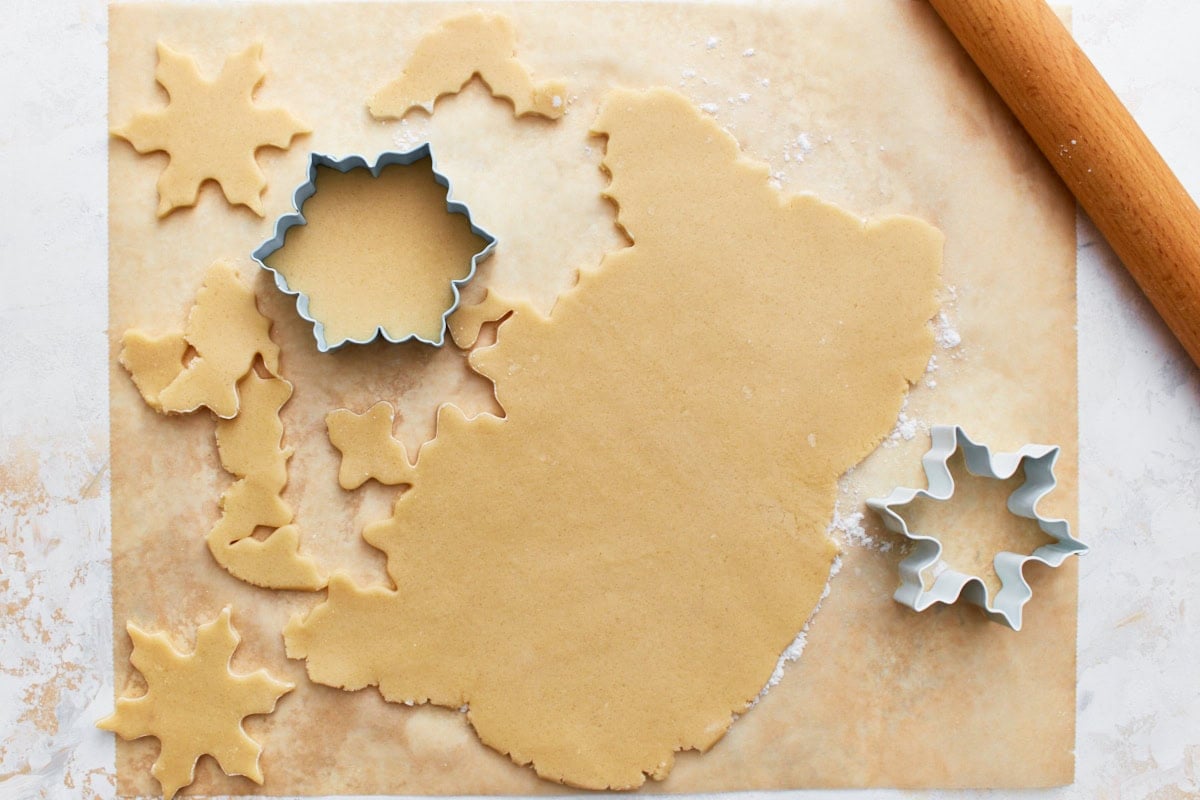
Use a cookie cutter to create shapes and gently transfer them to a parchment-lined cookie sheet. Then, roll out the second dough ball and repeat the process to prepare two cookie sheets of cutouts.
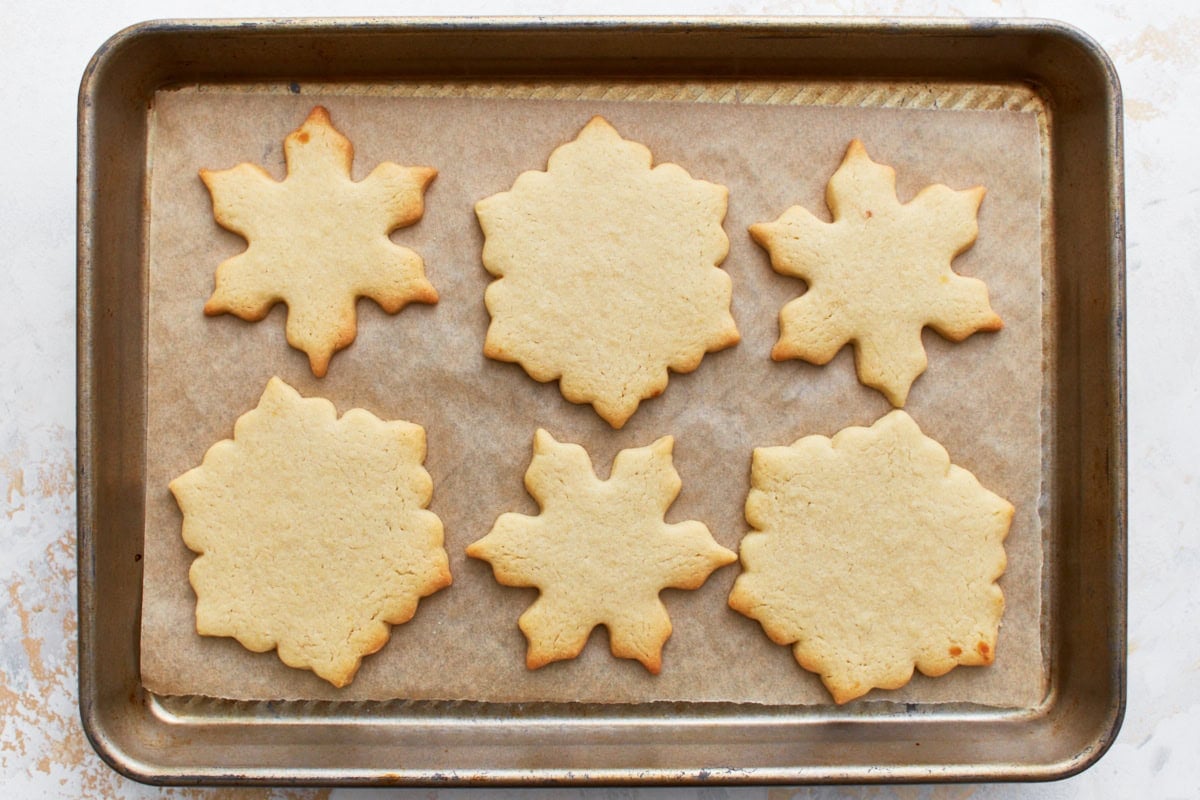
Bake for 10-12 minutes or until the edges are lightly browned. For crispier cookies, bake for the full 12 minutes. Keep a close eye on them, as oven temperatures can vary.

Let the cookies cool completely before icing. Enjoy!


This does roll out like a dream! I refrigerated half of the dough for a few hours and froze the other half then sat it on the counter for 10 minutes or so. I think took a half up and rolled it on on parchment paper—with a sprinkle of gf flour and it rolled out perfectly!! I’ve never had cookies roll out so well. I did refrigerate the dough b4 cooking for about 10 minutes and the cooked them 9 minutes and they came out beautifully! I’m excited to decorate tmrw with the teens—one is GF and I use all of your recipes bc they all are amazing!
Came out very tasty and I shortened the time to 9 min for the second batch. It turned out well for the regular sized cut-out cookies.
Great cookies! Lovely dough to work with. A tip I learned a few years ago with cutout cookies – use powdered/Confectioners’ sugar instead of flour when rolling out the cookies. It makes them sweeter and there are no worries about too much flour making the cookies ‘tough’.
The recipe worked great. The only thing I wanted to comment was that it needed to chill longer than 30 minutes. At 30 minutes it was too soft to pick up the cookies to place on the cookie sheet. After an hour they were perfect.
I have 4 celiac children. I’ve tried 4-5 recipes for cut out cookies over the years. I can’t seem to find the perfect one – UNTIL I FOUND THIS! They are perfection. Thank you so much. I cannot find Pillsbury flour anywhere so I used Bobs Red Mill and slowly added the flour Mixture to the wet ingredients until it was soft play-do consistency. I used slightly more flour than the recipe called for but not much.
Look no further for GF Christmas cookies. I can’t wait to share these with my guests! They will not believe they are gluten free.
Do you have the metric measurements / weights of the needed ingredients?
Thank you!
Hi Hollie, I just added them to this recipe!
I would love a chocolate version of these if you have any tips!
These are our go to for sugar cookies around any holiday!
This recipe was very easy and the cookies tasted great!
Has any one tried Thai recipe using Bob Mills Gluten Free flour? I already have that on hand. Thanks
Can I make the cut out shapes and freeze them?
If so, how do suggest baking and decorating?
Thanks
Hi Nancy, Yes you can make the cut-out dough. Follow the recipe, shape it into a disk or roll it out and cut your cookie shapes. Place the shapes on a parchment-lined baking sheet and freeze until firm, then transfer them to a freezer-safe bag or container and store for up to 2–3 months. When you’re ready to bake, thaw the dough slightly in the refrigerator. I would take them out of the refrigerator and bring them to room temperature for 30 minutes before baking. Then, follow the baking and decorating instructions.