Gluten-Free Pizza Dough
Updated


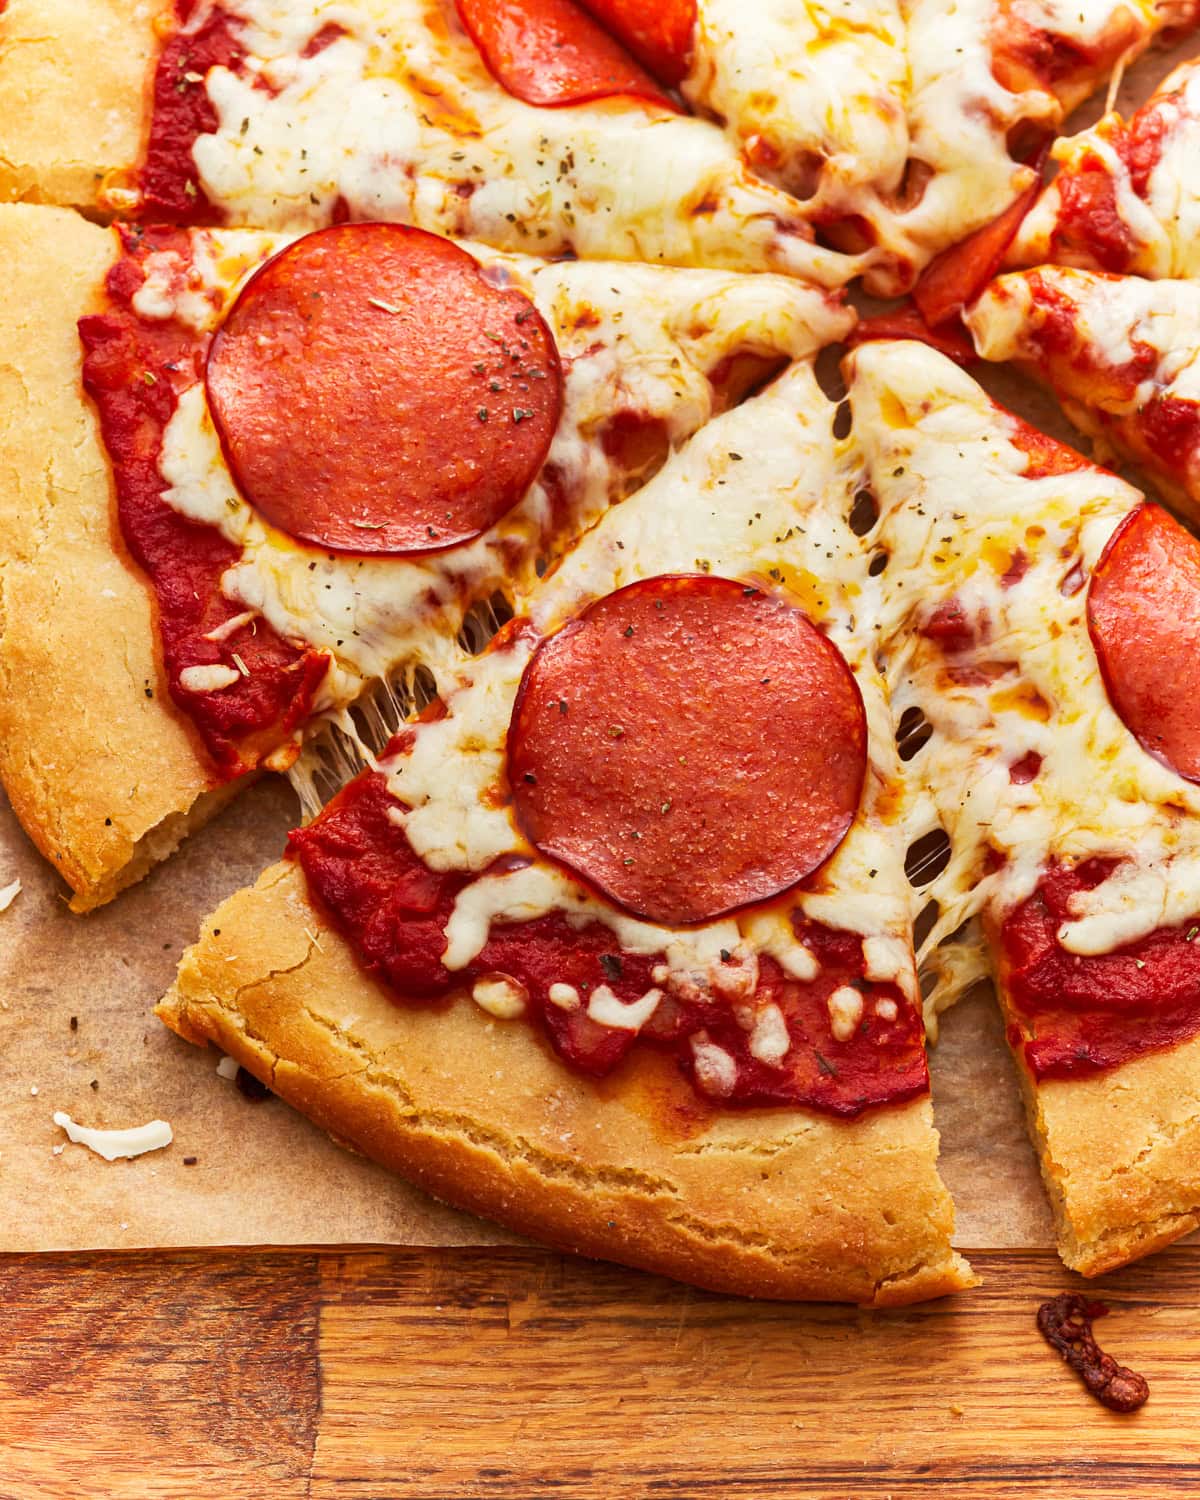
If there’s one gluten-filled thing I miss, it’s pizza. But I don’t feel like I’m missing out anymore with this easy recipe for gluten-free pizza dough. Make homemade pizza with a thick and chewy gluten-free pizza crust.
Gluten-Free Pizza Dough Recipe
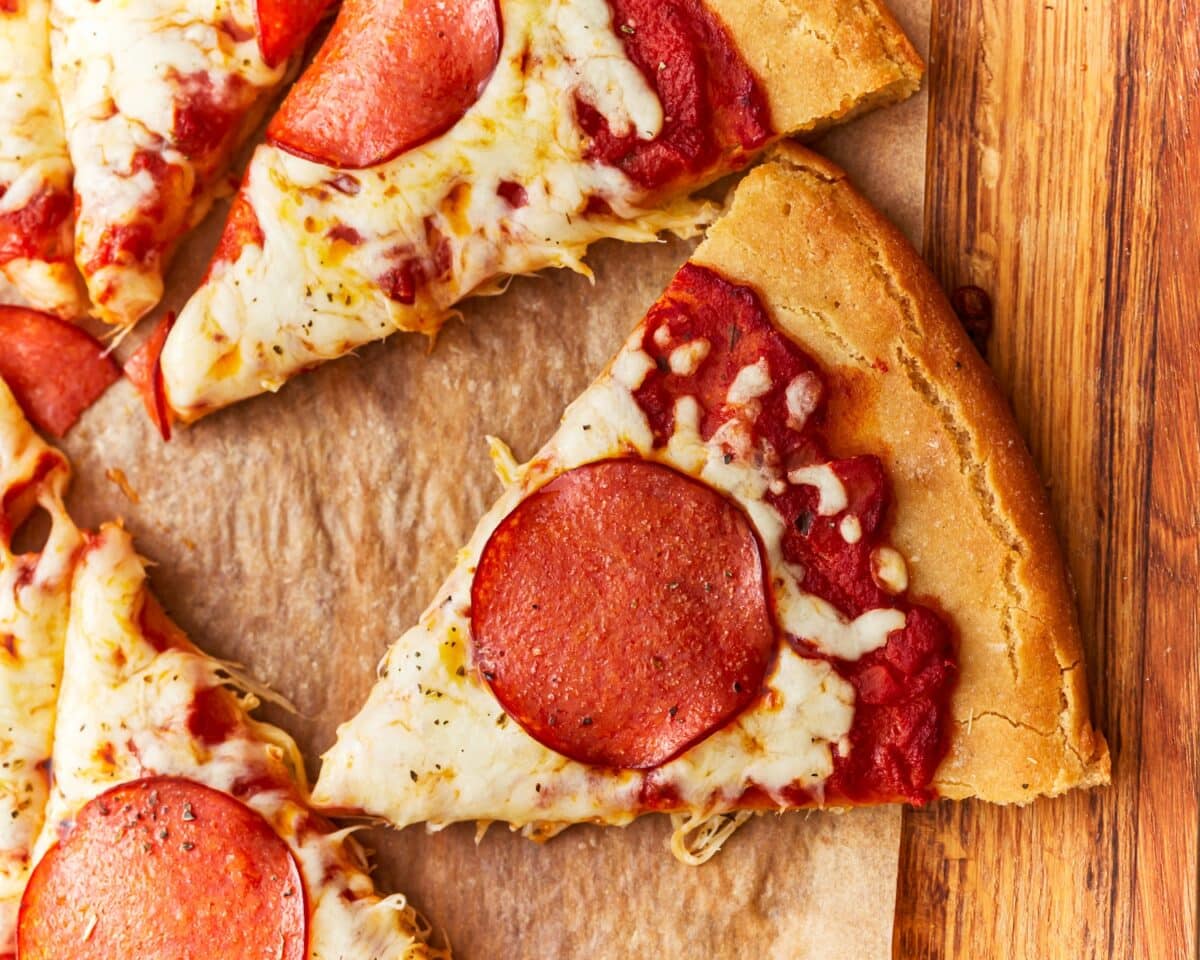
I’ve tested this recipe countless times to get the texture just right—soft in the center with a crisp, golden edge. It reminds me of the thick, chewy slices I grew up loving, just without the gluten. The dough comes together quickly in one bowl, and because there’s no kneading, it’s perfect for weeknights or anytime a pizza craving hits. Whether you’re topping it with classic pepperoni or loading it with veggies, this crust holds up beautifully.
Gluten-Free Pizza Dough

Ingredients
Gluten-Free Pizza Dough
- 2½ cups gluten-free all-purpose flour with xanthan gum, We like Pillsbury or Better Batter. Not all gluten-free flours are recommended for yeast baking. You may experience different baking results depending on the gluten-free flour blend you choose.
- 1 tbsp baking powder
- 1 tsp salt
- 2¼ tsp rapid yeast/instant yeast
- 1 cups warm water, 110°-115° (43-46°C)
- 1 tbsp granulated sugar
- ½ cup olive oil
- 1 tsp apple cider vinegar
- 2 tbsp gluten-free all-purpose flour, for dusting
Instructions
Gluten-Free Pizza Dough
- Preheat your oven to the proofing setting. If your oven does not have a proofing setting, heat the oven 200°F (93°C). Once it gets to 100°F (38°C), turn off the oven.
- Combine the gluten-free all-purpose flour, instant yeast, baking powder, and salt in the bowl of a stand mixer fitted with the paddle attachment.
- Warm the water in the microwave for 30-45 seconds to 110°-115°F (43-46°C). I use a thermometer to check the temperature of the water. If the water is too hot, it will kill the yeast.
- Add the sugar to the warm water and stir until it is dissolved.
- Pour the warm sugar water into the gluten-free flour mixture and mix with your mixer on low.
- Add the olive oil and apple cider vinegar to the gluten-free dough mixture and mix on low speed for 1-2 minutes, or until the dough starts to form. The gluten-free pizza dough will be very sticky.
- Place the dough in a greased ovenproof bowl and cover with plastic wrap. Cover the dough with a kitchen towel and place in your warm oven for 30 minutes to rise.
- Remove the dough from the oven and preheat the oven to 425°F (218°C).
- Pour 1 tablespoon of gluten-free all-purpose flour onto a large sheet of parchment paper. Spread the gluten-free flour into a circle the size of the pizza crust (15″).
- Turn the bowl over on top of the floured parchment paper. Sprinkle 1 tablespoon of gluten-free all-purpose flour on top of the dough. Gently pat the dough ball in an outward motion. Work from the middle and push to spread the dough out to the edge to make a 15″ circle. Use your fingertips to press down into the dough to form the crust edge. Use your hands to finish shaping and rounding the edges.
To Bake Gluten-Free Pizza
- Place the parchment paper with the dough on a pizza pan or baking sheet. Bake for 15 minutes.
- Remove the crust from the oven and top with the gluten-free pizza sauce, cheese, and your favorite toppings.
- Bake the crust for an additional 10-15 minutes, until the cheese is melted and the crust is golden brown.
- Store leftovers in an air-tight container and refrigerate. Reheat leftovers in the oven or microwave.
Notes
- To freeze: Let the dough fully rise before you freeze it. Wrap the dough in plastic wrap and place it in a plastic freezer bag. The dough can be frozen for up to three months. Thaw the dough in the refrigerator overnight before you use it.
- To par-bake: It is also easy to freeze and have a half-baked crust on hand, just like the packaged frozen pizza crust from the grocery store. Just follow the recipe instructions through the gluten-free pizza dough dough steps below (1-10). Bake the gluten-free pizza crust for 15 minutes in a 425°F (218°C) oven. Allow it to cool completely. Wrap the parbaked gluten-free pizza crust tightly with plastic wrap or foil made for freezing. The parbaked gluten-free pizza crust can be frozen for up to a month. When you are ready to make your gluten-free pizza, just add your toppings and bake for 10-15 mins at 425°F (218°C).
- Mama says”Always check your labels!”
Nutrition
Nutrition information is automatically calculated, so should only be used as an approximation.
Gluten-Free Pizza Dough Step-by-Step
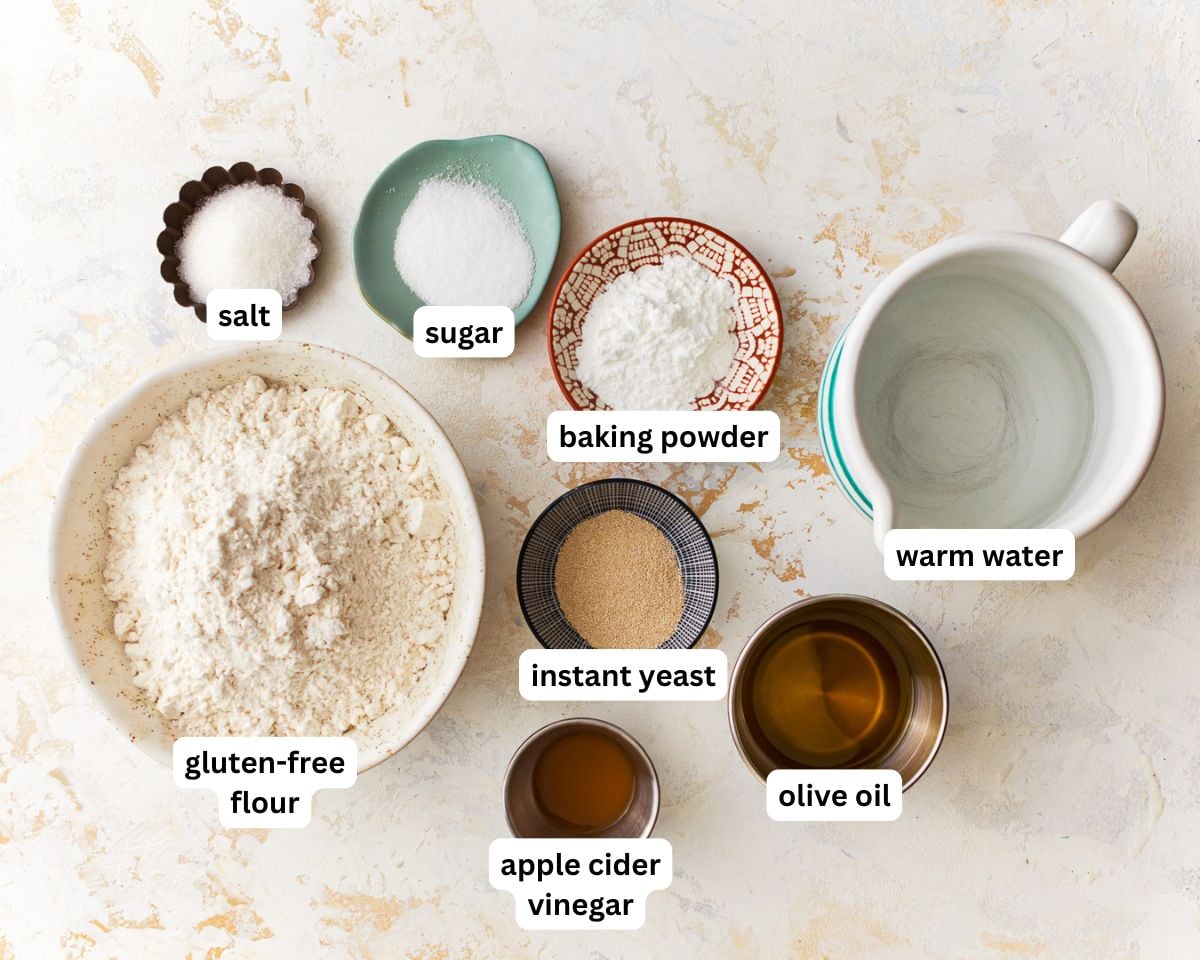
Gather the ingredients: Gather all the ingredients together. Preheat your oven to the proofing setting. If your oven doesn’t have one, preheat it to 200°F. Once it reaches 100°F, turn the oven off.
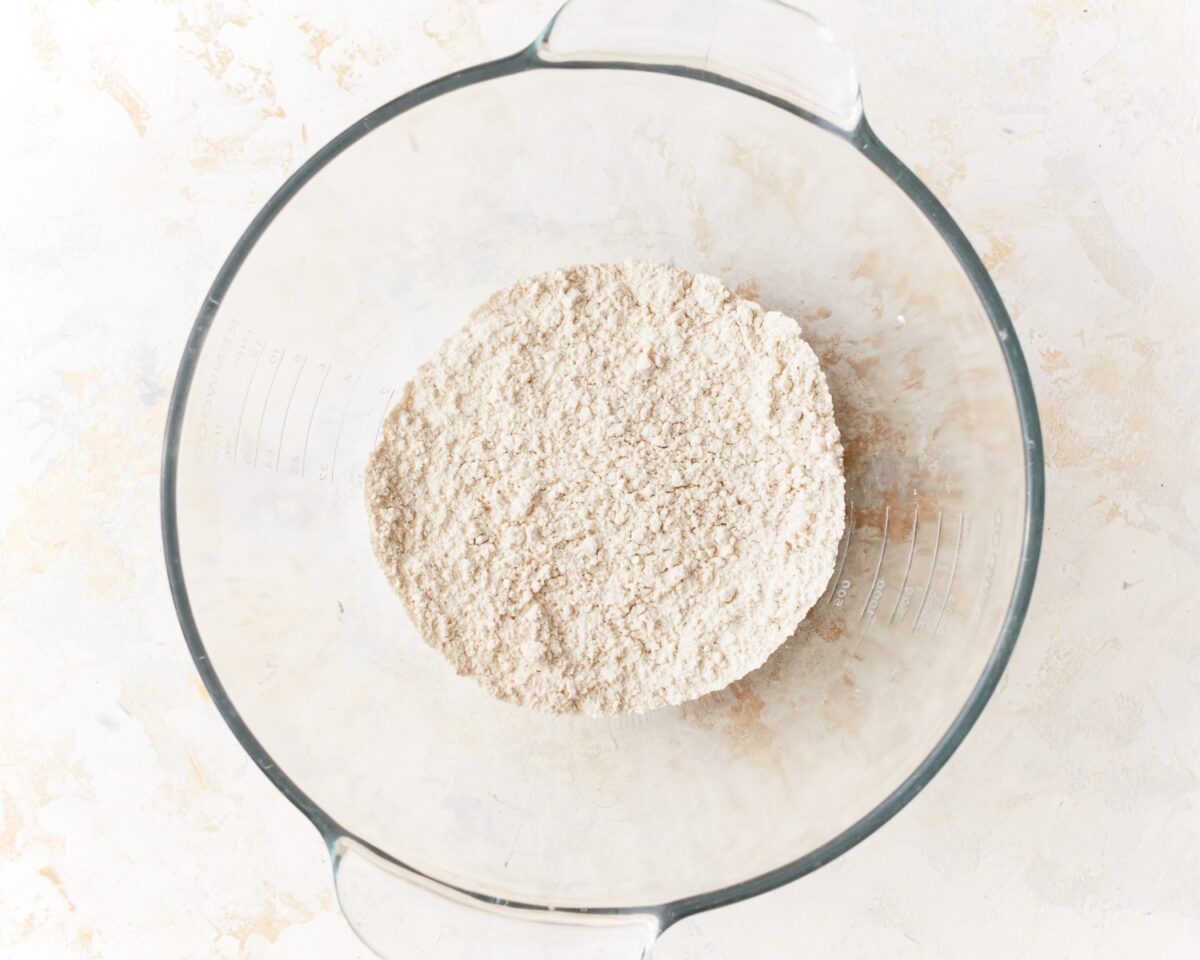
Mix the dry ingredients: In the bowl of a stand mixer fitted with the paddle attachment, combine 2½ cups of gluten-free all-purpose flour with xanthan gum (I recommend Pillsbury or Better Batter), 1 tbsp of baking powder, 1 tsp of salt, and 1 packet (or 2¼ tsp) of rapid rise/instant yeast.

Activate the yeast: Microwave 1½ cups of water for 30–45 seconds until it reaches 110°F to 115°F. Use a kitchen thermometer to check the temperature—if it’s too hot, it can kill the yeast. Stir 1 tbsp of granulated sugar into the warm water until dissolved.
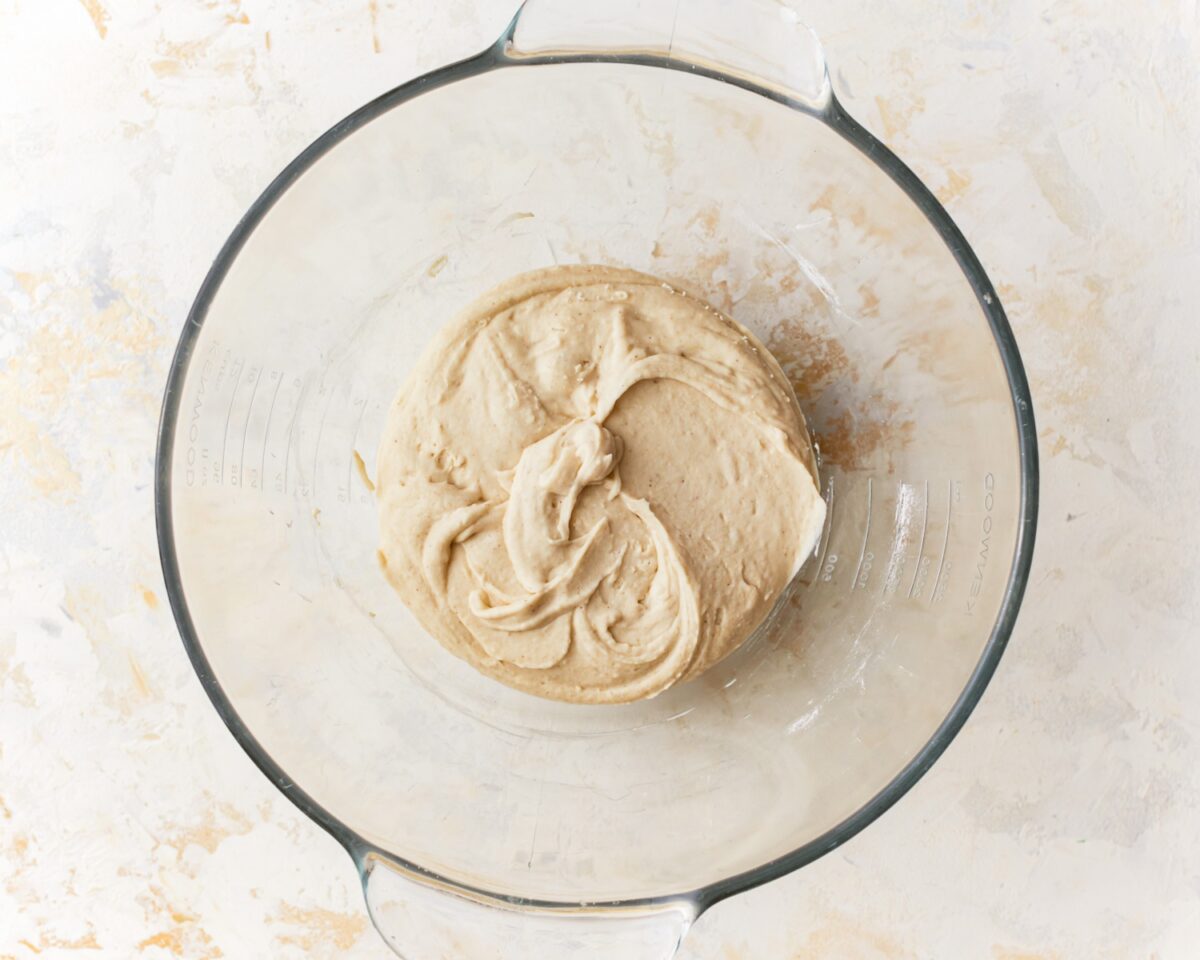
Combine the sugar water: With the mixer on low speed, slowly pour the sugar water into the flour mixture.
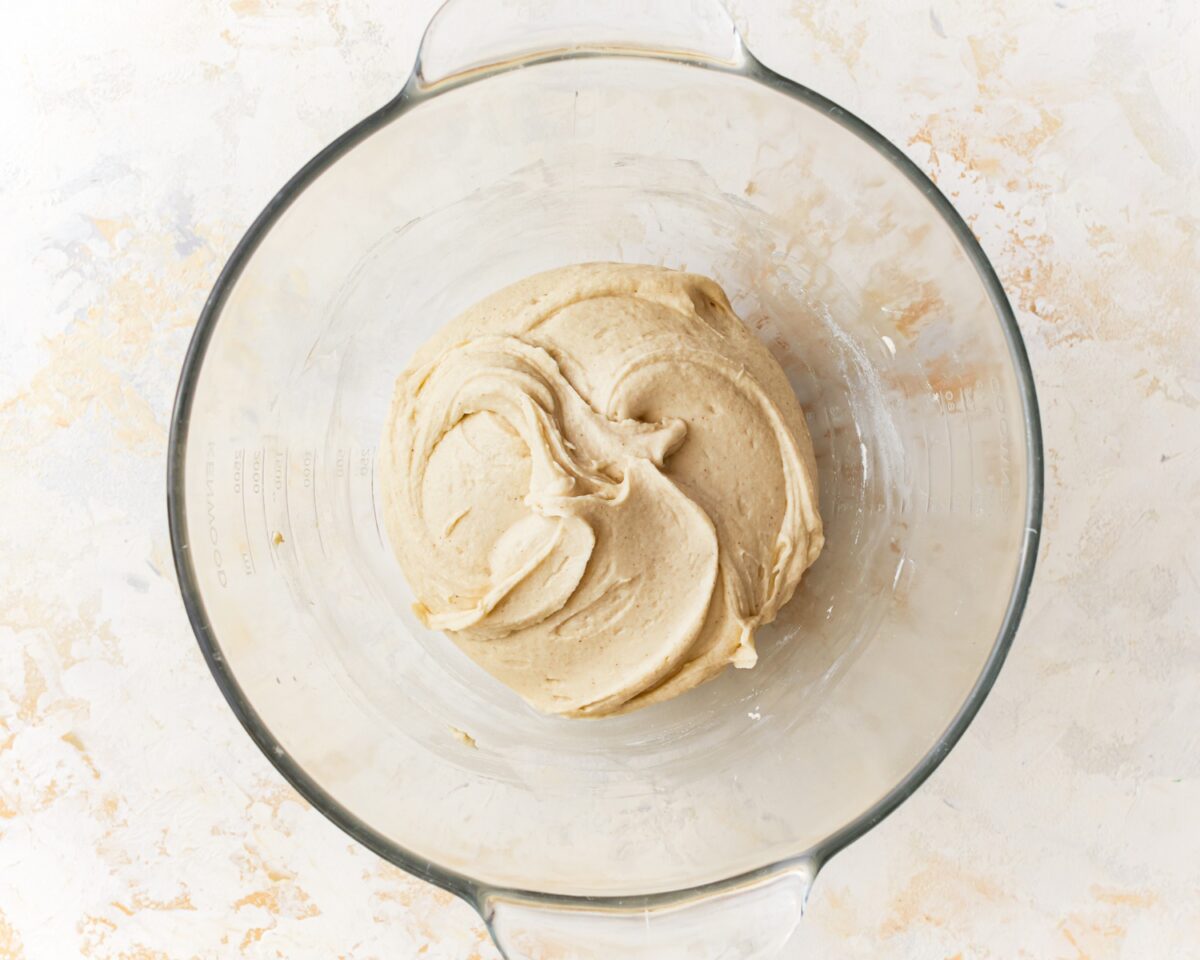
Add remaining wet ingredients: Add ½ cup olive oil and 1 tsp of apple cider vinegar to the bowl. Mix on low for 1–2 minutes, or until a sticky dough forms.
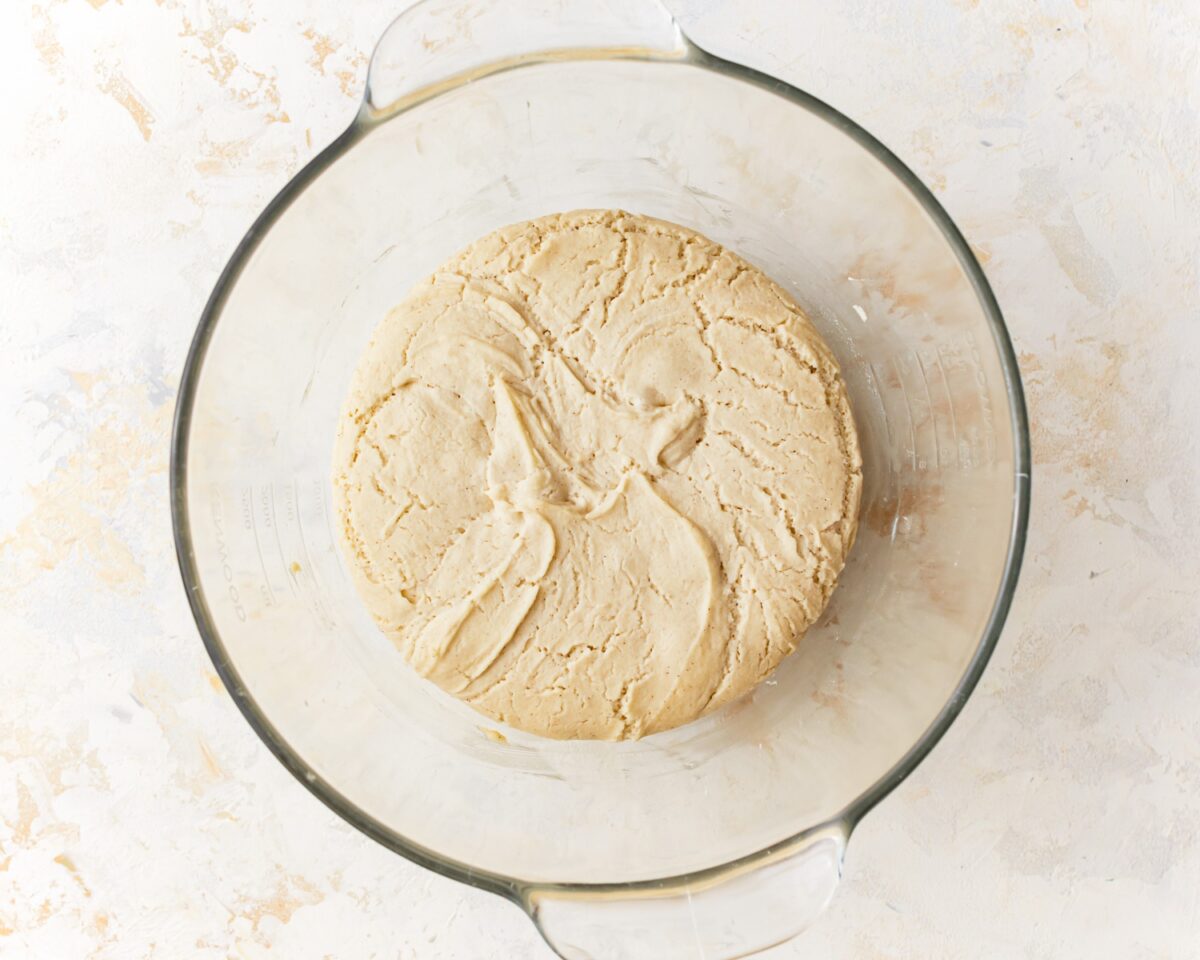
Let the dough rise: Transfer the sticky dough to a greased, oven-safe bowl. Cover it with plastic wrap and a kitchen towel, then place it in the warm (turned-off) oven to rise for 30 minutes.
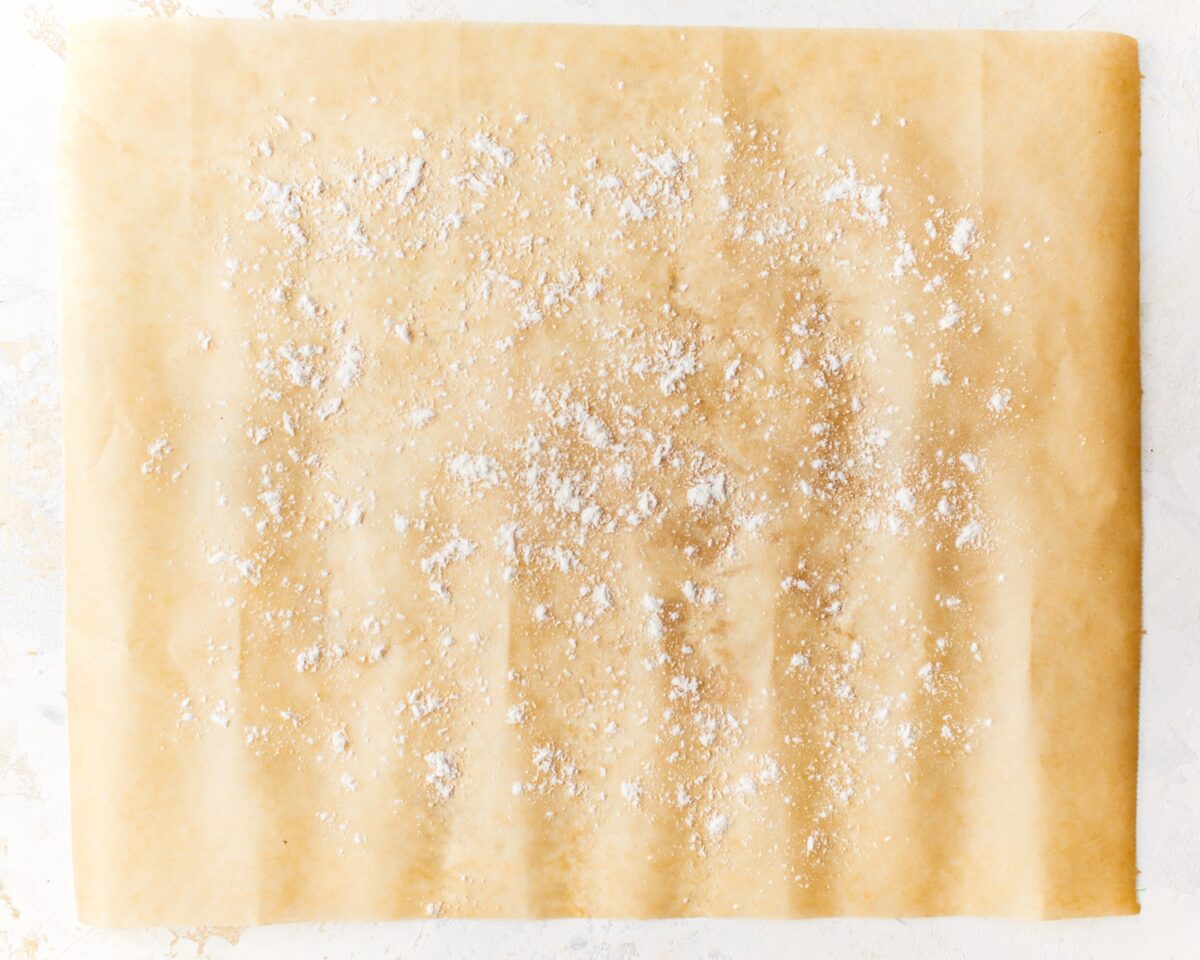
Prep the oven and parchment: After rising, remove the dough from the oven and preheat it to 425°F. Sprinkle 1 tbsp of gluten-free all-purpose flour onto a large sheet of parchment paper.
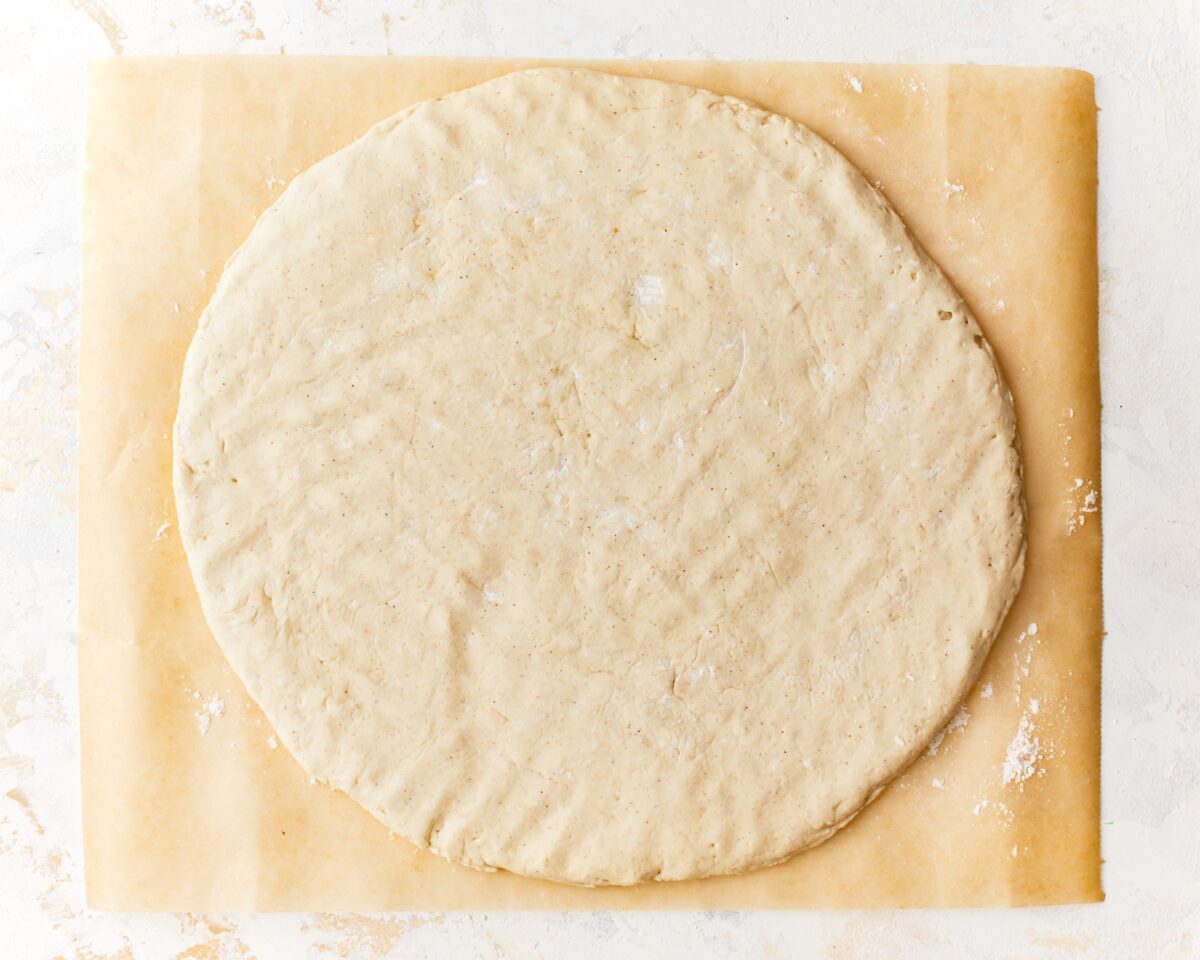
Shape the dough: Turn the bowl over onto the floured parchment. Sprinkle another 1 tbsp of flour on top of the dough. Using your hands, gently pat and push the dough outward from the center to form a 15″ circle. Use your fingers to press down around the edges to shape the crust.
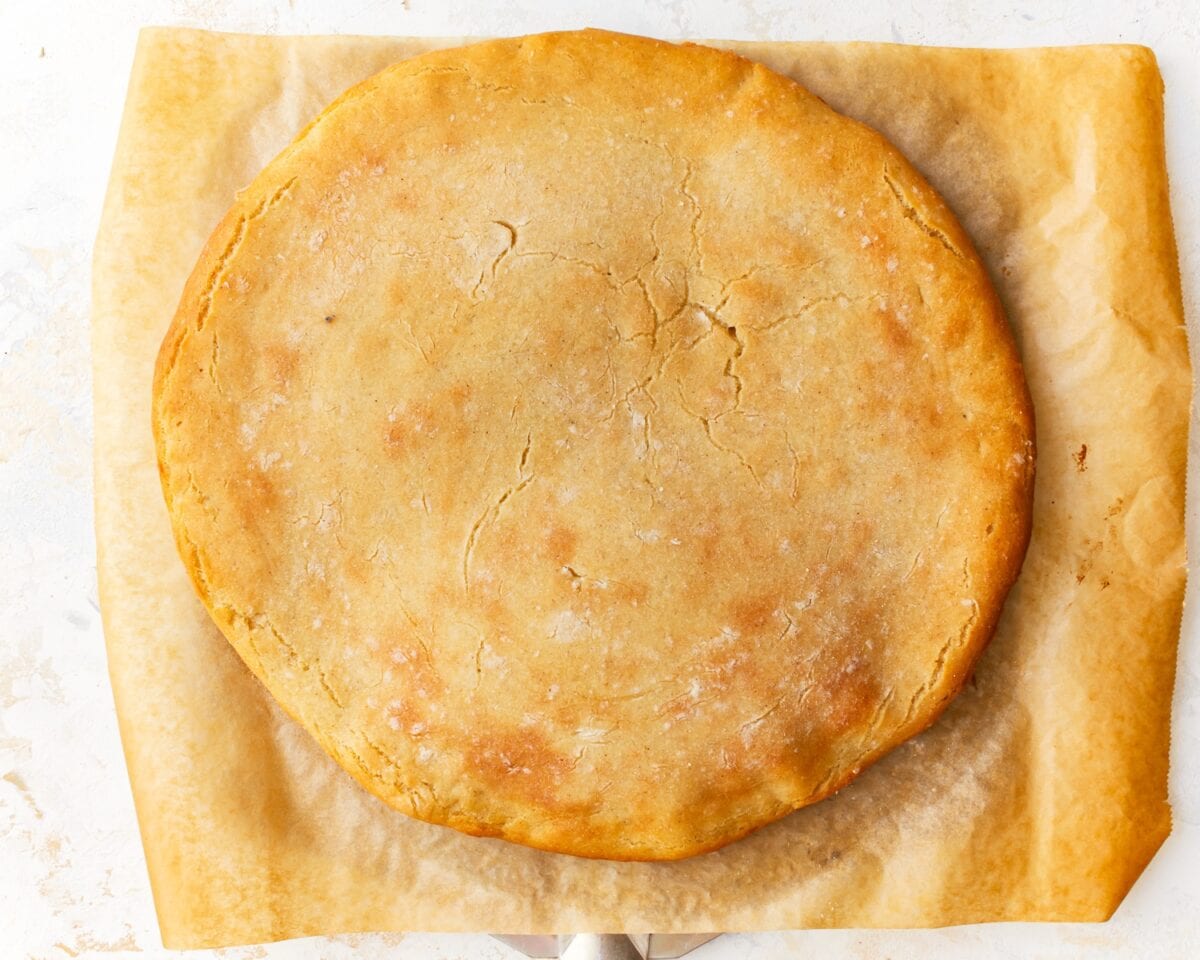
First bake: Place the parchment with the shaped dough onto a pizza pan or baking sheet. Bake for 15 minutes.
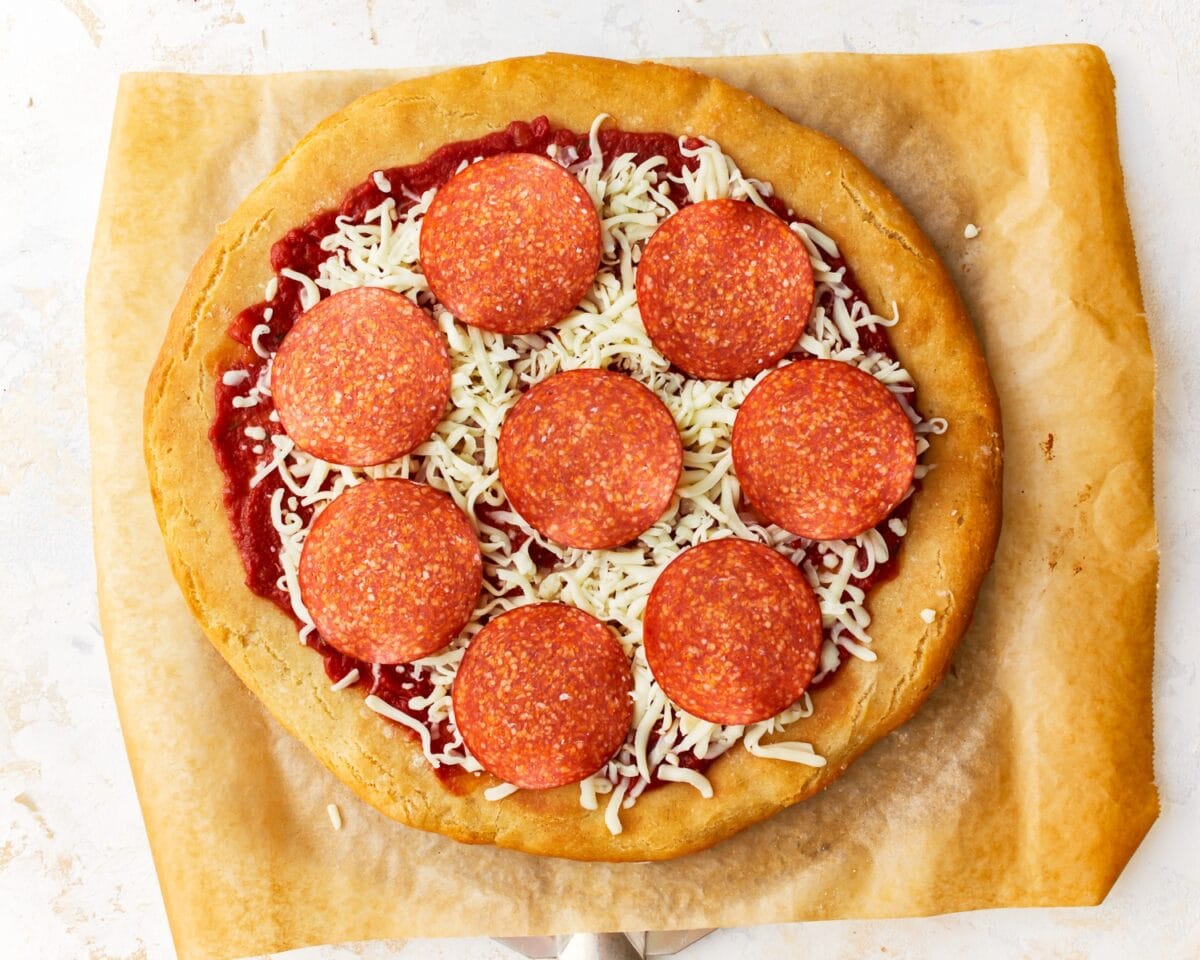
Add toppings: Remove the crust from the oven and add your gluten-free pizza sauce, cheese, and desired toppings.
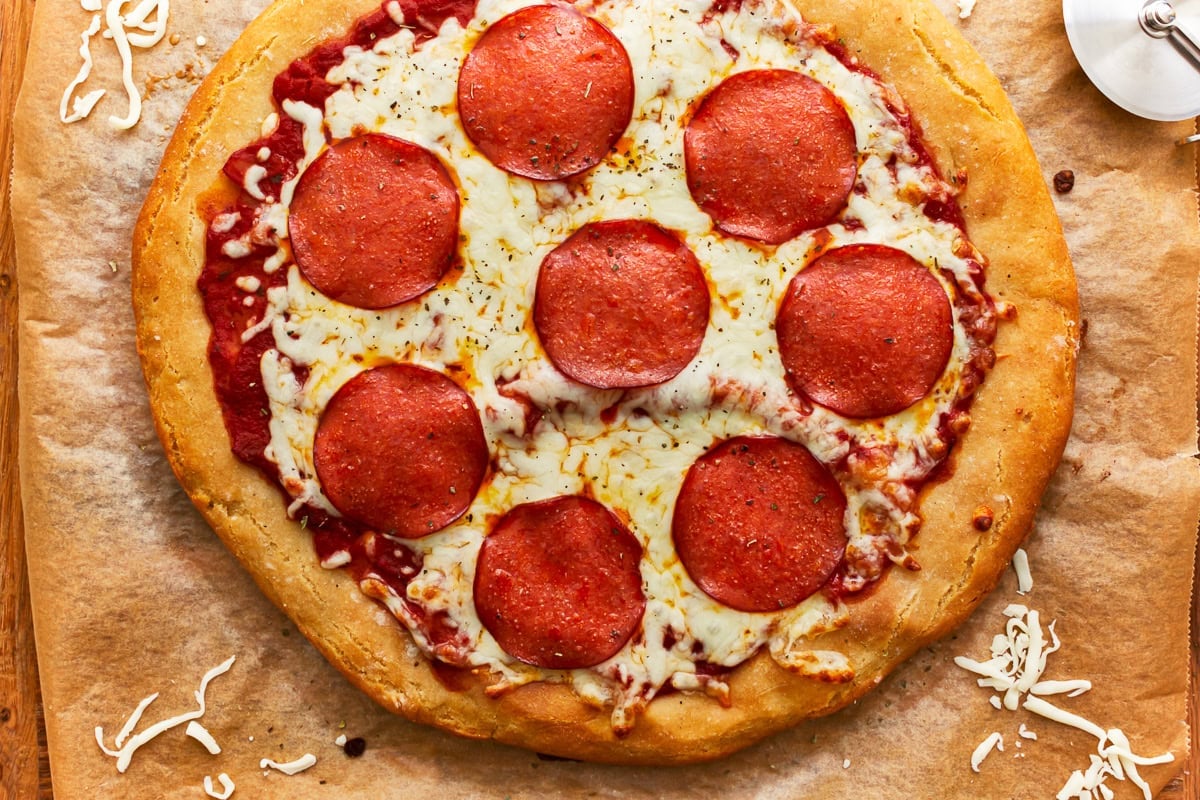
Final bake: Return the pizza to the oven and bake for another 10–15 minutes, or until the cheese is melted and the crust is golden brown.
Freezing Instructions
I like to let the dough fully rise before I freeze it. Wrap the dough in plastic wrap and place it in a plastic freezer bag. The dough can be frozen for up to three months. Thaw the dough in the refrigerator overnight before you use it.
It is also easy to freeze and have a half-baked crust on hand, just like the packaged frozen pizza crust from the grocery store. Just follow the recipe instructions through the steps below (1-10).
Bake the crust for 15 minutes in a 425°F oven. Allow it to cool completely. Wrap the par-baked crust tightly with plastic wrap or foil made for freezing. The par-baked crust can be frozen for up to a month. When you are ready to make your pizza, add your toppings and bake for 10-15 minutes at 425°F.
Tips for Success
- Make sure to check and see if your brand of gluten-free flour is recommended for yeast baking. Not all brands of gluten-free flour are recommended for yeast baking.
- The best way to measure gluten-free flour is the “spoon & level” method. Using a spoon, scoop the flour into the measuring cup. After you’ve spooned the flour into the measuring cup, use the back of a knife to level off the top of the measuring cup. Scooping the gluten-free flour out of the bag could cause you to get too much flour.
- Check the expiration date of your instant yeast. You want to use fresh yeast for the best rise.
- The dough will be sticky, so I recommend flouring your hands to avoid getting the dough stuck to them.
- This gluten-free pizza dough recipe is dairy-free and egg-free. So you can easily add your favorite dairy-free or vegan cheese and toppings.


I was so pumped to try this out. I made the crust to the exact instructions on the recipe, with the best gluten-free flour I could find (with xanthum gum included). I checked the temp on the water so as to not ‘kill’ the yeast, and the crust raised after 30 mins in the warm oven, similar to what a regular white flour crust would do. I didn’t swap out any ingredients, nor alter it in any way. I cooked it at the exact temps and for the exact amount of time. After all of that, I can safely say, it’s the worst crust I’ve ever made. It had zero flavor, and was flatter than a piece of cardboard, but the worst part was how chewy it was. I’ve had really poor steak that wasn’t this chewy. I’m not sure if it was too much olive oil, but I certainly won’t be making it again.
Hi Jim, Thanks for taking the time to share your feedback, and I’m really sorry this crust didn’t turn out the way you were hoping.
Gluten-free pizza dough can be tricky because even when ingredients and temps are followed closely, results can still vary quite a bit based on the specific flour blend, yeast activity, and even how the dough is handled after rising. The chewiness you described often happens when the dough is a bit overworked or if the flour blend absorbs liquid differently than expected, which can change the final texture significantly.
I understand your frustration, especially when you followed everything closely. Feedback like this is helpful so I appreciate you sharing your experience.
Hands down the best GF pizza crust recipe! I’ve made it now 5-6 times at least. Won’t risk following any other receive.
My mixture was a bit dry so I added a bit more warm water to form it into a dough. I also let the dough sit longer in the proofed oven and it becomes fluffier. Thank you 😊
I think I figured out something. I made this recipe tonight, and also got “batter” like another person had mentioned. However, upon scrutinizing the recipe I think there is an anomaly. The dry ingredient list never mentions the tapioca starch that is shown in the *picture* of the dry ingredients. I think you may want to add that back into the online recipe since it makes no mention of that. I think had I added that dry ingredient, I wouldn’t have had to add in more dry ingredients to compensate for it being missing. I love your buttermilk biscuit recipe and thought I might like this just as much. But it didn’t work!
Thank you AJ! We have updated the post as this recipe does not contain tapioca starch.
Hi, I tried this recipe and it didn’t work, came out very wet. I did notice your picture has tapioca but the recipe ingredients doesn’t, did I miss something
Hi Chantal, sorry there is no tapioca in the recipe. We updated the post to reflect that!
Could you use this for calzones?
Hi Kara, yes. Roll it a little thinner and make sure not to overfill the calzones 🙂
I’ve tried this recipe a couple times with King Arthur All Purpose Gluten Free with ok results. Tonight I decided to give it a shot with King Arthur Gluten Free Bread Flour and it was the best gluten free pizza I’ve ever had!!!
All I got was a wet blob.
I’ve made your gf pie pastry and apple pie.
Absolutely wonderful, melt in your mouth pastry.
Thank you so much!
This was so good. It doesn’t taste gluten free. It tastes like real pizza. I will definitely be making again. Thanks for the recipe.
I’ve been making this recipe for years now and love it! Just out of curiosity, why did you change the honey to granulated sugar?