Gluten-Free Bread Crumb Recipe
Published


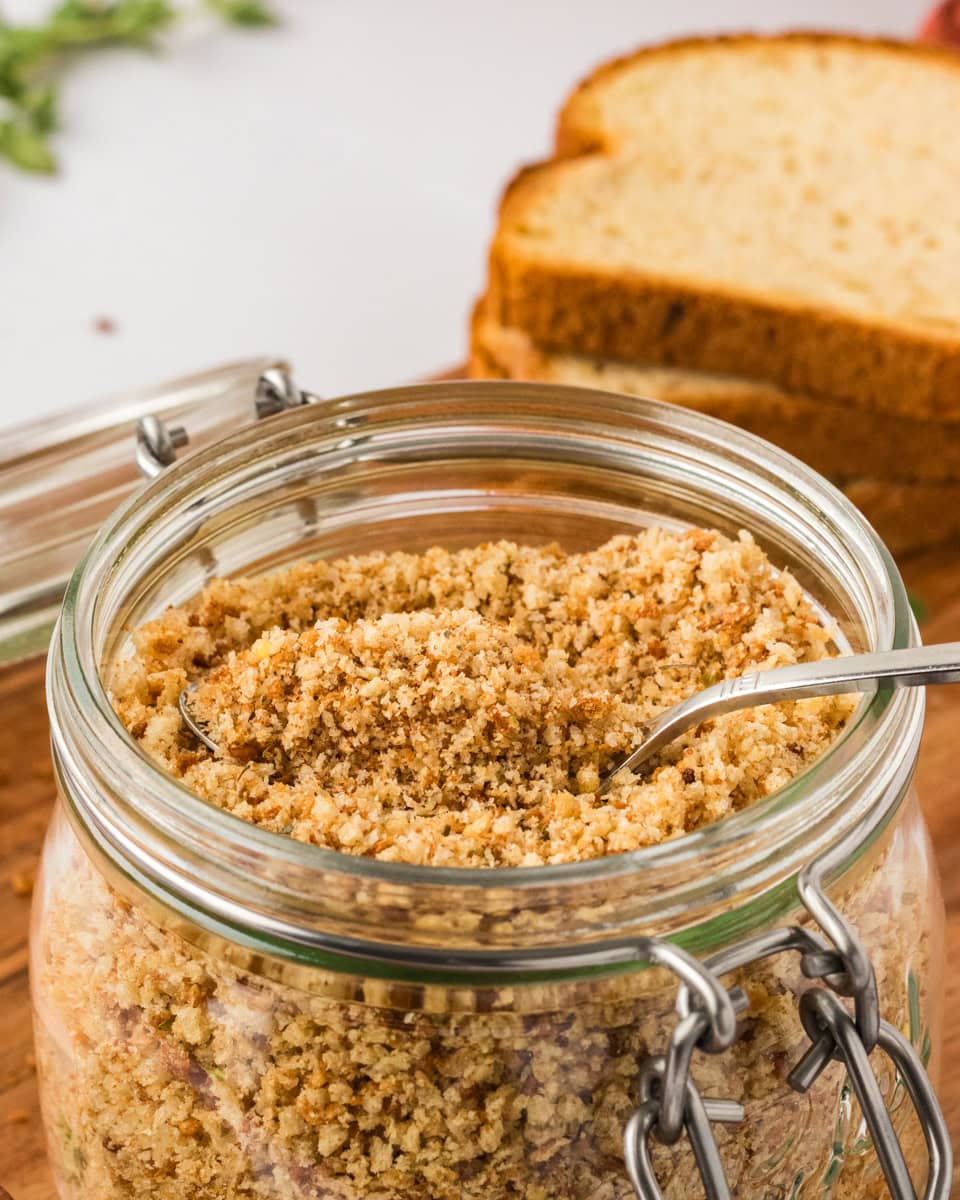
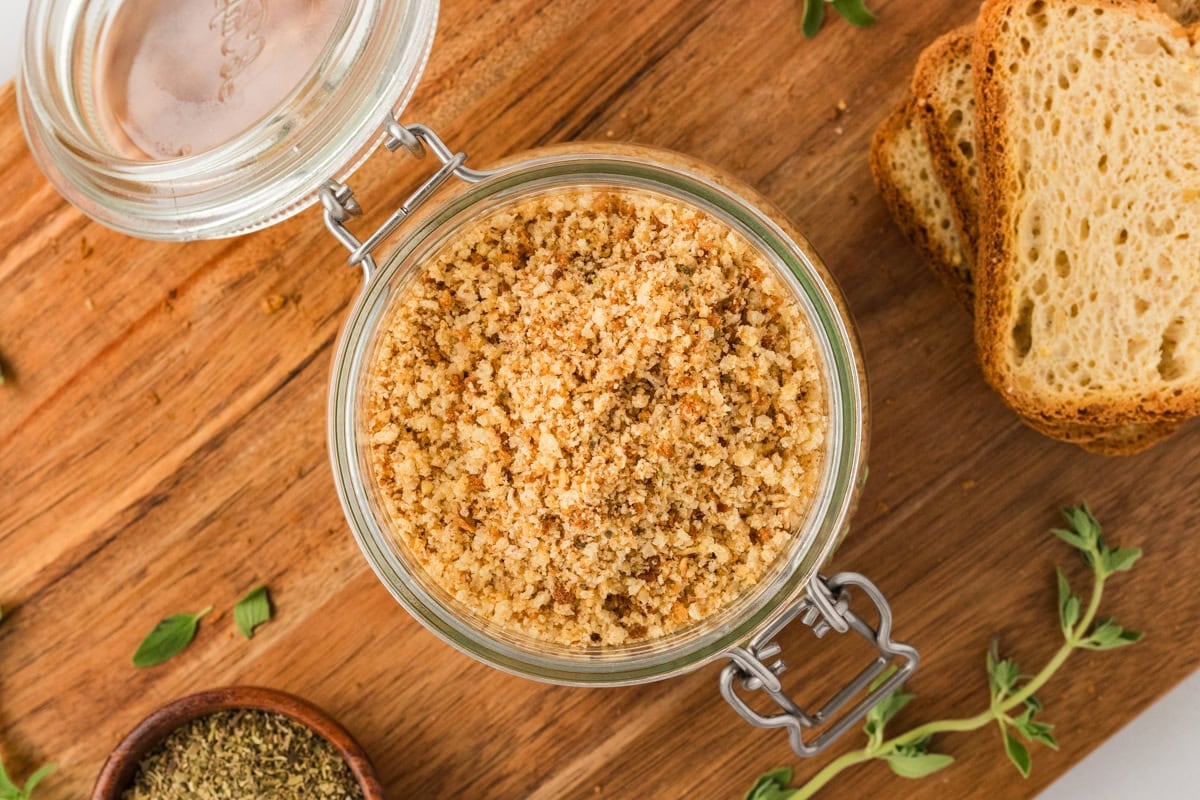
Gluten-free bread crumbs are one of my favorite pantry staples. But instead of purchasing them at the store, I prefer to make my own at home. It’s easy to do, cost-effective, and, more importantly, I know exactly what ingredients are being used. I make this gluten-free bread crumb recipe entirely gluten-free, dairy-free, and vegan, so I can use them in recipes for my whole family. This simple method is also a great way to use up bread that’s starting to get stale.
“These came out great!! I was worried they may burn without oil or be crunchy on the outside but not the inside, I was so very wrong! Super crunchy and perfect 🙂 thank you for this great recipe!”
– Natalie
This easy recipe is my go-to for repurposing the bread ends my kids won’t eat—I turn them into crisp, golden gluten-free breadcrumbs that add great texture to everything from turkey meatballs to stuffed mushrooms. I usually use my homemade gluten-free bread, but dinner rolls work just as well. Just make sure your bread is also dairy-free if you want to keep the recipe completely non-dairy. I always make a big batch and keep some in the freezer so I’ve got them ready whenever I need them!
Gluten-Free Bread Crumbs
Ingredients
- 4 cups gluten-free bread, cubed
Instructions
- Preheat oven to 350°F
- Cut the gluten-free bread into 1-inch cubes.
- Place the cubed bread on a baking sheet and bake on the middle rack for 10-15 minutes or until crisp. The bread cubes should be lightly browned.
- Allow the bread cubes to cool on the baking pan for 10 to 15 minutes.
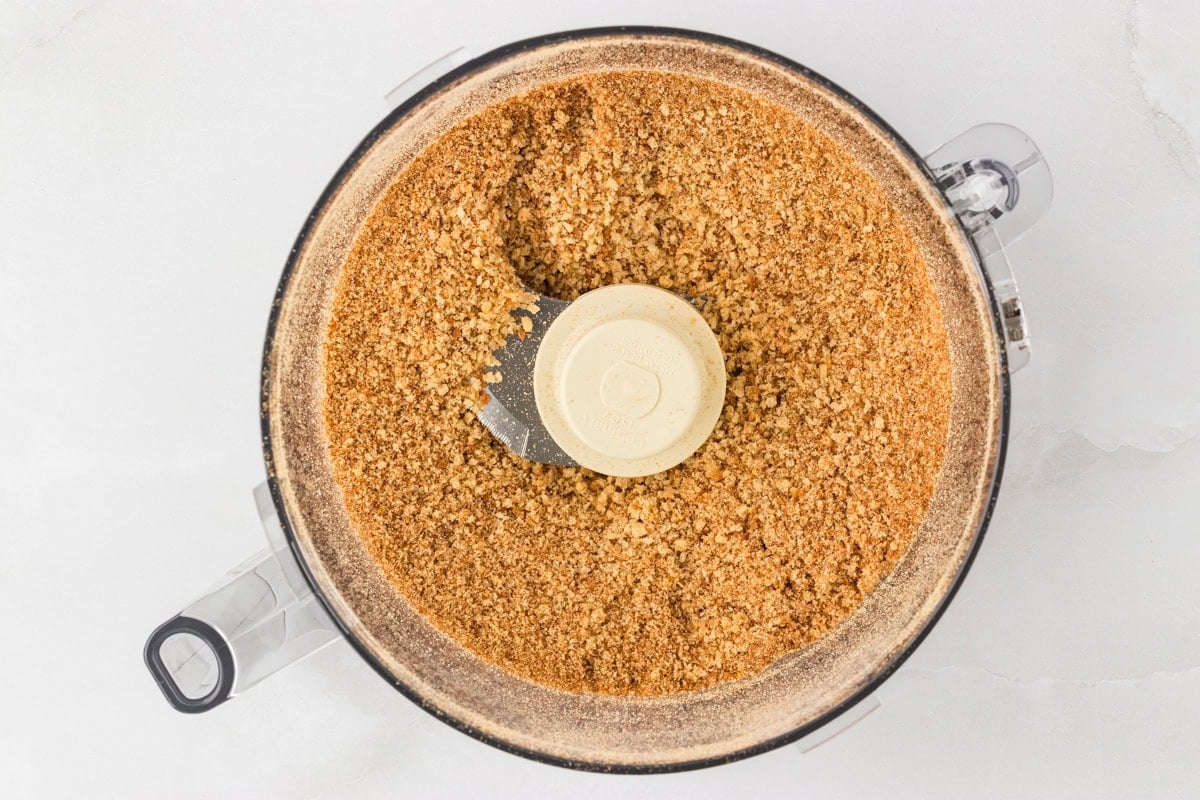
- Add the toasted bread cubes into a food processor. Process the bread on high speed for 30 seconds for a coarse texture, or 1 minute for a fine texture. For even finer crumbs, pulse until the desired size is reached.
- If you're not using them immediately, place in an airtight container and store or a freezer bag and freeze for future use.
- For an Italian seasoning blend mix in the following seasoning into the finished crumbs: 1 teaspoon salt, 1 teaspoon garlic powder, 1⁄2 teaspoon onion powder, 1⁄2 teaspoon dried oregano, 1⁄2 teaspoon dried basil
- For a savory seasoning blend mix in the following seasoning into the finished crumbs: 1 teaspoon salt, 1⁄2 teaspoon garlic powder, 1⁄2 teaspoon onion powder, 1⁄2 teaspoon dried sage, 1⁄2 teaspoon dried thyme, 1⁄2 teaspoon dried oregano
Notes
- I almost always use bread that has been frozen and thawed. Let the bread defrost on the countertop (I place it on a paper towel-lined baking pan to absorb any excess moisture), and use as directed in the recipe.
- For dairy-free option use gluten-free and dairy-free bread.
- Mama says, “check all of your labels!”
Nutrition
Nutrition information is automatically calculated, so should only be used as an approximation.
How to Make Gluten-Free Bread Crumbs Step by Step
Gather the ingredients: Gather all the ingredients together and preheat the oven to 350°F.

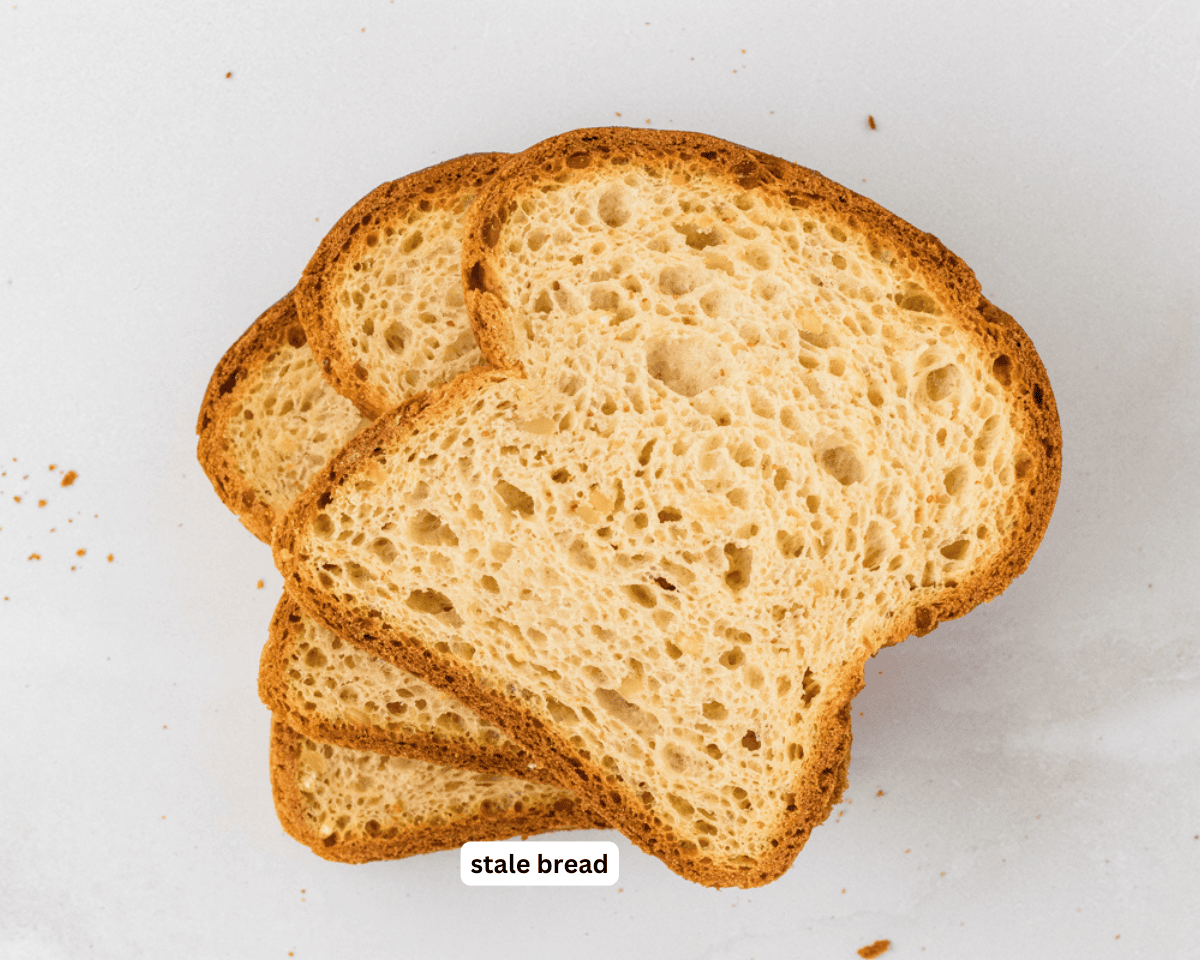
Cube the bread: Cut 4 cups of gluten-free bread into 1-inch cubes.

Bake the bread: Place the cubed bread on a baking sheet and bake on the middle rack for 10-15 minutes or until crisp. The bread cubes should be lightly browned. Allow the bread cubes to cool on the baking pan for 10 to 15 minutes.

Blend into crumbs: Add the toasted bread cubes to a food processor or high-powered blender. Process the bread on high speed for 30 seconds for a coarse texture, or 1 minute for a fine texture. For even finer crumbs, pulse until the desired size is reached.
Use and store: If you’re not using them immediately, place them in an airtight container and store in a freezer bag or freeze for future use. Enjoy!
Gluten-Free Baking Tips
- I recommend not using bread that was baked the same day. Freshly baked bread is too soft and will not crisp up in the oven well.
- Slice the bread into equal-sized pieces for even cooking.
- If using store-bought bread, check the ingredients list to make sure it’s gluten-free and dairy-free.
Serving Suggestions
Breadcrumbs are a staple in my pantry, and this gluten-free version is endlessly versatile. I use them in everything from my gluten-free meatloaf to baked BBQ chicken thighs for a crispy coating. They’re perfect for adding a little crunch to casseroles, and I especially love mixing them into gluten-free salmon cakes with dill sauce. They also work beautifully in stuffing recipes—especially around the holidays when that classic texture really matters.
Storage Instructions
I keep my gluten-free bread crumbs in an airtight container. You can also place them in a plastic storage bag. They’ll stay fresh for up to 1 month when stored at room temperature. They can also be frozen for up to 3 months.
More Gluten-Free Bread Recipes to Try
- Bread Machine Gluten-Free Bread
- Gluten-Free Sourdough
- Gluten-Free Baguette
- Gluten-Free Pita Bread
- Gluten-Free Flat Bread
Our Gluten-Free Bread Crumbs recipe was originally published 4/2/2020. It was retested, reworked, and republished to be better than ever 7/8/25.


Do you have a brand of gf bread you prefer? I’ve tried premade gluten free bread crumbs and have not found any I like so I am interested in making my own but not sure if certain brands work better!
Hi Sarah, we usually make our own: https://www.mamaknowsglutenfree.com/easy-gluten-free-bread/
Hey! im planning on making this today, but i was wondering if i could use this recipe to make your GF Mozzarella Sticks. Is that possible? or should I try buying breadcrumbs?
You can use these!
I have tried several of your recipes and they have all been fabulous! Just made the crispy salmon cakes today — another great one! To make that one even cheaper, you don’t have to make the dipping sauce. Looking forward to trying this recipe, as going GF is quite expensive. Thanks for all you do to help others. What a blessing you are to us! I bought 2 of your cookbooks. Didn’t know why I felt I needed two, then found out my nephew was diagnosed with Celiac, so I already had the cookbook to give him the next time he was in town.
These came out great!! I worreid they may burn without oil or be crunchy on the outside but not the inside, I was so very wrong! Super crunchy and perfect 🙂 thank you for this great recipe!