Gluten-Free Pita Bread
Updated


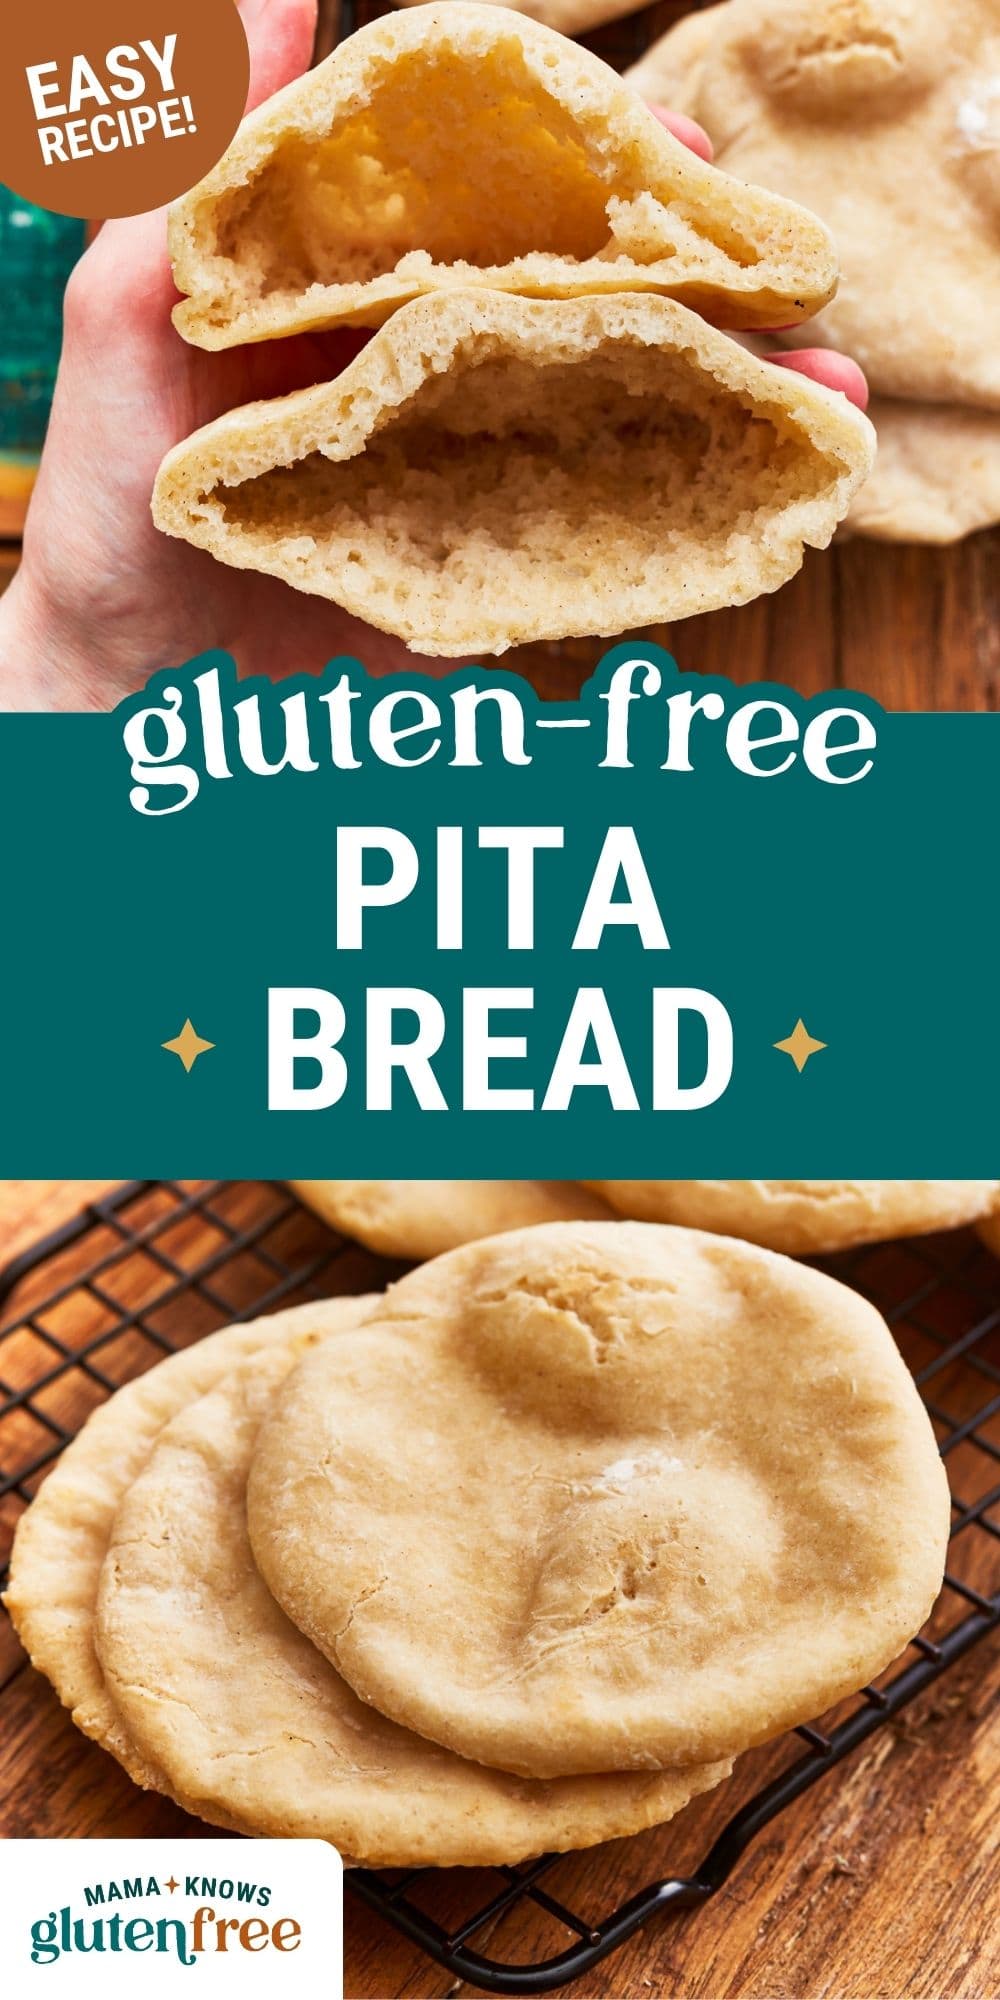
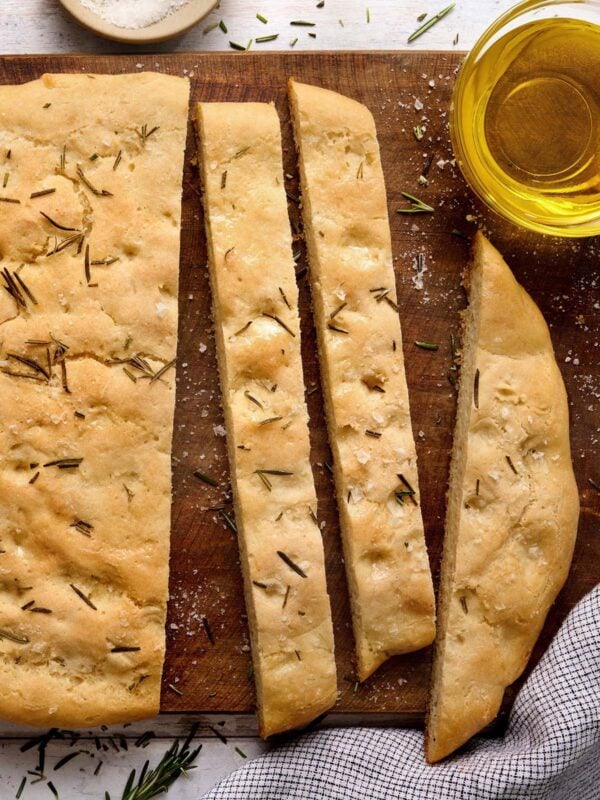
Soft, fresh-from-the-oven gluten-free pita bread might be my favorite snack of all time! It’s perfect for dipping in mezze, stuffing with chicken salad or falafel, and baking into gluten-free pita chips! I love that I can have fresh pitas on the table in less than 90 minutes!
Gluten-Free Pita Bread Recipe
I love how surprisingly easy it is to make soft, flavorful pita bread right at home with no special equipment needed. This gluten-free pita bread has become a go-to in my kitchen because it’s not only simple to make, but also naturally dairy-free, egg-free, and vegan. It’s one of those recipes that checks all the boxes for sharing. And it’s perfect for dipping, stuffing, or snacking straight from the rack.
Gluten-Free Pita Bread
Ingredients
- 1 1/2 cups gluten-free all-purpose flour with xanthan gum recommended for yeast baking (we recommend Pillsbury or Better Batter Brand)
- 1/4 cup tapioca starch, Substitute tapioca starch with arrowroot starch or potato starch in equal amounts.
- 1/2 tsp salt
- 1 tsp granulated sugar
- 2 tsp instant yeast
- 1 cup warm water, about 110°F / 43°C
- 1 tbsp olive oil
Instructions
- In a large mixing bowl, whisk together the gluten-free all-purpose flour, tapioca starch, salt, sugar, and instant yeast.
- Pour the warm water and olive oil into the dry ingredients. Mix until a soft, sticky dough forms, about 2-3 minutes.
- Place the dough in a lightly greased bowl, cover it with a clean kitchen towel or plastic wrap, and let it rise in a warm, draft-free place for about 1 hour, or until doubled in size.
- Preheat your oven to 475°F (245°C). If you have a baking stone, place it in the oven to preheat as well.
- Deflate the risen dough and divide it into 6 equal portions. Flatten each dough portion with your fingers into a disc about 1/4 inch thick.
- Place the flattened dough rounds onto a parchment-lined baking sheet or preheated baking stone. Bake for 7-8 minutes, or until the pitas are puffed up and lightly golden brown.
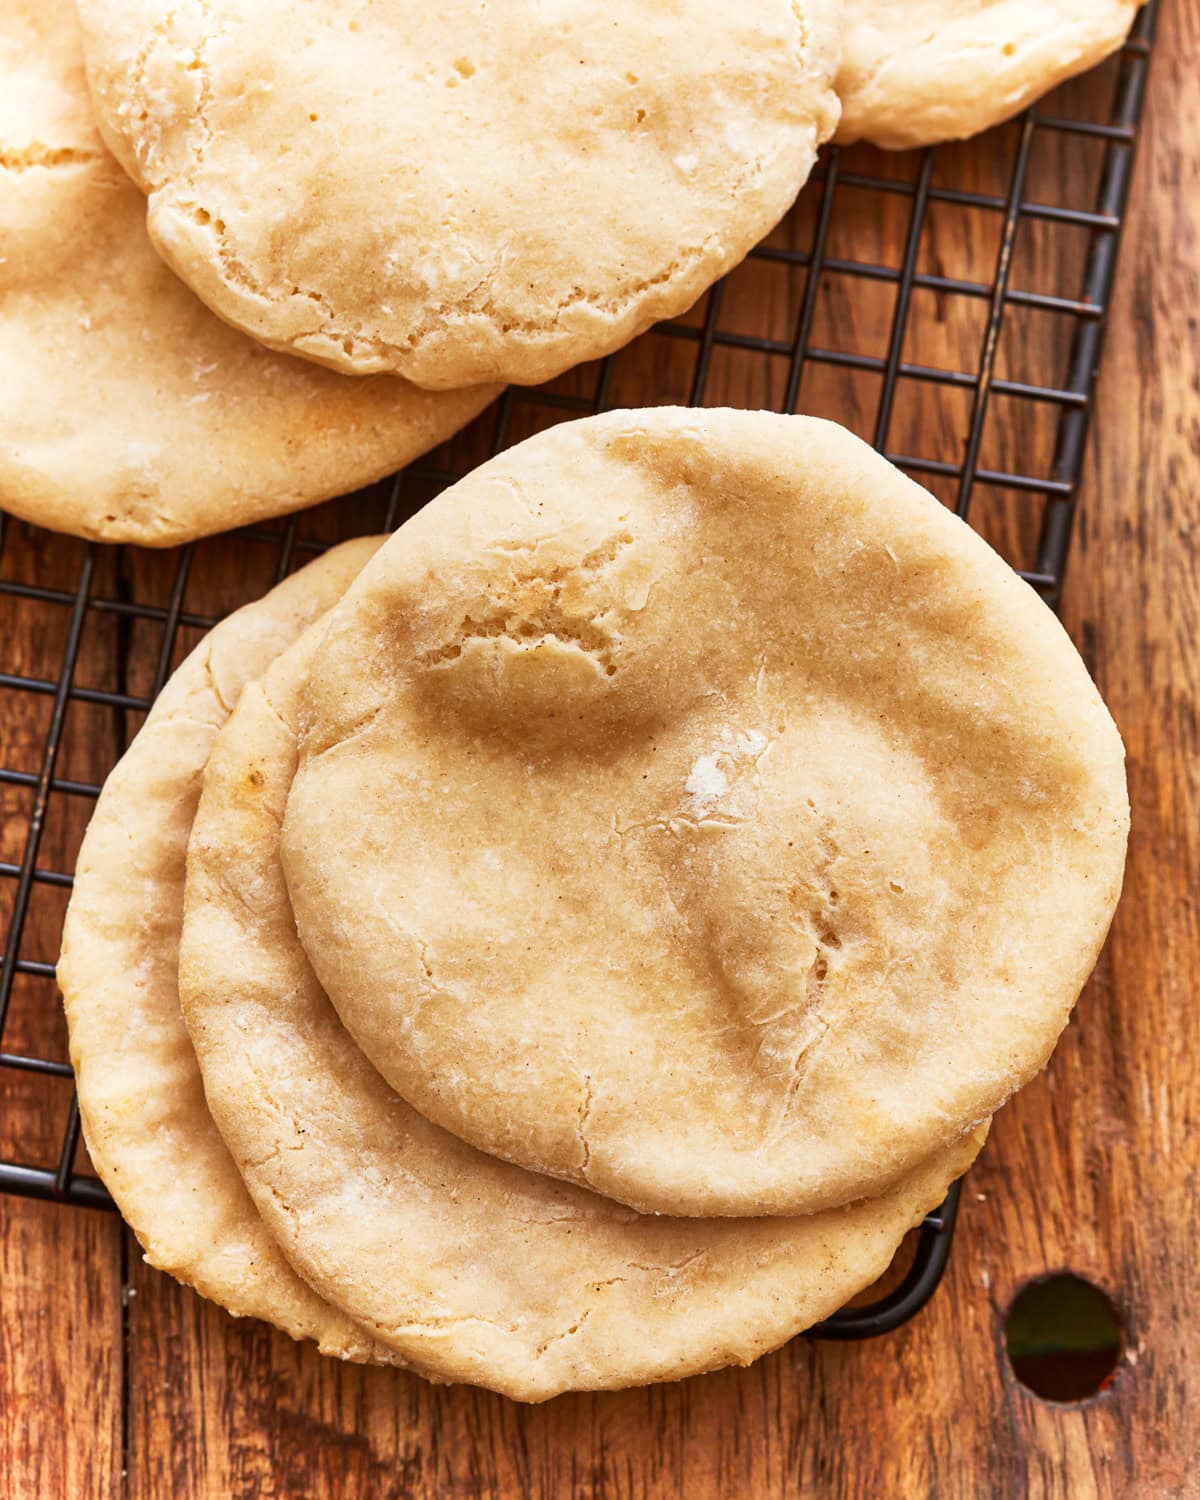
- Remove the pitas from the oven and let them cool slightly on a wire rack. Serve warm or at room temperature.
Notes
- Not all gluten-free flour blends are recommended for yeast baking. You may experience different baking results depending on the gluten-free flour blend you choose. I recommend Pillsbury or Better Batter.
Nutrition
Nutrition information is automatically calculated, so should only be used as an approximation.
How to Make Banana Oatmeal Cookies Step-by-Step
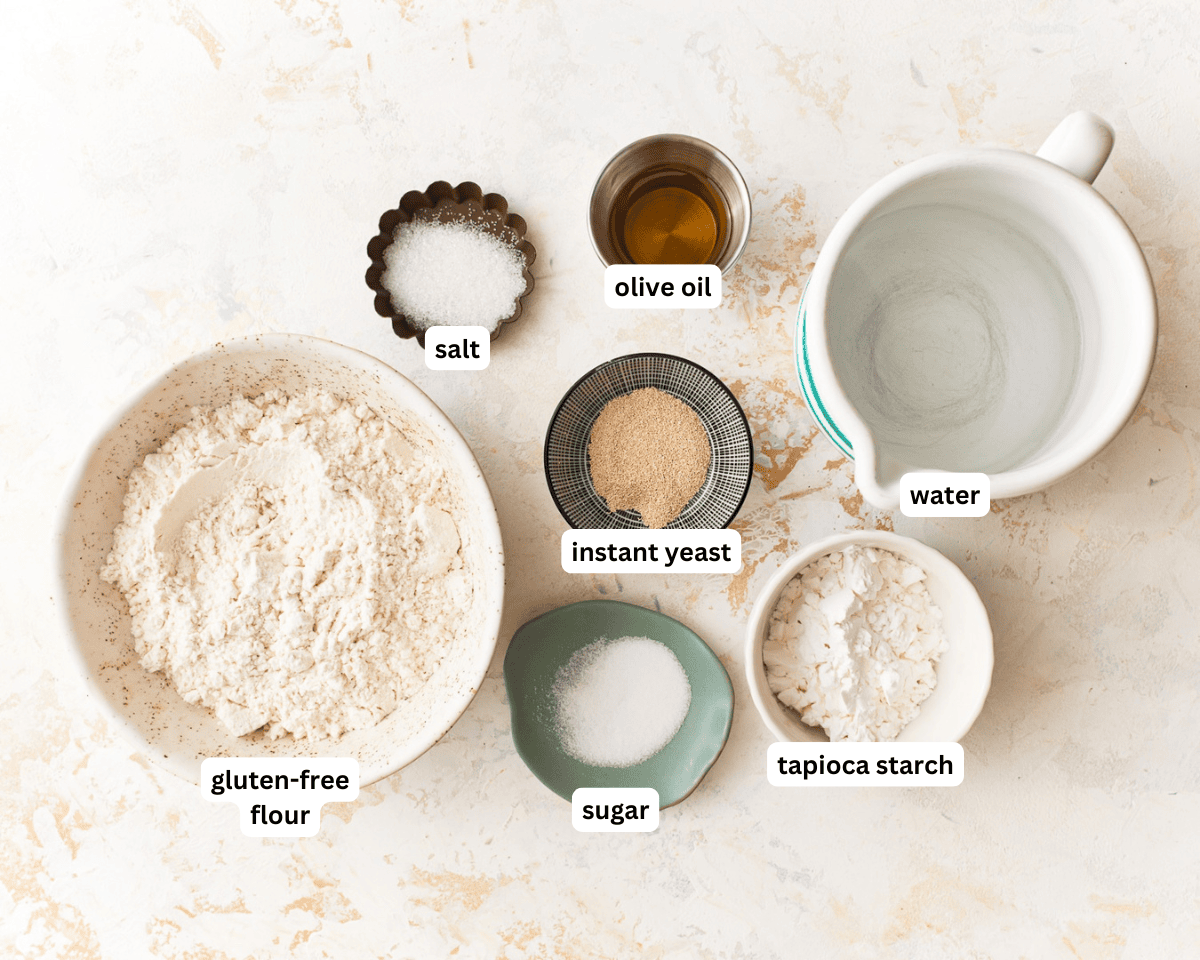
Gather all the ingredients together.
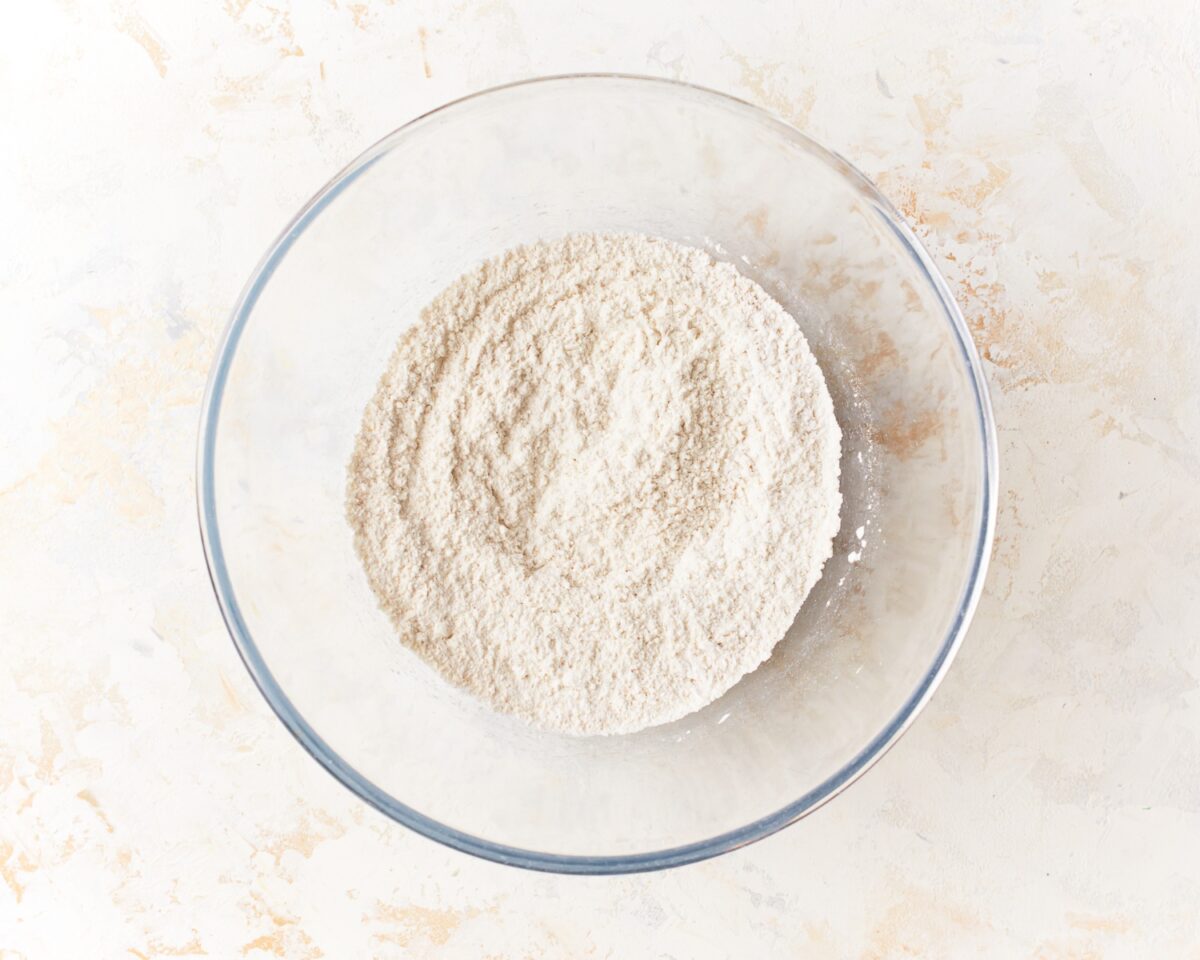
Mix the dry ingredients: In a large mixing bowl, whisk together 1 1/2 cups gluten-free all-purpose flour, 1/4 cup tapioca starch, 1/2 tsp salt, 1 tsp sugar, and 2 tsp instant yeast.
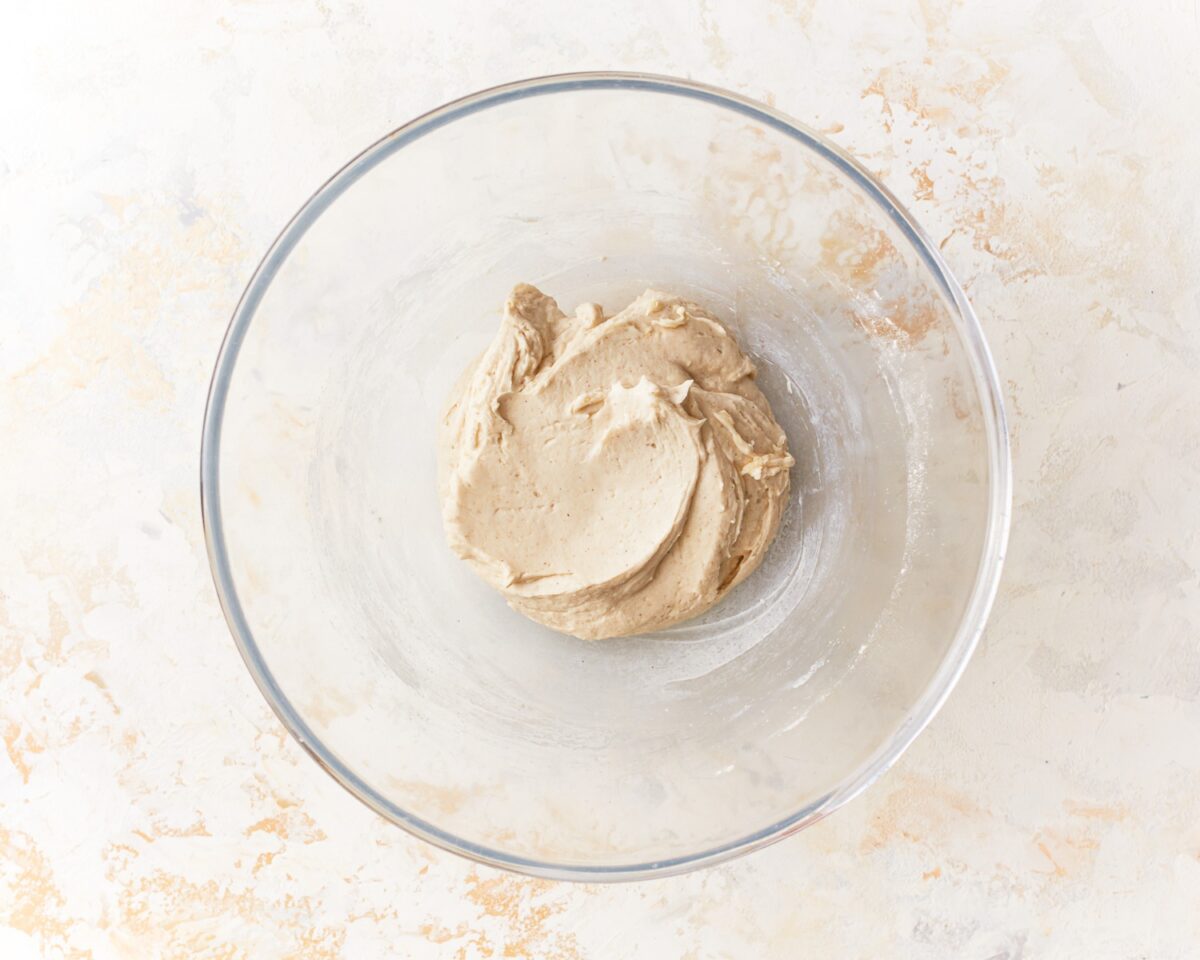
Add wet ingredients: Pour in 1 cup warm water (about 110°F) and 1 tbsp olive oil. Mix until a soft, sticky dough forms, about 2–3 minutes. Transfer the dough to a lightly greased bowl. Cover with a clean kitchen towel or plastic wrap and let it rise in a warm, draft-free place for about 1 hour, or until doubled in size. Preheat your oven to 475°F while the dough rises. If using a baking stone, place it in the oven now to preheat.
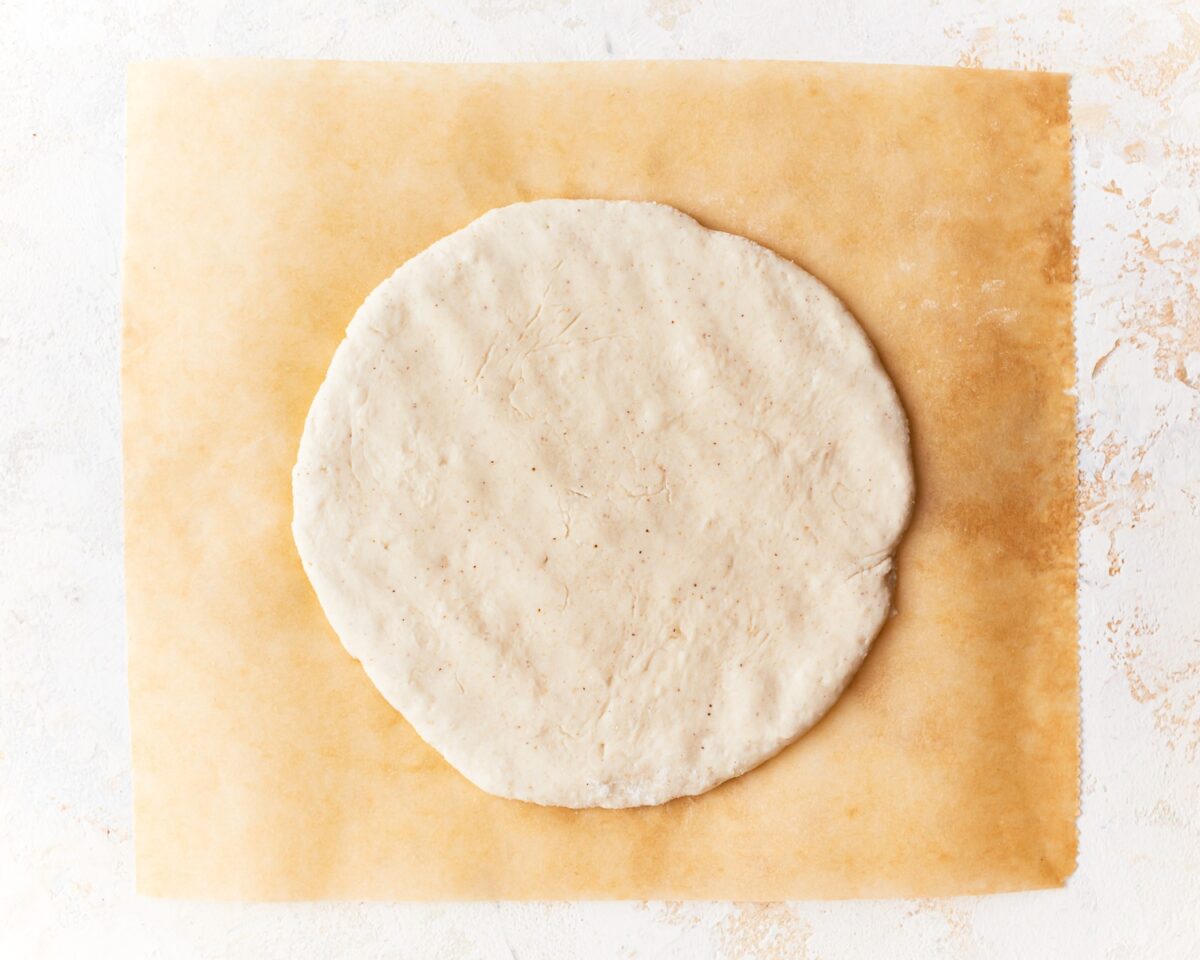
Shape the pitas: Once the dough has risen, gently deflate it and divide into 6 equal pieces. Flatten each portion into a disc about 1/4 inch thick using your fingers.
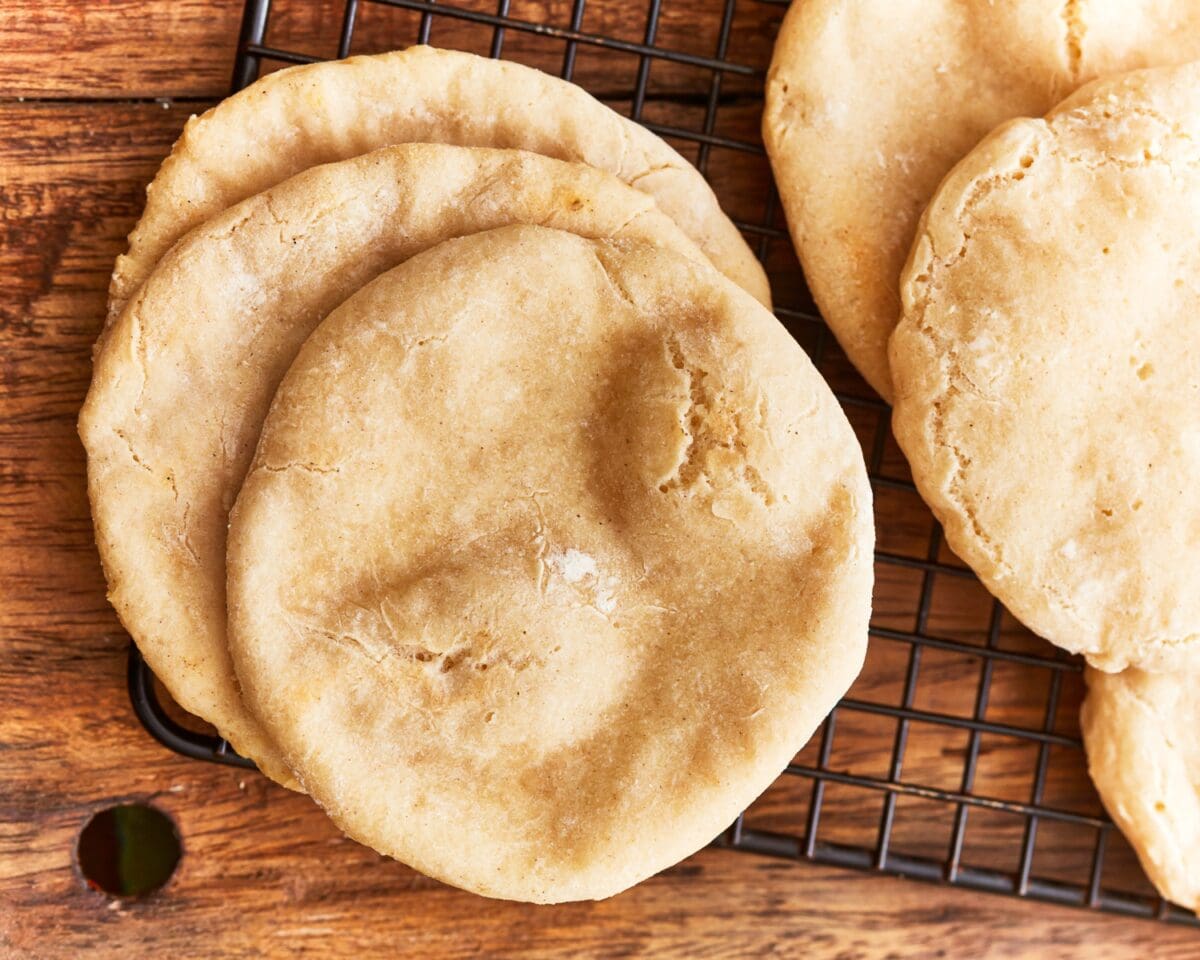
Bake, cool, and serve: Place the shaped dough on a parchment-lined baking sheet or directly onto the preheated baking stone. Bake for 7–8 minutes, or until puffed and lightly golden. Remove the pitas from the oven and cool slightly on a wire rack. Serve warm or at room temperature.

Serving Suggestions
Serve this gluten-free pita warm with a side of creamy dairy-free tzatziki for dipping, that’s one of my favorite combos. You can also stuff it with grilled veggies, chicken, or falafel for an easy, satisfying meal.
Tips for Success
- Use room temperature ingredients for the best results. Cold ingredients have a tendency to clump up and won’t incorporate evenly. Plus, the yeast needs a warm environment to properly activate.
- Measure the flour using the spoon-and-level method. Scooping flour directly from the bag compacts it in the measuring cup, which can add too much flour to the dough and cause the buns to turn out dry and dense.
- Don’t overwork the dough, or the pitas will turn out dense!
- Adjust the rise time according to the temperature of your kitchen. If it’s warm, you’ll need a shorter rise. If it’s cold, you’ll need a longer rise. We’re looking for the dough to double in size.
- Gluten-free dough may not rise like traditional gluten dough. Instead, look for signs of expansion and a slight increase in volume. The dough should appear puffy and airy. You can also gently touch the dough to see if it feels lighter and has a softer texture.
Storage Instructions
Homemade pita bread is best enjoyed fresh on the day it’s made. However, it can be stored in an airtight container at room temperature for up to 2-3 days. Reheat before serving to freshen it up.
You can freeze these pitas for up to 3 months. Allow them to cool completely, then place them in a freezer-safe bag or container. Thaw at room temperature and reheat before serving.
Reheating gluten-free pita bread in the oven is a great option to restore its warmth and freshness. Preheat your oven to 350°F, wrap the pita breads in aluminum foil or place them on a baking sheet, and heat for 5-7 minutes, or until warmed through. This method helps maintain the pita bread’s texture and prevents it from drying out.


Made it! I did add a little rice flour because the dough was too sticky when everything was set and done. Also, when I was flattening it out on the parchment paper, I used a spatula that I grease with cooking spray. The final product actually tasted really good because it was a little crispy on top.
Is it supposed be so sticky?
Hi Carlynn, yes, mix until a soft, sticky dough forms, about 2-3 minutes.
Probably not the fault.of the recipe. My potassium came out lumpy and not at all pita like. I think the problem might be that my flour already had tapioca stack in it. Next time I will not add any extra and see how that goes.
oh no. I was worried about this and am worried on how mine will turn out. my blends also already have tapioca and potato starch but I did add more potato starch.