Gluten-Free Thumbprint Cookies
Updated


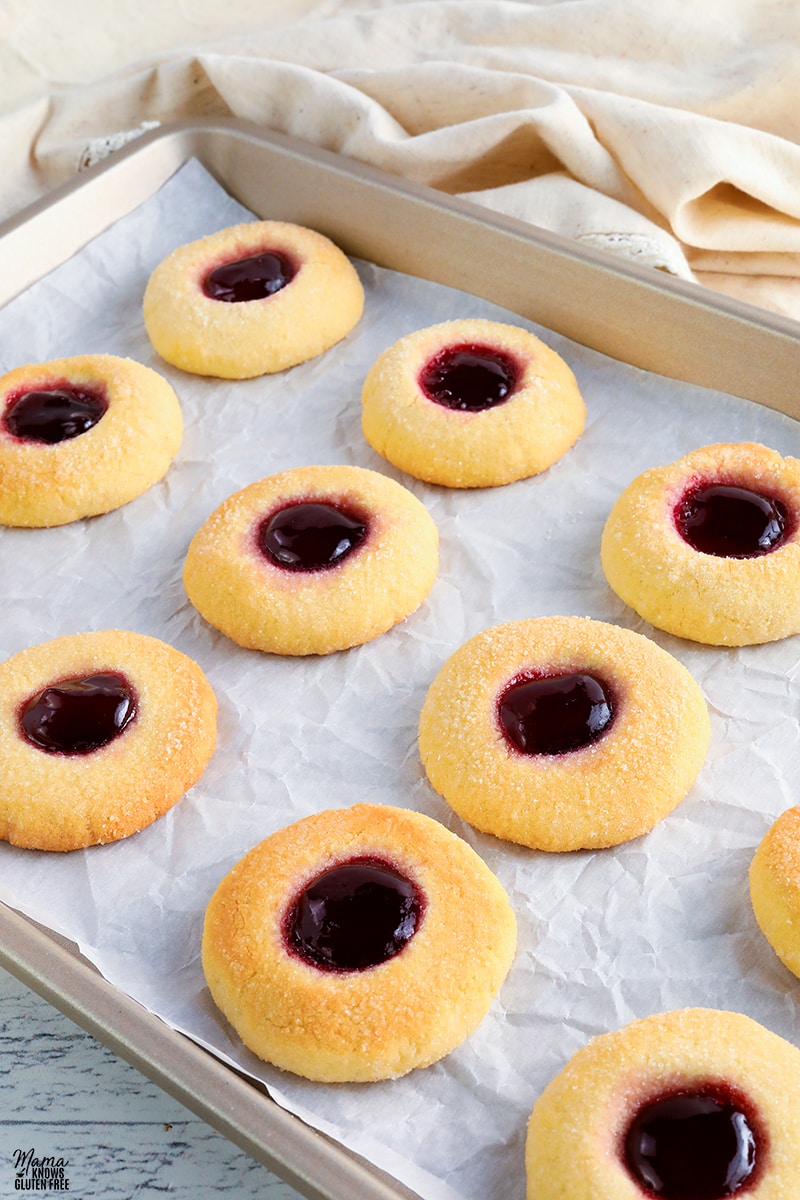
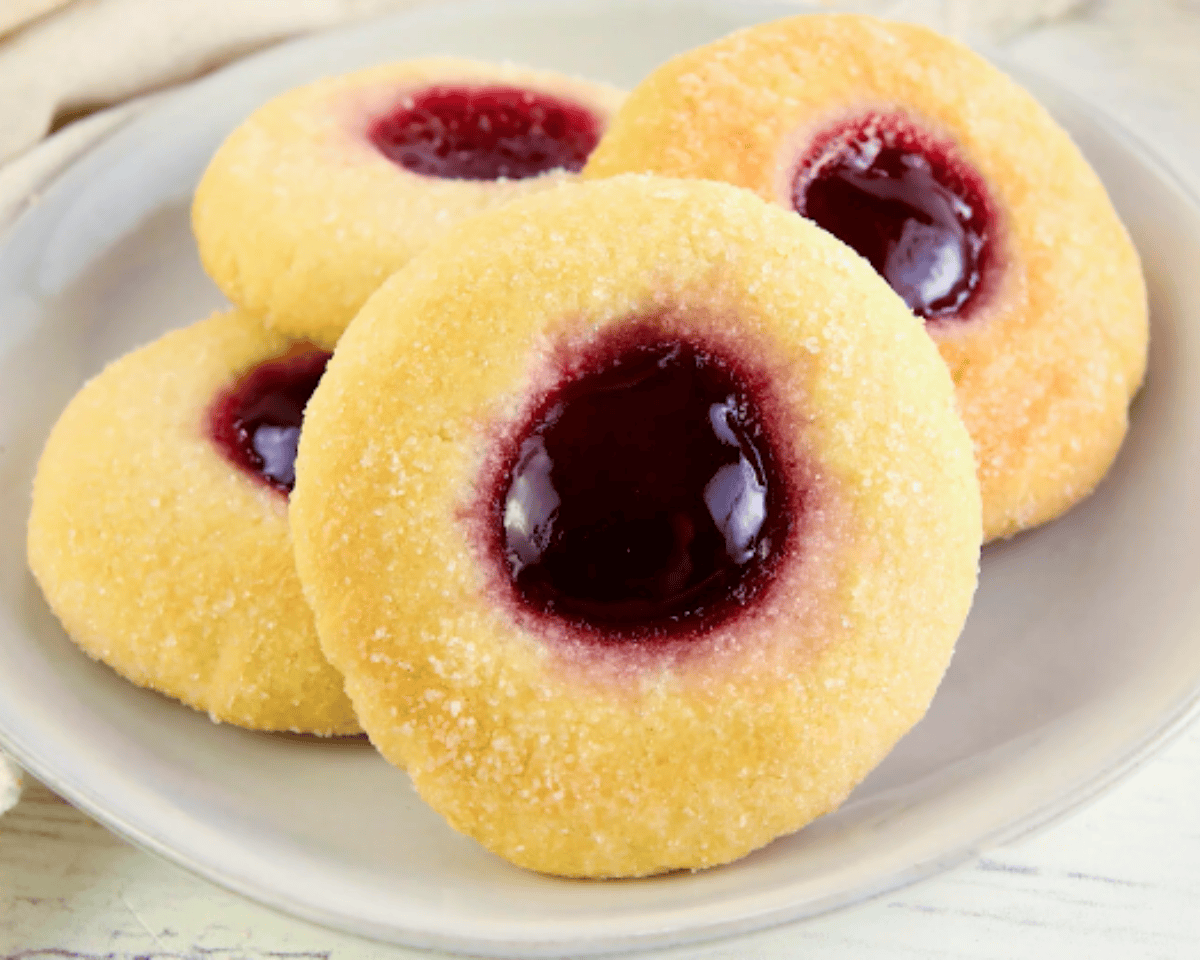
These gluten-free thumbprint cookies are a classic holiday cookie made with a soft, buttery dough and a sweet jam center. They’re easy to assemble, bake beautifully in just 12 minutes, and add a bright, festive touch to any cookie platter. Simple ingredients, no fuss, just a reliable holiday favorite.
“I made these for Christmas using raspberry jam and King Arthur Measure for Measure flour. Holy cow, they turned out fabulous! Of all the cookies we made for the holidays, this was the unanimous favorite among my family members. They looked really pretty too. I will be making these again (soon!). Thank you for such an easy, and truly delicious, gluten-free spin on an old classic.”
– Laura
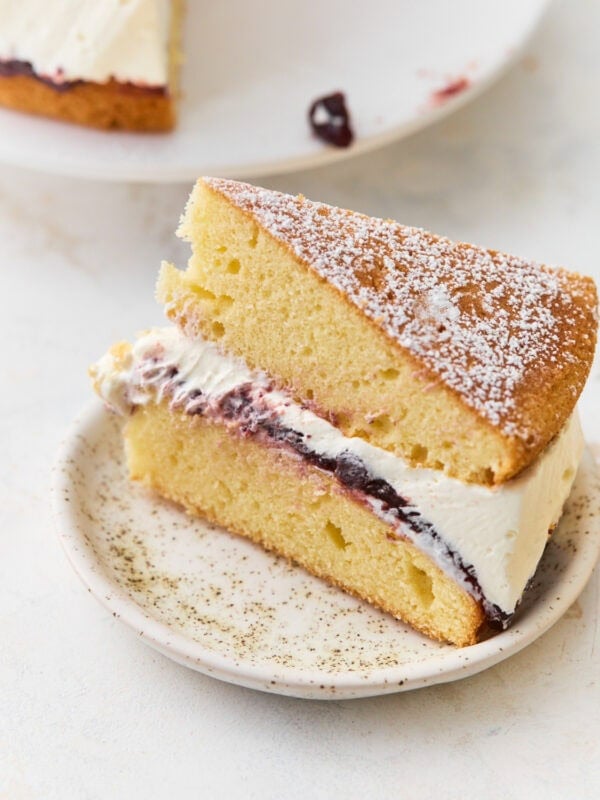
Classic cookies are always the best to bake, simple recipes that consistently turn out great. These gluten-free thumbprint cookies are some of my favorites. I have always had a soft spot for jam-filled pastries, and if you’ve tried my gluten-free danish you already know how much I love that sweet, fruity center. These cookies give you that same cozy flavor in a smaller, easier bite. The buttery gluten-free dough and bright jam center feel so nostalgic. But, they are just as delicious with lemon curd or a spoonful of melted chocolate if you want another option. They are easy, festive, and perfect for gifting or adding to a holiday cookie box. Tell me your favorite filling in the comments.
Gluten-Free Baking Tips
- Measure flour correctly. Always measure gluten-free flour with a dry measuring cup using the spoon-and-level method. Spoon the flour into the cup, then level it with the back of a knife. Don’t scoop directly from the bag, or you’ll pack in too much flour.
- Prevent cracking. Roll each dough ball until the surface is completely smooth, then press the indent only halfway down so the sides don’t split. If small cracks appear, gently pinch or smooth them before baking to help the cookies hold their shape.
- Prevent spreading. Do not place the second round of cookie dough balls on a warm baking sheet. Before placing your next batch of cookie dough on the baking sheet, make sure it has cooled completely. If you feel your dough is too soft, chill the dough balls in the fridge for 30 minutes before baking.
- Avoid jam overflow. Use no more than ½ tsp of jam in each indent. Jam expands and bubbles as it bakes, so a small amount keeps it from spilling over the edges and creating burnt spots.
- Even baking. Bake on a light-colored sheet pan for the most consistent results. Dark pans heat faster and can cause the bottoms to brown too quickly before the centers finish baking. Bake the cookies on the middle rack of your oven, and only one cookie sheet at a time for even baking.
- Texture fix. If the dough feels dry or crumbly (common with different gluten-free flour blends), add 1–2 tsp of milk until it comes together into a smooth, easy-to-roll ball. This small adjustment helps prevent cracking and improves the final texture.
Gluten-Free Thumbprint Cookies

Ingredients
- 1 cup unsalted butter, for dairy-free use Smart Balance
- ⅓ cup granulated sugar
- ⅓ cup light brown sugar, packed
- 1 large egg yolk
- 1 tsp pure vanilla extract
- 2¼ cups all-purpose gluten-free flour with xanthan gum, I like Pillsbury gluten-free flour
- ½ tsp salt
- ½ cup sugar for rolling
- ⅓ cup jam, I used seedless raspberry jam
Instructions
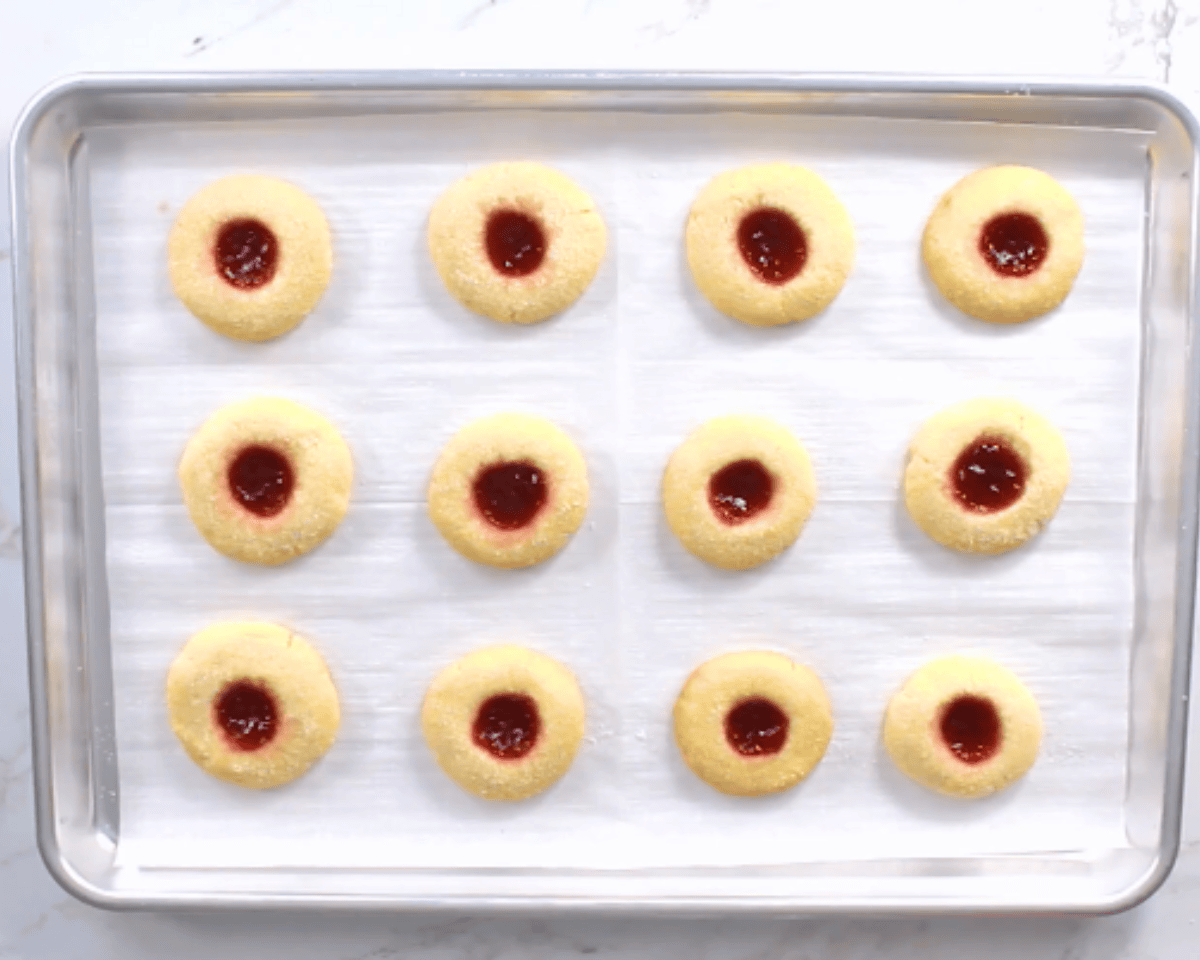
- Preheat oven to 375°F (190°C) and line a baking sheet with parchment paper.
- In a large bowl, beat the butter with an electric mixer until creamy.
- Add the granulated sugar and brown sugar and beat until the ingredients are well combined.
- Add the egg yolk, pure vanilla extract, and salt and beat until the ingredients are well combined.
- Add the gluten-free flour and mix until completely combined. Occasionally scrape the sides and bottom of the bowl. The dough will seem dry and crumbly, but it will come together.
- Scoop cookie dough into 1 ½ tablespoon-sized balls using a greased cookie scoop. Roll the cookie dough in a round ball.
- Roll the cookie ball into a small bowl with the 1/3 cup of granulated sugar and place the cookie ball on the prepared baking sheet. Place the cookie dough balls about 2-inches apart.
- Use your thumb or the back of a rounded teaspoon to gently press an indent in the center of the cookie dough.
- Place the jam in a small microwave-safe bowl. Microwave for about 5-10 seconds, or until jam no longer firm and it is easy to stir. Stir until smooth.
- Spoon the heated jam into each thumbprint, filling each indent to the brim.
- Bake on the center rack for 12-14 minutes or until edges of the cookies are turning light golden brown.
- Allow cookies to cool completely on baking sheet.
Notes
- Not all gluten free flours are created equal. You may experience different baking results depending on the gluten-free flour blend you choose.
- This gluten-free cookie recipe will not with not work with almond, oat, or coconut flour.
- Make sure to heat up the jam and add it to the cookies before baking them.
- Jam options: raspberry, strawberry, apricot, lemon curd, and seedless jam.
Nutrition
Nutrition information is automatically calculated, so should only be used as an approximation.
How to Make Gluten-Free Thumbprint Cookies Step by Step
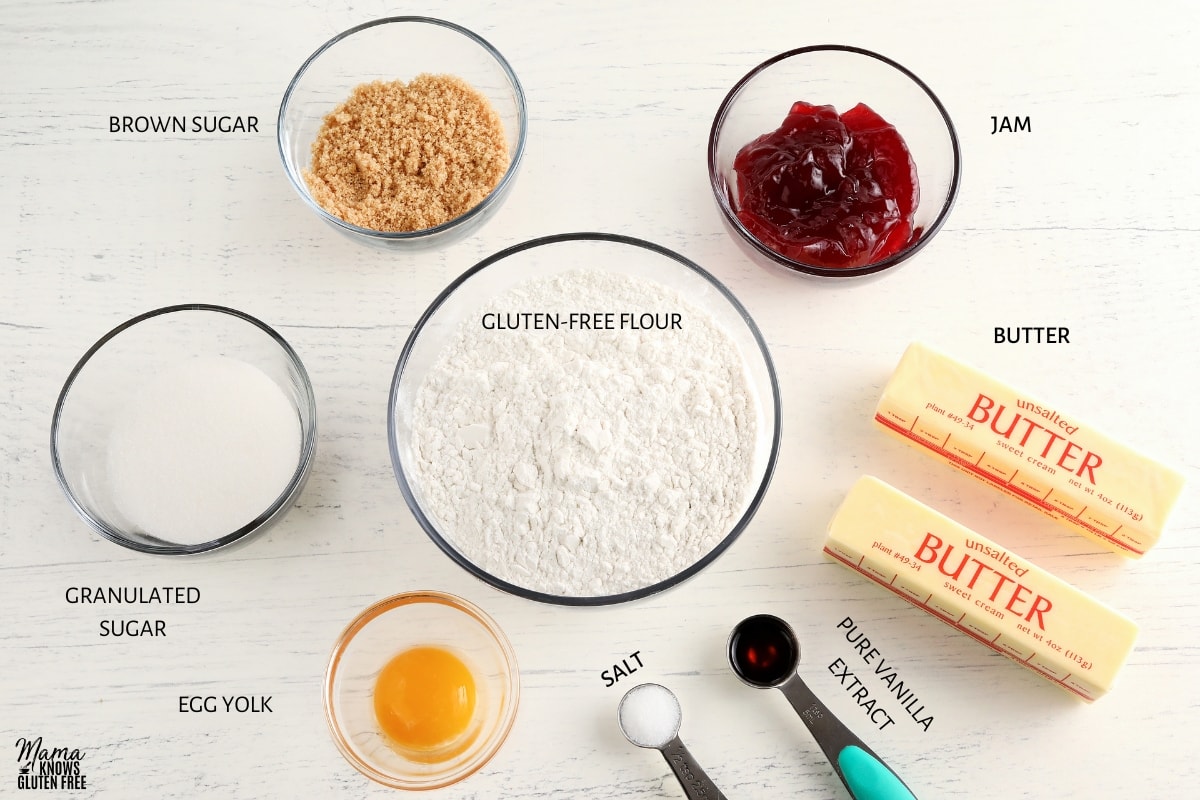
Gather the Ingredients: Gather all the ingredients together. Preheat oven to 375°F and line a baking sheet with parchment paper.
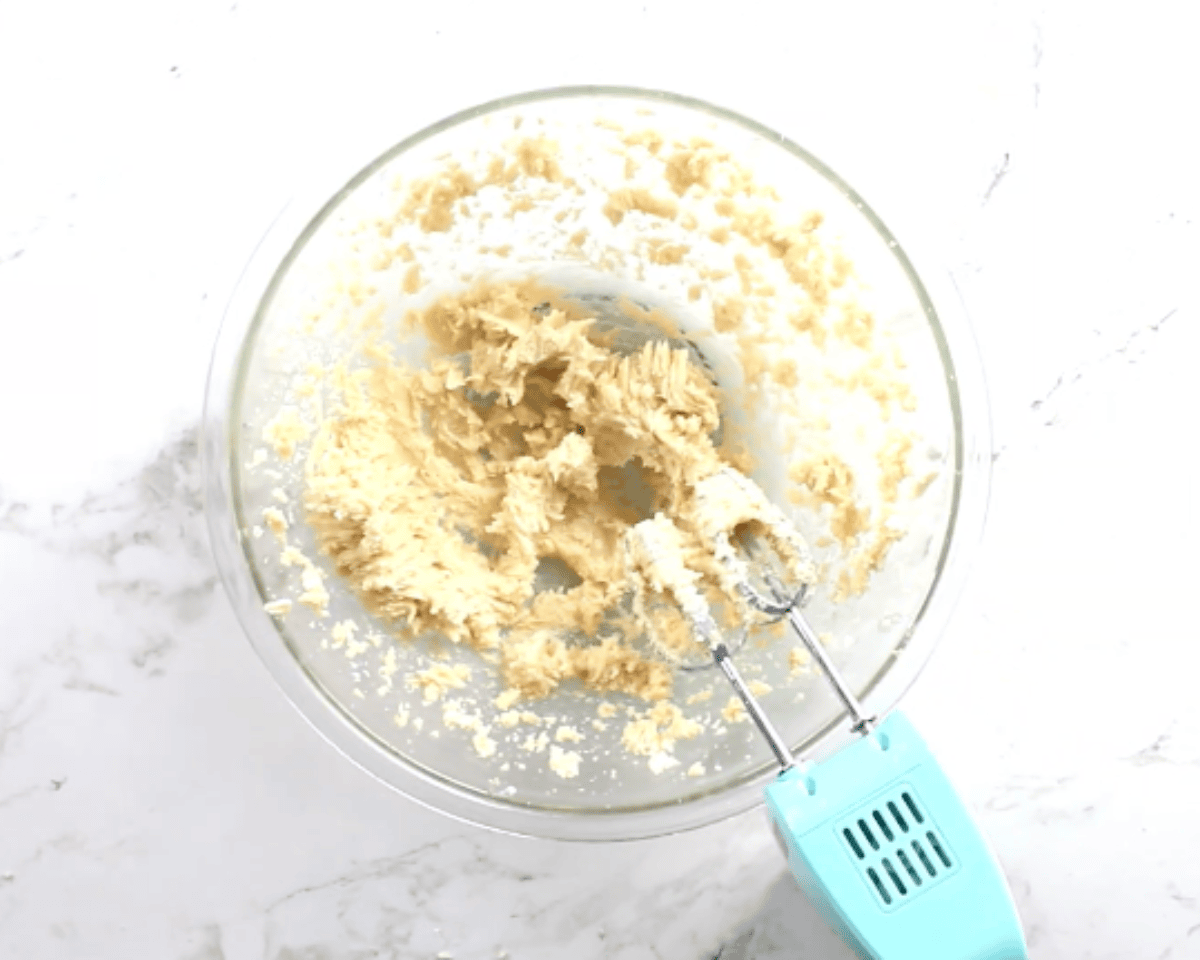
Cream the butter and sugar: Using an electric mixer, beat 1 cup of unsalted butter, ⅓ cup granulated sugar, and ⅓ cup packed light brown sugar, and continue to beat until the ingredients are fully combined and creamy.
Mix in the wet ingredients: Beat in 1 large egg yolk and 1 tsp pure vanilla extract until the mixture is smooth.
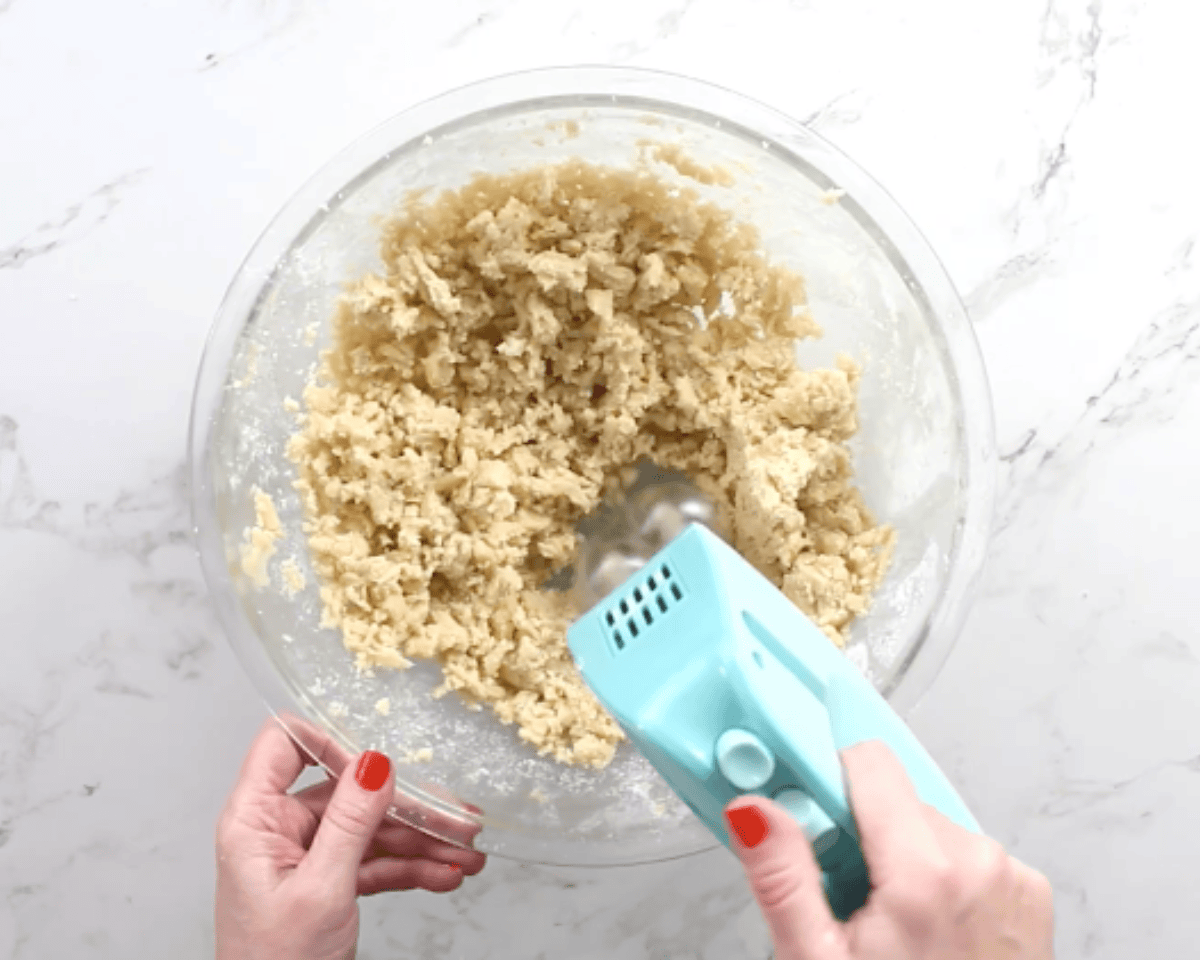
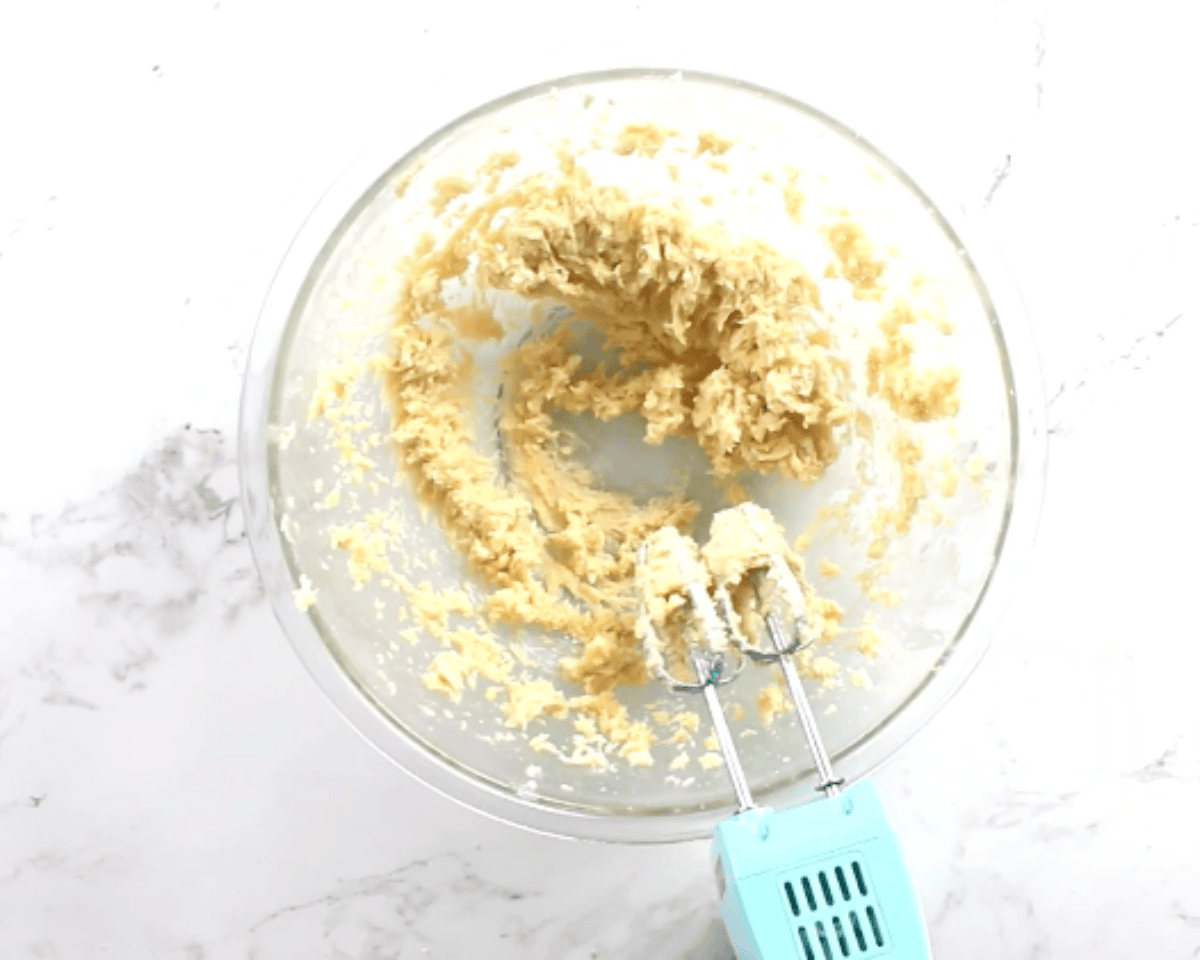
Add the dry ingredients: Add ½ tsp salt and 2 ¼ cups of all-purpose gluten-free flour with xanthan gum (I like Pillsbury gluten-free flour), and mix until the dough comes together. It may look dry or crumbly at first, but it will pull together as you mix. Scrape the sides and bottom of the bowl as needed.
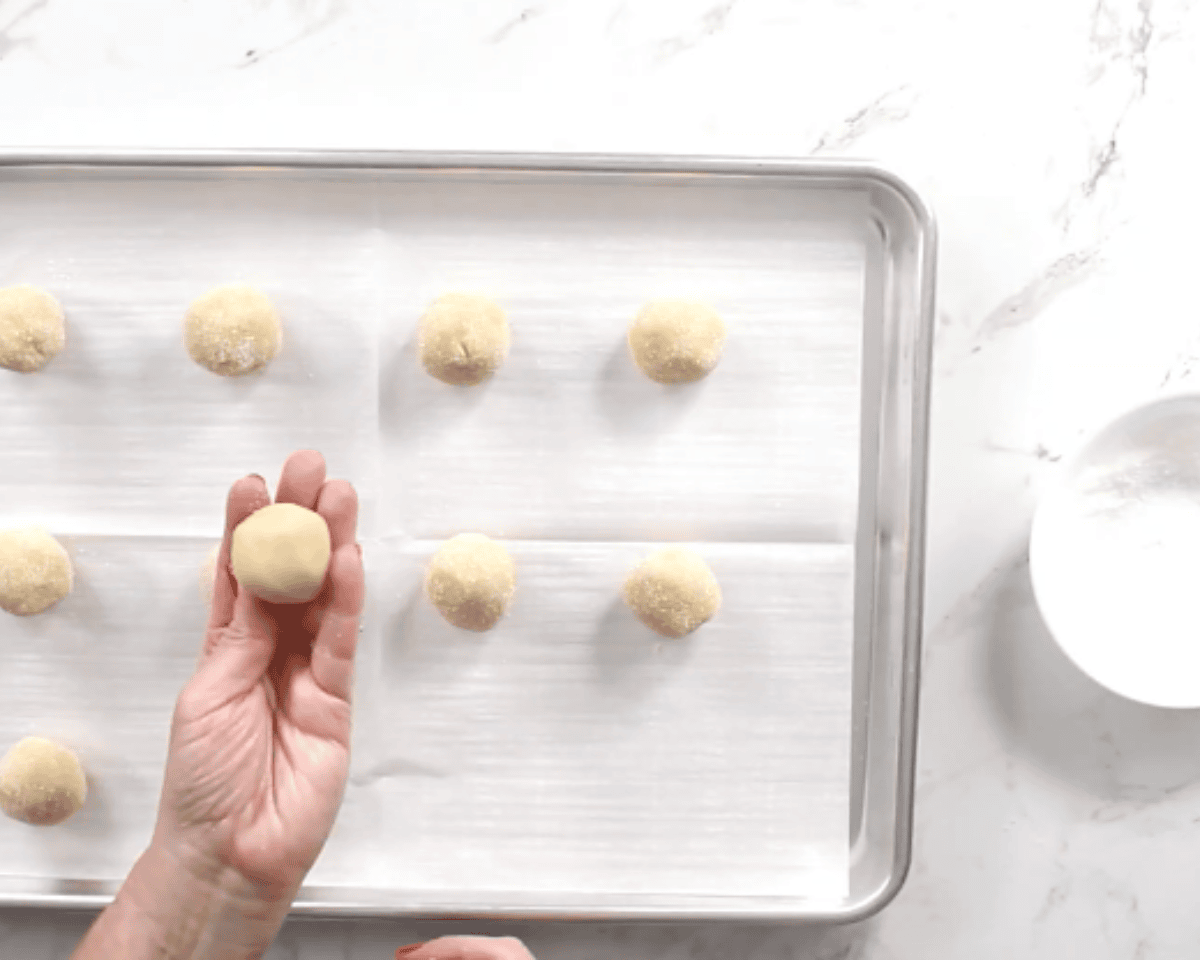
Shape the dough balls: Scoop the dough into 1½ tbsp portions, then roll each scoop between your palms to form smooth balls.
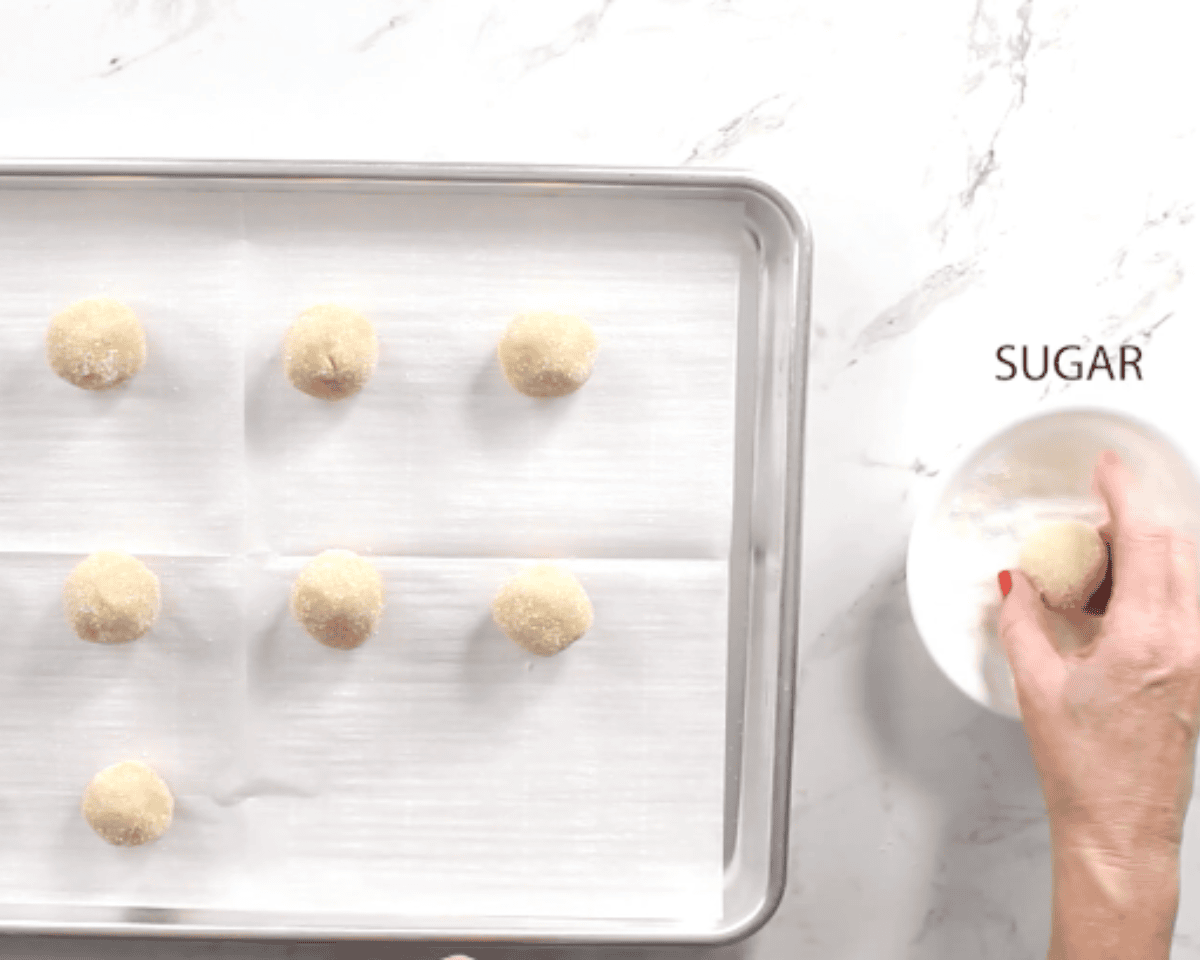
Roll in sugar: Roll each dough ball in ½ cup of granulated sugar (placed in a small bowl for easy coating), then set the balls on the prepared baking sheet about 2 inches apart.
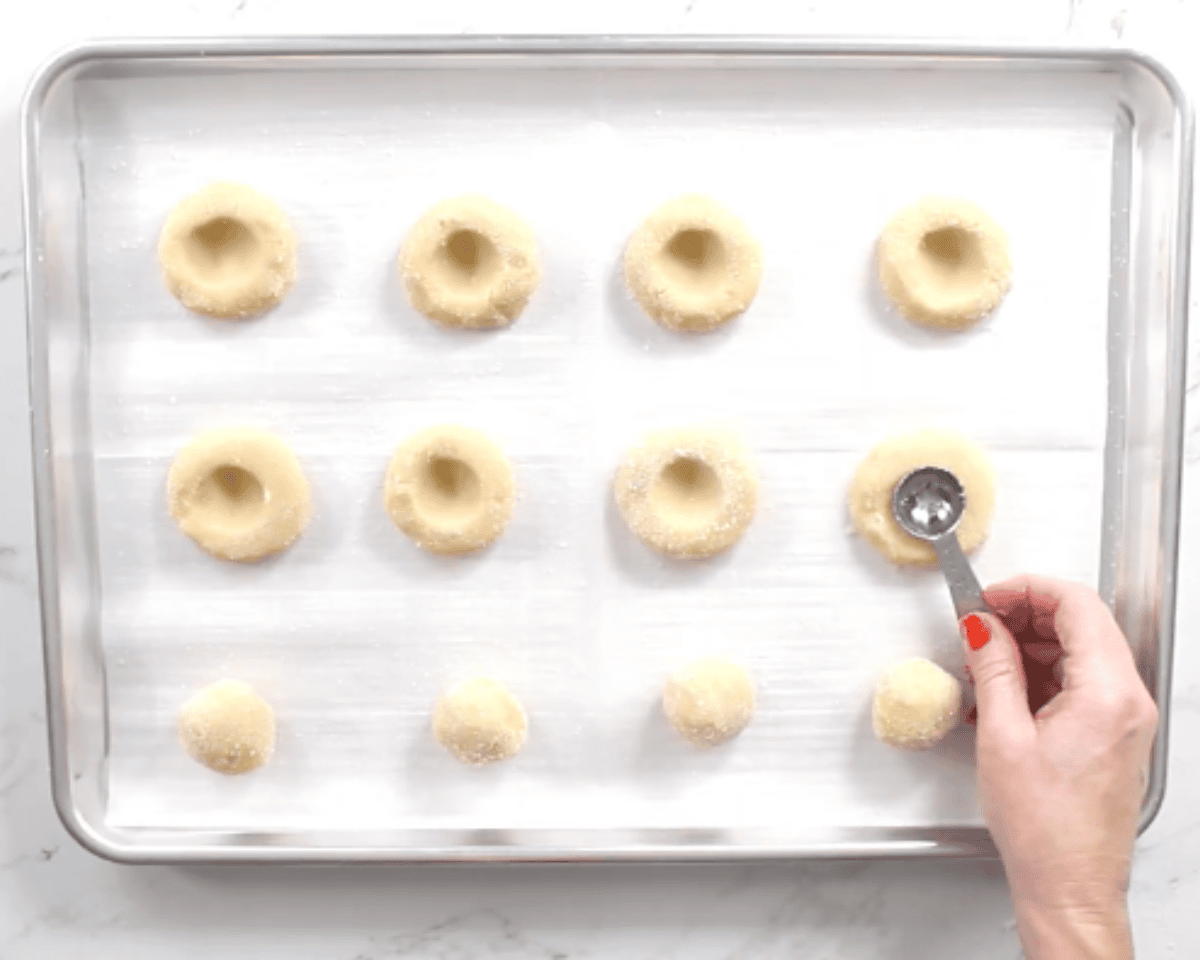
Create the indents: Use your thumb or the back of a rounded teaspoon to gently press an indent into the center of each sugar-coated dough ball.

Add jam: Place ⅓ cup of jam in a small microwave-safe bowl and heat for 5–10 seconds, just until loosened. Stir until smooth. Spoon the warm jam into each indent, filling each one to the top.
Bake the cookies: Bake the cookies on the center rack for 12–14 minutes, or until the edges turn light golden brown.
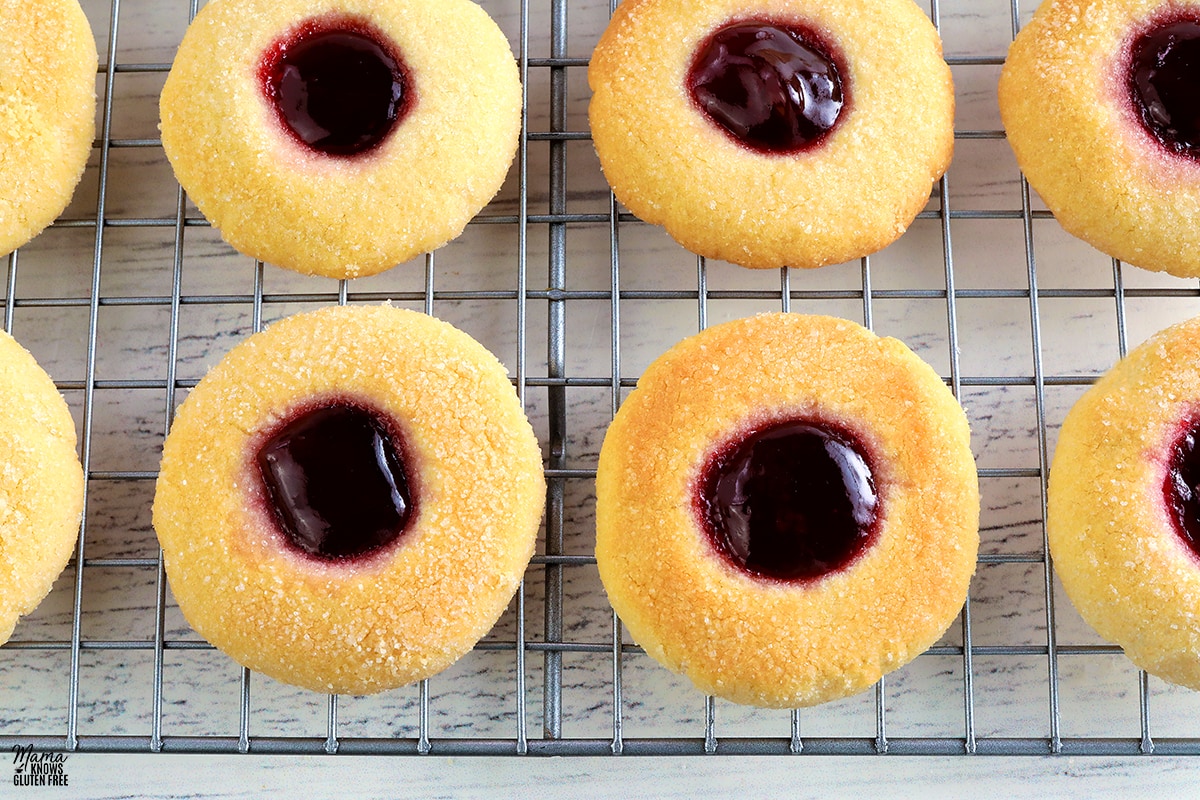
Cool and serve: Allow the cookies to cool completely on the baking sheet so the centers can set and the cookies firm up. Serve and enjoy!
Serving Suggestions
These gluten-free thumbprint cookies are perfect for holiday cookie trays, gift boxes, or just enjoying with a cup of coffee or dairy-free hot chocolate in the afternoon. I love setting them out alongside a few other festive favorites like gluten-free cut-out cookies or gluten-free chocolate crinkle cookies. The bright jam center adds a pretty pop of color, so they look especially nice on a Christmas cookie platter or tucked into a homemade gift tin.
Storage Instructions
Store these gluten-free thumbprint cookies in an airtight container at room temperature for 3–4 days. If you need them to last longer, keep them in the refrigerator for up to a week.
For make-ahead prep, you can freeze the unbaked dough balls (with the indents but without the jam) and fill and bake them whenever you’re ready.


I just made these cookies and we think they are really good. Turned out beautifully. I used Robin Hood gluten free all purpose flour and they have a little bit of a nutty texture. We’re not gluten free people but I’m baking for people who are. Will definitely make again.
Used Namaste ‘perfect flour blend’ and these worked perfectly!! They did seem like they were going to crumble apart, but once they cooled, they held together. Thanks for the recipe.
Hello. ive just made this recipe and they have a really strong buttery flavor and the grease stays on your palate. Nothing like the gluten ones that I usually make. These are ment to be like this?
Hi David, what brand of GF flour did you use? Depending on the brand, you may need to add a bit more flour to combat that greasiness.
These are delicious
BUT
They just fall apart
Any suggestions???
Hi Joann, what brand of GF flour are you using? Different brands require different levels of hydration, so you may need to add a bit more butter or egg to compensate.
I made these for Christmas using raspberry jam and King Arthur Measure for Measure flour. Holy cow, they turned out fabulous! Of all the cookies we made for the holidays, this was the unanimous favorite among my family members. They looked really pretty too. I will be making these again (soon!). Thank you for such an easy, and truly delicious, gluten-free spin on an old classic.
Delicious!! Mine don’t look as pretty as your. 🙂
Delicious!!! Our whole family lived these cookies!
Can I use cassava flour alone? Or chickpea flour?
Hi Gracelene! You cannot use either cassava or chickpea flour in this recipe. This recipe is developed with a gluten-free all-purpose gluten-free flour blend made with rice flour. I bake with Pillsbury gluten-free flour and I order it from Walmart.
My whole family enjoyed these. I will be making them again.
Hi! I would love to make these with a chocolate filling – what would you suggest? A chocolate glaze or buttercream? Also, would you fill them after baking? Thanks in advance!!
Hi Sharon! You could use a chocolate filling. I would recommend a thick chocolate buttercream and you would add it after the cookie are completely cooled. Using a piping bag to fill the cookies. I have a chocolate peanut butter filling in my gluten-free peanut butter blossoms recipe that would work well too.