Homemade Gluten-Free Potato Chips
Published


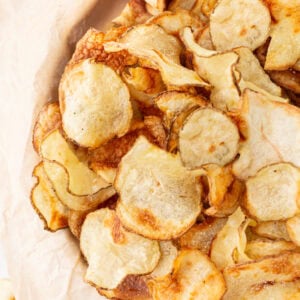
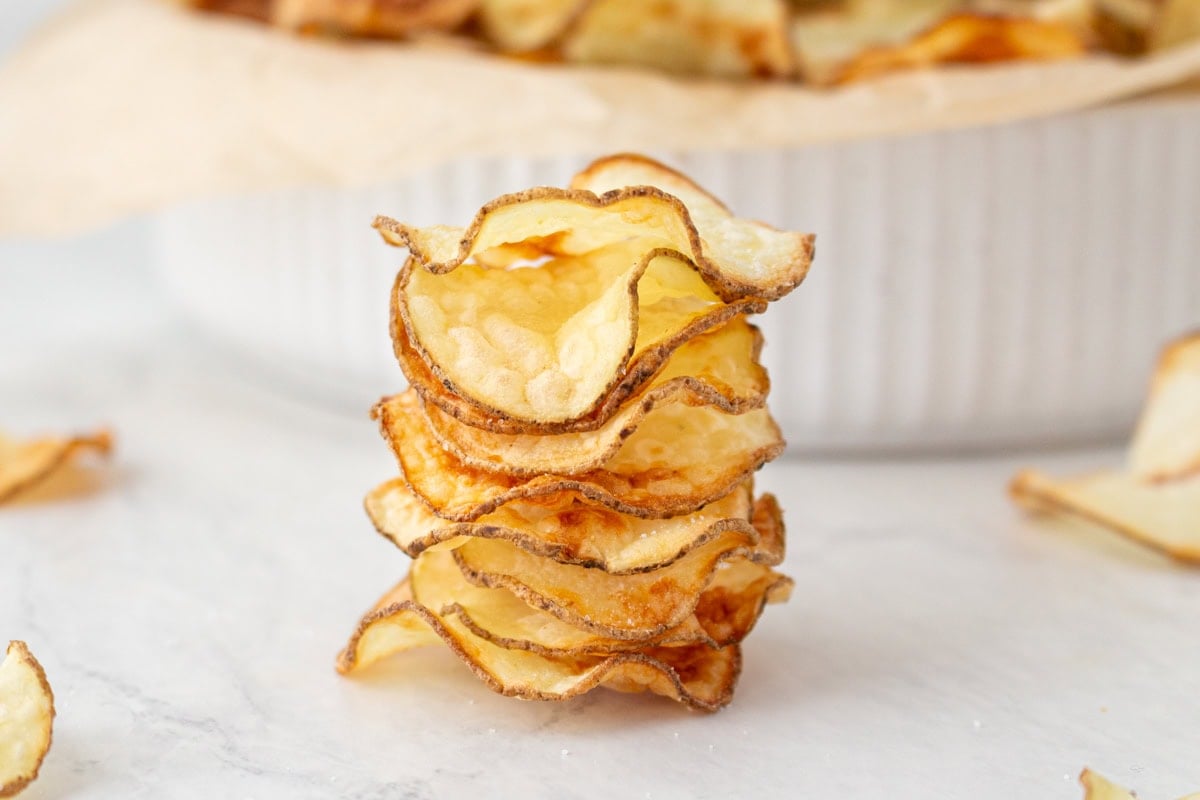
Light, crispy, and crunchy—these homemade gluten-free potato chips hit all the right notes. In the summer, I’m always reaching for a bag of chips, and making them at home means I don’t have to worry about cross-contamination. With just four simple ingredients, they crisp up beautifully in the air fryer and make the perfect snack alongside beach day sandwiches—or straight from the bowl.
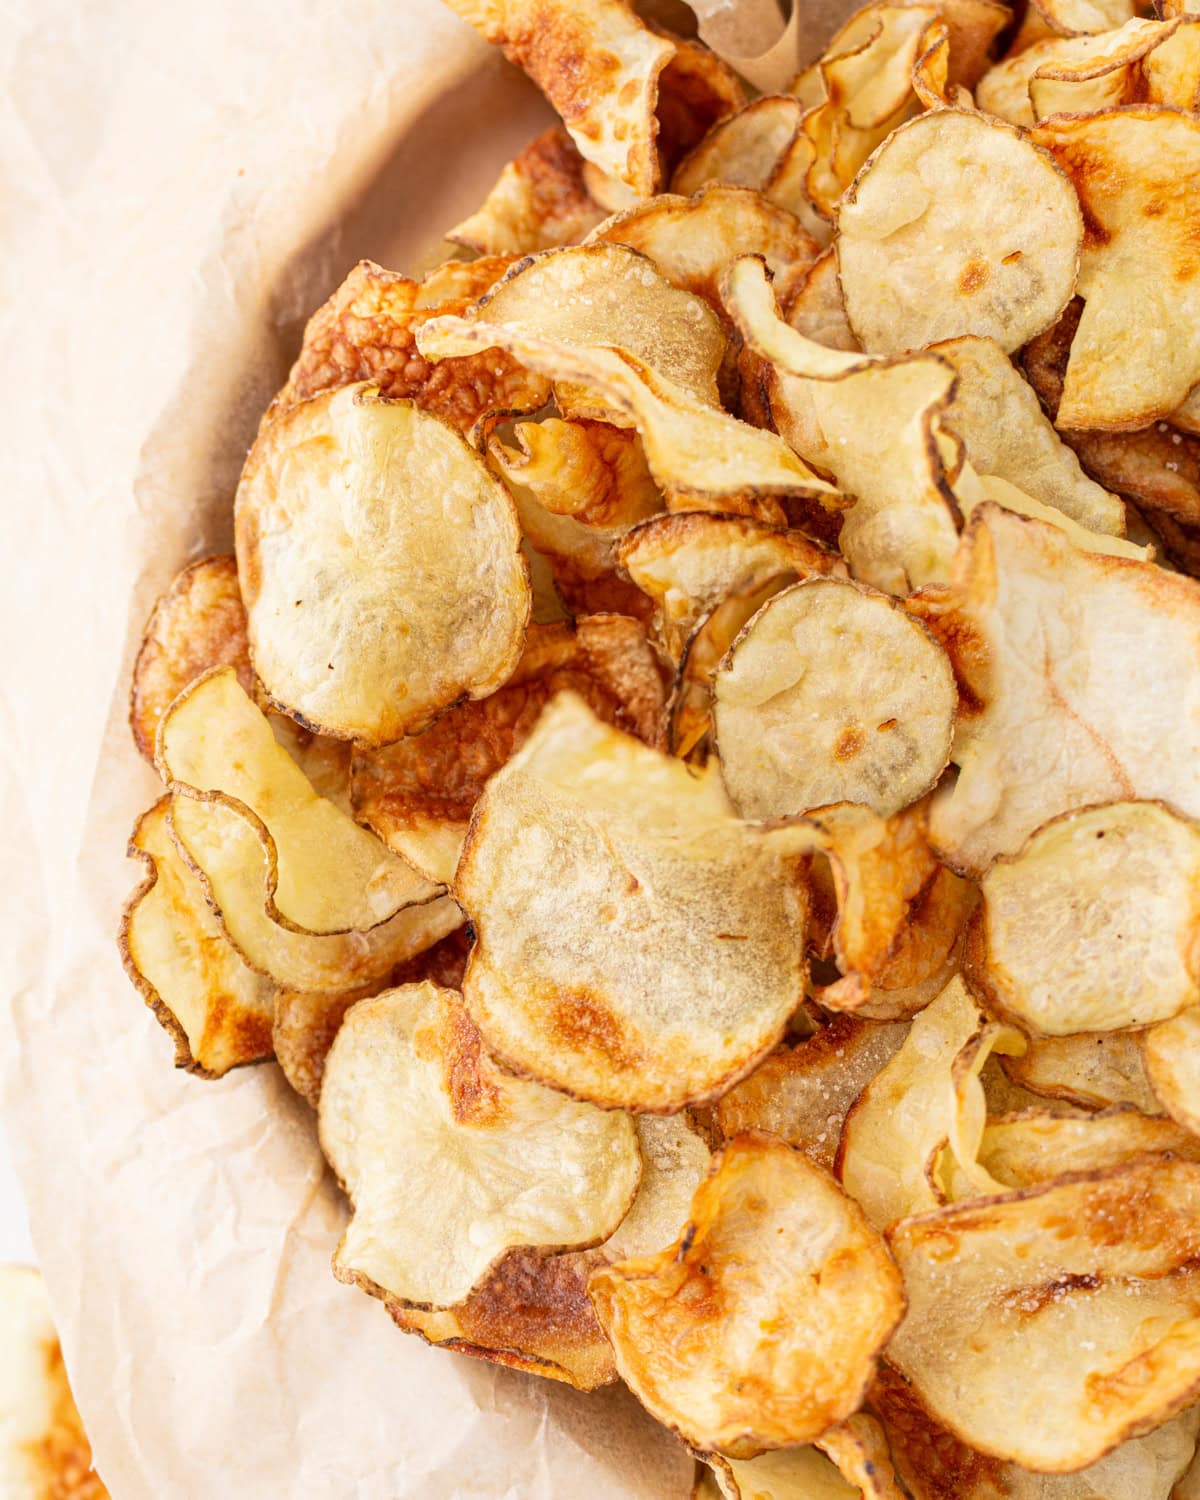
What I love most is how easy these are to make—no deep frying, no fancy ingredients, and no mess. Just slice, soak, and toss them in the air fryer. There’s no extra oil required, and they crisp up beautifully every time. Potatoes are naturally gluten-free, so this recipe is a simple way to enjoy a safe, homemade snack. You can keep it classic with salt or sprinkle on your favorite seasonings—I’m a big fan of smoked paprika or garlic powder for an extra kick.
Homemade Gluten-Free Potato Chips
Equipment
- 1 mandolin
- 1 air fryer
Ingredients
- 1 lb medium russet potatoes, washed
- 2 tsp vinegar
- 1 tbsp olive oil
- Salt for sprinkling
Instructions
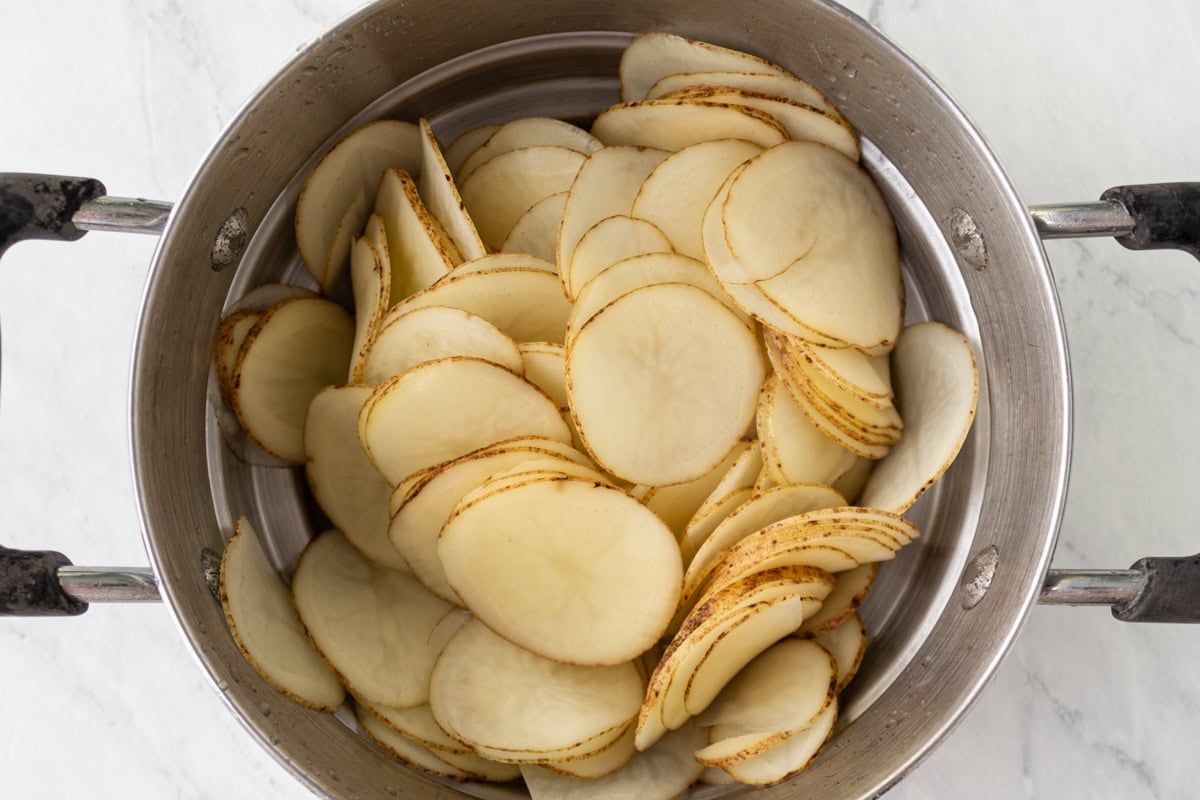
- Thinly slice potatoes on a mandolin, 1/16” thick.
- Place the sliced potatoes in a large bowl. Fill with water until the potatoes are completely covered. Stir in the vinegar. Refrigerate for 30 minutes. The vinegar helps to break down the starch. Removing as much starch as possible results in crispier chips.
- Preheat your air fryer to 325°F.
- Drain the potatoes, rinsing them until the water runs clear.
- Dry the potatoes completely and thoroughly and place in a large bowl.
- Toss the potatoes with the olive oil and salt. If you have a small air fryer and need to cook the potatoes in several batches, do not add salt to the potatoes in the bowl. Sprinkle salt on before cooking.
- Working in batches, arrange the potato slices in two even overlapping layers in the air fryer basket. Any more than that they start to stick together. Bake 10-15 minutes, flipping the slices every 2-2.5 minutes to prevent burning. The chips should be lightly browned and crispy. Remove the chips from the basket as they finish cooking.
Notes
- Use sweet potatoes instead for sweet potato chips.
- The fan in the air fryer will blow the chips around a bit. Just move them back into place while flipping.
- To bake: Preheat your oven to 400°F and line two baking sheets with parchment. Arrange the potato slices in a single layer, brush lightly with olive oil, and sprinkle with salt. Bake for 15–25 minutes, flipping halfway through, until golden and crisp. Let them cool on the pan for a few minutes to finish crisping up.
Nutrition
Nutrition information is automatically calculated, so should only be used as an approximation.
How to Make Homemade Gluten-Free Potato Chips Step by Step
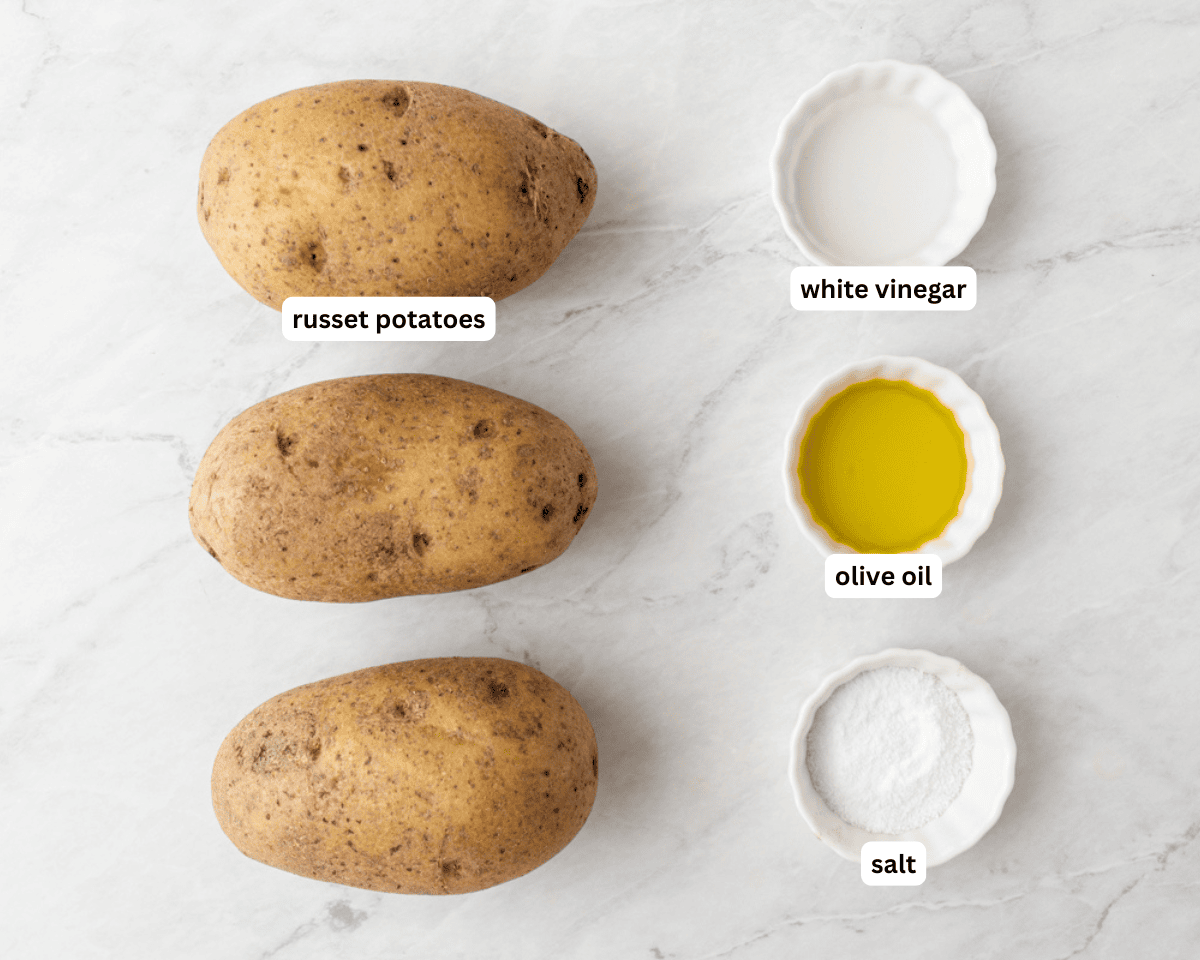
Gather all the ingredients together.
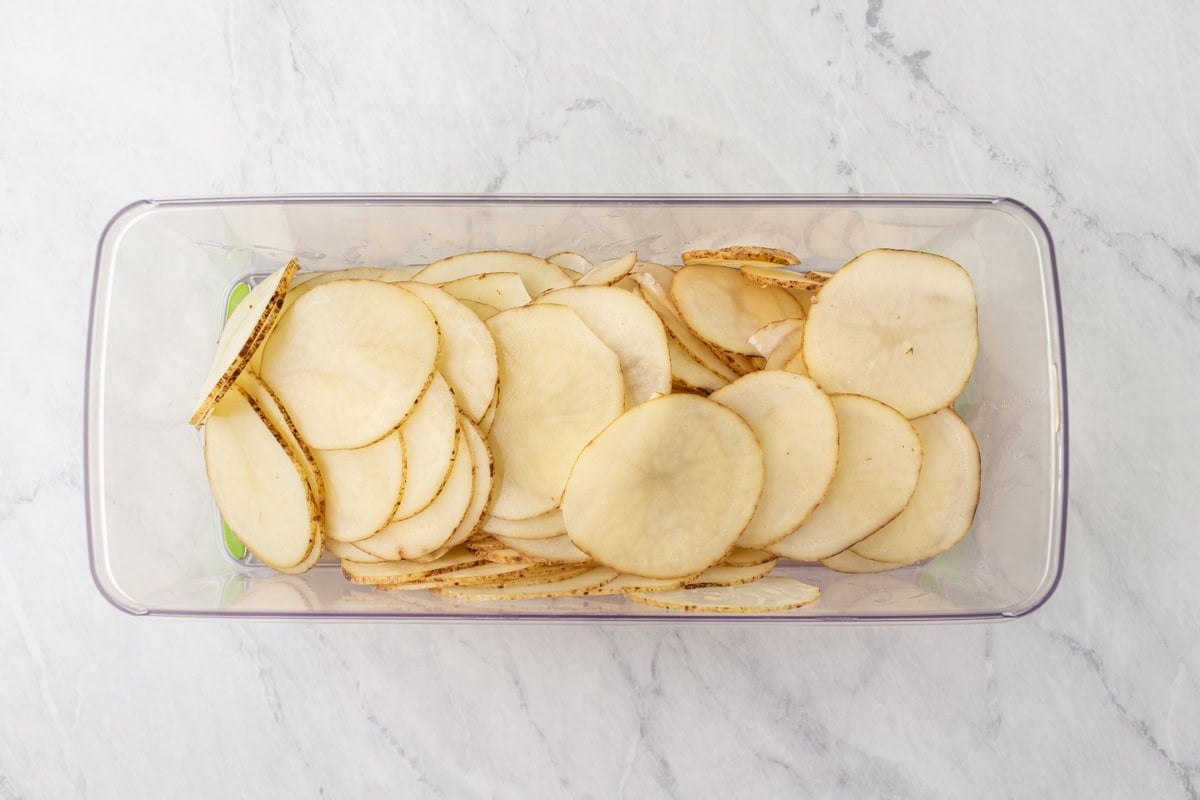
Slice the potatoes: Using a mandolin set to 1/16” thick, carefully slice 1 lb of medium russet potatoes.
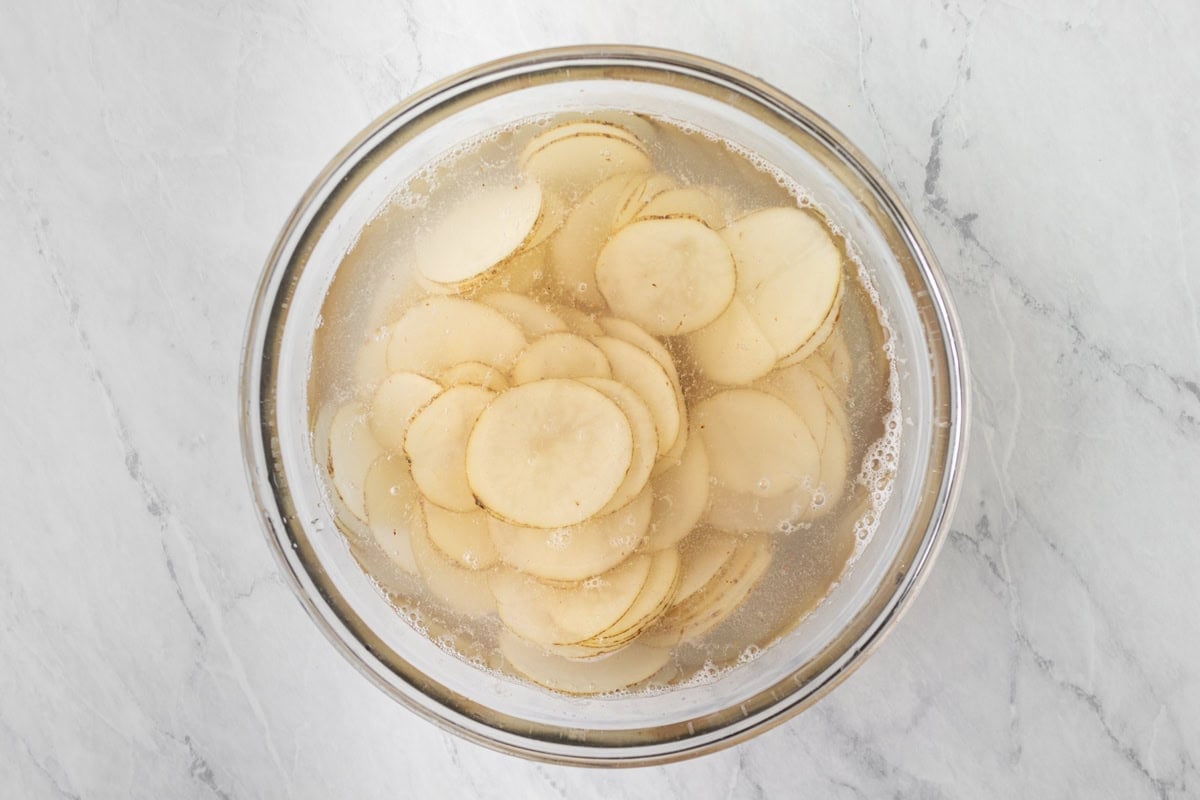
Soak the slices: Transfer the sliced potatoes to a large bowl and cover them completely with water. Stir in 2 tbsp vinegar, then refrigerate for 30 minutes.
Drain the potatoes: Preheat the air fryer to 325°F. Drain the potatoes and rinse under cold water until the water runs clear. Dry them completely and thoroughly, then place them in a large bowl.
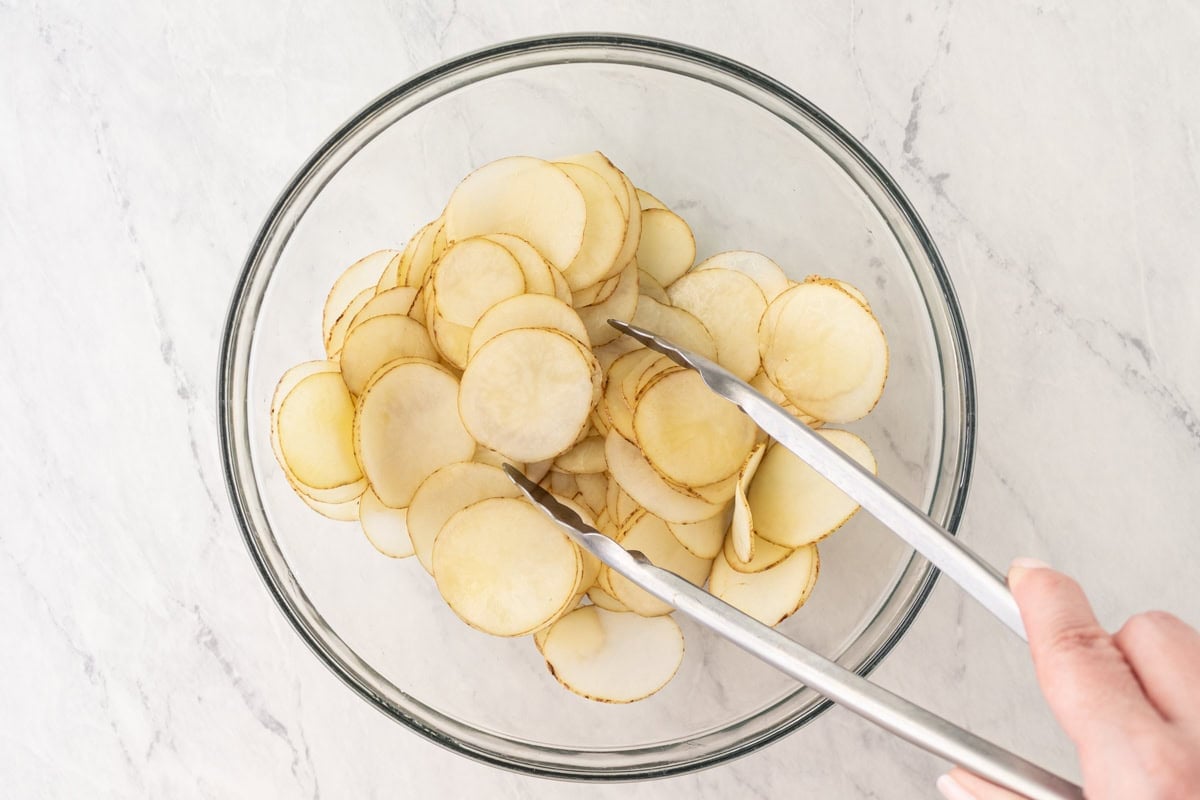
Season the potatoes: Toss the potatoes with 1 tbsp olive oil and salt, to taste. If your air fryer is small and you’ll be cooking in batches, leave the salt out for now and sprinkle it on each batch just before cooking. This ensures each batch is evenly coated.
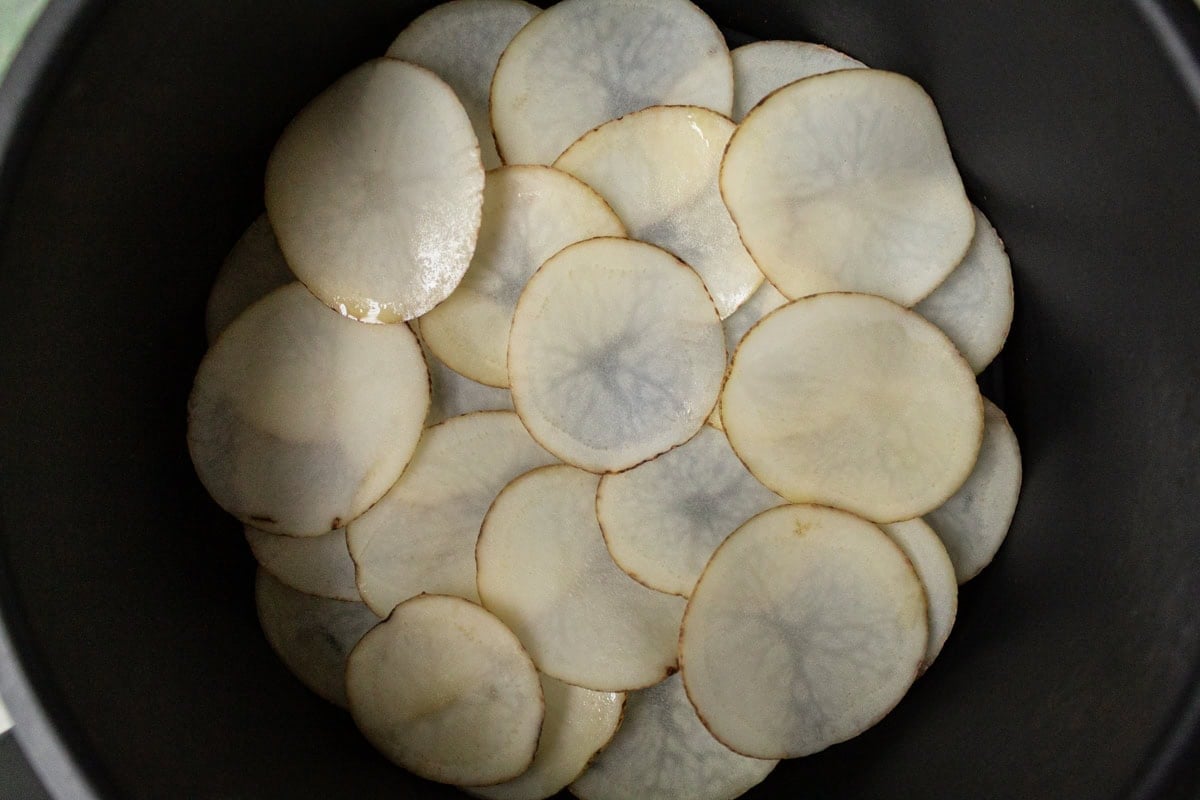
Layer in the air fryer: Arrange the potato slices in the air fryer basket in two even, slightly overlapping layers—any more and they’ll start to stick.
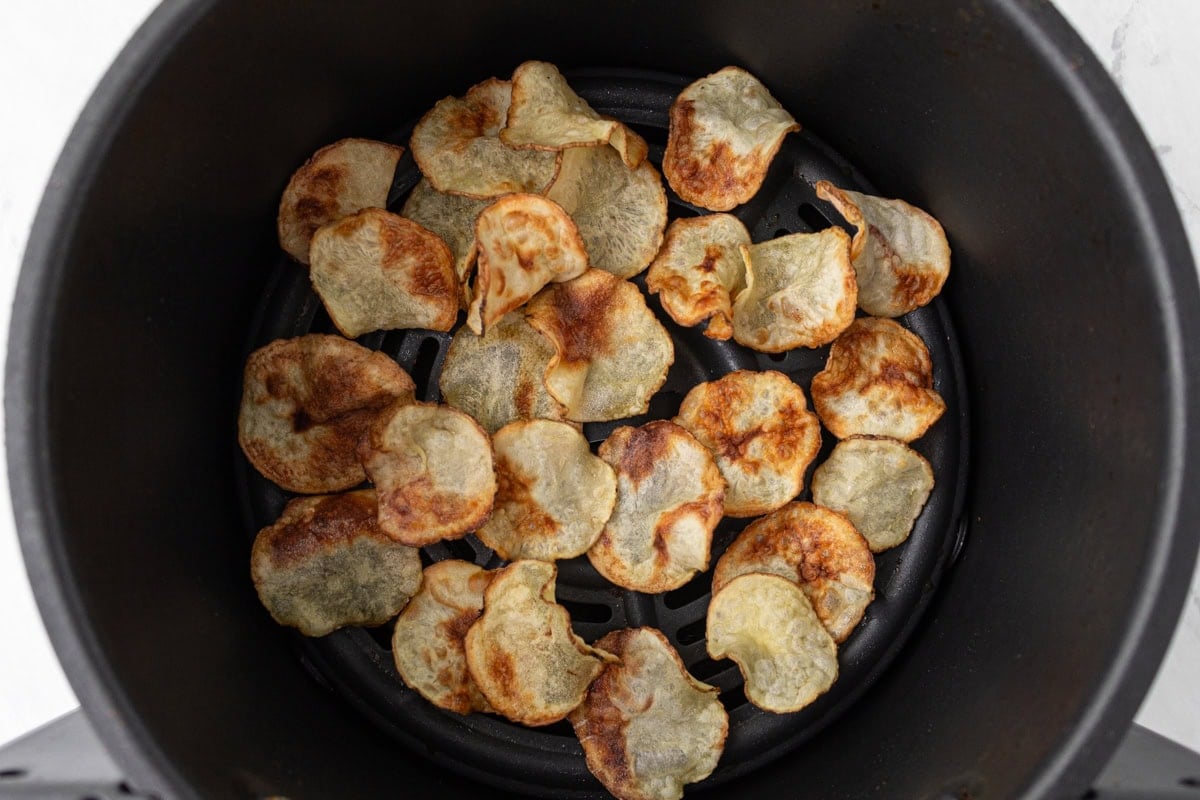
Air fry the potatoes: Work in batches as needed. Air fry for 10–15 minutes, flipping every 2-2½ minutes to prevent burning. Remove chips as they become golden and crisp.

Serve and enjoy: Let the chips cool slightly, serve, and enjoy!
Gluten-Free Cooking Tips
- A mandolin is recommended because you need to slice the potatoes evenly and as thin as possible (about 1/16″) for consistent texture and crispiness. Uneven slices can lead to some chips burning while others stay soft.
- Rinse the slices thoroughly until the water runs clear, then dry them completely—this removes excess starch and moisture, which helps the chips crisp up instead of steaming.
- Flip the chips every 2 to 2½ minutes and avoid overcrowding the air fryer basket. Too many layers can cause sticking and uneven cooking, so work in small batches if needed.
- Keep a close eye during the last few minutes. Chips can go from perfectly golden to burnt quickly, especially once they start to crisp. Pull them out as they finish to avoid overcooking.
Serving Suggestions
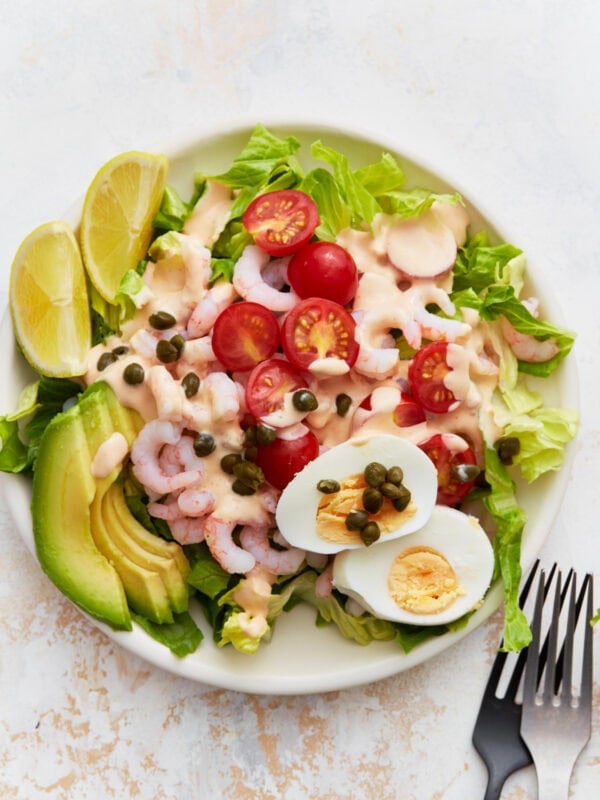
I love serving these gluten-free potato chips as a crunchy side with a light shrimp louie salad or a homemade burgers—they’re way more fun (and flavorful) than store-bought. My kids love them in their lunchboxes, and they’re also perfect for game day spreads, beach days, and movie nights. They’re a big hit at BBQs too—pair them with pasta salad and hot dogs, an easy, crowd-pleasing summer spread. Try sprinkling them with smoked paprika, garlic powder, or your favorite seasoning blend for an extra flavor boost.
Storage Instructions
Let the chips cool completely before storing—trust me, sealing them up too soon makes them lose that satisfying crunch.
I keep mine in an airtight container on the counter for up to 3 days. If they soften a bit, a quick 1–2 minutes in the air fryer brings them right back to life.