Oat Flour Waffles

Published



These oat flour waffles are soft, fluffy, and naturally hearty with perfectly golden crisp edges. They come together in about 20 minutes using simple pantry ingredients like oat flour, eggs, milk, and butter, making them perfect for busy mornings or slow weekend breakfasts. The batter mixes together in one bowl and cooks up beautifully in any standard waffle maker. Whether you top them with maple syrup, berries, or peanut butter, these waffles feel cozy, filling, and homemade without being complicated.
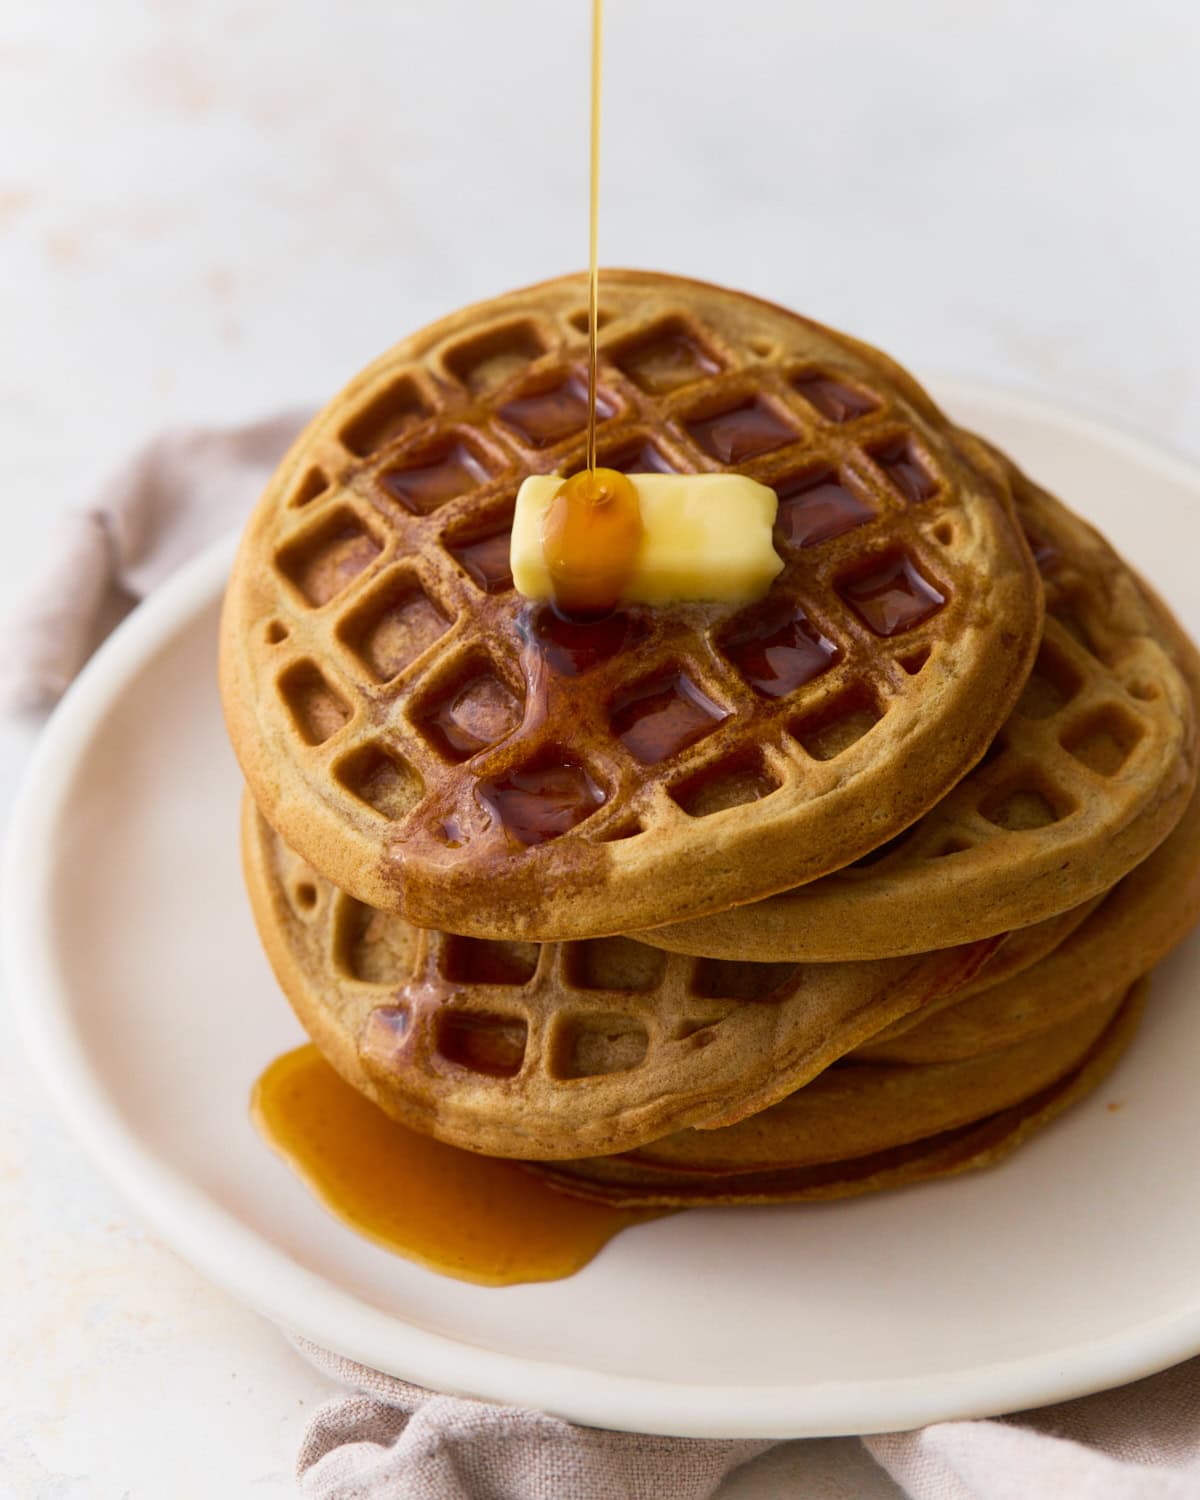
Waffles have always been one of my favorite weekend breakfasts, especially with coffee and fresh fruit on the side. These oat flour waffles turn out softer and heartier than classic waffles, with crisp golden edges and fluffy centers. Since oat flour absorbs liquid more slowly than regular flour, the 10-minute rest time helps the batter thicken properly and cook more evenly. The batter should look like thick heavy cream before it goes into the waffle iron. If it looks too thin, the waffles won’t hold their shape as well or crisp properly. I also like cooking them an extra minute and cooling them on a wire rack instead of stacking them. That keeps the outside crisp while the centers stay soft and tender.
What I Learned While Testing
- Let the batter rest. This is the most important step in the recipe. Oat flour absorbs liquid much more slowly than regular flour, so the batter needs about 10 minutes to fully hydrate before cooking. At first, the batter may seem thinner than expected, but it thickens as it rests. Skipping this step can lead to waffles that spread too much, cook unevenly, and stay overly soft in the center.
- The batter consistency matters. The batter should look thick but still pourable, similar to heavy cream or a thick pancake batter. It should flow slowly off the whisk instead of running like milk. If the batter looks watery, the waffles won’t crisp properly. If it becomes too thick, the centers can turn dense instead of fluffy.
- Cook slightly longer for crispier waffles. Oat flour waffles naturally bake up softer than traditional waffles made with all-purpose flour. I like leaving them in the waffle iron an extra 30-60 seconds after the steam slows down. That extra time helps the outside turn deeply golden with crisp edges while keeping the middle tender.
- Use a wire rack instead of stacking. Stacking hot waffles traps steam between them, which softens the crispy edges almost immediately. Setting the waffles on a wire rack keeps air circulating around them so the outside stays crisp while the inside stays soft and fluffy.
- Homemade oat flour works great. You can easily make oat flour by blending rolled oats in a blender or food processor until very fine. Measure the flour after blending, not before. A finer oat flour gives the waffles a smoother texture, while larger oat pieces can make them slightly gritty or dense.
Oat Flour Waffles

Equipment
- 1 waffle iron
Ingredients
- 2 cups oat flour
- 2 tsp baking powder
- ½ tsp baking soda
- ½ tsp salt
- 2 tbsp sugar
- 2 large eggs
- 1⅔ cups milk
- 3 tbsp melted butter
- 1 tsp vanilla extract
Instructions
- Preheat waffle iron according to manufacturer instructions and lightly grease if needed.
- In a large bowl, whisk together oat flour, baking powder, baking soda, salt, and sugar.
- Add eggs, milk, melted butter, and vanilla, and whisk until smooth and just combined.
- Let batter rest for 10 minutes to thicken slightly. The batter should look like thick, smooth heavy cream. If it’s too thin, add 1-2 tbsp more flour. If it’s too thick, add 1-2 tbsp more milk.
- Scoop ¼ cup of batter into the waffle iron and cook according to your machine, about 3–5 minutes, until golden and crisp.
- Remove waffles carefully and repeat with the remaining batter. Serve warm.
Notes
- Resting the batter helps the oat flour absorb moisture properly.
- The batter should look thick and smooth before cooking.
- Cook slightly longer for crispier waffles.
- Cool waffles on a wire rack instead of stacking.
- Homemade oat flour works well if blended finely.
Nutrition
Nutrition information is automatically calculated, so should only be used as an approximation.
How to Make Oat Flour Waffles Step by Step
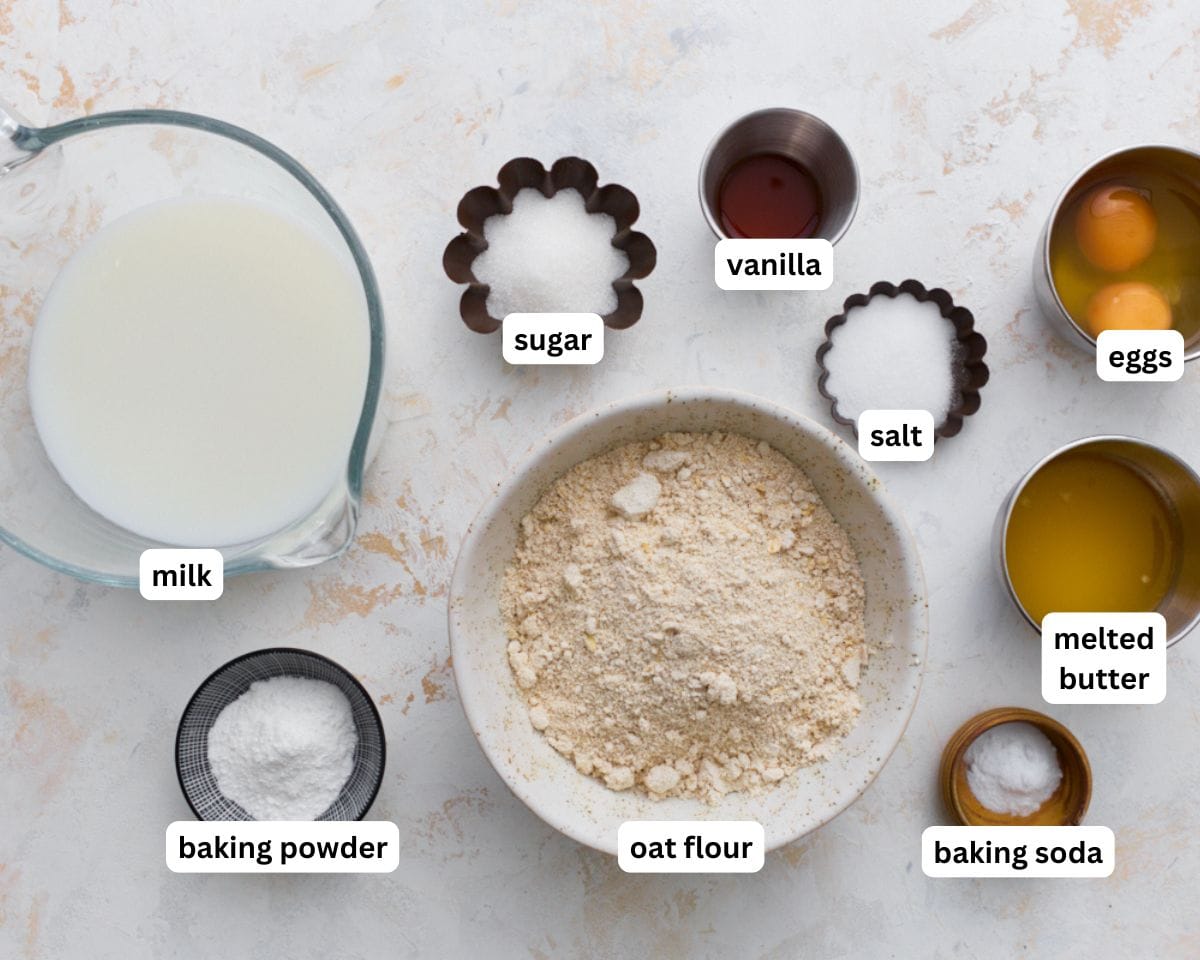
Gather the ingredients: Gather all the ingredients together. Preheat your waffle iron according to the manufacturer’s instructions. Lightly grease the plates if needed so the waffles release easily and crisp evenly.
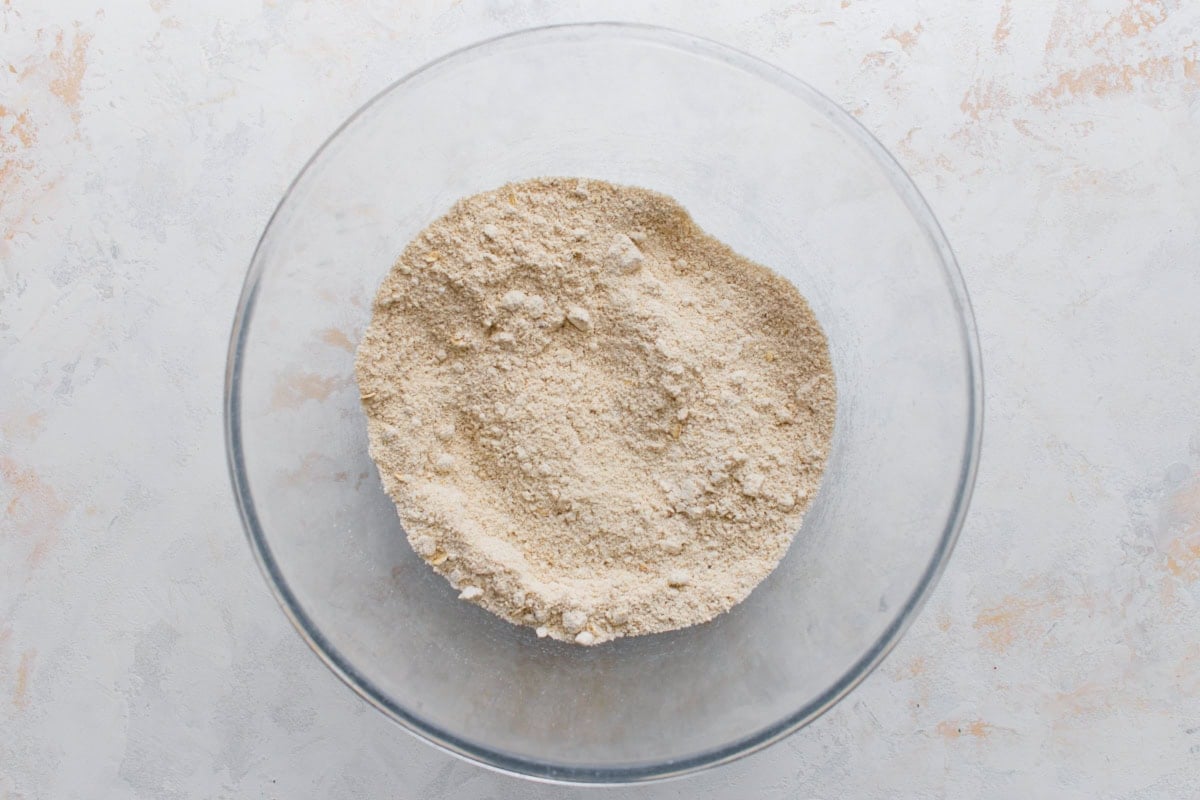
Mix the dry ingredients: In a large bowl, whisk together 2 cups (200g) oat flour, 2 tsp (8g) baking powder, ½ tsp (3g) baking soda, ½ tsp (3g) salt, and 2 tbsp (25g) sugar until everything looks evenly combined with no clumps remaining.
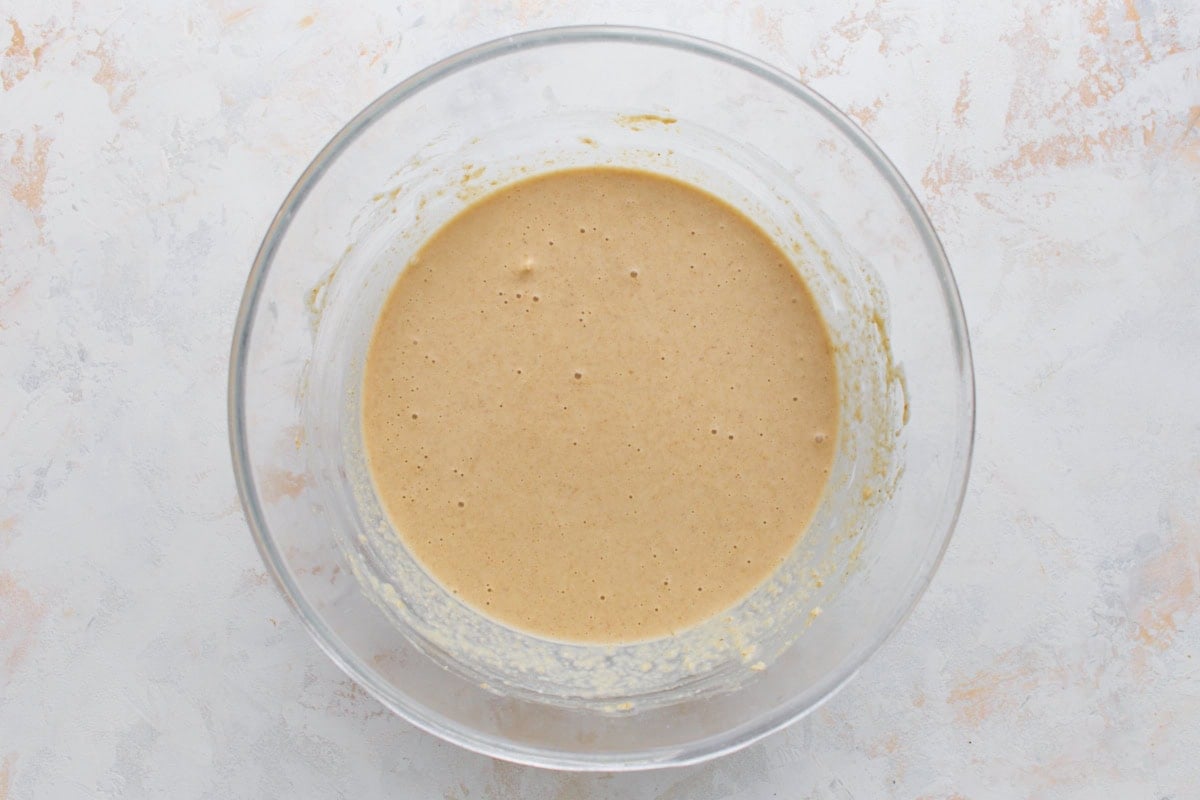
Add the wet ingredients: Add 2 large eggs, 1⅔ cups (400ml) milk, 3 tbsp (42g) melted butter, and 1 tsp (5ml) vanilla extract. Whisk until the batter looks smooth and fully combined. The batter will seem slightly thin at first. Let the batter rest for 10 minutes so the oat flour can fully absorb the liquid. The batter should thicken into a smooth consistency that looks like thick heavy cream. If the batter still looks watery, whisk in 1-2 tbsp more oat flour. If it becomes too thick to pour easily, add 1-2 tbsp more milk.
Scoop the batter into the waffle iron: Scoop about ¼ cup of batter into the hot waffle iron and spread it slightly if needed.
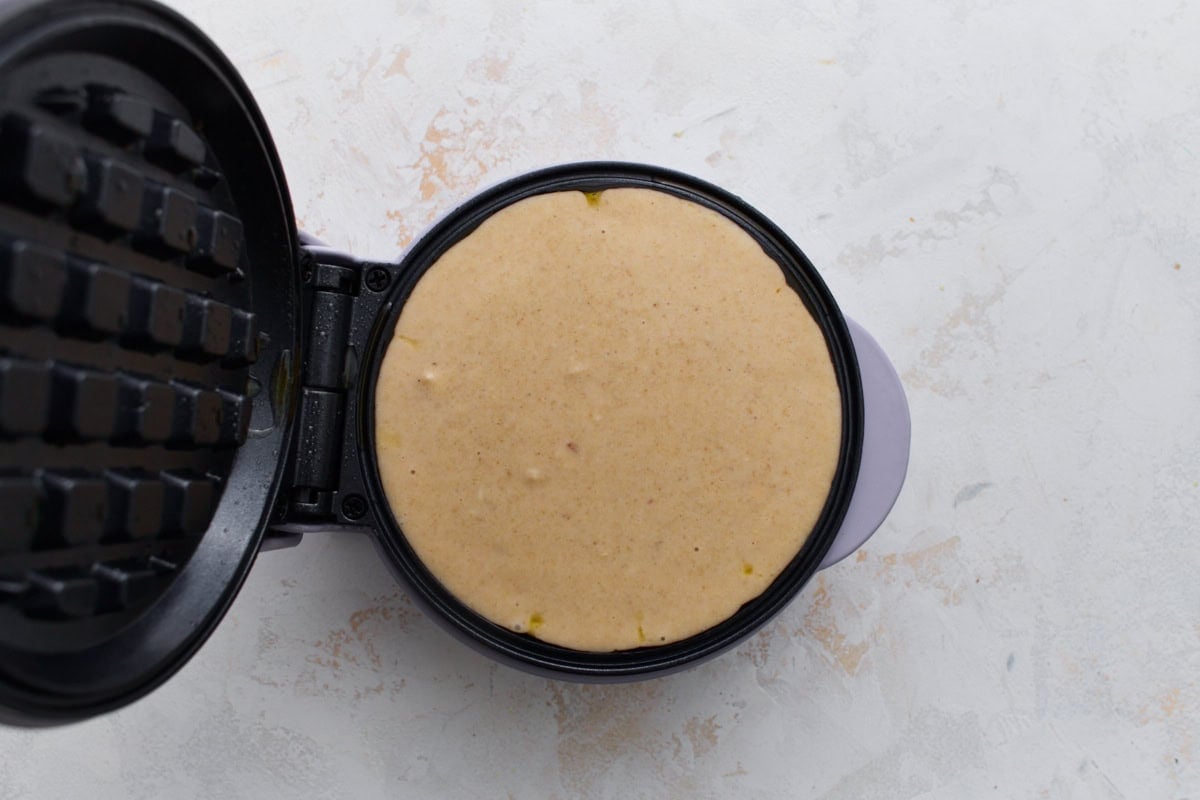
Cook the waffles: Cook for 3-5 minutes, depending on your waffle maker, until the waffles look deeply golden with crisp edges and the steam has mostly stopped.
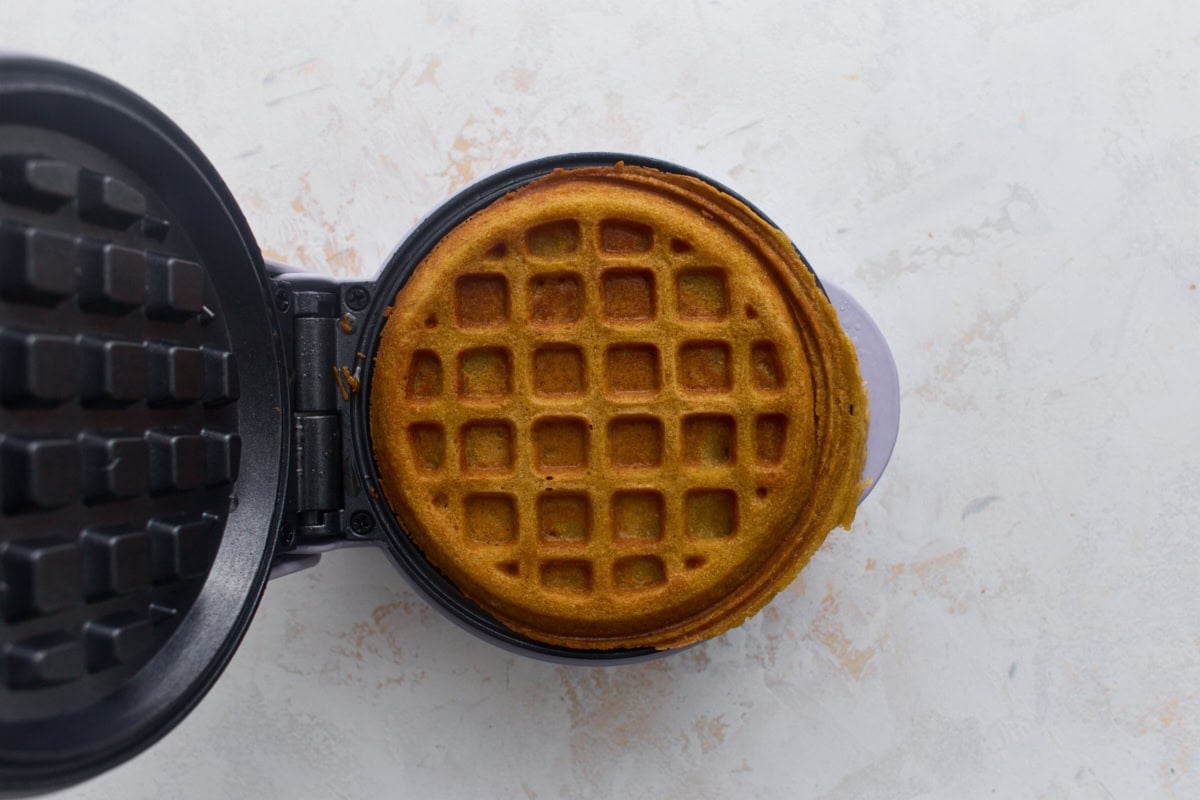
Serve warm: Carefully remove the waffles and transfer them to a wire rack so they stay crisp. Repeat with the remaining batter and serve warm with butter, maple syrup, or your favorite toppings.

Waffle Topping Variations
- Classic Maple Syrup: Serve warm with salted butter and plenty of maple syrup. Simple and cozy every time.
- Berry Breakfast Waffles: Top with fresh strawberries, blueberries, raspberries, or bananas plus a spoonful of Greek yogurt.
- Peanut Butter Banana: Spread with peanut butter and top with sliced bananas and a drizzle of maple syrup.
- Chocolate Chip Waffles: Add chocolate chips to the batter or top with whipped cream for a more dessert-like breakfast.
- Cinnamon Apple Waffles: Spoon warm cinnamon apples over the waffles and finish with chopped pecans or walnuts.
- Savory Breakfast Waffles: Serve with fried eggs, bacon, sausage, or a drizzle of hot honey for a sweet-savory breakfast.
Serving Suggestions
These oat flour waffles are one of my favorite slow morning breakfasts because they feel cozy but still easy. I usually serve them warm with salted butter and maple syrup, plus a side of crispy bacon or scrambled eggs for a heartier breakfast. They’re also great topped with fresh berries, peanut butter, coconut yogurt, or whipped cream. If I’m making a full brunch spread, I’ll pair them with crustless ham and cheese quiche, fresh fruit salad, or a batch of homemade smoothies. They freeze and reheat really well, so I love keeping extras in the freezer for busy mornings. You can even turn them into freezer breakfast sandwiches with eggs and cheese for quick grab-and-go breakfasts.
Storage Instructions
I usually keep leftover waffles in an airtight container in the refrigerator for up to 4 days, and they make such an easy breakfast during the week. For longer storage, freeze the waffles in a single layer until solid, then transfer them to a freezer-safe bag or container for up to 2 months. My favorite way to reheat them is in the toaster, air fryer, or a 350°F oven because the edges crisp back up really nicely. I’d avoid the microwave if you want them crispy, since it softens the texture pretty quickly. You can also make the batter up to 24 hours ahead and keep it in the refrigerator. Just give it a good stir before cooking because the oat flour thickens as it sits.
More Oat Flour Recipes
- Oat Flour Bread: If you’ve been looking for an easy gluten-free sandwich bread, this oat flour bread is a great place to start. It has a hearty texture, mild oat flavor, and toasts beautifully.
- Oat Flour Banana Bread: Ripe bananas keep this oat flour banana bread extra soft and moist with just the right amount of sweetness. It’s one of my favorite easy breakfast bakes to keep on the counter all week.
- Oat Flour Chocolate Chip Cookies: These oat flour chocolate chip cookies bake up soft in the center with lightly crisp edges and plenty of melty chocolate chips. They’re an easy gluten-free cookie recipe everyone loves.









I’m impressed with this recipe. I have yet to make the waffles. However I my leaky mind think cutting the waffles in one inch strips would make a tremendous croutons for a soup of any kind.
It turned out great very tasty. Can’t wait to wow my grandkids.