Gluten-Free Vanilla Cake Donuts

Published
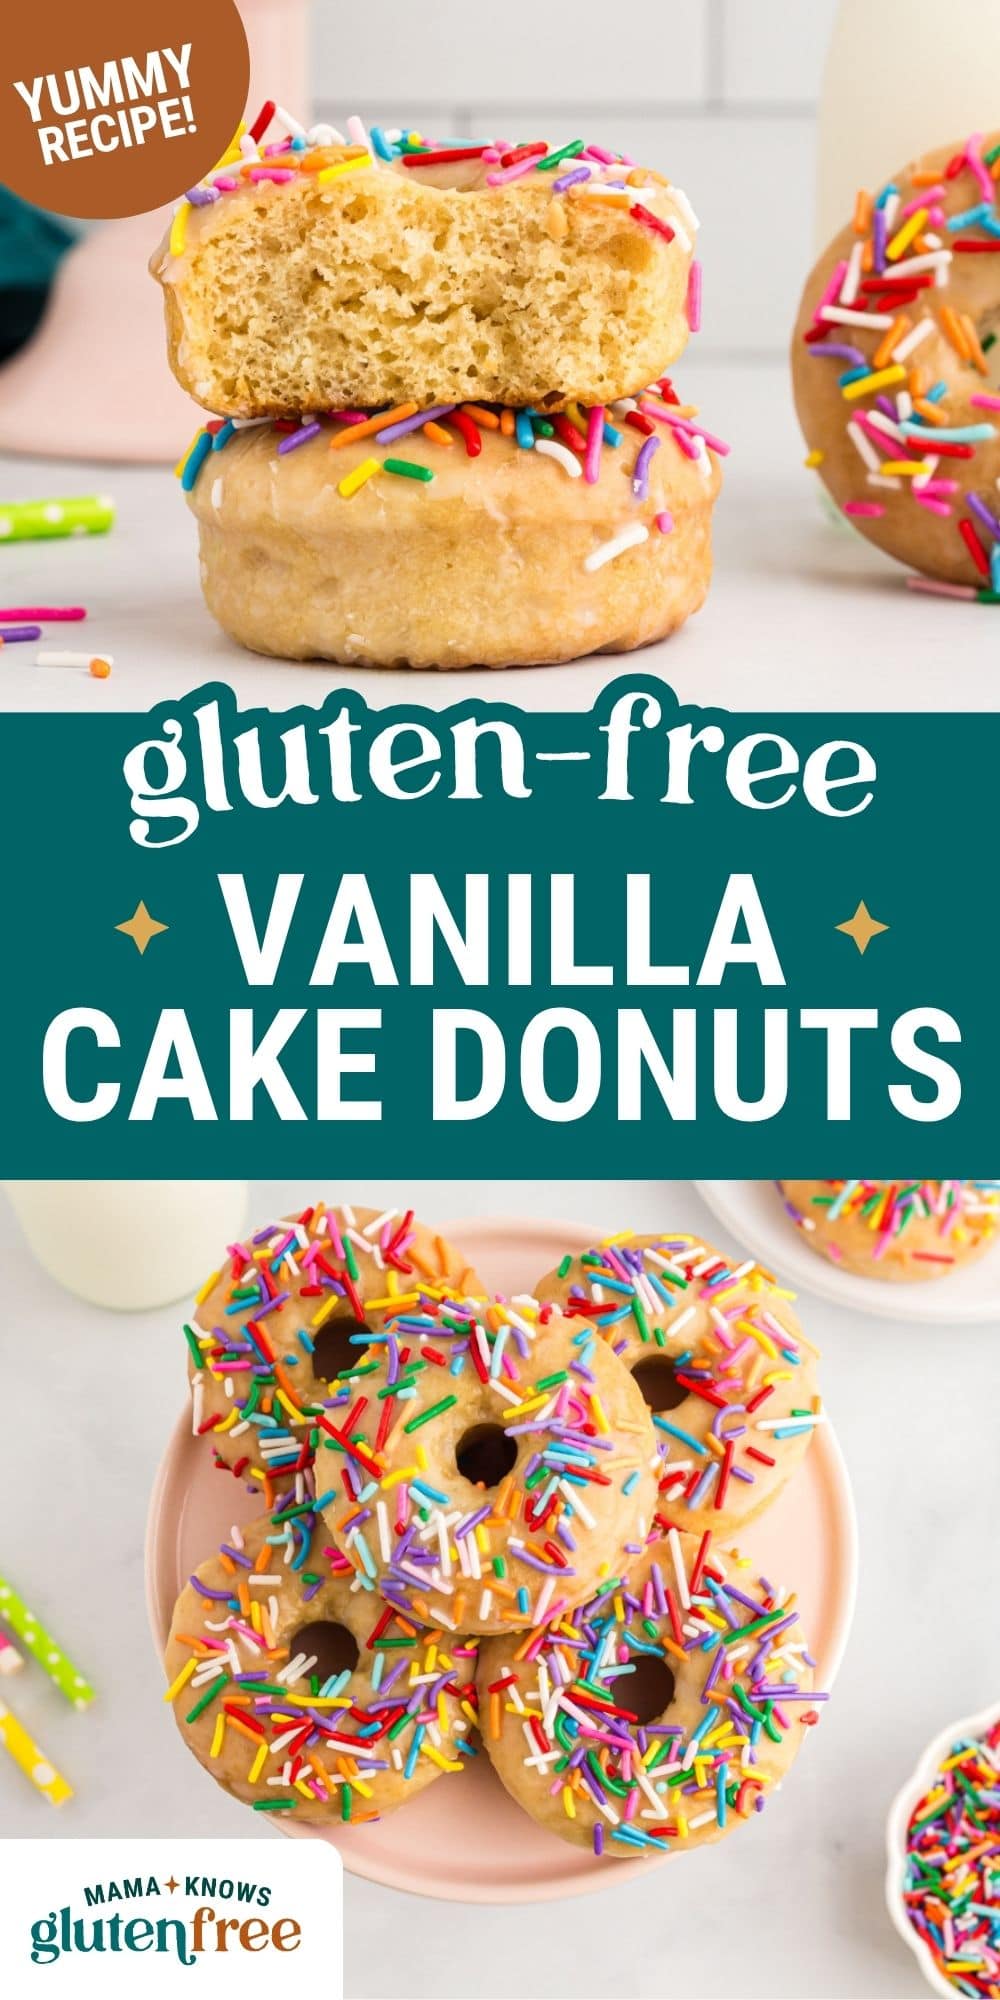
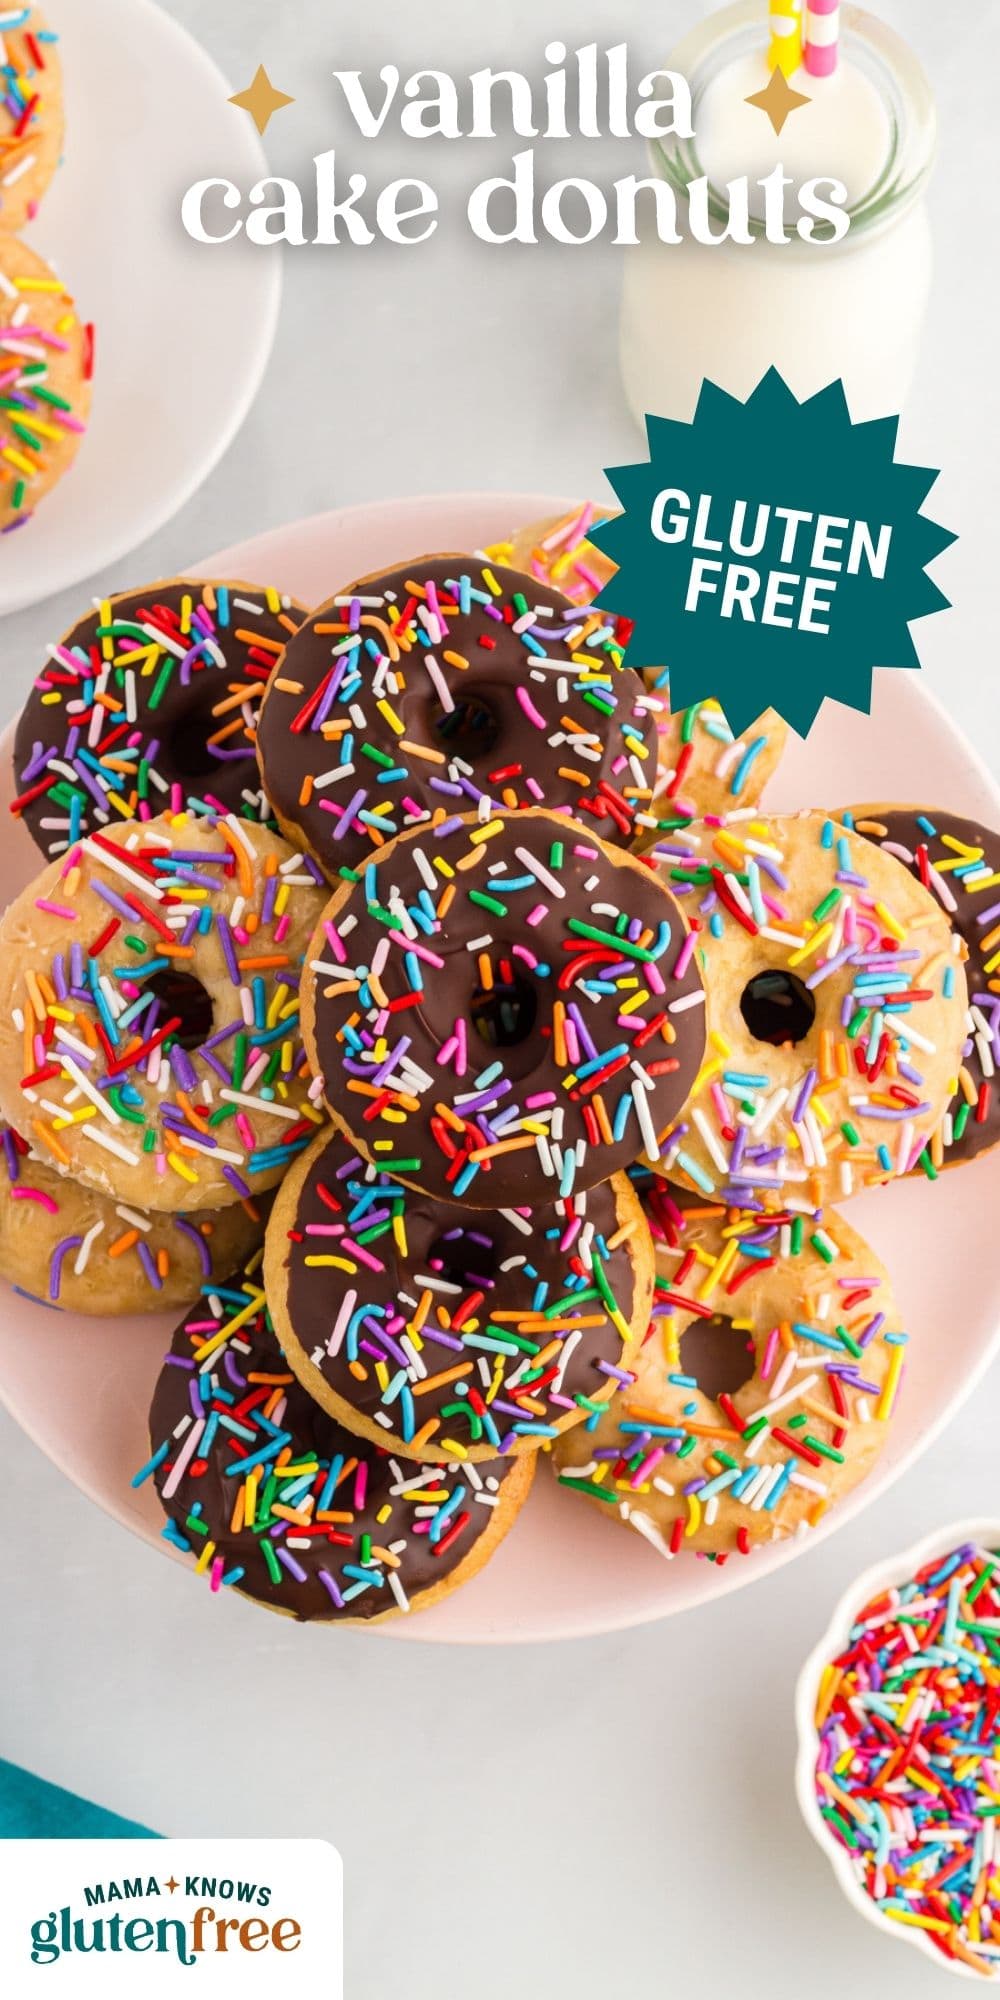
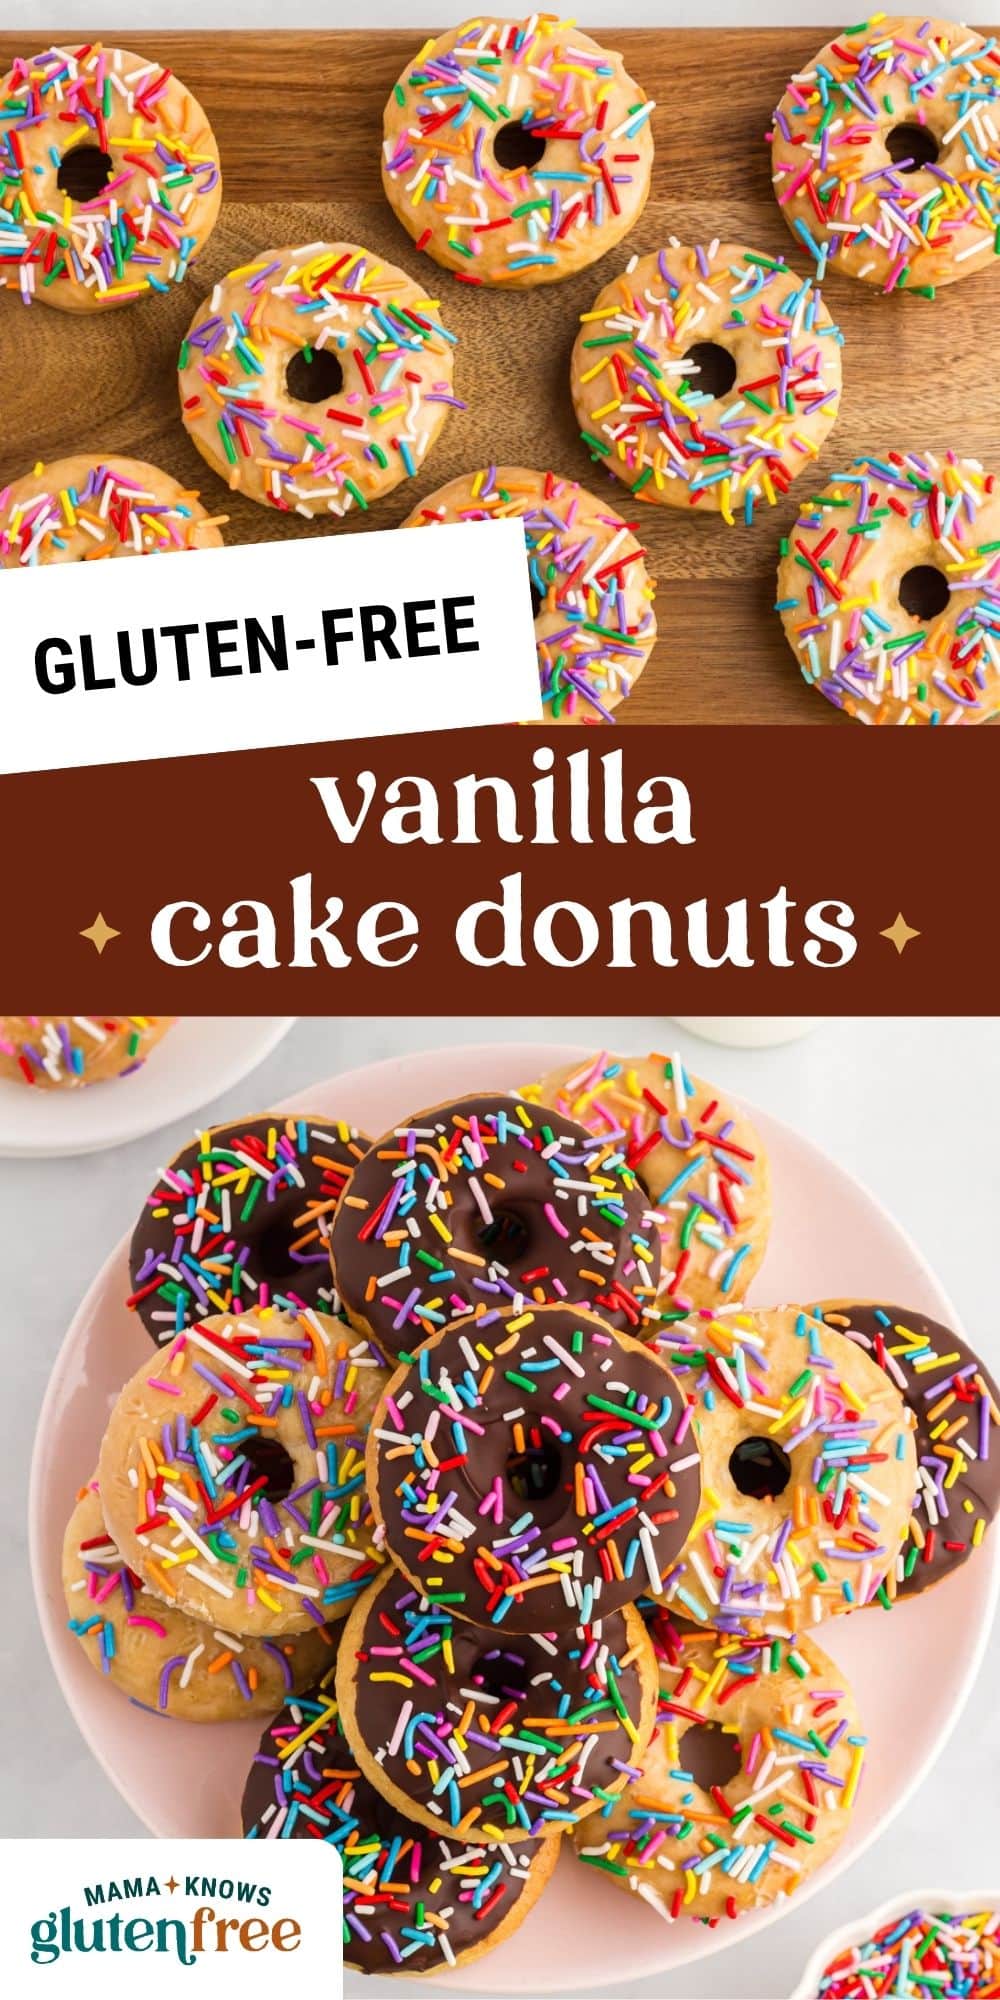
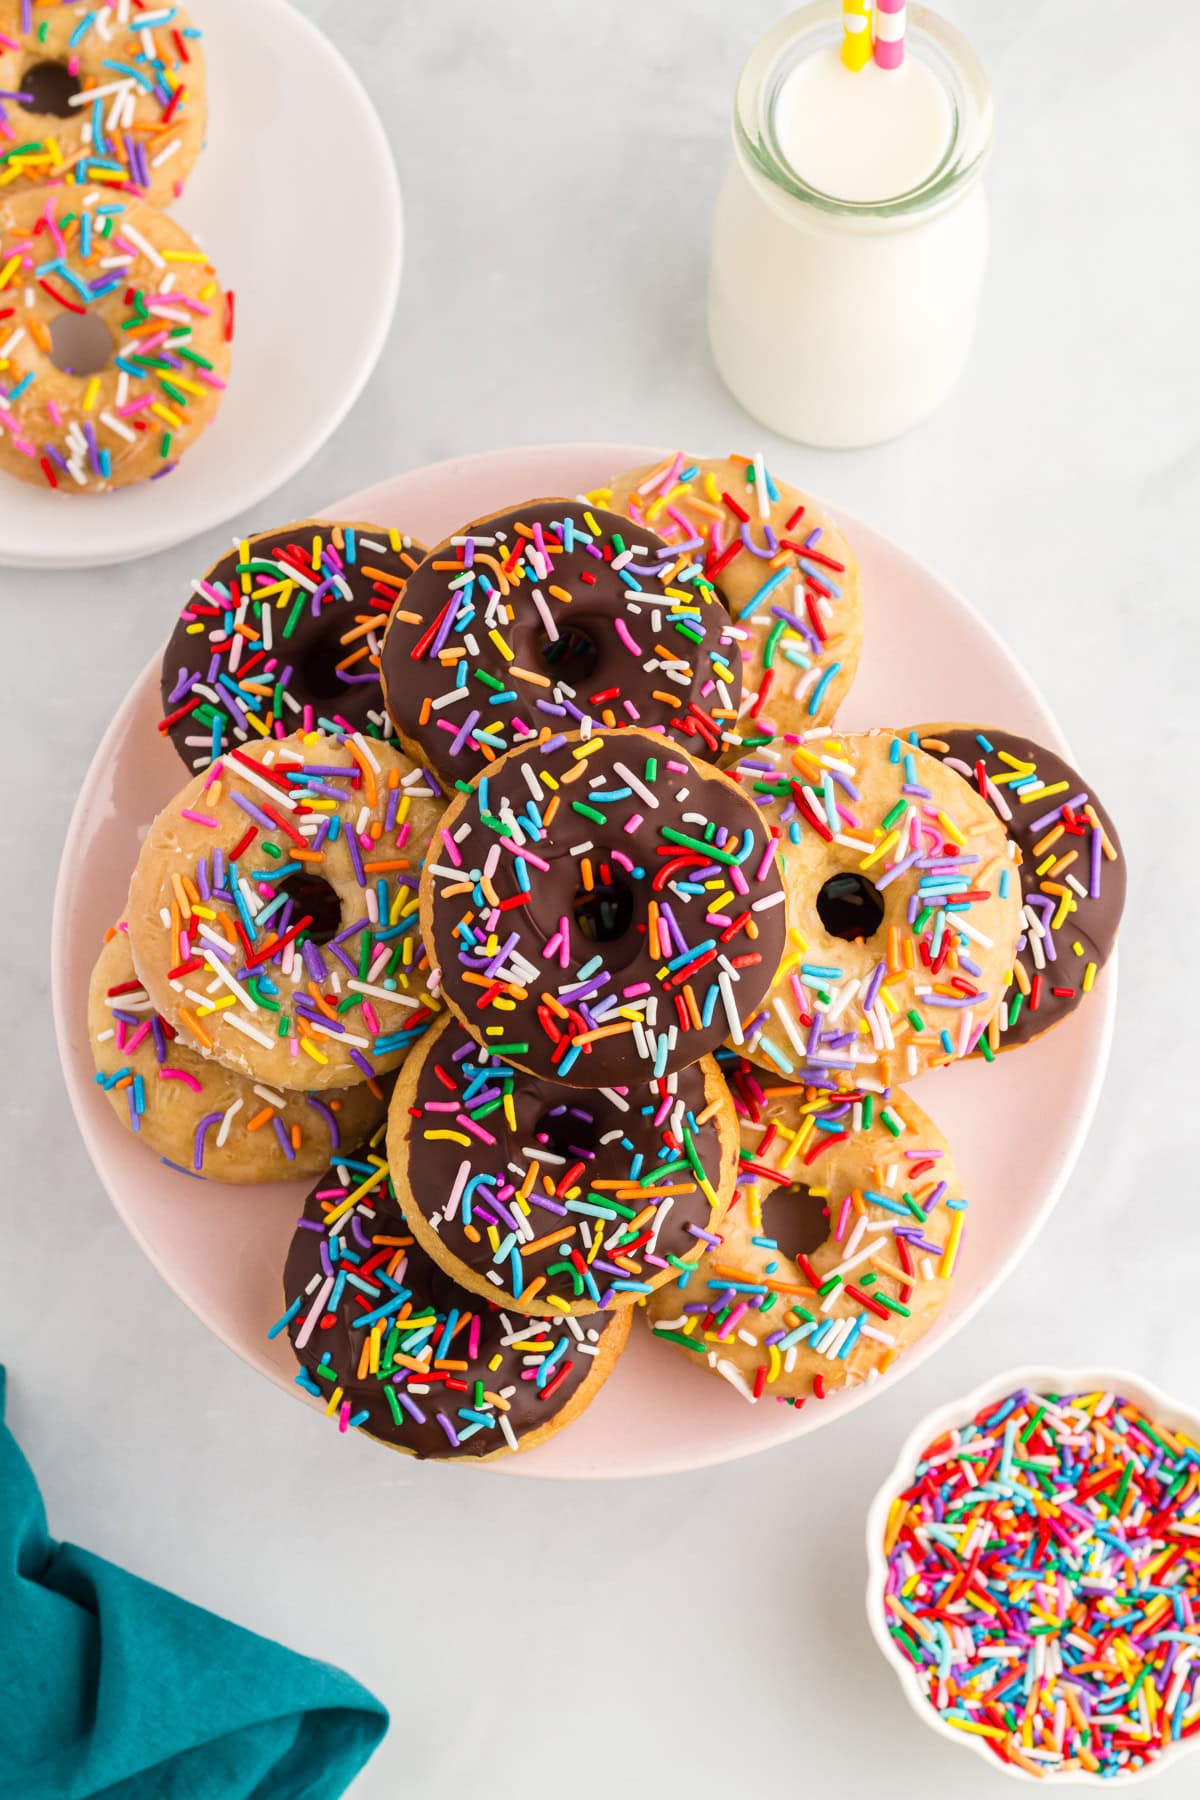
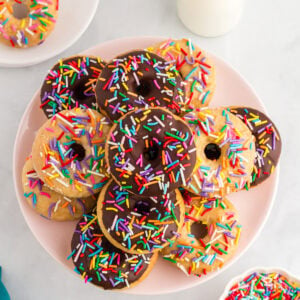
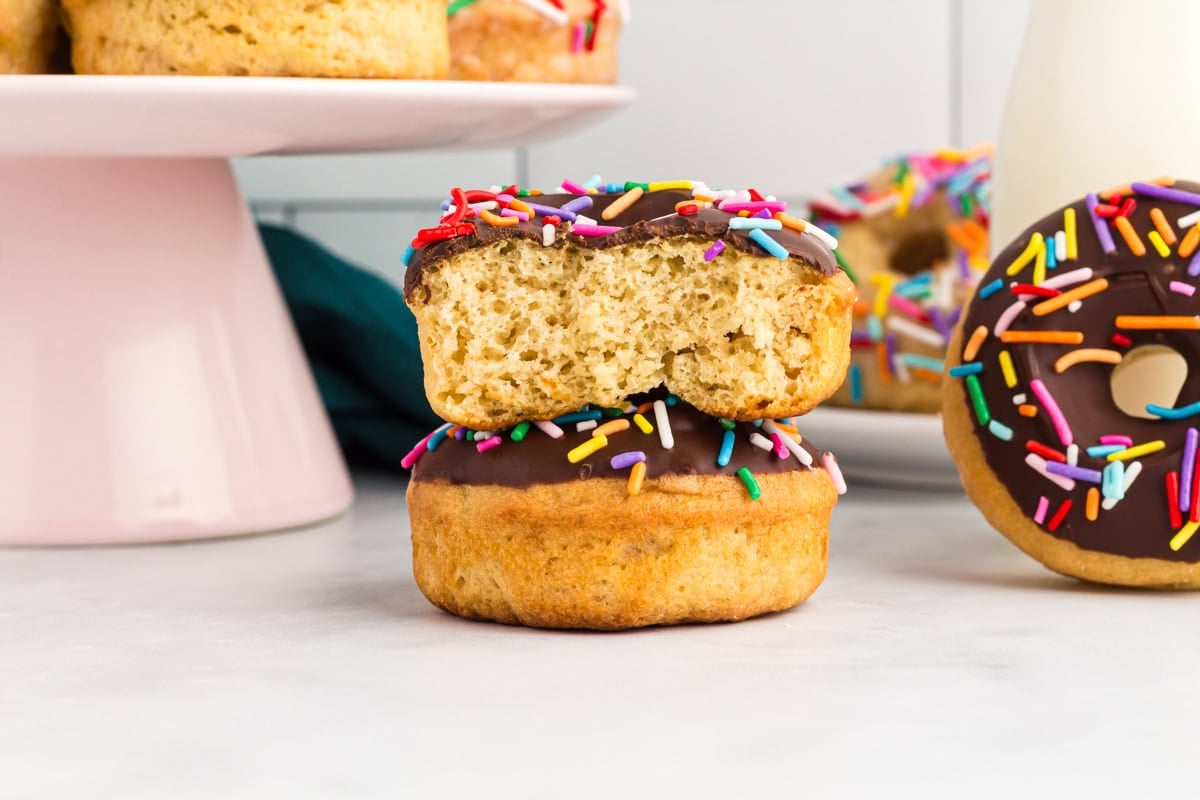
These gluten-free vanilla cake donuts are soft, fluffy, and full of sweet vanilla flavor with a tender cake-like crumb and smooth glaze on top. They’re made with simple pantry ingredients and bake up in about 40 minutes, making them perfect for easy weekend baking, holiday brunches, or whenever you want a homemade donut without the hassle of frying. Whether you enjoy them with coffee in the morning or as an afternoon treat, these baked vanilla donuts feel bakery-worthy while still being incredibly easy to make at home.
“These donuts are amazing! They’re light and fluffy. Thank you so much for sharing this amazing recipe. Mama does know best!”
– Davy
Homemade gluten-free donuts are honestly much easier to make than most people think. All you need are a few simple pantry ingredients and a donut pan, and there’s a good chance you already have everything needed to make these vanilla cake donuts at home. Donuts have always been one of my husband’s favorite treats, so when I went gluten-free back in 2010, donuts quickly became one of the first recipes I started testing and adapting. Over the years, I’ve made countless batches and flavors, but these soft vanilla cake donuts are still one of our favorites because they bake up with lightly golden edges, a tender crumb, and a soft cake-like interior every time.
Unlike yeast donuts, cake donuts don’t require rising time or frying, which makes them much more beginner-friendly and easy to make on a weekend morning. I tested this recipe with both Pillsbury Gluten-Free Flour and Cup4Cup Multipurpose Gluten-Free Flour, and both created soft, fluffy donuts with a smooth batter and consistent texture. Using room temperature ingredients also makes a big difference because they blend together more evenly and help create a smoother batter and a more tender crumb. You can even make mini donuts with this recipe if you want something a little more bite-sized for brunches, holidays, or sharing.
What I Learned While Testing
- Use the right flour blend. I tested these gluten-free vanilla cake donuts with both Pillsbury Gluten-Free Flour and Cup4Cup Multipurpose Gluten-Free Flour, and those two blends gave the softest texture and most reliable results. Different gluten-free flour blends absorb moisture very differently, which can completely change the texture of baked donuts. Some blends create a drier batter while others can make the donuts dense or gummy. Pillsbury produces a softer, fluffier donut, while Cup4Cup gives the donuts a really tender bakery-style crumb. Using one of these tested blends helps the donuts bake up with soft centers and lightly golden edges instead of turning heavy or dry.
- Don’t overmix the batter. Once the wet and dry ingredients are combined, mix the batter just until smooth and no dry flour remains. Overmixing gluten-free batter can trap too much air and overwork the starches, which often leads to dense, gummy, or rubbery donuts after baking. The batter should look smooth and thick, but still pipe easily into the donut pan.
- Grease the donut pan well. Gluten-free baked goods tend to stick to pans more easily than traditional baked goods, especially softer cake donuts like these. I recommend greasing the donut pan generously with nonstick spray or softened butter, making sure to coat the center rings and edges well. Properly greasing the pan helps the donuts release cleanly without tearing or leaving pieces behind.
- Fill the donut cavities properly. For the best donut shape and even baking, fill each donut cavity about ¾ full. Overfilling the pan can cause the donuts to rise unevenly, spread too much, or lose that classic donut shape. I like using a piping bag or zip-top bag with the corner snipped off because it makes filling the pan much easier and less messy.
- Let the donuts cool before glazing. It can be tempting to glaze the donuts right away, but letting them cool for a few minutes first makes a big difference. If the donuts are too warm, the glaze will melt right off instead of setting into that smooth, sweet layer on top. Slightly cooled donuts allow the glaze to cling properly while still soaking in just enough to keep the tops soft and flavorful.
- Proper rise. If your donuts came out flat or dense, the baking powder may have expired, or the batter may have sat too long before baking. Gluten-free batters rely heavily on the baking powder for lift, so fresh leavening agents make a big difference. Once the batter is mixed, pipe it into the donut pan and bake it right away so the donuts rise properly and bake up light and fluffy.
Gluten-Free Vanilla Donuts
Equipment
- donut pan
Ingredients
For the Donuts
- 1 cup gluten free flour with xanthan gum, I recommend Pillsbury Gluten Free Flour or Cup4Cup Multipurpose Gluten Free Flour
- ½ cup light brown sugar, packed
- 1 tsp baking powder
- ¼ tsp baking soda
- ¼ tsp salt
- ¼ tsp xanthan gum, (only if your flour blend doesn’t already include it)
- ½ cup milk, room temperature (dairy-free use unsweetened almond, cashew or coconut milk)
- 1 large egg, room temperature
- 3 tbsp unsalted butter, melted and cooled to room temperature (dairy-free use Smart Balance butter)
- 1 tbsp pure vanilla extract
For the Vanilla Glaze
- 1 ¼ cups powdered sugar
- 2 tsp milk, dairy-free use unsweetened almond, cashew or coconut milk
- 1 tsp pure vanilla extract
For the Chocolate Glaze (optional)
- ½ cup chocolate chips
- ½ tsp coconut oil
Instructions
- In a medium bowl, whisk together gluten free flour, brown sugar, baking powder, baking soda, salt and xanthan gum (if needed). Set aside for now.
- In a large bowl, whisk together the milk, egg, melted butter, and vanilla extract.
- Add the dry ingredients into the bowl of the wet ingredients. Stir with a silicone spatula just until combined (don’t overmix).
- Let the batter rest (at room temperature) for 20 minutes before moving onto the next steps. This gives the gluten-free flour time to properly absorb the liquid ingredients.
- Preheat oven to 350°F (177°C).
- Spray a full size donut pan with gluten free non-stick baking spray.
- Add the batter to a large food-safe storage bag or piping bag. Seal the bag and cut a corner (or tip if using a piping bag) off.
- Squeeze the bag carefully, filling the greased donut pan with batter. Only fill each donut cavity half way full. This donut batter will rise quite a bit and if the donut cavities are overfilled then the donuts will overflow during baking and lose their donut shape.
- Bake for 13-15 minutes. The tops should be a light golden brown and a toothpick inserted in a donut should come out clean (no wet batter on the toothpick).
- Place the pan on a cooling rack and cool for 5 minutes before removing the donuts from the pan and placing the donuts directly on the cooling rack.
For the Vanilla Glaze
- In a medium bowl, stir the glaze ingredients (powdered sugar, milk and vanilla extract) together until smooth.
- Dip each warm donut into the glaze and place back on the cooling rack. Dip either just the top of the donut or the entire donut into the glaze. Top the glazed donut with sprinkles (optional).
For the Chocolate Glaze
- Place the chocolate chips and coconut oil together in a bowl. Place in microwave, on high heat, for 30 seconds. Remove from microwave, stir, and microwave for an additional 15 seconds. Remove from the microwave and stir again. Repeat this step of heating for an additional 15 seconds followed by stirring until the chocolate is fully melted and smooth.
- Dip the donuts in the chocolate glaze, place them on the cooling rack, and add sprinkles, if desired.
Notes
- Use Pillsbury Gluten-Free Flour or Cup4Cup Multipurpose Gluten-Free Flour for the softest texture and best rise.
- Measure the flour carefully, preferably with a kitchen scale, to prevent dry donuts.
- Use room temperature ingredients for a smoother batter and more even texture.
- Mix the batter just until combined to avoid dense or gummy donuts.
- The batter should look thick but still pipe easily into the donut pan.
- Grease the donut pan thoroughly so the donuts release cleanly.
- Fill each donut cavity about ¾ full for the best donut shape.
- Bake until the tops spring back lightly and the edges look lightly golden.
- Let the donuts cool slightly before glazing so the glaze sets properly.
- Mini donuts bake faster and usually take about 6–8 minutes.
- Freeze the donuts unglazed for the best texture after thawing.
Nutrition
Nutrition information is automatically calculated, so should only be used as an approximation.
How to Make Gluten-Free Vanilla Cake Donuts Step by Step
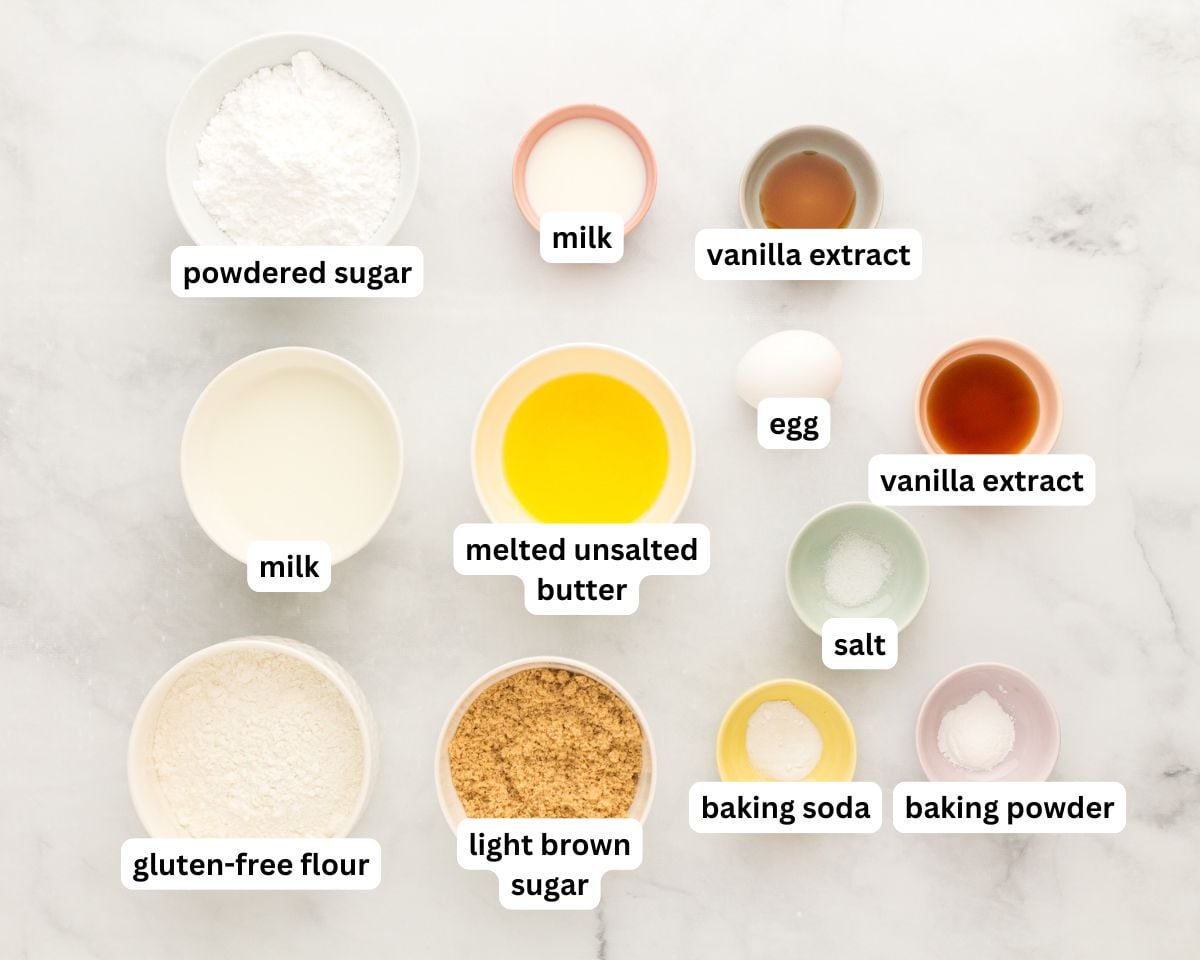
Gather the ingredients: Gather all the ingredients together. Preheat the oven to 350°F (177°C) and generously spray a full-sized donut pan with gluten-free nonstick cooking spray, making sure to coat the center rings well so the donuts release easily after baking.
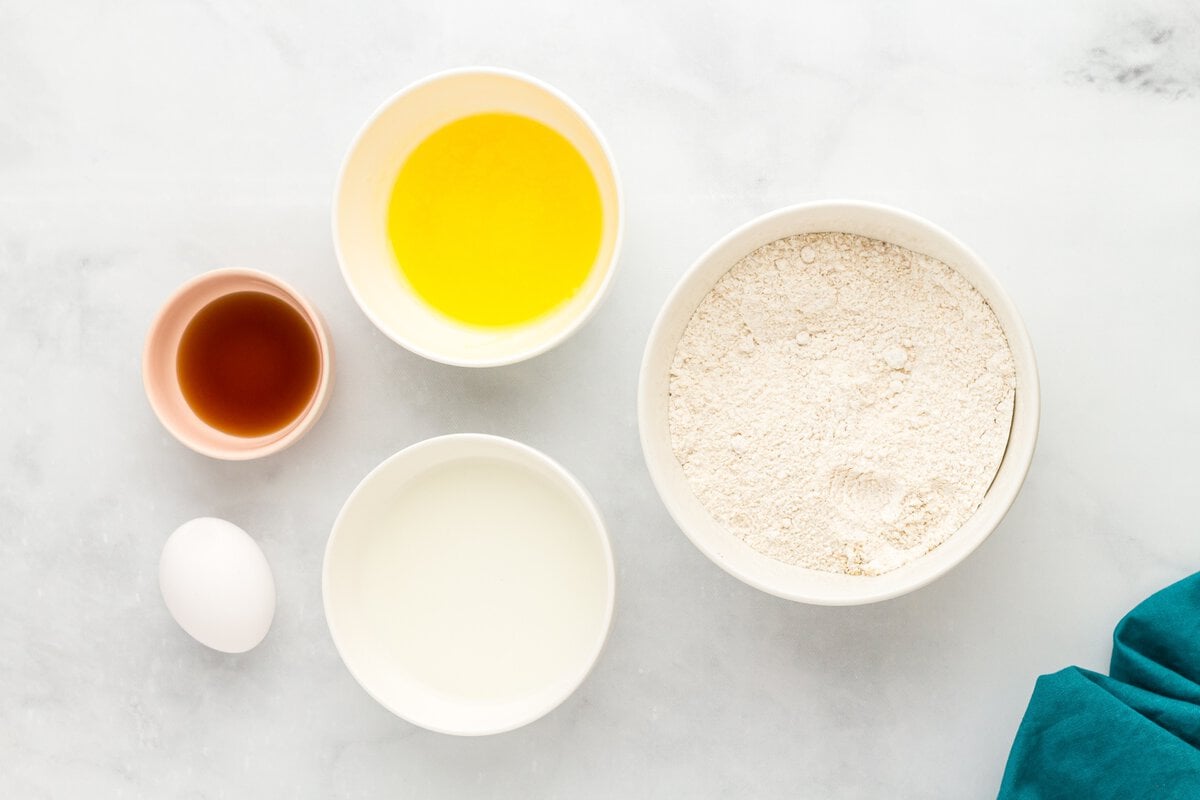
Mix the dry ingredients: In a large mixing bowl, whisk together 1 cup (140g) gluten-free all-purpose flour with xanthan gum, 1 tsp (4g) gluten-free baking powder, ¼ tsp (1g) baking soda, ¼ tsp (1½g) salt, and ½ cup (100g) packed light brown sugar until the mixture looks evenly combined and no brown sugar lumps remain. I tested this recipe with both Pillsbury Gluten-Free Flour and Cup4Cup Multipurpose Gluten-Free Flour for the best soft texture.
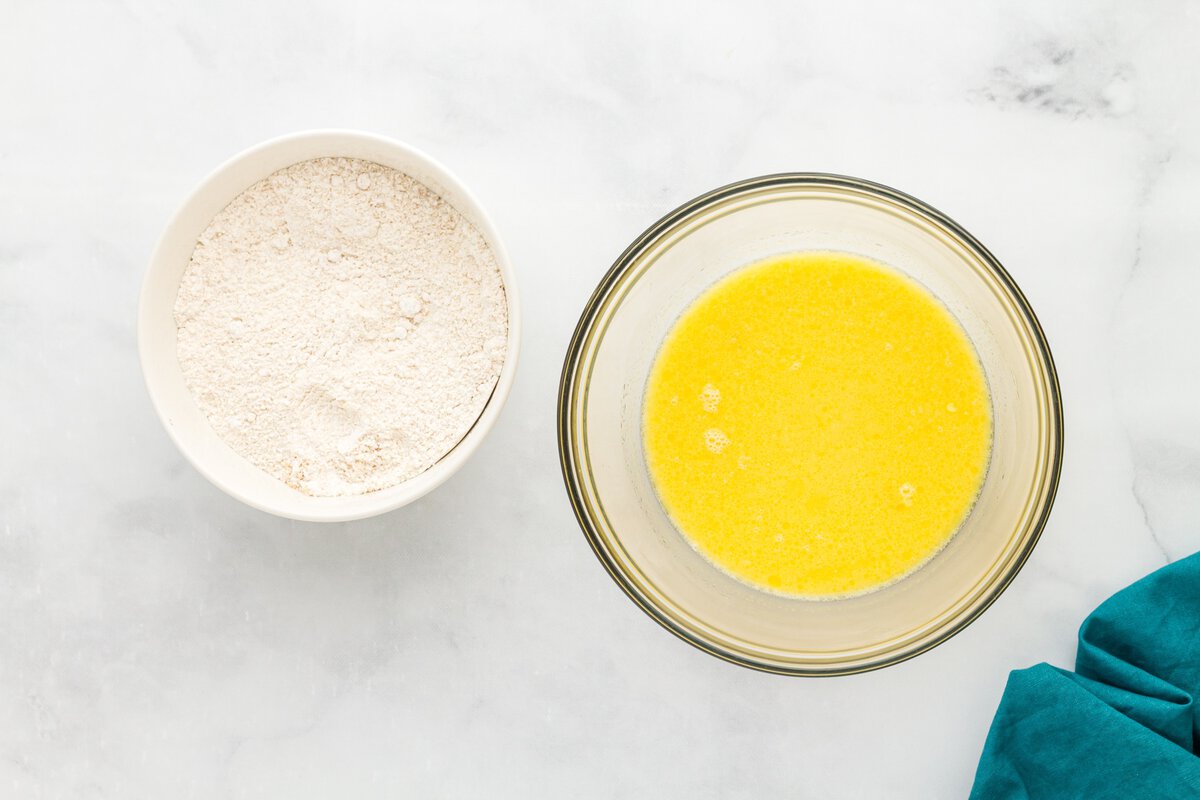
Mix the wet ingredients: In a medium bowl, whisk together 1 large egg (about 50g), 3 tbsp (43g) melted unsalted butter, 1 tbsp (15 ml) pure vanilla extract, and ½ cup (120 ml) milk until the mixture looks smooth and fully combined. Using room temperature ingredients helps everything blend together more evenly and creates a smoother batter and softer donut texture.
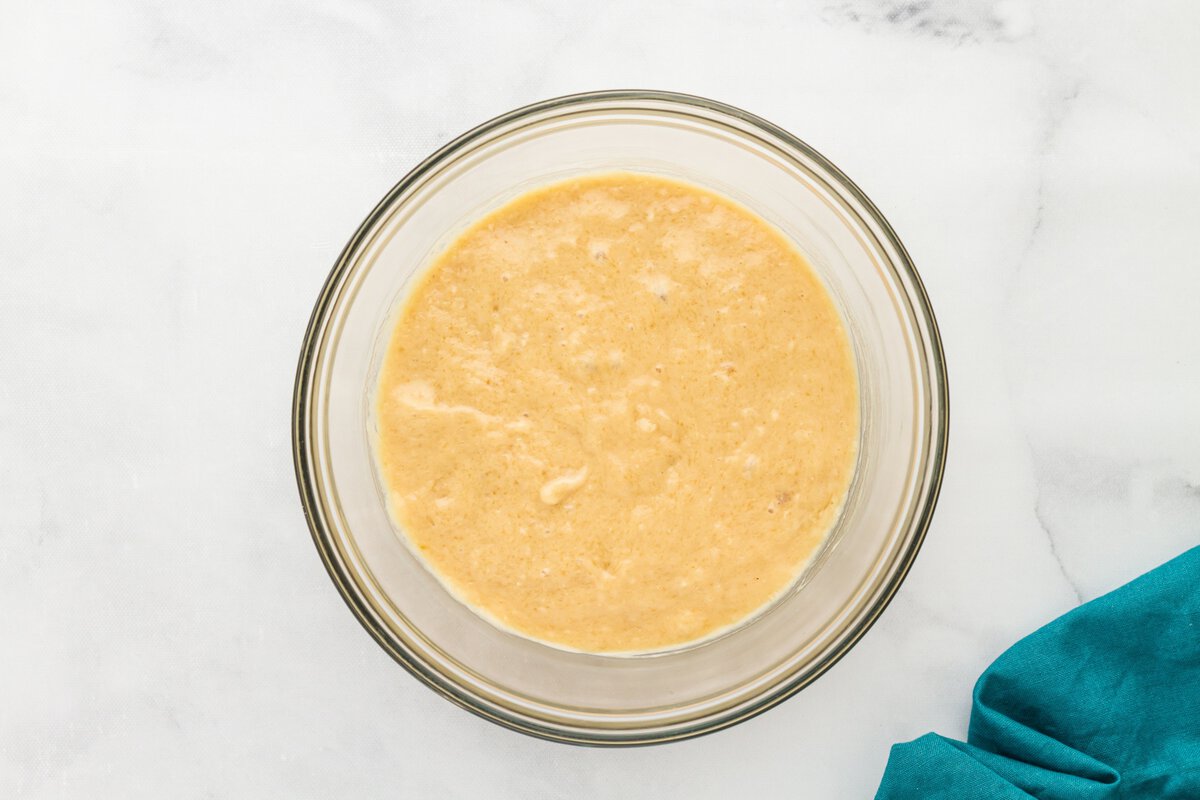
Combine the batter: Pour the wet ingredients into the bowl of dry ingredients and mix just until no dry flour remains. The batter should look thick but still pipe easily into the donut pan. Be careful not to overmix, or the donuts can turn dense or gummy after baking.
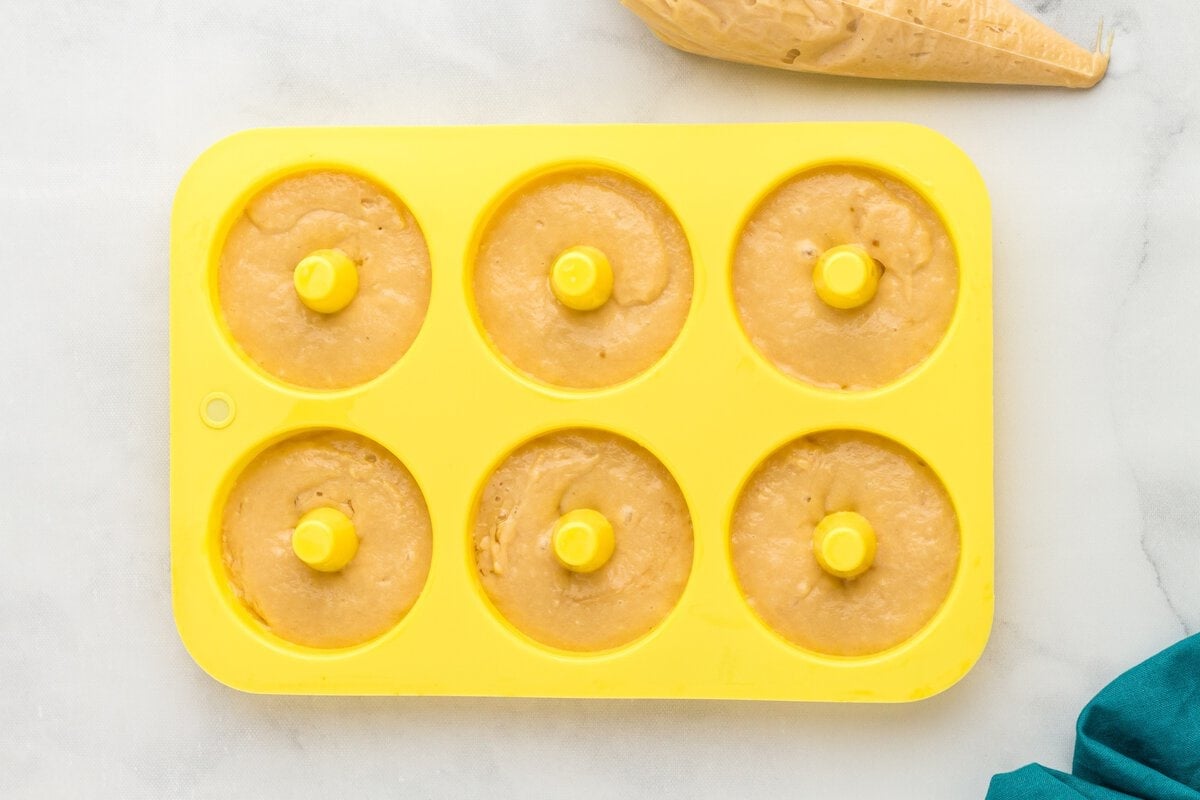
Fill the donut pan: Spoon the batter into a large zip-top storage bag or piping bag. Seal the bag and snip off one corner, then pipe the batter into the prepared donut pan, filling each cavity about ¾ full for the best donut shape and even rising.
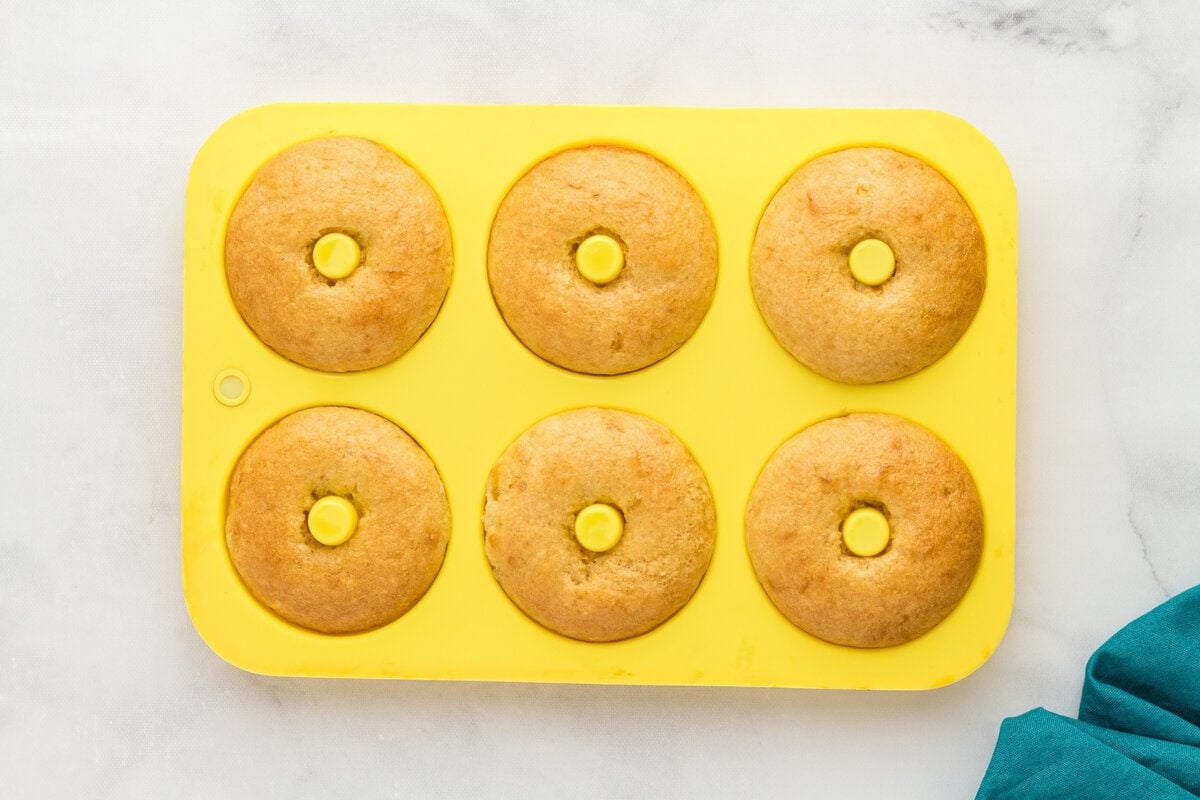
Bake the donuts: Bake the donuts for 10–12 minutes, or until the tops spring back lightly when touched and the edges look lightly golden. Avoid overbaking, as gluten-free donuts can dry out quickly. Let the donuts cool in the pan for 1 minute, then carefully transfer them to a wire rack. Allow them to cool slightly before glazing so the glaze sets properly instead of melting off completely.
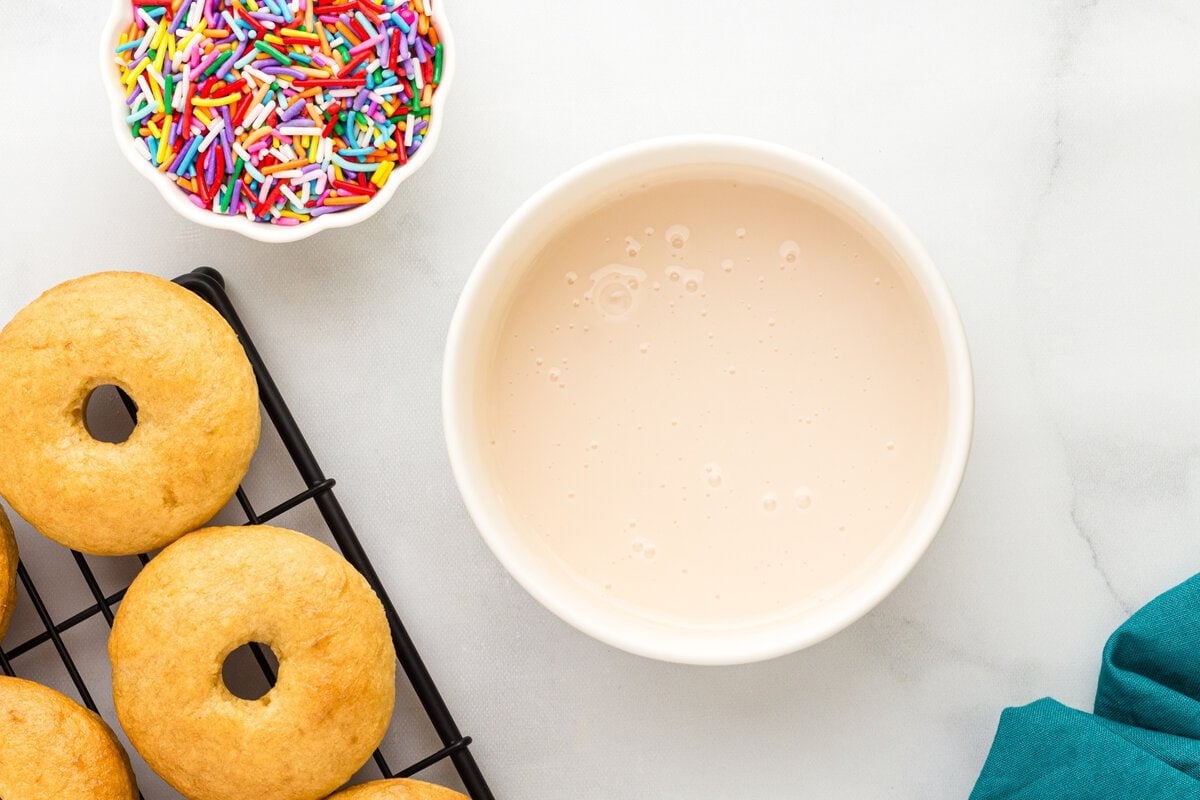
Make the vanilla glaze (optional): While the donuts cool, whisk together 1¼ cups (150g) powdered sugar, 1 tsp (5 ml) pure vanilla extract, and 2 tsp (10 ml) milk in a small bowl until smooth and pourable. If the glaze feels too thick, add another small splash of milk.
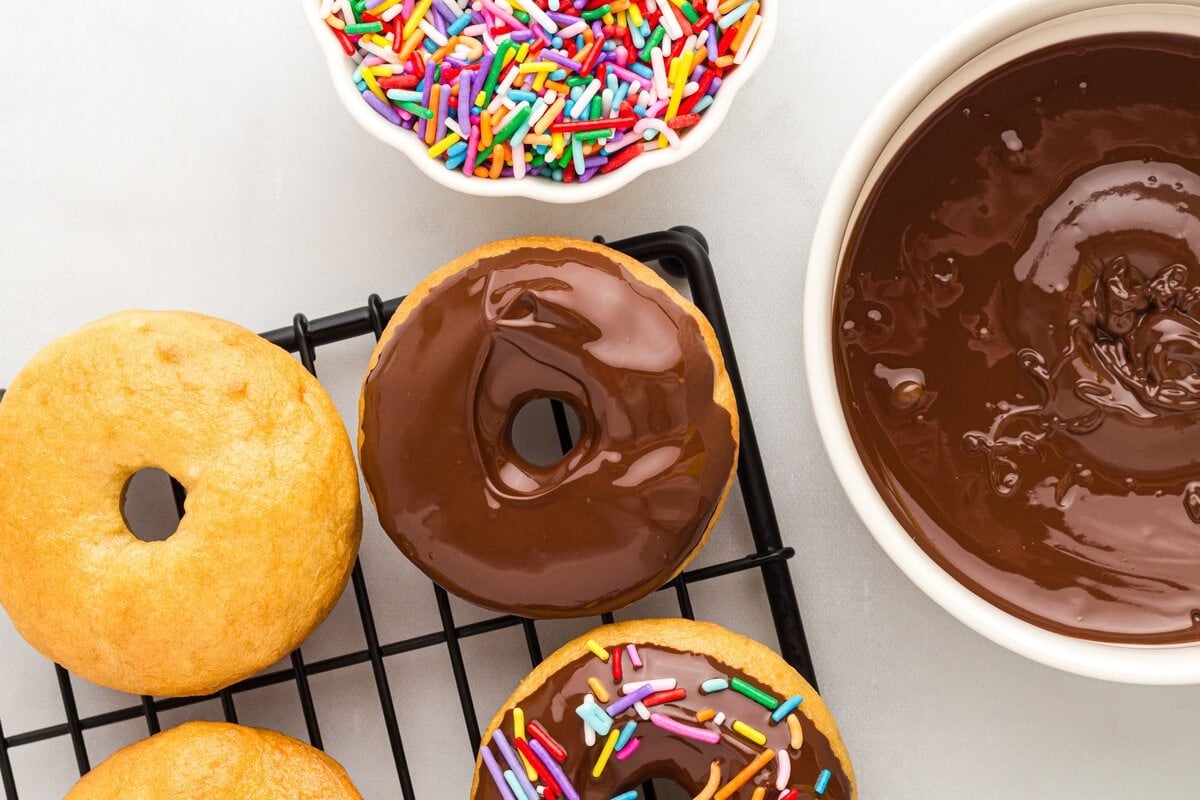
Make the chocolate coating (optional): For chocolate-dipped donuts, add ½ cup (85g) of chocolate chips and ½ tsp (2½g) of coconut oil to a microwave-safe bowl. Microwave the chocolate on high for 30 seconds, then stir until combined. Continue microwaving in 15-second intervals, stirring well after each interval, until the chocolate looks completely smooth and glossy. Dip the slightly cooled donuts into the melted chocolate, letting any excess drip off before placing them onto a wire rack or plate to set.
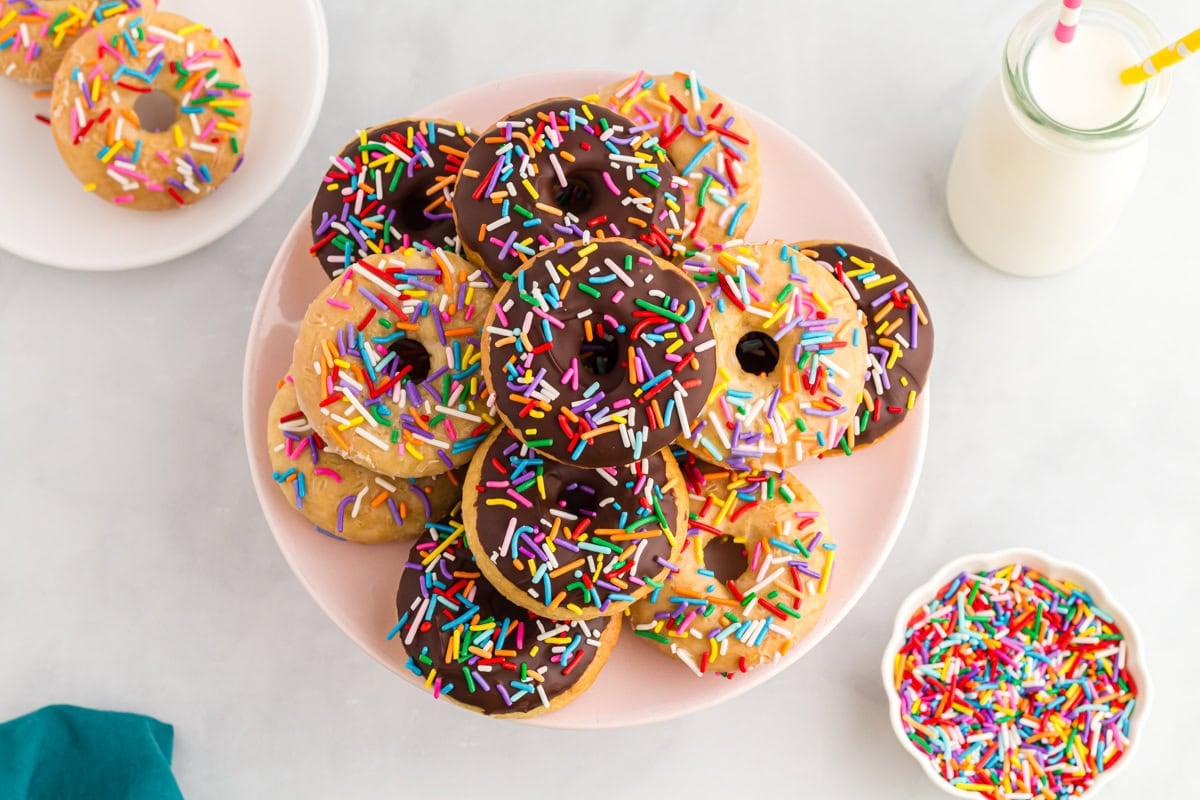
Glaze and serve: Dip each slightly warm donut into the vanilla glaze, letting the excess drip off before placing them back onto the wire rack or a plate. The glaze will set as the donuts cool. Serve warm or at room temperature.
How to Make Mini Gluten-Free Vanilla Cake Donuts
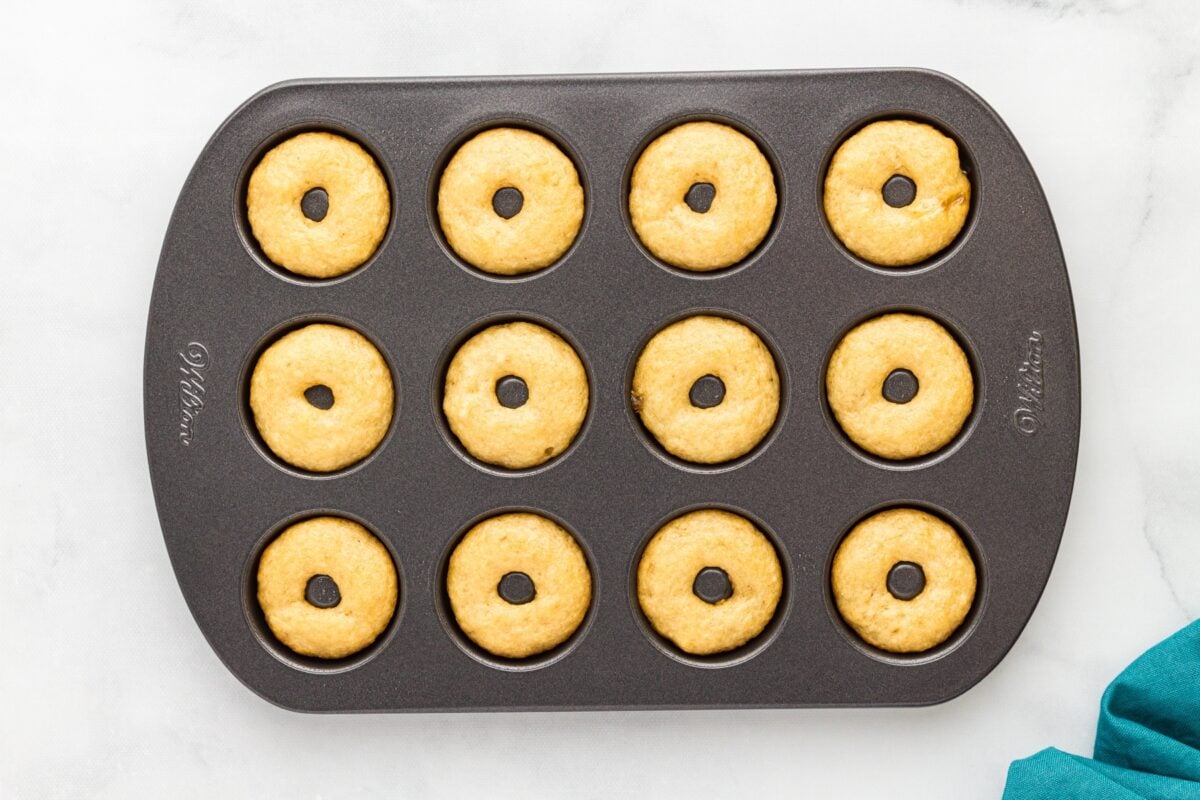
You can easily turn this recipe into mini gluten-free donuts using a mini donut pan. Prepare the batter exactly as directed, then pipe the batter into the greased mini donut cavities, filling each about ¾ full, so they have room to rise without overflowing. Because mini donuts bake much faster, start checking them around 6 minutes. They’re done when the tops spring back lightly when touched, and the edges look lightly golden. Most mini donuts will finish baking in about 6–8 minutes, depending on the pan and oven.
Let the mini donuts cool in the pan for about 1 minute before transferring them to a wire rack. Once slightly cooled, dip them into the glaze or toss them in cinnamon sugar for a fun variation. Mini donuts are perfect for brunch platters, holiday mornings, coffee bars, or party desserts because they’re easy to grab and share.
Gluten-Free Flour Blend Notes
Not all gluten-free flour blends work the same in baked donuts, which is why I specifically tested this recipe with both Pillsbury Gluten-Free Flour and Cup4Cup Multipurpose Gluten-Free Flour. Those two blends created the softest texture, smoothest batter, and most reliable rise during testing. If you use a different gluten-free flour blend, you may need to make small adjustments because every blend absorbs liquid differently.
- King Arthur Measure for Measure Flour: King Arthur Measure for Measure usually works well in baked donuts, but I’ve found it can absorb slightly more moisture. If your batter looks overly thick or stiff, add 1–2 extra tsp of milk to help loosen it slightly. The finished donuts may bake up a little denser, but still taste delicious.
- Bob’s Red Mill 1:1 Baking Flour: Bob’s Red Mill 1:1 can work in this recipe, but the texture tends to be a bit heavier and slightly grittier compared to Pillsbury or Cup4Cup. I recommend letting the batter rest for about 5 minutes before piping it into the donut pan so the flour fully hydrates. Be careful not to overbake, since this blend can dry out more quickly.
- Namaste Gluten-Free Flour: Namaste flour tends to absorb moisture differently and can create a softer, looser batter. If the batter feels too thin, add 1–2 tbsp of additional flour until it reaches a thick but pipeable consistency. The donuts usually bake up soft and moist, but the rise may be slightly less pronounced.
Serving Suggestions
I love serving these gluten-free vanilla cake donuts slightly warm with a hot cup of coffee on slow weekend mornings. They also fit perfectly into a brunch spread alongside fresh fruit, crispy bacon, and gluten-free breakfast casserole when you want something sweet to balance out the savory dishes. For a cozy bakery-style treat at home, try pairing them with a mug of dairy-free hot chocolate or chai tea on colder mornings. If I’m making these for birthdays, holidays, or baby showers, I’ll sometimes decorate the glaze with sprinkles or drizzle them with melted chocolate to make them feel a little more festive. I love turning these into mini donuts and serving them on a brunch board alongside gluten-free strawberry muffins and dairy-free fruit dip with fresh berries for dipping.
Storage Instructions
I usually leave these gluten-free vanilla cake donuts on the counter in an airtight container for up to 2 days, and they stay soft and tender the whole time. If I want them to last a little longer, I keep them in the refrigerator for up to 5 days. Before serving, I like warming in the microwave for 10–15 seconds or popping it into a 300°F oven for a few minutes because the heat brings back that fresh-from-the-bakery texture.
When I make a batch ahead for holidays or brunches, I bake the donuts the day before and wait to glaze them until right before serving. The glaze looks fresher, and the donuts stay softer that way. For freezing, I always freeze the donuts unglazed since they hold up much better without the icing. Once the donuts cool completely, I wrap each one individually and store them in a freezer-safe bag or airtight container for up to 2 months. I let them thaw at room temperature, then glaze them just before serving.
More Gluten-Free Donut Recipes
- Gluten-Free Yeast Donuts: For a more classic donut shop texture, try my gluten-free yeast donuts. These donuts fry up light, fluffy, and pillowy with that signature chewy texture you can only get from yeast-raised donuts.
- Gluten-Free Apple Cinnamon Donuts: These gluten-free apple cinnamon donuts are soft, cozy, and packed with warm cinnamon flavor in every bite. Fresh apple and cinnamon give the donuts a moist, tender texture, while the sweet cinnamon sugar coating makes them taste like a bakery-style fall treat.
- Gluten-Free Pumpkin Donuts: My gluten-free pumpkin donuts bake up incredibly soft and moist with warm pumpkin spice flavor in every bite. They’re perfect for fall breakfasts, holiday brunches, or afternoon coffee breaks when you want something cozy and seasonal.
- Gluten-Free Mochi Donuts: These gluten-free mochi donuts have a chewy, bouncy texture that’s completely different from traditional cake donuts. Made with glutinous rice flour, they bake up crisp around the edges with soft, stretchy centers and taste just like the trendy bakery-style mochi donuts everyone loves.
Our Gluten-Free Vanilla Cake Donuts recipe was originally published 1/31/20. It was retested, reworked, and republished to be better than ever 6/6/26.







You are the best gluten free mum thanks logan
Thanks Logan!!
This is a terrific recipe! The texture is light and just what a doughnut should be! I made a second batch with rice milk and applesauce for daughter who is gluten, yeast, dairy, and egg free and they were perfect! Thank you!
I’m not a fan of aluminum, silicon, or coated pans, which are the only types of donut pans I can find. So, the only shape I have is muffin shape. Do you think that would work?
Hi MJ, Yes, a muffin pan should work! The texture and flavor will be very similar—you’ll just end up with vanilla cake muffins instead of traditional donut shapes.
The baking time may need to be increased by a few minutes since muffins are typically thicker than donuts. Start checking for doneness with a toothpick around the recipe’s recommended bake time, and add more time as needed.
You won’t get the classic donut look, but you’ll still have a delicious gluten-free vanilla cake treat. If you plan to add the glaze, it tastes just as good on muffins as it does on donuts! Let us know how they turn out if you give it a try!
Can I use maple syrup instead of the sugar?
Hi Sarah, Yes! The texture may be softer, and I’d reduce the liquid slightly. When using ½ cup of maple syrup as a sweetener, reduce the milk by 2 tbsp, so you’d only put in 6 tbsp.
I made these for my nephew who is gluten free and dairy free and he loved them. Thank you for this recipe and I’m already making them again 🙂
I wonder if the egg can be substitute it with flax egg. The person that I’m making the donuts for can’t have gluten or eggs.
Hi, We haven’t tried but another reader used applesauce and had success.
my kids are allergic to egg so I actually use mashed banana as a substitute. 1/4 cup mashed banana = 1 egg
These donuts are amazing. How long do they last at room temperature in an airtight container? Thanks!
Hi Stephanie, About 4-5 days if they last that long 🙂
Haven’t made these yet but I’m wondering if I can use country crock or I can’t believe it a not butter instead of the smart balance that is mentioned in your recipe or unsalted butter?
Hi Kim, Yes that should be fine!
Absolutely fantastic made these for the first time… sooooo gooood…yummers!!!!
wow these are amazing!!! we did a chocolate frosting and they were so good. By far the best recipe for GF donuts.
Sounds so good!