Gluten-Free Baked Buffalo Chicken Dip
Updated
Buffalo chicken dip is one of those recipes I always turn to when I need a guaranteed crowd-pleaser. It’s creamy, cheesy, and has just the right amount of spicy kick to keep everyone coming back for more. This baked buffalo chicken dip is a favorite in my house, especially on game days and for parties, because it’s so easy to put together with simple ingredients.
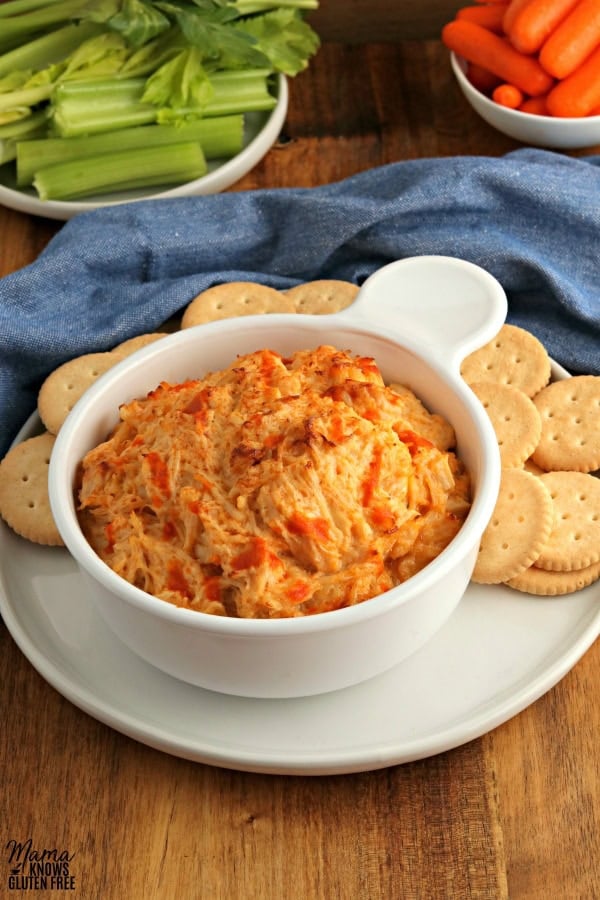
Baked Buffalo Chicken Dip
It’s football season again, and I don’t know what’s more popular for game-day food than buffalo wings. As much as I love them, they can be pretty messy, which is why this baked buffalo chicken dip has become my go-to. It has all the bold, spicy flavor of wings without the sticky fingers, and the best part is that it comes together in less than 30 minutes. This dip is a perfect gluten-free appetizer for parties, potlucks, or even a cozy family movie night. I’d love to hear how you serve it—come back and leave a comment once you give it a try!
Gluten-Free Buffalo Chicken Dip

Ingredients
- 2 13-ounce cans chicken breast, drained
- 1/2 cup mayonnaise
- 1/2 cup gluten-free ranch dressing, or gluten-free & dairy-free hot sauce
- 2 tablespoons gluten-free hot sauce, or gluten-free & dairy-free hot sauce
Instructions
- Preheat oven to 350°F and spray an 8″ × 8″ casserole dish with gluten-free nonstick cooking spray.
- In a large bowl, add chicken, using a fork to shred it into small pieces.
- Add mayonnaise, ranch dressing, and hot sauce and stir to combine.
- Transfer to a prepared baking dish and bake for 20 minutes.
- Allow to cool for 5 minutes before serving. Enjoy!
- Store leftovers in an airtight container and refrigerate. Reheat in the microwave or oven.
Notes
- Feel free to swap the ranch dressing for blue cheese dressing or try half and half.
- Add a few extra dashes of gluten-free hot sauce right into the mixture before baking if you like it a bit spicier. You can also sprinkle red pepper flakes on top for even more heat.
Nutrition
Nutrition information is automatically calculated, so should only be used as an approximation.
How To Make Buffalo Chicken Dip Step by Step
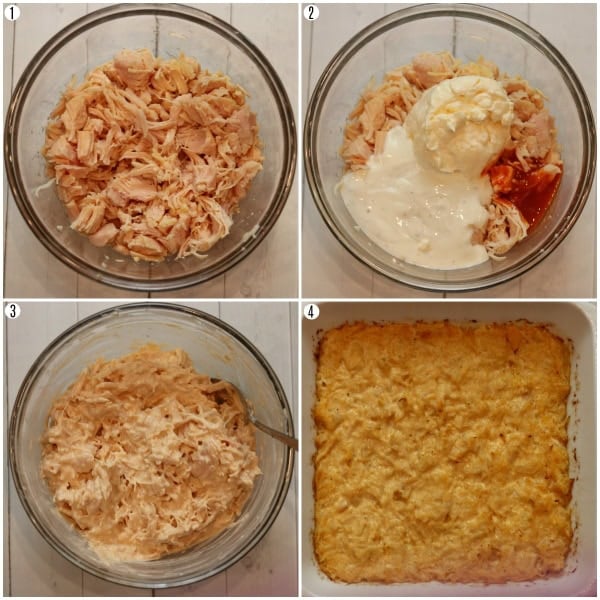
Gather the ingredients: Gather all the ingredients together. Preheat your oven to 350°F and spray an 8×8-inch casserole dish with gluten-free nonstick cooking spray.
Shred the chicken: In a large bowl, add two 13-oz cans of chicken breast, drained, and use a fork to shred it into small pieces.
Add the dressing: Stir in ½ cup mayonnaise, ½ cup gluten-free ranch dressing, and 2 tbsp gluten-free hot sauce until well combined.
Bake the dip: Transfer the mixture to the prepared baking dish and bake for 20 minutes, until hot and bubbly.
Cool and serve: Let the dip cool for 5 minutes before serving. Enjoy!
Gluten-Free Cooking Tips
- If you’re serving this at a party, transfer the baked dip to a small slow cooker set on “warm.” It will stay creamy and melty for hours without drying out.
- I like to keep the large cans of chicken breast from Walmart in my pantry for quick recipes like this. But if you prefer freshly shredded chicken, that works just as well.
- This dip is also a great way to use up leftover chicken from a previous meal. Rotisserie chicken is another easy option and adds extra flavor.
Serving Suggestions
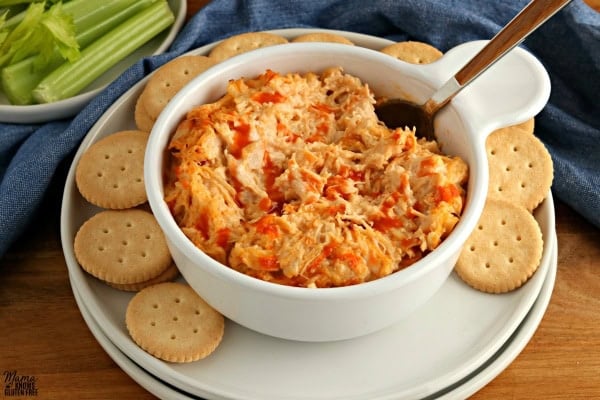
This baked buffalo chicken dip is one of those recipes that works for just about any occasion. I love serving it with gluten-free ritz crackers, tortilla chips, celery sticks, or even sliced bell peppers for a lighter option. It’s always a hit at football parties and potlucks, but it’s just as perfect for family game nights or holiday gatherings. For parties, I like putting it out next to other favorites like my jalapeño poppers. It also pairs perfectly with a skillet of spinach dip or gluten-free beer cheese if you’re creating a whole appetizer spread.
Storage Instructions
Leftovers of this baked buffalo chicken dip keep well, so you don’t have to worry if the dish isn’t finished in one sitting. Store any cooled dip in an airtight container in the refrigerator for up to 4 days. Reheat it in the oven at 350°F until warmed through, or microwave single servings for a quick snack.
If you’d like to make it ahead, simply mix the ingredients together, spread it into your baking dish, cover tightly, and refrigerate for up to 2 days before baking. When you’re ready to serve, just pop it in the oven and bake as directed until hot and bubbly.




I’ve made this before but trying it in a crockpot instead of the oven tonight. Hoping an hour on low does the trick.
Question–the cooking tips section refers to the type of cream cheese you can use, but there’s no mention of cream cheese in the ingredients or directions! am I missing it, is it a swap for something, or omitted?
Hi Kelly, our mistake. Thanks for the catch. We removed that tip!
If I wanted to double the recipe, would I need a bigger casserole dish?
Yes, a 9×13 would work perfectly!
Love this recipe!! I add shredded cheddar cheese to ours, otherwise I follow the recipe as written and we LOVE it!
This dip is FANTASTIC!! The first time I made this, it literally disappeared in 20 minutes…I didn’t even get to taste it! I have made it many, many times since, and now I always double the recipe. I serve it with tortilla chips and veggies to give guests the option. I use Daiya Homestyle Ranch dressing and Frank’s Hot Sauce. Rarely do I have leftovers, but if I do it is just as great the next day. Thank you for such an easy and delicious recipe!!