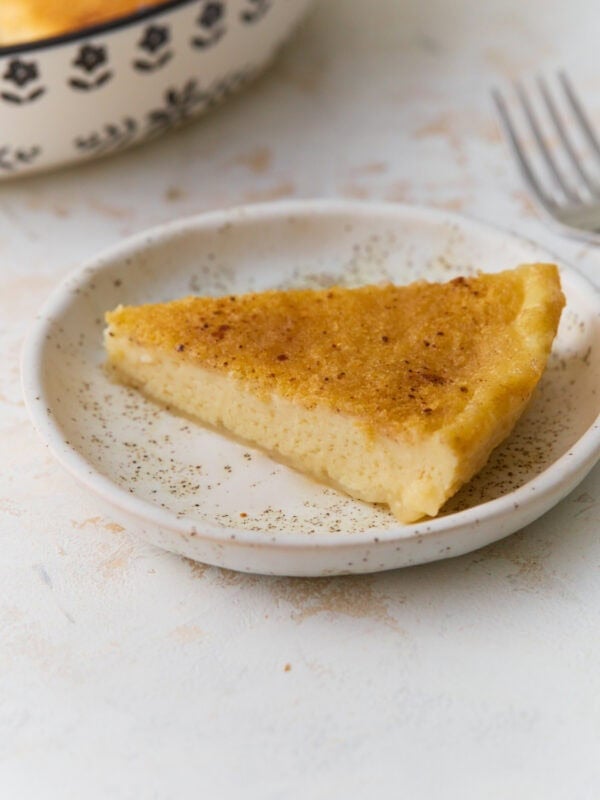
Crustless Cheesecake
Updated
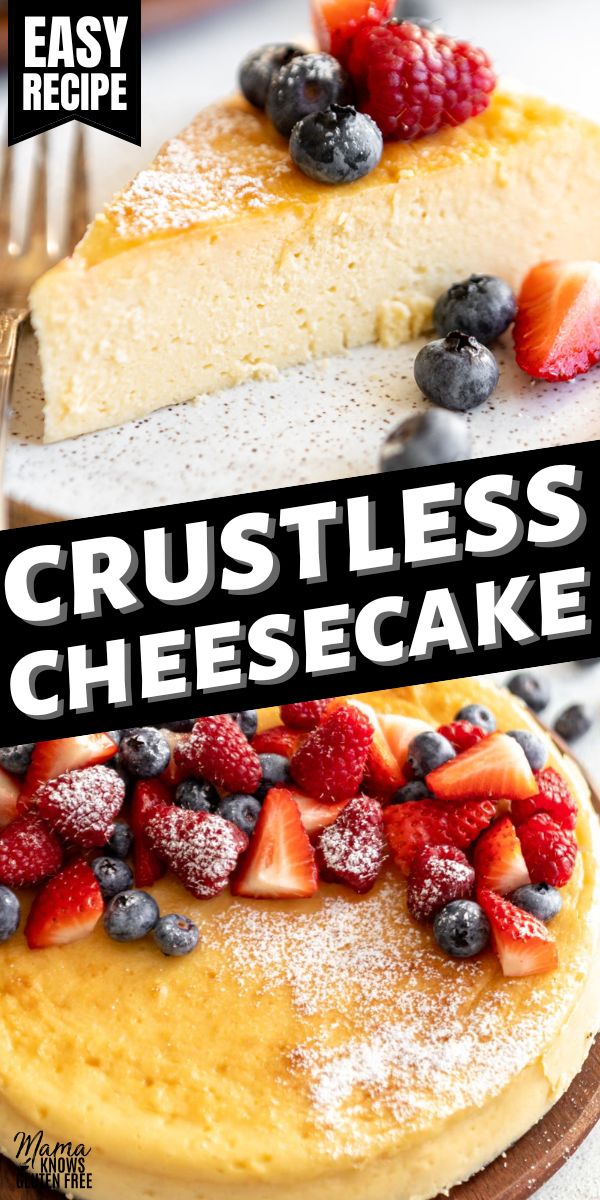
I’m so excited to share this easy crustless cheesecake recipe. It’s rich, creamy, and perfectly tangy—without needing a single bit of flour. Since there’s no crust, it’s naturally gluten-free and perfect for anyone avoiding wheat or looking for a lighter dessert.
Crustless Cheesecake Recipe
This cheesecake is smooth and satisfying, and it’s one of my favorite no-fuss desserts to make for holidays, birthdays, or whenever the craving hits. You only need 5 ingredients and a simple mixing method, and it bakes gently in a water bath for the best creamy texture. It’s always a crowd-pleaser and super easy to customize. If you’re in the mood for something with a crust, I also have a gluten-free cheesecake recipe that’s just as simple and delicious.
Crustless Cheesecake Recipe
Ingredients
- 24 ounces full-fat cream cheese, softened to room temperature (block style, not spreadable cream cheese)
- 1 cup granulated sugar
- ¾ cup sour cream, room temperature
- 4 large eggs, room temperature
- 1 tablespoon pure vanilla extract
Instructions
- Preheat the oven to 325°F.
- Grease and line a 9-inch springform pan with parchment paper. Wrap the outside of the pan with parchment paper to ensure the bottom and sides are all tightly covered. Set aside.
- In a large bowl, beat the cream cheese (on high) for 30 seconds.
- Add the sugar and vanilla and beat until blended well.
- Add in the sour cream and beat until smooth.
- Add eggs into the cream cheese mixture one at a time beating well (on low) after the addition of each egg. Use a spatula to scrape down the sides of bowl. Do not overmix – beat just until combined.
- Pour the batter into the prepared pan and gently pat down the bottom a couple of times to remove any air bubbles.
- Add the pan to a larger pan filled halfway up with water and bake for 75-90 minutes. The cheesecake is done when the outside edges are set but the middle 2-inch to 3-inch of the gluten-free cheesecake is still slightly wobbly.
- Let cool at room temperature for 30 minutes, then set in the fridge to cool for at least 4 hours.
- Slice and serve chilled.
Notes
- While not essential, good-quality cream cheese, vanilla, and eggs enhance flavor.
- Grease the pan well: This helps with easy release, especially without a crust.
- Line with parchment if preferred: Optional, but it provides extra insurance against sticking.
Nutrition
Nutrition information is automatically calculated, so should only be used as an approximation.
How to Make Crustless Cheesecake Step by Step

Gather the ingredients: Gather the ingredients and preheat your oven to 325°F. Grease a 9-inch springform pan and line the bottom with parchment paper. Wrap the outside of the pan with parchment to seal the bottom and sides. Set aside.

Beat the cream cheese: In a large mixing bowl, beat 24 oz of full-fat cream cheese (make sure it’s softened to room temperature) on high speed for 30 seconds until smooth.

Add sugar, vanilla, and sour cream: Add 1 cup of granulated sugar and 1 tbsp of pure vanilla extract, then beat until fully blended. Mix in ¾ cup of sour cream (also at room temperature) and beat again until the mixture is smooth.

Beat the eggs in: Add 4 large eggs, one at a time, beating on low speed after each addition. Scrape down the sides of the bowl between additions and mix just until everything is combined—don’t overmix.

Fill the pan and prep the water bath: Pour the cheesecake batter into the prepared springform pan and gently tap the pan on the counter a few times to release any air bubbles. Place the pan inside a larger baking dish and fill the outer dish halfway up the sides of the springform with hot water to create a water bath.

Bake the cheesecake: Bake for 75 to 90 minutes, until the edges start to pull away from the pan and set, but the center is still slightly jiggly.

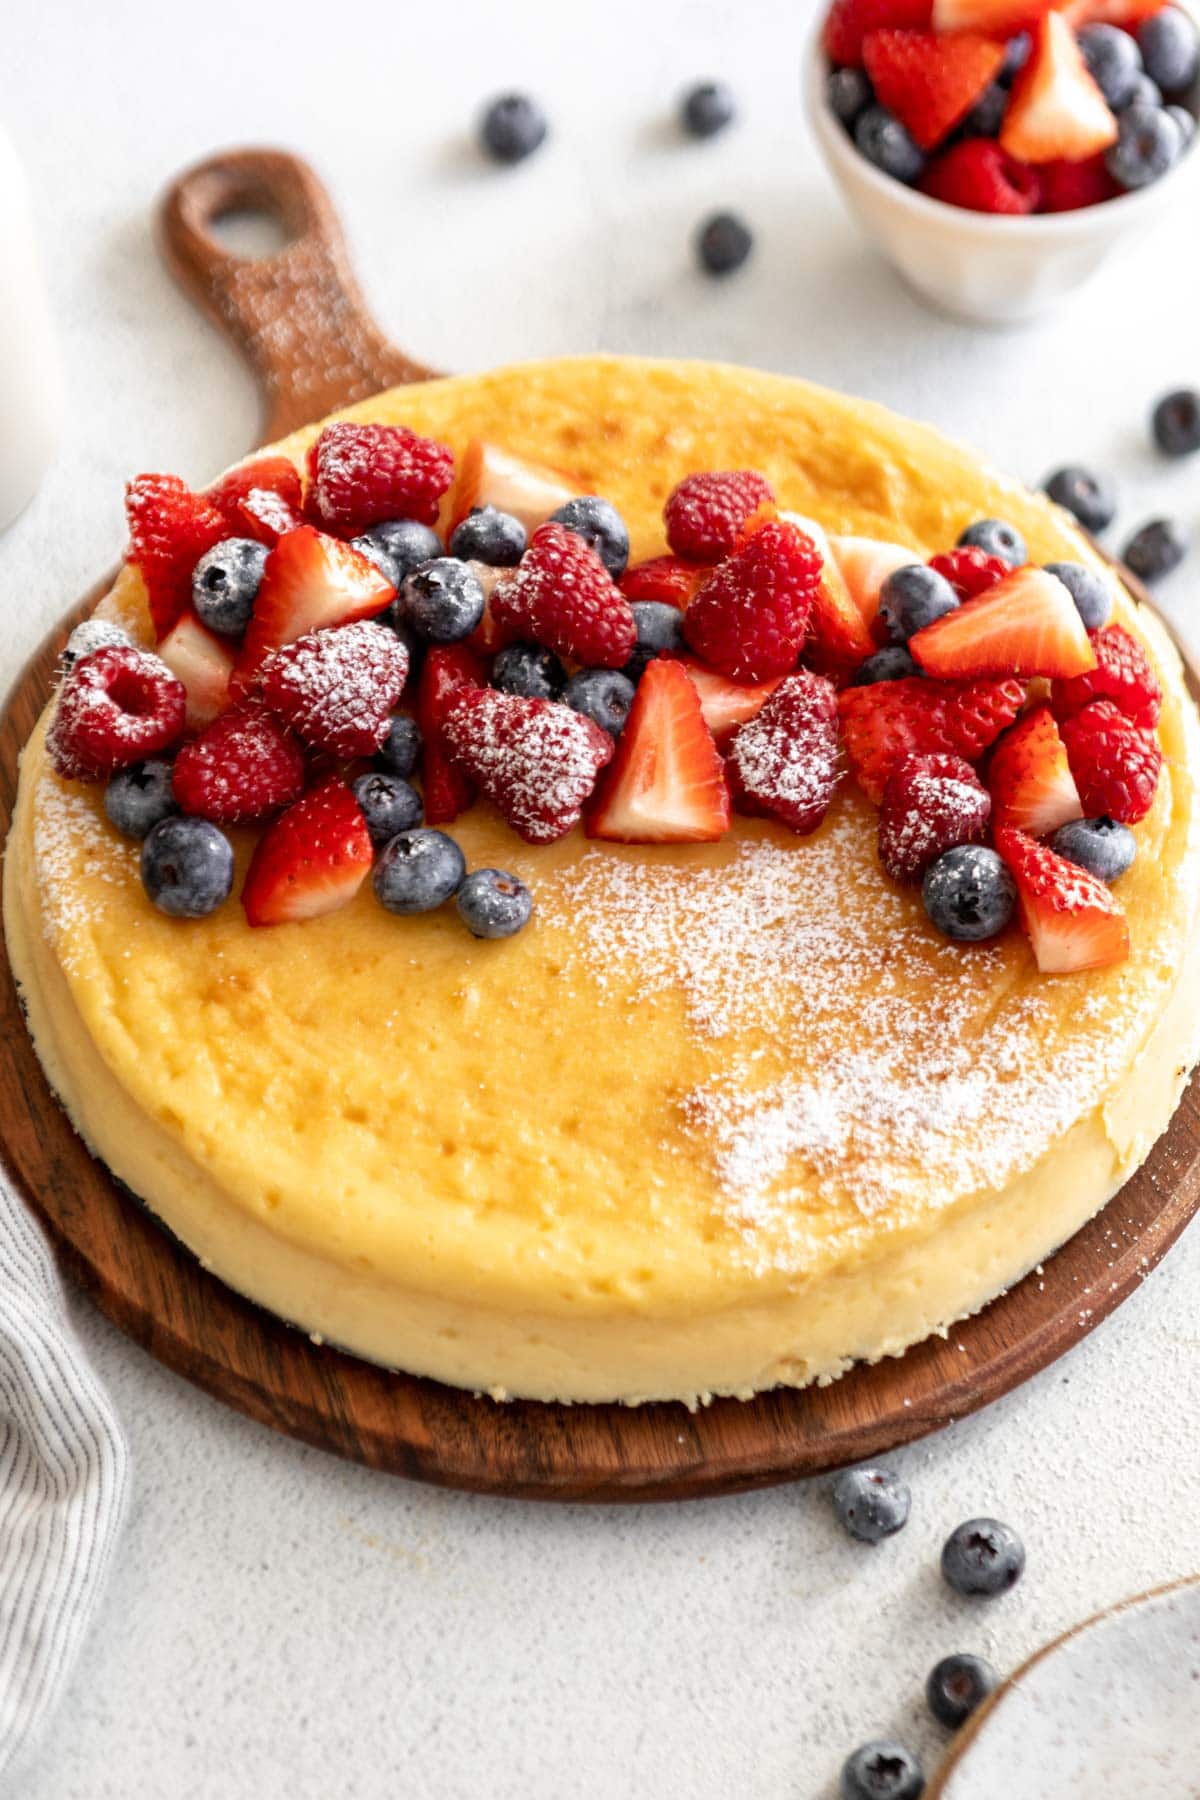
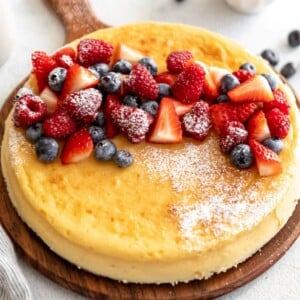
Cool and serve: Remove from the oven and let the cheesecake cool at room temperature for 30 minutes. Transfer to the fridge and chill for at least 4 hours before slicing and serving. Top with fresh fruit and whipped cream and enjoy!

Serving Suggestions
I love serving this crustless cheesecake just as it is. It’s rich, creamy, and totally satisfying on its own. But if I’m feeling fancy or want to dress it up for guests, I’ll add a few toppings. Fresh berries like strawberries, blueberries, or raspberries are always a hit. Sometimes I’ll spoon on a bit of raspberry coulis, drizzle caramel or chocolate sauce over the top, or finish it with a big dollop of whipped cream.
Tips for Success
- Be sure to use quality ingredients. For a rich and creamy cheesecake, don’t substitute full-fat cream cheese for low-fat cream cheese.
- Bring all refrigerated ingredients to room temperature before starting to make the cheesecake. Room-temperature ingredients combine more smoothly. If you try to beat cold cream cheese, you’ll end up with large chunks of cream cheese in your cheesecake batter.
- Don’t over-mix the batter. Too much air in the batter can lead to cracks in the gluten-free cheesecake.
- Do not open the oven while the cheesecake is baking. This will cause rapid temperature loss, which can cause the cheesecake to crack.
- Do not overbake the cheesecake. Your crustless cheesecake is done baking once the edges look set and the middle 2-inch to 3-inch of your cheesecake is still slightly wobbly. The middle will continue to firm up after it’s removed from the oven. Overbaking a crustless cheesecake will cause cracks.
- Let the crustless cheesecake cool completely to room temperature before placing it in the refrigerator.
- Let your cheesecake chill in the refrigerator for at least 4 hours (or overnight) so it has the proper time to set before you try to cut it into slices. You need to give the crustless cheesecake the proper time to firm up and set up before slicing.
Keep in mind that sometimes, despite your best efforts, crustless cheesecakes will crack, and that’s okay! This doesn’t affect the taste at all, and you can easily cover it up with some toppings.
Removing cheesecake from a springform pan
Once the cheesecake has chilled completely, run a knife around the edges of the pan to help separate the cheesecake. Unclip the clamps on the pan, remove the sides, then use the knife to gently release the cheesecake from the base of the pan. Use a large spatula or pancake turner to lift the cheesecake out of the pan.
Storage Instructions
This crustless cheesecake can be stored in the refrigerator for up to 5 days. Be sure to store it in an air-tight container or wrap it well in plastic wrap so it doesn’t dry out. Wait to add any toppings until just before serving.
Freeze by cutting into individual slices, then tightly wrap them in plastic wrap and aluminum foil to keep out any moisture. Place the slices into a freezer bag to store for up to 2 months. Let thaw overnight in the refrigerator before enjoying chilled.


Recipe says to wrap pan in parchment paper but the photo’s show alumumin foil. Did you use regular or heavy duty foil? One sheet or two sheets crossed? Thank you. I will be trying it this weekend.
B. Palm
Hi there, either one will work to help prevent sticking! Heavy duty or regular is also okay!
Question…it calls for a 9 inch pan…how would I change the amount of ingredients for a 10inch pan or will the recipe as it is work in a larger pan?
Hi Ruth, you can, but the cheesecake will be thinner and bake faster. Keep the recipe as-is, but start checking for doneness about 10–15 minutes earlier than the recipe states. If you prefer the same height, increase the recipe by a 1/4.
Why does it say “no water bath required” and then give instructions on using a water bath?
Hi Rob, Thank you so much for pointing that out! We’re sorry for the confusion—the recipe does require a water bath, and the “no water bath required” note was an error on our part. We’ve updated the instructions to reflect the correct method. We truly appreciate you catching this and giving us the chance to fix it!
Brilliant the flavour is Gold
I omitted the sugar and it was still fantastic! Thank you for this recipe.