Dairy-Free Buttercream Frosting
Published
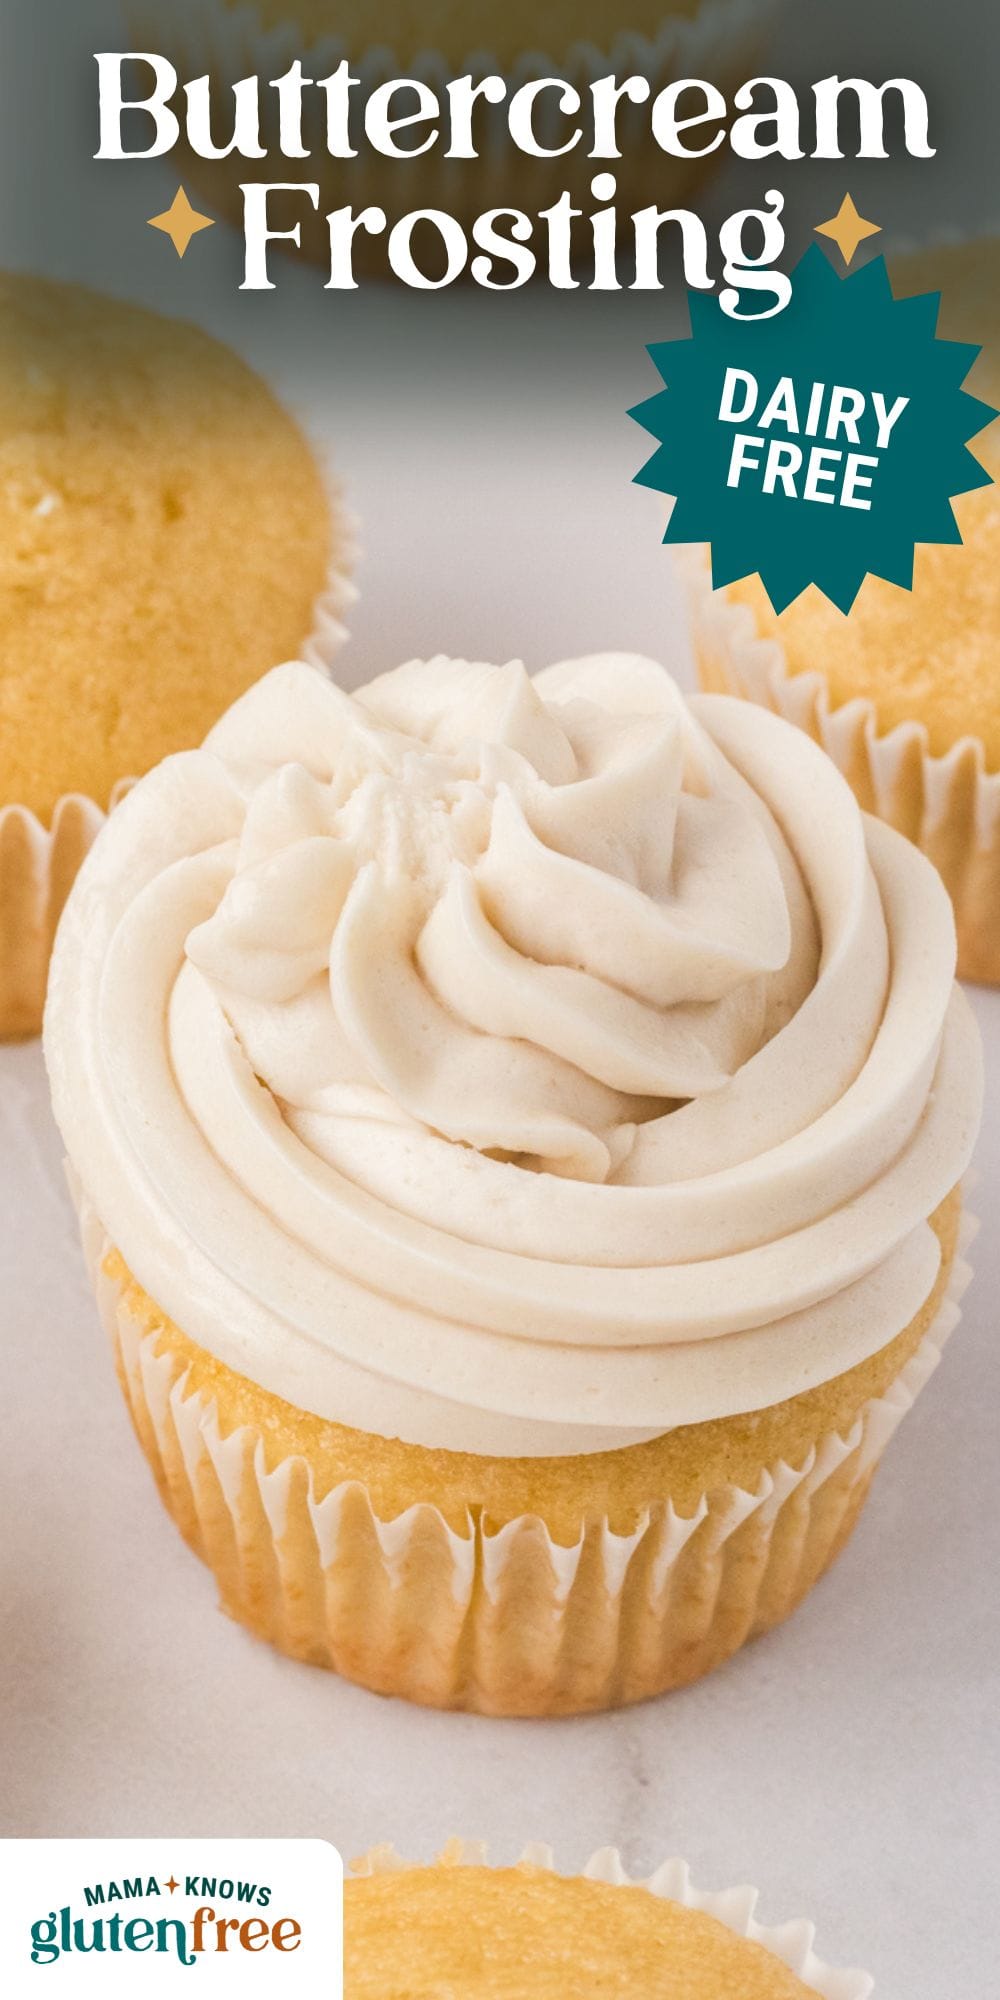
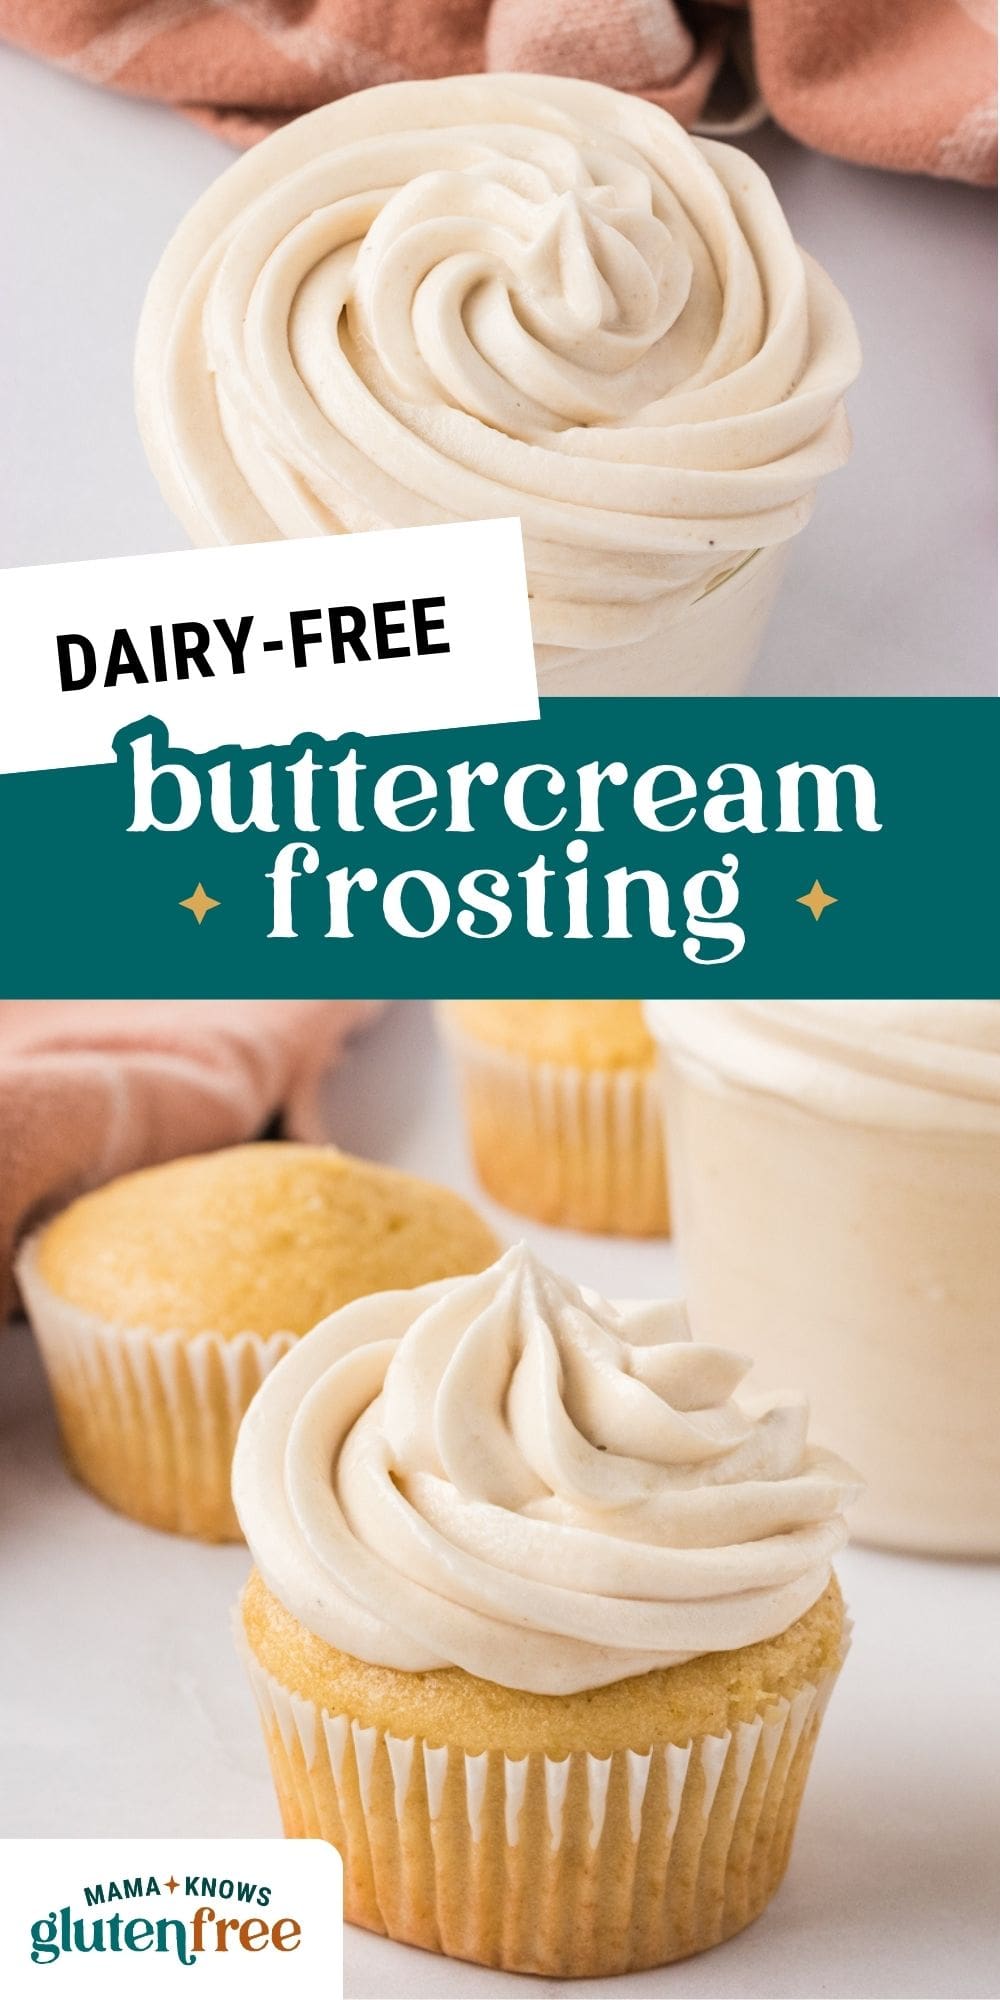
A simple 4-ingredient dairy-free buttercream frosting for all your dairy-free and vegan baking needs. It whips up light and creamy and is easy to pipe, spread, or swirl onto cakes, cupcakes, and cookies. This recipe starts with softened dairy-free butter beaten until pale and fluffy, then mixed with vanilla, powdered sugar, and a pinch of salt for balance. It is an easy go-to frosting that comes together in minutes and works for everything from birthday cakes to holiday cookies.
I’ve been searching and searching for a dairy-free recipe for my favorite vanilla frosting. After a few tests, I realized that beating the dairy-free butter long enough to get it really light and airy is the secret to achieving that same fluffy texture. I also love how easy it is to flavor, whether I am adding cocoa powder for chocolate buttercream, a little lemon zest, or even cinnamon for fall bakes. It comes together with simple pantry staples and can be softened with just a splash of milk if you want it lighter. It is the frosting I reach for when I am baking for friends who are dairy-free or vegan, and no one can ever tell the difference.
Gluten-Free Baking Tips
- Choose the right dairy-free/vegan butter. I used and highly recommend Miyoko’s butter. It has a smooth consistency and great butter flavor, and holds up well at room temperature. I have not tried Earth Balance, but I also hear it’s a good option for buttercream. Not all dairy-free butters are equal, though, so using a different brand would likely not produce good results, as a lot of them are too oily for buttercream.
- Keep your dairy-free butter slightly cool. If it gets too warm, the oils can separate, and the frosting will turn greasy. Aim for softened but still cool to the touch.
- Whip the butter really well before adding anything else. This is what gives the frosting its fluffy, classic buttercream texture. Take your time here and let it get pale and airy.
- Always sift your powdered sugar. Dairy-free buttercream shows lumps more easily, so sifting guarantees a smooth, silky finish.
- If the frosting looks curdled or separated, keep mixing. Dairy-free butter often needs an extra minute or two to fully emulsify. Keep the mixer running, and it will come together.
Dairy-Free Buttercream Frosting
Ingredients
- 1 cup dairy-free butter, I used Miyoko's Plant Milk Butter
- 1 tsp vanilla extract
- 3 cups powdered sugar
- 1 pinch salt
- 2-4 tsp dairy-free milk, optional
Instructions
- In a large bowl, beat your softened butter with a hand or stand mixer until the butter is smooth and fluffy and light in color. This may take a few minutes. Add the vanilla and mix until combined.
- Sift in your powdered sugar and salt, then carefully mix by hand with a spoon or silicone spatula until the powdered sugar is mostly mixed into the butter and no longer loose. This will help avoid a big poof of mess when you turn back on your mixer.
- Once it’s mostly mixed in, use your hand or stand mixer to mix the icing until it is completely combined and smooth and silky.
- If your icing is a little too thick for your liking, add a little bit of milk 2 tsp at a time until it reaches your desired consistency. I didn’t need any for my icing.
- Use to frost your cakes, cookies, or other sweet desserts. Enjoy!
Notes
- Use pure vanilla for the best flavor in a simple frosting.
- If the buttercream is melting: Move it to a cooler space or chill for 10 minutes.
- Buttercream is too thick: Add plant milk 1 tsp at a time.
- Buttercream is too soft/oily: Your butter was too warm. Chill and re-whip.
Nutrition
Nutrition information is automatically calculated, so should only be used as an approximation.
How to Make Dairy-Free Buttercream Frosting Step by Step

Gather all the ingredients together.
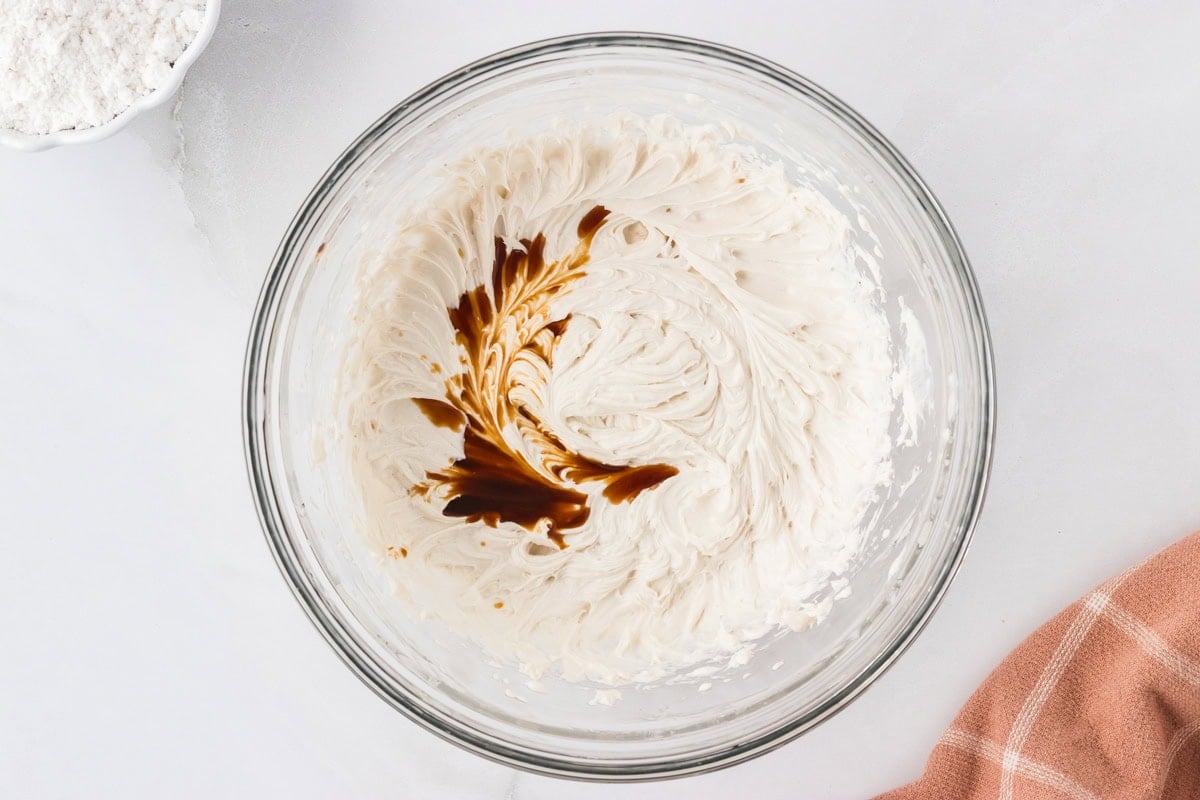
Whip the butter: In a large bowl, beat 1 cup of dairy-free butter with a hand or stand mixer until the butter is smooth, fluffy, and light in color. This may take a few minutes. Add 1 tsp of vanilla extract and mix until fully combined.
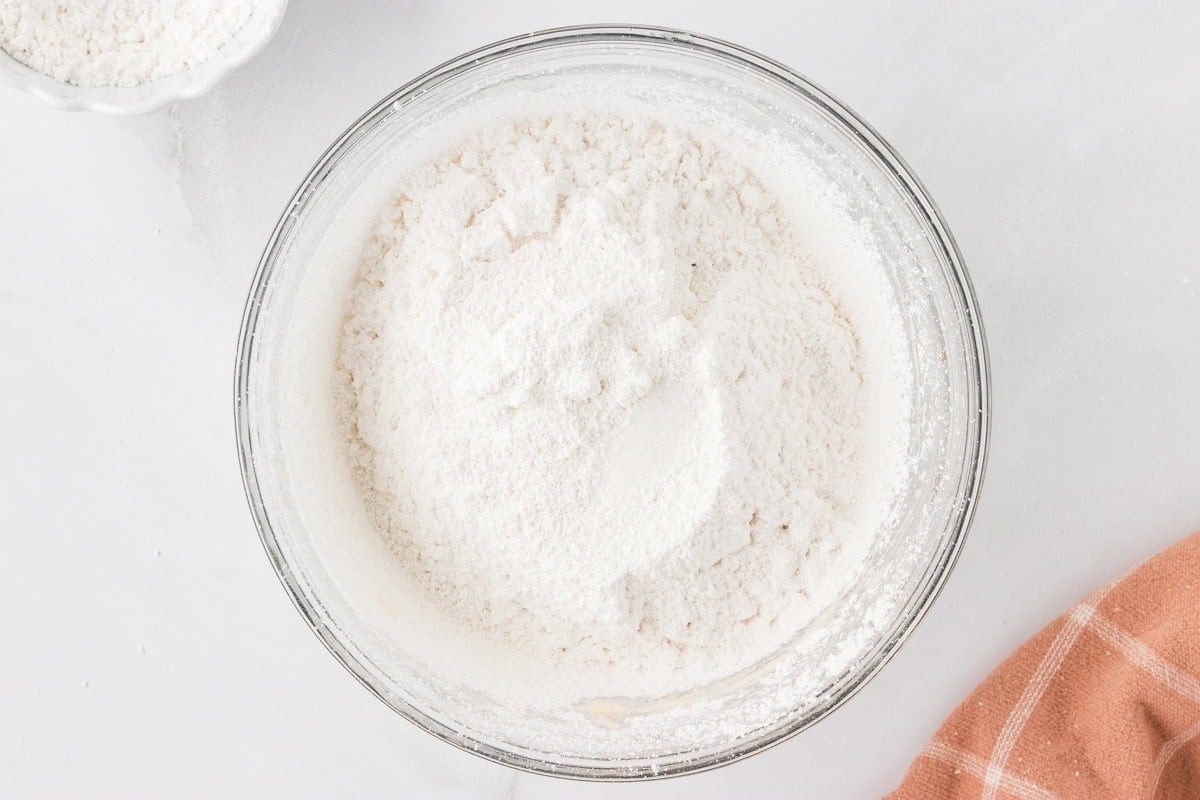
Sift in the sugar: Sift in 3 cups of powdered sugar and a pinch of salt, then gently mix by hand with a spoon or silicone spatula until most of the powdered sugar is incorporated and no longer loose. This helps prevent it from puffing everywhere once you turn the mixer back on.
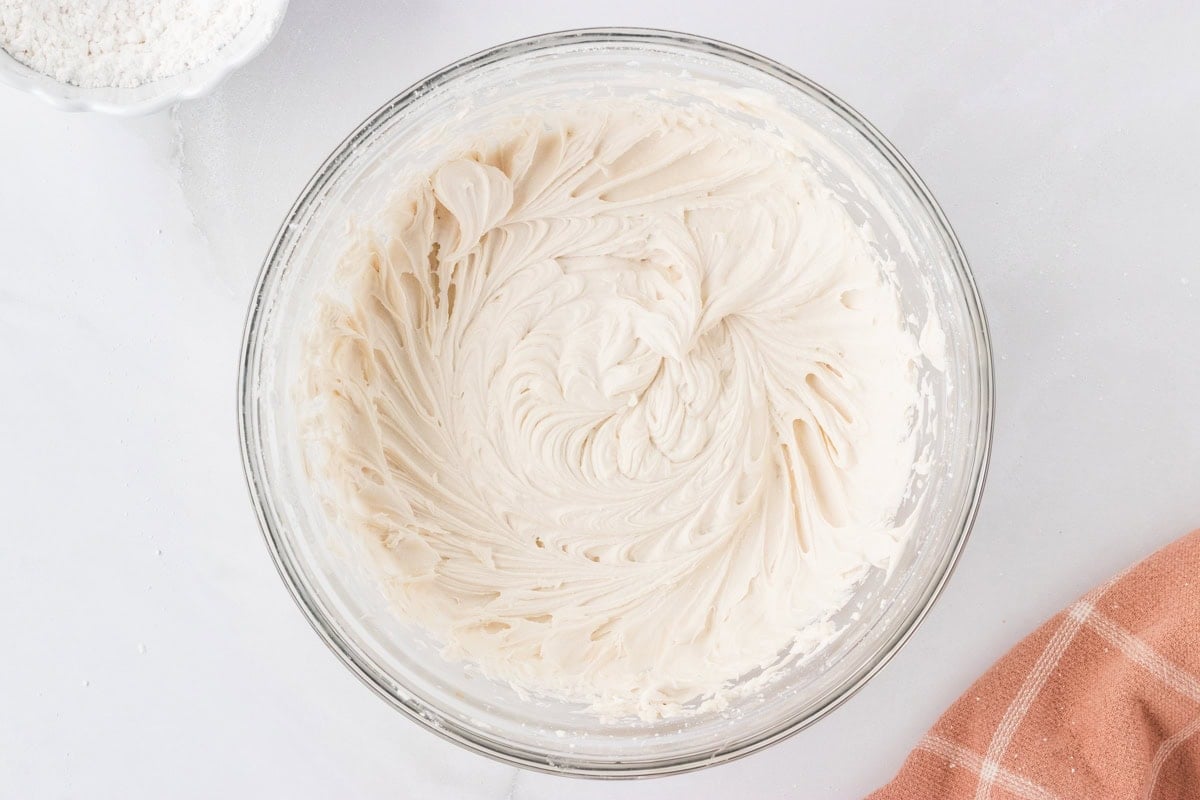
Beat until smooth: When the mixture looks mostly combined, switch back to your hand or stand mixer and beat the frosting until it becomes completely smooth and silky. If the frosting feels too thick, add 2-4 tsp of dairy-free milk, a little at a time, until it reaches your desired consistency.
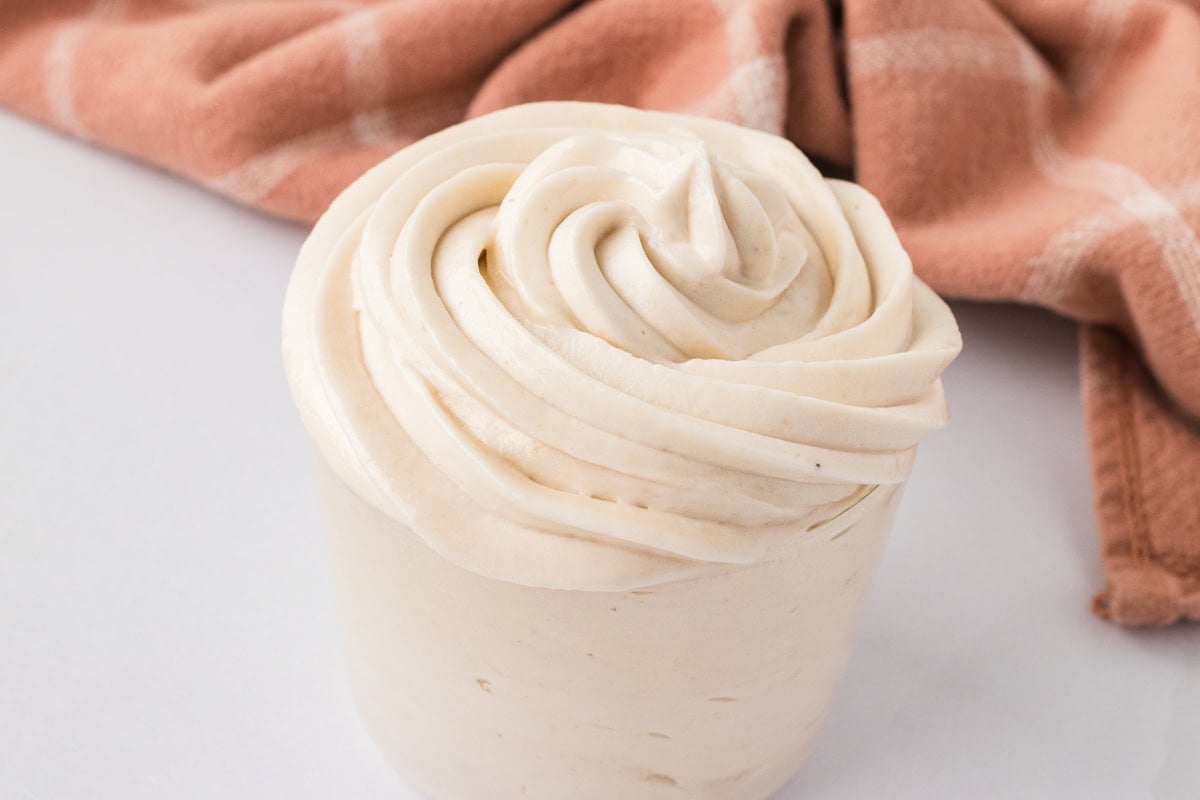
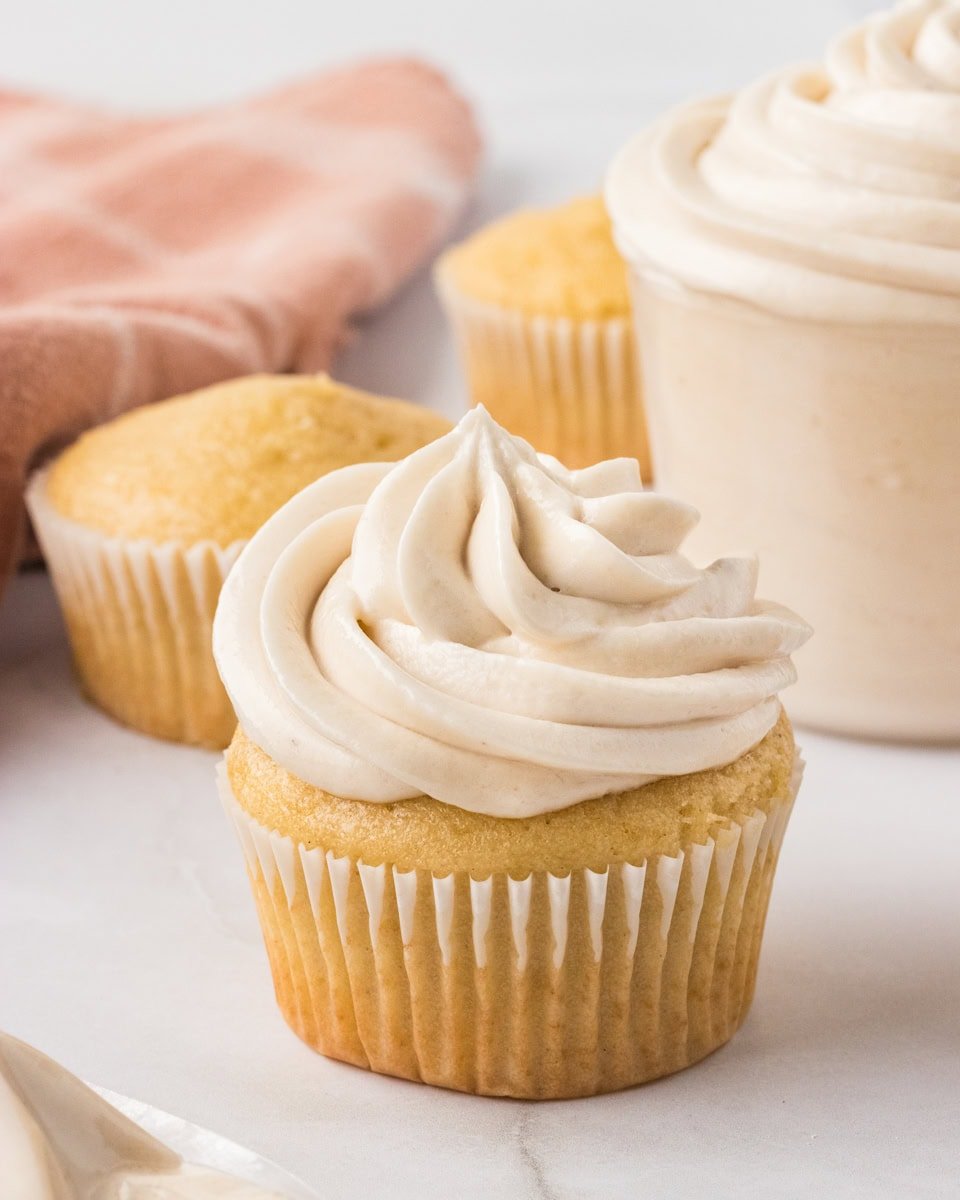
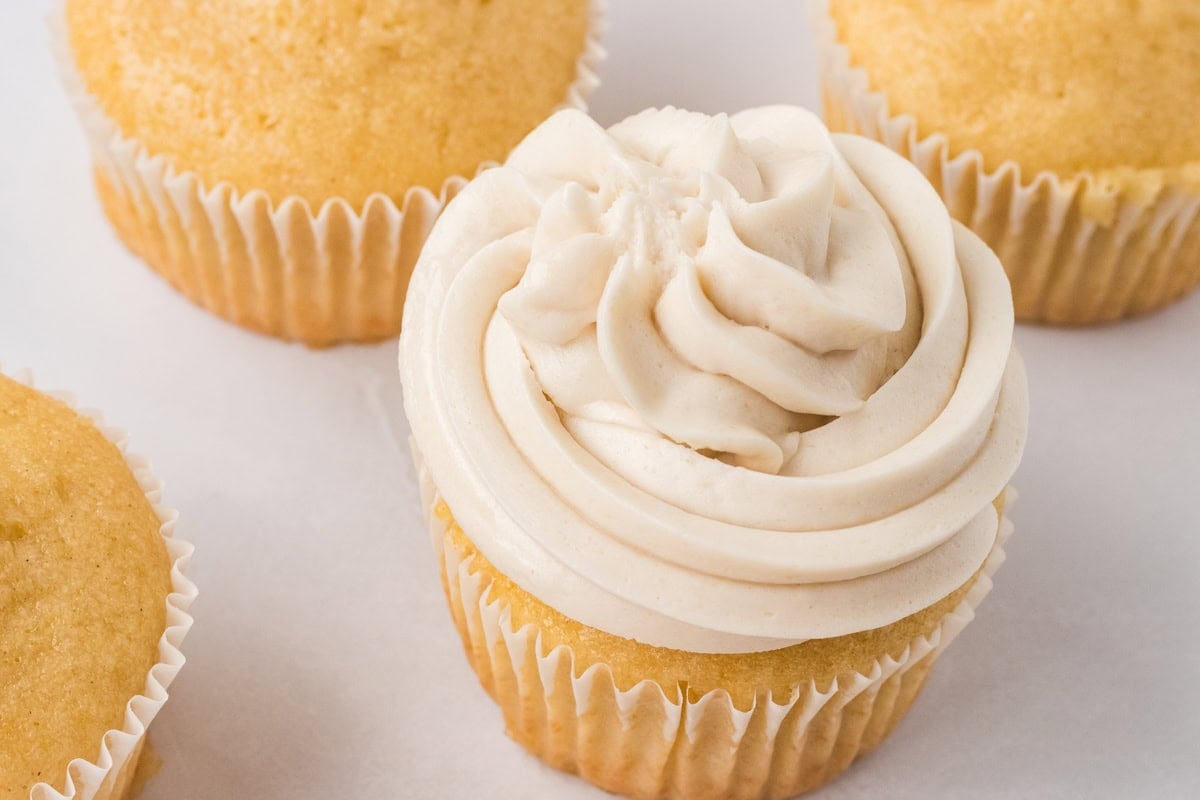
Frost or pipe: Use your dairy-free buttercream to frost cakes, cupcakes, cookies, or any of your favorite desserts. Enjoy!
Serving Suggestions
I use this dairy-free buttercream on just about everything I bake, especially when I want a frosting that tastes classic but works for everyone at the table. It spreads beautifully over my gluten-free vanilla cake and gluten-free chocolate cake, and it pipes so cleanly on cupcakes for birthdays or holidays. I also love using it on my gluten-free sugar cookies and even on top of my gluten-free brownies when I want something extra sweet and fluffy.
Storage Instructions
Keep your frosting in the fridge until you are ready to use it. When it is time to frost, let it sit at room temperature until it softens and becomes easy to work with. For best results, give it a quick mix by hand to bring back some air and make it smoother and fluffier.
To store long-term, place the frosting in an airtight, freezer-safe bag and freeze for up to 3 months. When you are ready to use it, thaw it at room temperature and give it another quick stir before piping or spreading it onto your desserts.