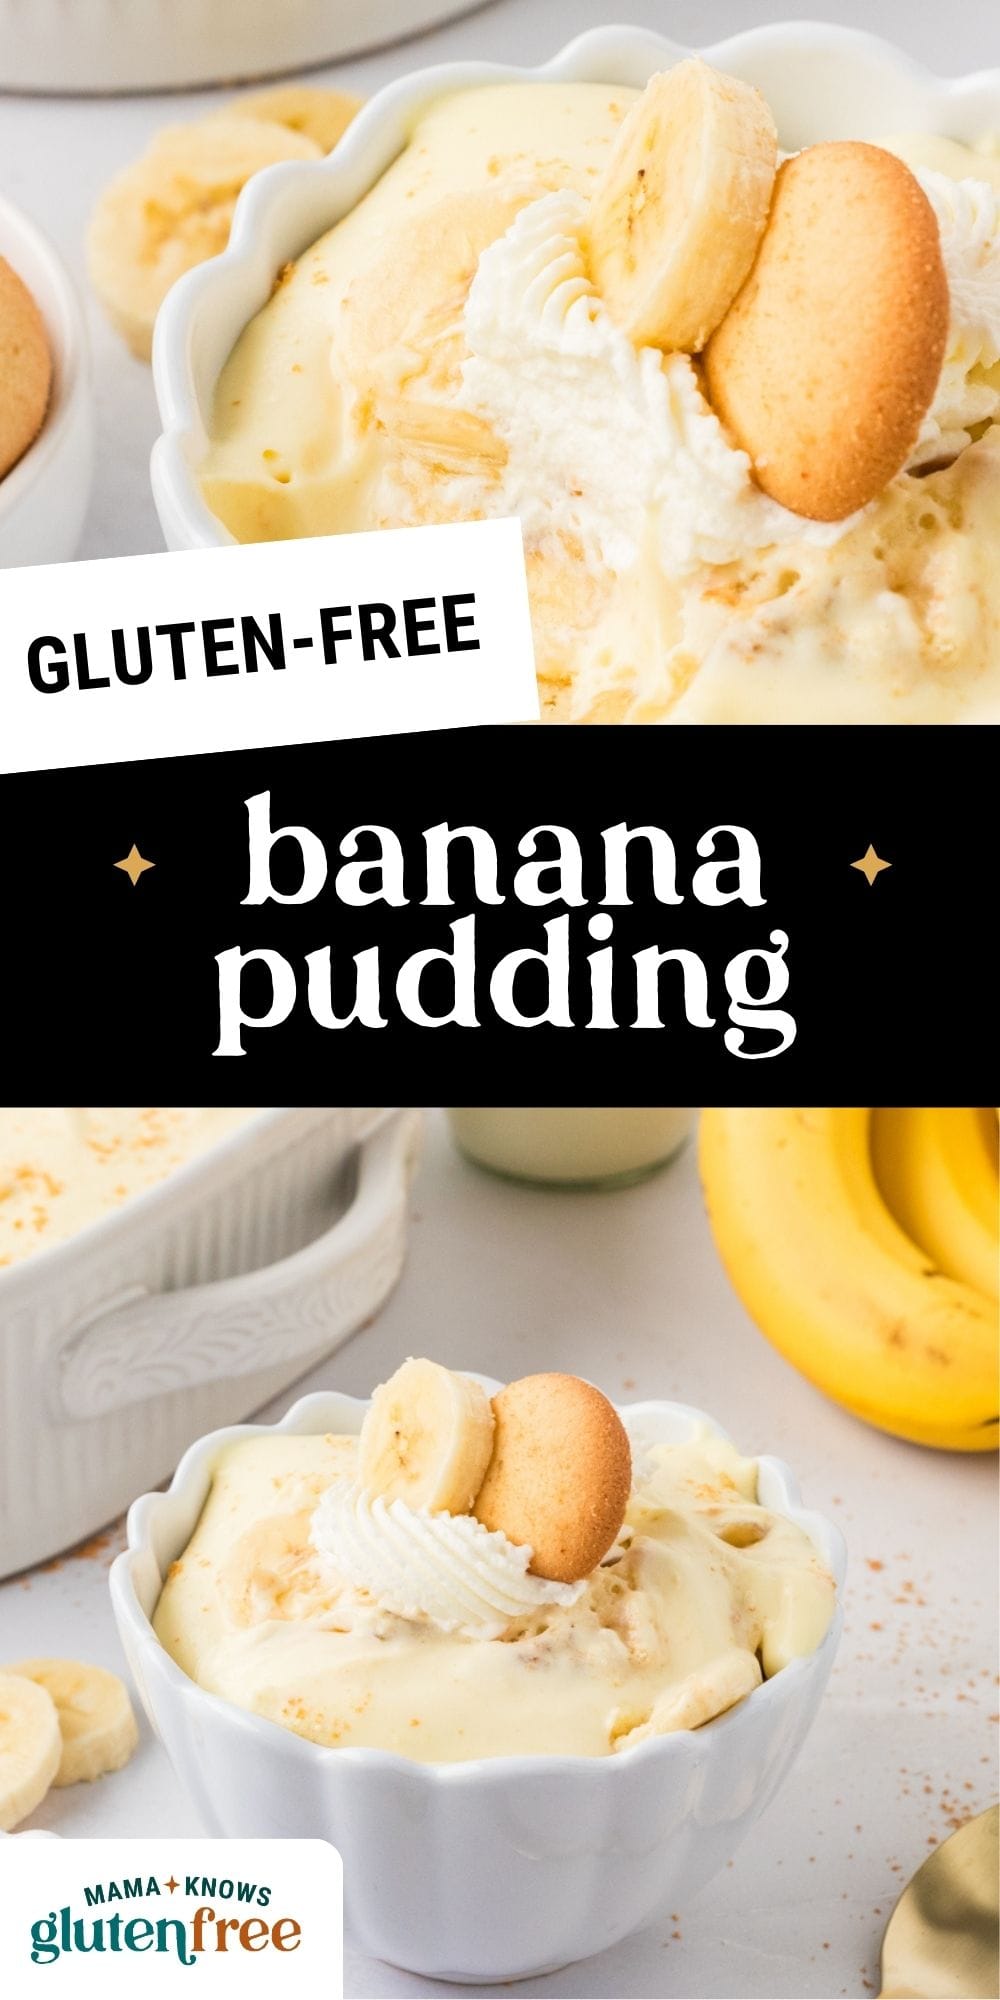
Gluten-Free Banana Pudding
Published
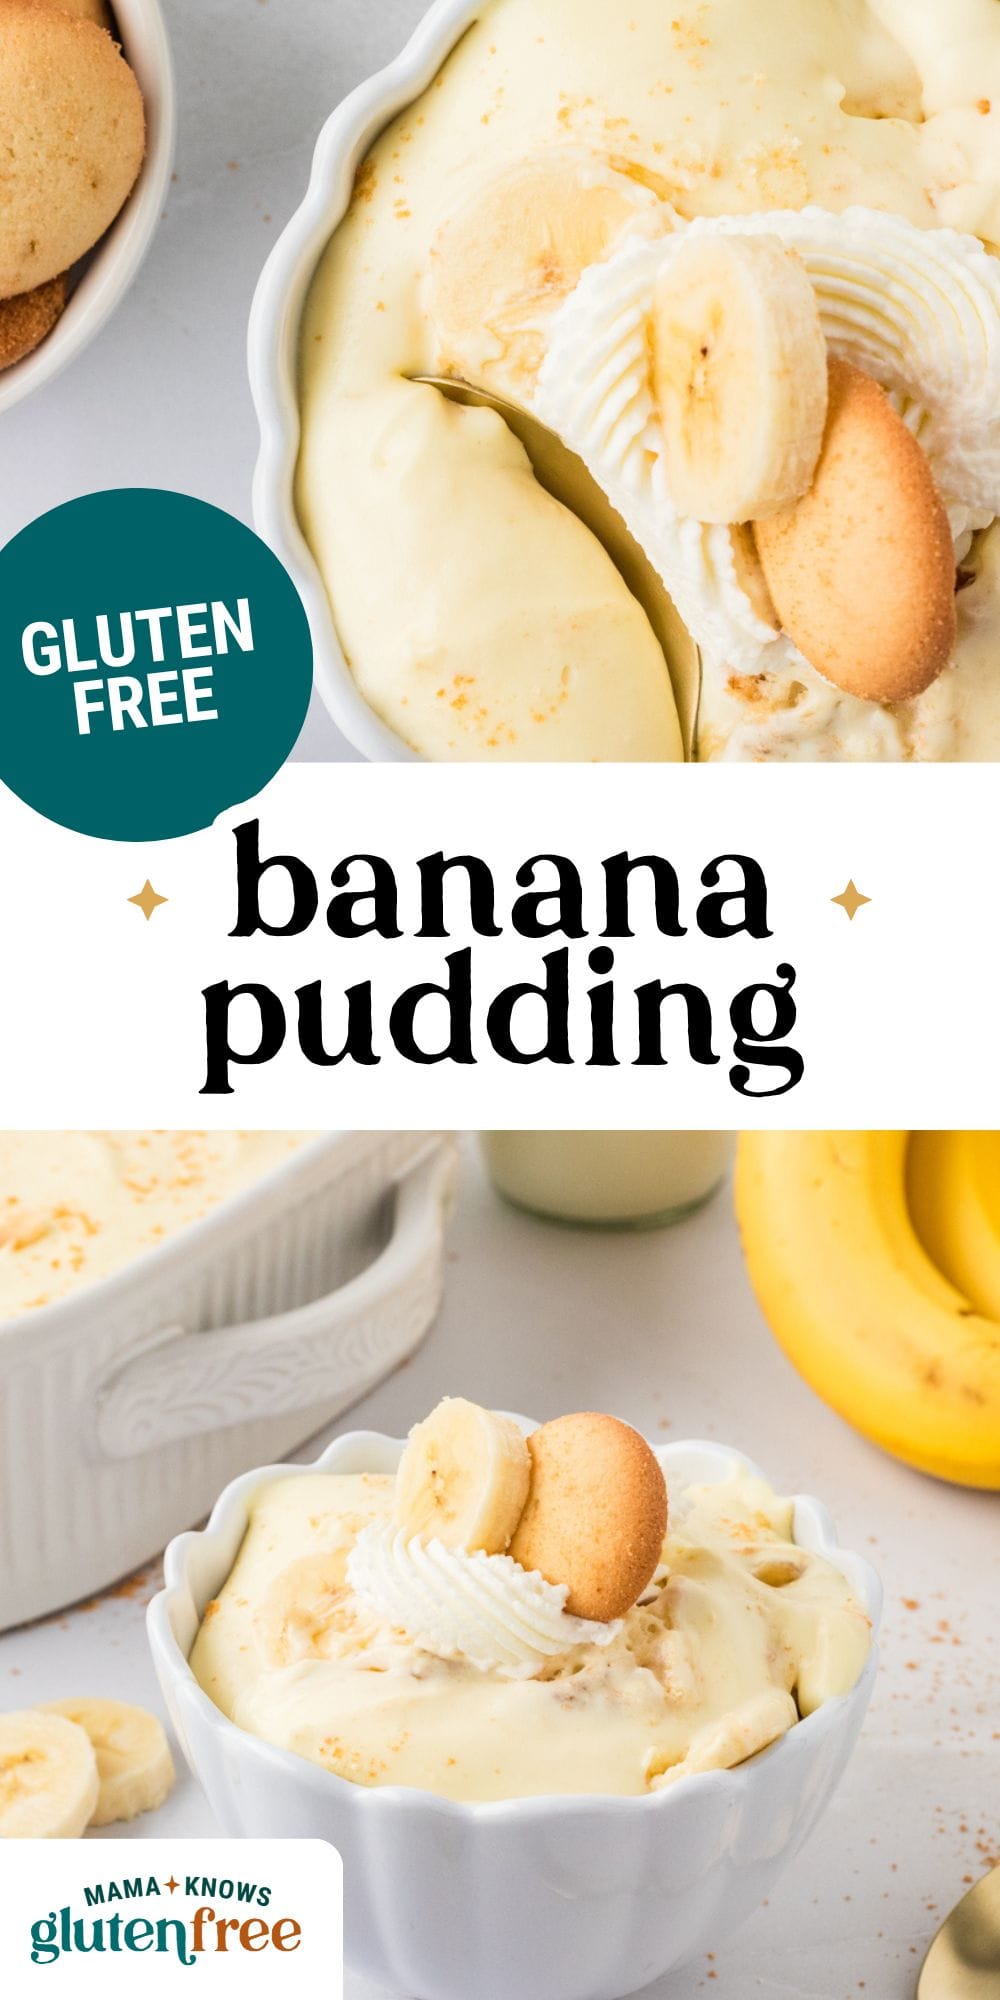
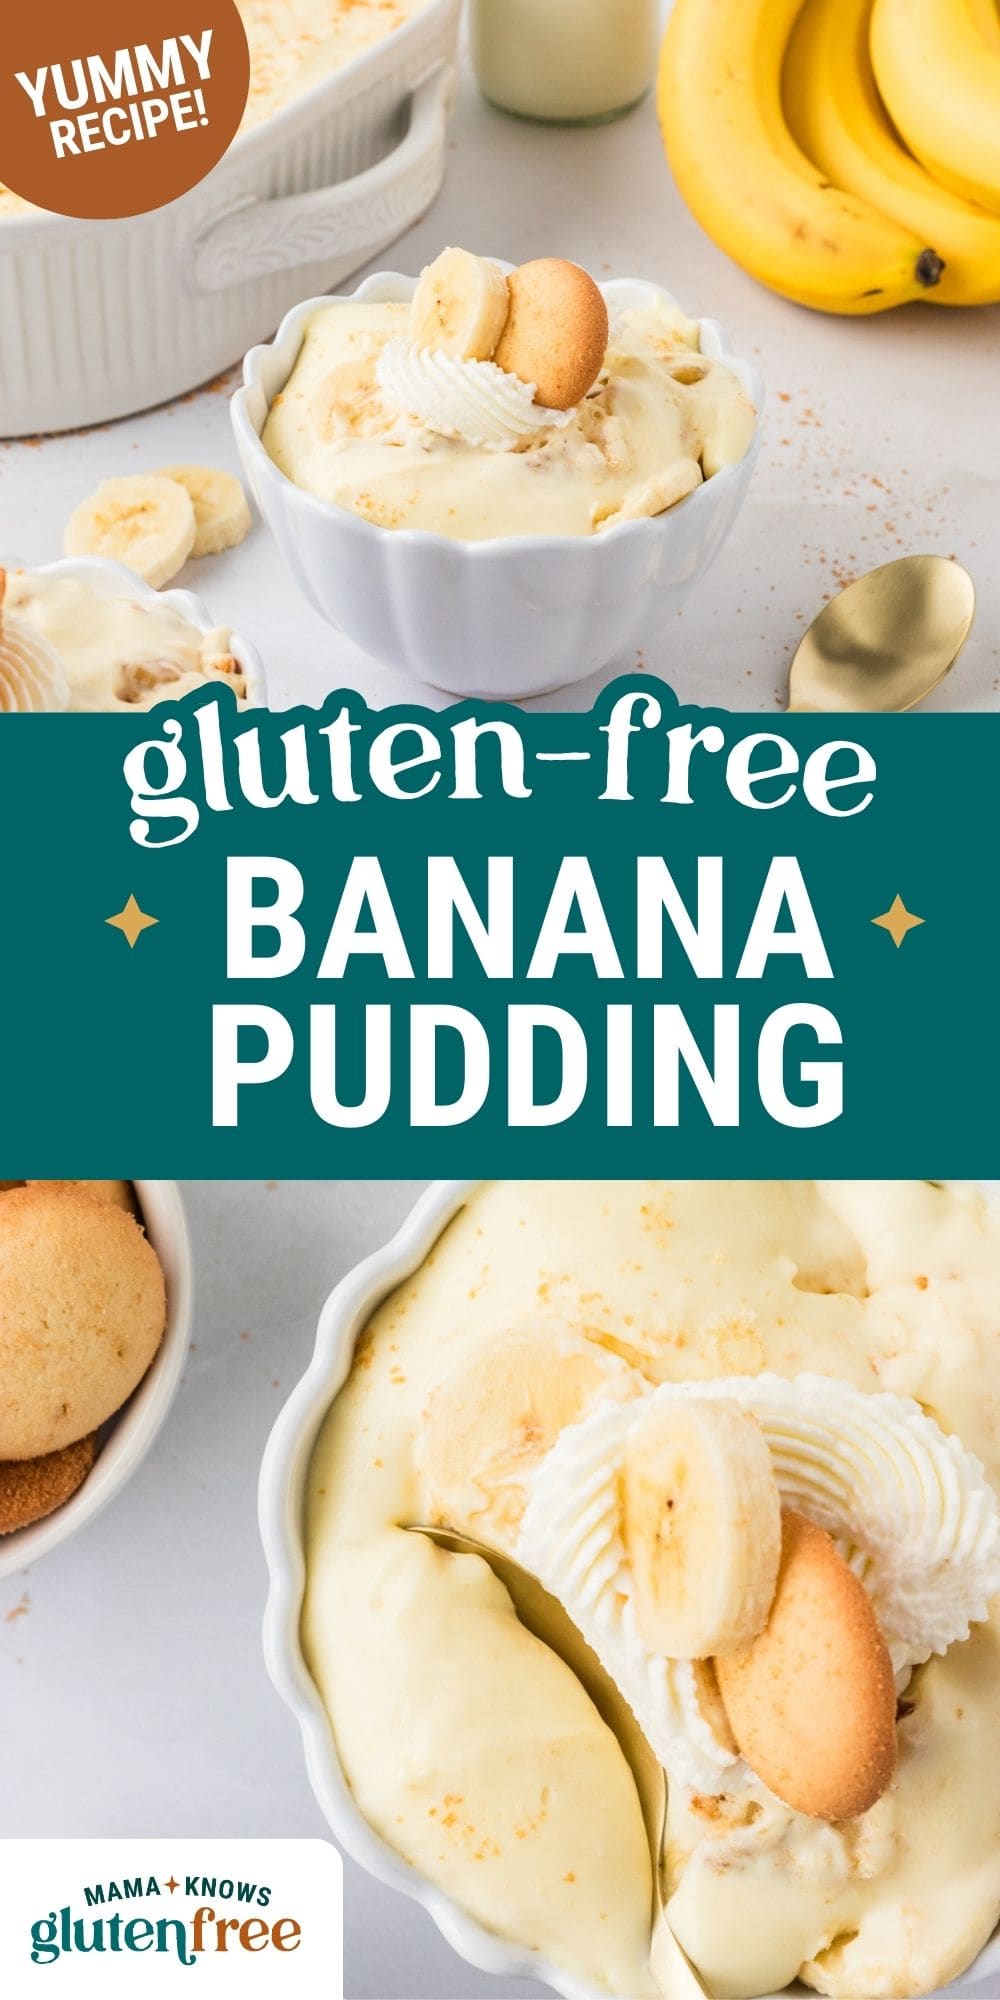
Banana pudding was a staple at every family gathering when I was growing up. I still remember digging into that creamy, cookie-filled dessert at summer cookouts and holiday dinners—it was always my favorite part. This easy gluten-free banana pudding brings back all those memories, but with a twist that fits my gluten-free lifestyle. With layers of homemade gluten-free vanilla wafer cookies, ripe bananas, and silky homemade pudding, it’s a nostalgic, no-bake treat everyone can enjoy.
“This is by far THE BEST banana Pudding i have ever made! It has become a major hit at all my gatherings. And no one ever knows it is gluten free until after. Thank you for such a wonderful recipe. I’ve made this several times and it is going to be a regular on my dessert menu.”
– Tara
Gluten-Free Banana Pudding
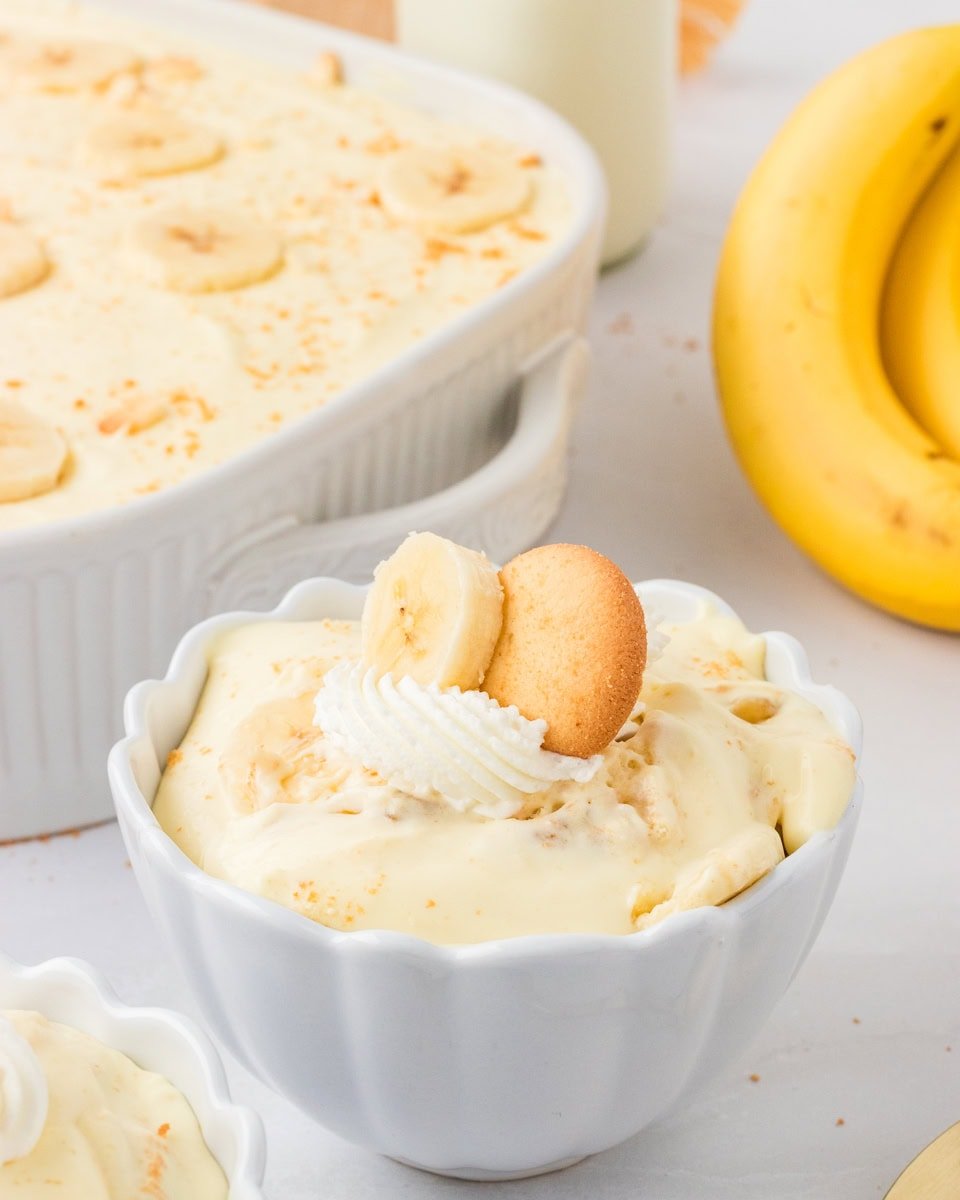
Gluten-free banana pudding is a Southern classic that never goes out of style—and this version is so much more than just banana-flavored pudding or cookies in a cup. I like to think of it as a dessert casserole with layers of gluten-free vanilla wafers, fresh banana slices, and a thick, creamy vanilla pudding that’s full of nostalgic flavor. It’s completely gluten-free, incredibly easy to make, and always a hit at potlucks, holidays, or family dinners. You only need a few simple ingredients and a few easy steps. Plus, it can be made ahead of time and chilled until you’re ready to serve.
Gluten-Free Banana Pudding
Ingredients
- 1 5-oz box gluten-free instant vanilla pudding mix
- 2 cups whole milk, See notes for a dairy-free option.
- 1 8-oz cream cheese, softened, See notes for a dairy-free option.
- 1 14-oz can sweetened condensed milk, See notes for a dairy-free option.
- 2½ cups heavy whipping cream, You can use a 12-oz container of Cool Whip in place of the homemade whipped cream. See notes for a dairy-free option.
- 1 teaspoon pure vanilla extract
- ½ cup powdered sugar
- 6-8 medium bananas, sliced 1/4-inch thick, Use just barely ripe bananas. If the bananas are ripe or have spots, they will be too mushy by the time the putting sets up. You can toss the sliced bananas in lemon juice to slow down their browning.
- 2 6-oz boxes homemade gluten-free vanilla wafers
Instructions
- Use an electric or stand-up mixer when making the pudding, cream cheese mixture, and homemade whipped cream. You don’t have to wash the beaters between steps because they will all be mixed together.
Pudding Step:
- In a medium-sized bowl, combine the whole milk and pudding mix and blend well using an electric mixer until smooth. Set aside to thicken.
Cream Cheese Step:
- In a different large bowl, combine the cream cheese and sweetened condensed milk together with an electric mixer and mix until smooth.
Whipped Cream Step:
- In a medium-sized bowl, whip together the heavy whipping cream, pure vanilla extract, and powdered sugar with an electric mixer until smooth and firm.
Pudding Mixture Step:
- Add the vanilla pudding to the cream cheese mixture and stir until well blended.
- Fold the whipped cream into the pudding and cream cheese mixture.
Layering Step:
- Line the bottom of a 9 × 13-inch dish with the gluten-free vanilla wafers
- Add a layer of the sliced bananas on top of the gluten-free vanilla wafers.
- Pour half of the pudding mixture over the first layer of gluten-free vanilla wafers and sliced bananas. Use a spatula to smooth the top of the pudding mixture.
- Cover the pudding mixture with the remaining gluten-free vanilla wafers and sliced bananas.
- Pour the remaining pudding mixture over the second layer of gluten-free vanilla wafers and sliced bananas. Use a spatula to smooth the top of the pudding mixture.
- Cover with plastic wrap and place in the refrigerator to chill for at least 4 hours.
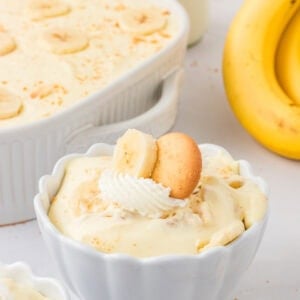
- When ready to serve, garnish with more whipped cream, gluten-free vanilla wafers, banana slices, or wafer crumbs.
- Store leftovers covered in the refrigerator.
Notes
- For the dairy-free pudding, you will need to use the Jell-O Cook & Serve vanilla pudding. Dairy-free milk will not work with instant pudding.
- You will also use only 1 ½ cups of dairy-free milk to make the pudding. I recommend unsweetened almond milk. Soy milk is not recommended for Jell-O pudding mix.
- I buy dairy-free sweetened condensed coconut milk (11.6-ounce) from Walmart.
- I like Kite Hill dairy-free cream cheese.
- I use the 9-ounce So Delicious Cocowhip in place of the homemade whipped cream/Cool Whip.
- Kinnikinnick gluten-free vanilla wafers are also dairy-free.
Nutrition
Nutrition information is automatically calculated, so should only be used as an approximation.
How To Make Gluten-Free Banana Pudding Step by Step
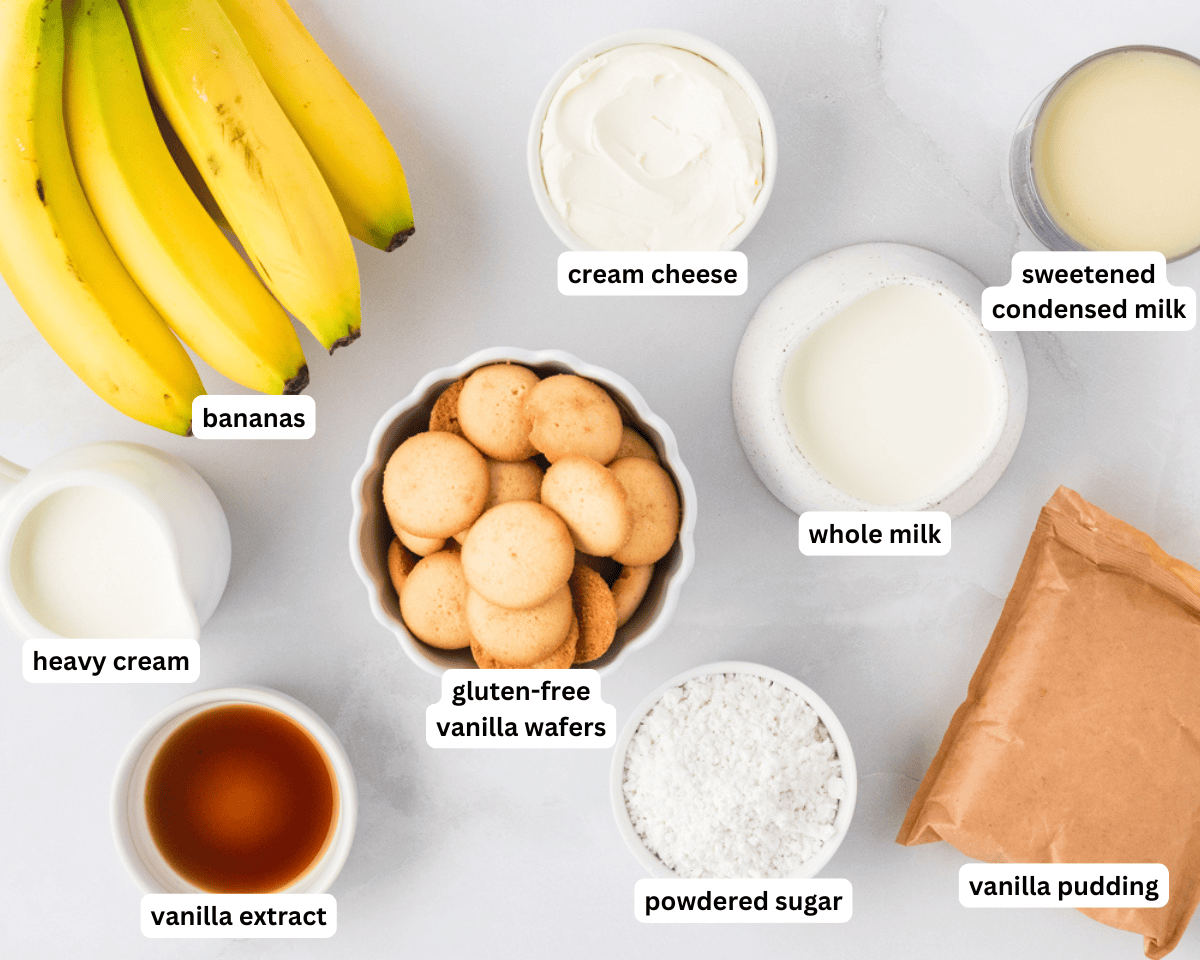
Gather all the ingredients together.
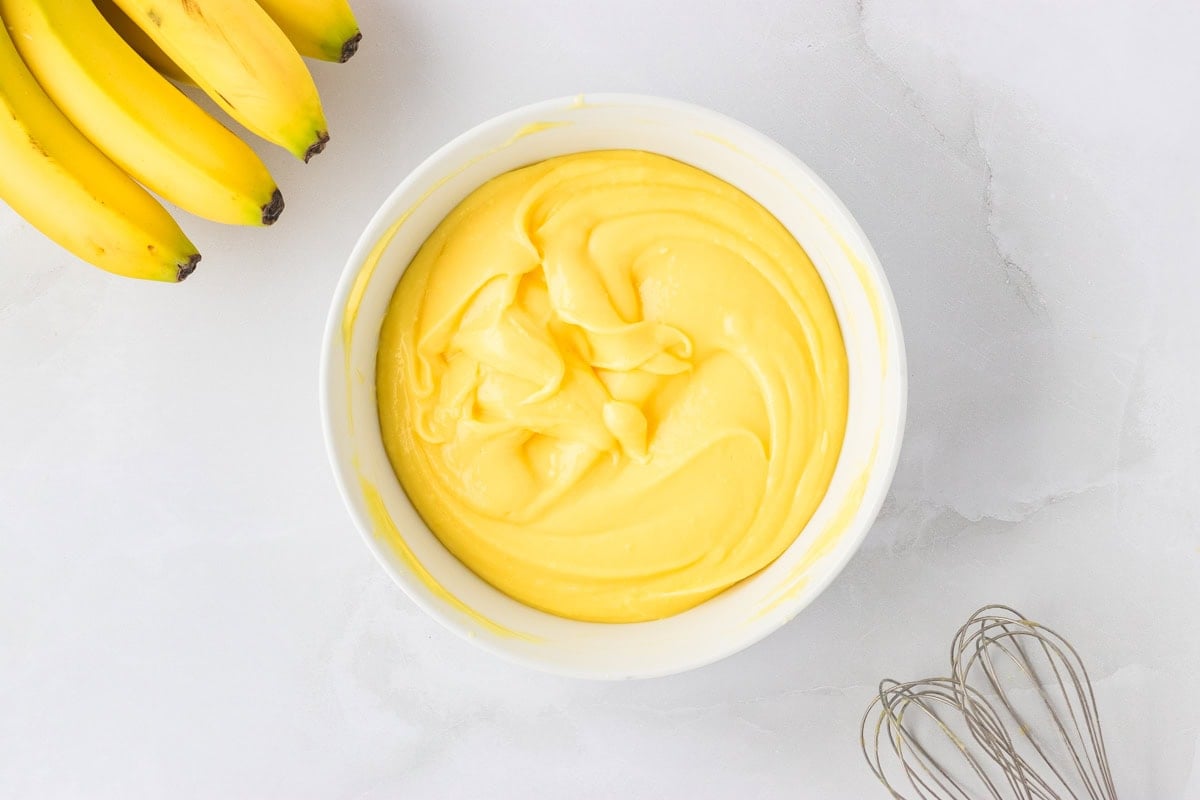
Make the pudding: In a medium bowl, whisk together 1 (5 oz) box of gluten-free instant vanilla pudding mix and 2 cups of whole milk using an electric mixer until smooth and slightly thickened. Set aside to thicken while you prepare the rest.
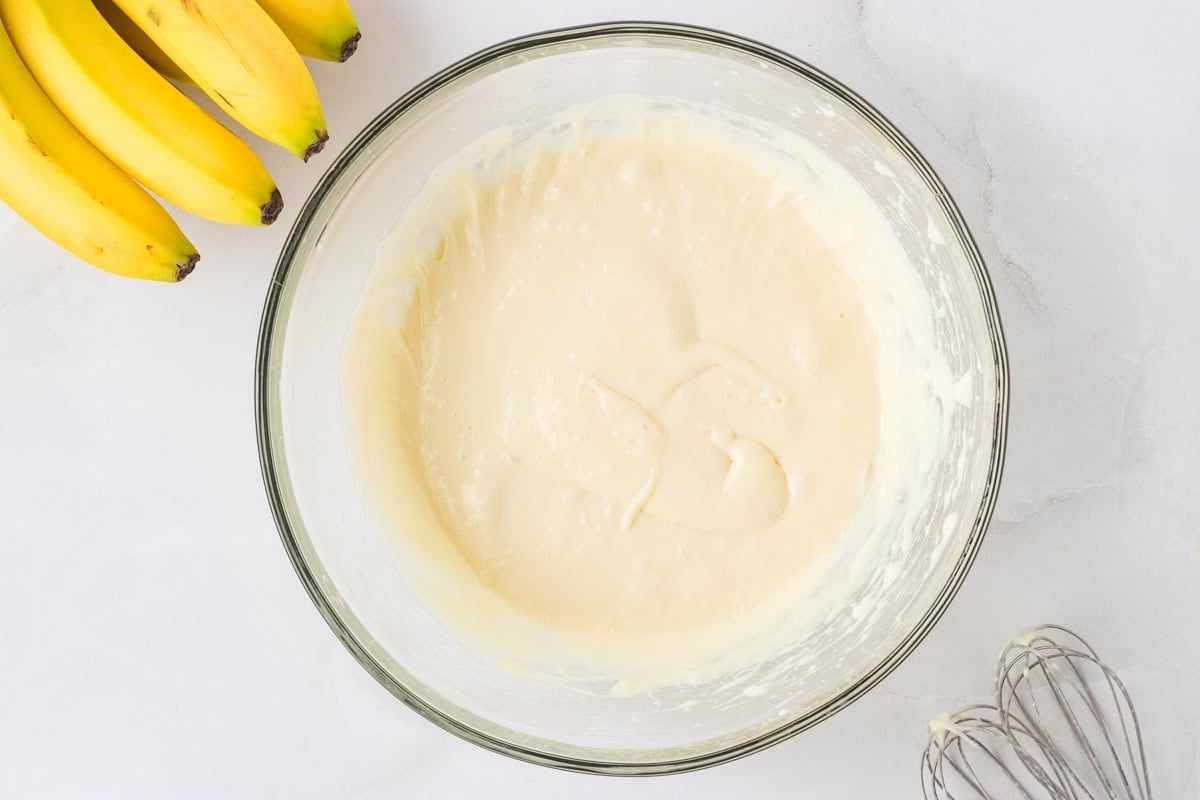
Mix the cream cheese base: In a large bowl, beat 1 (8 oz) block of softened cream cheese with 1 (14 oz) can of sweetened condensed milk until the mixture is smooth and creamy.
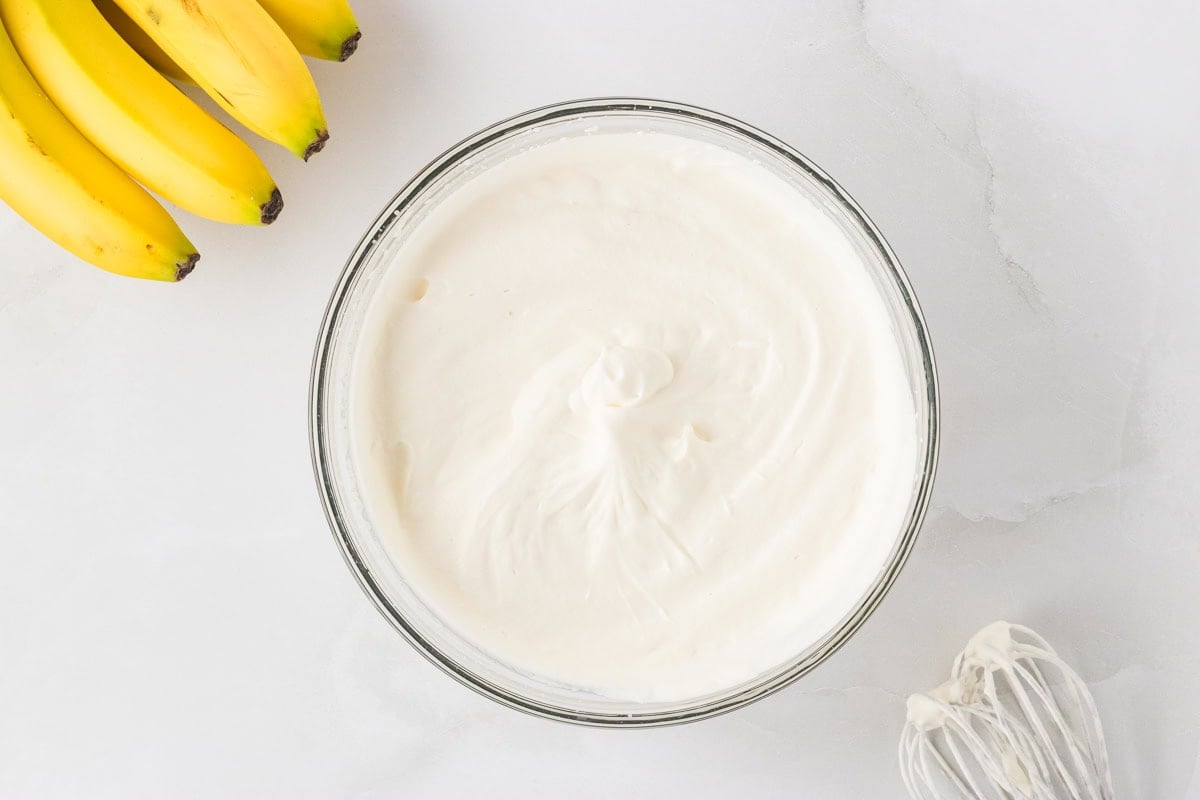
Whip the cream: In another medium bowl, whip 2 ½ cups of heavy whipping cream with 1 tsp of vanilla extract and ½ cup of powdered sugar until stiff peaks form.
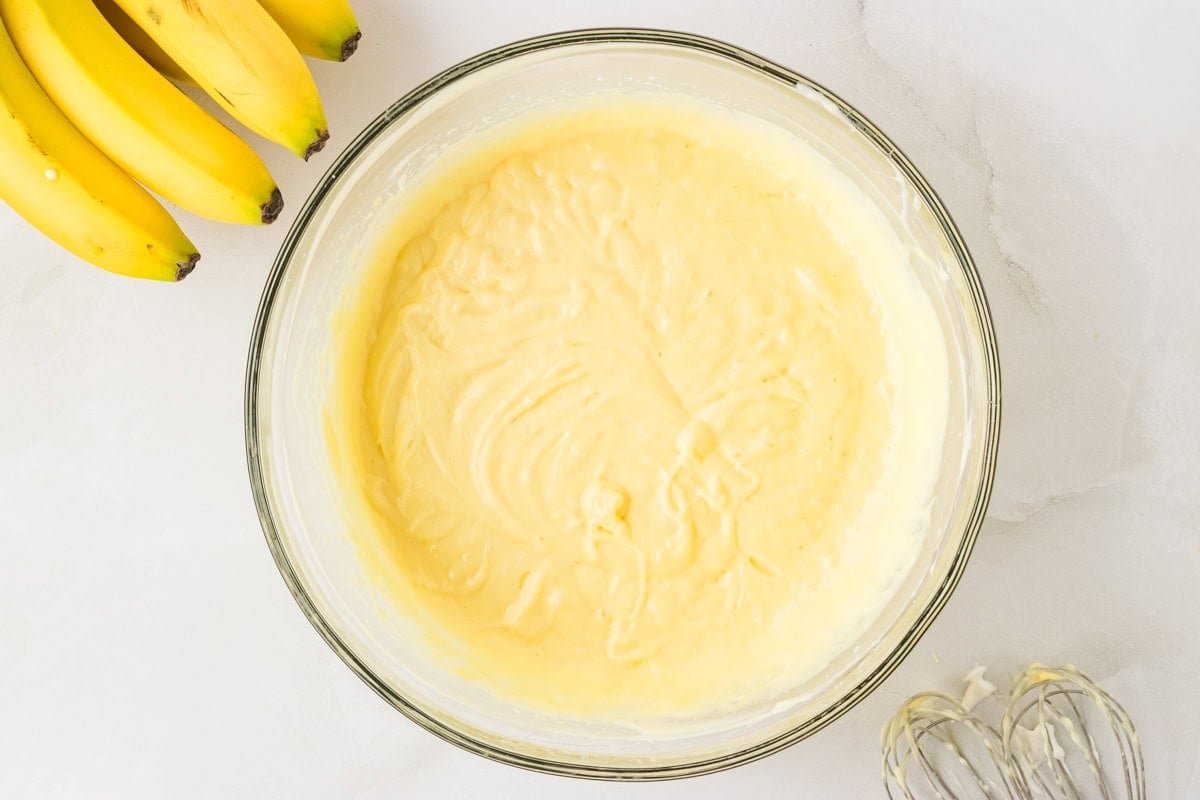
Combine the pudding and cream cheese: Add the prepared pudding to the cream cheese mixture and mix until well combined.

Fold in the whipped topping: Then gently fold in the whipped cream until the mixture is fully blended and fluffy.

Layer the dessert: In a 9×13-inch dish, start by covering the bottom with 1 of the (6 oz) boxes of gluten-free vanilla wafers or homemade gluten-free wafers.

Top with banana slices: Top the wafers with half of the 6–8 medium bananas, sliced into ¼-inch thick rounds (use just barely ripe bananas for the best texture).

Add the pudding layer: Pour half of the pudding mixture over the bananas and use a spatula to smooth it into an even layer.

Repeat the layers: Repeat with the second 6 oz box of gluten-free vanilla wafers and remaining banana slices. Top with the rest of the pudding mixture, smoothing out the top.

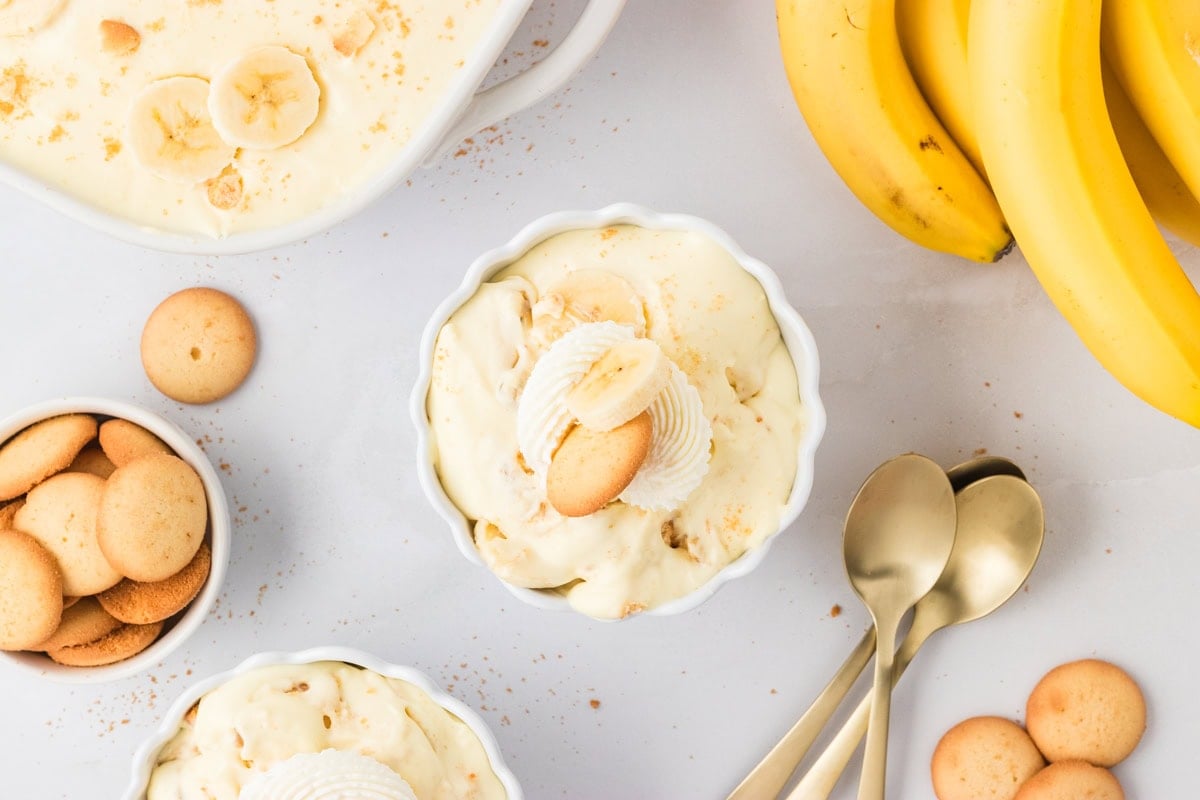
Chill and serve: Cover the dish with plastic wrap and refrigerate for at least 4 hours, or overnight for best flavor and texture. Before serving, garnish with additional whipped cream, banana slices, gluten-free vanilla wafers, or crushed cookie crumbs. Enjoy!
Tips for Success
- Use a spatula to carefully fold the pudding and whipped cream into the cream cheese mixture—this keeps the filling light and fluffy. A spatula is also great for smoothing out the top layers evenly.
- This dessert needs at least 4 hours in the fridge to firm up properly. I usually make it the night before to give it plenty of time to set and for the flavors to meld.
- To help keep the banana slices looking fresh, lightly toss them with a bit of lemon juice before layering.
- Don’t add any toppings until just before serving. I like to finish each portion with a dollop of whipped cream, a gluten-free vanilla wafer, a few banana slices, and a sprinkle of cookie crumbs for that perfect final touch.
Serving Suggestions
Southern banana pudding is one of those desserts that instantly takes me back to family gatherings and Sunday potlucks—it was always the first thing to disappear from the table. This gluten-free version is just as creamy, comforting, and crowd-pleasing as the classic I grew up with. It’s perfect for make-ahead entertaining, and no one ever guesses it’s gluten-free. I like to top mine with a sprinkle of crushed gluten-free molasses cookies for a little crunch and sometimes a dash of cinnamon or nutmeg for extra warmth. You can serve it in individual cups for parties or layer it in a big trifle dish for a show stopping centerpiece. It’s always a hit at BBQs, Easter brunches, or anytime you’re craving a nostalgic Southern treat.
Storage Instructions
Store the banana pudding covered in the refrigerator for up to 3 days. For the best texture and flavor, enjoy it within the first 1–2 days, as the bananas will soften over time. This dessert isn’t ideal for freezing, since the pudding can become watery and the bananas may turn mushy once thawed.
More Gluten-Free Banana Recipes
- Gluten-Free Banana Cake
- Banana Chia Pudding
- Gluten-Free Banana Bread
- Banana Oatmeal Cookies
- Gluten-Free Banana Pancakes
Our Gluten-Free Banana Pudding recipe was originally published 5/23/22. It was retested, reworked, and republished to be better than ever 7/25/25.
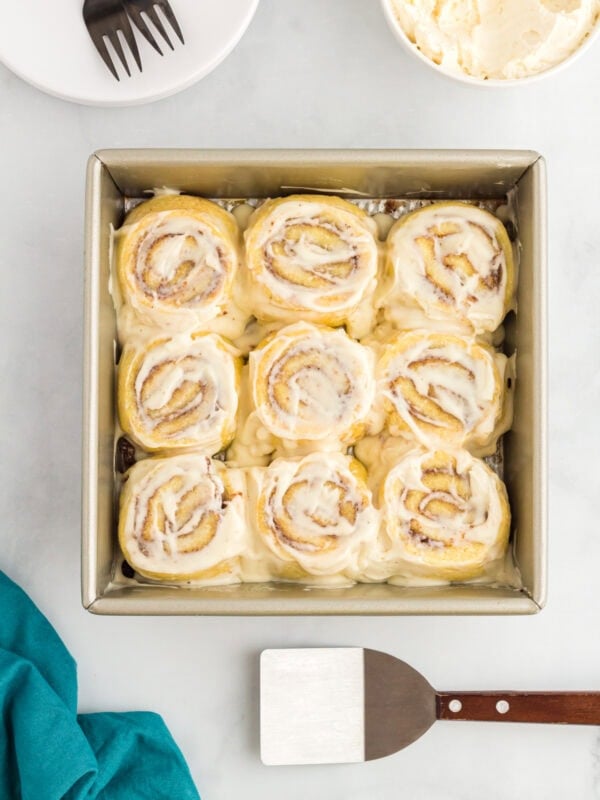


This is delicious. I made this before I read all the directions. 🙂 I made it into a pie with a pie crust, and for a pie this is enough filling for two pies! Will make this again.
This is by far THE BEST banana Pudding i have ever made! It has become a major hit at all my gatherings. And no one ever knows it is gluten free until after. Thank you for such a wonderful recipe. I’ve made this several times and it is going to be a regular on my dessert menu
I have made this and it’s absolutely delicious!
I was wanting to make it for Easter brunch but we will be leaving to go out of town Friday night and won’t be back till Sunday morning which won’t give me enough time to make it. do you think I could make it Friday night and just keep in the fridge till Sunday morning?
I made this for family Christmas. Everyone loved it. It’s a keeper and I will definitely make again. No one knew it was gluten free 😉
Can’t wait to try.
Absolutely delicious!!
Looks very good.