Gluten-Free Chocolate Chip Cookies

Published
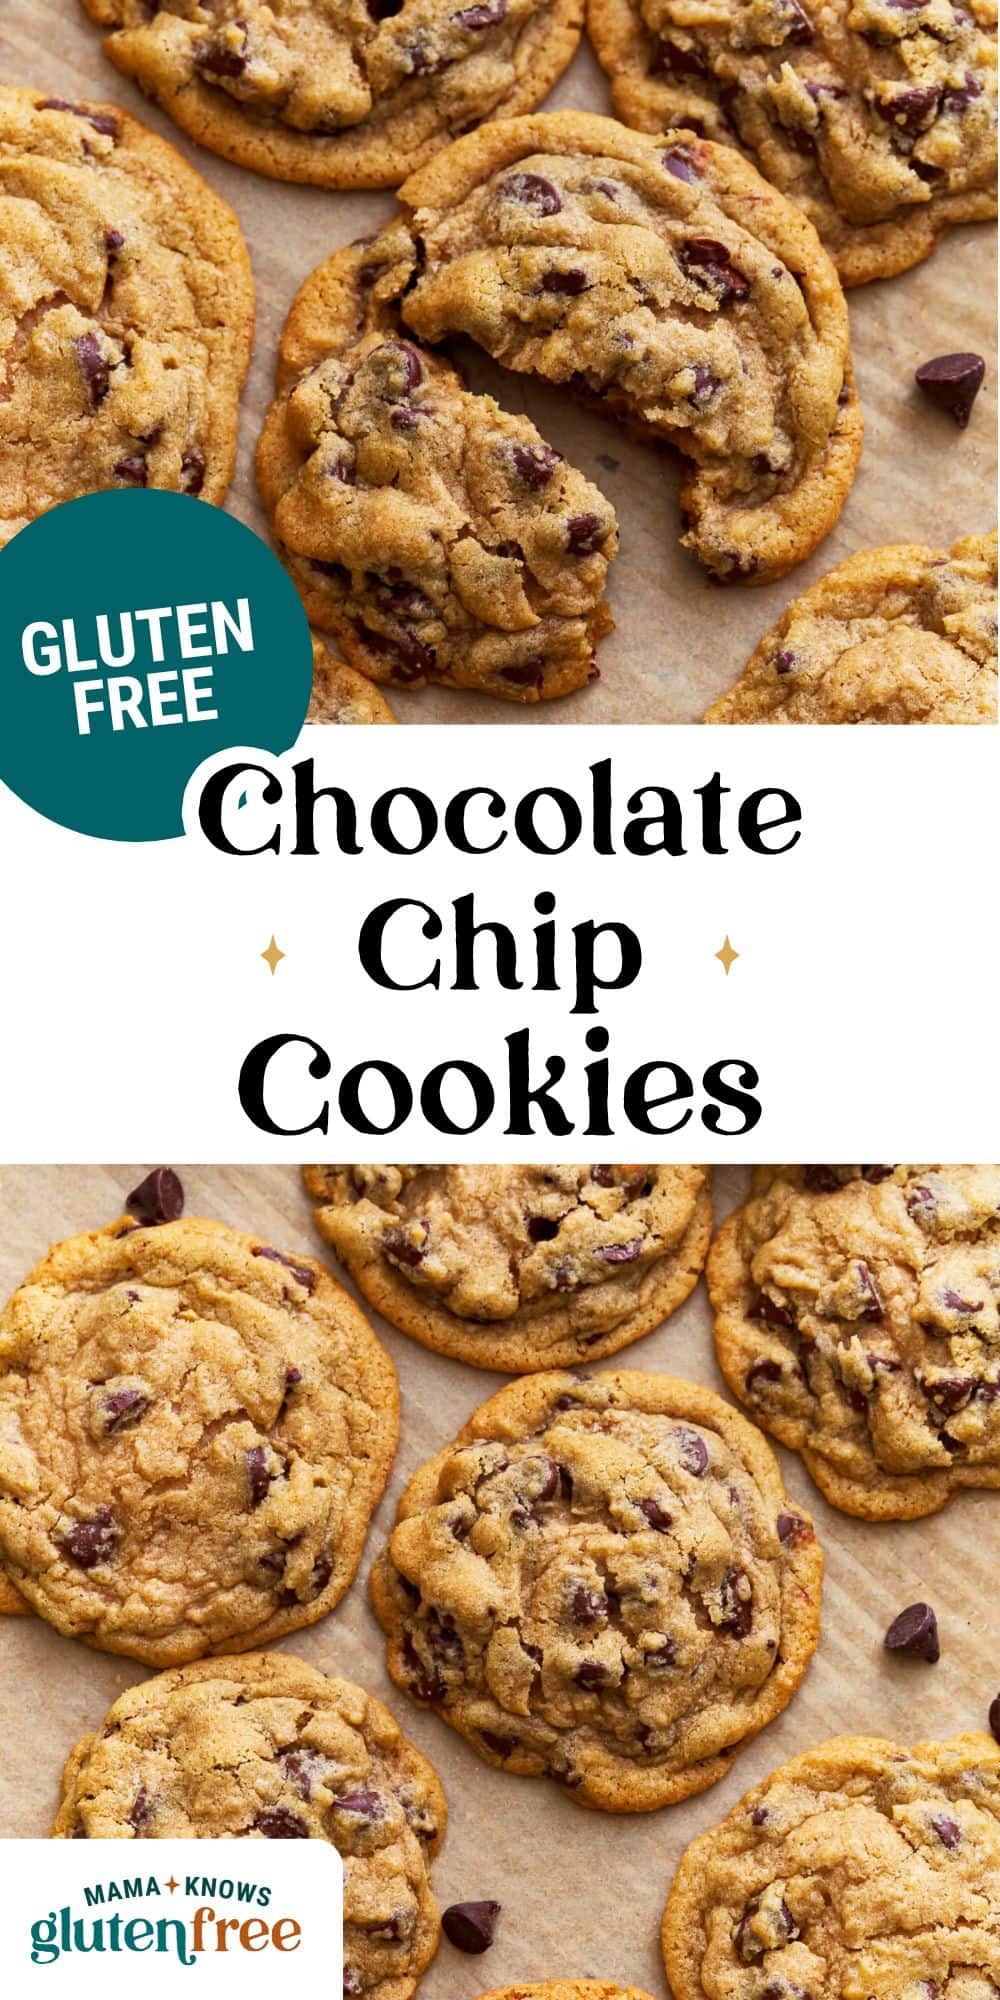
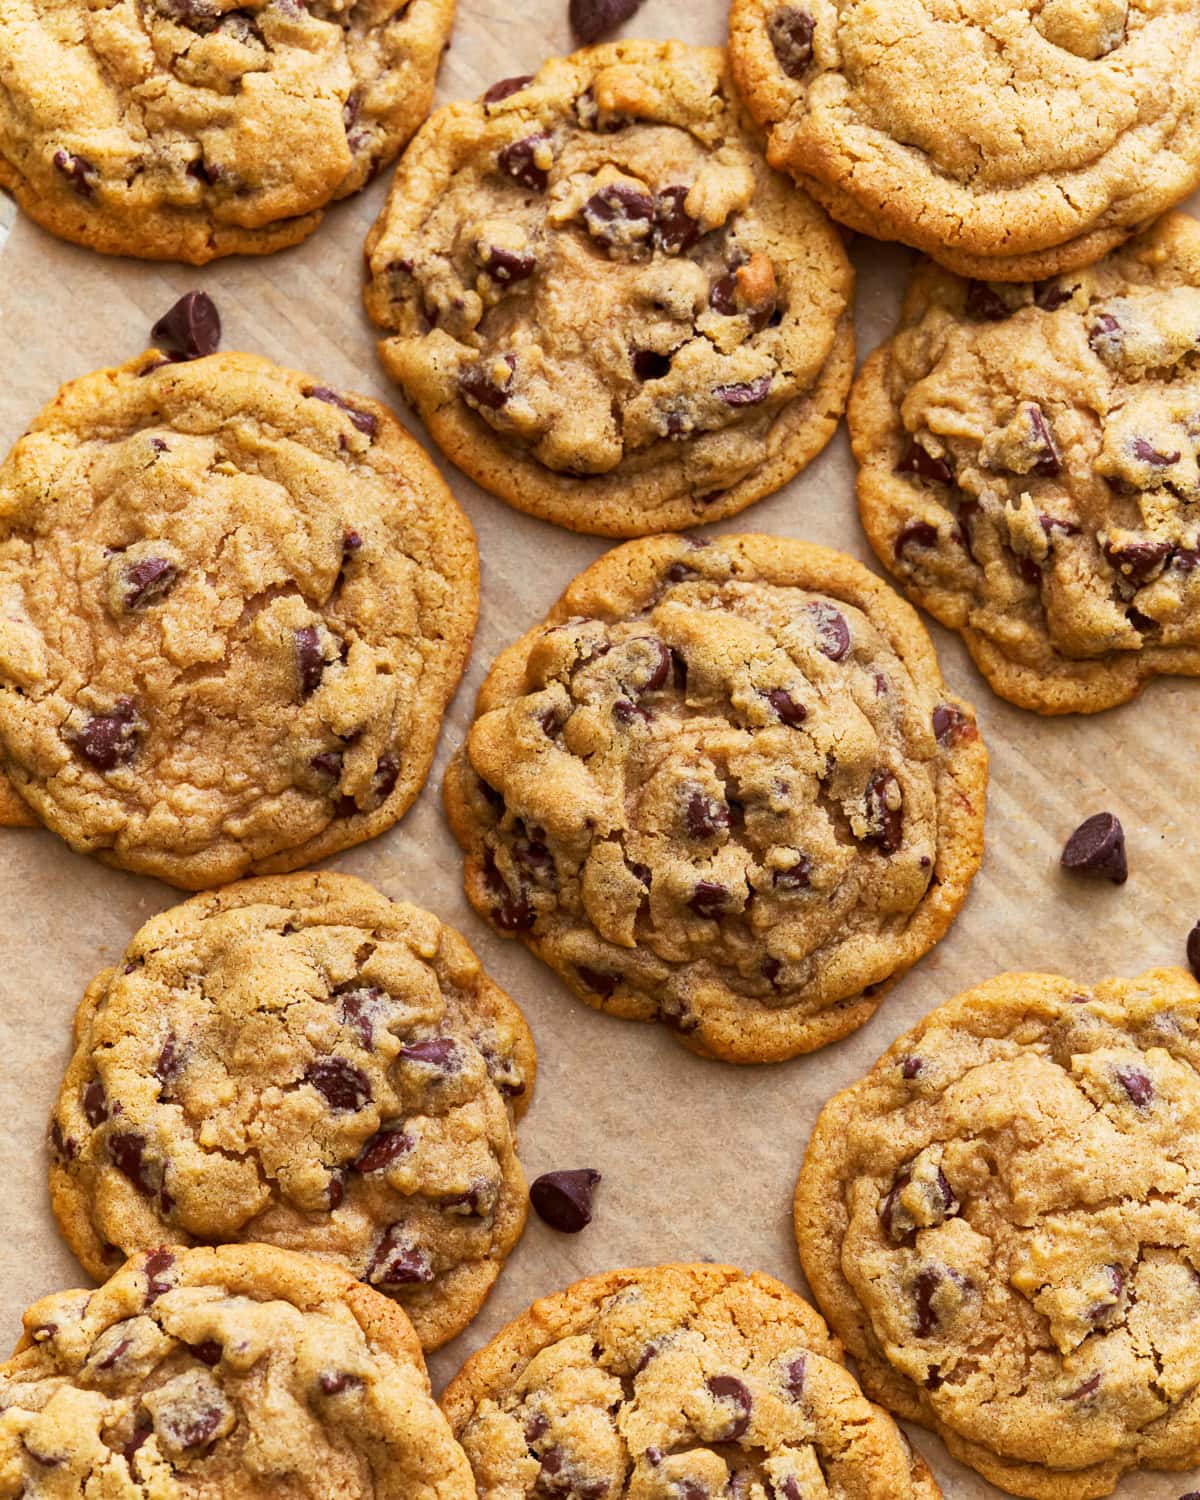
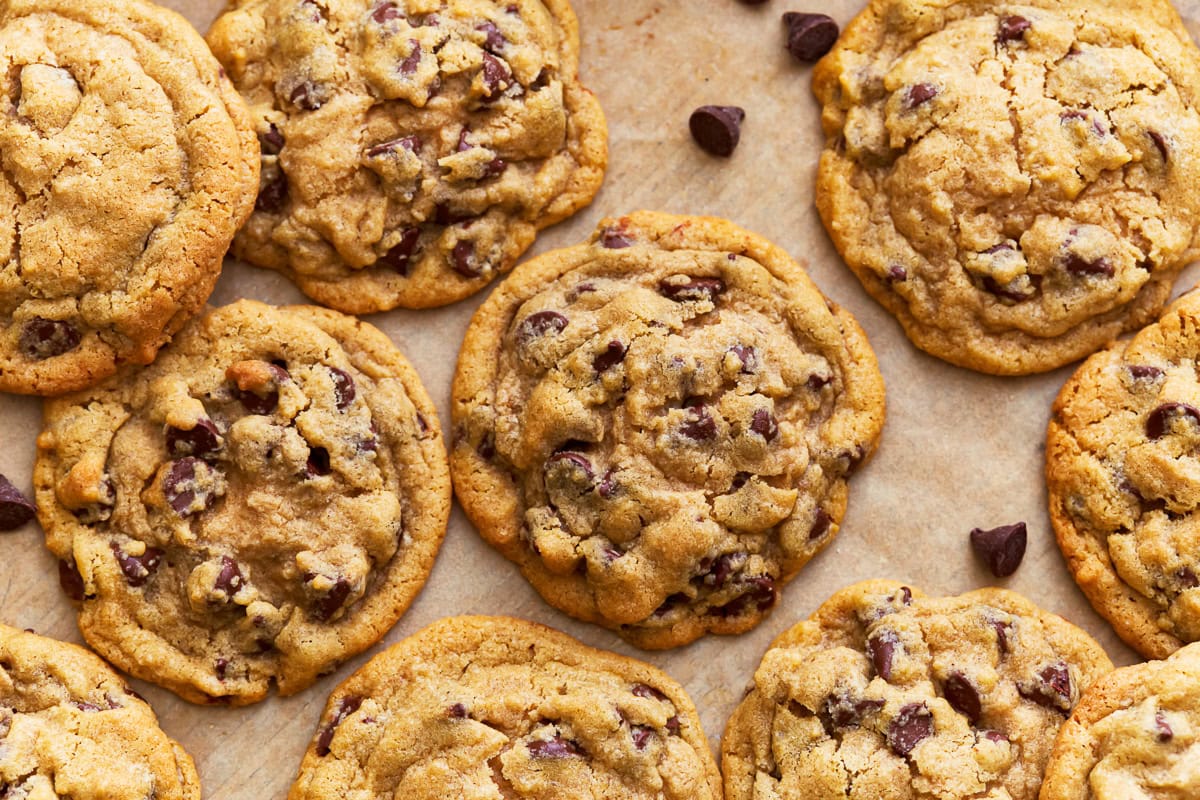
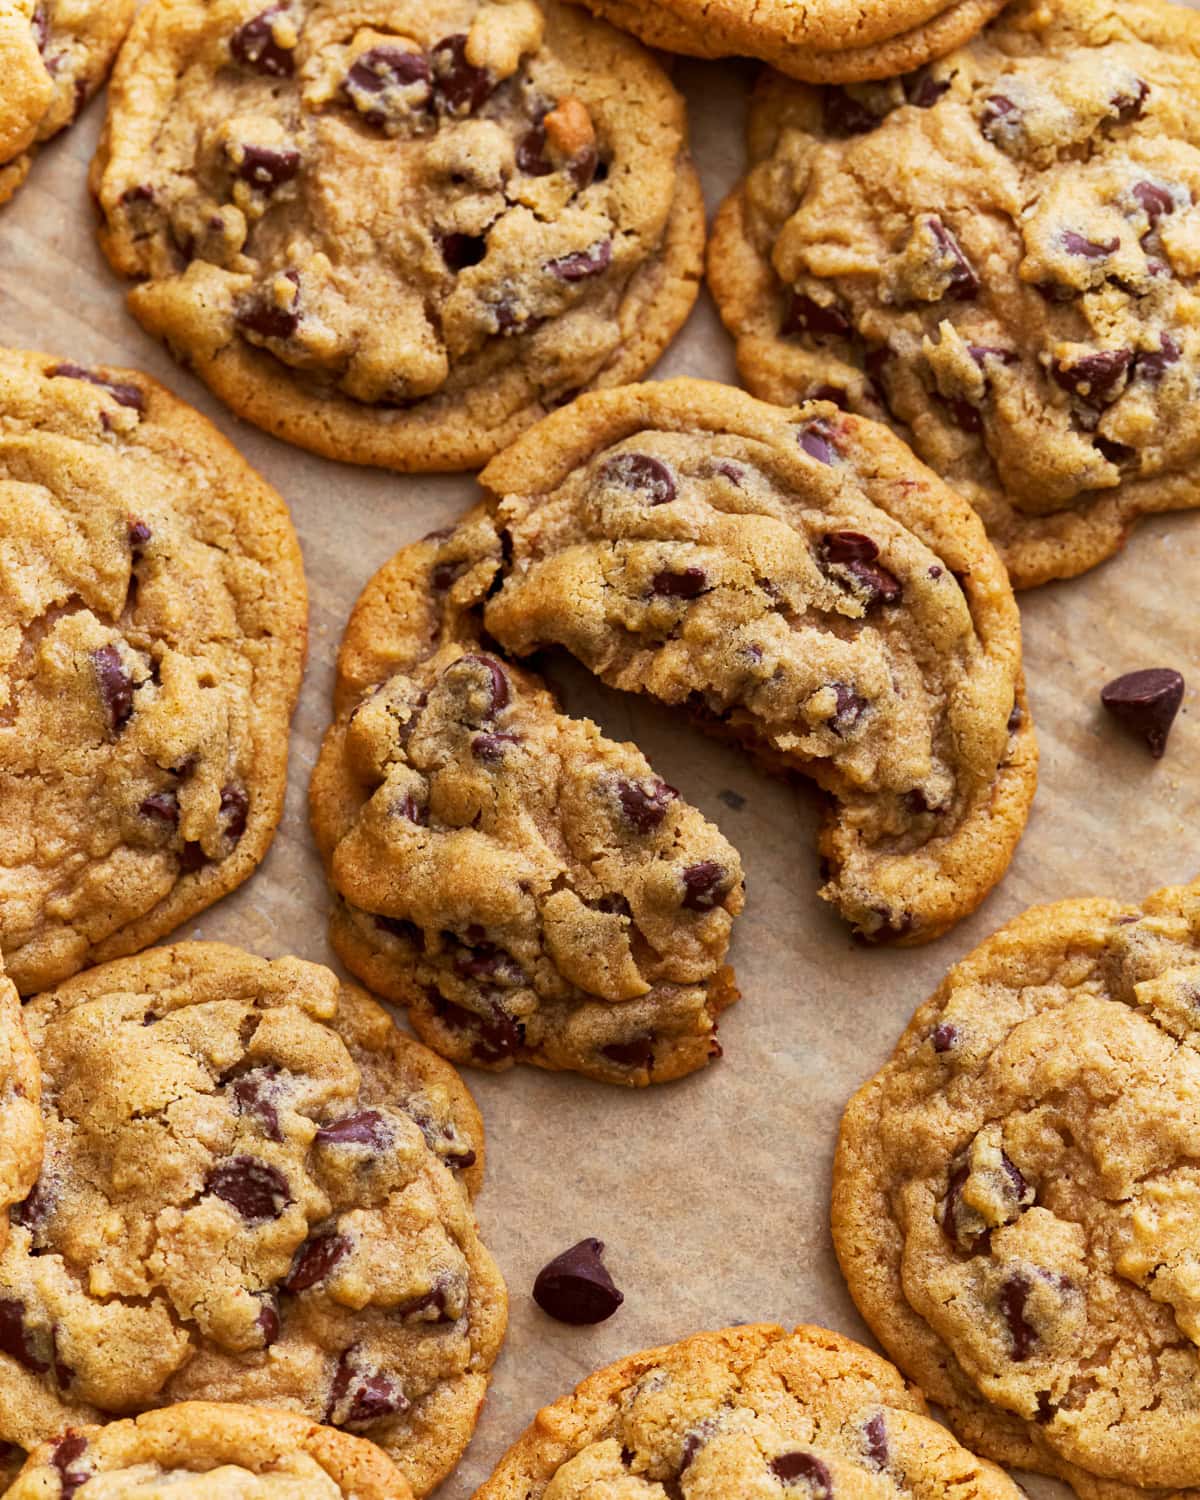
These gluten-free chocolate chip cookies are one of the most popular cookie recipes on my website, and it’s easy to see why! Each cookie is perfectly chewy, has a slightly crisp edge, and is loaded with gooey chocolate chips. I promise no one will even know they’re gluten-free! This recipe also includes dairy-free and vegan options. These cookies are my family’s favorite, and I love how they come together quickly in one bowl and require no chilling time.
Easy Gluten-Free Chocolate Chip Cookies Recipe
I really missed the Nestle Toll House Cookies when I turned gluten-free. Those are my favorite types of cookies—crunchy on the edges but soft and chewy in the center. No recipe I tried or store-bought cookie I purchased compared to the ones I remembered. After many trials and errors (crumbly cookies, burnt edges, flat discs), I finally found the perfect combination of ingredients and techniques to create the best gluten-free chocolate chip cookies ever. Each bite is filled with flavor from the chocolate chips, vanilla extract, and sweetness from molasses and sugar. These cookies turn out perfectly every time!
Ingredients
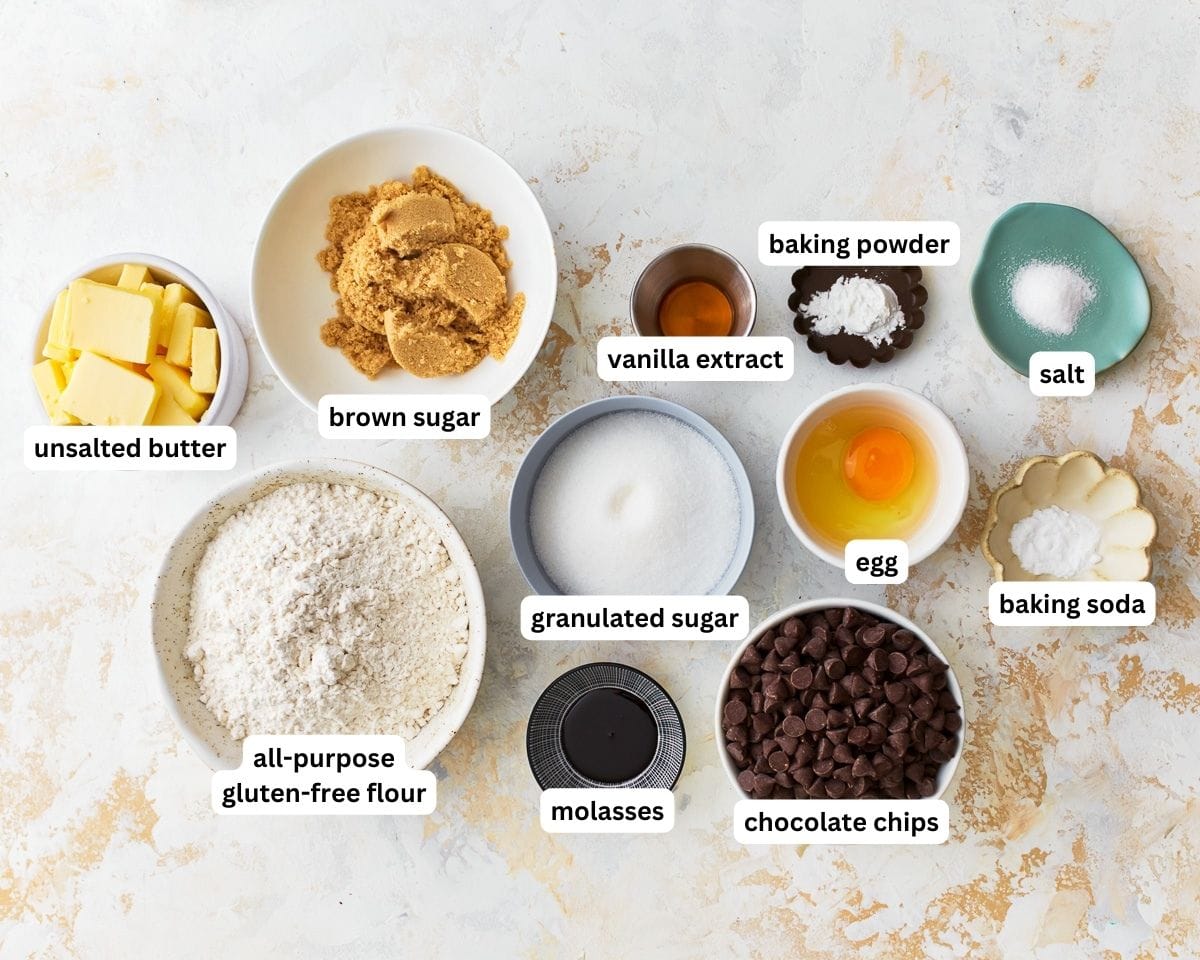
- All-Purpose Gluten-Free Flour with Xanthan Gum: I use Pillsbury gluten-free flour because it already contains xanthan gum. I can’t guarantee the same results with other gluten-free flour blends. If your blend doesn’t contain it, you’ll need to add a ½ teaspoon of xanthan gum for every cup of flour.
- Unsalted Butter: Makes the cookies rich and buttery. I used Smart Balance butter to make gluten-free dairy-free chocolate chip cookies, but any vegan butter will work.
- Sugar: I combine granulated sugar and brown sugar to achieve the perfect amount of sweetness and a chewy texture.
- Molasses: Adds flavor and moisture to the cookies. I use Grandma’s® Molasses (Original). You can leave this out if you don’t have any on hand, but I highly recommend using it.
- Pure Vanilla Extract: Adds a warm, sweet flavor to the dough.
- Egg: Binds the ingredients together and adds structure to the cookies. For an egg-free/vegan option, I use Bob’s Red Mill Gluten-Free Egg Replacer.
- Baking Soda: Gives the cookies a little lift and helps them spread.
- Baking Powder: Also helps with the rise and adds a slight crunch to the edges. Make sure to use gluten-free baking powder.
- Salt: Enhances the flavors and balances out the sweetness.
- Chocolate Chips: Use your favorite brand of chocolate chips or chop up a chocolate bar into chunks. I personally love semi-sweet chocolate chips! For dairy-free/vegan cookies, I use Nestle Simply Delicious or Enjoy Life mini chocolate chips.
Tips and Suggestions
- Don’t skip the step to soften the butter. Take the butter out of the refrigerator and allow it to soften on the counter for 15-30 minutes. If you’re using dairy-free or vegan butter, you shouldn’t need to soften it.
- My preferred gluten-free flour is Pillsbury gluten-free flour. Not all gluten-free flours are created equal. You may experience different baking results depending on the gluten-free flour blend you choose. This recipe will not work with almond or coconut flour.
- I’ve found the best way to measure gluten-free flour is the “spoon & level” method. I use a spoon to scoop the flour into the measuring cup, then use the back of a knife to level off the top. Scooping the measuring cup directly into the bag of gluten-free flour will give you more flour than is called for in this recipe.
- I always use a greased cookie scoop. I use a 1 ½ tablespoon cookie scoop.
- If you want your chocolate chip cookies to be gooey, the trick is to not over-bake them (bake for 8 minutes).
- If you want your cookies to be more fluffy, chill the cookie dough for 30 minutes.
What Is The Best Gluten-Free Flour to Make Cookies?
Different flours each have unique properties that can affect the texture and taste of your cookies. In this recipe for gluten-free chocolate chip cookies, I use Pillsbury gluten-free flour, which is a rice flour cup-for-cup blend. A cup-for-cup all-purpose gluten-free flour blend already has starches and xanthan gum. The xanthan gum helps replace the elasticity and texture of gluten. Don’t add any extra xanthan gum to your flour if it already includes it. I recommend using the flour your chosen gluten-free cookie recipe calls for.
Can I Freeze The Cookie Dough?
Yes, freezing cookie dough is so easy! Portion out the cookie dough balls onto a baking sheet. Then, place the portions in the freezer to flash-freeze them for 10 minutes. Once the cookie dough is flash-frozen (a little frozen), place it into a freezer bag. Frozen raw cookie dough can last up to 3 months in the freezer.
You don’t need to thaw the cookie dough before baking. However, you’ll need to bake the cookies for an extra minute or two, so please watch your cookies.
Can I Use Sugar Alternatives?
I haven’t tried this recipe with sugar alternatives, but some of my readers have! You can try using a sugar-free substitute for the granulated and brown sugar, such as the Lakanto Monkfruit Sweetener or Swerve Brown Sugar Substitute. Another option would be swapping the brown sugar for maple syrup (1 cup of brown sugar = ¾ cup of maple syrup) and adding a little more flour. Keep in mind that using a sugar alternative may affect the texture and taste of the cookies, and I cannot guarantee the same results as those shown in my original recipe.
Storage Instructions
Keep your homemade gluten-free chocolate chip cookies in an airtight container for up to a week. You can also freeze them in a freezer-safe container for up to 3 months. Before serving, thaw the cookies at room temperature or reheat them in the microwave for 10-15 seconds for that fresh-baked taste.
More Classic Desserts To Try
- Gluten Free Pumpkin Pie is the perfect fall dessert prepared with crushed Chex cereal as a crunchy crust and filled with a creamy from-scratch pumpkin pie filling.
- This Pineapple Upside Down Cake is the classic soft butter cake with a brown sugar glaze that coats the pineapple slices and maraschino cherry topping.
- Light and airy, this Gluten Free Angel Food Cake is ready to be topped with your favorite toppings.
More Gluten-Free Cookie Recipes to Try!
- Gluten-Free Monster Cookies
- Gluten-Free Snickerdoodle Cookies
- Gluten-Free Oatmeal Cookies
- Gluten-Free Red Velvet Chocolate Chip Cookies
Gluten-Free Chocolate Chip Cookies

Ingredients
- 1 cup unsalted butter, softened, For dairy-free use Smart Balance butter, or vegan butter.
- 3/4 cup granulated sugar
- 3/4 cup brown sugar, packed
- 1 teaspoon molasses
- 1 teaspoon pure vanilla extract
- 1 large egg , For egg-free/vegan use Bob's Red Mill Gluten-Free Egg Replacer.
- 1/2 teaspoon baking soda
- 1/2 teaspoon gluten-free baking powder
- 1/2 teaspoon salt
- 2 1/2 cups all-purpose gluten-free flour with xanthan gum, I like Pillsbury gluten-free flour. Not all gluten-free flours are created equal. You may experience different baking results depending on the gluten-free flour blend you choose.
- 2 cups chocolate chips, For dairy-free/vegan use Nestle Simply Delicious or Enjoy Life mini chocolate chips.
Instructions
- Preheat oven to 375°F (190°C).
- In a large bowl beat the softened butter, granulated sugar, and brown sugar until creamy.
- Add the egg (or egg replacer), molasses, and pure vanilla extract to the butter mixture and mix until fully combined.
- Add the gluten-free flour, baking soda, baking powder, and salt to the butter mixture and mix until fully combined.
- Either stir in the chocolate chips with a spoon or use your mixer on low to mix the chocolate chips into the cookie batter.
- Drop by rounded tablespoon or use a greased cookie scoop. (I used a 1 1/2 tablespoon cookie scoop). Place the cookies 2 inches apart on a parchment-lined cookie sheet.
- Bake for 8-10 minutes until they start to turn golden brown (the centers of the cookies will be soft). Please watch your oven because all ovens are different.
- Cool and store leftovers in an air-tight container. Enjoy!
Notes
- My preferred gluten-free flour is Pillsbury gluten-free flour. Not all gluten-free flours are created equal. You may experience different baking results depending on the gluten-free flour blend you choose. This recipe will not work with almond or coconut flour.
- Measure the flour using the ”spoon & level” method.
- I always use a greased cookie scoop. I use a 1 ½ tablespoon cookie scoop.
- For the dairy-free option, I used Smart Balance butter and Nestle Simply Delicious Morsels. I also like Enjoy Life Mini Chocolate Chips.
- For the vegan (egg-free) option use Earth Balance butter, Nestle Simply Delicious Morsels, or Enjoy Life Mini Chocolate Chips (or your favorite vegan butter and chocolate chips) and Bob’s Red Mill Gluten-Free Egg Replacer.
- Store leftovers in an air-tight container for up to a week.
- The cookie dough can be frozen for up to 3 months.
- Mama says, “Check all of your labels!”
Nutrition
Nutrition information is automatically calculated, so should only be used as an approximation.
How to Make Gluten-Free Chocolate Chip Cookies Step-by-Step
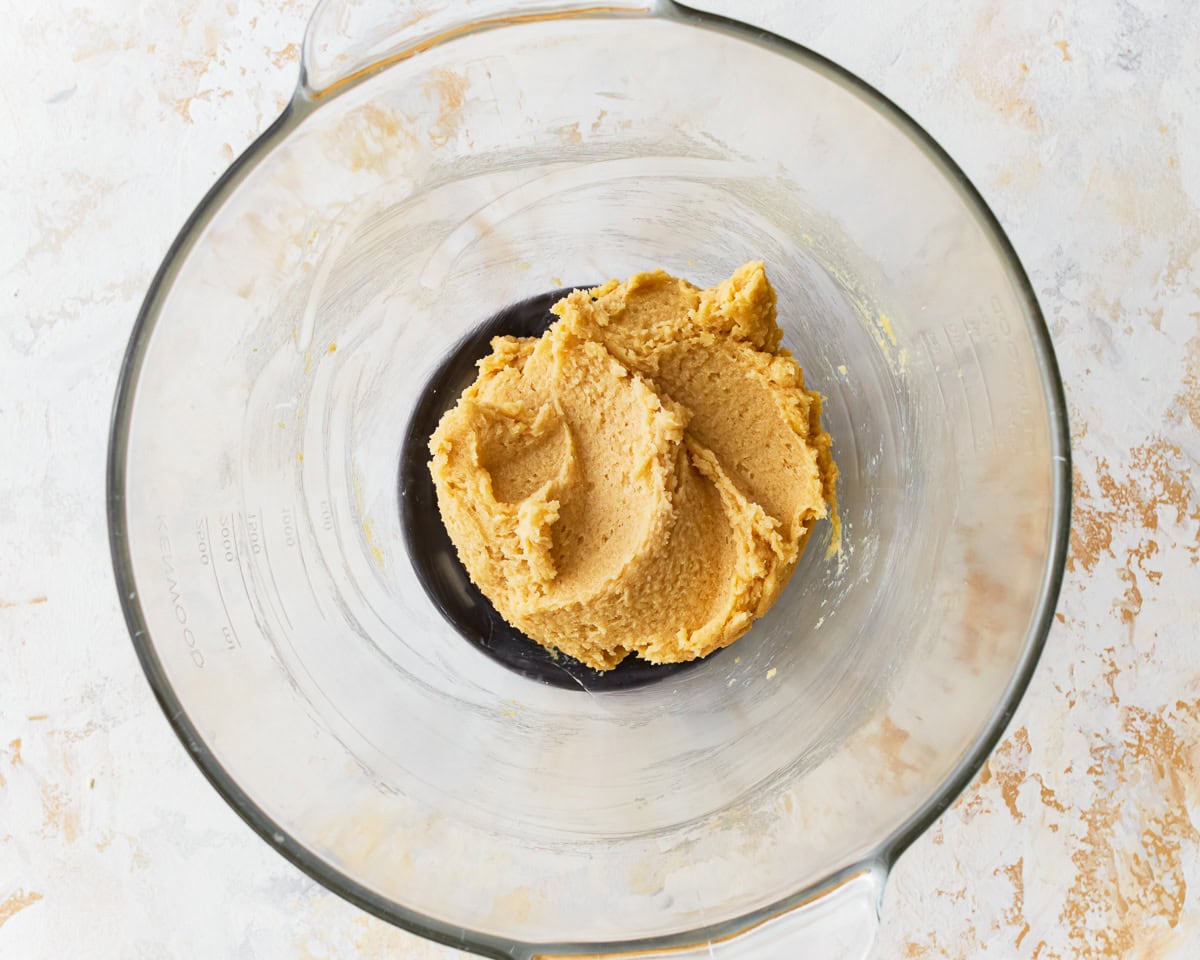
Preheat your oven to 375°F. Beat together 1 cup of softened unsalted butter, ¾ cup of granulated sugar, and ¾ cup of packed brown sugar in a large bowl until smooth and creamy.
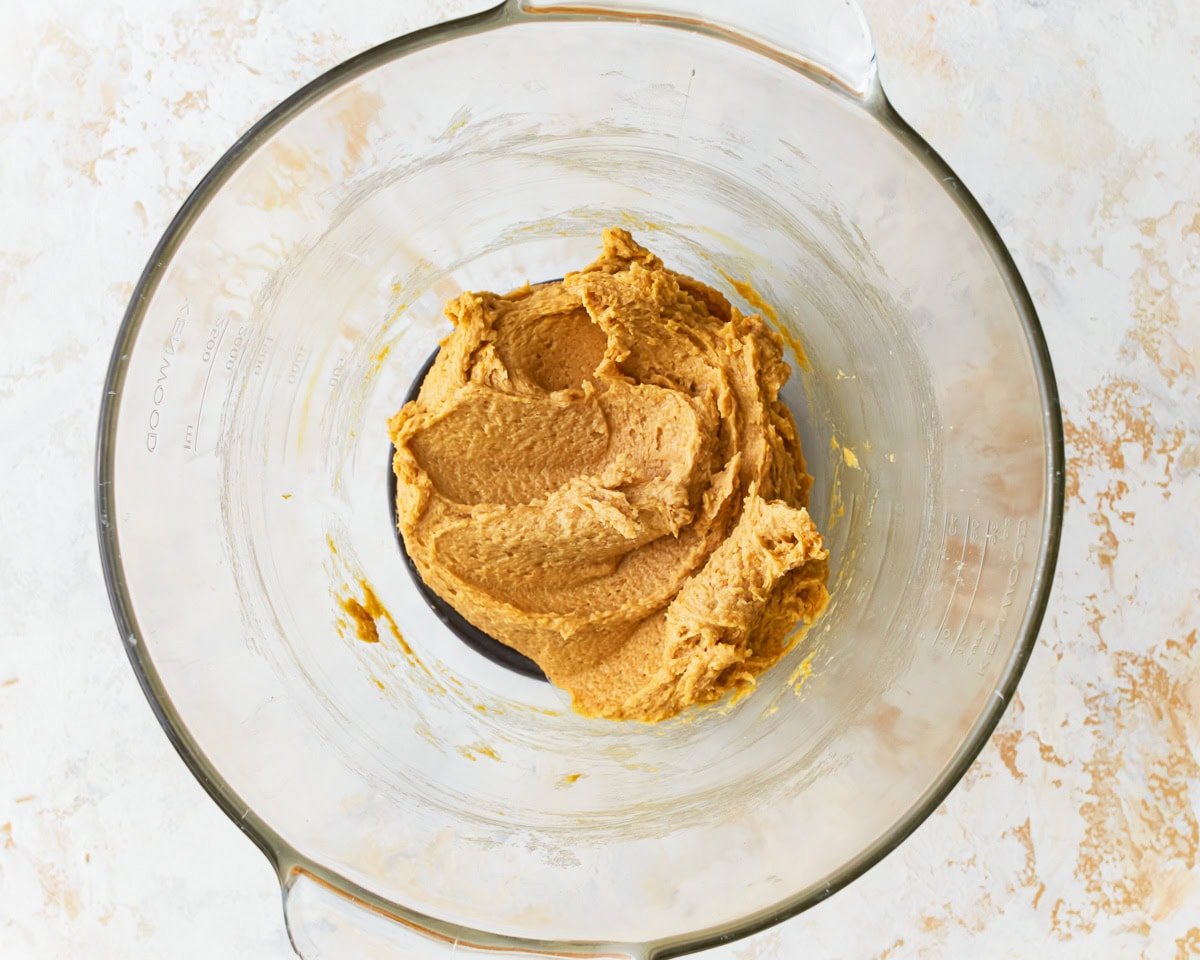
Add 1 large egg (or egg replacer), 1 teaspoon of molasses, and 1 teaspoon of pure vanilla extract to the butter and sugar. Mix until well combined.
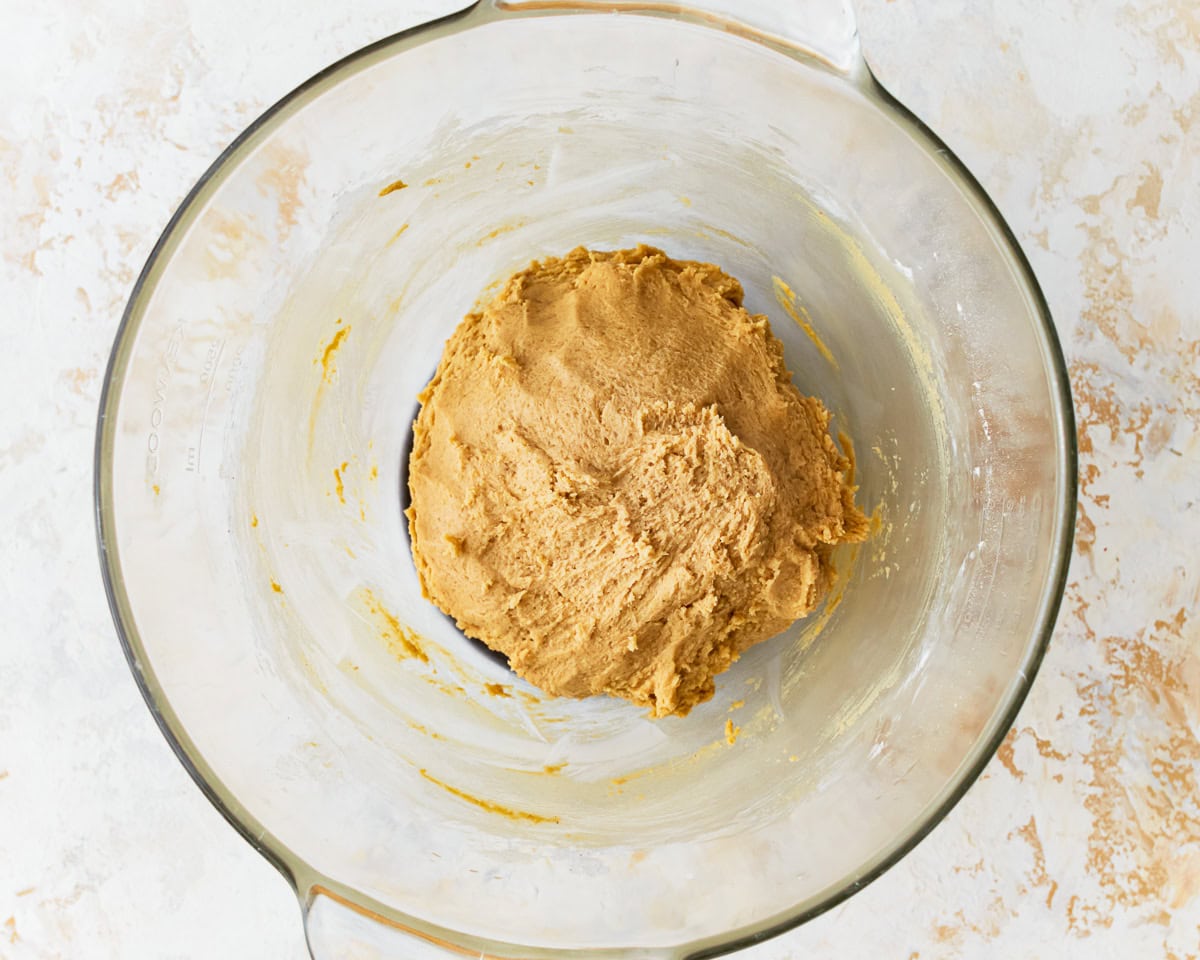
Mix in 2 ½ cups of all-purpose gluten-free flour with xanthan gum, ½ teaspoon of gluten-free baking powder, ½ teaspoon baking soda, and ½ teaspoon of salt until fully combined.
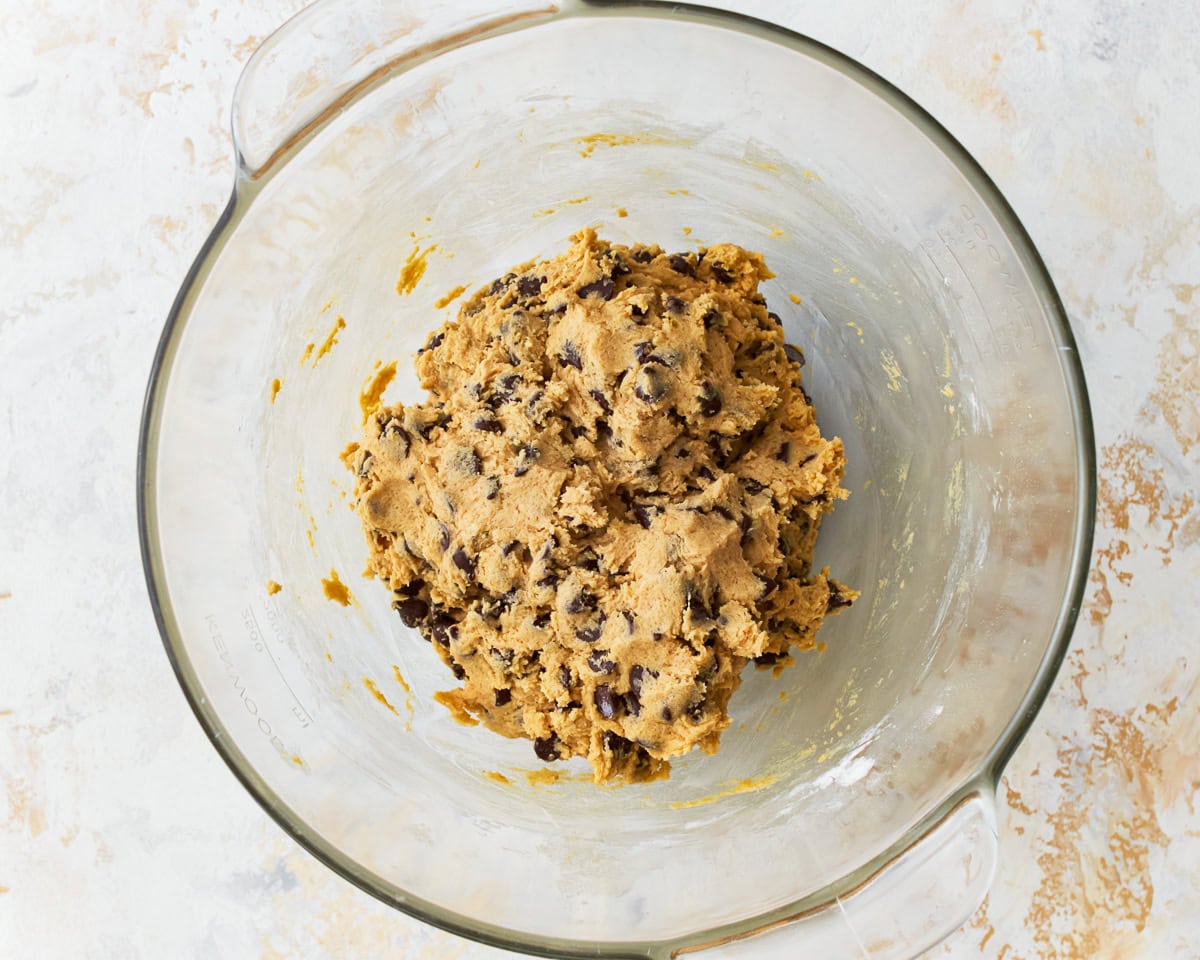
Fold 2 cups of chocolate chips into the cookie batter using a spoon or your stand mixer on low.
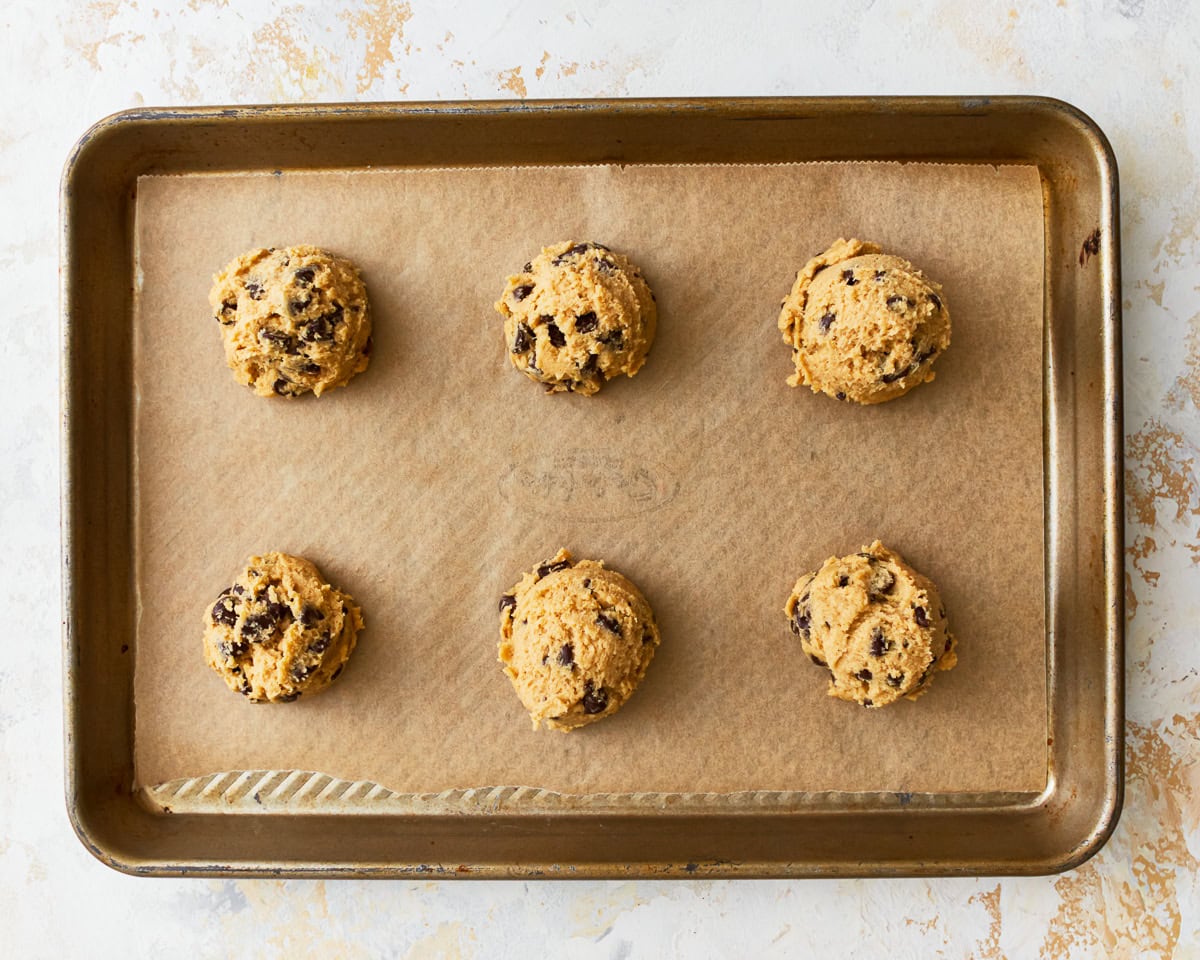
Drop rounded tablespoonfuls of the dough onto a parchment-lined baking sheet. You can also use a greased cookie scoop (I use a 1 ½ tablespoon cookie scoop). Leave about 2 inches between each cookie to allow room for spreading. You’ll need to bake the cookies in batches, as this recipe yields about 48 cookies total.
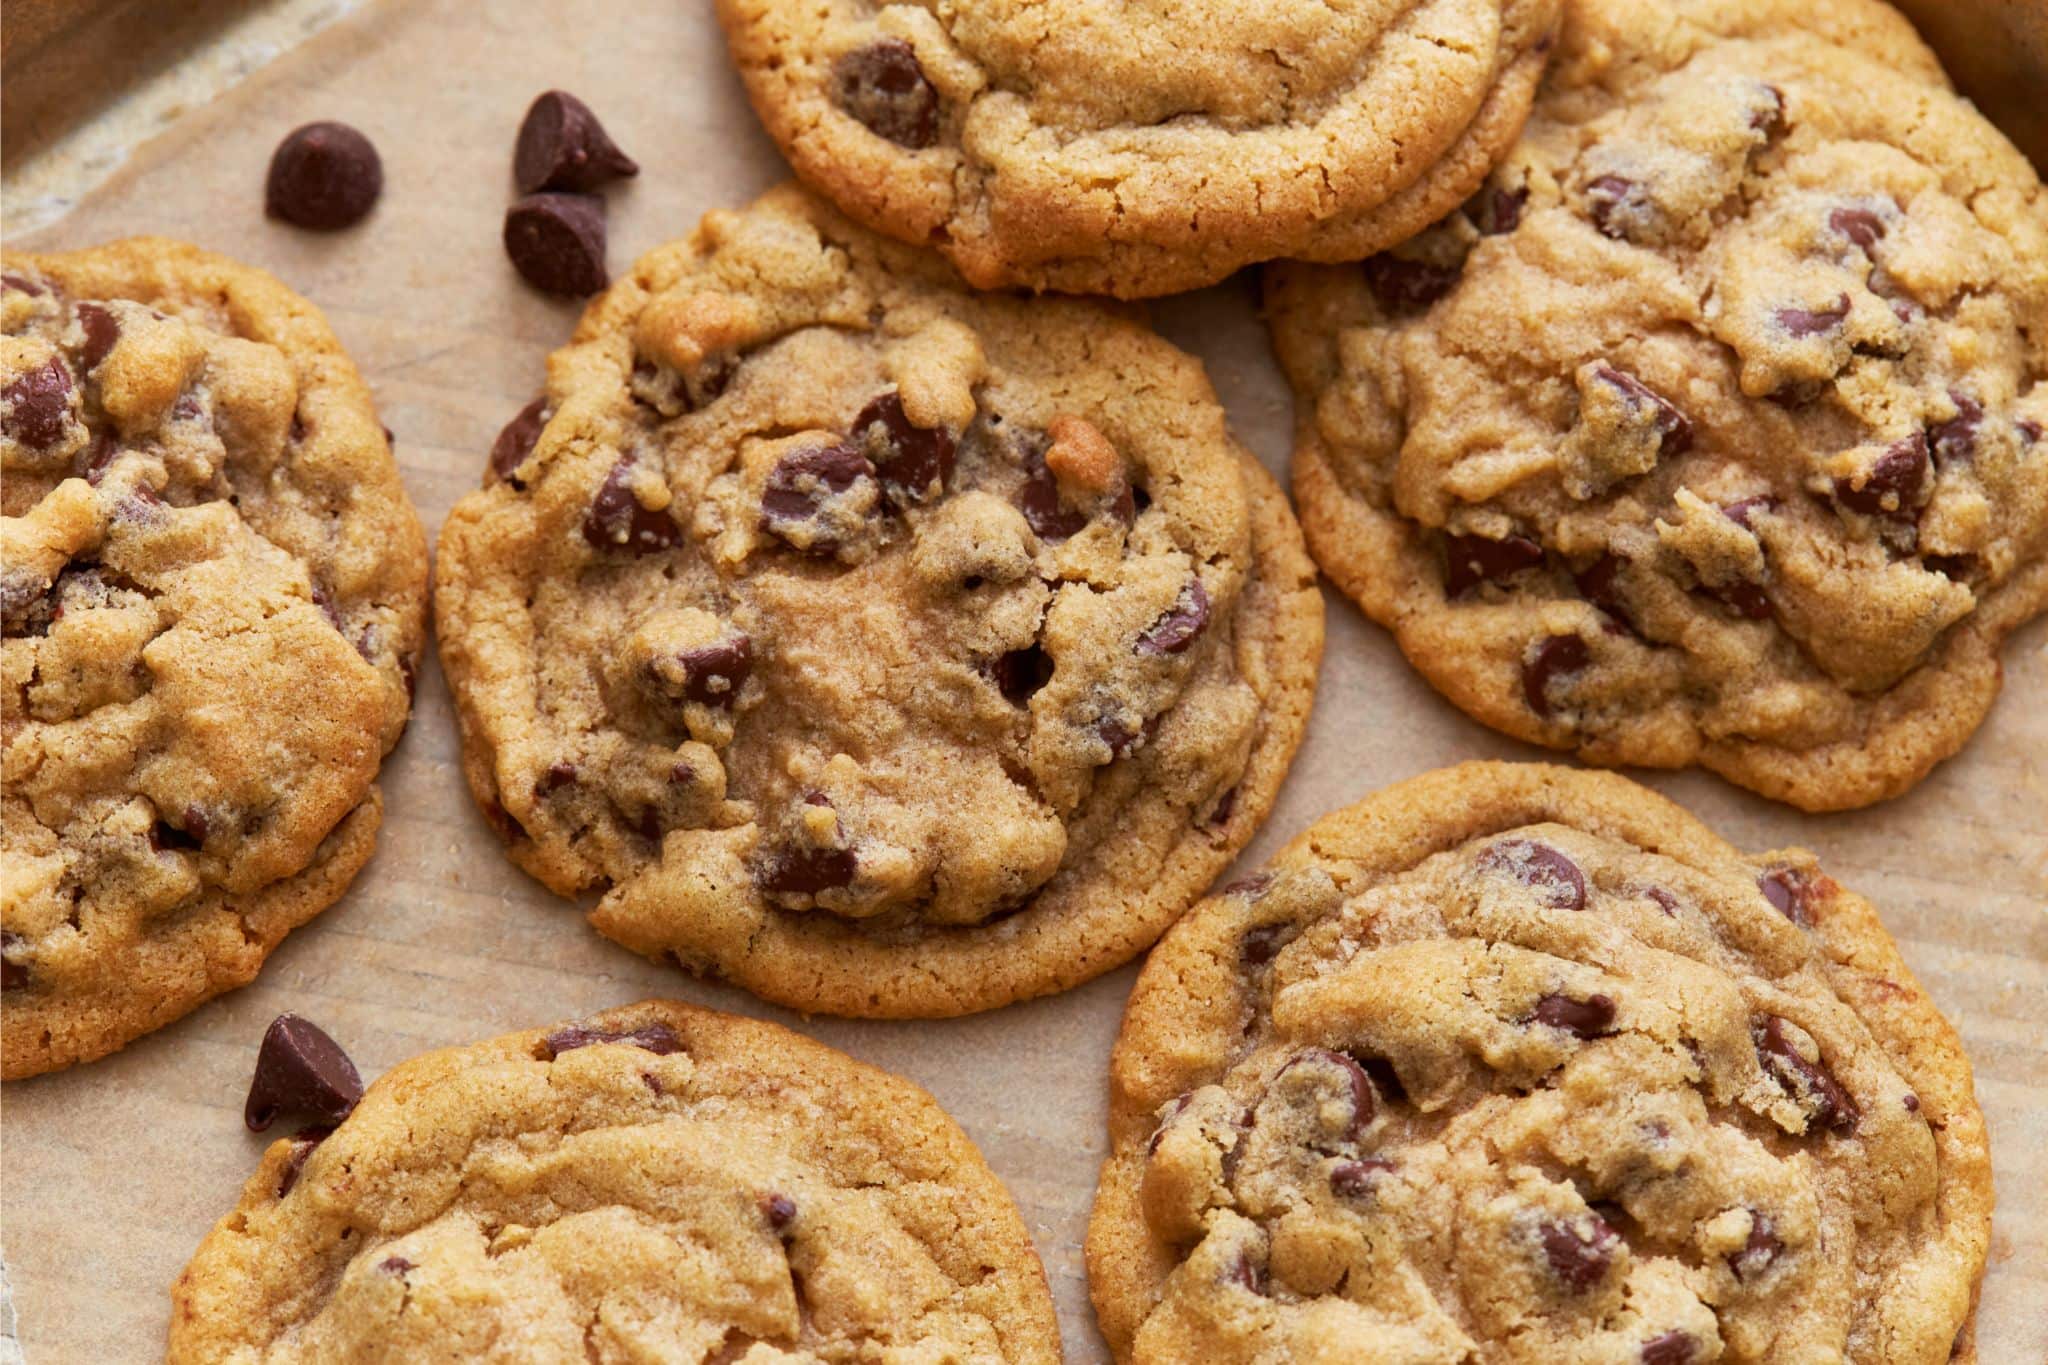
Bake your gluten-free chocolate chip cookies for 8-10 minutes until they turn golden brown. The centers will still be soft—this is normal for a chewy cookie. Please watch your oven! All ovens are different, so your cookies may take a more or less time to bake. Allow the cookies to cool slightly on the baking sheet before transferring them to a wire rack to cool completely.








update they taste delicious 😋!!!
I made these with plant-based butter for a dairy nd gluten free friend and they were awful. I followed the recipe exactly. They spread out into a solid sheet even though I spaced them 2″ apart. They were greasy and flat and I threw oit the remaining batter. Don’t know if it was the “butter” or what, but the results were not good.
Hi, I’m so sorry these turned out that way, that’s frustrating after doing everything right. My guess is the plant based butter is the issue, not something you did. Tub style spreads have more water and oil and less solid fat than dairy butter, so they melt thinner in the oven, which causes that greasy, flat spread. The recipe calls for Smart Balance or a similar stick style vegan butter for a reason, since sticks hold their shape closer to real butter. If you try again, use a stick style vegan butter and chill the dough for 30-60 minutes first to help it hold together in the oven. Let me know if you give it another shot!
I made these according to the recipe, but the first batch did not flatten and spread and were very dry. After looking at the recipe, and checking the back of the chocolate chip pkg, I realized it was the exact same recipe minus 1/4 flour and 1 egg. The first batch of cookies was a throwaway, so for the rest I went ahead and added the extra egg – and also an additional egg white. The cookies look and taste much better, but I believe I still need to tweak this to get that chewy/crispy texture. But all in all a good recipe to start with!
Hi Janet, Sorry the first batch didn’t work out. A couple of things that might help you get that chewy/crispy balance without needing the extra egg: double-check you’re using the spoon & level method to measure the flour rather than scooping directly from the bag. Second, make sure your butter is softened (15–30 minutes at room temp) before creaming it with the sugars.
My go-to recipe! I recently tried adding an egg white in addition to a whole egg. It helped with the moisture and chewiness.
I made these cookies today after many disappointing GF chocolate chip cookie recipes. These cookies are incredible! They have great texture and taste. The dough was slightly dry so I added one egg yolk and it was perfect. Sometimes you will have wetter/drier dough depending on measurements and weather, altitude, humidity, etc. Just adjust. I will make these again and again.
This is the nicest gf recipe Ive ever made to create exactly that shop bought taste of regular cookies thats so hard to achieve with gf recipes! Keeps well, really easy to make. Highly recommend, its a keeper.
These cookies were not nice, made them Dairy Free and Egg Free with the substitutes provided in the recipe. Looked exactly as the recipe did but tasted yuck!
Hi Joe, I’m sorry to hear they weren’t a hit for you. Since you made both the dairy-free and egg-free substitutions, it’s possible those changes affected the flavor and texture, as different butter and egg replacements can vary quite a bit. We’d love to help figure out what happened—would you mind sharing which dairy-free butter, egg replacer, and gluten-free flour blend you used? That information can help us troubleshoot and may also help other readers trying the same substitutions.
Didn’t turn out anything like the picture. Grainy and falling apart. I have been gluten free baking for 4 years and I was super disappointed with this recipe.
Hi Samantha, I’m so sorry to hear the cookies didn’t turn out as expected. We know how frustrating that is, especially when you have plenty of gluten-free baking experience. We’d love to help figure out what happened! Could you let us know which gluten-free flour blend you used? Since different blends vary quite a bit in starches and binders, they can affect the texture. Also, if the cookies were grainy and crumbly, a few extra details like whether you measured by weight or cups and if you made any substitutions would be really helpful. We appreciate you giving the recipe a try and hope we can help you get the soft, chewy cookies shown in the photos.
I use ardent mills for my gf flour which is what I use for everything. I measured by cups.
Thanks Samantha, Every gluten-free flour blend has its own ratio of rice flour to starches, so swapping blends can shift texture even when everything else is done right. Two tweaks should help with Ardent Mills: use the spoon & level method instead of scooping (scooping can pack in extra flour and dry out the dough), and if it still feels dry, add an extra egg yolk or a tablespoon of milk for moisture.
These gf/df cookies are amazing!! the best ones that I have ever made/ eaten. I find that they often need a few more mintures in my oven (appx 12 min) and that I usually get about 20 medium size cookies! they are delicious and definitely reccomend.
It was amazing!