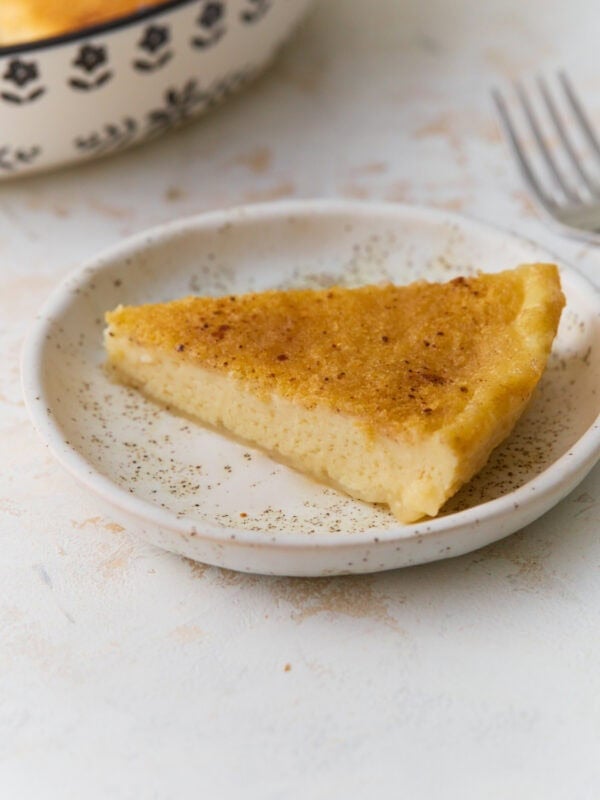
Gluten-Free Dutch Apple Pie
Published


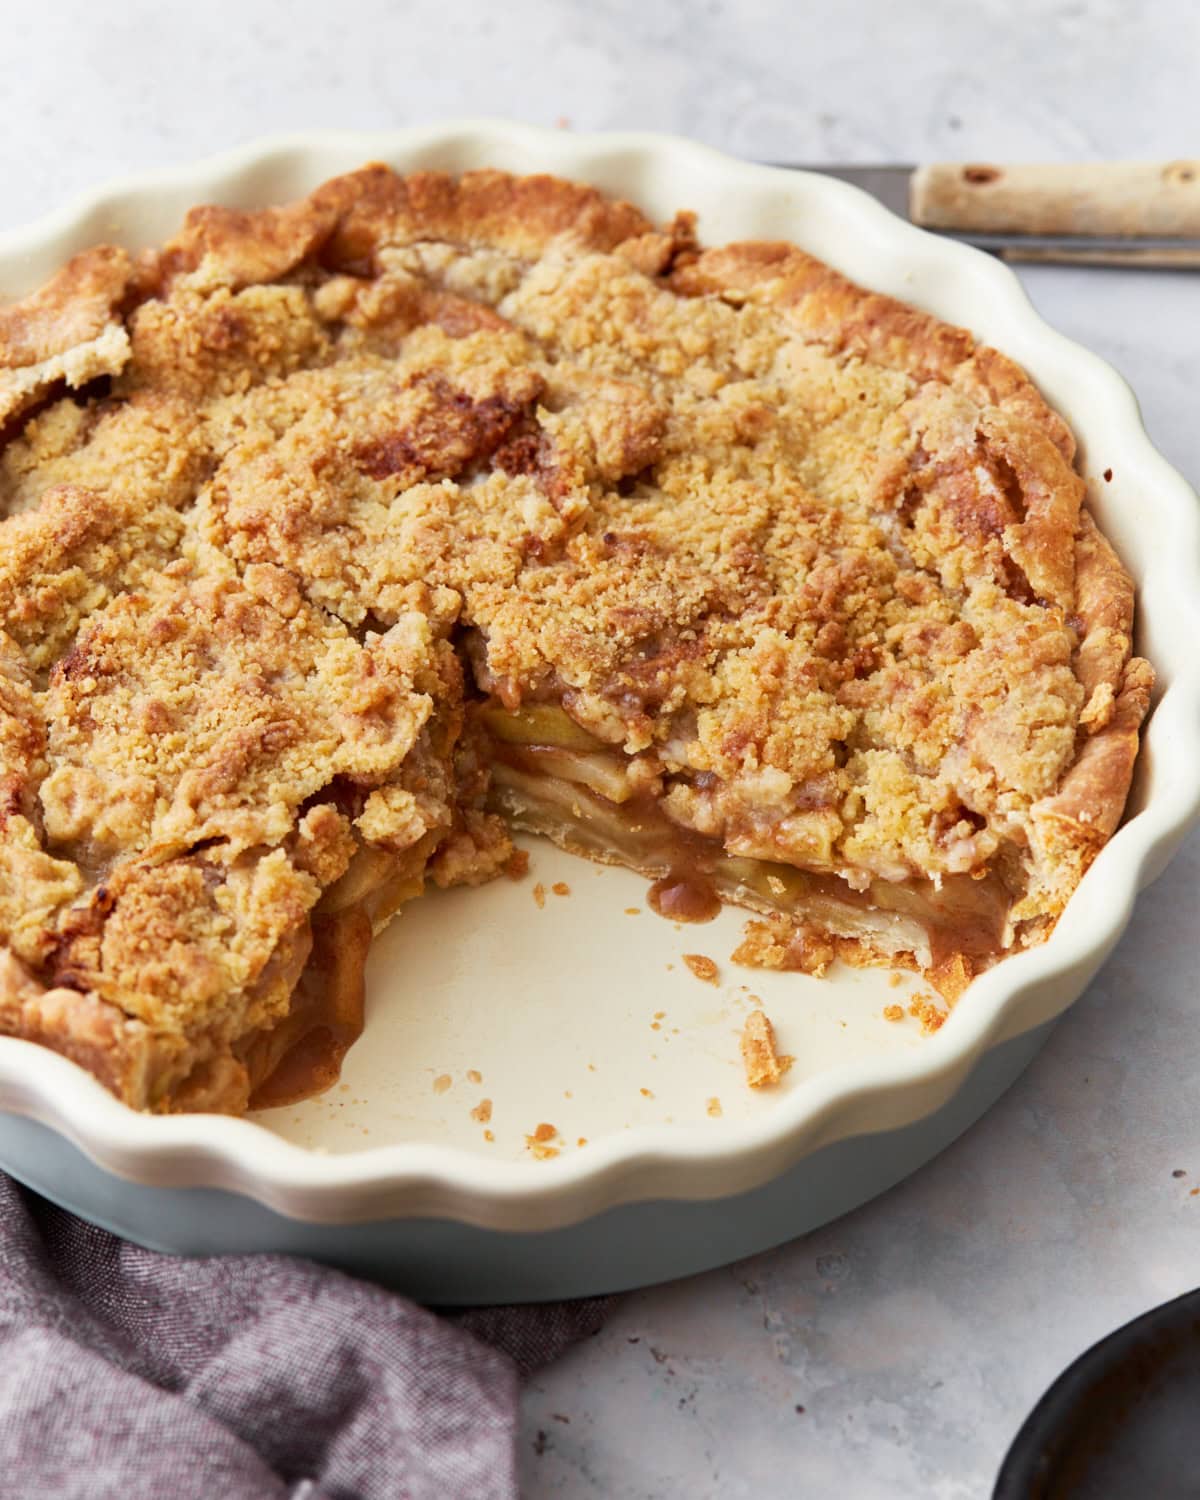
Homemade gluten-free Dutch apple pie is perfect for your holiday dessert table. I love how easy it is to make, and with a buttery crust, cinnamon-spiced apples, and a sweet gluten-free crumb topping, friends and family eat it (all) up!
Gluten-Free Dutch Apple Pie Recipe
This Dutch apple pie recipe is one of my husband’s favorite pies that I make. A Dutch apple pie is a hybrid cross of traditional American apple pie and an apple crisp using streusel that is German/ Dutch. The combination is heavenly, with a flaky bottom that keeps the pie together and the brown sugar crumble that enhances each bite. If you’re looking for the classic, try my gluten-free apple pie.
My favorite part about making this pie is that the crust is simple. There’s no need to pre-bake the bottom crust, and I don’t need to worry about a decorative top crust! My pies are delicious, but we all have our faults. I love that I can layer the crumb on top and pop the pie in the oven. The streusel topping also adds a delicious crunchy texture that ties together the creamy apple filling and buttery crust.
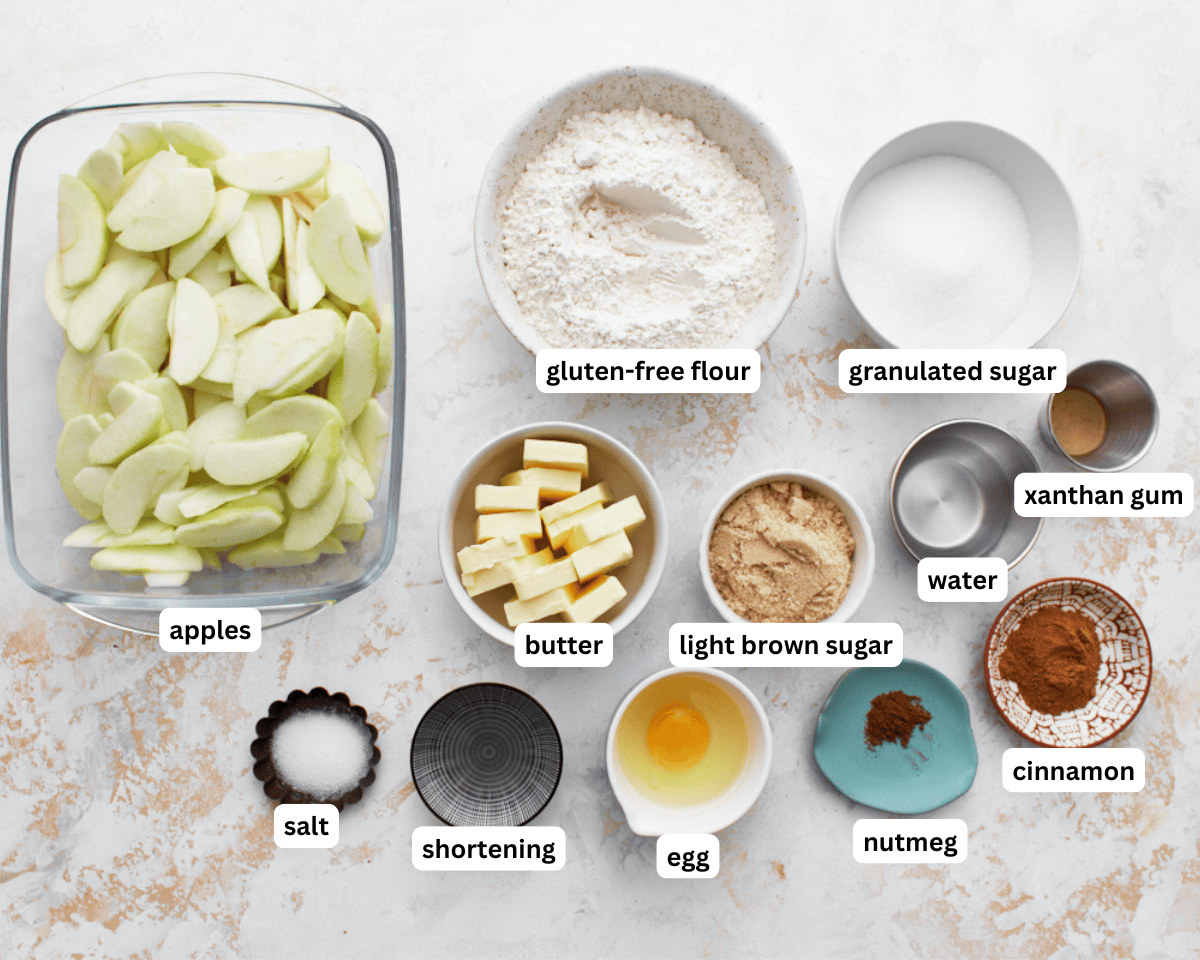
Ingredients
- All-Purpose GF Flour: I used Pillsbury gluten-free flour (a rice flour cup-for-cup blend). A cup-for-cup all-purpose gluten-free flour blend already has xanthan gum. Try my almond flour pie crust instead.
- Xanthan Gum: Xanthan gum helps replace the elasticity and texture of gluten. Omit this step if you’re using flour that already has xanthan gum in it.
- Granulated Sugar & Light Brown Sugar: Granulated sugar is used to provide structure and sweeten the pie crust. I love using light brown sugar in my pie filling for a deep flavor and to help with that classic gooey texture.
- Salt: Salt is used to structure the pie dough and balance all the sweet ingredients in both the filling and the crust.
- Unsalted Butter & Shortening: Together, butter and shortening balance the flavor, texture, and structure of the gluten-free pie crust. Unsalted butter adds rich flavor and creates flaky layers, while shortening enhances tenderness and stability. Use Smart Balance butter for a dairy-free pie.
- Eggs: One egg acts as a binder for the pie crust.
- Apple Cider Vinegar: Apple cider vinegar in gluten-free pie crust helps tenderize the pie dough by breaking down proteins and inhibiting overmixing.
- Ice-Cold Water: Ice-cold water prevents the fats in butter and shortening from becoming too warm. This is essential for a flaky, tender pie crust.
- Lemon Juice: Lemon juice balances the sweetness in the filling.
- Cinnamon & Nutmeg: Both are classic warm spices used in apple pie filling that give a warm, cozy flavor.
- Apples: I usually use Granny Smith apples for baking. The more tart, the better, but you can also use Honey Crisp and Gala apples.
Tips and Suggestions
- The best way to measure gluten-free flour is the “spoon & level” method. I use a spoon to scoop the flour out of the bag and into the measuring cup. Then I use the back of a knife to level off the top of the measuring cup. *Do not scoop the flour from the bag with the measuring spoon. The flour will be compacted, and the measurement will be incorrect.
- Tart, firm apples are the best for pie. You also want the tartness to balance the sweet ingredients in the filling. (Granny Smith, Honey Crisp, Gala)
- Once my dough comes together, I like to chill it in the refrigerator for 30 minutes to 1 hour before rolling it out. This helps the ingredients rest and prevents cracking when rolling the dough out.
- Make your pie dough ahead of time to save some time, and refrigerate it for 2-3 days. I like to roll mine out and refrigerate or freeze it flat. You can freeze gluten-free pie crust for 2-3 months.
- Stick the water, cubed butter, and shortening in the freezer for 5 minutes before mixing them into the flour mixture.
- If you don’t have a stand-up mixer or hand mixer, you can still make this crust the traditional way. The traditional way involves cutting the butter into the flour mixture, adding the wet ingredients, mixing them, and forming them into a ball.
- If you’re using a glass pie dish, let it come to room temperature after chilling the pie dough and before putting it in a hot oven. Glass can explode when going directly from one extreme temperature to another. I usually take the pie dough out of the fridge after 15-20 minutes and let it sit while I preheat my oven.

Serving Suggestions
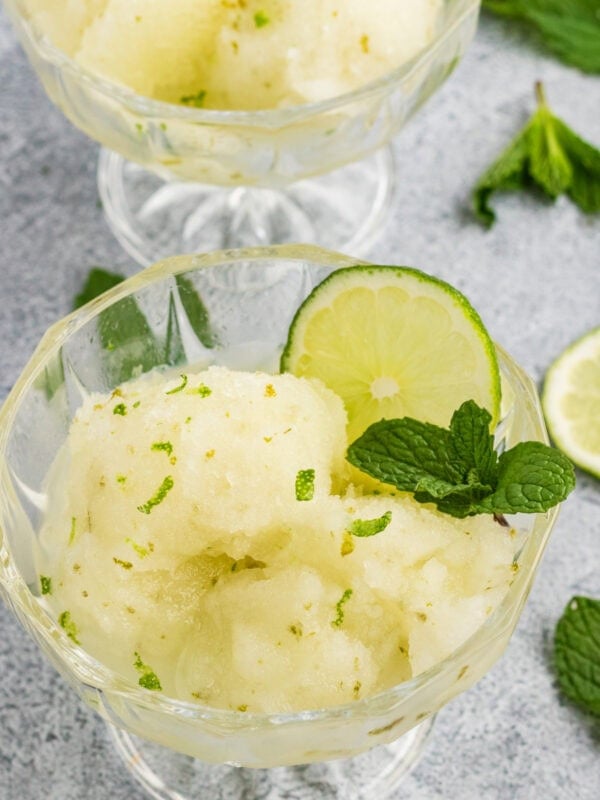
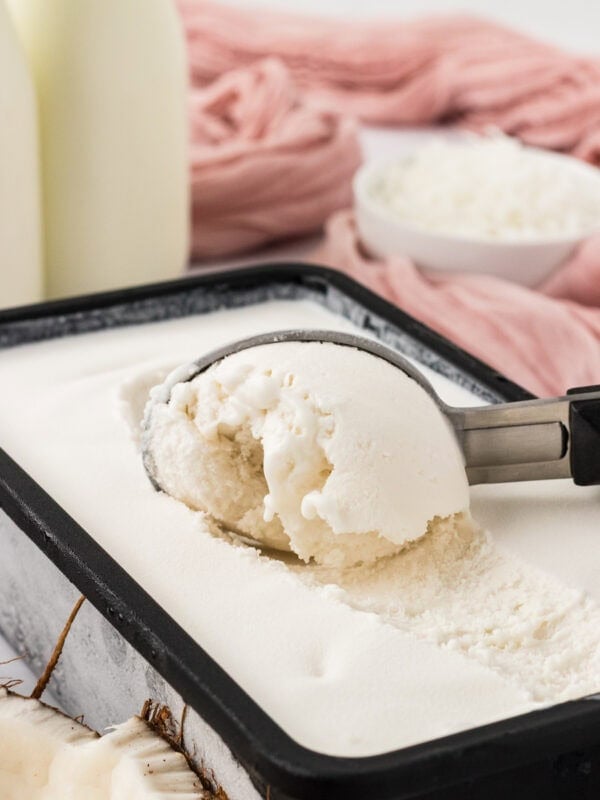
I serve this gluten-free Dutch apple pie with a scoop of almond milk ice cream.
Storage Instructions
Cover leftovers and store them at room temperature for up to 24 hours or refrigerate for up to 4 days.
To freeze baked pies, let the pie cool completely, then wrap tightly in plastic wrap and aluminum foil. Freeze for up to 2 months. Thaw in the refrigerator overnight and reheat if desired.
To freeze unbaked pies, assemble the pie but do not bake. Wrap securely in plastic wrap and aluminum foil, then freeze for up to 2 months. Bake directly from frozen, adding 10-15 minutes to the usual baking time.

More Gluten-Free Dessert Recipes
- Gluten-Free Mini Cheesecakes
- Cinnamon Roll Cake {Gluten-Free, Dairy-Free Option}
- Gluten-Free Apple Crisp {Dairy-Free Option}
- Gluten-Free Pecan Pie
- Crustless Pumpkin Pie
- Gluten-Free Pumpkin Pie Bars
Gluten-Free Dutch Apple Pie

Ingredients
Gluten-Free Pie Crust
- 1 1/4 cup all-purpose gluten-free flour, I like Pillsbury gluten-free flour. Not all gluten-free flours are created equal. You may experience different baking results depending on the gluten-free flour blend you choose.
- 1/2 teaspoon xanthan gum, leave out if your flour already had it in it
- 2 tablespoons granulated sugar
- 1/4 teaspoon salt
- 1/4 cup unsalted butter, very cold, dairy-free use Smart Balance butter
- 1/4 cup shortening, chilled, I used Crisco
- 1 large egg
- 1/4 teaspoon apple cider vinegar
- 3 tablespoons water, ice-cold
Apple Filling
- 6 cups Granny Smith apples, thinly sliced
- 1 tablespoon lemon juice
- 2/3 cups granulated sugar
- 1/4 cup gluten-free all-purpose flour
- 2 teaspoons ground cinnamon
- 1/4 teaspoon ground nutmeg
- 1/8 salt
Crumb Topping
- 1 cup gluten-free all-purpose flour
- 1/2 cup light brown sugar, packed
- 1/2 cup unsalted butter, dairy-free use Smart Balance Butter
Instructions
- Chop the butter into small chunks and place in a small bowl. Put the butter, shortening, and water into the freezer for about 5 minutes or until really cold.
- In a large bowl combine the flour, salt, and sugar. Add the butter and shortening to the flour mixture. Using the paddle attachment of your mixer, mix until fully combined.
- Add the cold water, egg, and apple cider vinegar to the mixture and mix fully combined and the dough starts to form. If you don't have a stand-up mixer or hand mixer you can still make this crust the traditional way. The traditional way of cutting the butter into the flour mixture and then adding the wet ingredients, mixing it and forming it into a ball.
- Shape the dough into a ball, wrap in plastic wrap and refrigerate at least 1 hour.
- Remove from the refrigerator and let stand at room temperature for 15 minutes.
- Unwrap the dough ball and place onto parchment paper lightly floured with gluten-free flour. Lightly flour the pastry with gluten-free flour; top with the plastic wrap or another sheet of parchment paper.
- Roll out the dough into a circle.
- Carefully place the crust into a greased 9 1/2-inch pie deep dish pan (“1 1/2-2-inch deep). Press the dough into the bottom and sides (lift the pie crust up and do not try and stretch it). Seal any cracks, if necessary. Place the pie crust into the refrigerator while preparing the pie filling.
- Preheat oven to 425°F (218°C).
- Add apples to a large bowl and sprinkle with lemon juice and toss to coat apples.
- In a small bowl, stir together sugar, flour, cinnamon, nutmeg, and salt.
- Sprinkle mixture over apples and toss until apple slices are evenly coated. Transfer apple mixture into pie crust.
- In a medium bowl, combine the topping ingredients with a fork or pastry blender until the mixture resembles small crumbs. Sprinkle apple mixture with topping.
- Place the pie pan on a baking sheet. Cover the pie crust edge with a 3″ aluminum foil strip, to prevent over-browning.
- Bake on the middle rack for 30 minutes. Remove the foil from the crust and then cover the top of the pie loosely with aluminum foil and bake for an additional 20 minutes, until pie crust and crumb topping are deep golden brown and filling begins to bubble.
- Transfer to a cooling rack and allow pie to cool for 2–3 hours at room temperature before serving. Enjoy!
Notes
- The best way to measure gluten-free flour is the “spoon & level” method. I use a spoon to scoop the flour out of the bag and into the measuring cup. Then I use the back of a knife to level off the top of the measuring cup. *Do not scoop the flour from the bag with the measuring spoon. The flour will be compacted, and the measurement will be incorrect.
- Tart, firm apples are the best for pie. You also want the tartness to balance the sweet ingredients in the filling. (Granny Smith, Honey Crisp, Gala)
- Once my dough comes together, I like to chill it in the refrigerator for 30 minutes to 1 hour before rolling it out. This helps the ingredients rest and prevents cracking when rolling the dough out.
- Make your pie dough ahead of time to save some time, and refrigerate it for 2-3 days. I like to roll mine out and refrigerate or freeze it flat. You can freeze gluten-free pie crust for 2-3 months.
- Stick the water, cubed butter, and shortening in the freezer for 5 minutes before mixing them into the flour mixture.
- If you don’t have a stand-up mixer or hand mixer, you can still make this crust the traditional way. The traditional way involves cutting the butter into the flour mixture, adding the wet ingredients, mixing them, and forming them into a ball.
- If you’re using a glass pie dish, let it come to room temperature after chilling the pie dough and before putting it in a hot oven. Glass can explode when going directly from one extreme temperature to another. I usually take the pie dough out of the fridge after 15-20 minutes and let it sit while I preheat my oven.
- Cover leftovers and store them at room temperature for up to 24 hours or refrigerate for up to 4 days.
- To freeze baked pies, let the pie cool completely, then wrap tightly in plastic wrap and aluminum foil. Freeze for up to 2 months. Thaw in the refrigerator overnight and reheat if desired.
- To freeze unbaked pies, assemble the pie but do not bake. Wrap securely in plastic wrap and aluminum foil, then freeze for up to 2 months. Bake directly from frozen, adding 10-15 minutes to the usual baking time.
Nutrition
Nutrition information is automatically calculated, so should only be used as an approximation.
How to make Gluten-Free Dutch Apple Pie Step-by-Step

Start by chopping ¼ cup unsalted butter into small, even chunks and add them to a small bowl. Place the butter, ¼ cup shortening, and 3 tbsp of water into the freezer for about 5 minutes. We want all of these ingredients to be really cold.

Grab your stand mixer bowl and combine 1 ¼ cups of all-purpose gluten-free flour, ¼ tsp salt, and 5 tbsp sugar. (Add in ½ tsp Xanthan Gum here if your flour doesn’t contain it.) Add in ¼ cup of chunked cold butter and ¼ cup cold shortening to the flour mixture. Use the paddle attachment to mix and fully combine the ingredients.

Next, add 3 tbsp ice-cold water, 1 large egg, and ¼ tsp apple cider vinegar. Mix again until fully combined and the gluten-free pie dough starts to form.
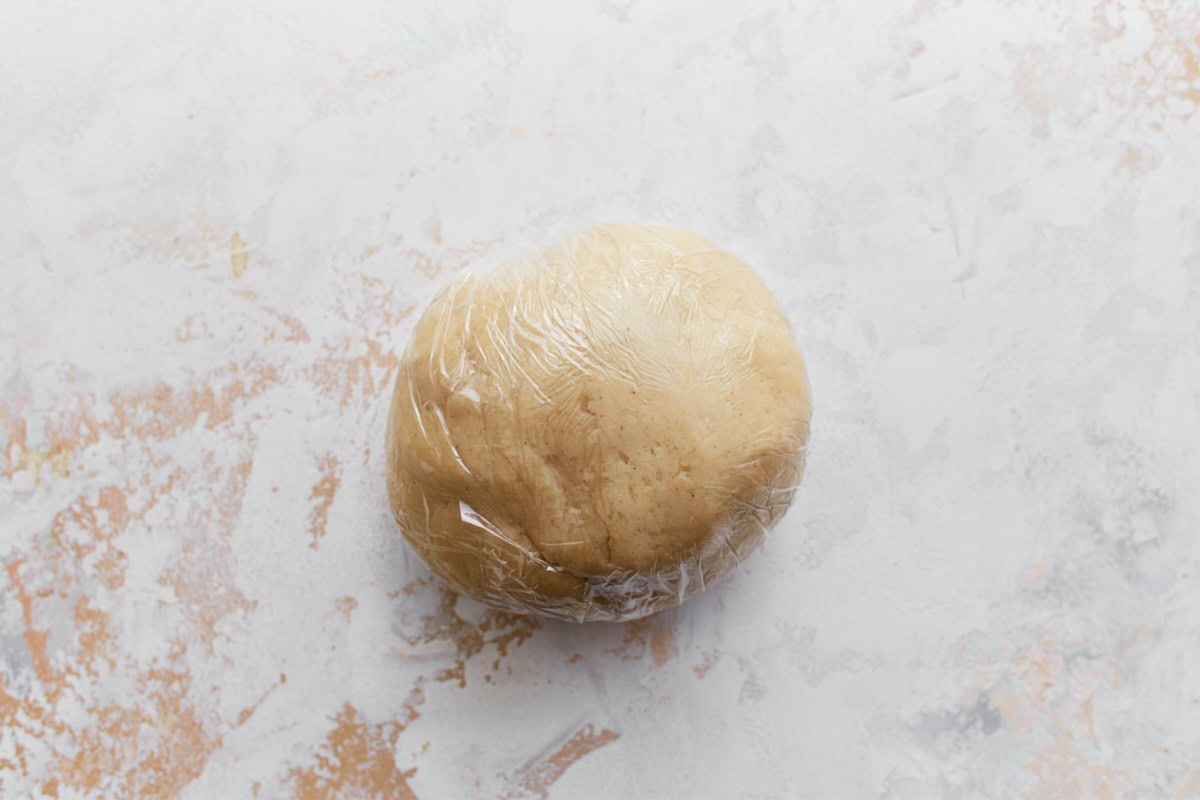
Using your hands, shape the pie dough into a ball and place it on some parchment paper. Lightly sprinkle the dough ball with gluten-free flour, top it with plastic wrap, and chill in the refrigerator for 30 minutes to 1 hour.

Use the parchment paper to prevent sticking when rolling the crust out. Roll the gluten-free pie crust into a circle big enough to fill your pie pan.

Carefully add the crust into a greased 9 ½ inch deep dish pie pan. Press the gluten-free crust into the bottom of the pan and all around the corners (lift the pie crust up and do not try to stretch it). To seal any cracks, dip your fingers in cool water and smooth out the cracks. Place the pie crust in the refrigerator to chill for 15-20 minutes while you make the pie filling. *If you’re using a glass pie dish, let the dish come to room temperature before putting it in the oven. Preheat the oven to 425 degrees F.

Add 6 cups peeled and thinly sliced apples to a large bowl. Pour 1 tbsp lemon juice and toss the apples to combine.

In a smaller bowl, combine ⅔ cup granulated sugar, ¼ cup gluten-free flour, 2 tsp cinnamon, ¼ tsp nutmeg, and ⅛ tsp salt.

Sprinkle the sugar mixture of the apples and toss to fully cover them.

Add the apple mixture to the pie dish filling the pie crust.

In another bowl, combine 1 cup gluten-free flour, ½ cup light brown sugar, and ½ cup chunked unsalted butter. Use a fork, pastry blender, or your hands to soften the butter and combine the mixture until it resembles small crumbs.

Sprinkle the crumble over the pie filling, covering the apples in an even layer.

Place the pie dish on a baking sheet and cover the crust edge with 3” of aluminum foil strip to prevent over-browning.

Place the pie on the middle rack in the oven and bake for 30 minutes. Remove the foil from the pie crust and loosely cover the top of the Dutch apple pie with more foil. Bake for another 20 minutes. The crust and crumble should be a deep golden brown, and the filling should begin to bubble.

Remove the Dutch apple pie from the oven, let it cool, and set it for 2-3 hours before serving. Serve warm with a scoop of dairy-free ice cream, and enjoy!


Those are really really high macros! Wish I could eat the pie, but the carb count for one slice would be the amount of carbs I could eat for 4+ days without eating anything else.
Your pie crust recipe calls for two tablespoons of sugar but your photo instructions call for five tablespoons! And the printed recipe does not tell you when to add the apple cider vinegar.
Hi Diana, the sugar photo is for both the crust and filling. I’ve added the acv to the recipe card. Thank you for that catch!
Hi,
Could I swap out the sugars for all coconut sugar at all?
Thank you
Hi Natalie, We haven’t tested this recipe with coconut sugar. Let us know if you try it!
Hi,
Is there a substitute for shortening? Perhaps ghee, I don’t know if they are interchangeable when it comes to baking.
I’m in Australia and I’ve never seen shortening at the supermarket.
Thanks
Hi, yes you can use ghee, just be aware that the final product might have a slightly different texture due to the distinct flavor profile of ghee.
I haven’t made this pie, yet, was wondering about adding oatmeal to the crumb topping??
You can do that!
This is the best apple pie that I have ever had! very easy and soooo yummy. I even used premade pie crust and still turned out delish !
can I use vegan shortening
Hi Victor, a vegan vegetable shortening should work just fine!
This pie was a hit at our family gathering. I did use a store-bought frozen GF pie shell instead of making the one above. Thanks for an easy and delicious recipe! We will definitely be making this again.
can I use stevia sugar please
Hi Victor, we have not tested this recipe with stevia sugar, so we cannot advise!
I’m very excited to try this crust and recipe. I love to make pie and really hope this works! Wonder why some GF call to add sour cream to the crust ingredients?
Hi Pat! I hope you enjoy this recipe. Some recipes use sour cream in gluten free pie crust because it adds fat, moisture, and tanginess without thinning the dough out like buttermilk.
Being gluten free I have not made too many deserts that turned out good. But this was great!! Did use a ready made gluten free crust. But followed the recipe as written and Hubby was overjoyed with the taste. Thank you. Five Stars.