Gluten-Free Funfetti Cake
Published
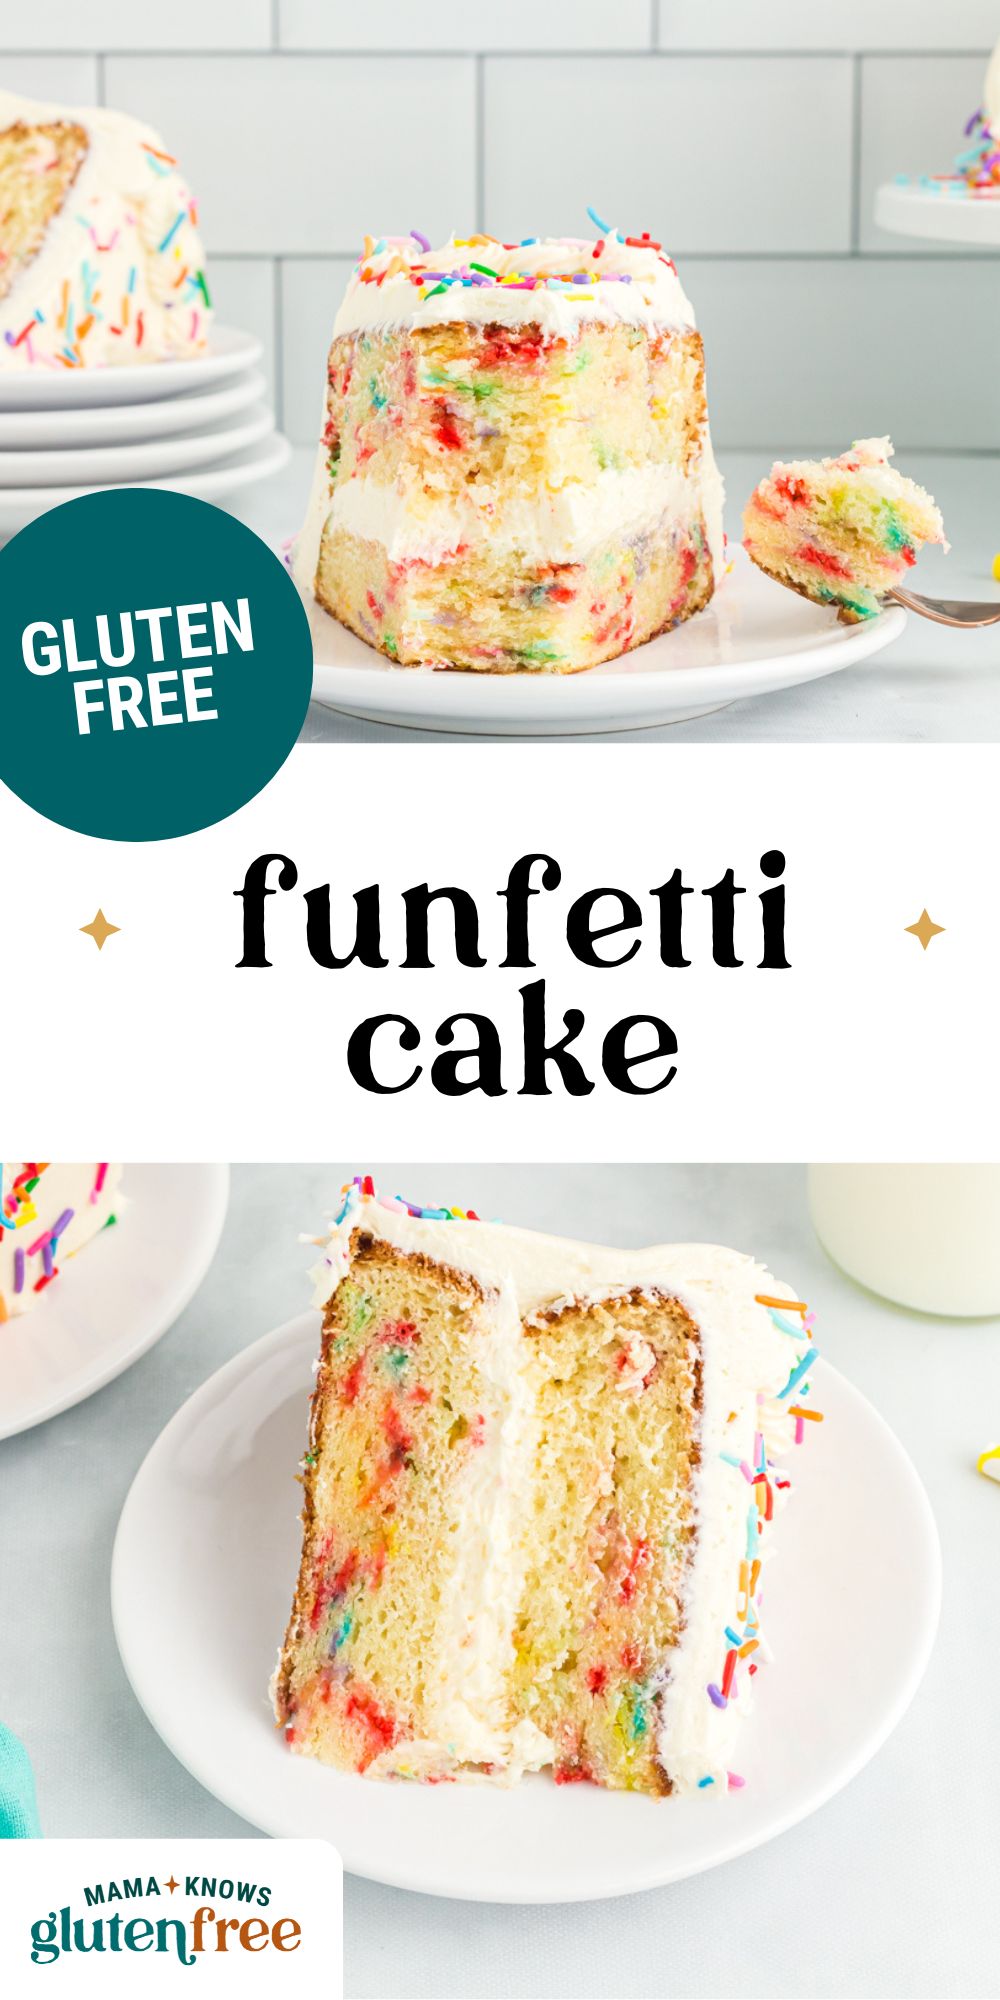
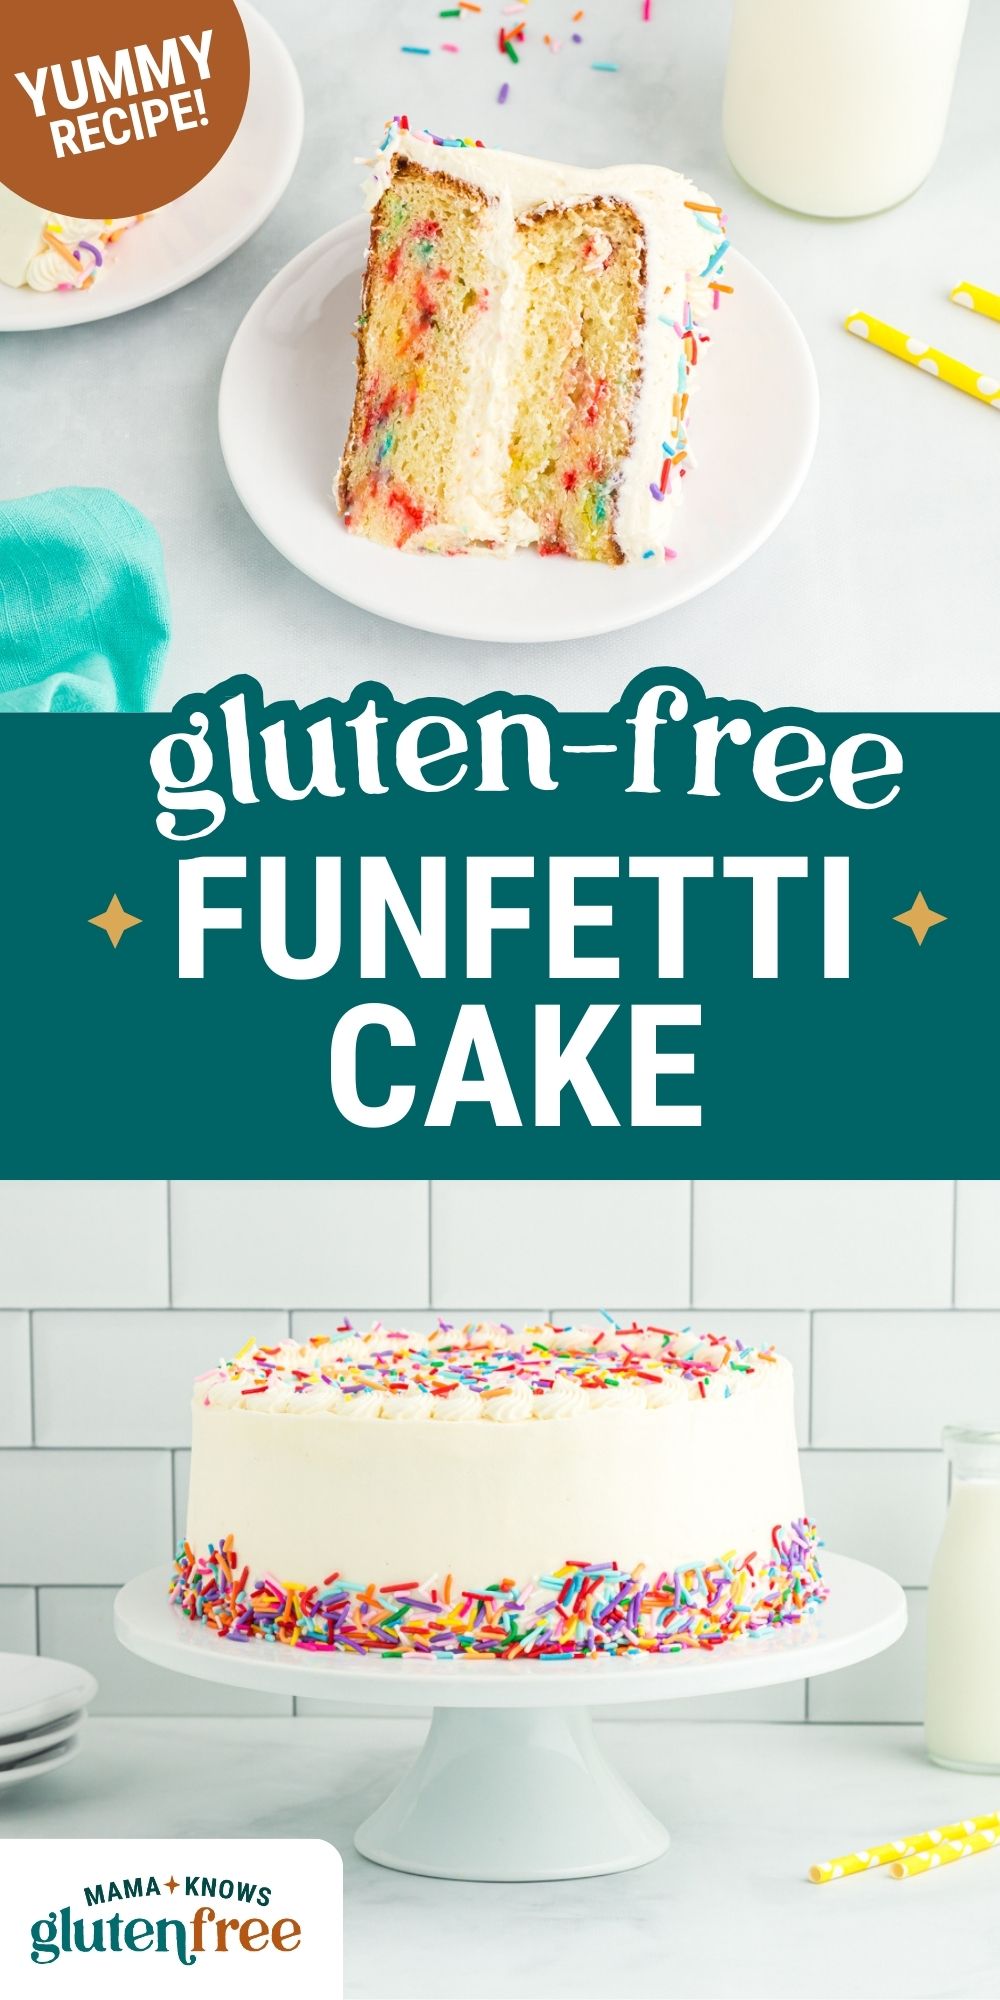
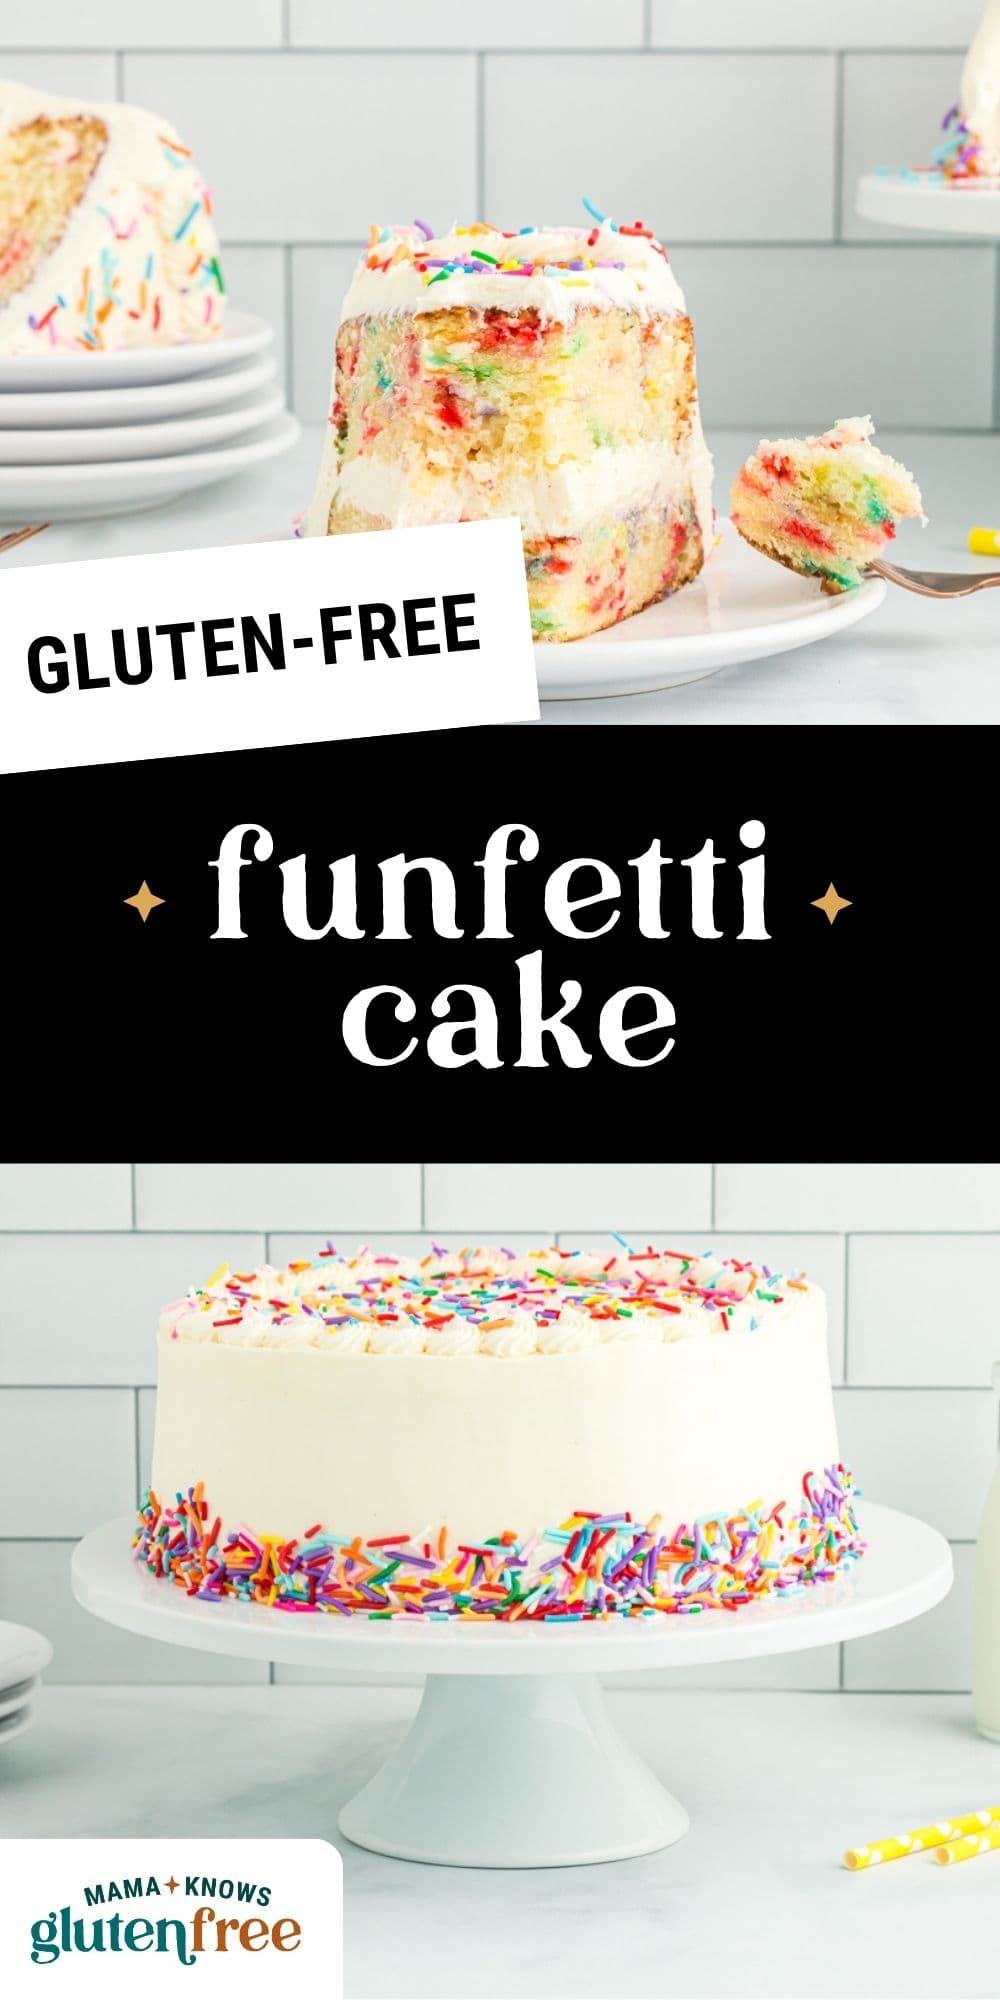
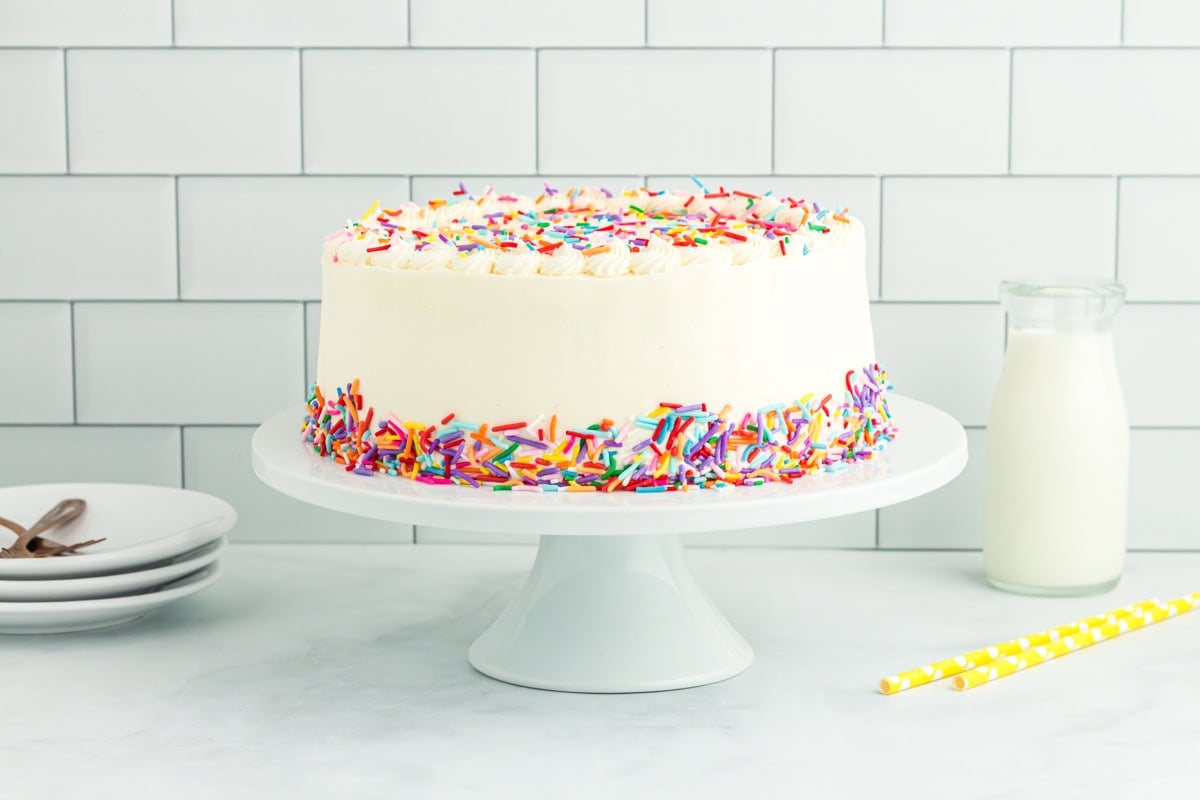
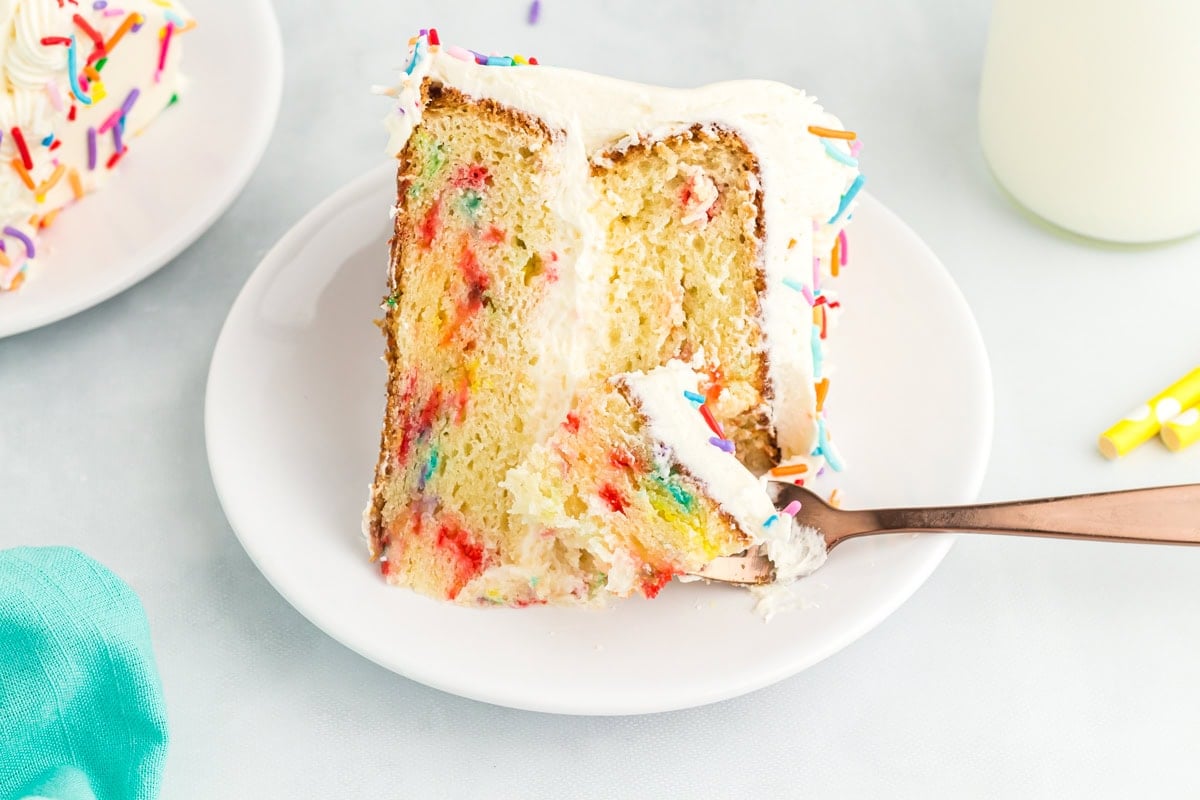
This gluten-free funfetti cake is everything a celebration cake should be—soft, moist, and packed with colorful sprinkles. It bakes up just like the classic version I loved as a kid, but without the gluten. The batter is thick and easy to work with, the texture is light and fluffy, and the vanilla flavor shines through in every bite. It’s the perfect cake for birthdays, parties, or anytime you want to make something festive and fun.
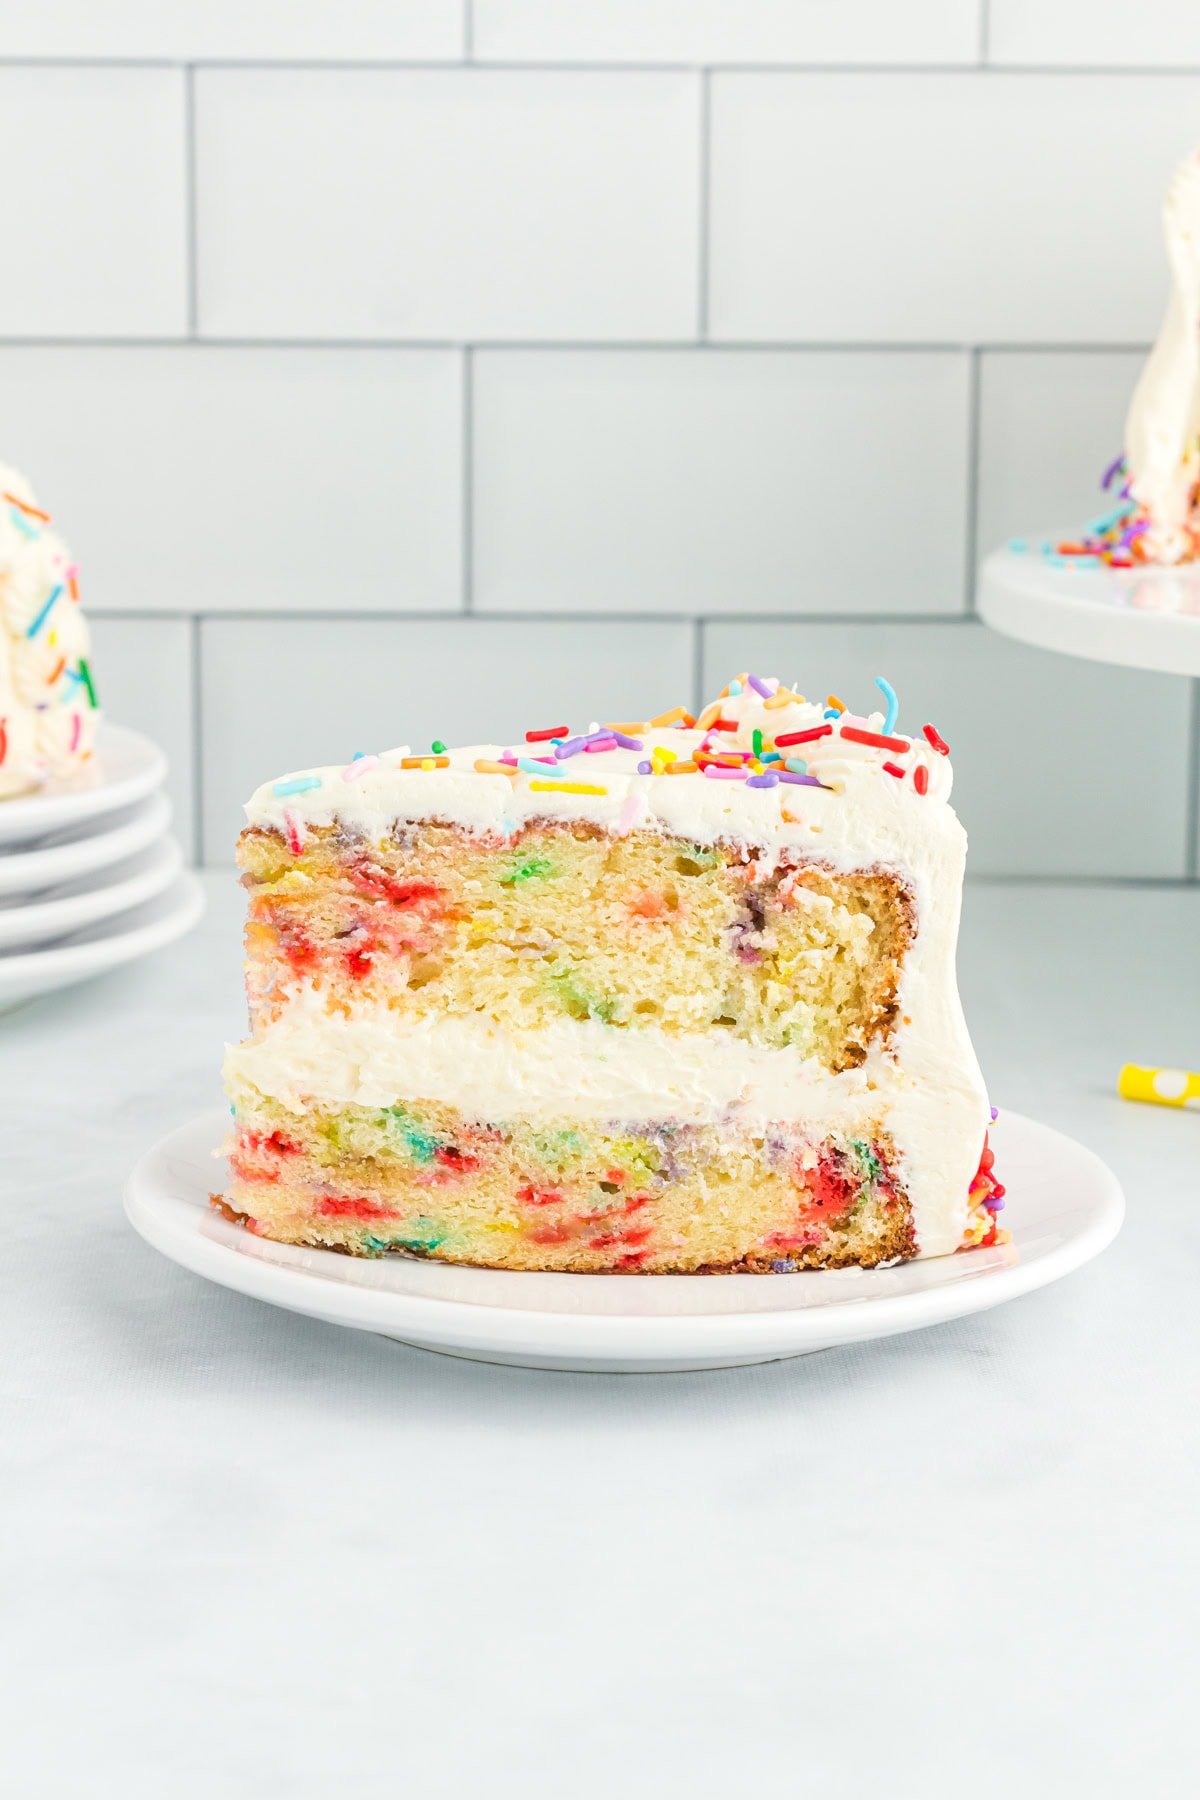
Funfetti cake was always my favorite birthday treat growing up—soft, sweet, and full of colorful sprinkles. After going gluten-free, I struggled to find a version that actually tasted good. This recipe changed that. It’s soft, moist, and bakes up with the same light texture as my gluten-free birthday cake recipe, but with a few key tweaks—like buttermilk for extra richness, a mix of butter and oil for a tender crumb, and plenty of sprinkles mixed right into the batter. It’s the fun, festive version I wish I’d had at every party.
Gluten-Free Funfetti Cake

Equipment
- 2 9×9-inch cake pans
Ingredients
- 2 cups all-purpose gluten free flour, (280 grams) Cup4Cup flour
- 2 tablespoons cornstarch
- 2 teaspoons baking powder
- 1 teaspoon xanthan gum, only if your flour blend doesn’t already include it
- ½ teaspoon baking soda
- ½ teaspoon salt
- 1 ¾ cup granulated sugar, 350 grams
- ½ cup unsalted butter, (115 grams) softened almost to the point of melting but not yet fully melted. For dairy-free, use Smart Balance butter
- 1/3 cup vegetable oil
- 4 large eggs, room temperature
- 1 tablespoon vanilla extract
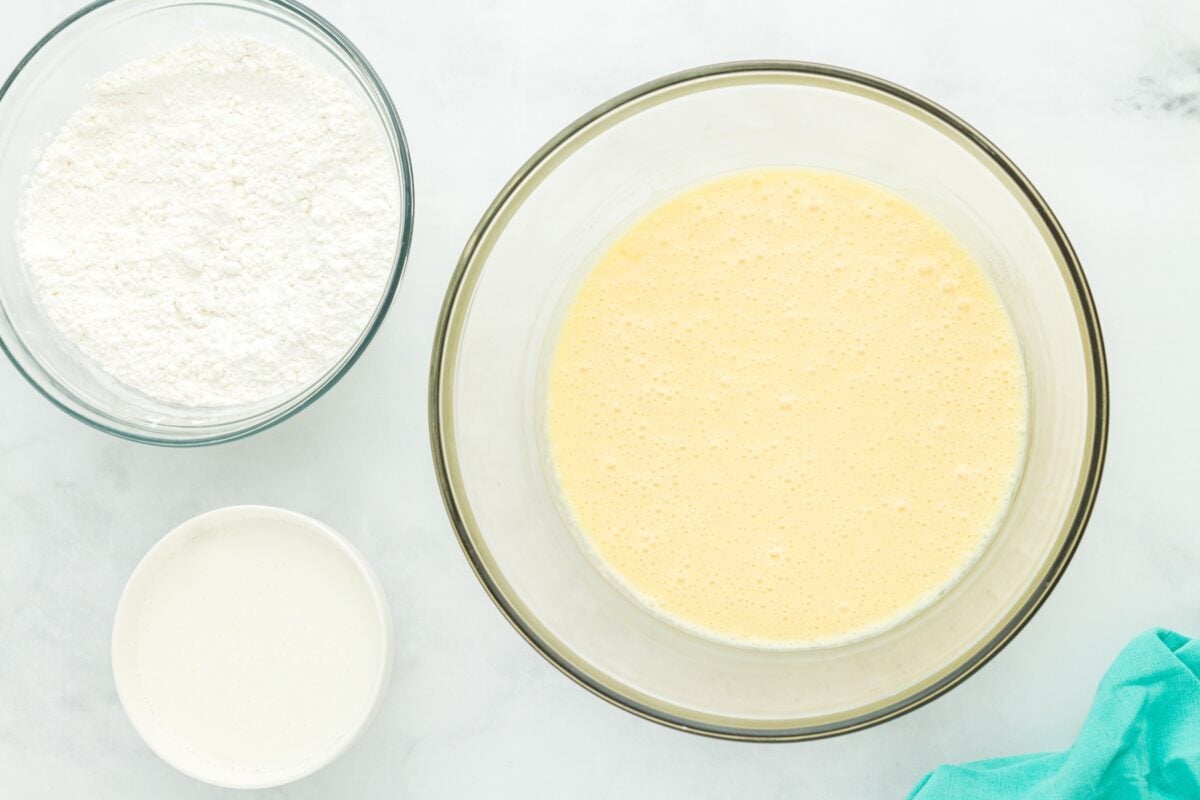
- 1 cup buttermilk, room temperature. For dairy-free, use unsweteened almond milk
- ½ cup sprinkles
Buttercream Frosting
- 6 cups powdered sugar, (720 grams)
- 1 ½ cups unsalted butter, (340 grams) softened, For dairy-free, use Smart Balance butter
- 2 to 4 tablespoons milk, for dairy-free, use unsweetened almond milk
- 2 teaspoons vanilla extract
Instructions
- Preheat oven to 350 degrees F.
- Spray two 8” round cake pans with non-stick baking spray and line the inside bottoms of the pans with parchment paper. The parchment paper circles inside the bottoms of the pans will help greatly when removing the cakes from the pans. Set aside for now.
- In a medium bowl, whisk together gluten free flour, cornstarch, baking powder, xanthan gum (if needed), baking soda, and salt. Set aside for now.
- In a large bowl, beat sugar and butter together for 3 minutes on high speed until light and fluffy. It’s important that you beat for the full 3 minutes as you’ll need these light and airy bubbles in the cake batter to ensure it bakes up nice and soft.
- Beat the vegetable oil, eggs, and vanilla extract into the butter mixture. Beat on high for a minute until fluffy and light.
- Pour half of the dry ingredients into the wet ingredients and beat on low just until combined.
- Pour half of the buttermilk into the wet mixture and beat on low just until combined.
- Pour the remaining dry ingredients into the wet mixture and beat on low just until combined.
- Pour the remaining buttermilk into the wet mixture and beat on low just until combined.
- Stir (not beat) the sprinkles into the batter.
- Spread the cake batter evenly between the two prepared cake pans. This is a thick cake batter—like the consistency of a thick pudding—so be sure to smooth it out in the cake pan before baking.
- Bake for 35 to 37 minutes or until a toothpick inserted into the middle comes out clean.
- Leave the cakes in the pans to cool for 10 minutes then transfer cakes out of the pans and onto a wire rack to cool completely.
- Layer and decorate the cakes with your favorite frosting. If you’d like a delicious buttercream frosting recipe, continue reading.
- Buttercream: Combine all buttercream ingredients into a large bowl and beat on high speed for 5 minutes until light and fluffy. Start with 2 tablespoons of milk in the recipe and continue to add milk (by the tablespoon) until desired consistency is reached.
- Cake can be wrapped in food-safe plastic wrap and stored in the fridge for up to 4 days.
Notes
- Make sure all ingredients are certified gluten-free and free from cross-contamination warnings.
- Stick with an all-purpose gluten-free flour blend for the best results.
- Don’t skip the xanthan gum. If your flour blend doesn’t include it, add 1 tsp to help create a fluffy texture.
- Helpful tip when layering cakes: trim the top “crusty” layer off the cakes before adding frosting and layering them together.
- When choosing sprinkles to add to the cake, look for the long oval style of sprinkles (also called jimmies). Do not use the hard ball style of sprinkles (called nonpareils) as they’re too hard to bite into and the color bleeds into the cake batter.
- Generously grease your pans. Use non-stick baking spray and parchment to help cakes release easily.
Nutrition
Nutrition information is automatically calculated, so should only be used as an approximation.
How to Make Gluten-Free Funfetti Cake Step by Step

Gather the Ingredients: Gather all the ingredients together. Preheat your oven to 350°F. Spray two 8-inch round cake pans with non-stick baking spray and line the bottoms with parchment paper circles. This helps the cakes release easily after baking.
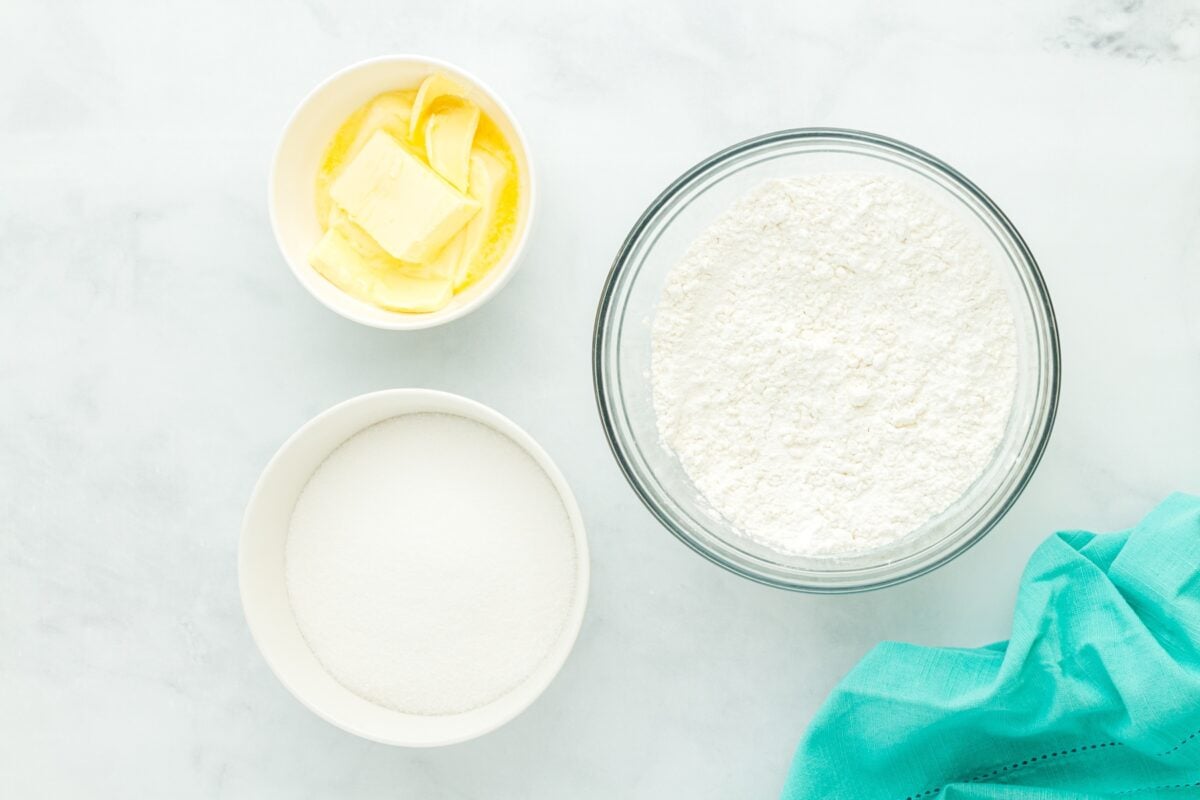
Mix the dry ingredients: In a medium bowl, whisk together 2 cups (280g) gluten-free flour (such as Cup4Cup), 2 tbsp cornstarch, 2 tsp baking powder, ½ tsp baking soda, ½ tsp salt, and 1 tsp xanthan gum (if your flour blend doesn’t already contain it). Set aside.
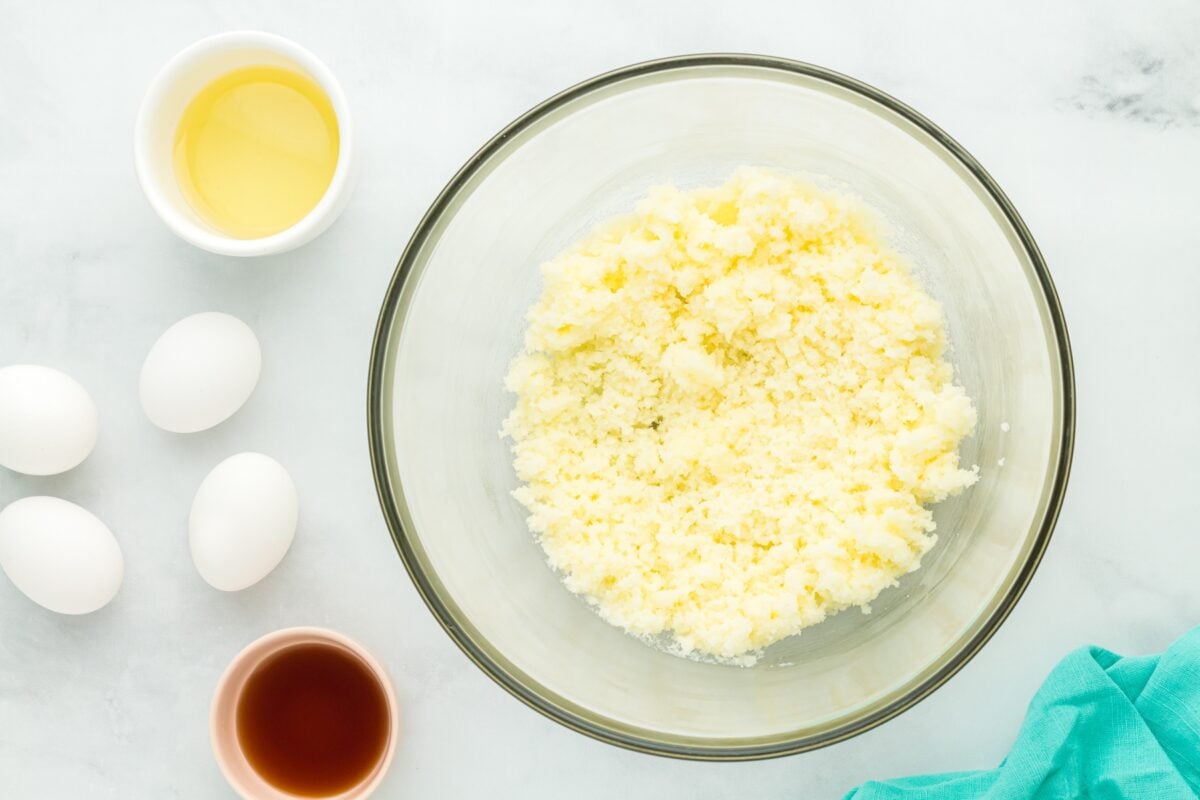
Cream the butter and sugar: In a large mixing bowl, beat ½ cup (115g) softened unsalted butter and 1¾ cups (350g) granulated sugar on high speed for 3 minutes, until light and fluffy. This step is key for a soft, airy texture.
Add wet ingredients: Add ⅓ cup vegetable oil, 4 large room-temperature eggs, and 1 tbsp vanilla extract to the butter-sugar mixture. Beat on high speed for 1 minute until fluffy and well combined.

Alternate dry ingredients and buttermilk: Add half of the dry ingredient mixture and beat on low speed just until combined. Then add ½ cup of the 1 cup buttermilk and beat on low again. Repeat with the remaining dry ingredients and the remaining ½ cup buttermilk, mixing each time just until incorporated.
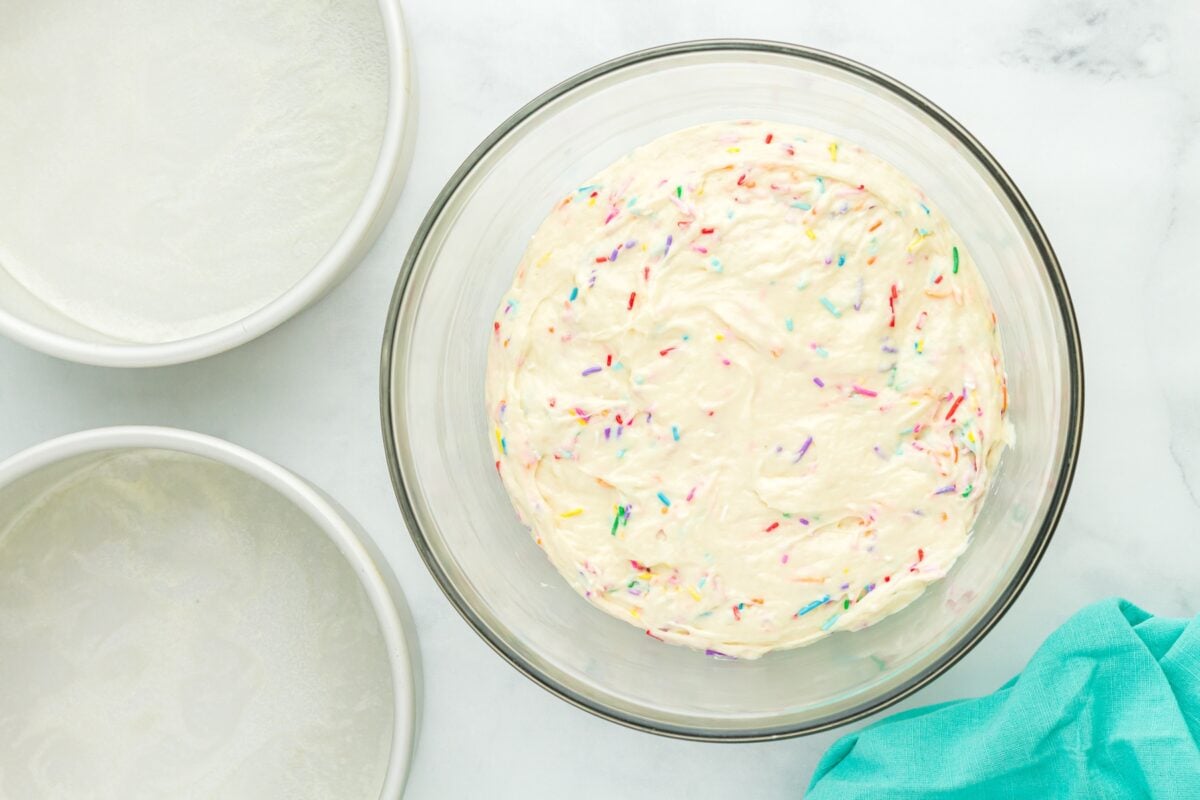
Add the sprinkles: Gently stir in ½ cup sprinkles with a spatula. Don’t overmix.
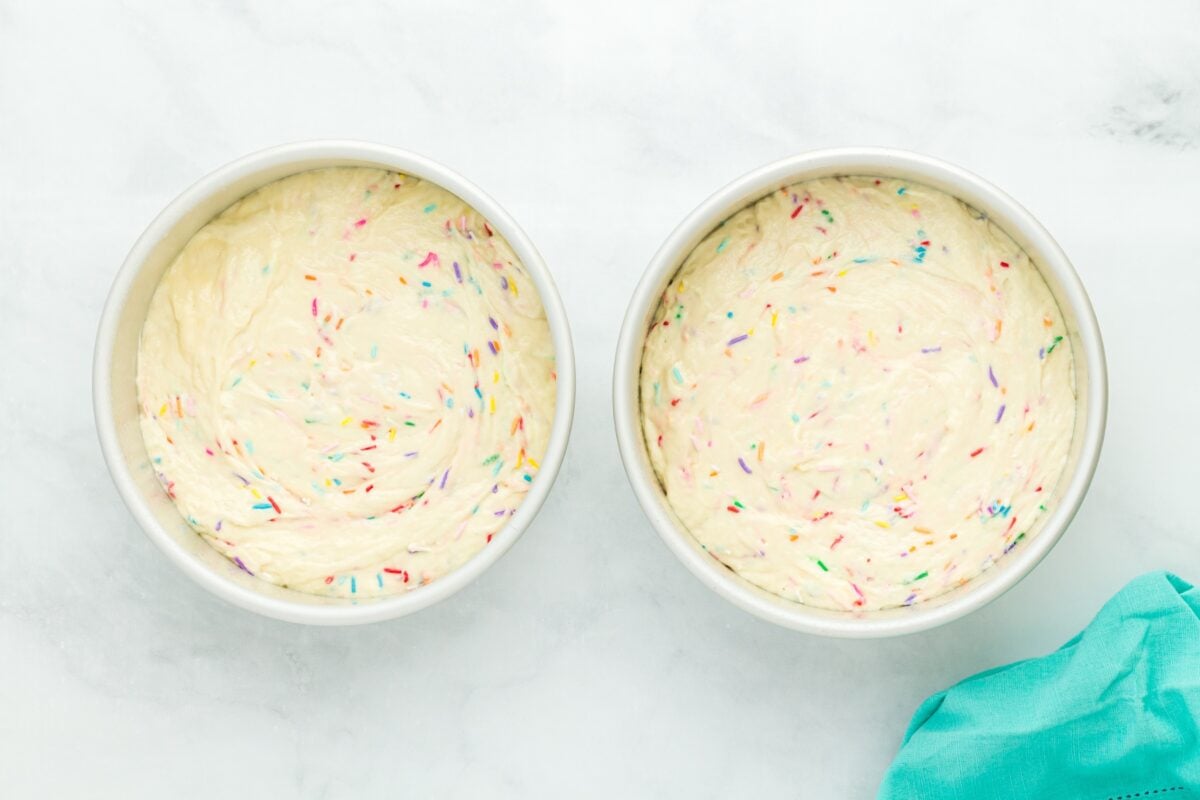
Fill the pans: Divide the thick batter evenly between the prepared pans and smooth the tops.
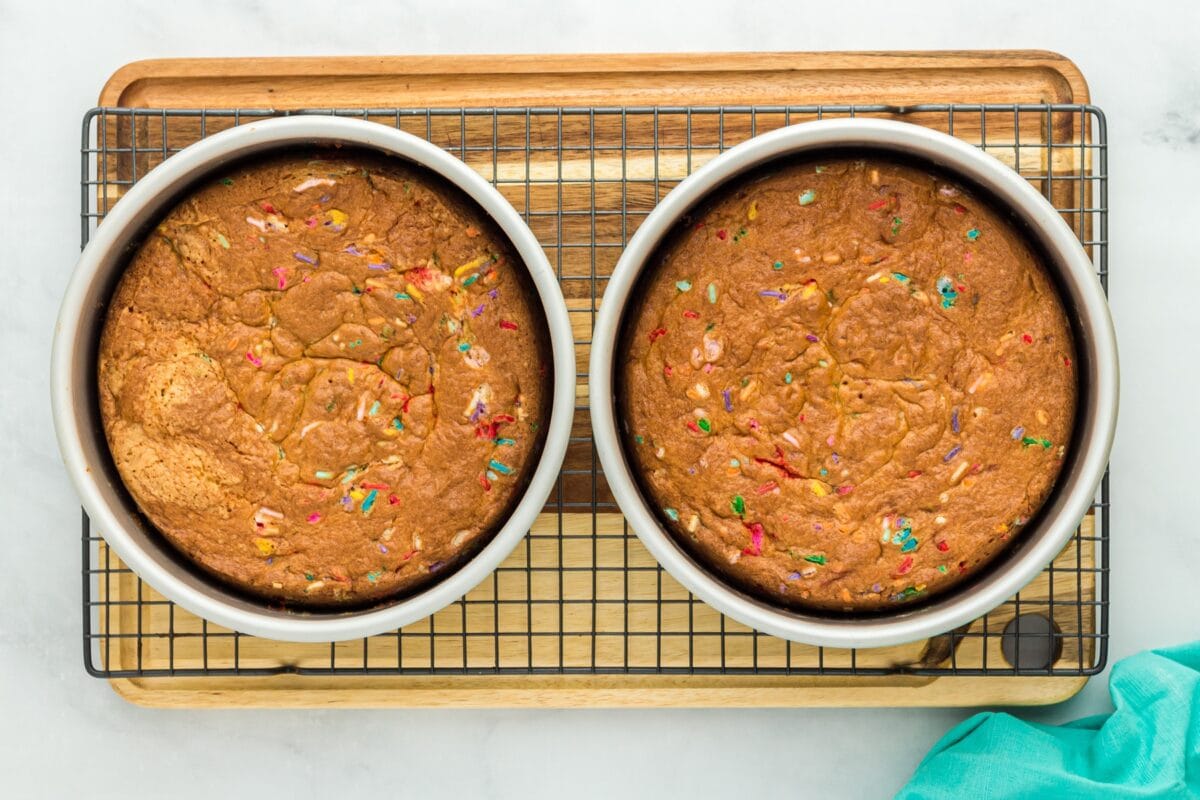
Bake the cakes: Bake for 35–37 minutes, or until a toothpick inserted into the center comes out clean.
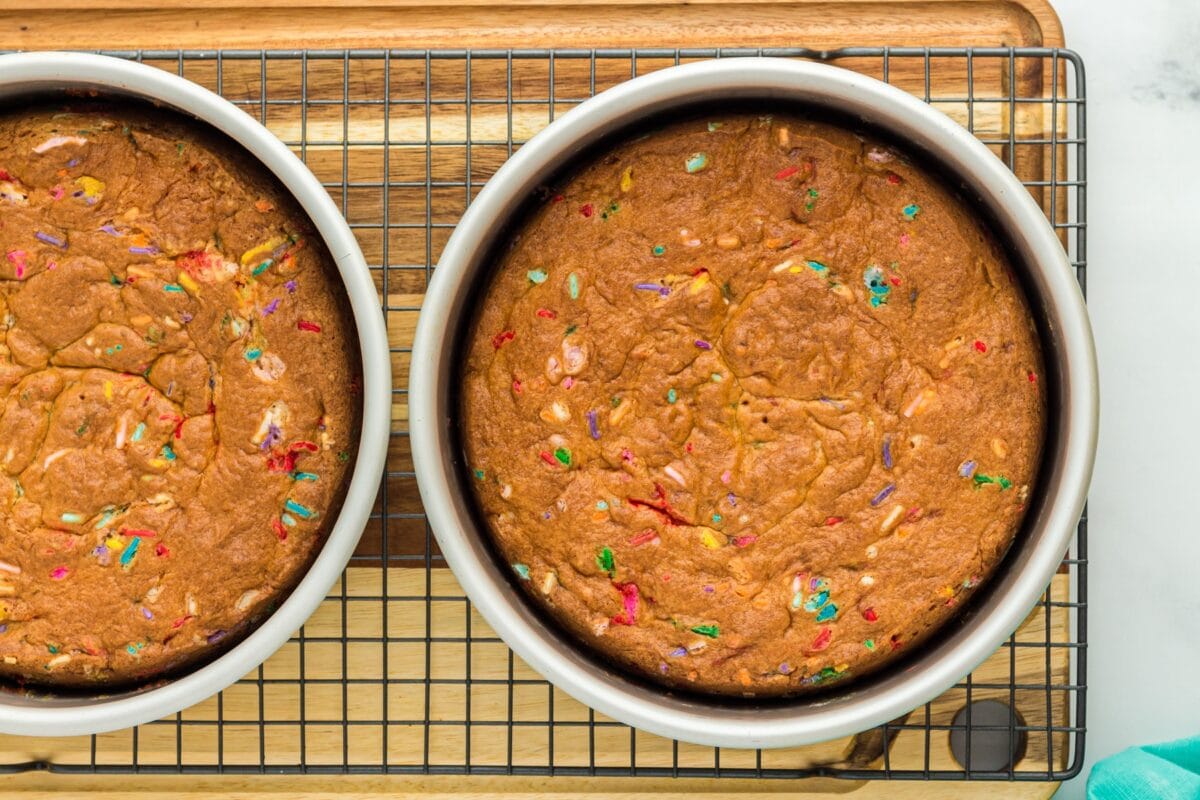
Cool the cakes: Let the cakes cool in the pans for 10 minutes, then carefully turn them out onto a wire rack to cool completely.
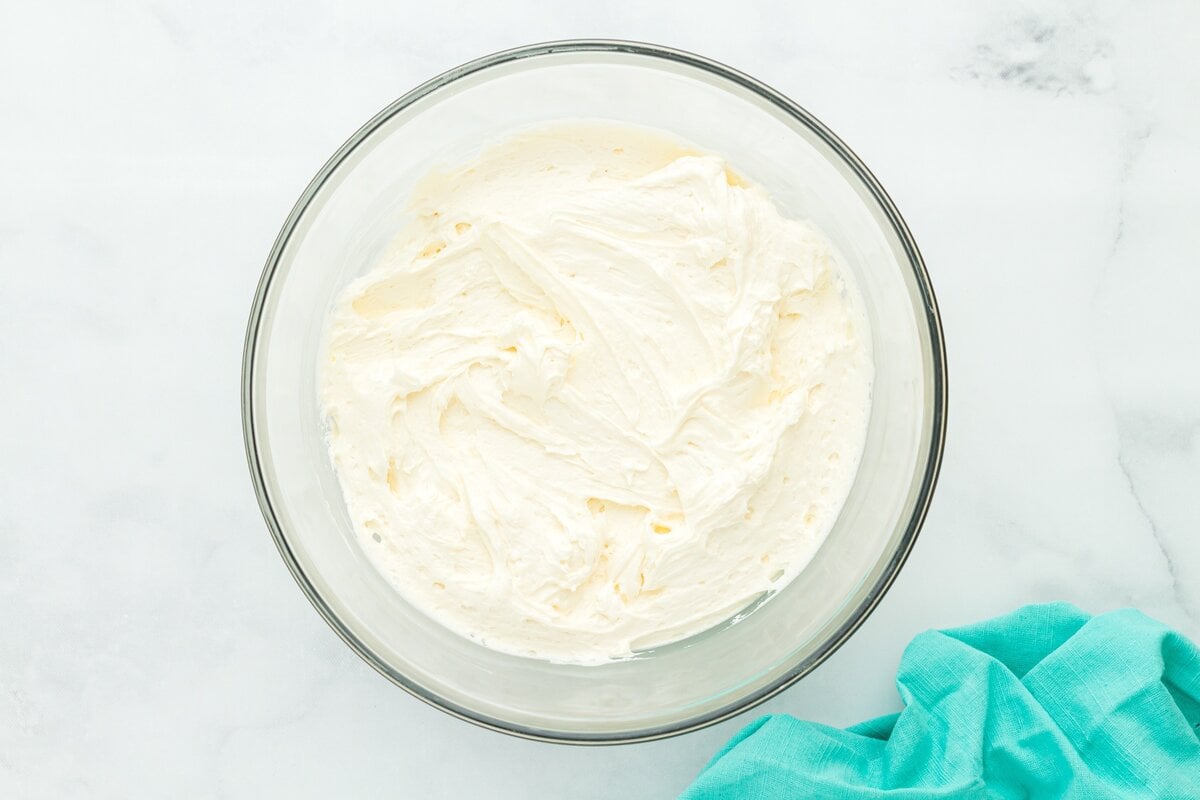
Make the buttercream: In a large bowl, beat 1½ cups (340g) softened unsalted butter, 6 cups (720g) powdered sugar, 2 tsp vanilla extract, and 2 tbsp milk on high speed for 5 minutes until light and fluffy. Add more milk, 1 tbsp at a time, until the desired consistency is reached.
Assemble and frost: Trim the cake tops if needed, then layer and frost with the buttercream. Decorate with extra sprinkles if desired.

Serve and enjoy: Slice up, serve, and enjoy!
Gluten-Free Baking Tips
- I’ve learned that weighing ingredients really does make a difference, especially with gluten-free baking. Too much flour can leave you with a dry, dense cake, and too little might cause it to sink in the middle. A kitchen scale takes out the guesswork and helps you get it right every time.
- Don’t rush the mixing process. I always make sure to cream the butter and sugar for the full 3 minutes—it feels long, but it’s worth it. The mixture should look light and fluffy before you move on. Same with the eggs: beat them in until the batter turns pale and airy. That extra bit of effort is what gives the cake its soft, bakery-style crumb.
- The cake batter should be thick, similar to pudding, and it’s important to smooth it out evenly in the pans before baking for flat, uniform layers. If your cake doesn’t bake up quite right, here are a few common issues to check: a dry cake often means too much flour or overbaking; a dense texture can be caused by expired baking powder or forgetting the xanthan gum; a sunken center usually points to too much liquid or underbaking; and a lumpy top may be due to incorrect flour measurements or not beating the wet ingredients long enough to incorporate enough air.
Serving Suggestions
This cake is perfect for birthdays, baby showers, holidays—or honestly, any time you’re craving something fun and festive. I love serving it with a scoop of vanilla ice cream or a swirl of dairy-free whipped topping. You can easily switch up the sprinkles to match the occasion, too—pastels for spring, bold colors for birthdays, or red and green for the holidays. It’s one of those cakes that makes any day feel like a celebration.
Storage Instructions
Store any leftover cake wrapped tightly in plastic wrap in the fridge for up to 4 days.
If you want to prep ahead, the unfrosted cake layers freeze well, just wrap them individually and store in an airtight container or freezer bag for up to 2 months.
You can also make the buttercream in advance and keep it in the fridge for up to 1 week; just let it come to room temperature and re-whip it before frosting.
More Celebratory Cakes
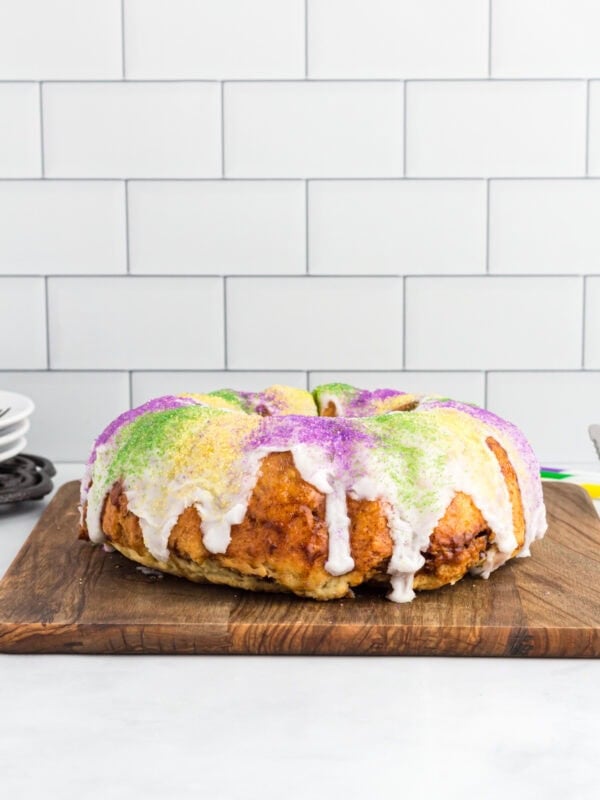
Gluten-Free King Cake: If you love the festive feel of gluten-free funfetti cake, this gluten-free king cake brings the same fun energy with a cinnamon swirl and colorful icing. Perfect for Mardi Gras or any celebration.
Gluten-Free Tres Leches Cake: This gluten-free tres leches cake is just as soft and special, with an ultra-moist crumb and fluffy whipped topping. A great choice when you want something rich and celebratory.
Gluten-Free Kentucky Pound Cake: For a more classic option, this gluten-free Kentucky pound cake offers a buttery, tender crumb with timeless flavor. It’s simple, elegant, and perfect for birthdays or gatherings.


