Gluten-Free Ice Cream Sandwiches
Published
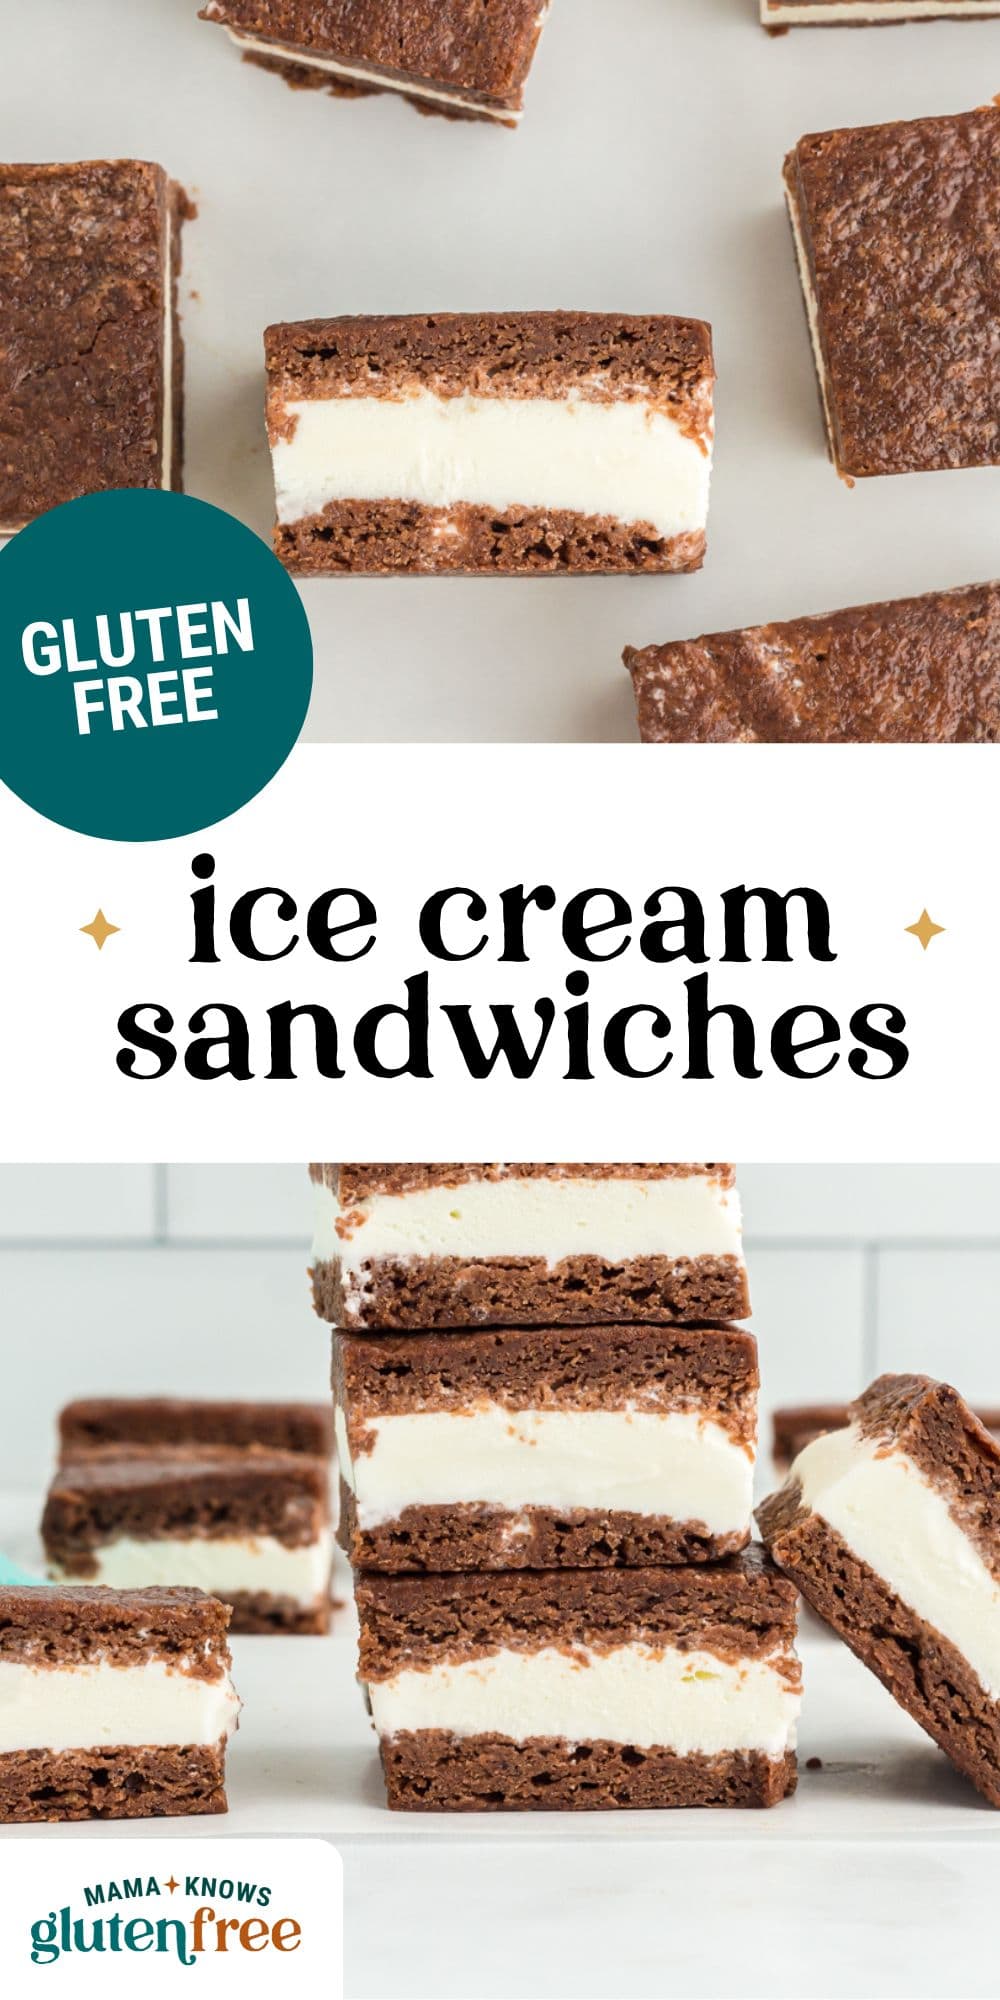
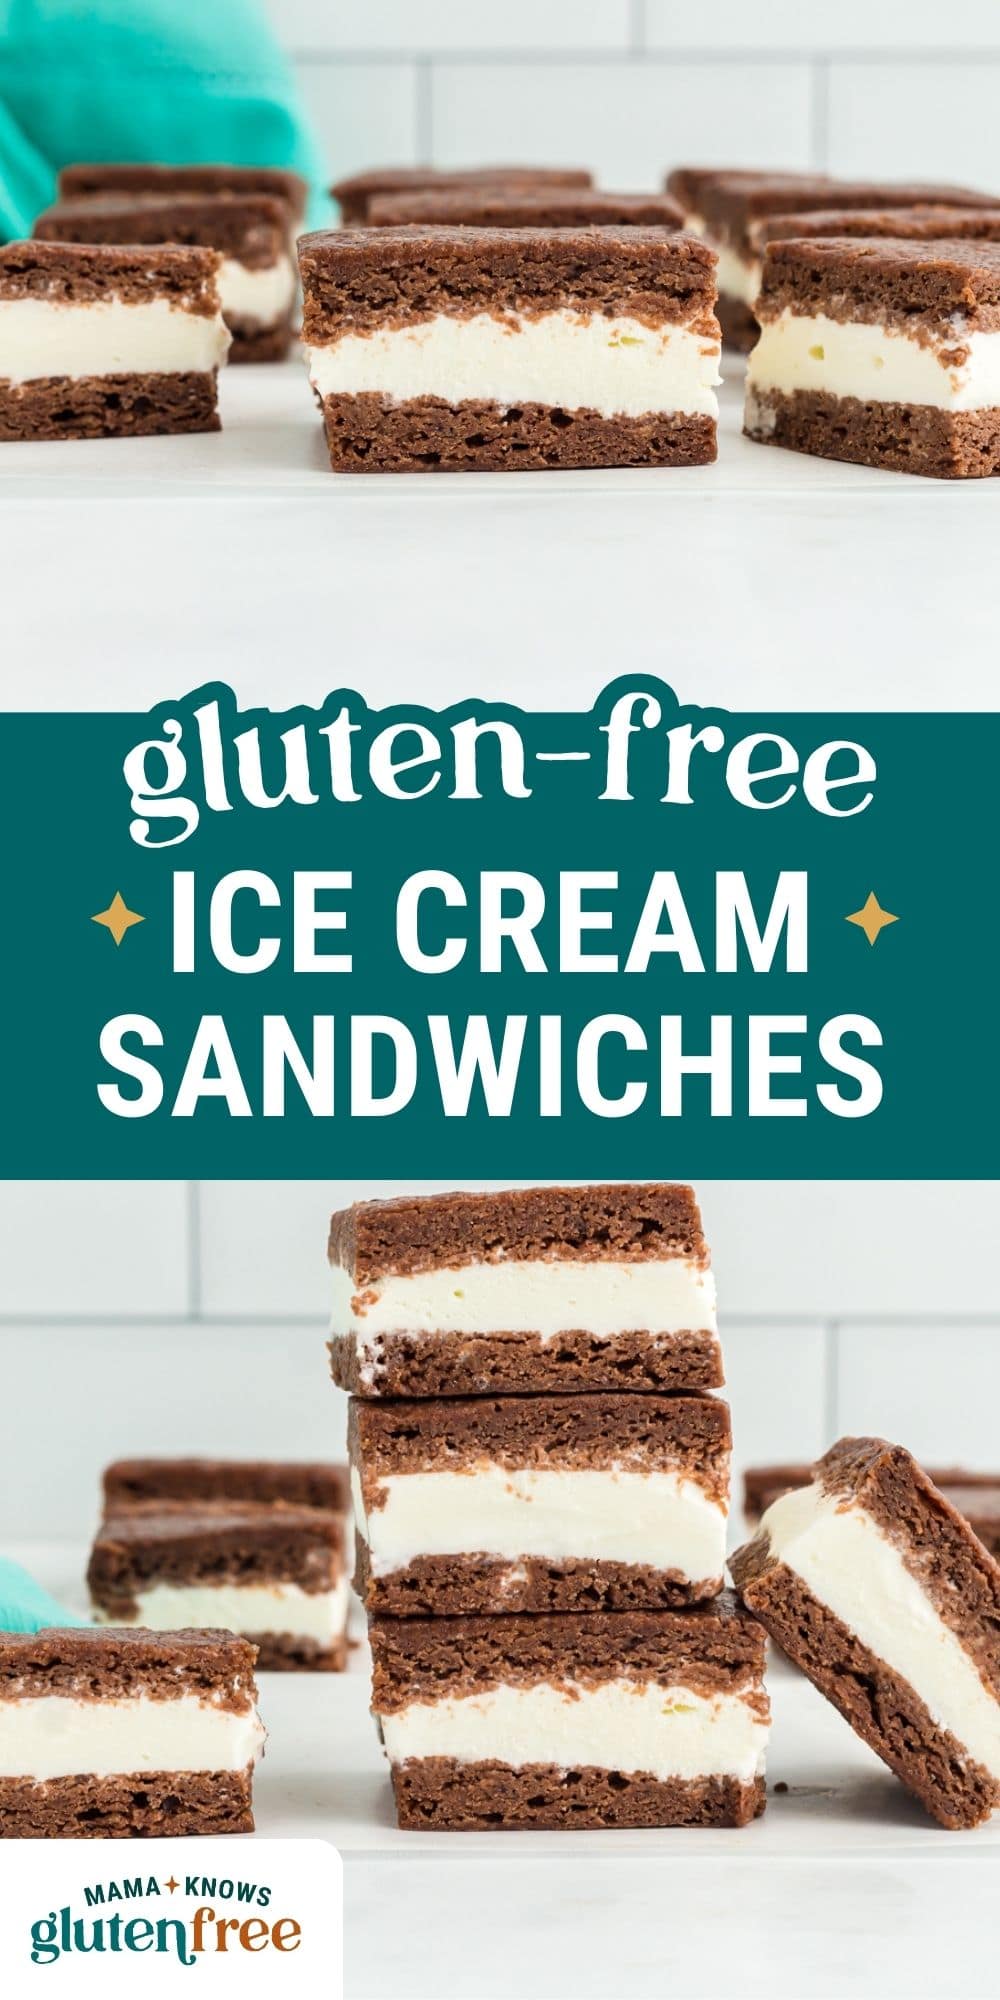

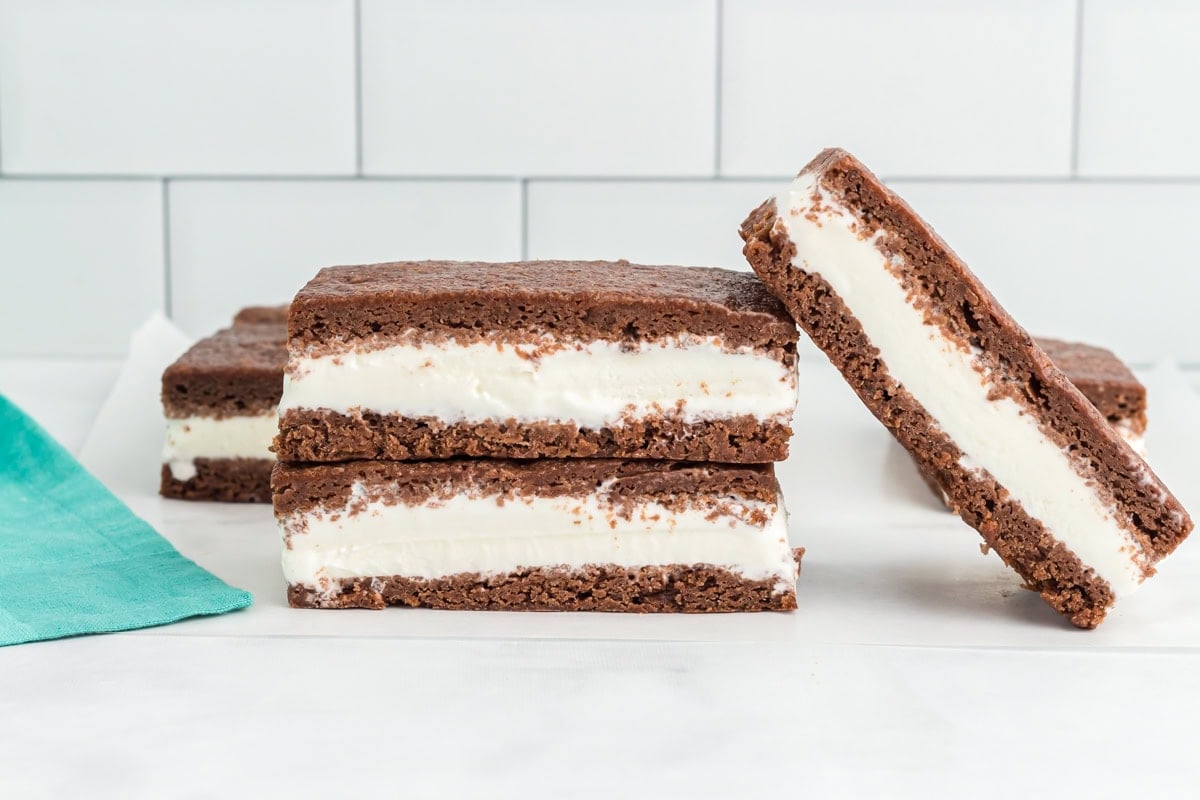
When it’s hot out, I reach for a cold ice cream sandwich, and it’s the perfect treat. These gluten-free ice cream sandwiches are layered with soft, chewy brownie-like cookies and creamy vanilla ice cream. They’re everything I want in a frozen dessert—nostalgic, satisfying, and totally safe for gluten-free eaters.
I love ice cream sandwiches as a kid, and I still do today! It’s hard to find gluten-free options at the store, so of course I had to try my own out. The chocolatey chewy cookies’ texture stays soft enough to bite into even when frozen, just like the classic version I remember. These homemade gluten-free ice cream bars are the perfect summer treat, and the best part is you can fill them with any ice cream you love. They’re fun to make, easy to store, and always a hit when I pull them out of the freezer for guests or a weeknight dessert.
Gluten-Free Ice Cream Sandwiches
Ingredients
- 1¾ cups all purpose gluten free flour (Cup4Cup)
- ⅓ cup unsweetened cocoa powder, sifted
- 1 tsp xanthan gum, (Cup4Cup) only if your flour blend doesn’t already include it
- ½ tsp baking powder
- ½ tsp salt
- 1 cup unsalted butter, melted but not hot. For dairy-free, us Smart Balance Butter.
- 1½ cups granulated sugar
- ½ cup light brown sugar, packed
- 4 large eggs
- 1 tbsp vanilla extract
- 1½ quarts vanilla ice cream, For dairy-free, use dairy-free ice cream.
Instructions
- Preheat oven to 350°F.
- Line a large 18” x 13” (with at least a 1” rim) baking sheet with parchment paper and spray with non-stick baking spray. When lining the baking sheet, the parchment paper should come up over the sides slightly so the cookie base is easy to lift out once chilled. Set aside for now.
- In a medium bowl, whisk together gluten free flour, sifted cocoa powder, xanthan gum (if needed), baking powder and salt. Set aside for now.
- In a large bowl, whisk together melted butter, granulated sugar, brown sugar, eggs and vanilla extract. Whisk together until fully combined.
- Whisk dry ingredients into wet ingredients until fully combined.
- Spread batter evenly onto the prepared baking sheet.
- Bake 17 to 19 minutes or until cookie base is set. Do not under bake as an under baked cookie base will break apart too easily. It will be soft but shouldn’t still look raw in the middle. Should look like a baked brownie.
- Let the cookie base cool completely on the baking sheet.
- Once cool, transfer the cookie base (still on the baking sheet) into the freezer for an hour. It’s important to freeze the cookie base before assembling the ice cream sandwiches. This helps the cookie base stay firm while layering.
- Take the ice cream out of the freezer and let sit out at room temperature for about 15 minutes so it softens up. The ice cream should be softened but not melted. It needs to be spreadable but still frozen enough to not leak out the sides of the sandwiches.
- Cut the large cookie base in half and transfer it to a large piece of food-safe plastic wrap.
- Evenly spread the ice cream mixture on top of one half of the frozen cookie base.
- Gently lift the other half of the cookie base and place it on top of the ice cream layer.
- Wrap well in food-safe plastic wrap and place back into the freezer for at least 8 hours (preferably overnight).
- Once frozen solid, use a sharp knife to cut into rectangles or squares (depending on the serving size you want for each sandwich).
Notes
- Don’t skip chilling the base before layering.
- Customizable with different ice cream flavors or dairy-free options.
- Check all of your ingredients to ensure they are gluten-free. Don’t forget to read the cross-contamination warnings on packages as well.
- For dairy-free, use almond milk ice cream.
Nutrition
Nutrition information is automatically calculated, so should only be used as an approximation.
How to Make Gluten-Free Ice Cream Sandwiches Step by Step
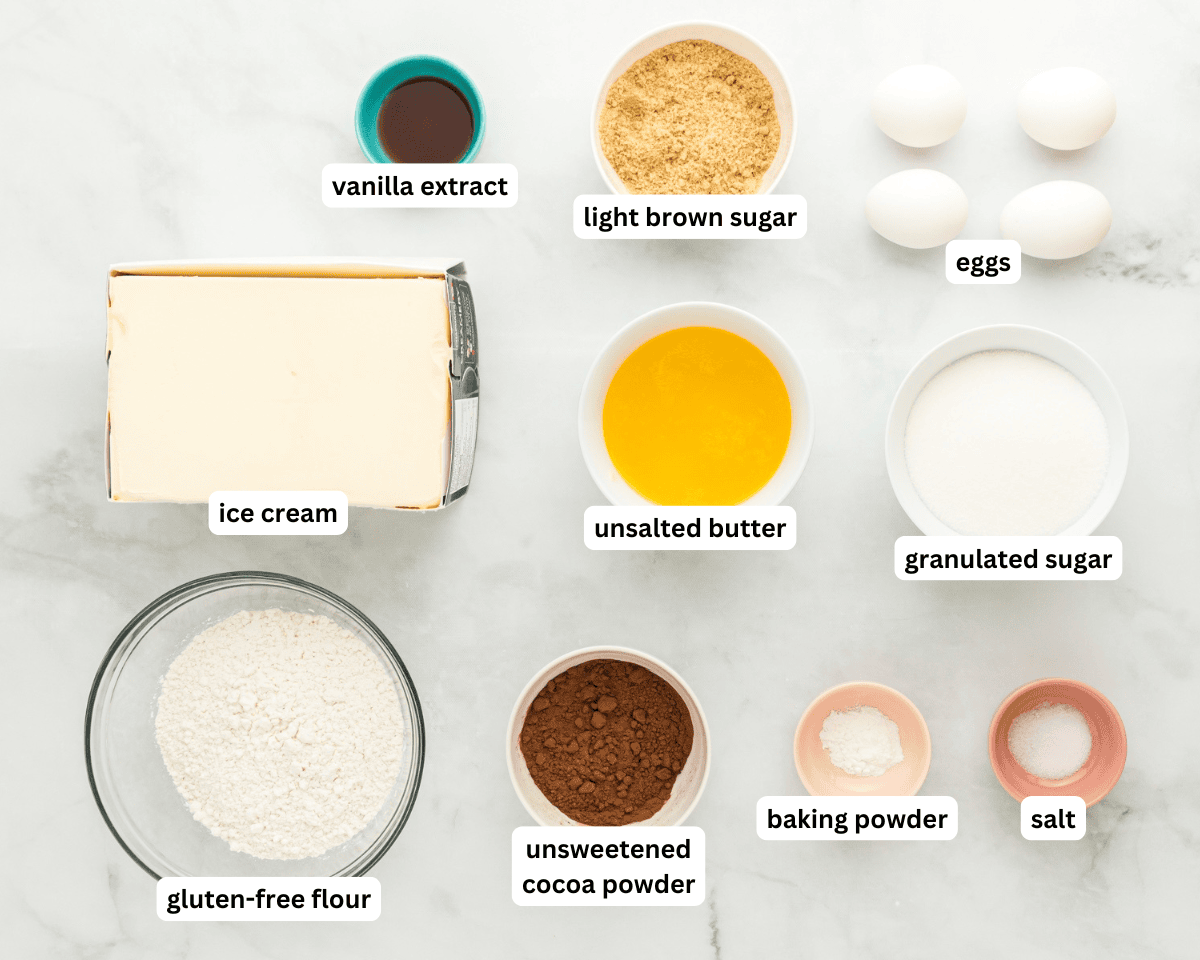
Gather the Ingredients: Gather all the ingredients together. Preheat the oven to 350°F and line a large 18” x 13” baking sheet (with at least a 1” rim) with parchment paper, letting the paper hang slightly over the sides for easy lifting later. Lightly coat the parchment with non-stick spray, then set the pan aside.

Mix the dry ingredients: In a medium-sized mixing bowl, whisk together 1 ¾ cups gluten-free all-purpose flour, ⅓ cup sifted unsweetened cocoa powder, 1 tsp xanthan gum (if needed), ½ tsp baking powder, and ½ tsp salt.

Mix the wet ingredients: In a larger mixing bowl, whisk together 1 cup melted but cool unsalted butter, 1 ½ cups granulated sugar, ½ cup light brown sugar, 4 large eggs, and 1 tbsp vanilla extract. Keep mixing until fully combined.

Combine the wet and dry ingredients: Whisk the dry ingredients into the wet until the batter is fully combined and smooth.

Fill the baking sheet: Spread the batter evenly across the prepared baking sheet, smoothing it into an even layer.
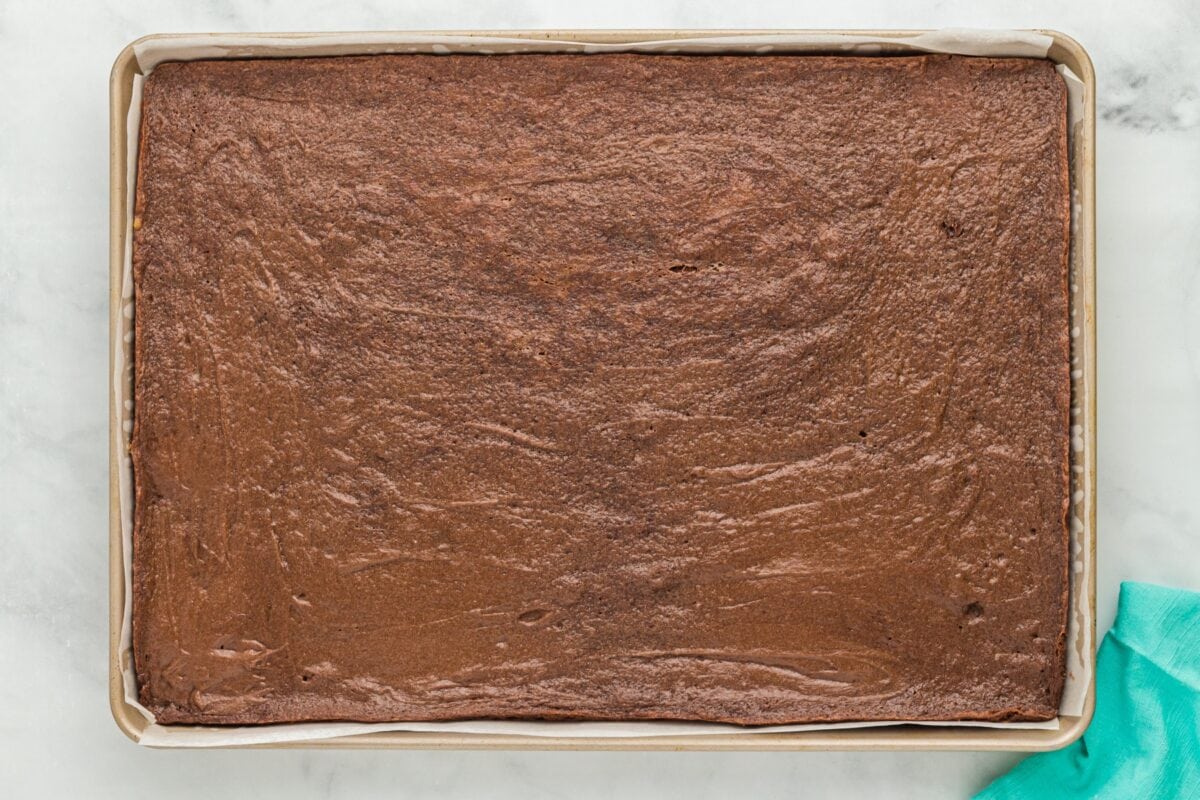
Bake the cookie layer: Bake for 17 to 19 minutes, or until the cookie base is fully set. It should look like a baked brownie—soft but not wet or raw in the center. Don’t underbake, or the base may fall apart when assembling the sandwiches. Allow the cookie base to cool completely in the baking sheet. Once the cookie base has cooled, place the entire baking sheet into the freezer for 1 hour. Freezing it first helps the base stay firm and makes it much easier to layer the ice cream without cracking or breaking.
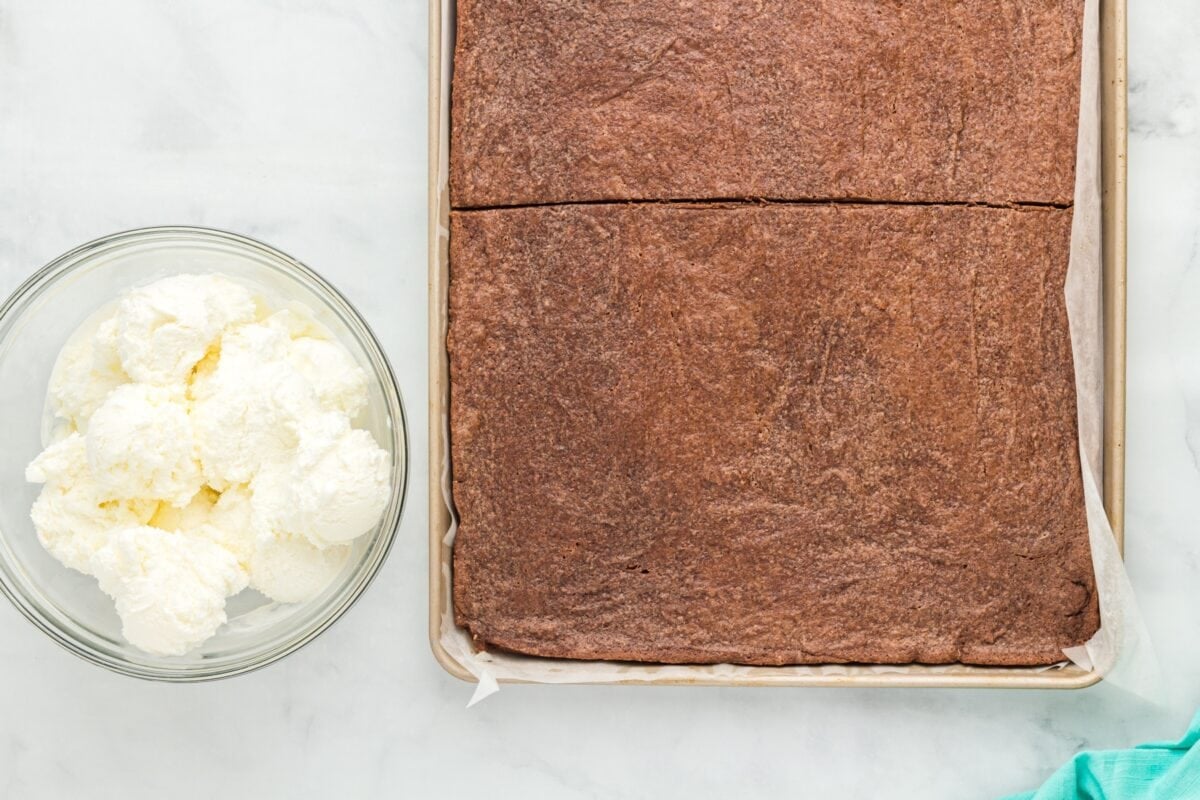
Cut the base: Cut the large cookie base in half, then place both halves onto a large sheet of food-safe plastic wrap. Let the ice cream sit at room temperature for about 15 minutes to soften. It should be spreadable but still firm—soft enough to spread easily, but not so melted that it oozes out of the sandwich layers.

Add the ice cream: Spread 1 ½ quarts softened ice cream evenly over one-half of the frozen cookie base.

Sandwich and chill: Carefully place the second half of the cookie base on top of the ice cream layer, pressing down gently to secure. Wrap the assembled sandwich tightly in food-safe plastic wrap and return it to the freezer for at least 8 hours, or ideally overnight, to fully set.

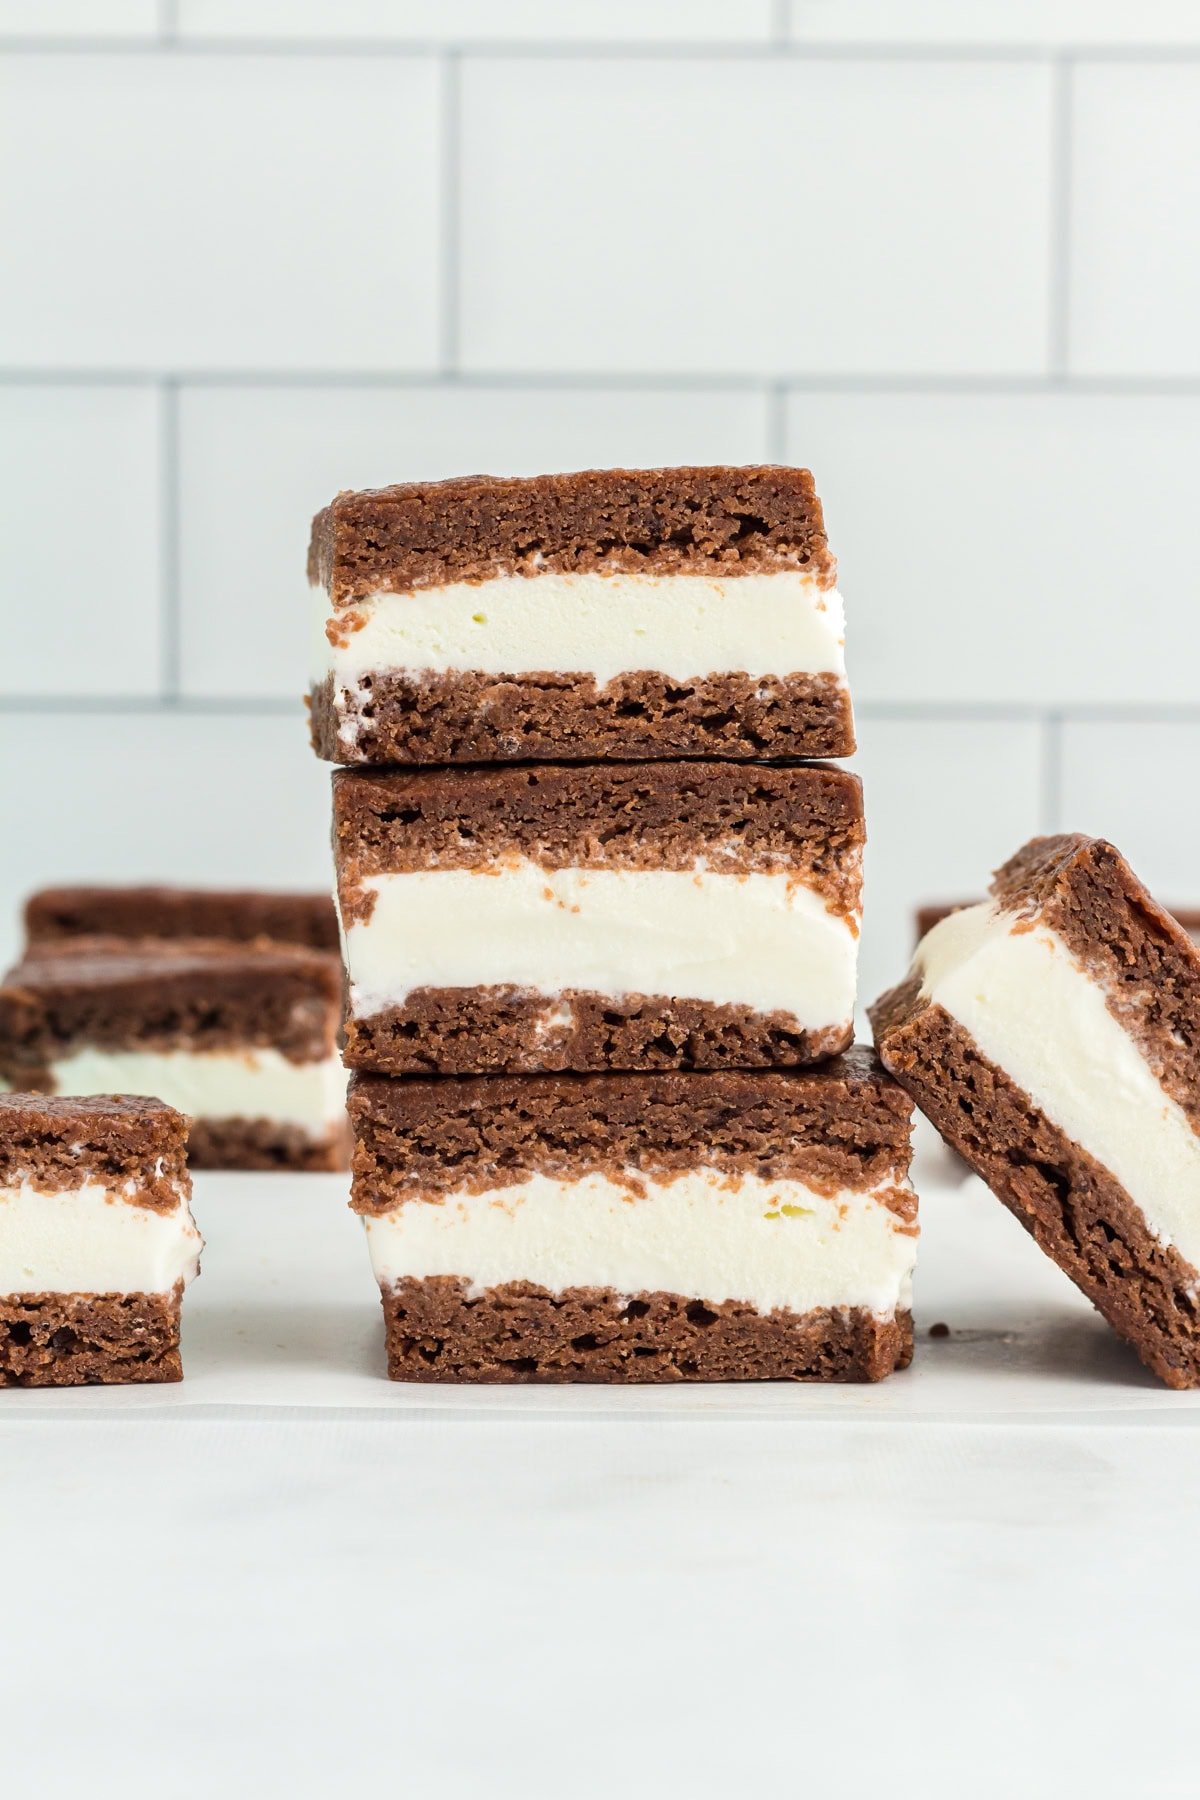
Slice and serve: Once fully frozen, use a sharp knife to slice into rectangles or squares, depending on how big you want each sandwich to be. Serve up on a hot day and enjoy!
Gluten-Free Tips
- Sift the cocoa powder before mixing it into the batter to prevent dry clumps that can lead to uneven texture or bitter pockets in the cookie layer. It only takes a minute, but it makes a big difference in getting that smooth, brownie-like consistency.
- Be generous with non-stick spray or line your pan with parchment. Gluten-free batters can stick more than you’d expect, and there’s nothing worse than trying to pry a fragile cookie base out of the pan. I like to overdo it a little just to be safe.
- I’ve found that a mixer can whip too much air into the batter and throw off the texture. A quick stir with a spatula keeps everything fudgy and dense, just the way I like it.
- Slice with a sharp knife dipped in hot water. It might seem like a little extra effort, but it makes a huge difference. The warm blade glides right through the frozen sandwich without tearing the layers. I like to wipe it clean between cuts so each piece looks picture-perfect.
Serving Suggestions
These gluten-free ice cream sandwiches are perfect for summer parties, BBQs, or anytime you need a crowd-pleasing frozen treat. You can use any ice cream you love—try keto ice cream, avocado ice cream, or dairy-free varieties to suit different dietary needs. They’re easy to make ahead, which makes them great for birthday parties or kid-friendly desserts. For a fun twist, drizzle them with chocolate or roll the edges in sprinkles, crushed nuts, or mini chocolate chips before freezing.
Storage Instructions
Wrap each ice cream sandwich individually in plastic wrap to keep them fresh and prevent freezer burn. Store them in an airtight container or freezer bag in the freezer for up to 3 months.
When you’re ready to enjoy one, let it sit at room temperature for 1–2 minutes to soften slightly—it makes the texture even better and easier to bite into.


Can the brownies be made with dairy free butter?
Hi Sue, yes, you can use dairy‑free butter (e.g. plant‑based butter sticks, Earth Balance, Smart Balance or melted coconut oil) for gluten‑free brownies, with good results.