Gluten-Free Ladyfingers
Published
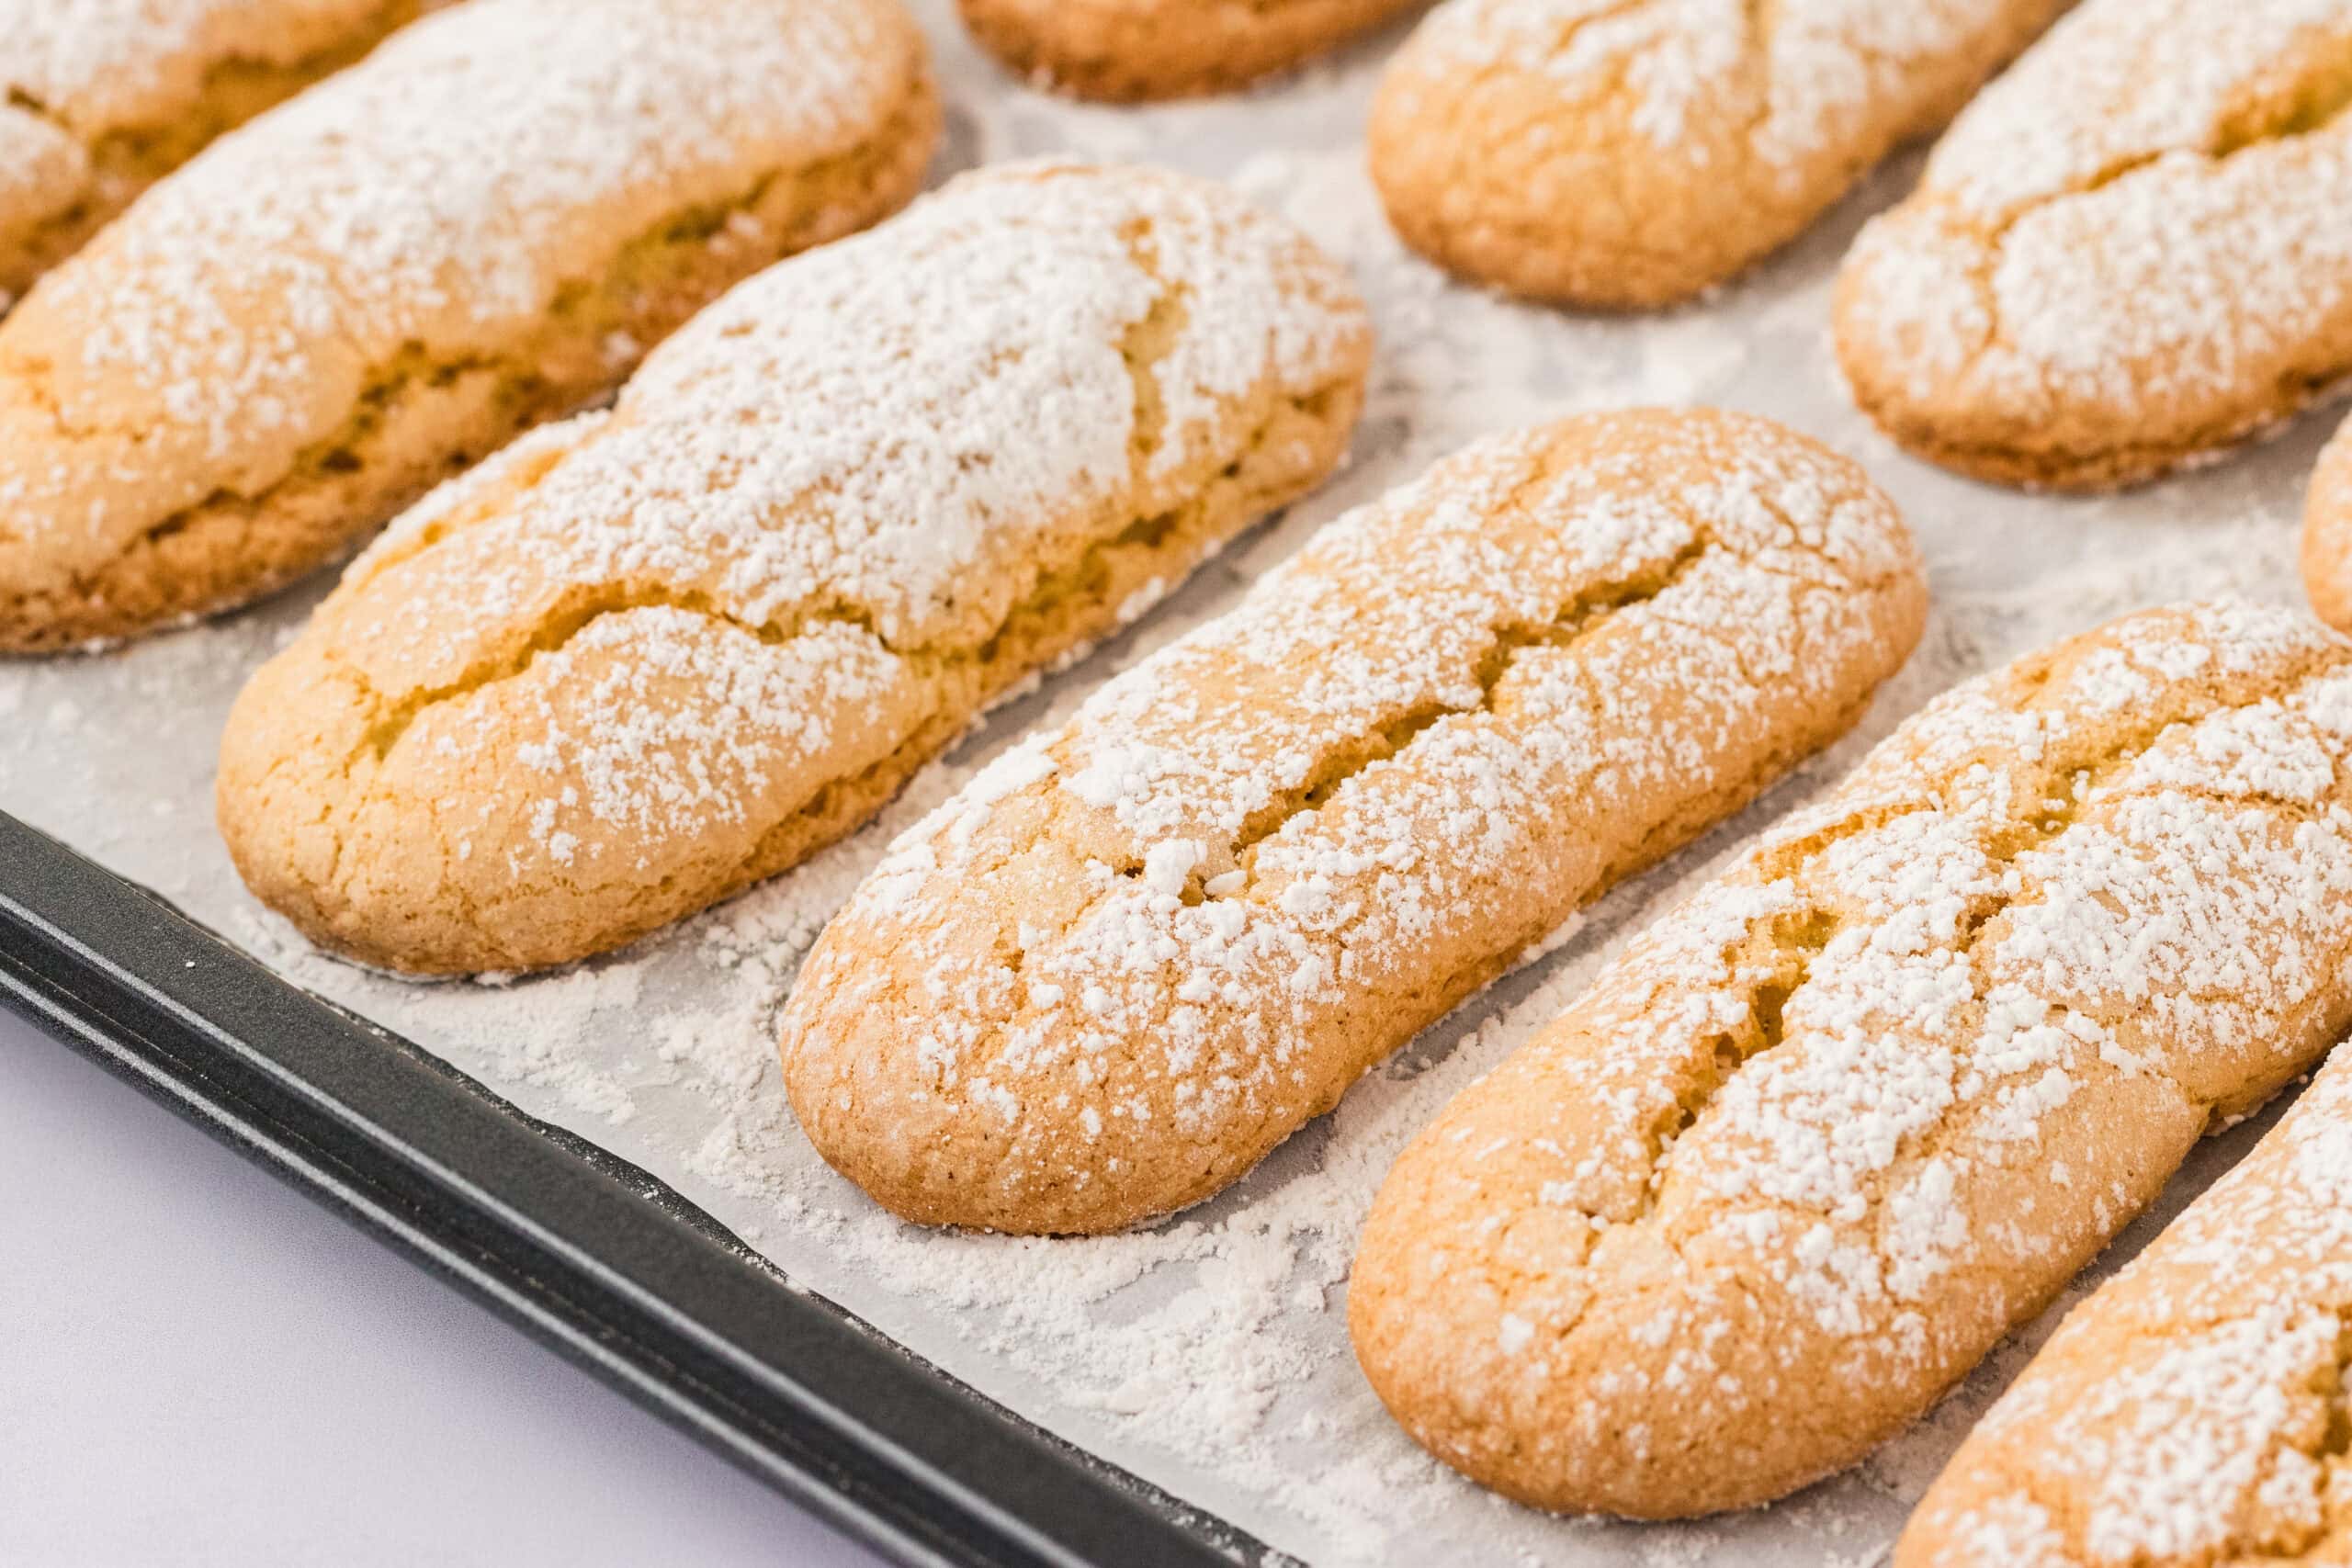
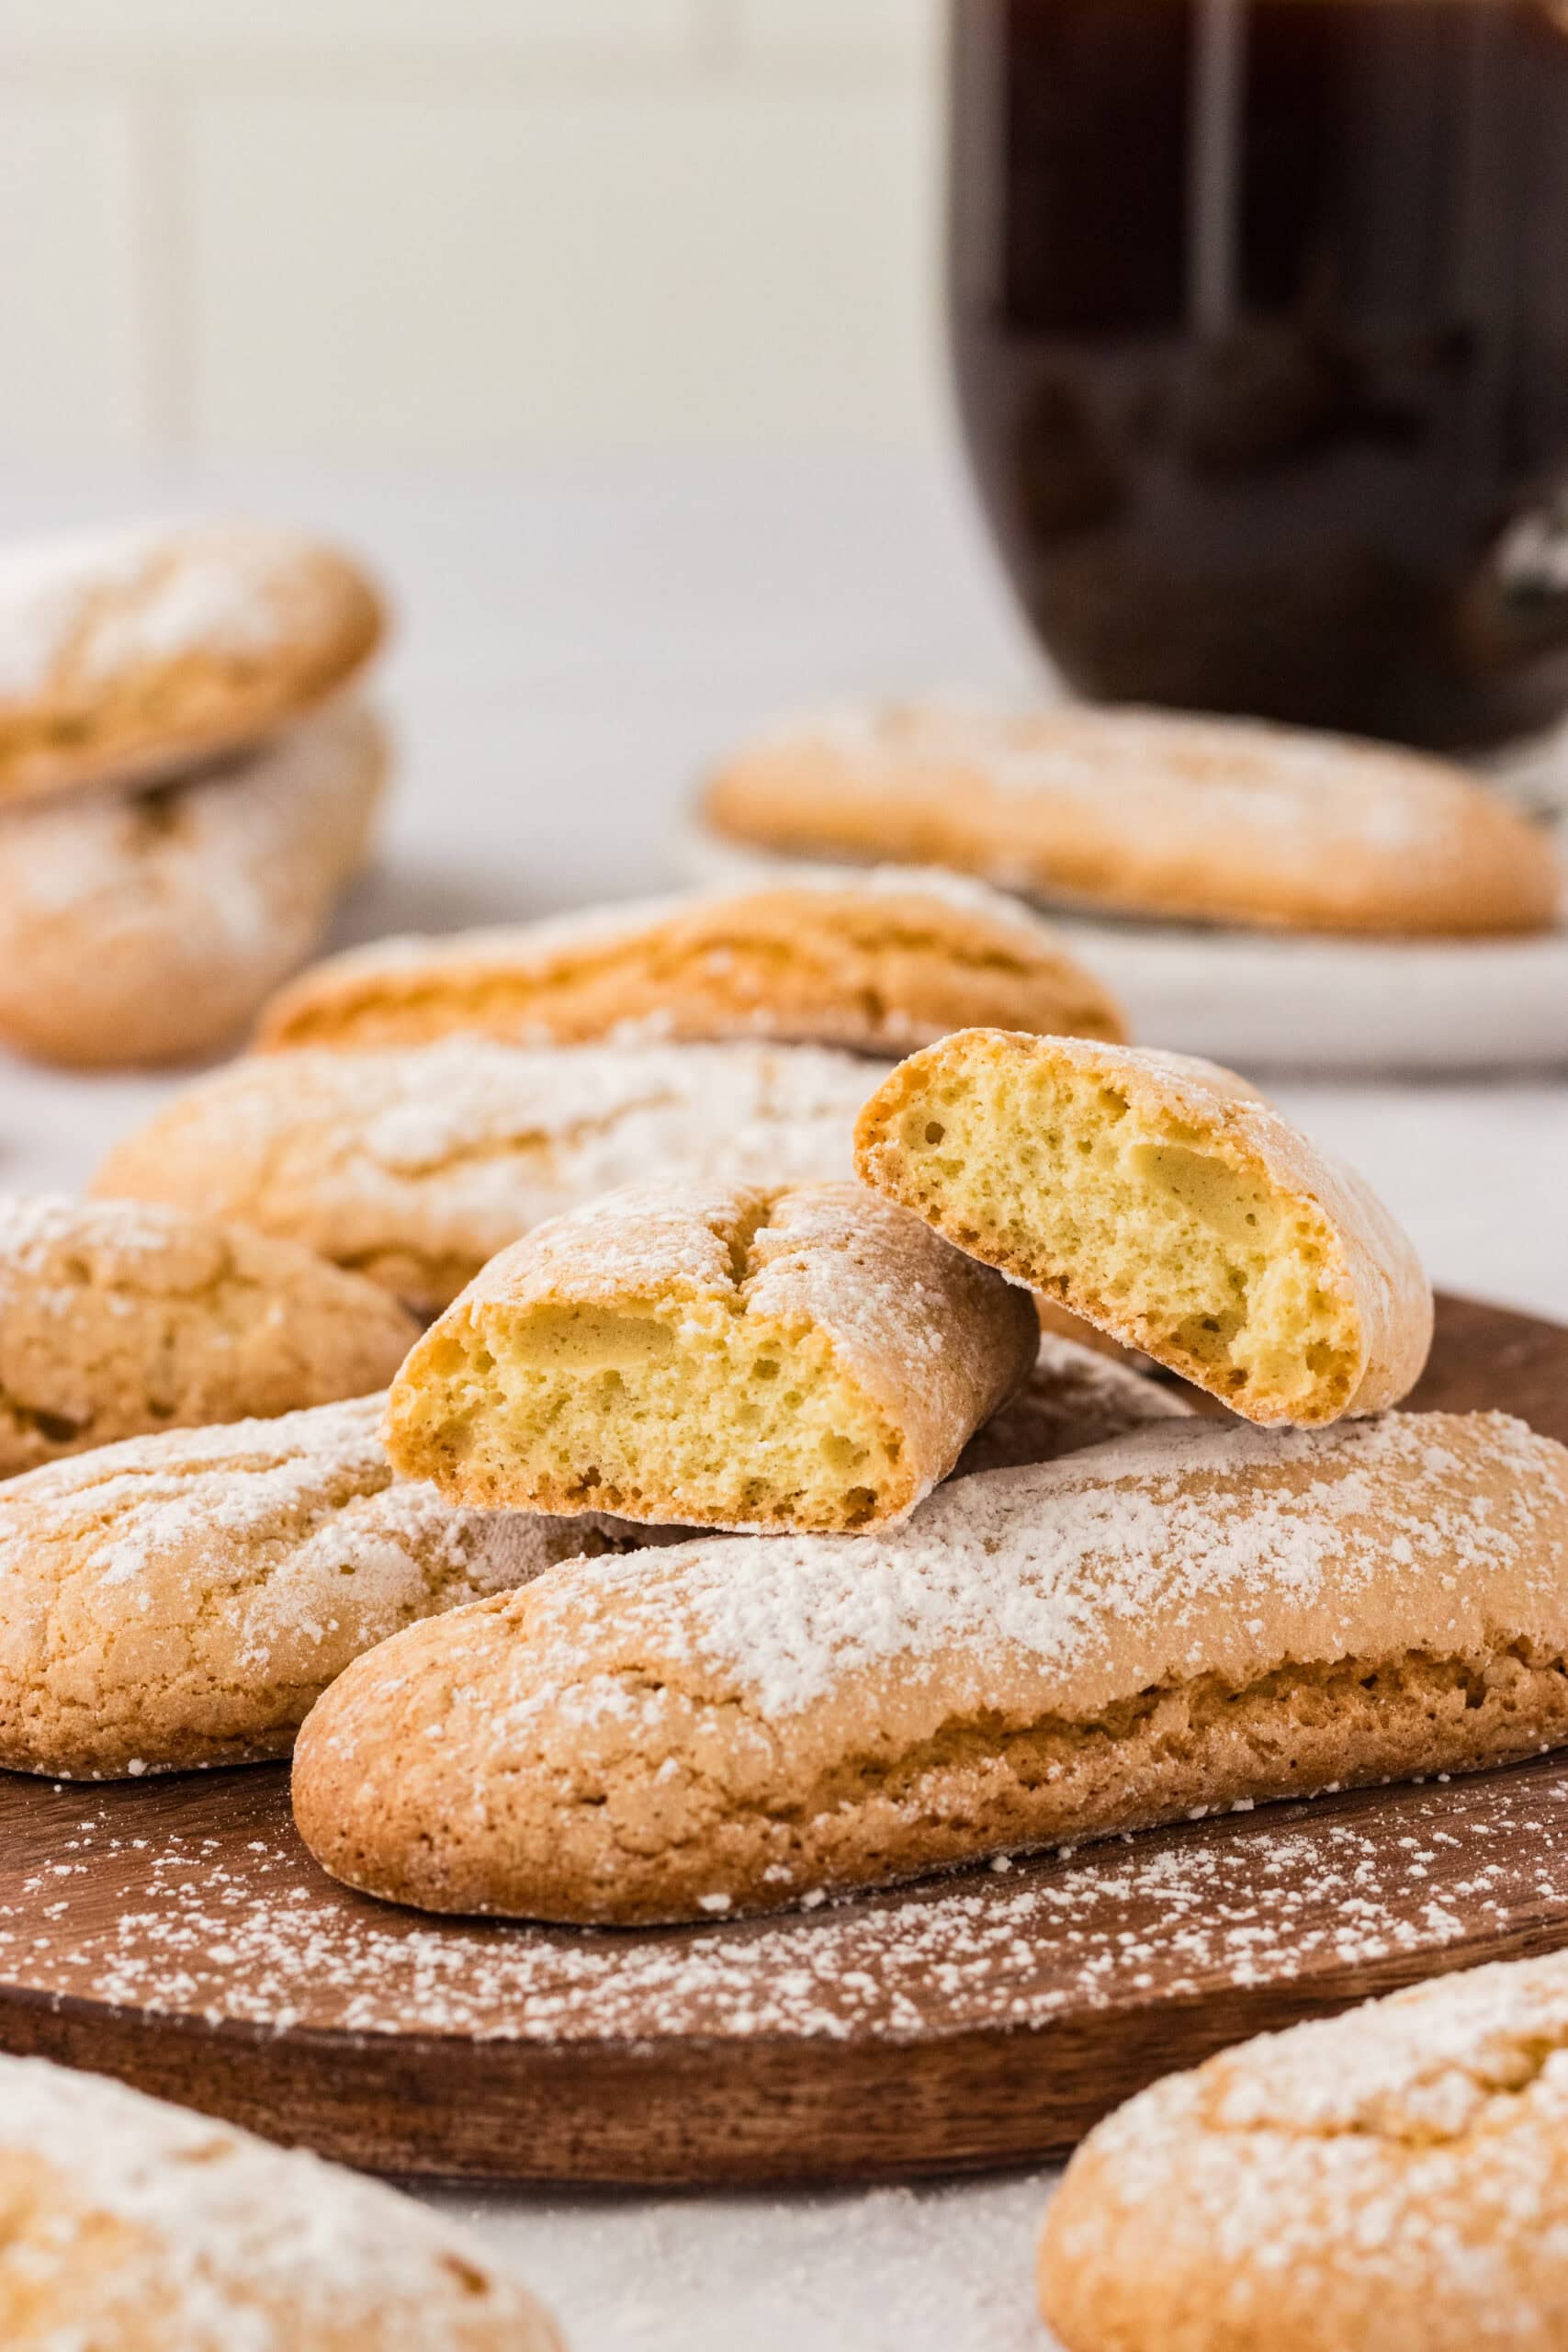
There’s something so satisfying about a light, airy ladyfinger—especially when it’s gluten-free and freshly baked at home! I love how versatile these cookies are. They’re perfect for any situation and aren’t overly sweet, making them the perfect little treat when I’m not looking for something overindulgent. This recipe combines the simplicity and flavor of traditional ladyfingers without the gluten, making them a go-to for gluten-sensitive dessert lovers.
Gluten-Free Ladyfingers Recipe
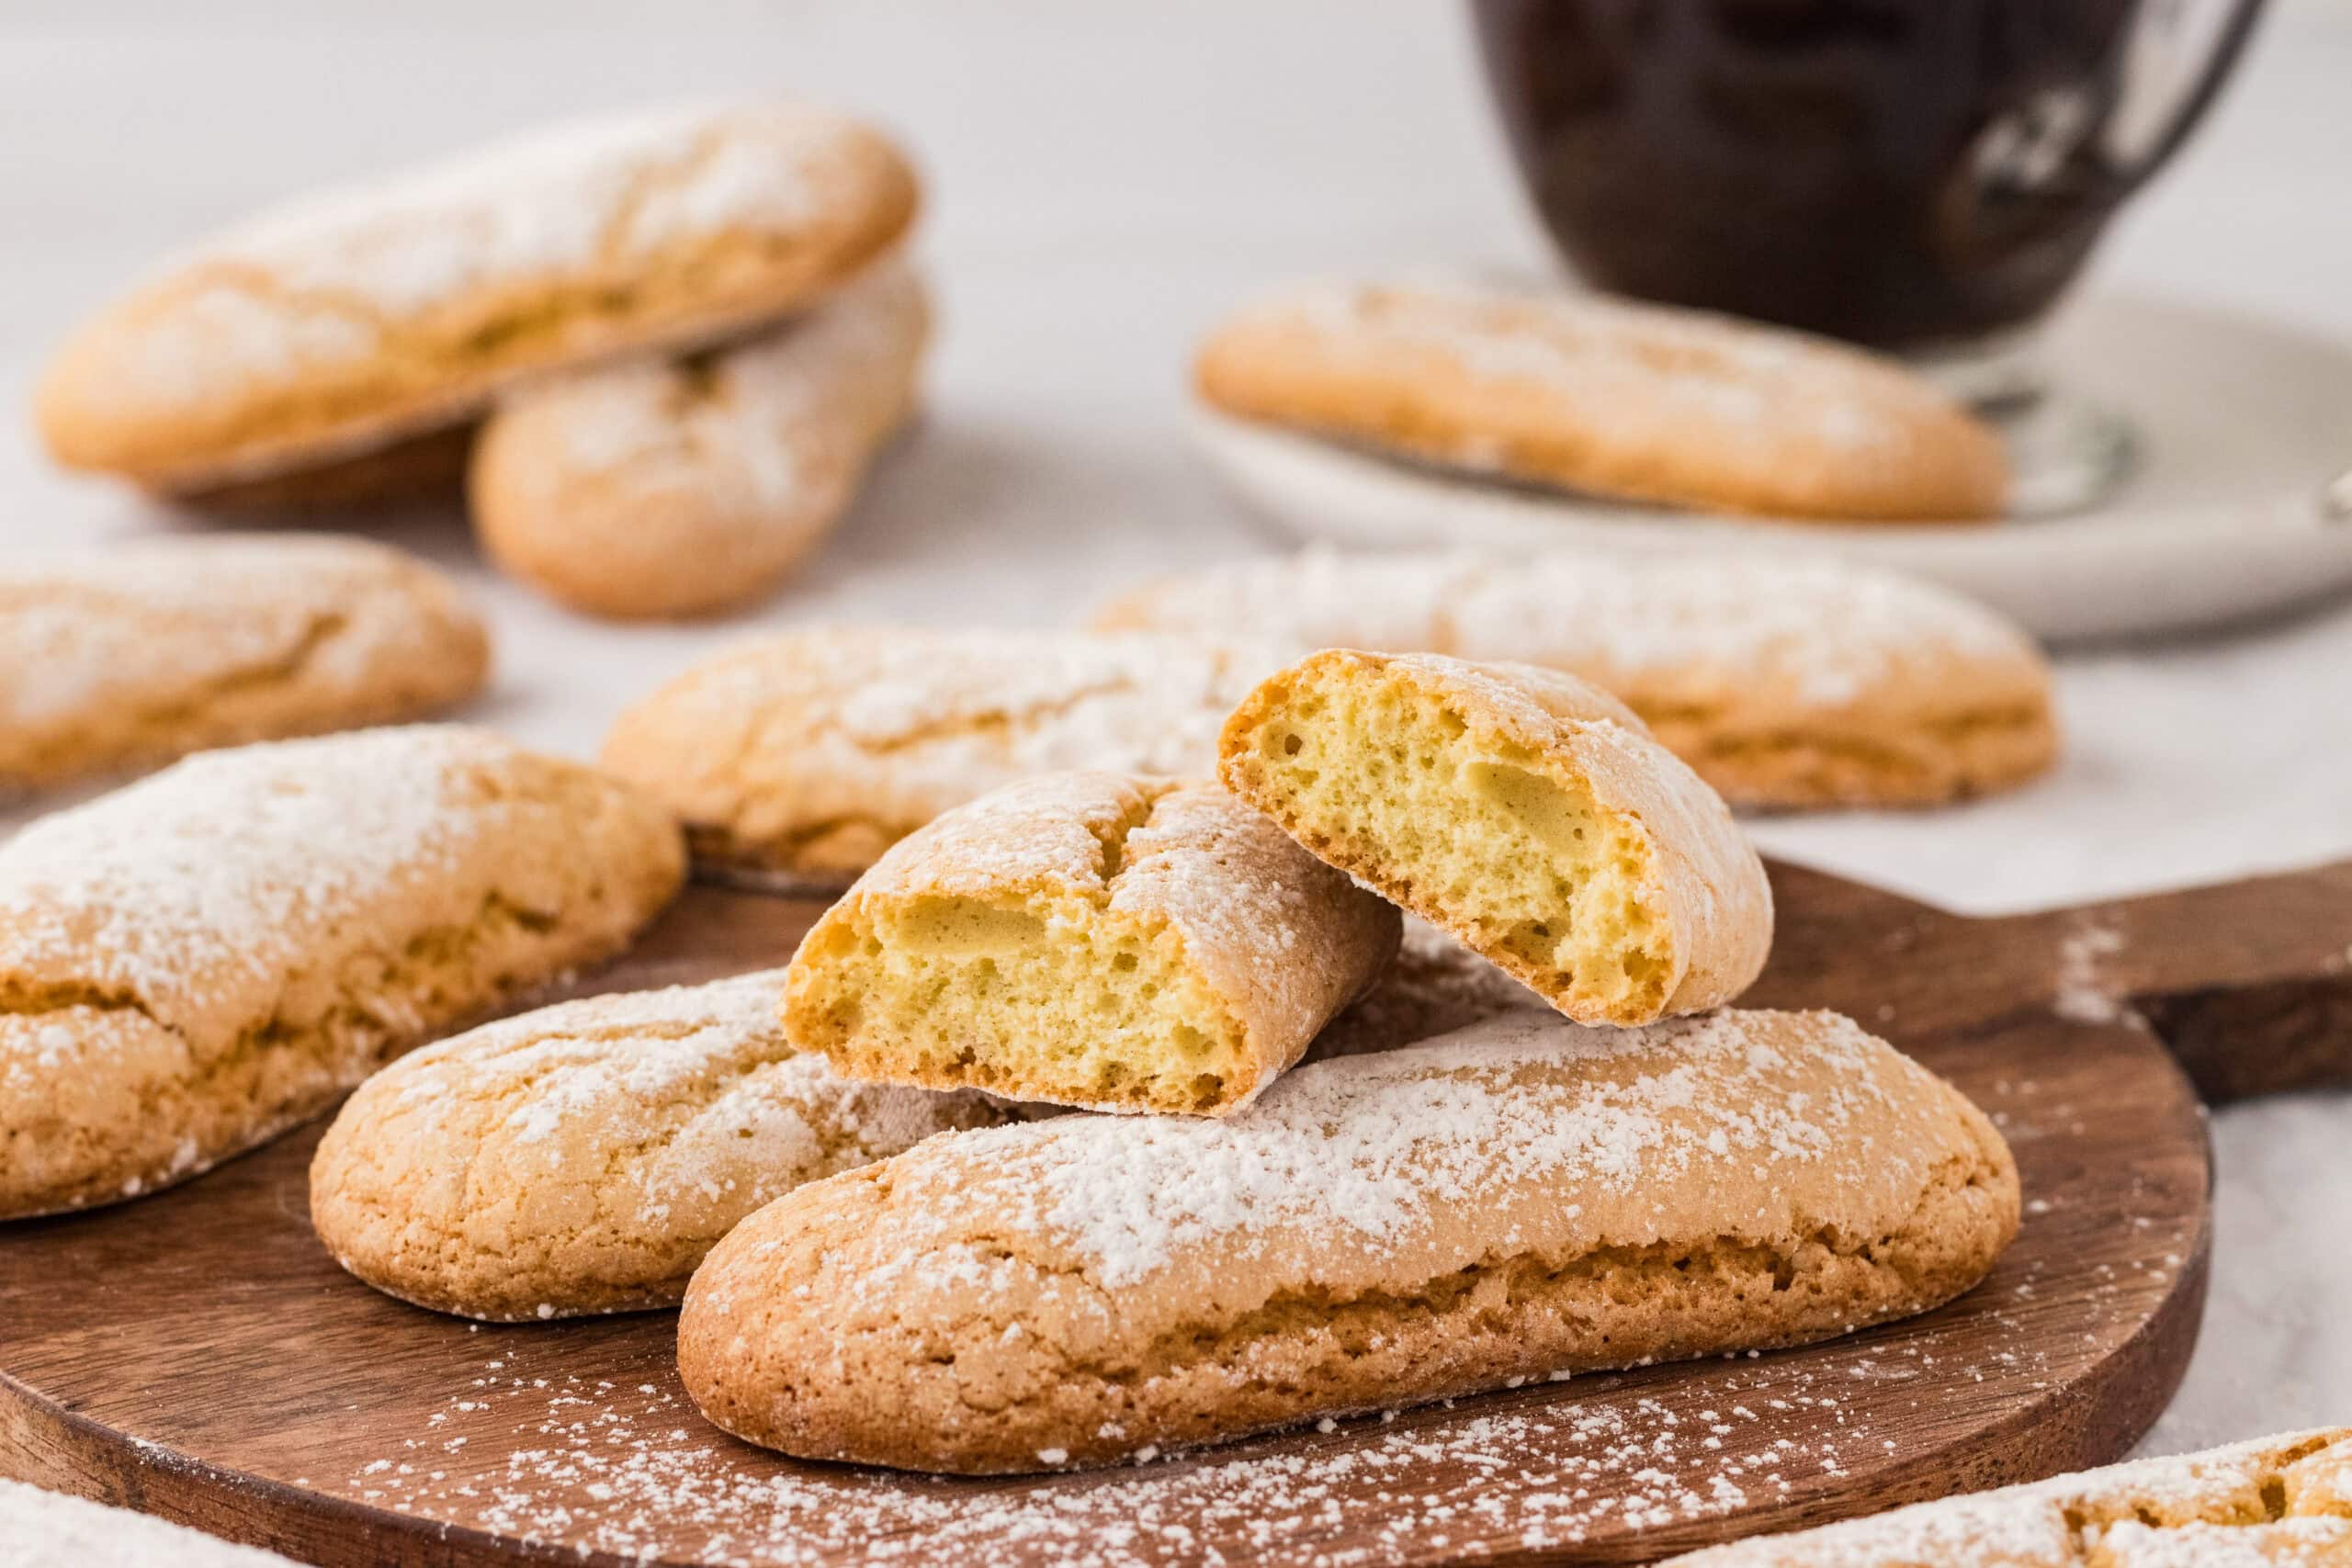
These classic Italian vanilla biscuits, savoiardi, are perfect for dunking into your morning coffee or layering in a gluten-free tiramisu. You guys know I love making my gluten-free alternatives and biscuits like these ladyfingers, which are too easy not to make. With just a few pantry staples, you can create gluten-free sponge fingers that are crisp on the outside, soft and airy on the inside, and designed to soak up every bit of your favorite flavors.
Cheaper and tastier than store-bought options, these homemade ladyfingers let you enjoy an authentic Italian treat right from your kitchen—and trust me, once you try them, you’ll never look back.
Ingredients
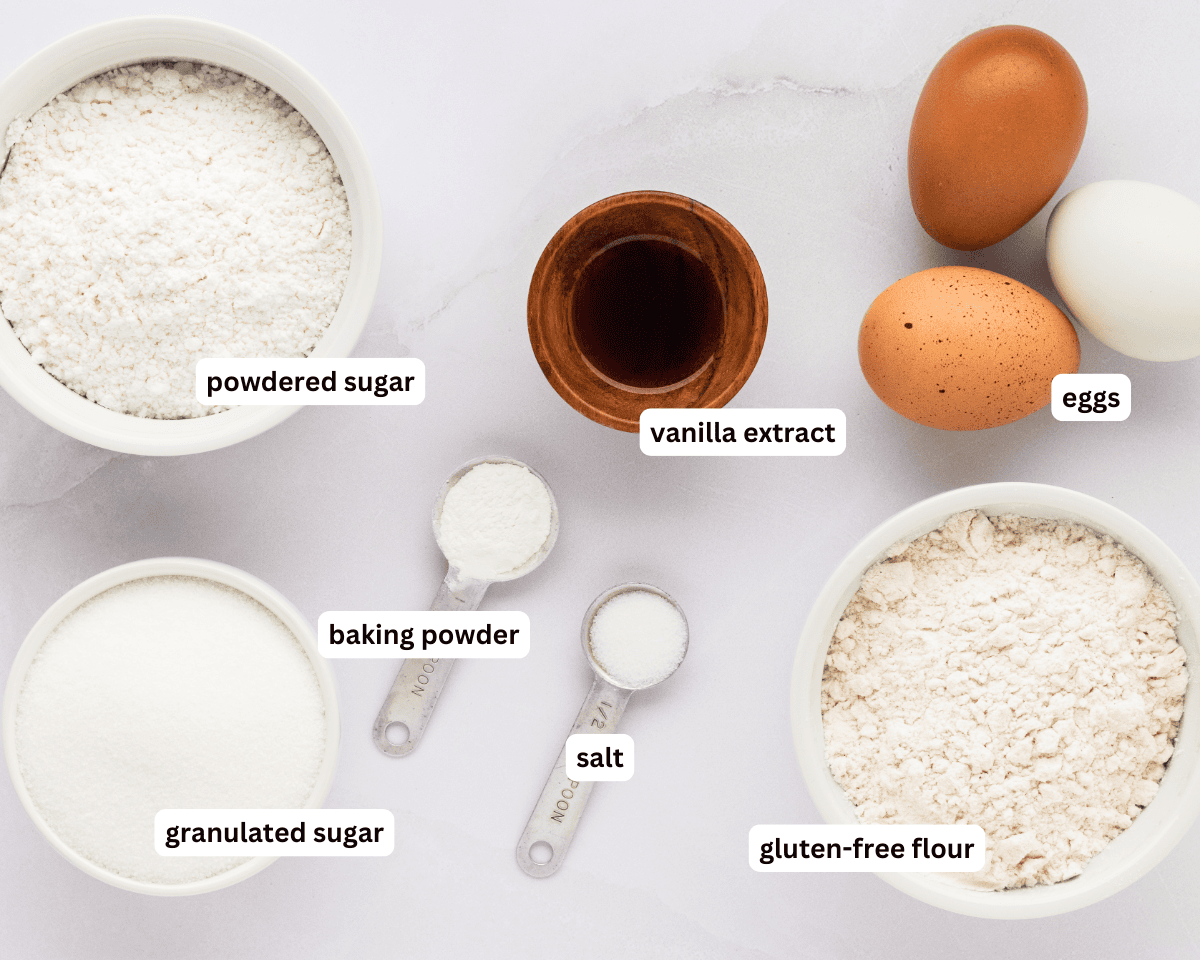
- Gluten-Free All-Purpose Flour: I use King Arthur’s Measure for Measure Gluten-Free Flour and find that it works best for this recipe. If you decide to go with a different flour blend, just make sure it contains xanthan gum. If it doesn’t, you can add ½ teaspoon to your dry ingredients.
- Baking Powder: Baking powder is essential in baking as it helps ‘puff up’ baked goods.
- Salt: Salt is used to balance out the sweet flavors.
- Eggs: Eggs are a key ingredient needed to achieve that fluffy texture of the biscuit.
- Granulated Sugar: I like granulated sugar to add a slight sweetness.
- Vanilla Extract: Vanilla to give the ladyfingers a mild vanilla flavor.
- Powdered Sugar: I like to dust my ladyfingers after baking with powdered sugar. This step can be omitted if you want a less sweet cookie.
Tips and Suggestions
- I use a piping bag to achieve the desired “finger-like” biscuit shape. You can also use a freezer bag.
- I learned the hard way that overmixing can result in dense cookies. Overmixing will result in your whipped egg whites losing volume. It’s important to stop mixing as soon as the mixtures are folded together..
- You’ll hear the terms soft and stiff peaks often in baking relating to whipped egg whites. Soft peaks refer to the peaks formed that will be soft and droop down. Stiff peaks refer to the peaks when they stand straight up without drooping.
- If you want a softer cookie for snacking, you can easily make them softer and more cake-like by baking them for only 5 minutes at 300°F instead of 12. Additionally, if you want them less sweet, you can leave off the sugar dusting—the cookies themselves are only mildly sweet.
Serving Suggestions
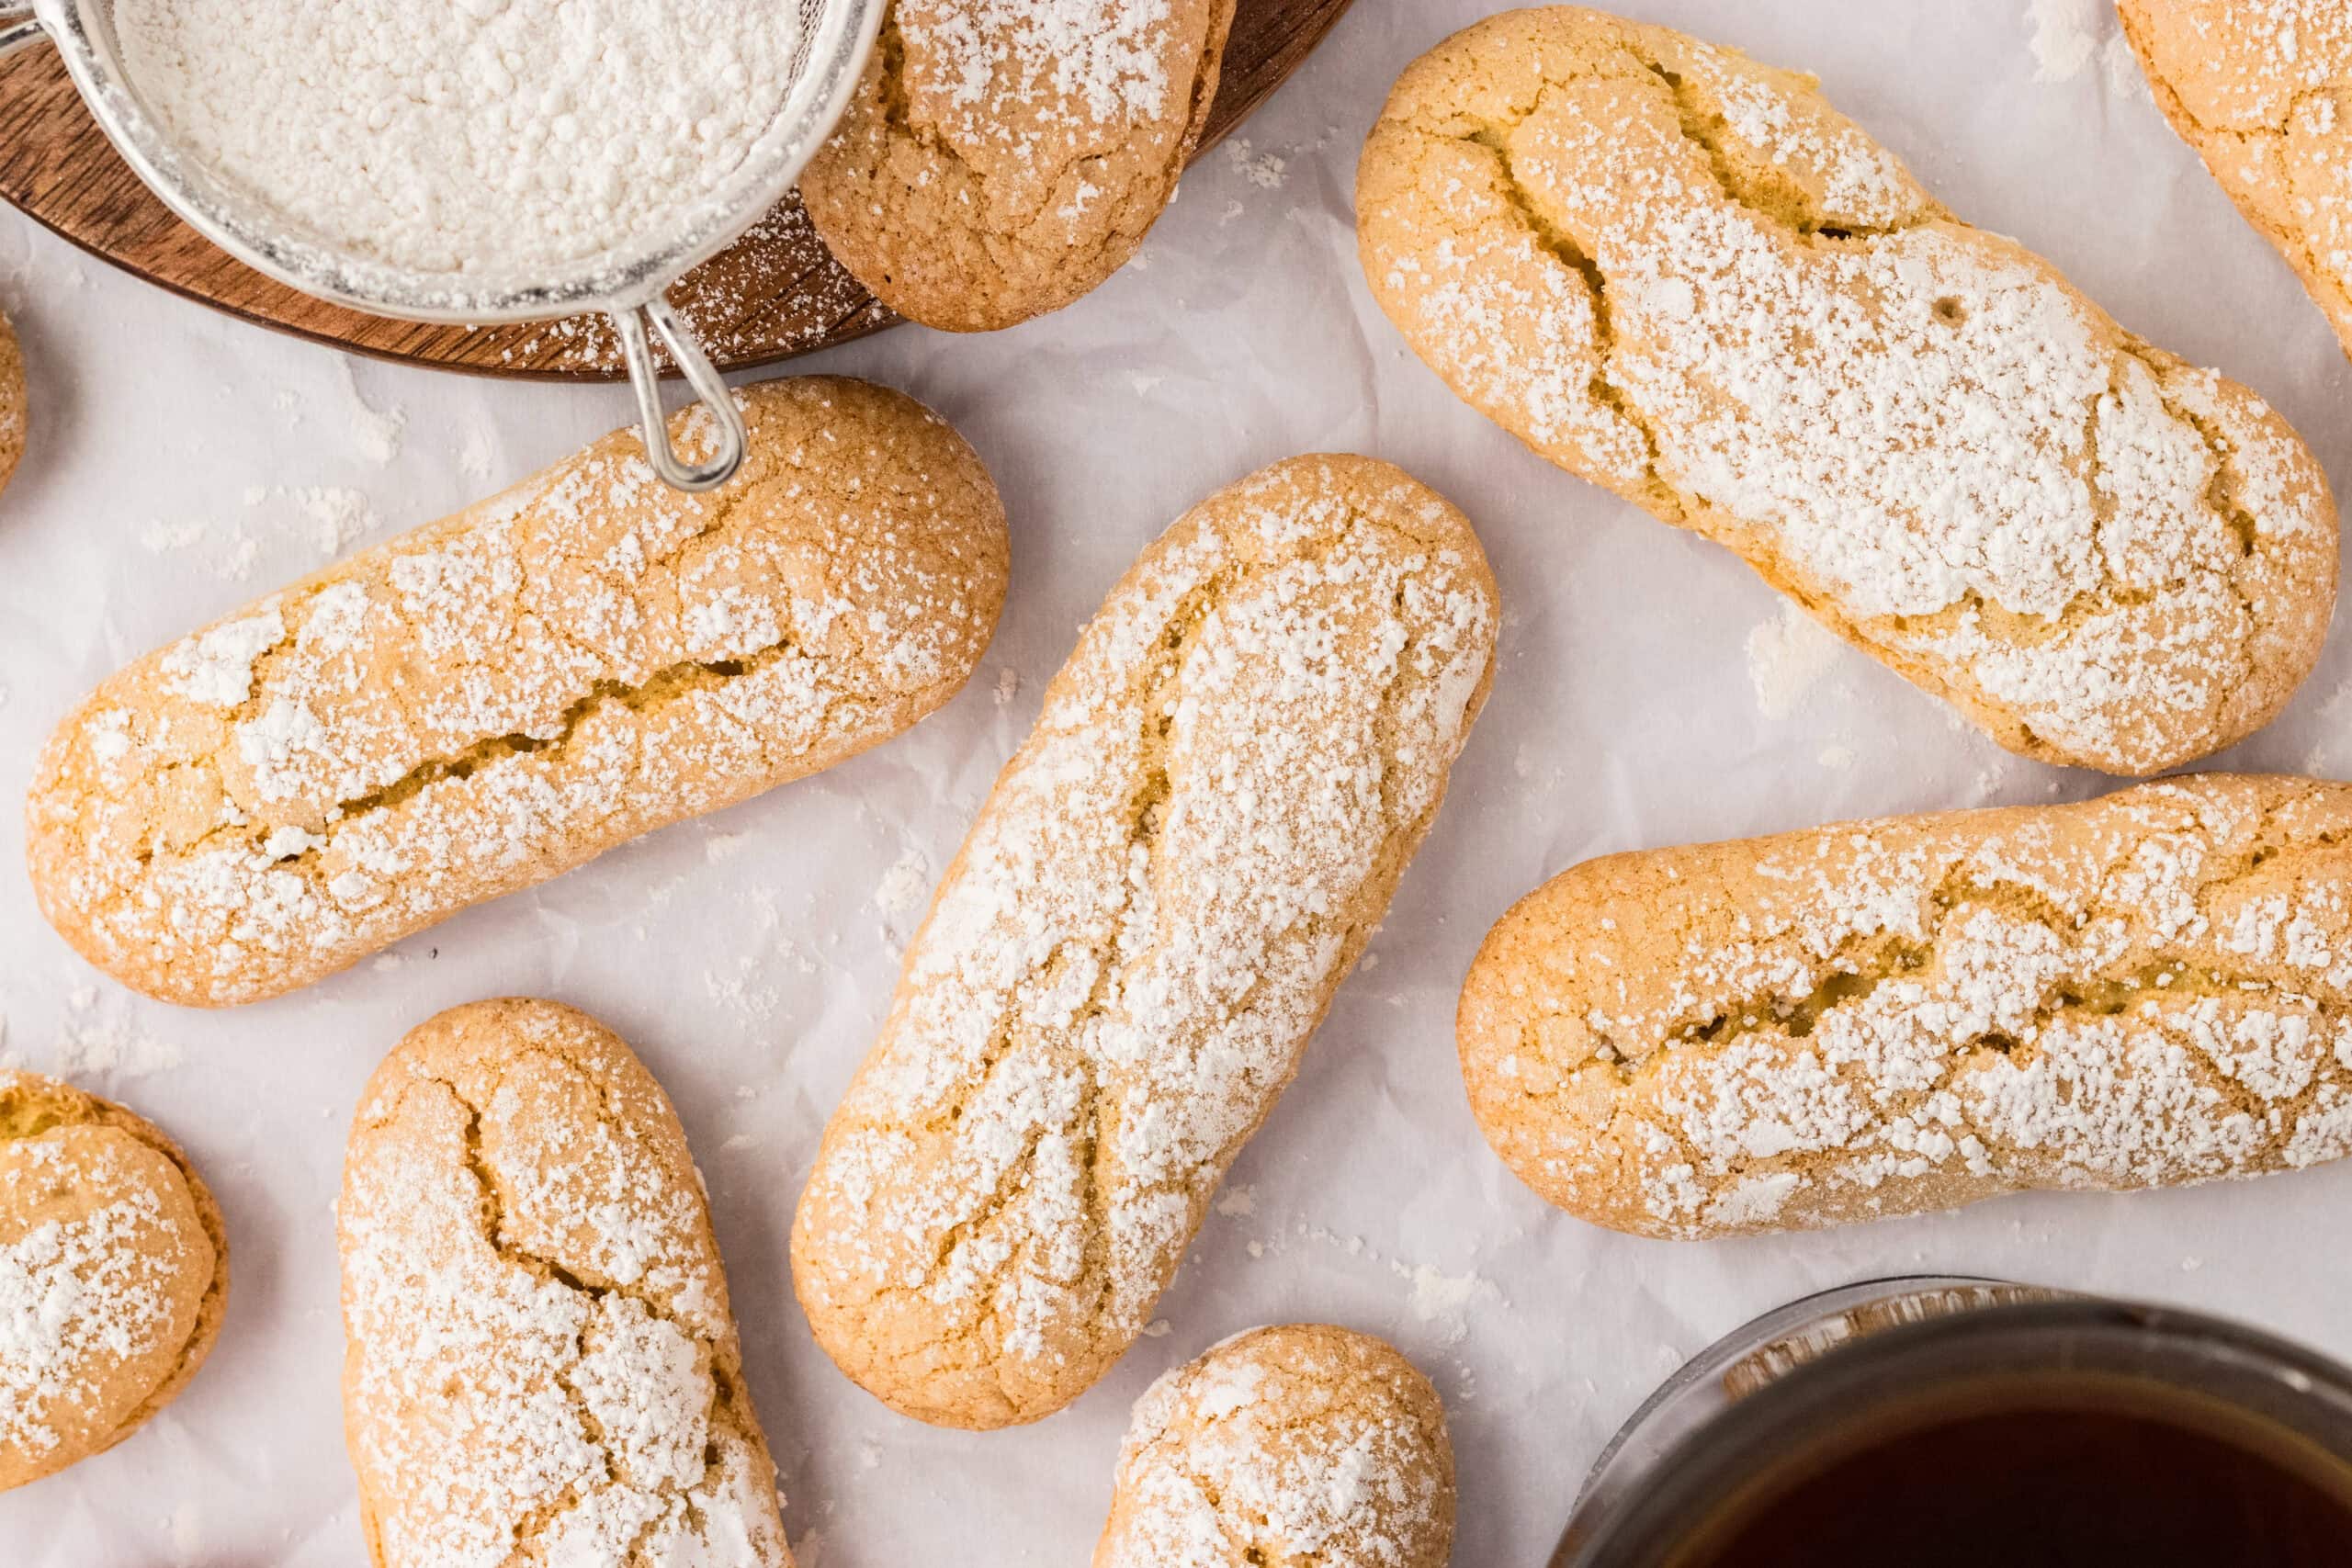
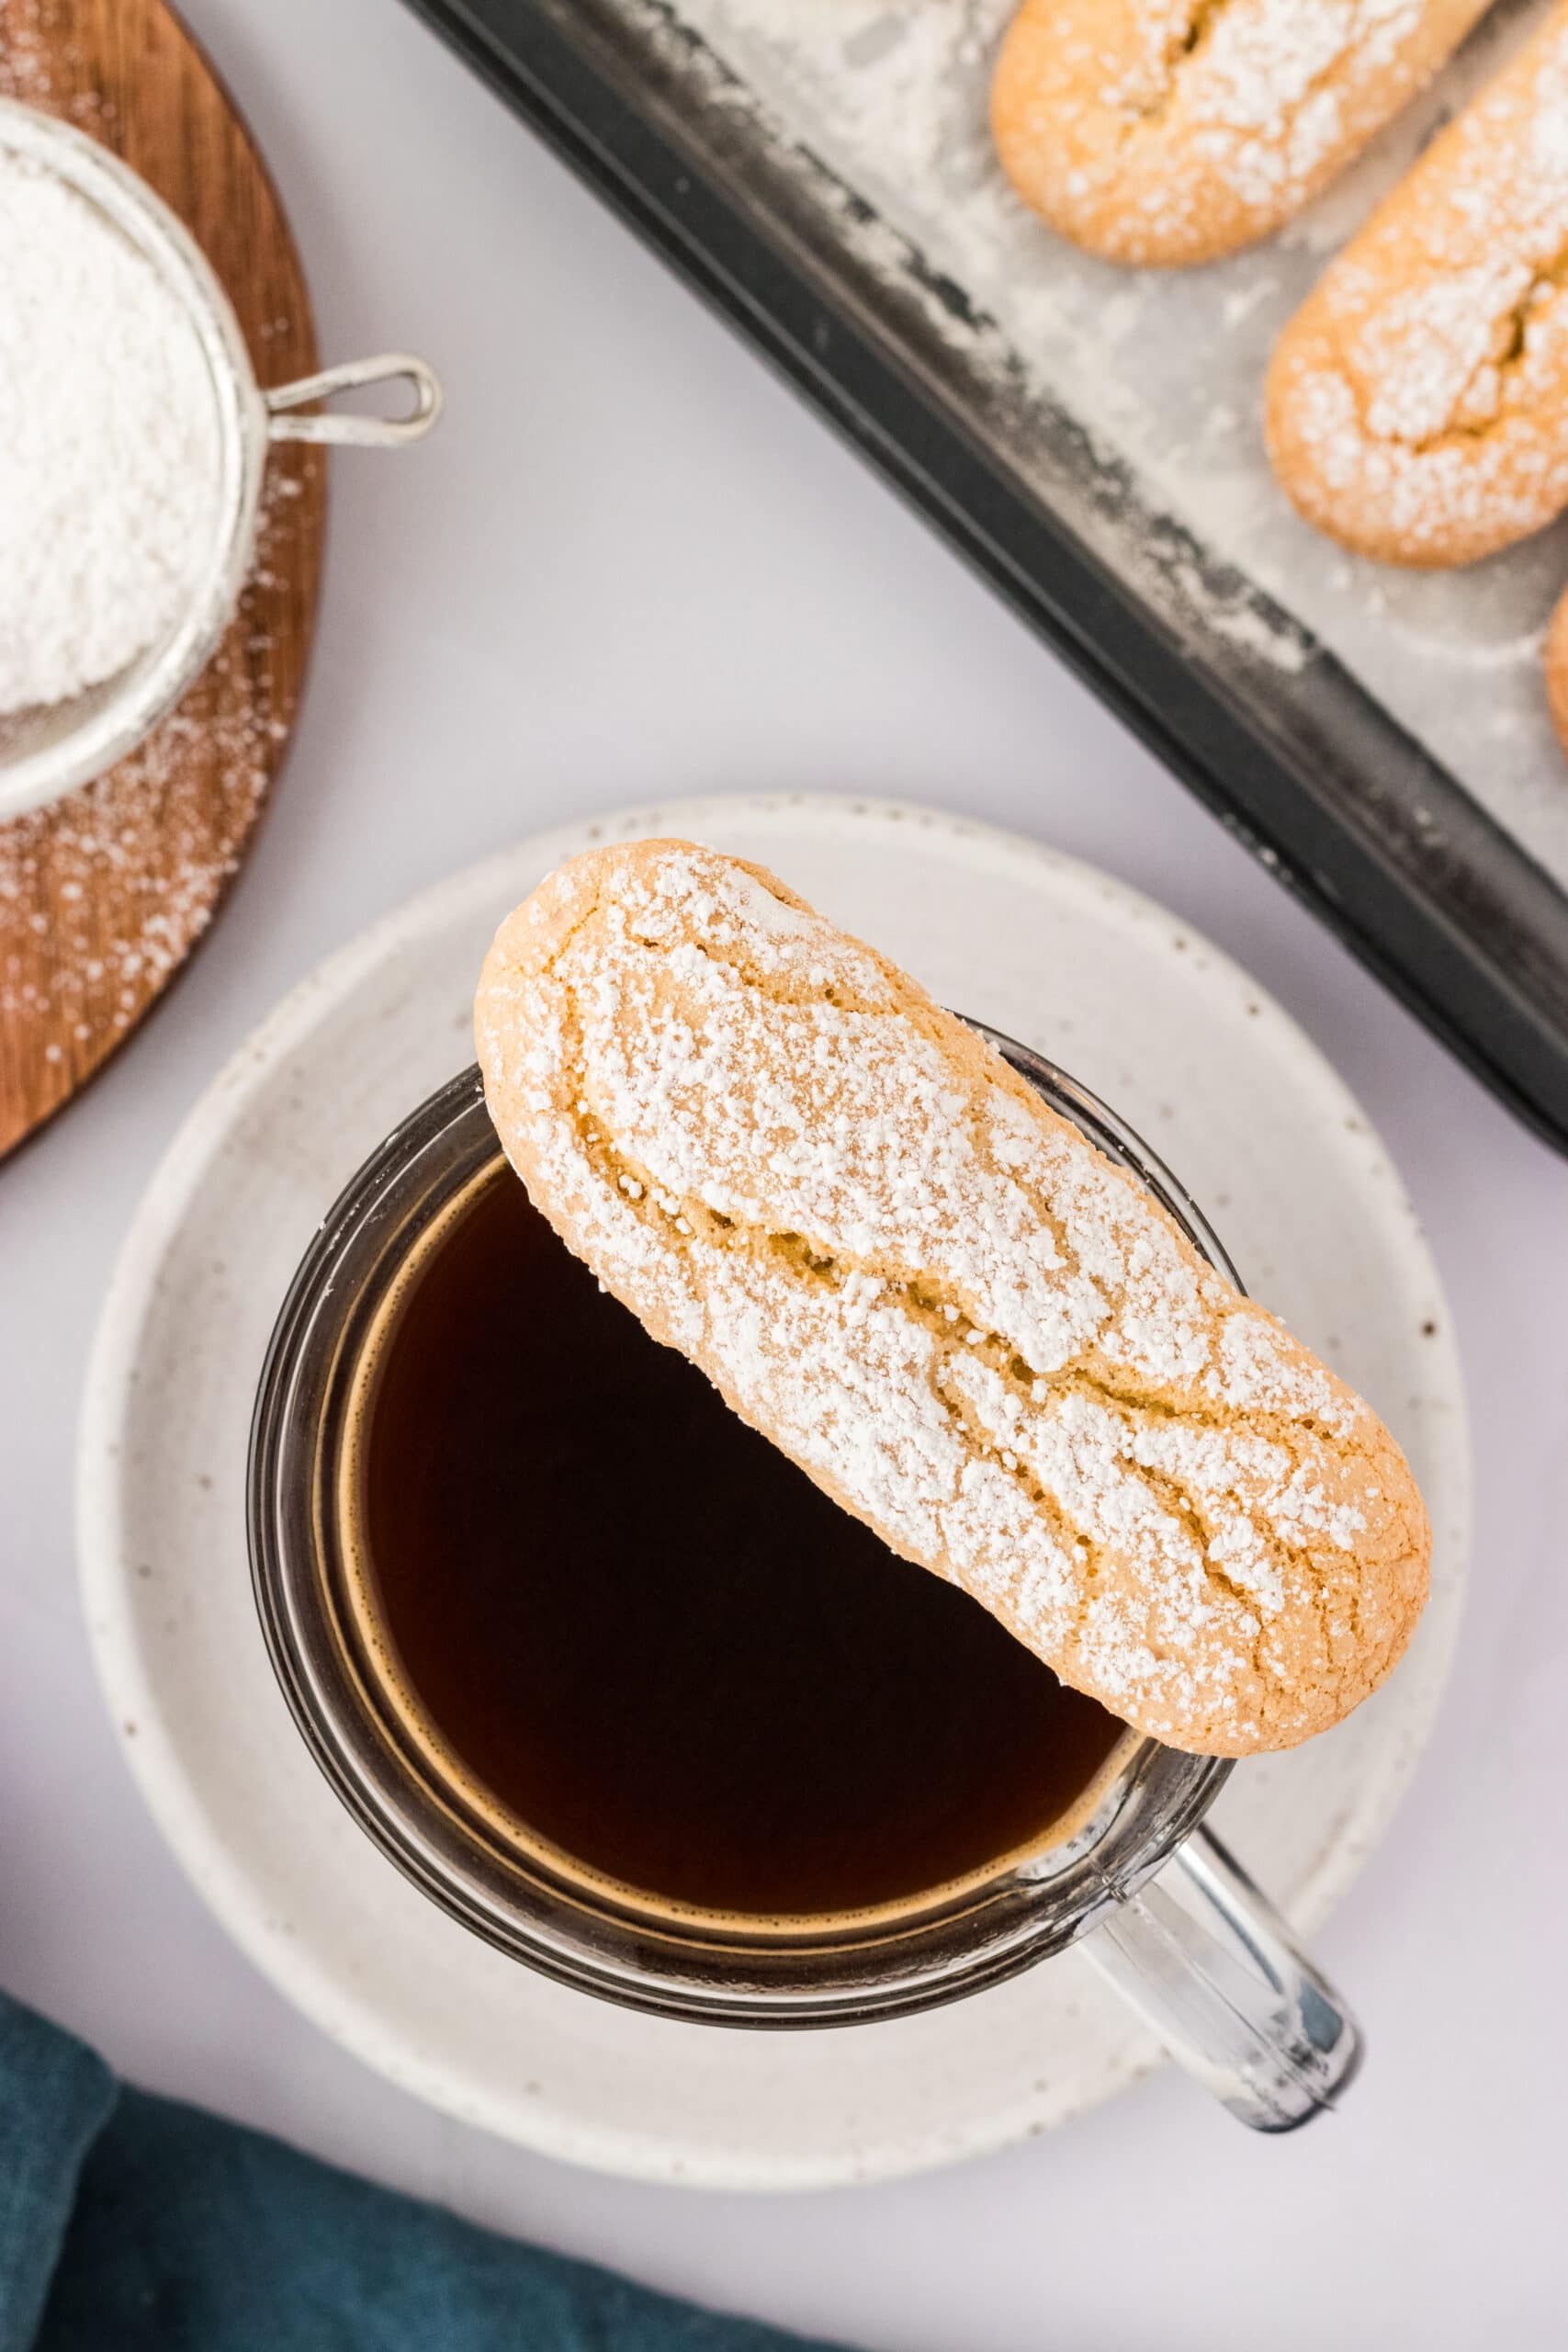
Ladyfingers are known for their crisp texture and famous pairing with gluten-free tiramisu. Outside of being used for tiramisu and other similar desserts, I like them served with an afternoon cup of coffee or tea. Their subtle sweetness also makes them a perfect cookie treat after any meal.
Storage Instructions
Once your cookies have cooled completely, store them on the counter in an airtight container for 2-3 weeks.
The only downside with freezing is that the cookies tend to lose their crisp texture, but if the convenience is worth it, you can freeze them in an airtight bag or container for up to 6 months. If using for tiramisu, allow them to thaw and come to room temperature before using.
More Dessert Recipes
- Gluten-Free Biscotti
- Gluten-Free Cinnamon Rolls
- Gluten-Free Molasses Cookies
- Gluten-Free Shortbread Cookies
Gluten-Free Ladyfingers

Equipment
- 2 baking sheet
- 1 hand or stand mixer
- 1 piping bag
Ingredients
- 1 cup gluten free all purpose flour with xanthan gum
- ¾ teaspoon baking powder
- ½ teaspoon salt
- 3 large eggs
- ½ cup and 1 tablespoon granulated sugar, divided
- 1 teaspoon vanilla extract
- Powdered sugar, for dusting
Instructions
- Preheat your oven to 350°F and line two baking trays with parchment paper.
- In a medium bowl, sift together your flour, baking powder, and salt. Set aside for later.
- Separate your egg yolks from the whites and place in separate medium-sized bowls.
- Mix your egg whites with a hand or stand mixer until it reaches soft peaks, then slowly add in half of your sugar and continue to beat until stiff peaks are achieved. Set aside.
- To your yolks, add your vanilla and the other half of the sugar and beat with a hand or stand mixer on medium-high speed until the mixture is pale in color and tripled in volume, about 4-5 minutes.
- Carefully fold in ⅓ of the egg whites into your yolk mixture by creating swooping motions from the bottom of the bowl to the top, being careful not to overmix and lose all the volume you worked hard to create. Once incorporated, add the remaining egg whites and fold until it’s almost all mixed in.
- Add in your flour mixture and carefully fold everything together, using the same swooping motion, just until there are no lumps.
- Once your batter is ready, pour it into a piping bag fitted with a ½ inch round piping tip. You can also use a gallon freezer bag and cut the corner off to about the same size.
- To your baking sheets lined with parchment, pipe your ladyfingers in neat rows, about 3-4 inches long, making sure to leave about 1-2 inches of space in between the cookies so that they don’t touch as they rise.
- Use a sieve or sifter to lightly dust the tops of the cookies with powdered sugar.
- Place both of the trays in the preheated oven and bake together for 15 minutes. Once done, drop the temperature to 300°F for an additional 12 minutes. This step helps the cookies to dry out, creating a crispy cookie texture.
- Remove the trays from the oven and allow the cookies to rest until completely cool before enjoying.
Notes
- I use a piping bag to achieve the desired “finger-like” biscuit shape. You can also use a freezer bag.
- I learned the hard way that over-mixing can result in dense cookies. Over-mixing will result in your whipped egg whites losing volume. It’s important to stop mixing as soon as the mixtures are folded together..
- You’ll hear the terms soft and stiff peaks often in baking relating to whipped egg whites. Soft peaks refer to the peaks formed that will be soft and droop down. Stiff peaks refer to the peaks when they stand straight up without drooping.
- If you want a softer cookie for snacking, you can easily make them softer and more cake-like by baking them for only 5 minutes at 300°F instead of 12. Additionally, if you want them less sweet, you can leave off the sugar dusting—the cookies themselves are only mildly sweet.
- Once your cookies have cooled completely, store them on the counter in an airtight container for 2-3 weeks.
- The only downside with freezing is that the cookies tend to lose their crisp texture, but if the convenience is worth it, you can freeze them in an airtight bag or container for up to 6 months. If using for tiramisu, allow them to thaw and come to room temperature before using.
Nutrition
Nutrition information is automatically calculated, so should only be used as an approximation.
How to make Gluten-Free Ladyfingers Step-by-Step
Prepare two baking trays by lining them with parchment paper and preheat your oven to 350 degrees F.
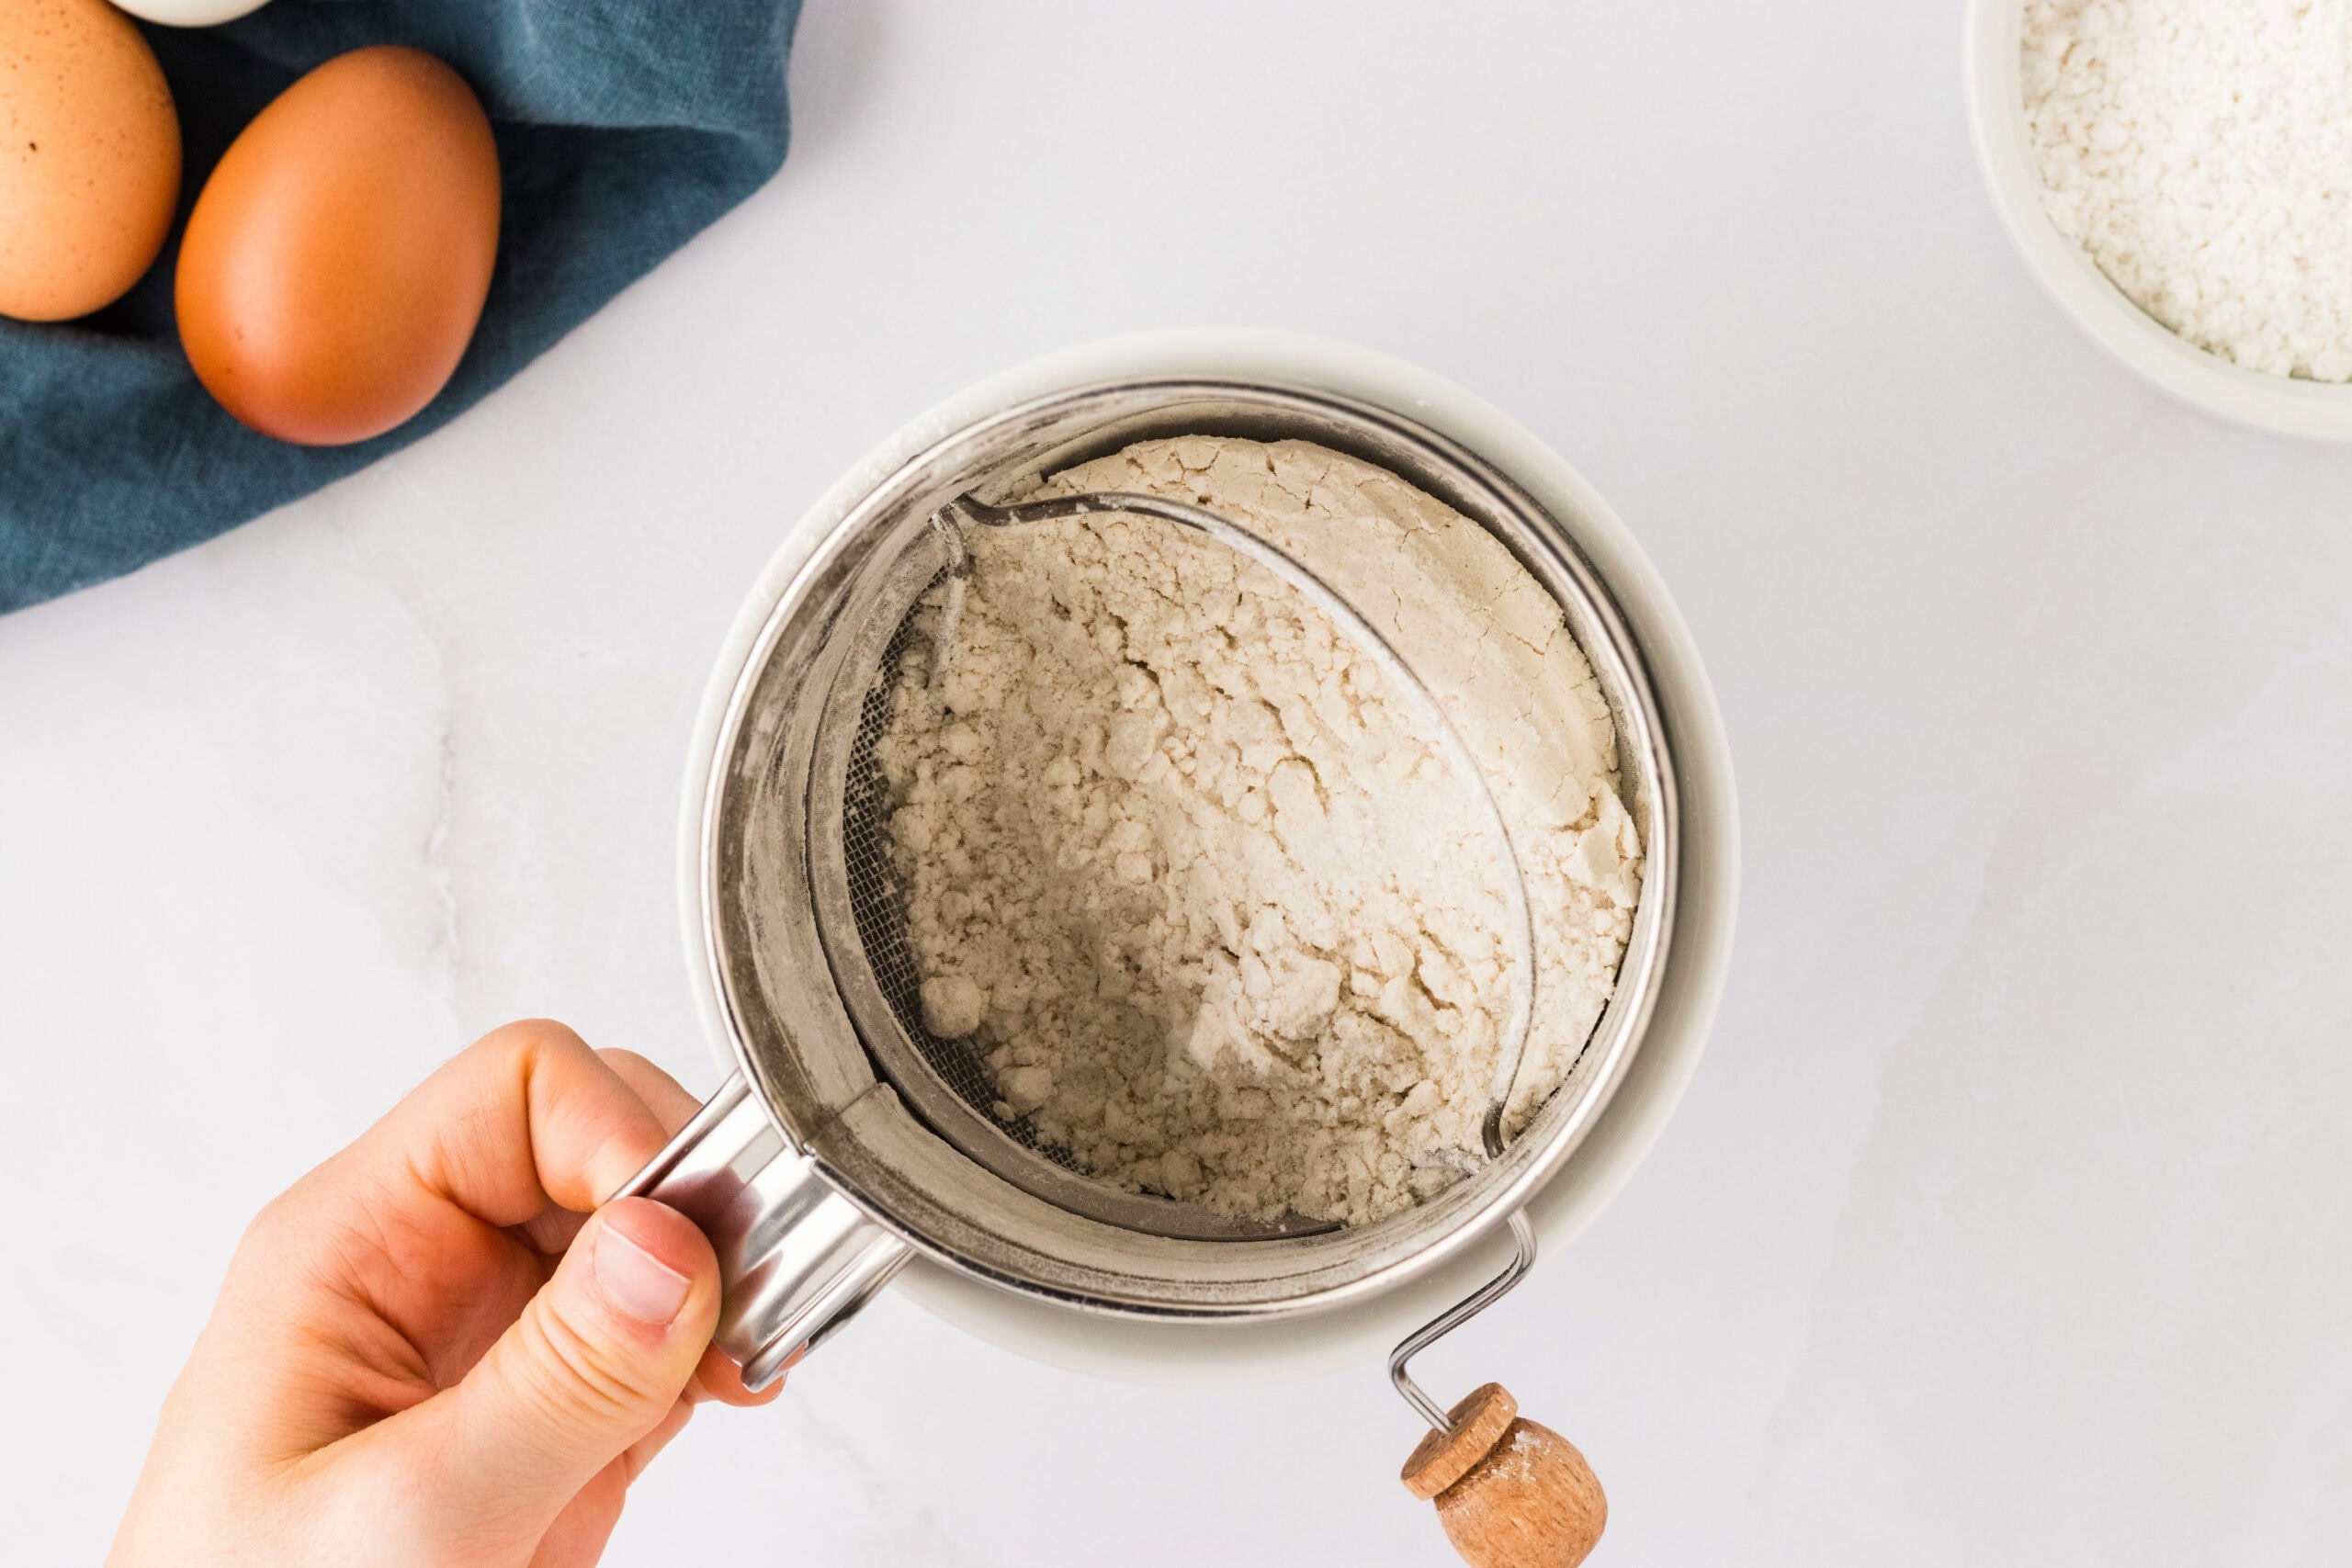
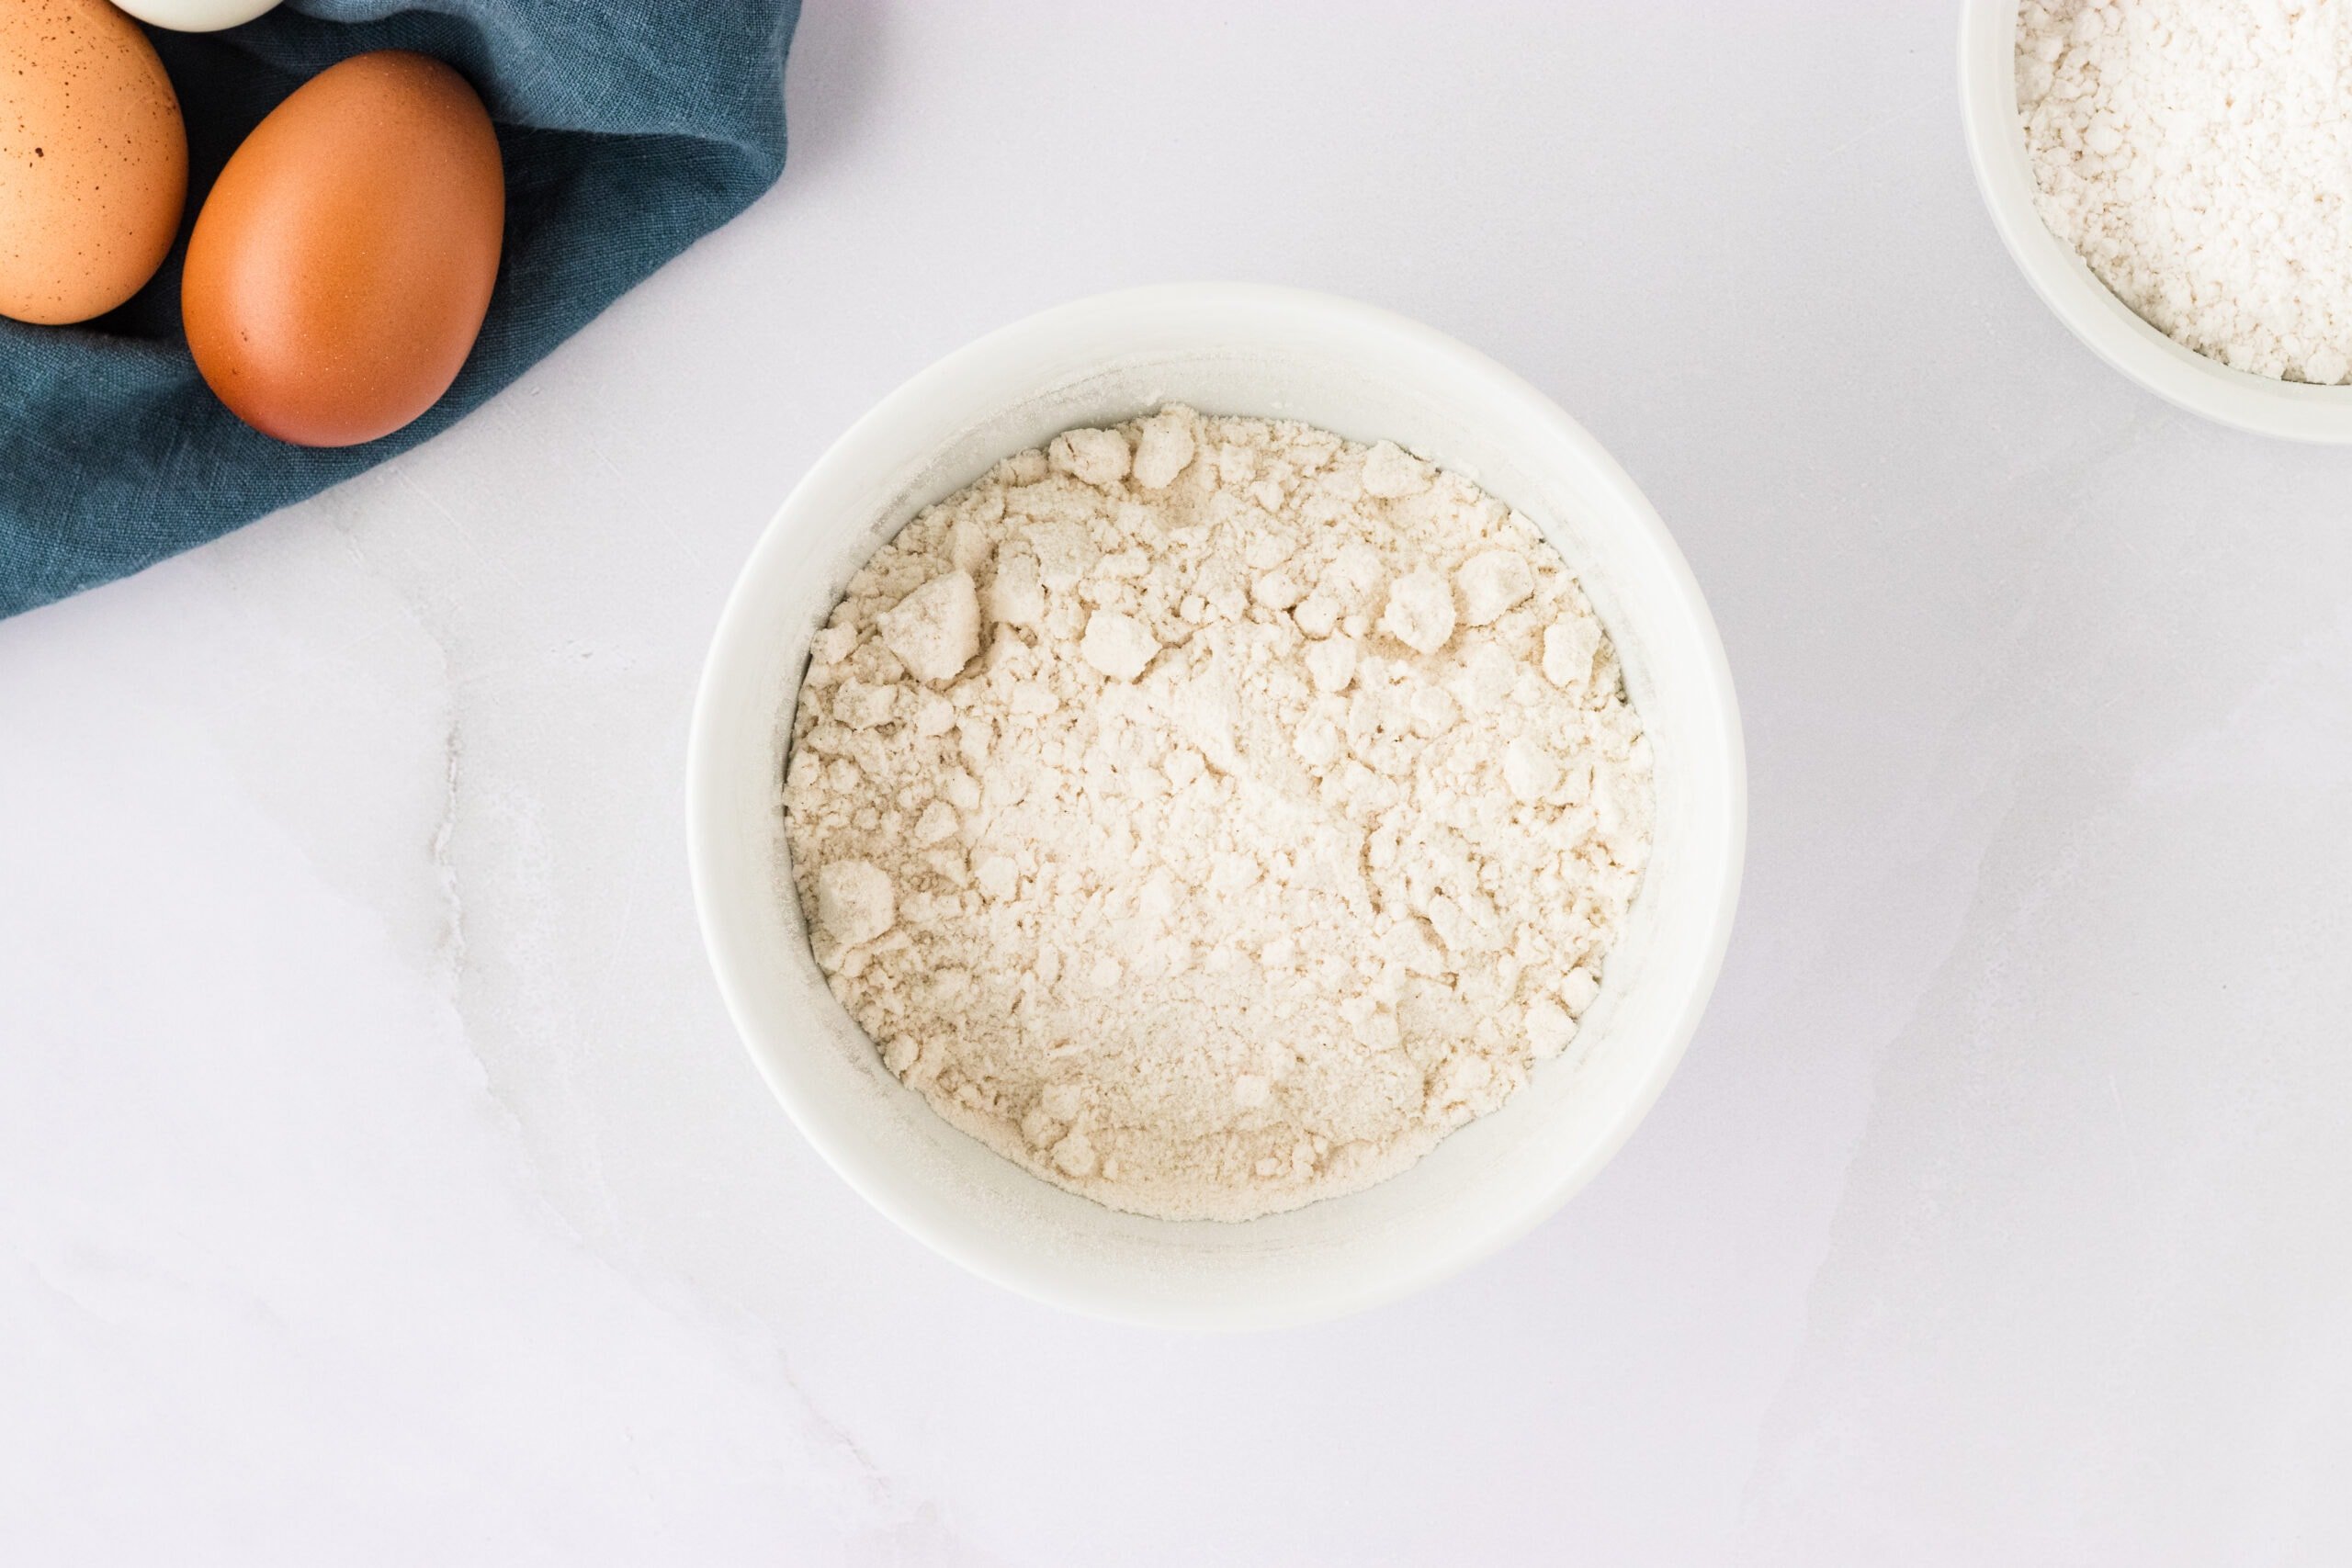
In a medium-sized bowl, sift together 1 cup of gluten-free flour, ¾ tsp baking powder, and ½ tsp salt.
Separate the egg whites from the egg yolks of 3 large eggs into different medium-sized bowls.
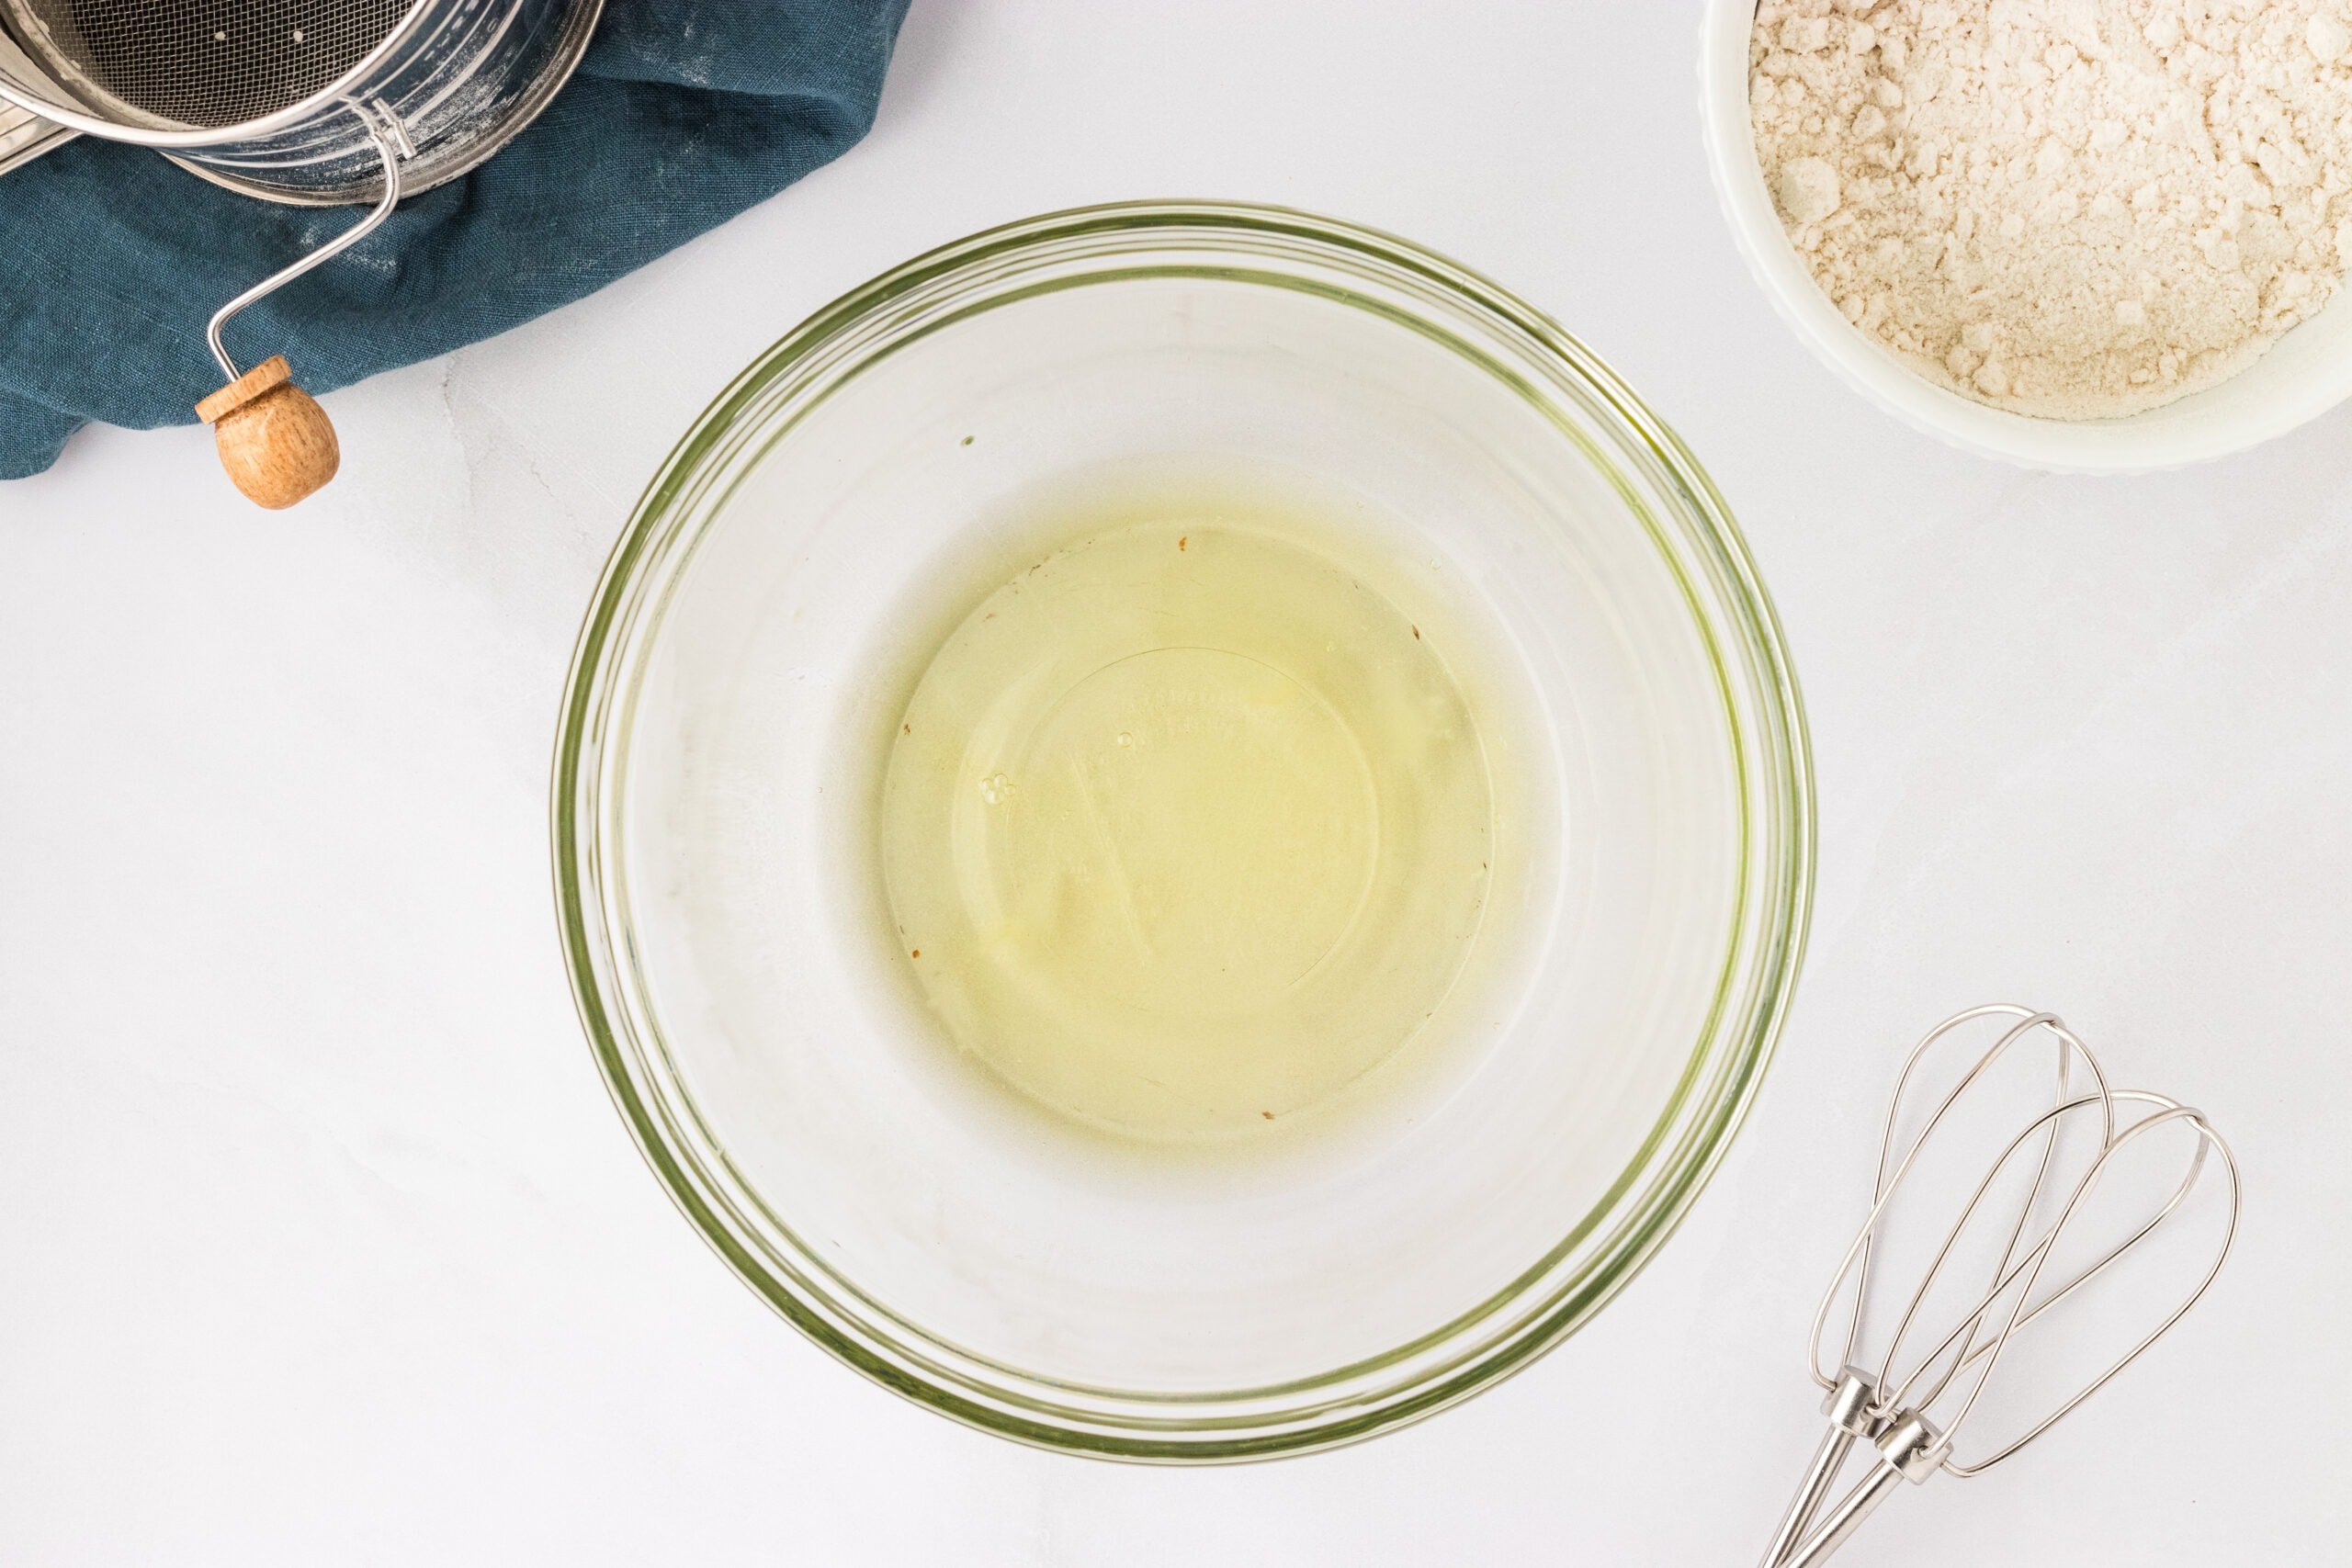
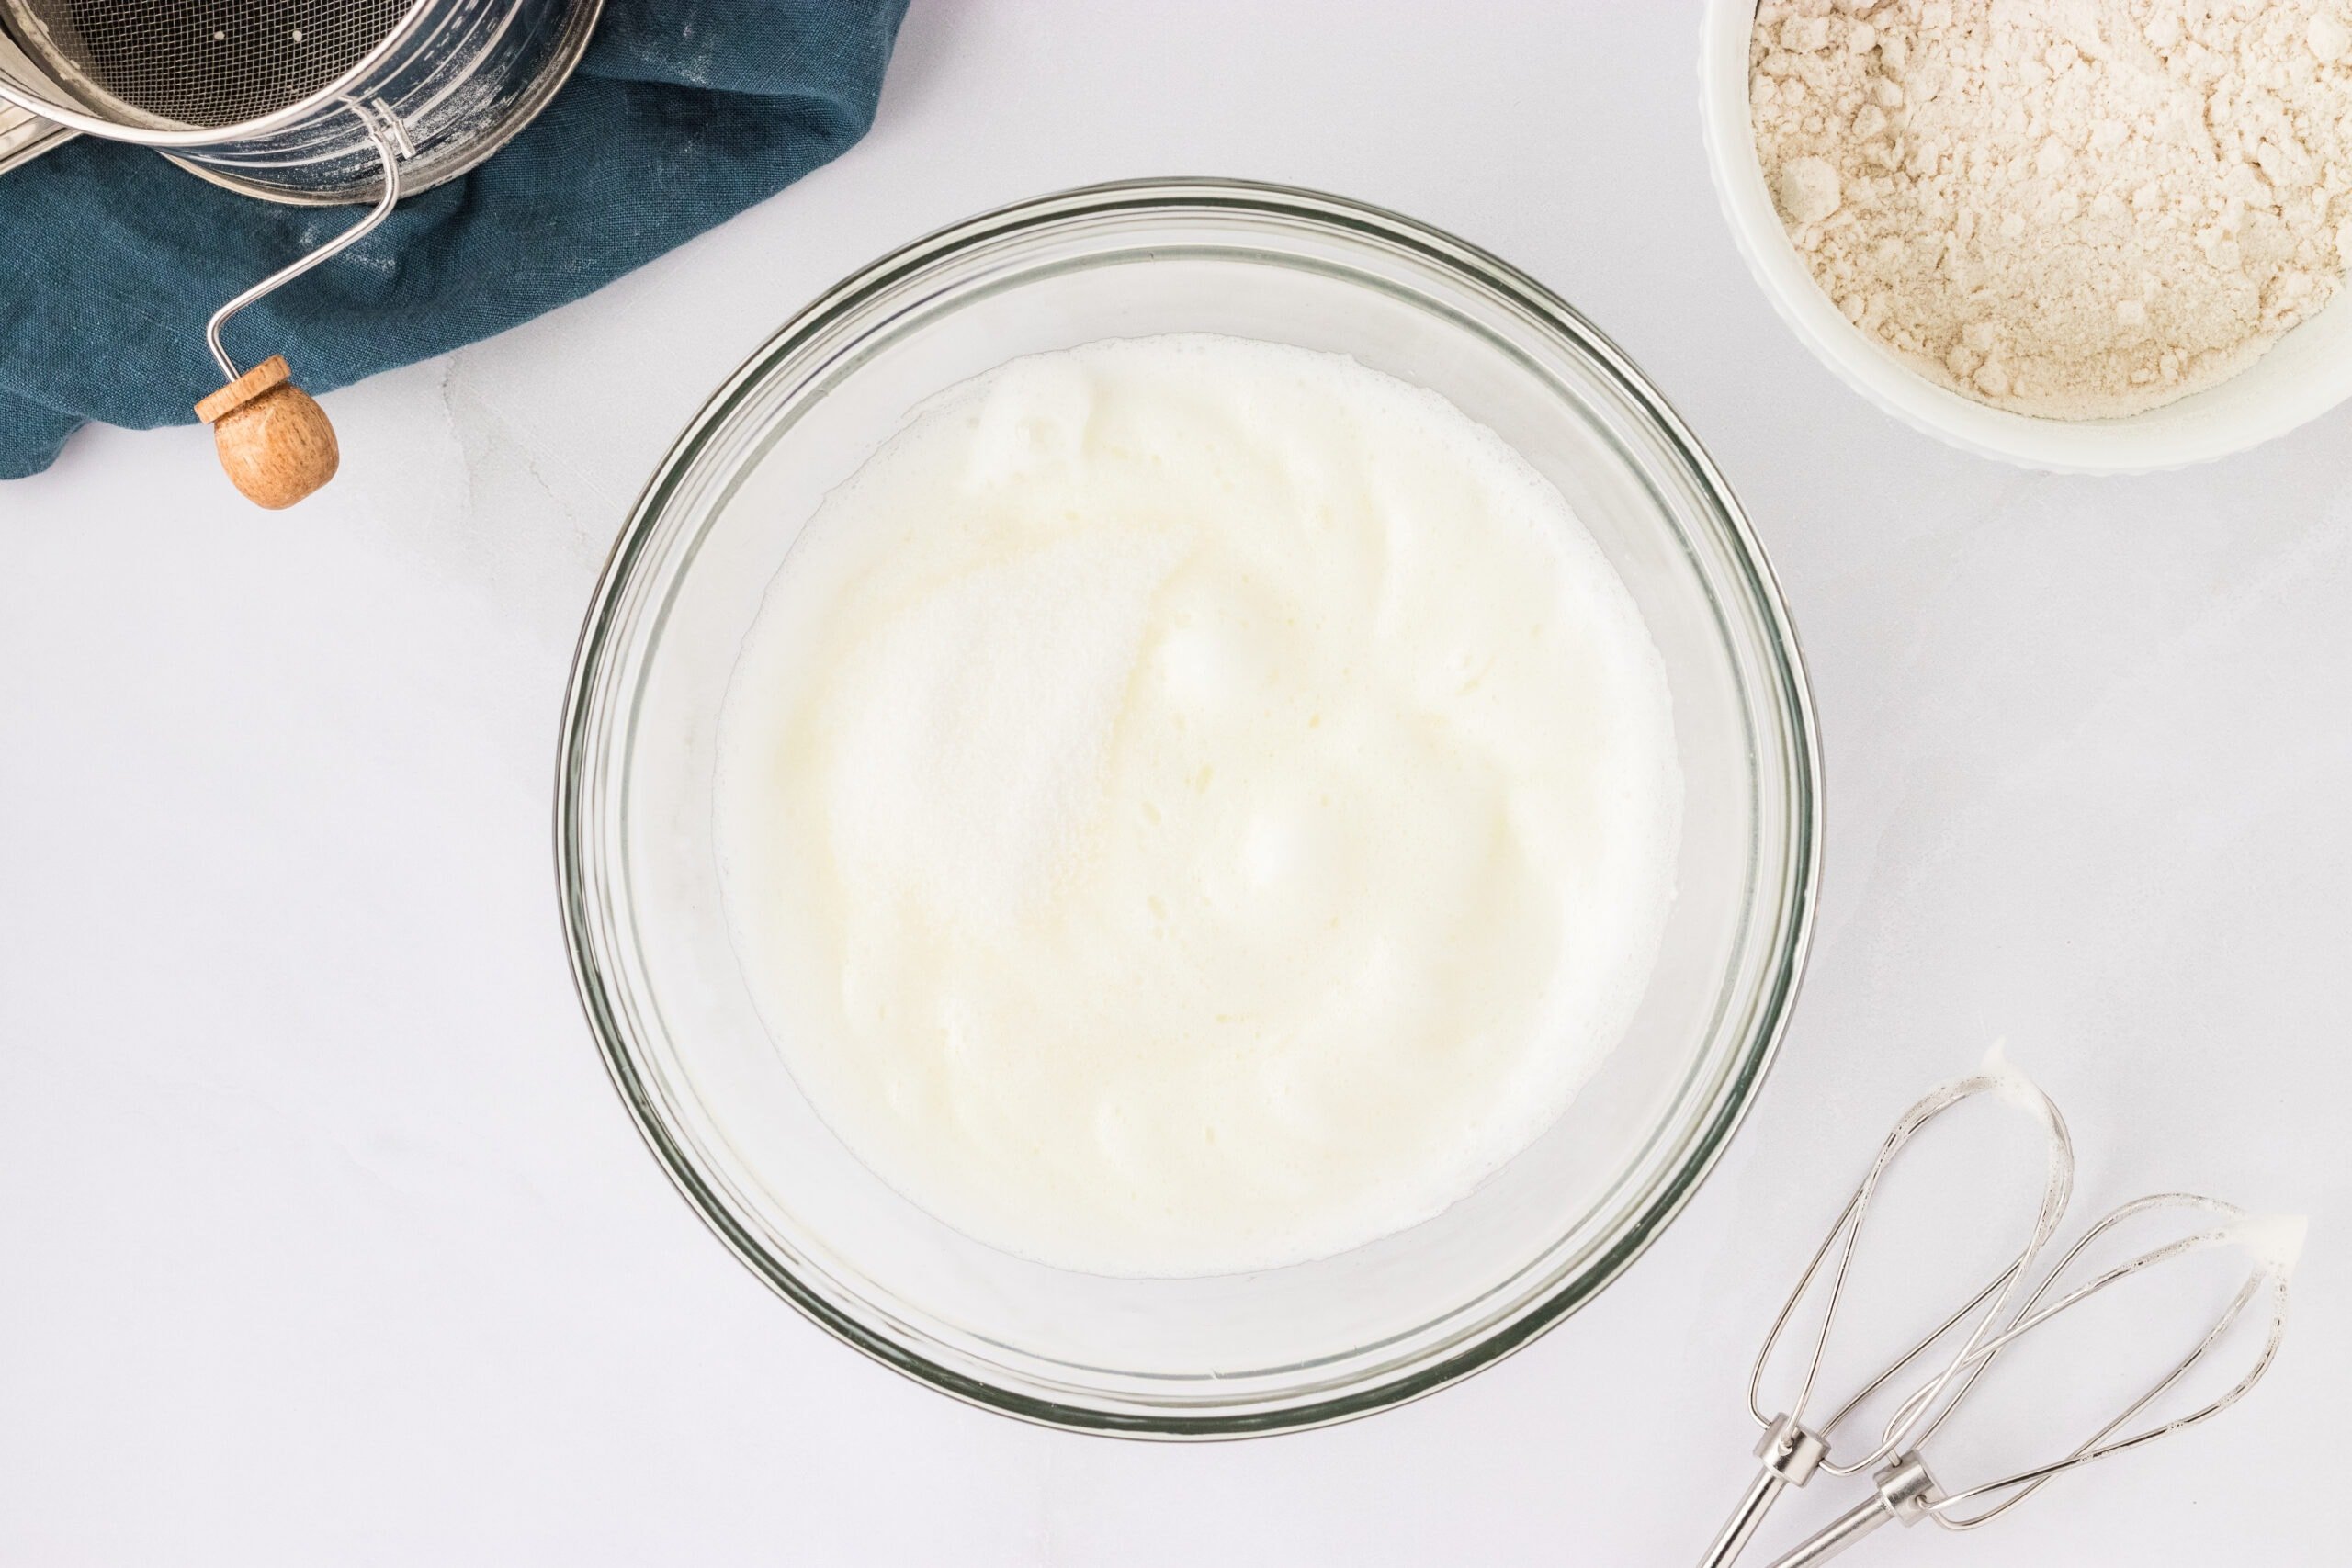
Using a hand or stand mixer, whip the egg whites until they’ve reached soft peaks. Slowly add in ¼ cup of granulated sugar while continuously beating until they’ve reached stiff peaks. Leave to the side for later.
Grab the bowl of egg yolks and add 1 tsp vanilla extract and ¼ cup of granulated sugar and whip with your hand or stand mixer on medium-high speed for about 4-5 minutes until the mixture has reached a pale color and tripled in volume.

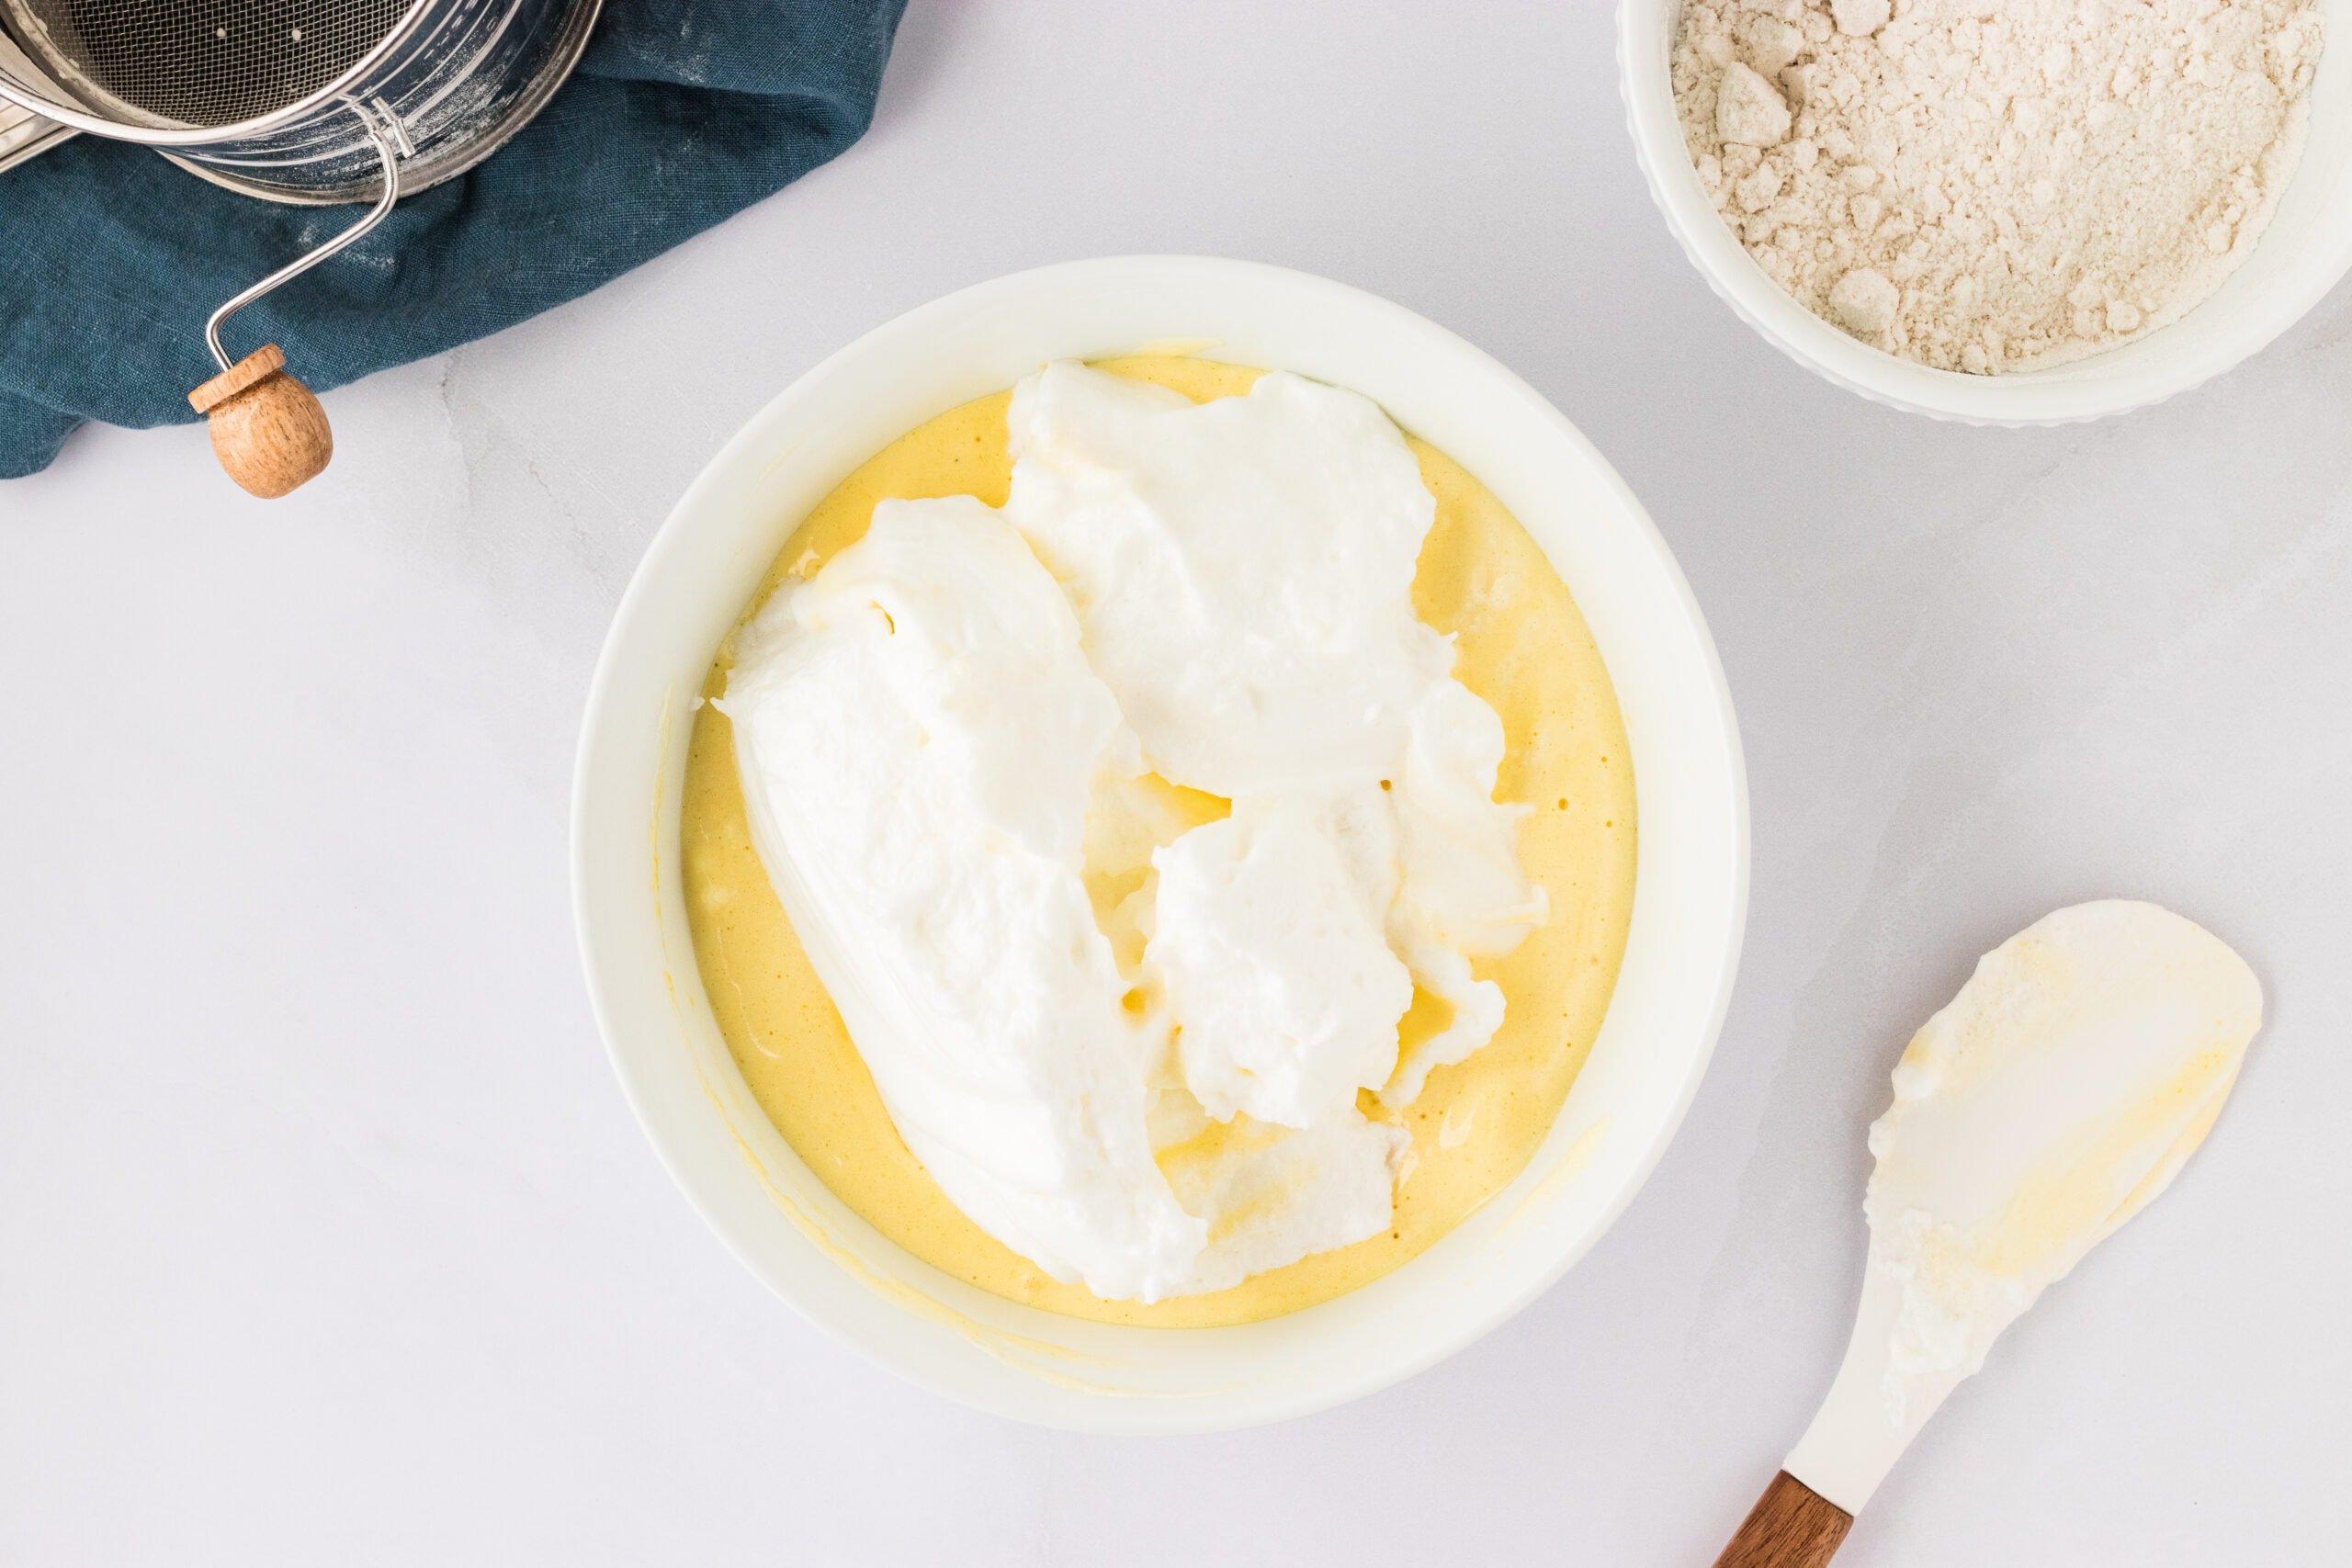
Carefully fold ½ of the whipped egg whites and sugar into the egg yolk mixture using a spatula. To fold, create sweeping motions from the bottom of the bowl to the top. Do not overmix. Once the first half is incorporated, repeat with the second ½ of the whipped egg whites. Do not overmix.
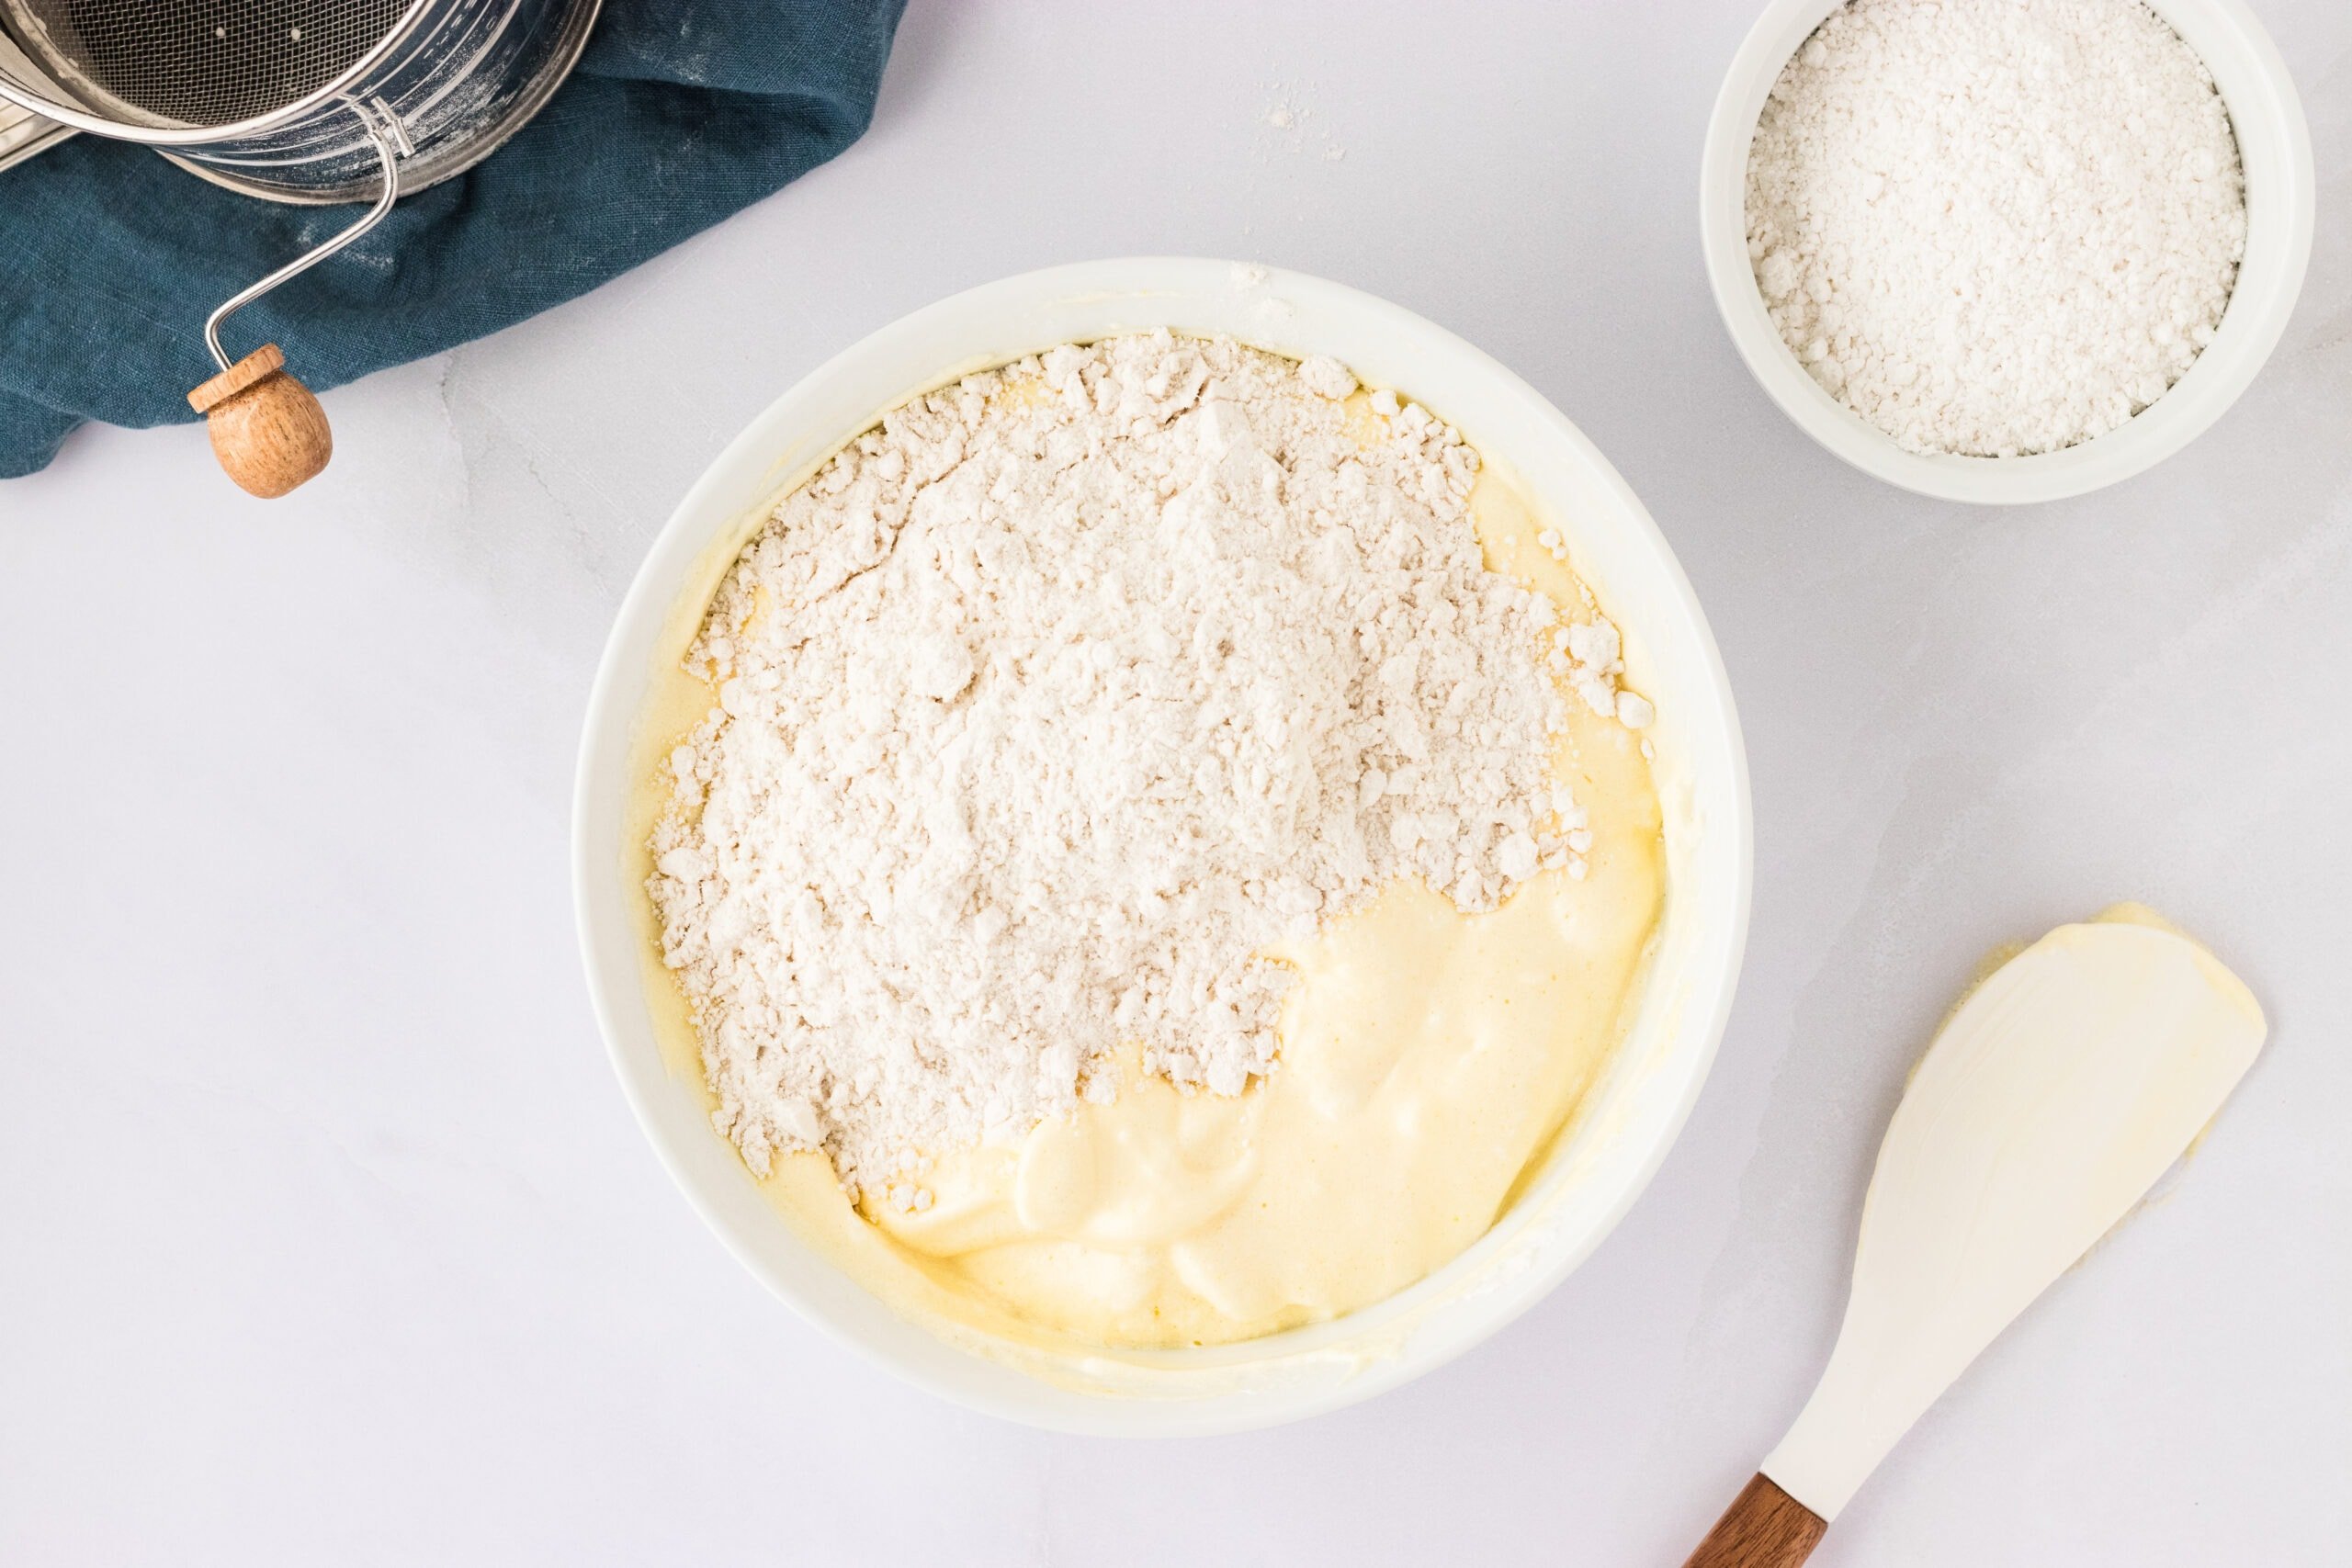
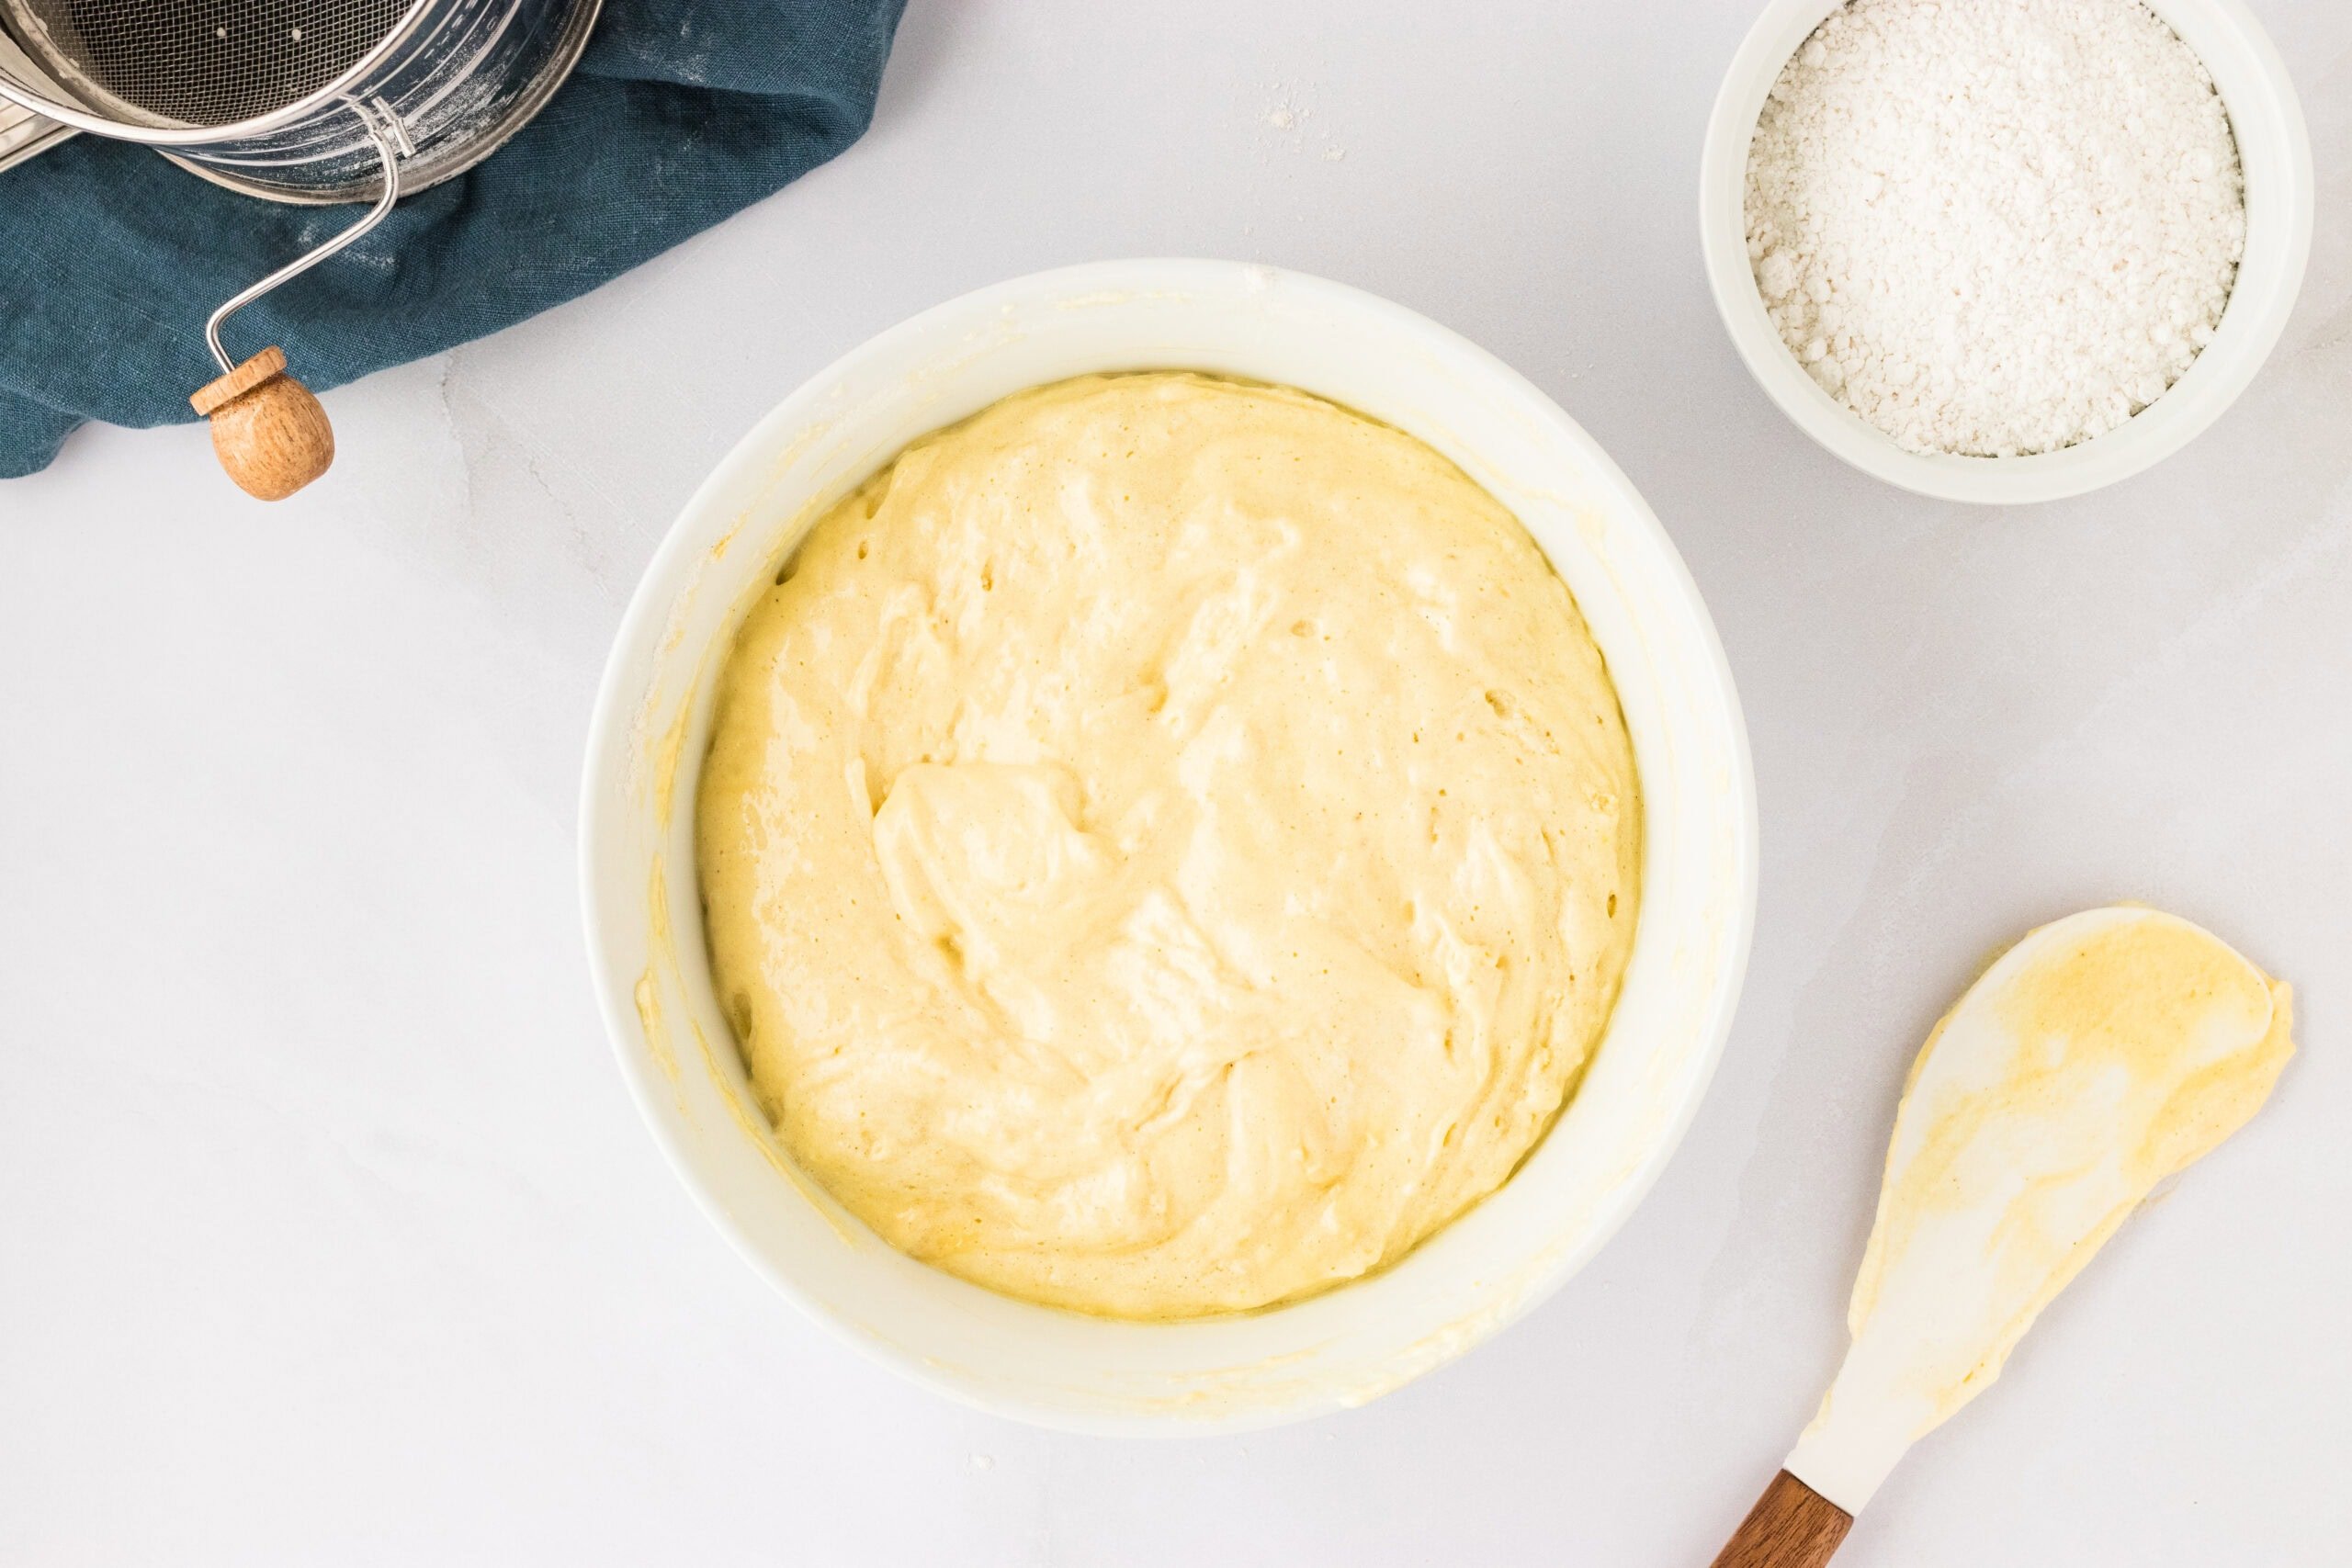
Add the dry flour mixture in and repeat the same folding motion until all the flour is mixed in and there are no lumps.
Now, pour the batter into your piping bag or gallon freezer bag with an ½ inch-round piping tip.
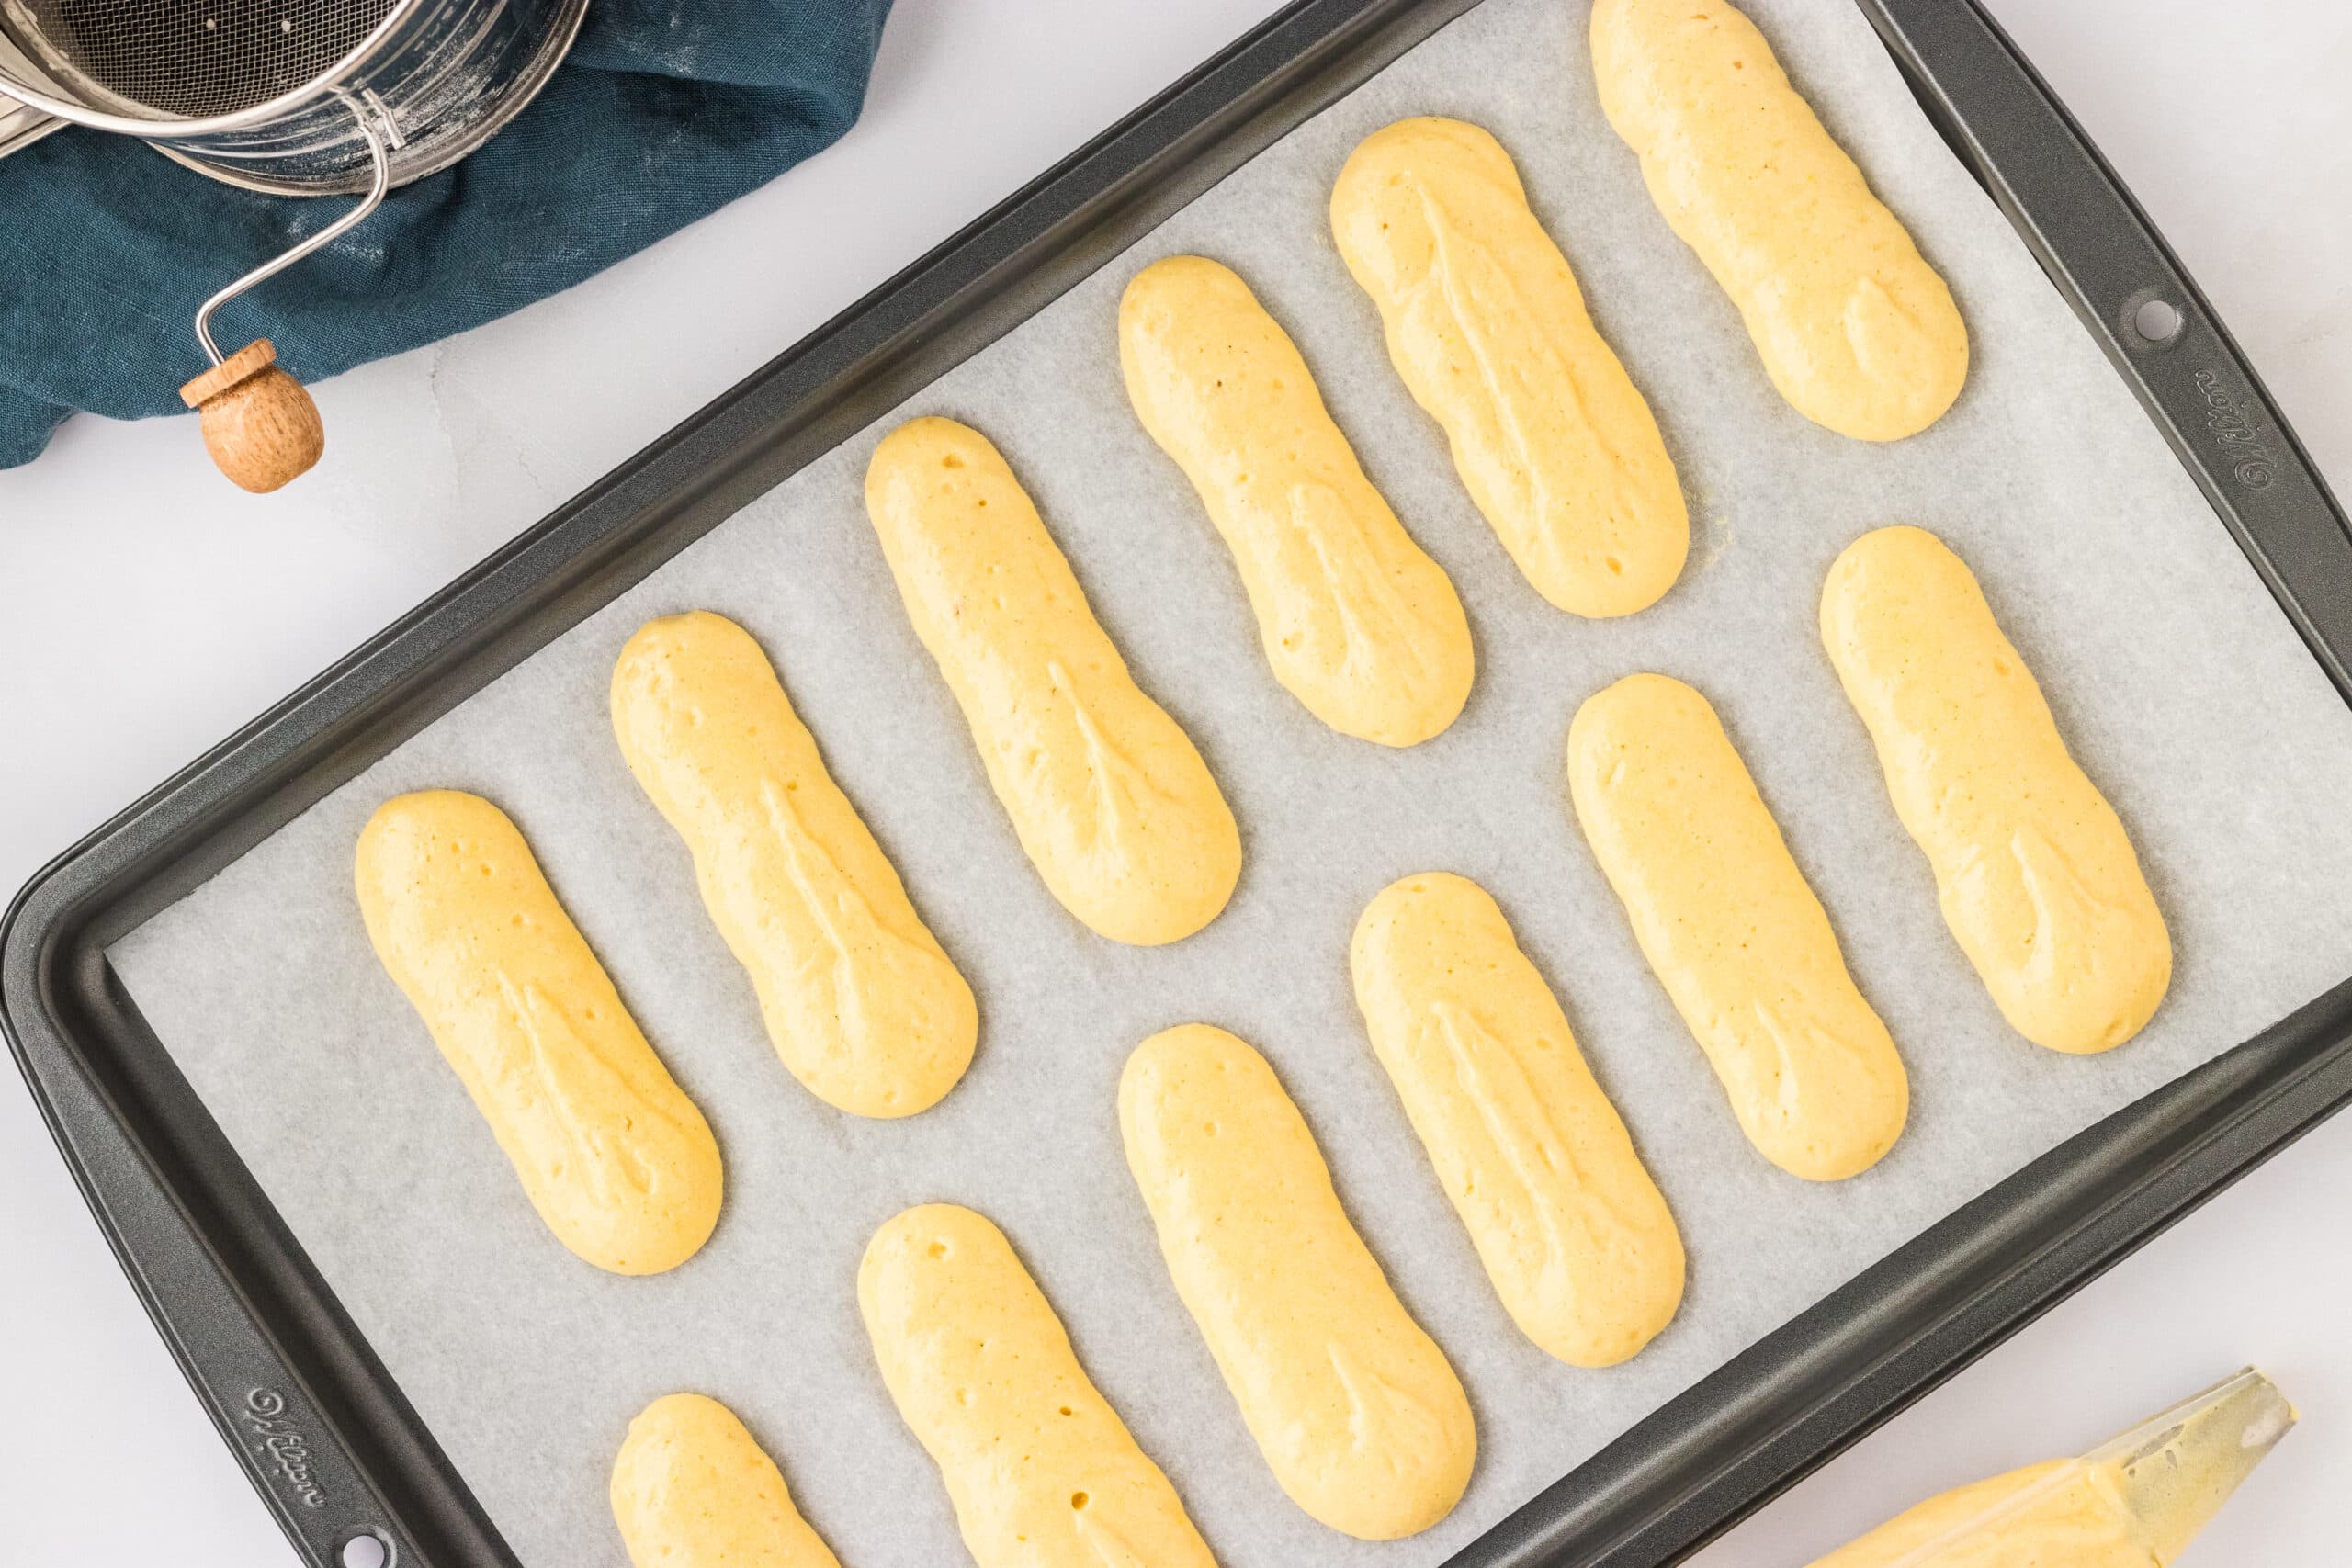
Pipe your ladyfingers in even rows onto the lined baking sheets. Leave 1-2 inches of space between each biscuit.
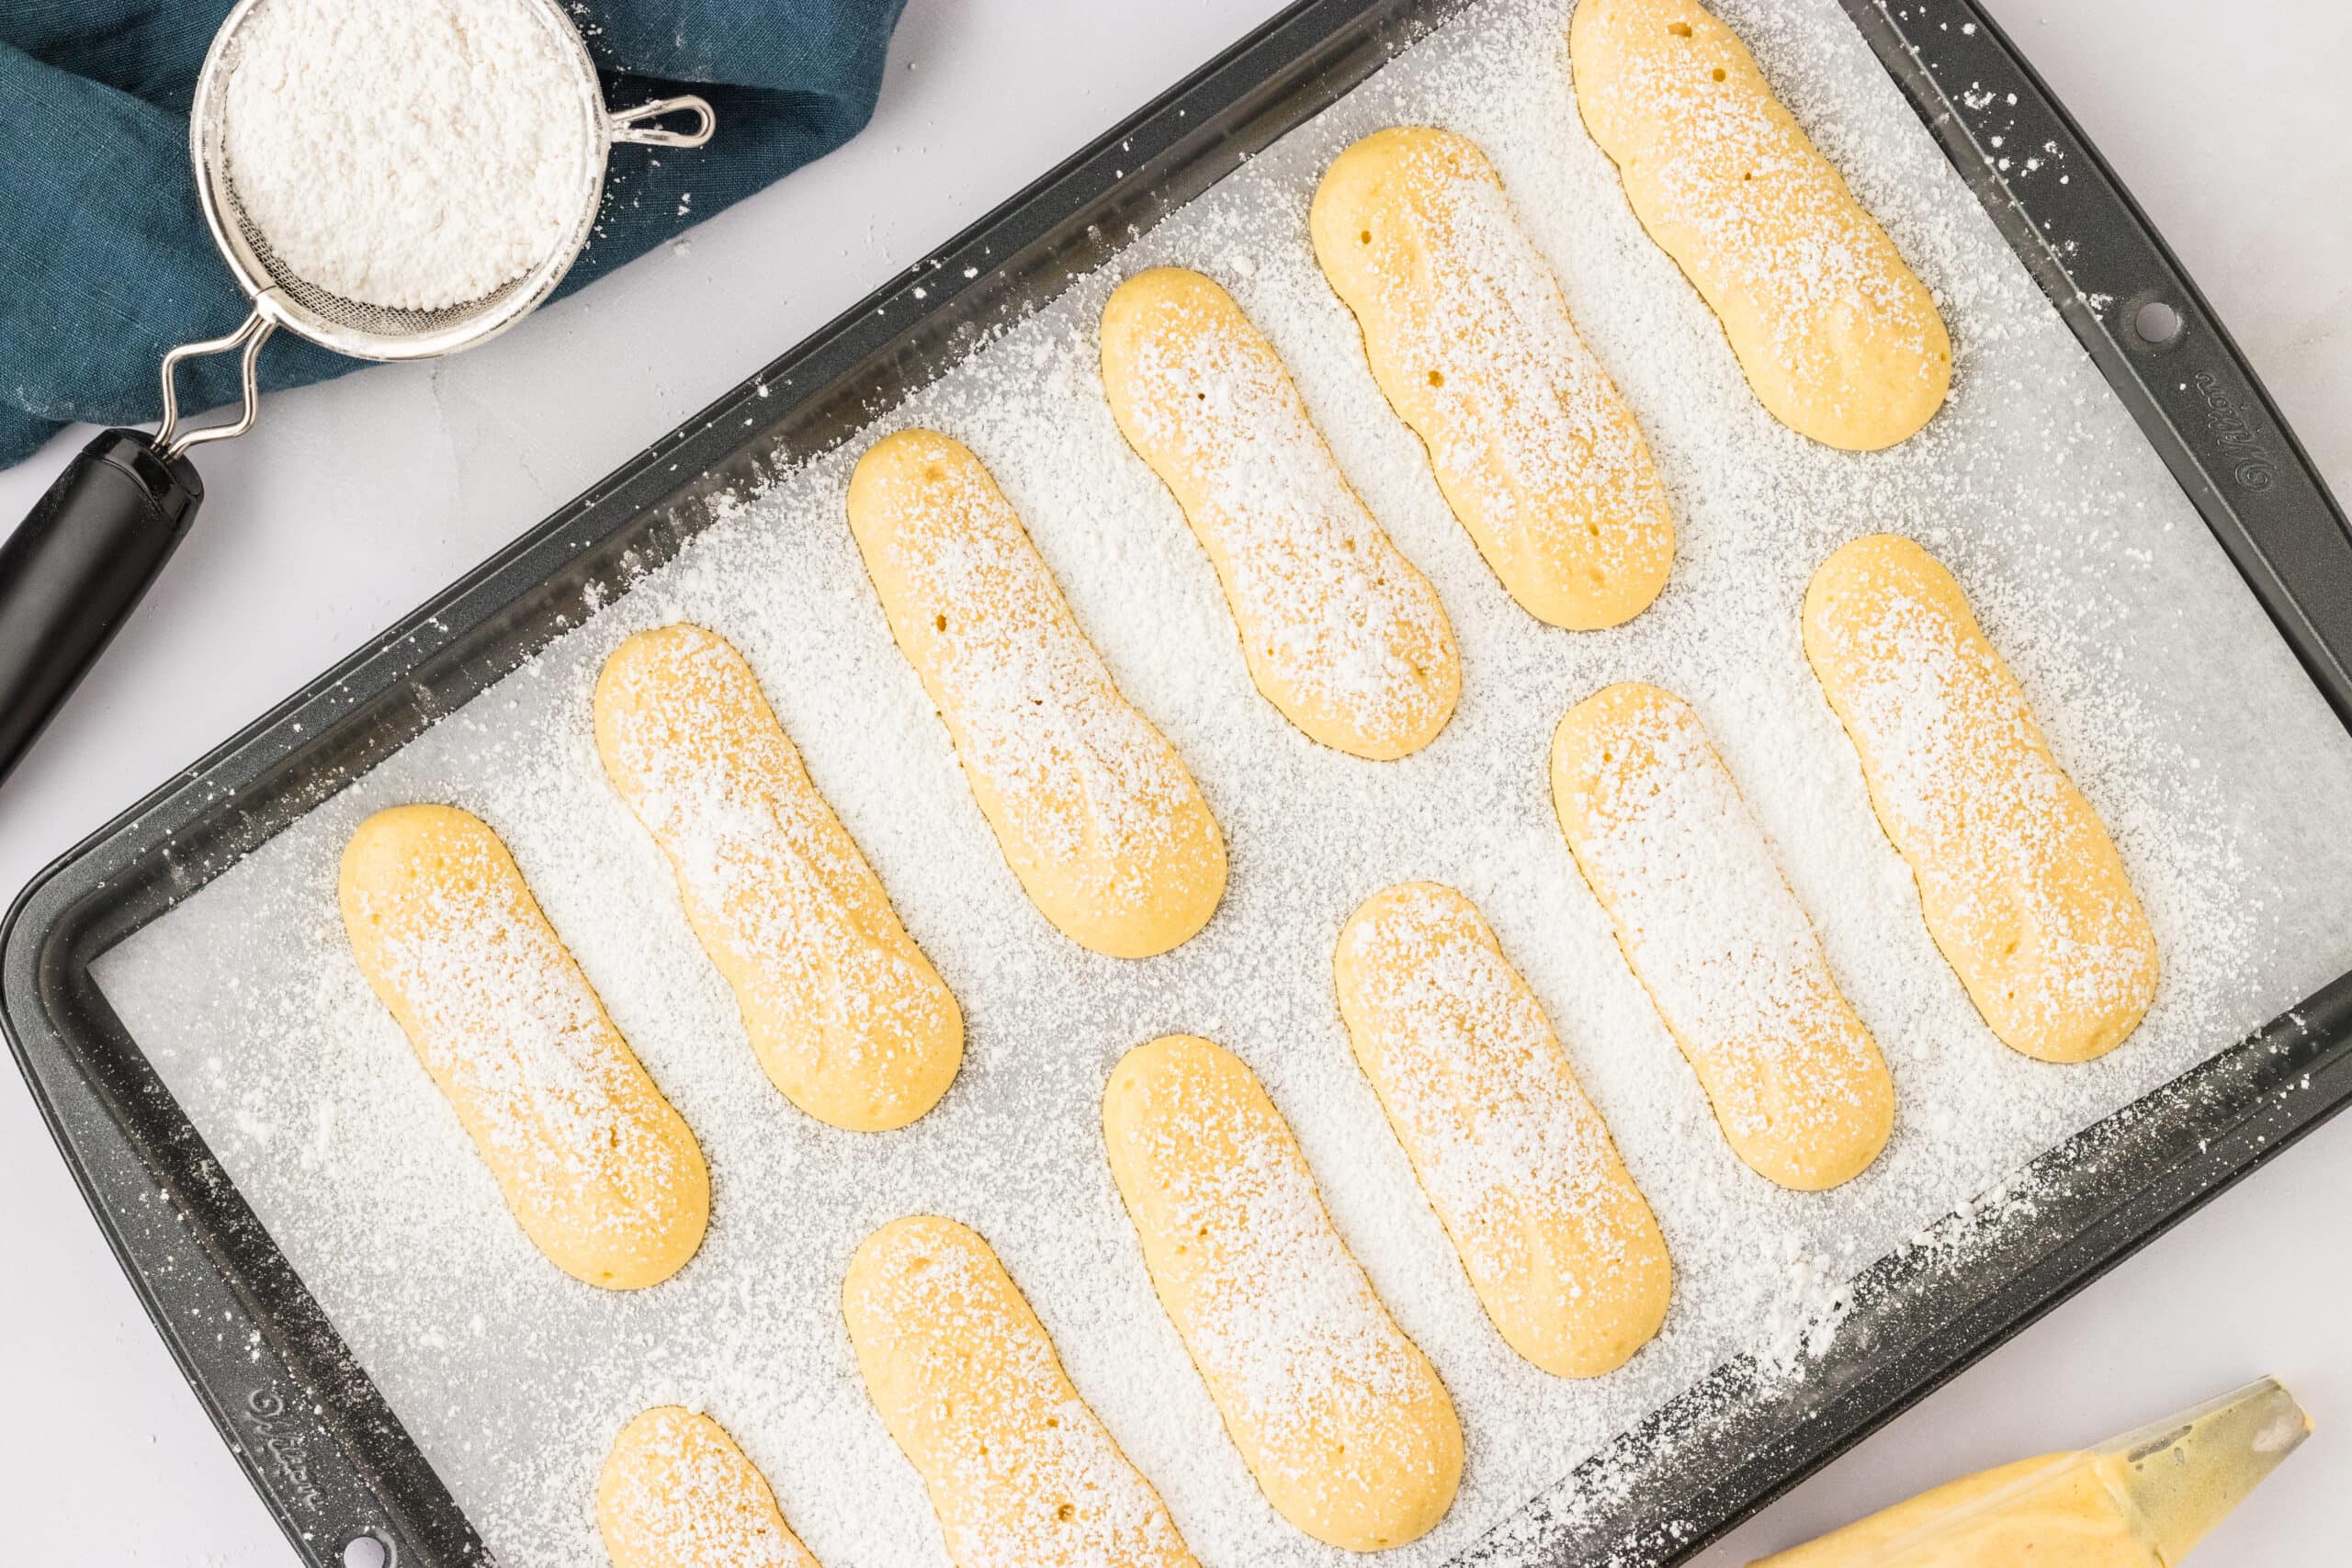
Lightly dust powdered sugar over each ladyfinger, or as desired, using a sieve.
Add both baking sheets to the preheated oven and bake for 15 minutes. Drop the temperature down to 300 degrees F and cook for an additional 12 minutes.
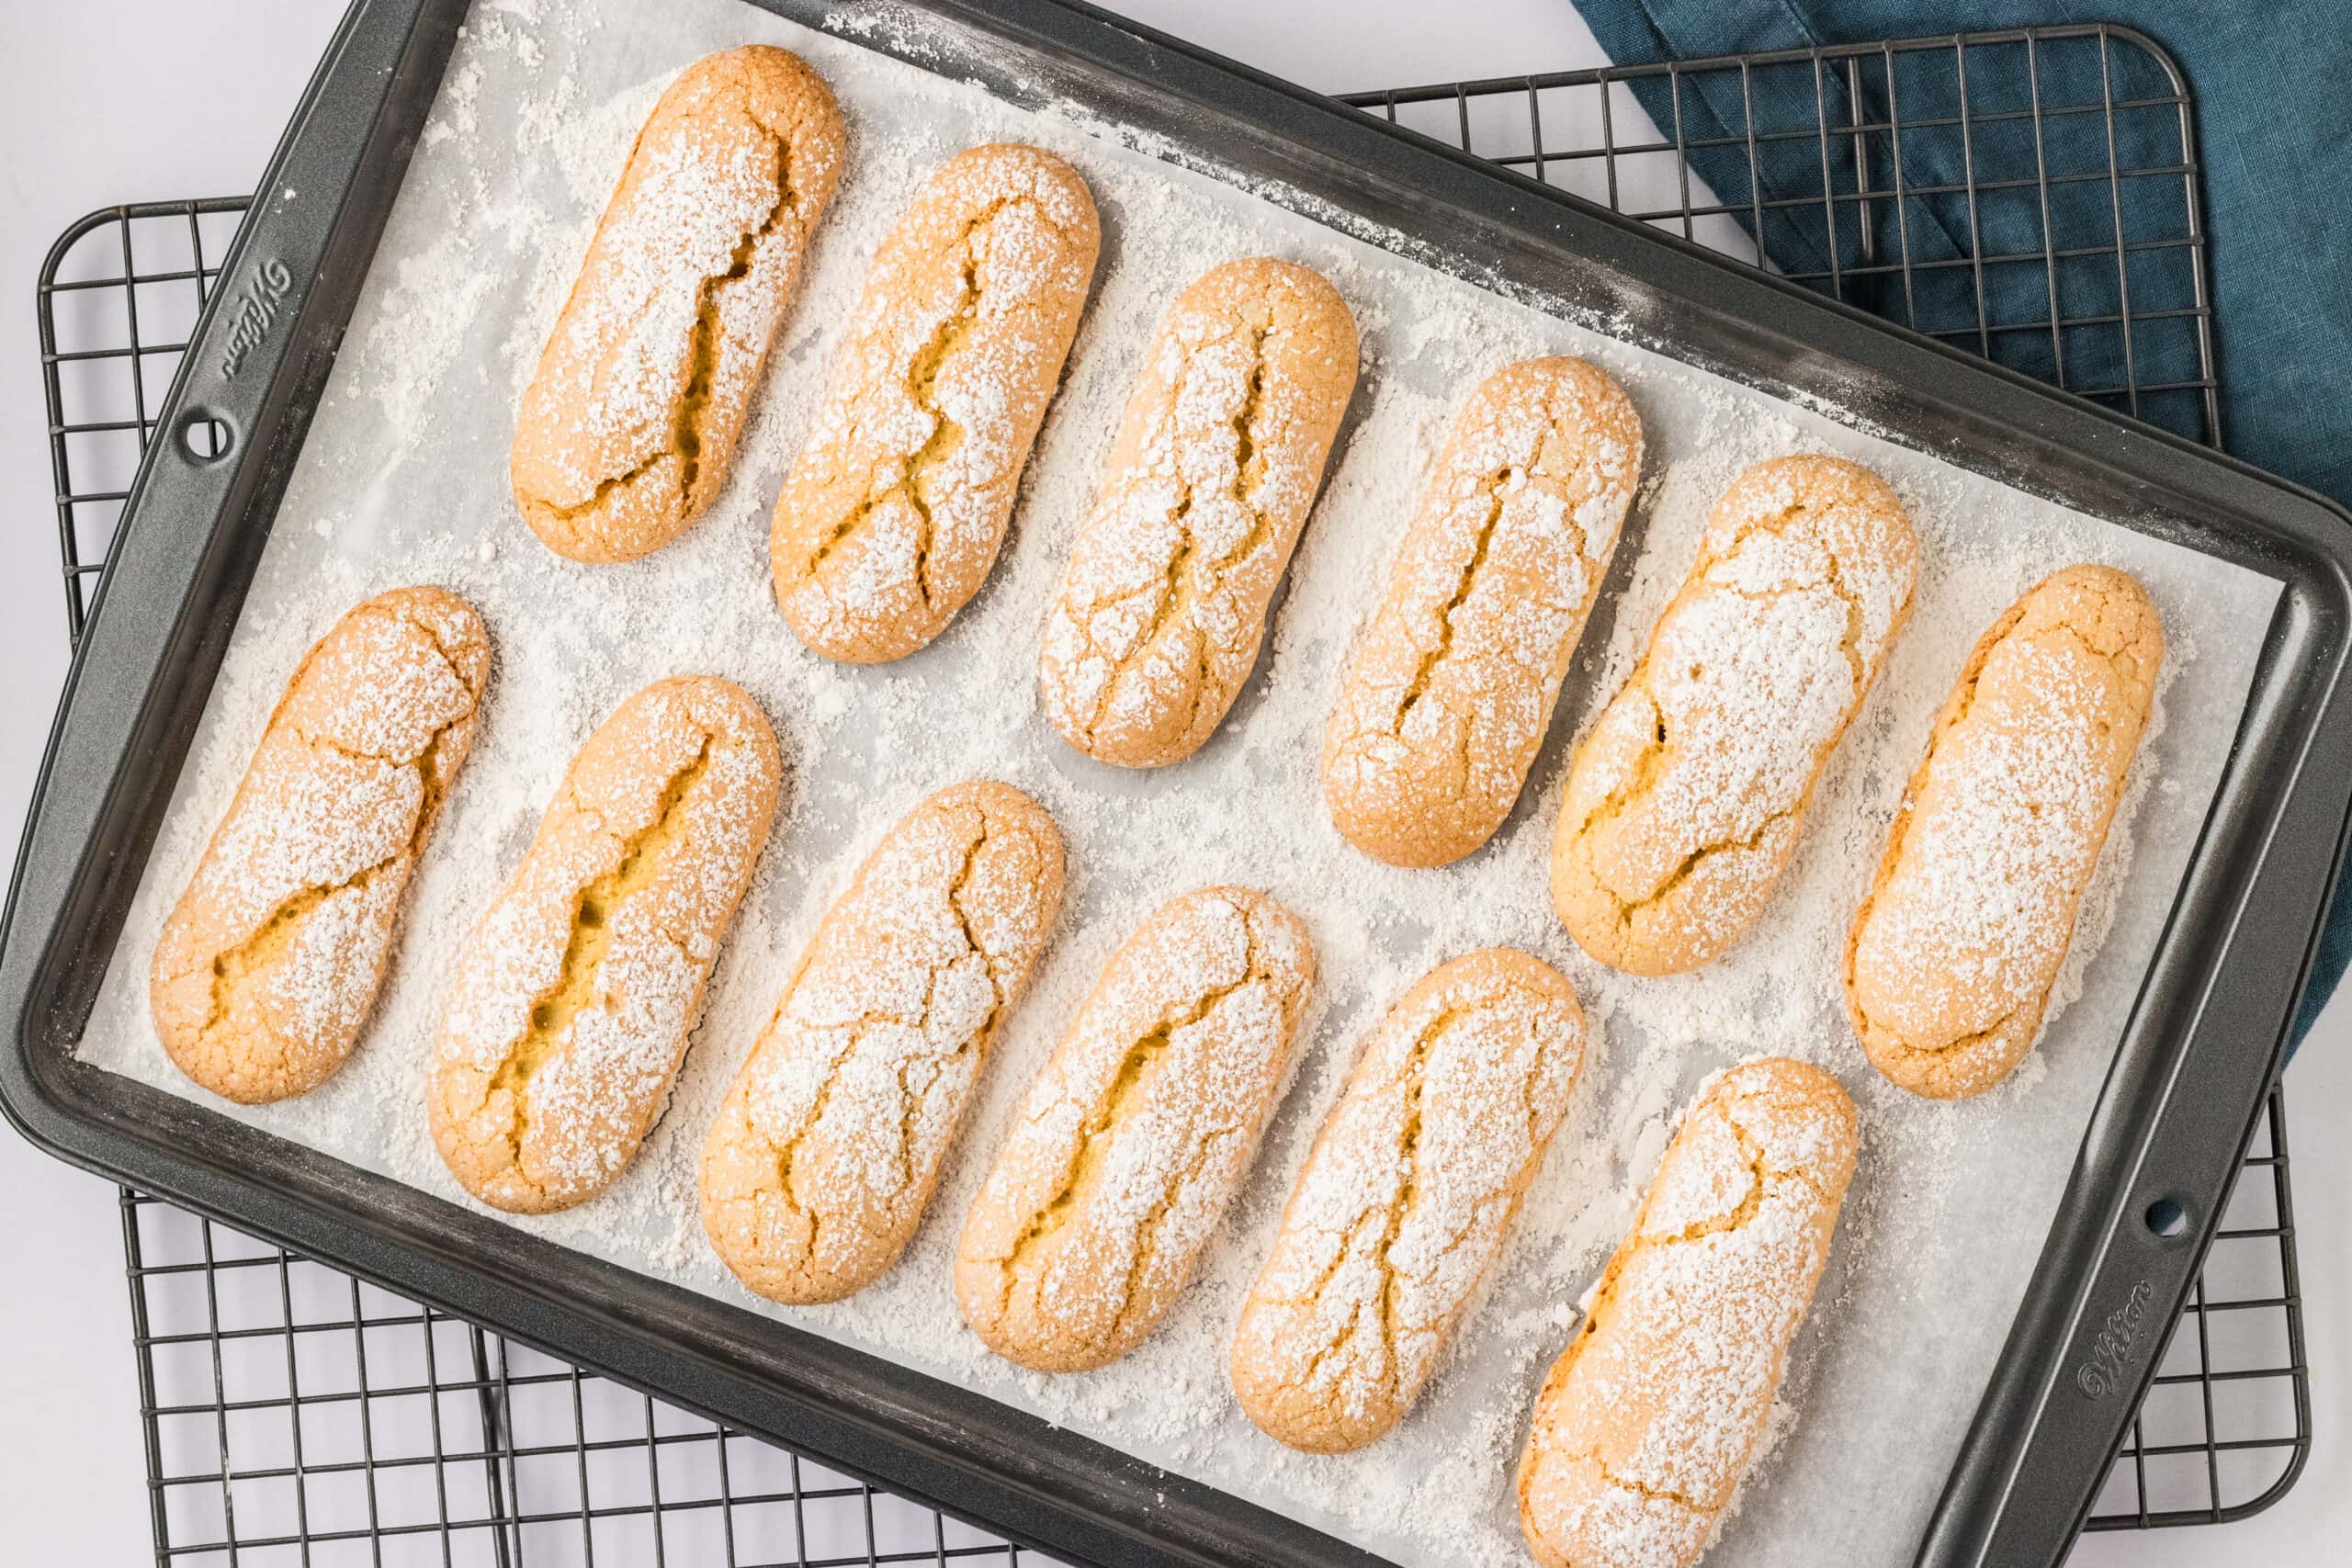
Remove the ladyfingers from the oven and let the cookies cool. Enjoy with a cup of tea or throw together a gluten-free tiramisu. Enjoy!
