Homemade Gluten-Free Oreos
Published


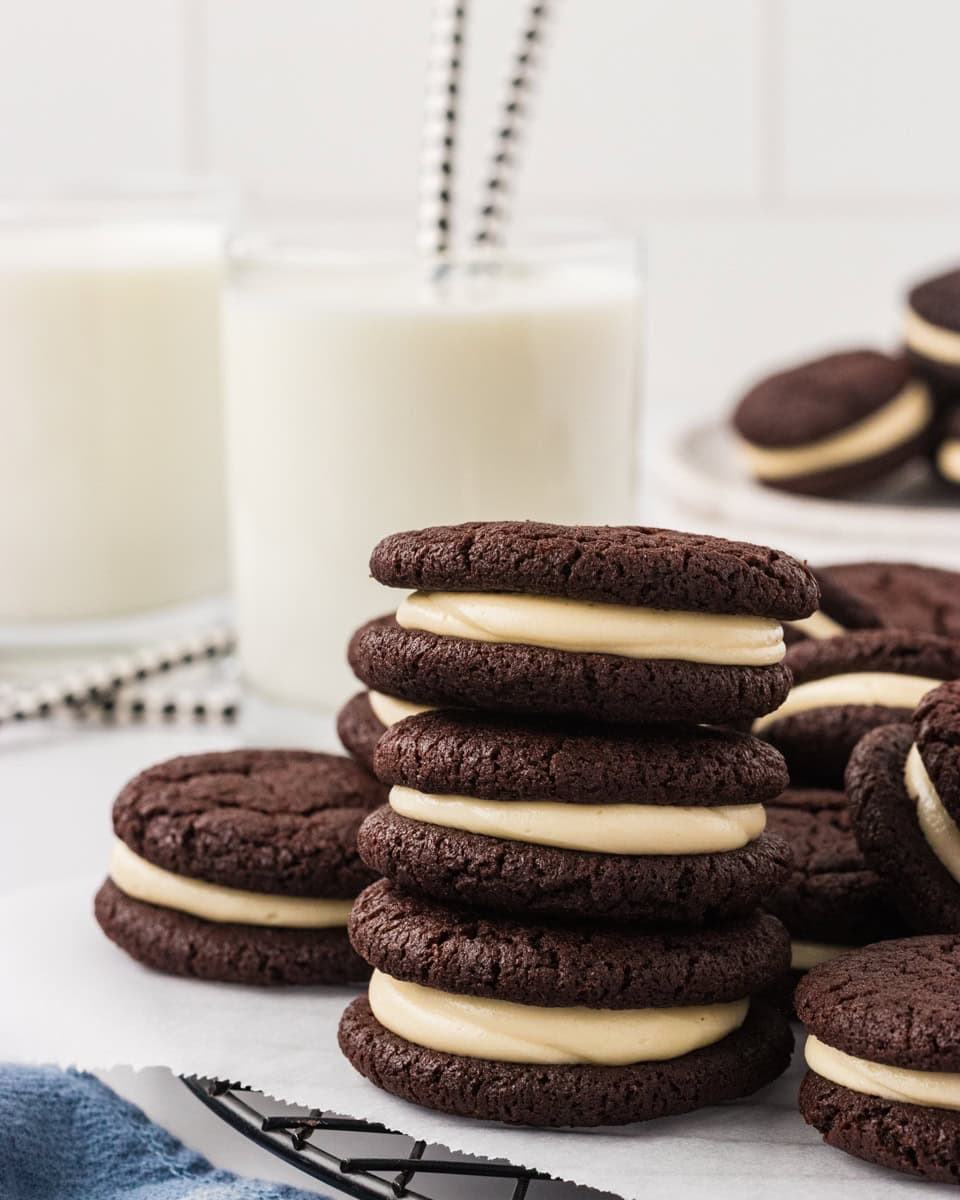
Oreos have always been my guilty pleasure snack, so when I went gluten-free, I knew I had to find a way to make them at home. These homemade gluten-free Oreos are rich, chocolatey, and taste just like the real thing. The best part is you don’t need any fancy tools or hard-to-find ingredients. Whether you like them soft and chewy or crisp like the originals, you can bake them just the way you like. My family devoured the whole batch in one afternoon, and I think yours will too.
Easy to Make at Home
I love how simple these are to make with ingredients I usually already have in the pantry. The cookies come together in one bowl and bake in under 10 minutes, and the filling is just butter, marshmallow creme, powdered sugar, and vanilla. You can make them soft or crunchy, double-stuff them, or even add peppermint or almond extract to change up the flavor. They also freeze well, which makes them perfect for make-ahead treats or gifting during the holidays.
What I Learned While Testing
- Use a kitchen scale for even cookies. I like to use a kitchen scale and portion out exactly 15 grams of dough per cookie. This keeps the cookies uniform, so they bake evenly and give you that classic Oreo-sized sandwich cookie.
- Let the cookies cool completely. Don’t rush the cooling time. If the cookies are even slightly warm, the filling can melt and slide around when you assemble them. I always let the cookies cool completely so the filling stays neat and creamy.
- Use Dutch-processed cocoa powder. For that deep, rich chocolate flavor and classic Oreo color, Dutch-processed cocoa powder is the best choice. It creates a darker cookie with a smoother, more intense chocolate taste.
- Sift powdered sugar if needed. If your powdered sugar is clumpy, sift it before adding it to the filling. This helps the icing mix smoothly and keeps it soft and pipeable without small lumps.
Gluten-Free Oreos Recipe

Ingredients
For the cookies
- ¾ cup unsalted butter, room temperature
- ¾ cup white sugar
- ⅓ cup brown sugar, packed
- 1 egg
- 1¼ cups gluten-free all-purpose flour
- ⅔ cup dutch processed cocoa powder
- 1 tsp baking soda
- ½ tsp salt
For the filling
- ⅓ cup unsalted butter
- 3 oz. marshmallow creme
- 1 tsp vanilla extract
- ¼ tsp salt
- 2 cups powdered sugar
Instructions
- Preheat the oven to 350°F (180°C) and line a baking sheet with parchment paper.
- For the cookies, in a large bowl, cream together butter and sugars, then add and mix in the egg.
- To the same bowl, sift in your flour, cocoa powder, baking soda, and salt. Mix until thoroughly combined.
- Use a kitchen scale to weigh out 15 grams of cookie dough per cookie. Roll into a ball and place on your prepared baking sheet, keeping 1.5 inches of distance between each cookie to allow them to spread. Do not flatten the cookies.
- Bake in the preheated oven for 8-10 minutes. The longer you cook them, the crunchier the cookies will be. For softer cookies, bake for 8 minutes. For crunchier cookies, bake closer to 10 minutes.
- While the cookies are baking, make your icing by beating with a hand mixer the butter, marshmallow creme, salt, and vanilla.
- Add in your powdered sugar and carefully mix until the sugar is combined and the icing is smooth.
- Fill a piping or storage bag with your icing and cut the tip off to make a medium sized hole. You don’t want it too small, but the size of the hole in the bag doesn’t matter much as you’re just looking for an easy way to fill the Oreo cookies. You could even spread it on with a knife (though a bag is much easier).
- Bake your cookies in batches and allow them to cool completely before icing.
- When ready to ice, flip your cookie upside down so the flat side is getting the icing. Pipe or spread as much icing as you’d like (I wound up with some icing left over when I iced mine, so you can even double stuff some if you like) and top the icing with another cookie, flat side down.
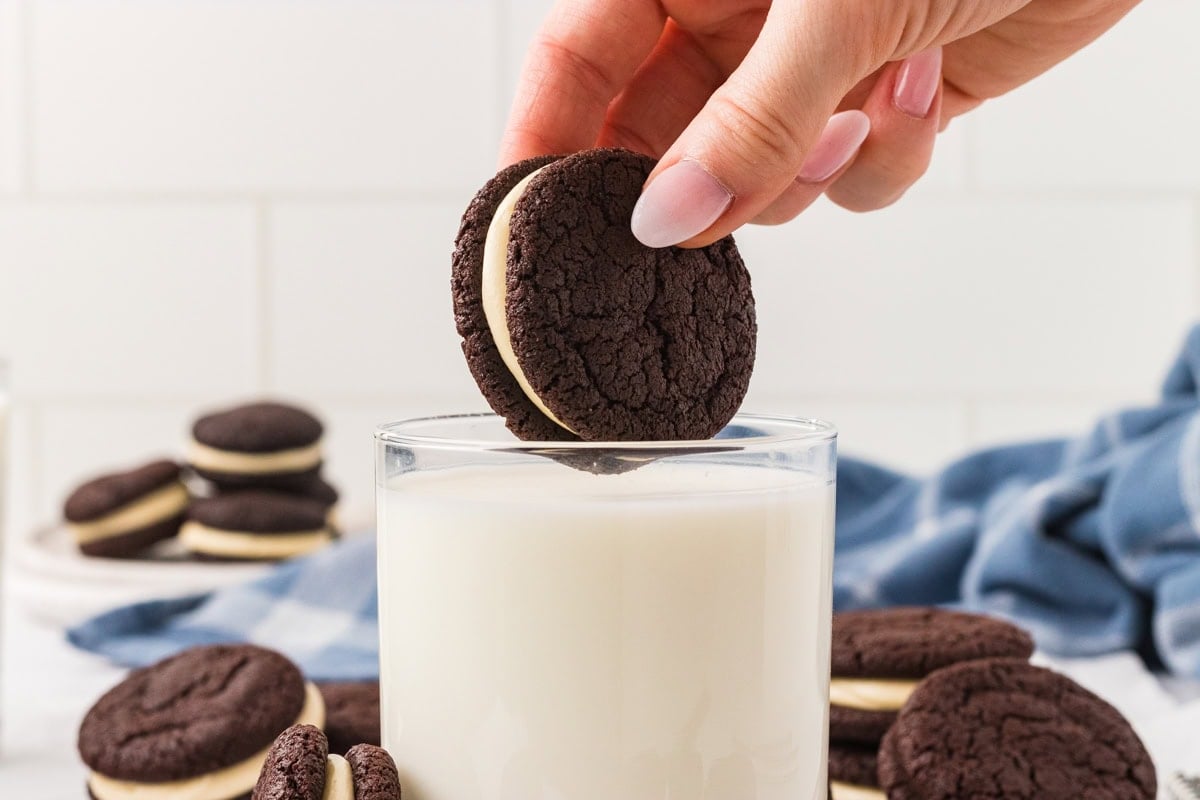
- Finish icing and assembling all your cookies and enjoy by themselves or with a glass of milk!
Nutrition
Nutrition information is automatically calculated, so should only be used as an approximation.
How to Make Gluten-Free Oreos Step by Step
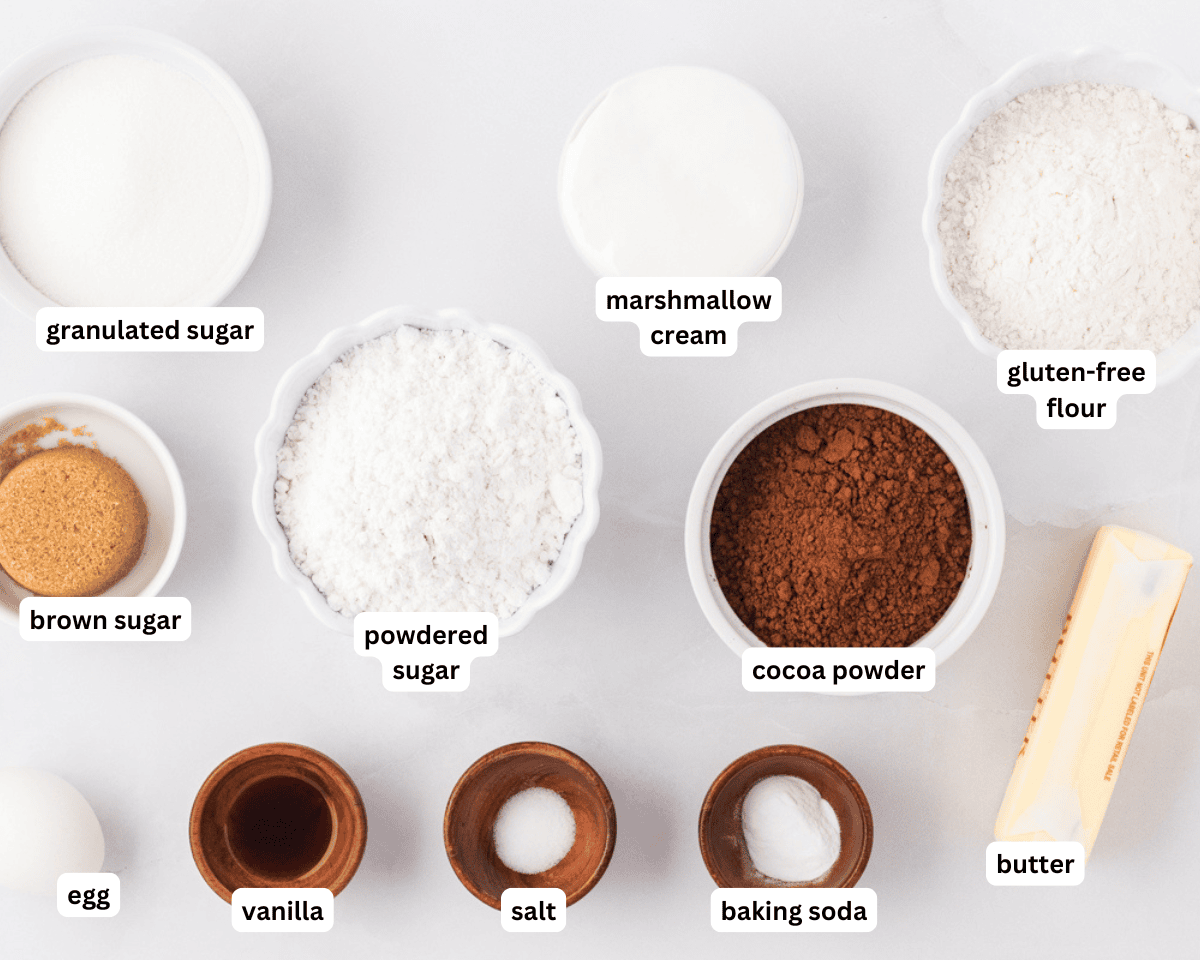
Gather the ingredients: Gather all the ingredients together. Preheat your oven to 350°F (180°C) and line a baking sheet with parchment paper.
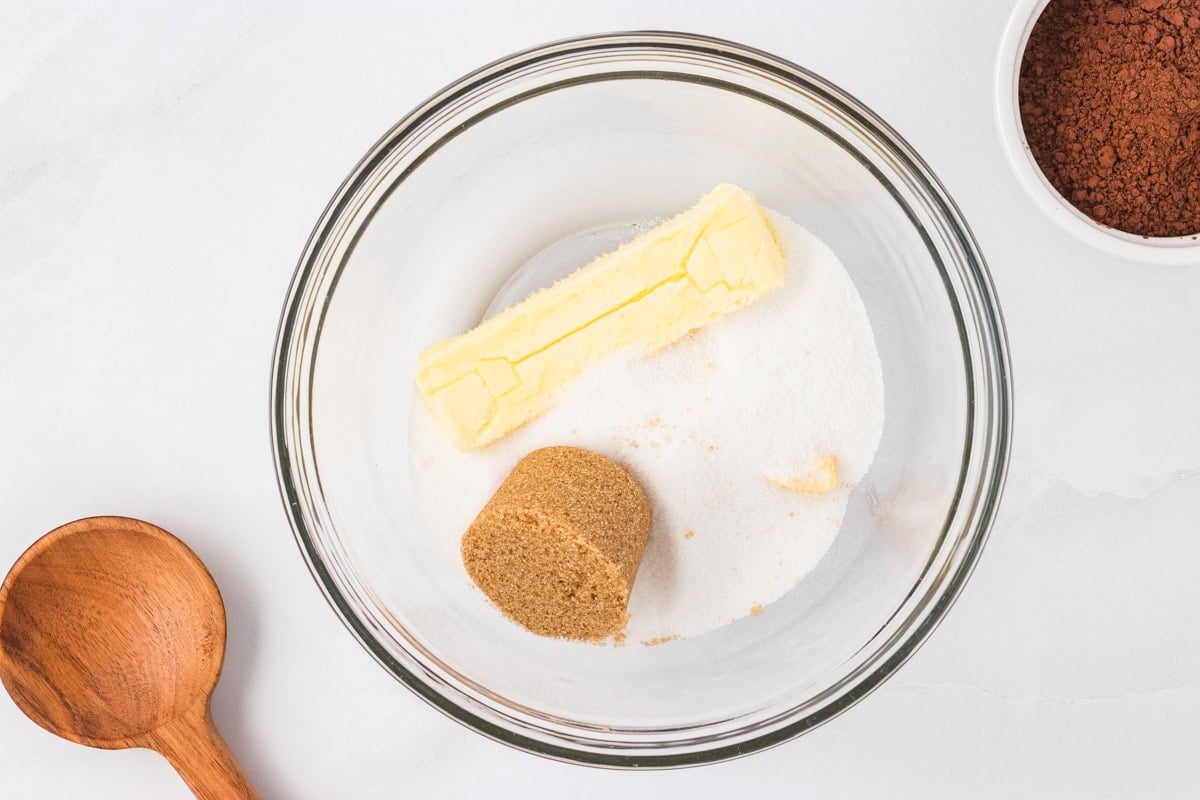
Cream the butter and sugar: In a large bowl, cream together ¾ cup (170g) room temperature unsalted butter, ¾ cup (150g) white sugar, and ⅓ cup (70g) packed brown sugar until light and fluffy.

Add the egg: Add 1 large egg to the bowl and mix until fully incorporated.
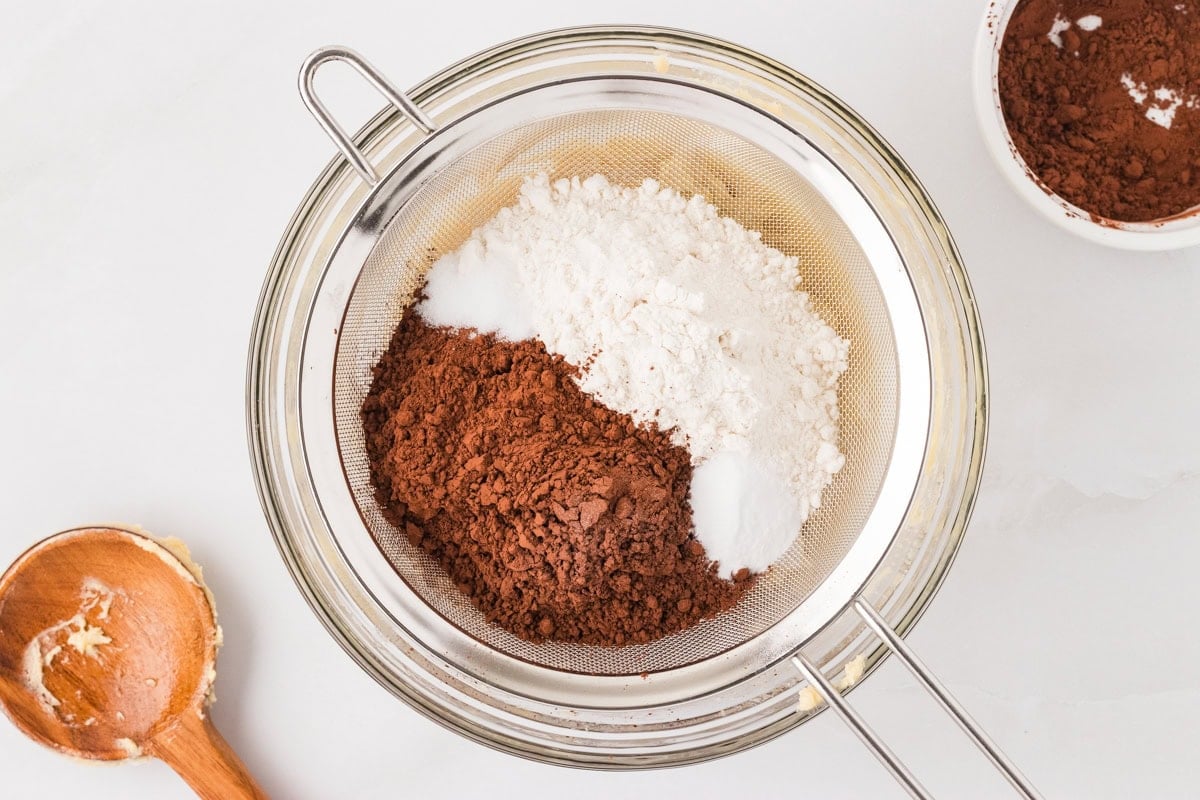
Sift the dry ingredients: Sift 1¼ cup (175g) gluten-free all-purpose flour, ⅔ cup (65g) Dutch-processed cocoa powder, 1 tsp (5g) baking soda, and ½ tsp (3g) salt directly into the wet mixture.
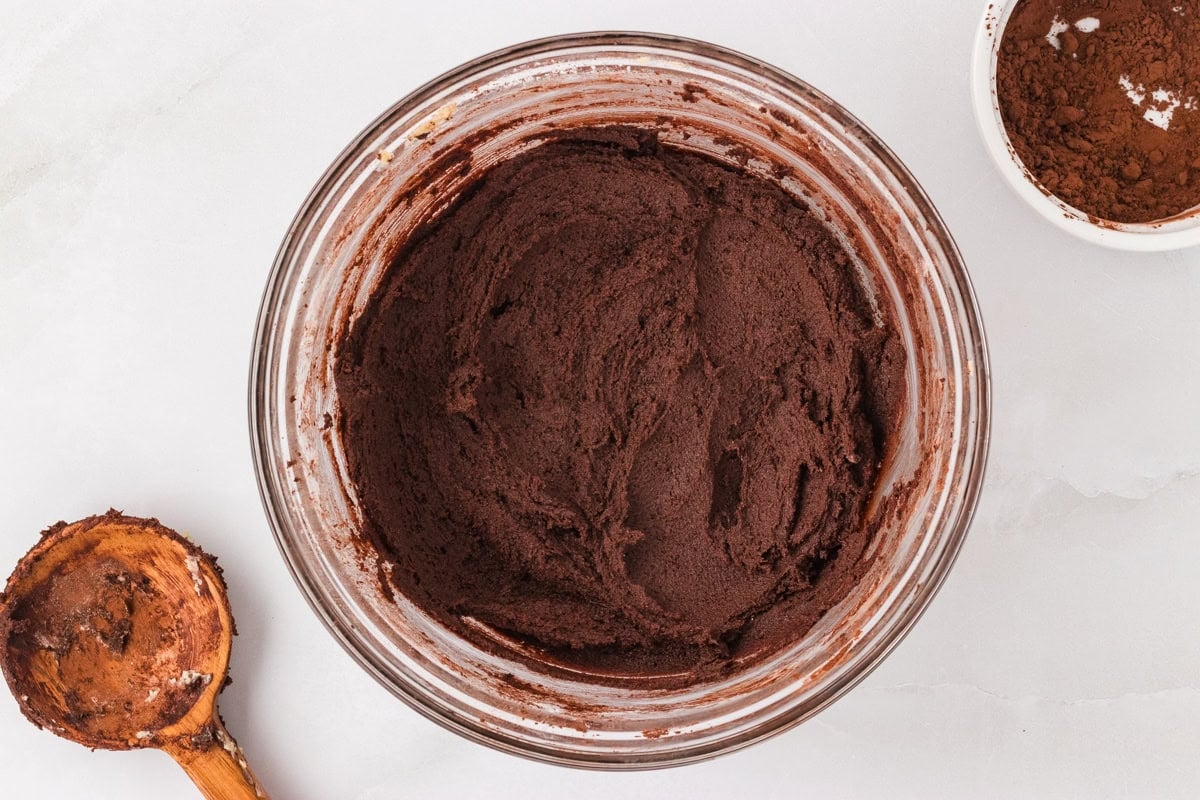
Mix the dough: Stir until a thick, uniform dough forms.
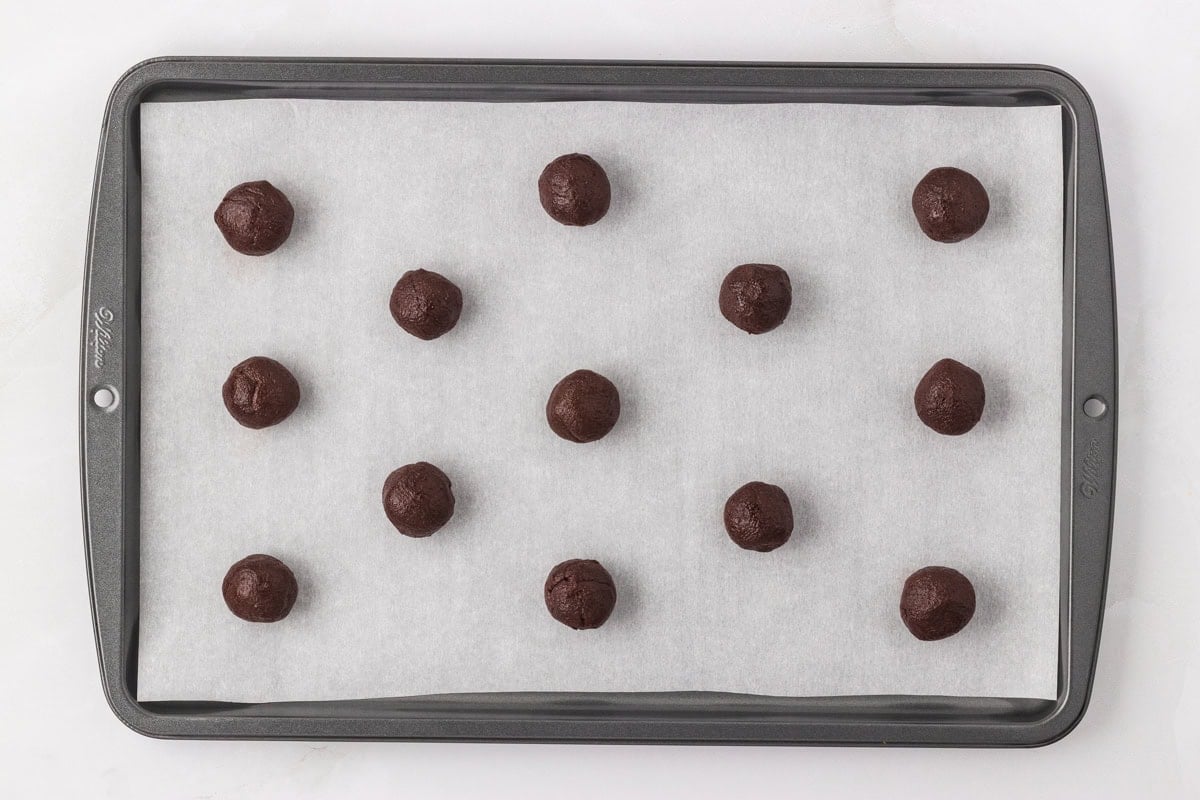
Portion and shape the cookies: Using a kitchen scale, weigh out 15 grams of dough per cookie. Roll each portion into a ball and place them on the prepared baking sheet, leaving about 1.5 inches between each to allow for spreading. Do not flatten the cookies.
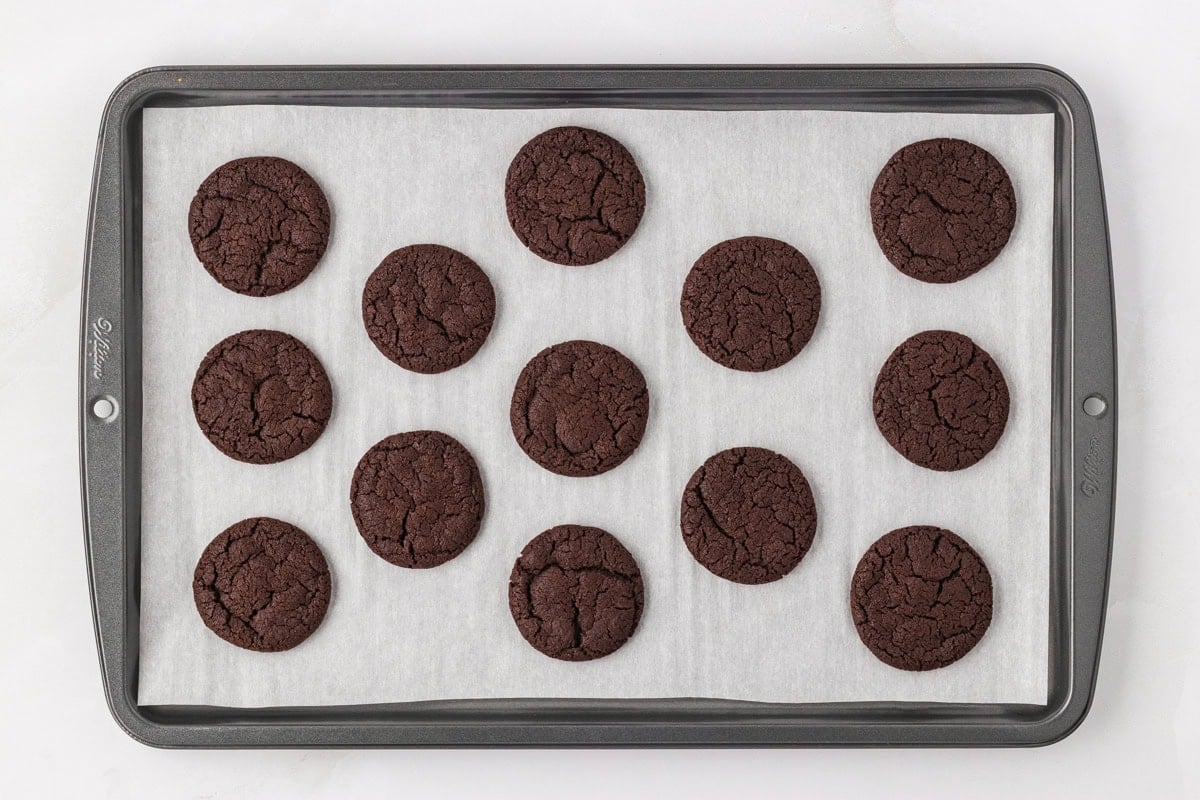
Bake the cookies: Bake for 8-10 minutes, depending on your preferred texture. Bake 8 minutes for softer cookies or closer to 10 minutes for a crunchier Oreo-like bite. Cool completely before assembling.
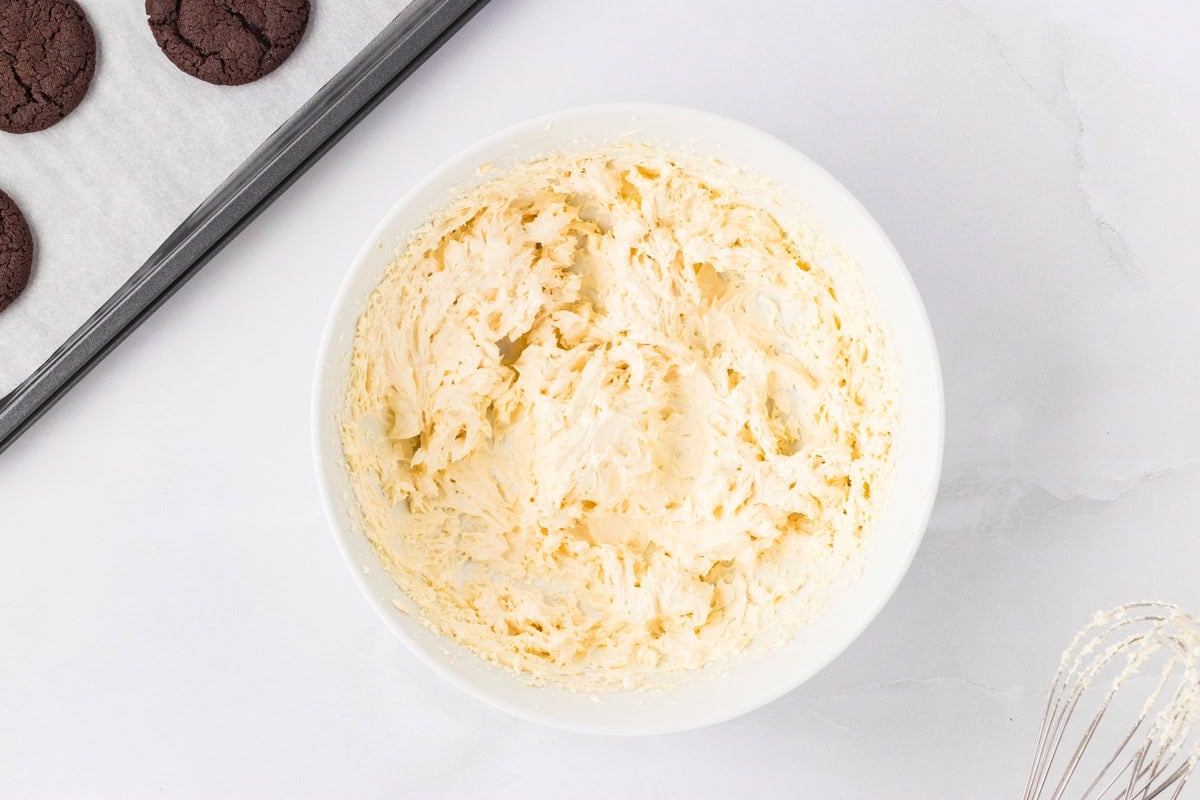
Make the filling: While the cookies bake, prepare the filling. In a medium bowl, use a hand mixer to beat ⅓ cup (75g) unsalted butter, 3 oz. (85g) marshmallow creme, 1 tsp (5ml) vanilla extract, and ¼ tsp (1.5 g) salt until smooth and creamy.
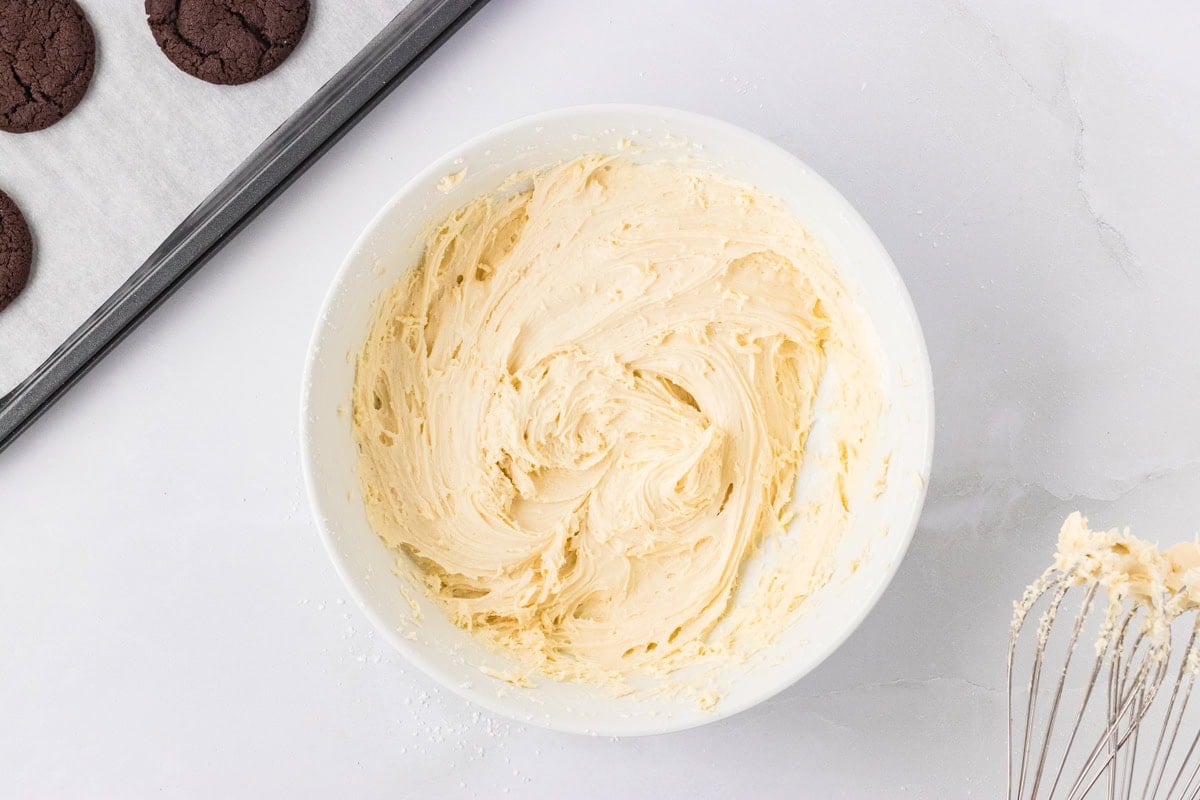
Add powdered sugar: Gradually add 2 cups (240g) of powdered sugar to the filling mixture. Beat slowly at first, then increase speed until the icing is smooth and fluffy. If needed, sift the sugar beforehand to avoid lumps.
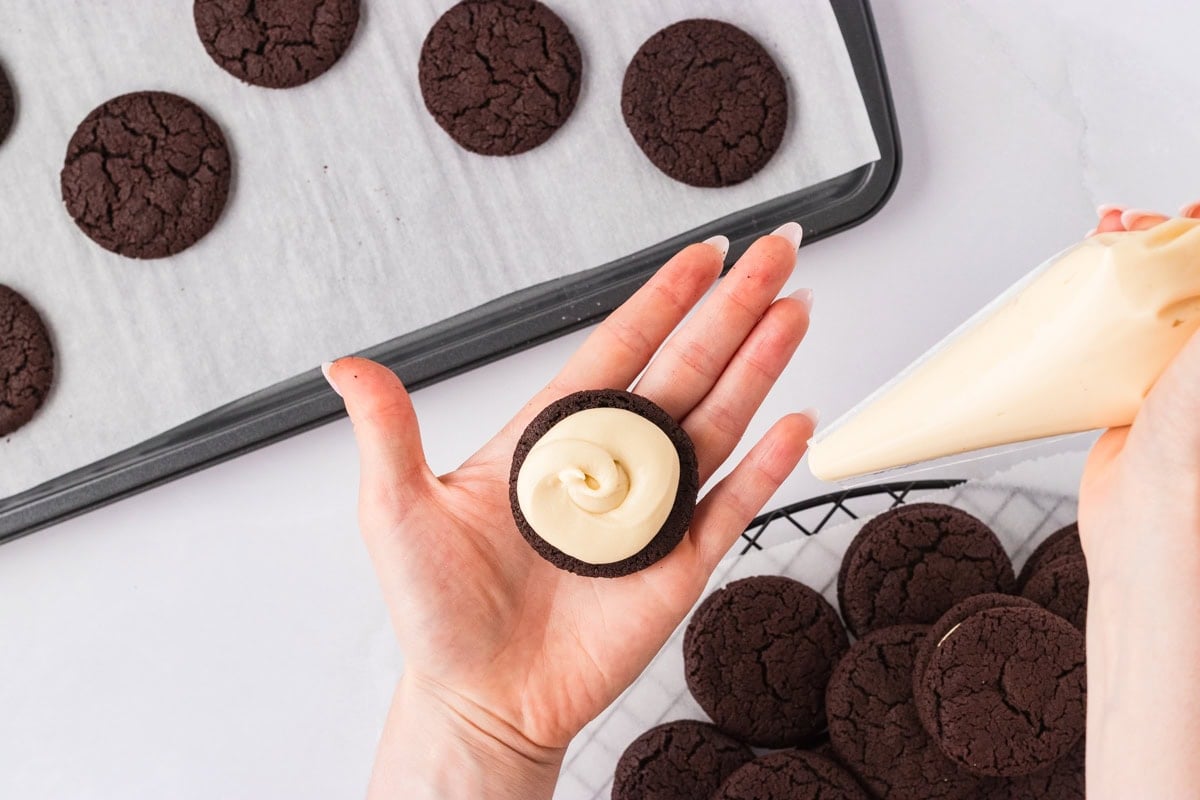
Fill the piping bag: Transfer the filling to a piping or storage bag and snip off the tip to make a medium-sized hole. (You can also use a butter knife to spread the filling if you prefer.)
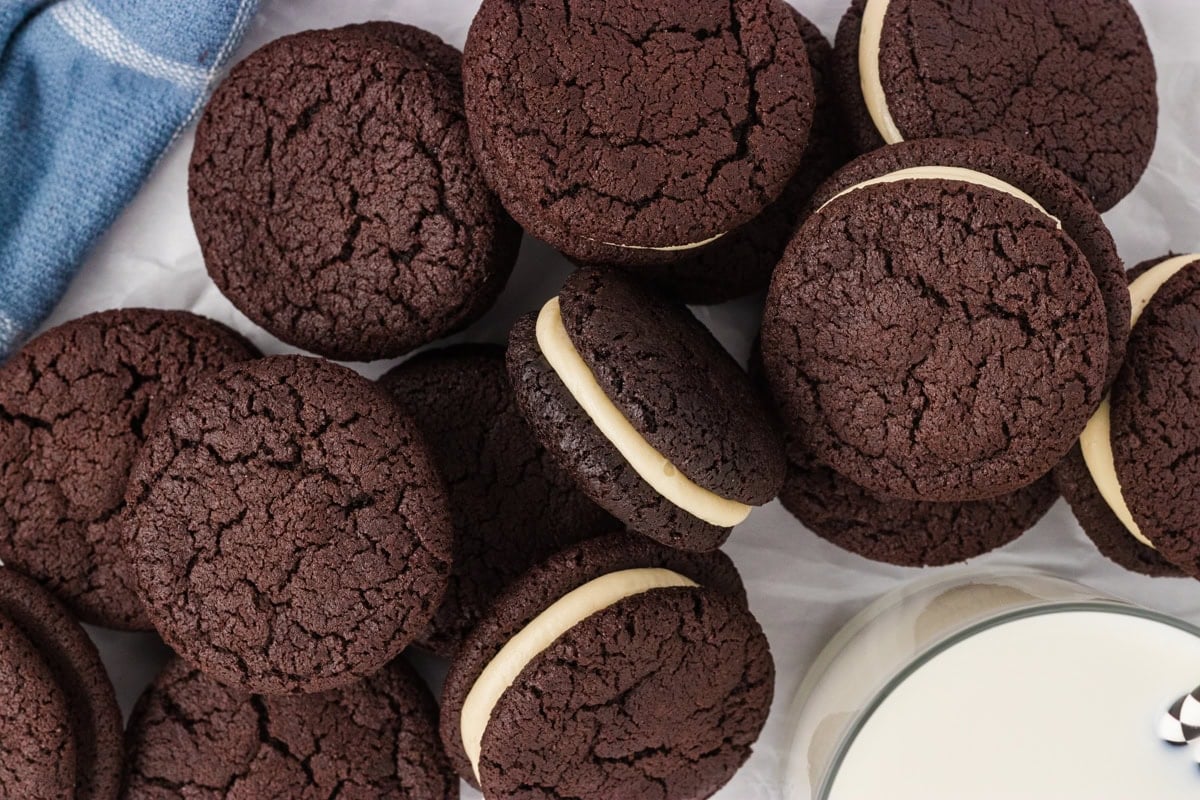
Assemble the cookies: Flip half of the cooled cookies upside down so the flat side faces up. Pipe or spread the filling onto each, using as much as you like. (You might even have enough to double-stuff a few.) Top each with another cookie, flat side down, to sandwich.

Serve and enjoy: Finish assembling the cookies and enjoy on their own or with a cold glass of milk. Enjoy!
Serving Suggestions
I love serving these gluten-free Oreos with a cold glass of milk or crumbling them over a scoop of almond milk ice cream. I’ve even used them to layer on gluten-free ice cream cake. My kids love them in their lunchboxes, but I also bring them to parties or give them as gifts during the holidays. You can even get creative with the filling—try adding a little peppermint or almond extract for a fun twist!
Storage Instructions
Store the assembled cookies in an airtight container at room temperature for up to 5 days. If you want them to last longer, you can keep them in the fridge for up to 2 weeks. Just let them sit at room temperature for a few minutes before serving so the filling softens a bit.
These also freeze well. I like to freeze them in a single layer first, then transfer them to a sealed container or freezer bag. They’ll stay fresh for up to 2 months.
More Gluten-Free Treats
- Gluten-Free Animal Crackers: If you love nostalgic homemade cookies like these gluten-free Oreos, you’ll also enjoy these gluten-free animal crackers. They’re lightly sweet, crisp, and perfect for snacking or packing into lunchboxes.
- Gluten-Free Chocolate Chip Cookies: If you’re in the mood for another classic cookie, these gluten-free chocolate chip cookies are always a hit. They bake up with crisp edges and soft centers and are just as easy to make as these homemade gluten-free Oreos.
- Gluten-Free Peanut Butter Cookies: For something a little different from chocolate cookies, try these gluten-free peanut butter cookies. They’re rich, chewy, and full of peanut butter flavor, making them another simple homemade cookie everyone loves.


This recipe was way too sweet compared to store bought oreos and the texture was soft and not hard like a real oreo.
Hi Linda, Thanks for giving the recipe a try and sharing your feedback! Homemade gluten-free Oreos can be different from the packaged version. Store-bought Oreos are formulated to be very crisp and dry, while homemade often have a slightly softer texture, especially in the first day or two after baking.
If you’d like a crunchier cookie, you could try baking them a minute or two longer and allowing them to cool completely on the baking sheet before transferring them.
As for the sweetness, that’s definitely a matter of personal preference. Since the filling contributes a good amount of sweetness, you could try reducing the powdered sugar in the filling slightly next time to better match the flavor you’re looking for.
I appreciate you taking the time to leave a review, and I’m sorry these didn’t quite hit the mark for you!
Sounds delicious but is it possible to make this woth sugar substittues? Miss have occasional cookie but diabetic as well as gluten-free.
Hi Momma, we haven’t tested with sugar substitutes. Please let us know if you do and how it turns out!
What could I substitute for the egg?
Hi there, you can use a flax egg for this recipe.
All the oreo flavor but better!! The cookies are soft and sweet and the filling tastes so similar but with real ingredients you can name! They’re like gourmet Oreos! Definitely make these!
This recipe is absolutely delicious and has easily become one of my favorite! They are perfectly soft, rich, and the filling is amazing! Will definitely be making again.