Gluten-Free and Dairy-Free Chocolate Fudge

Published
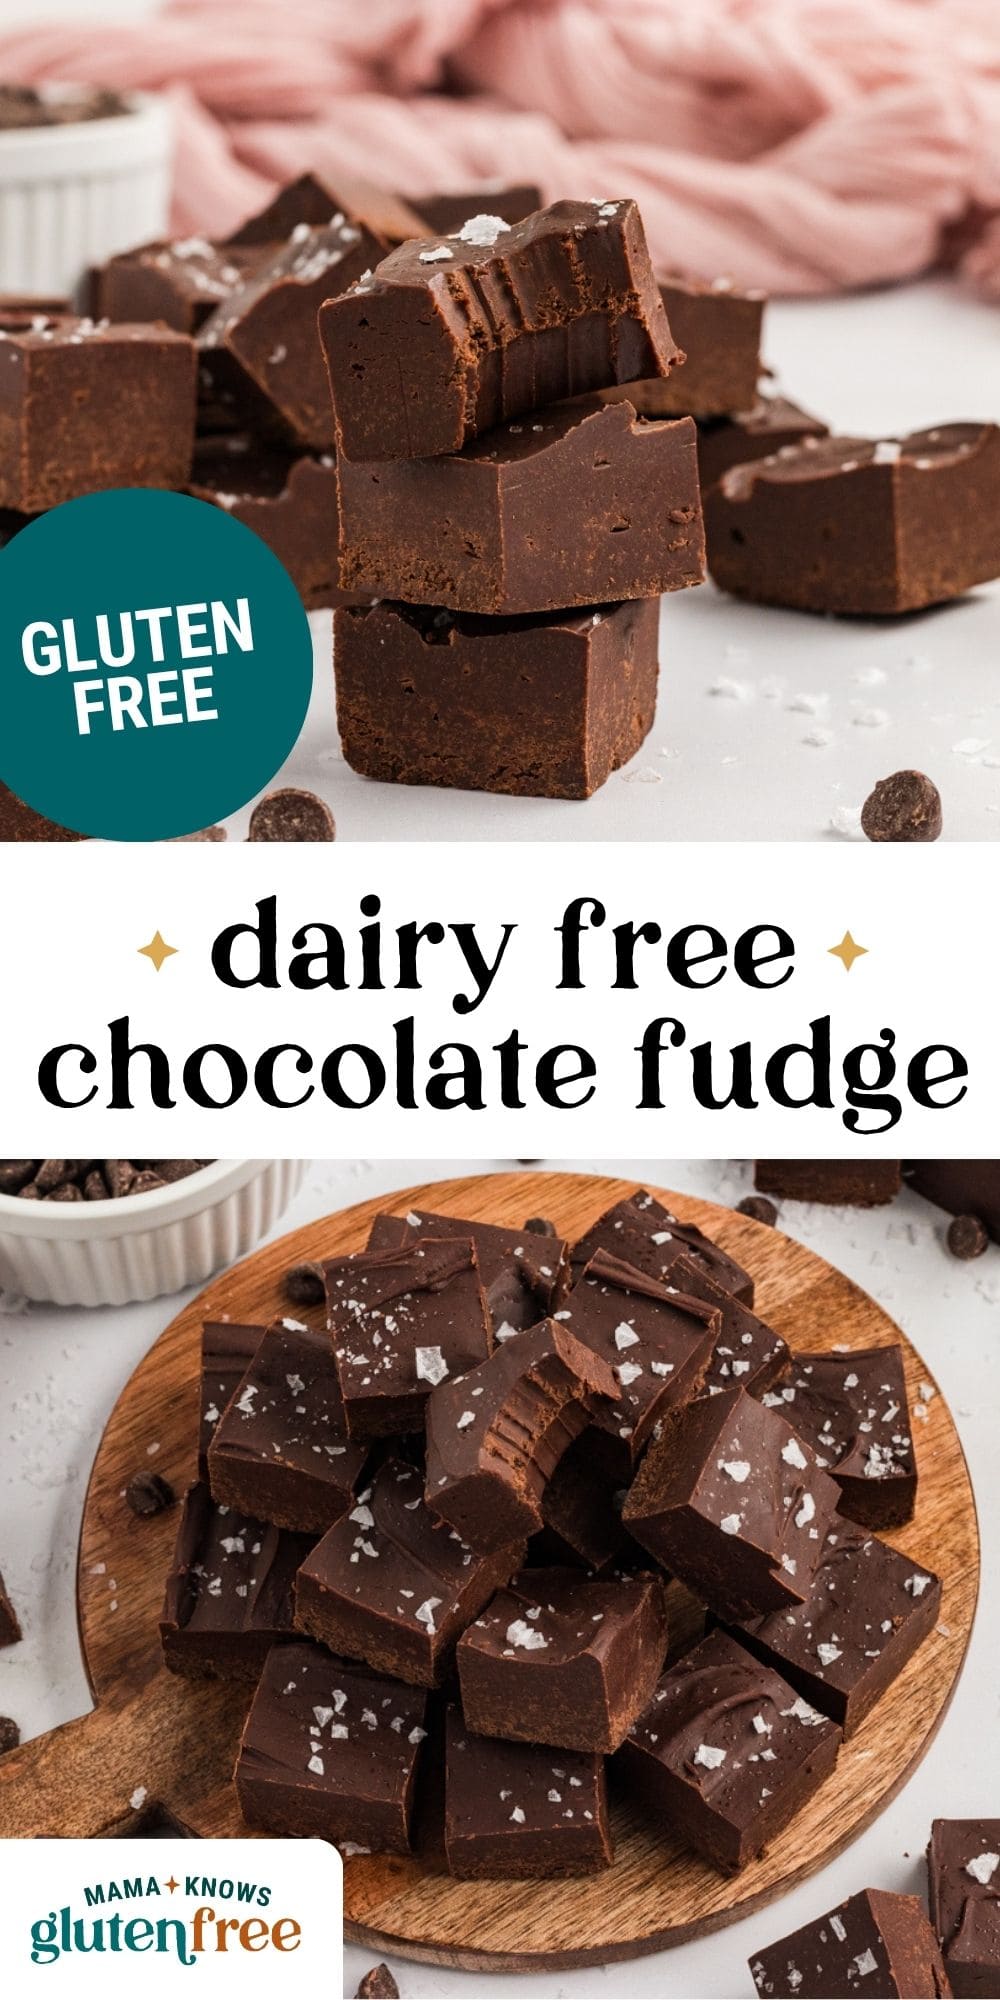
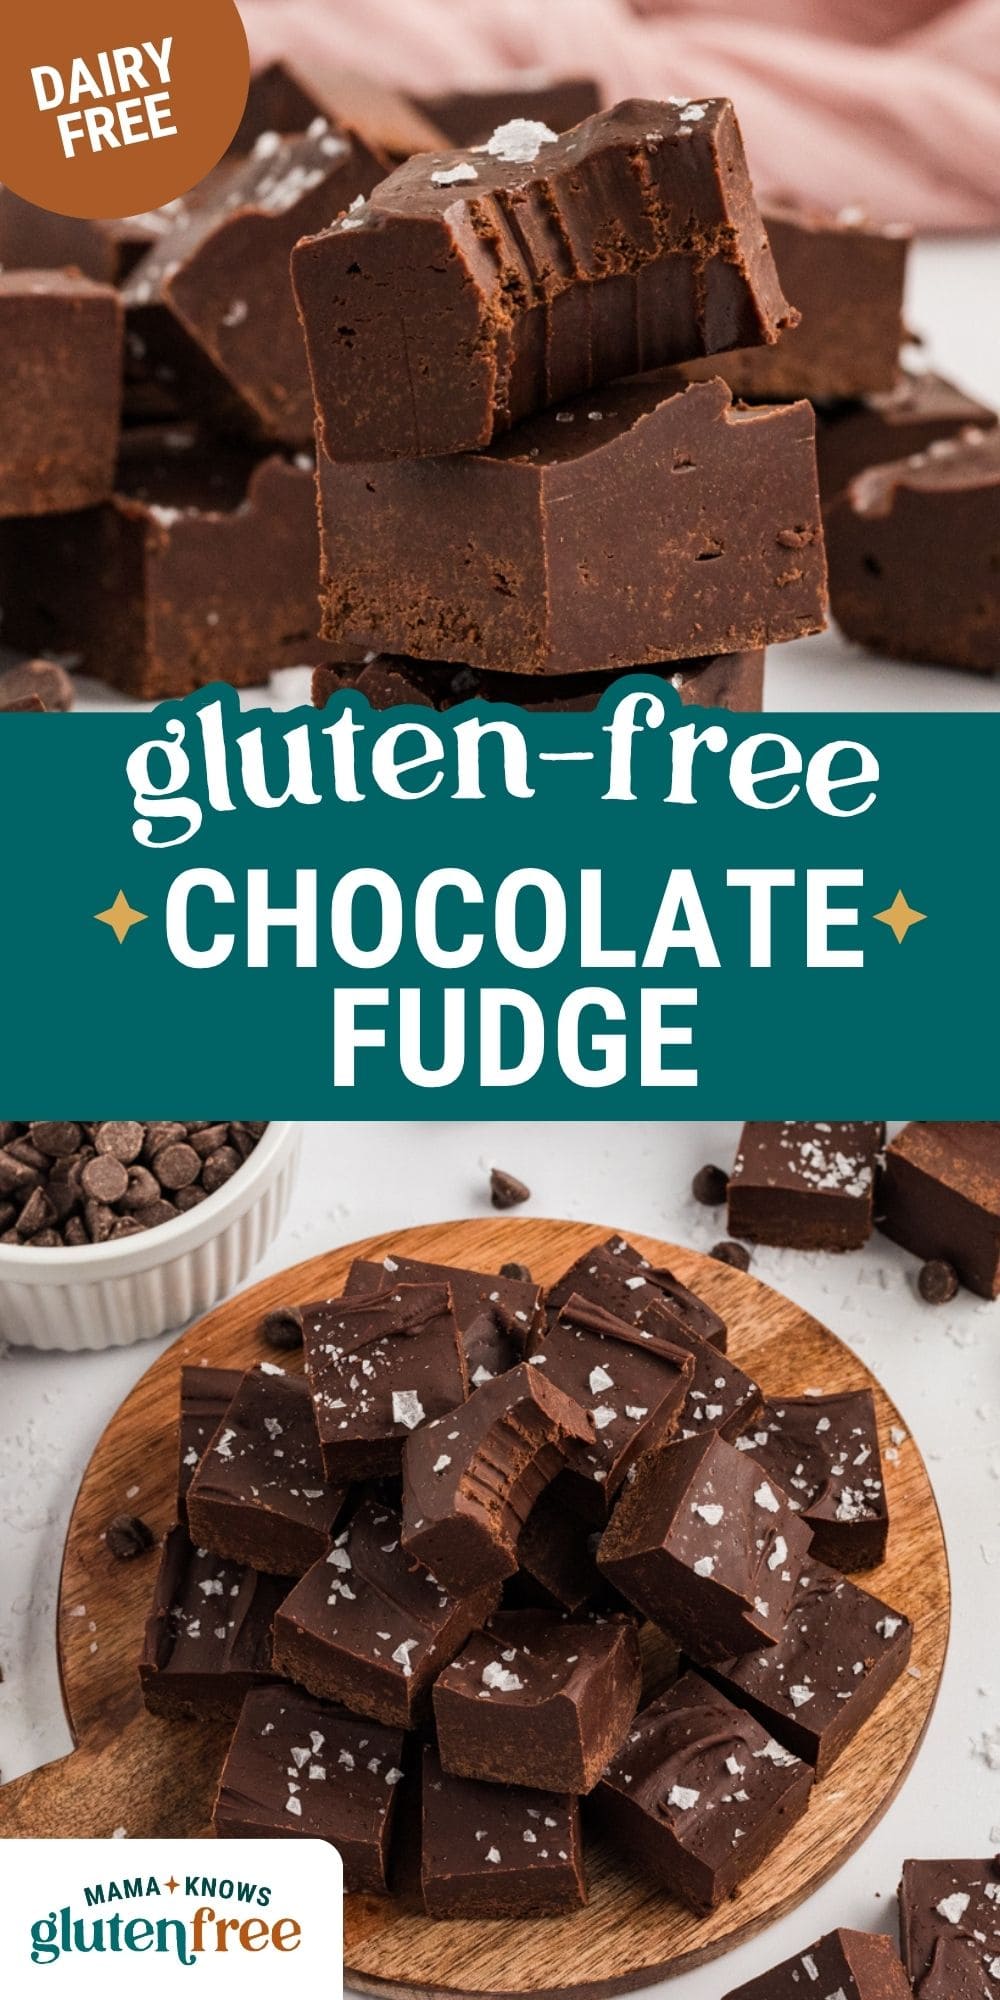
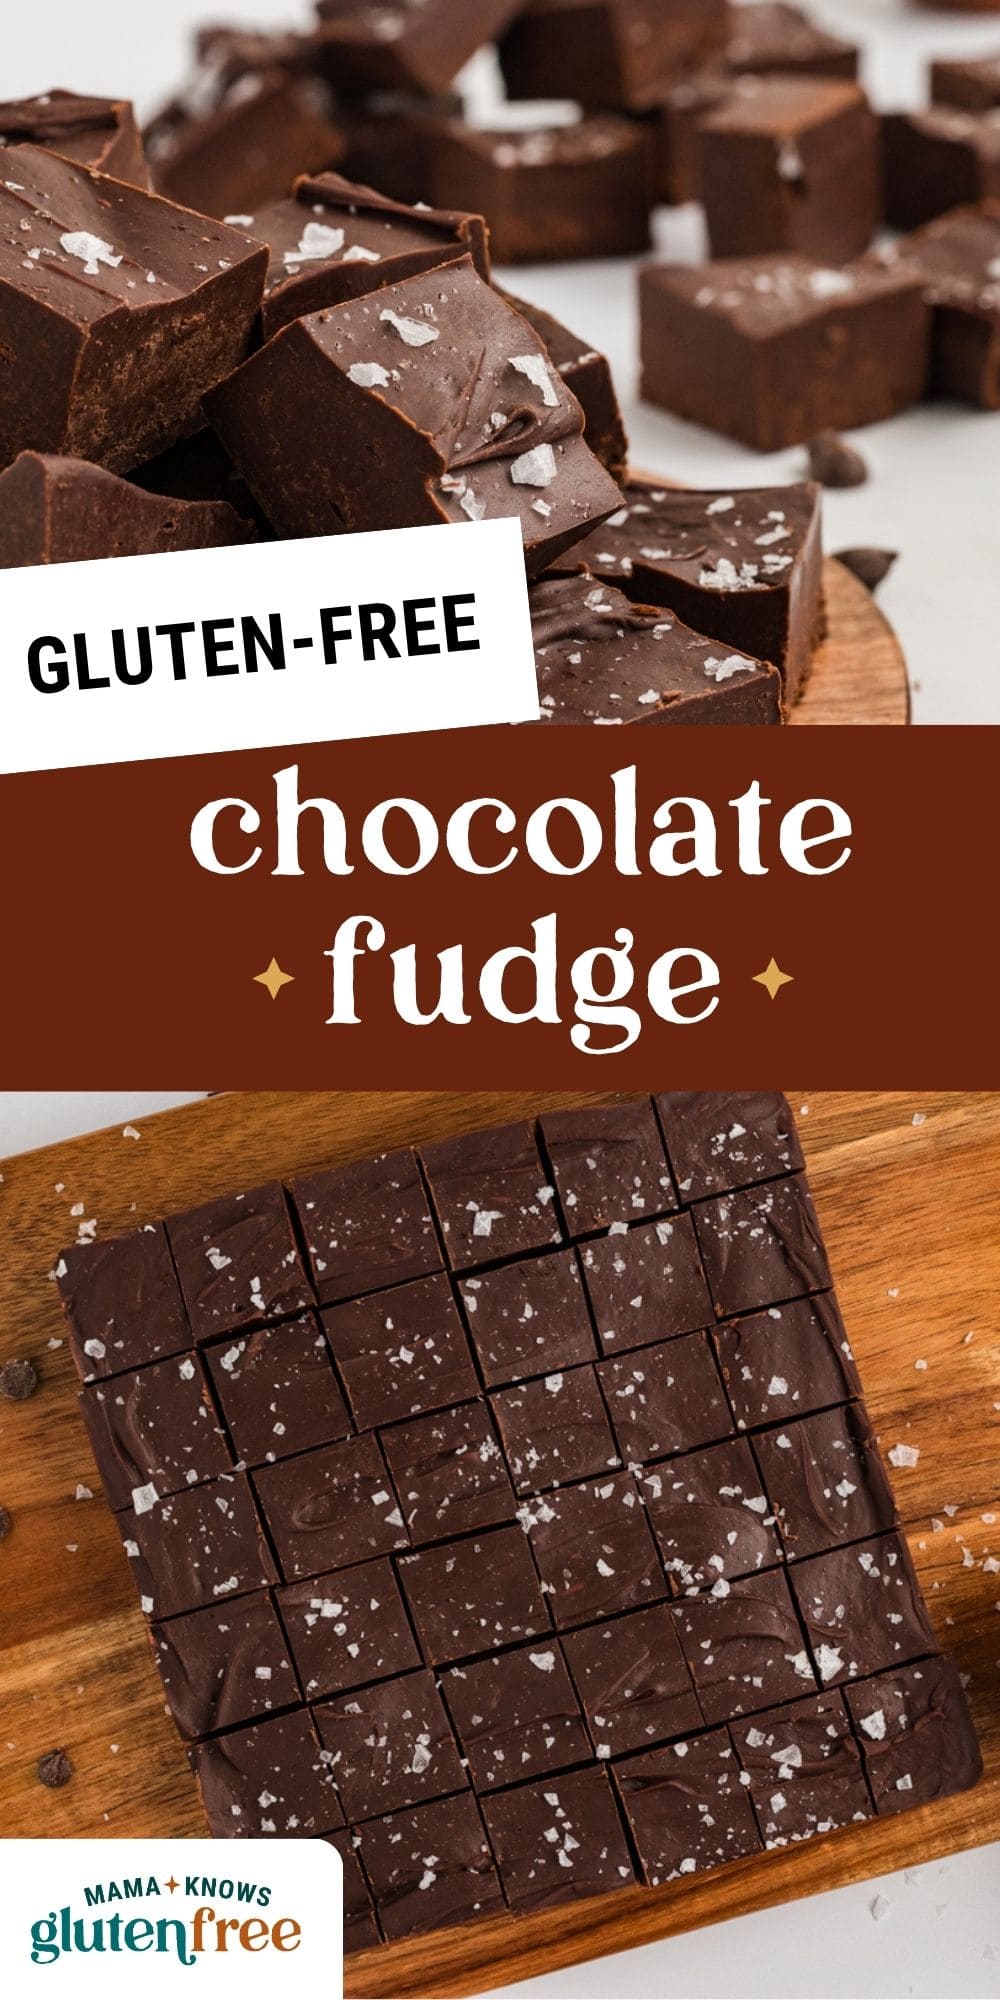
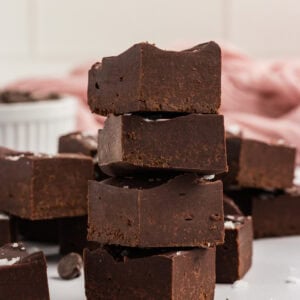
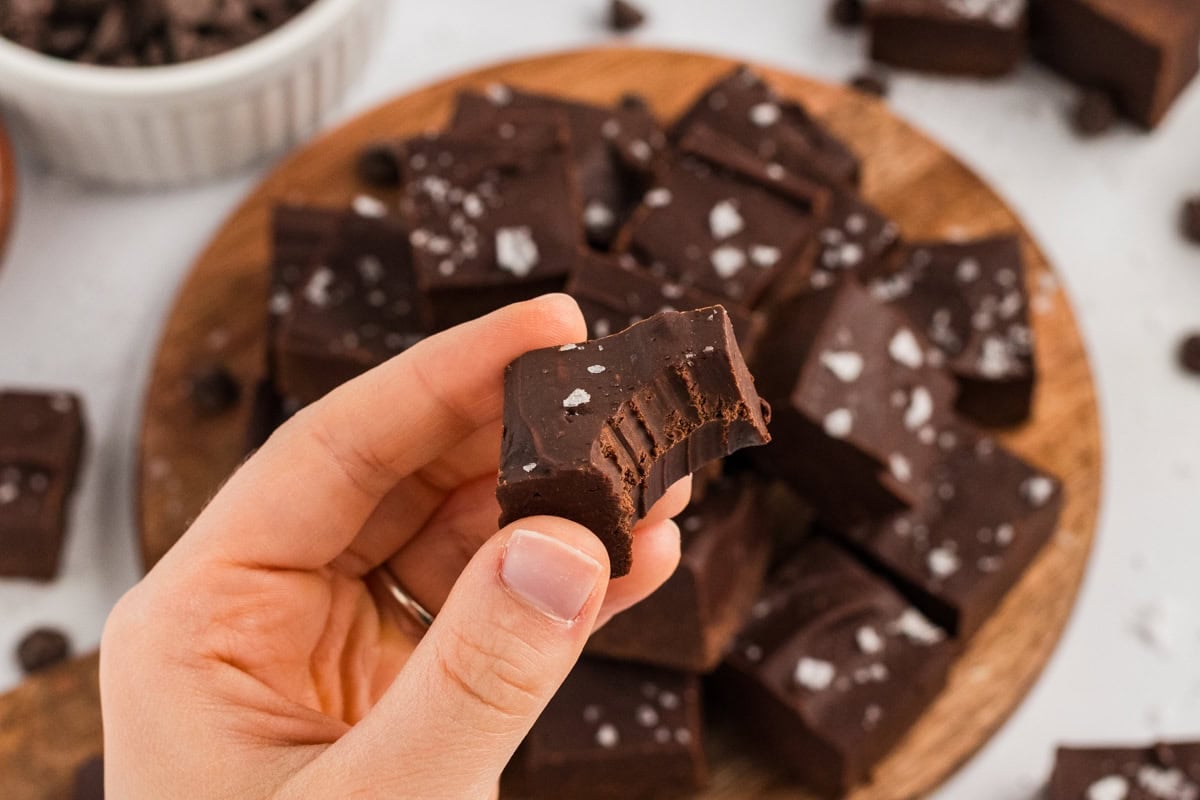
This gluten-free, dairy-free chocolate fudge is rich and creamy, nothing like the chalky or waxy versions you might have tried before. With just three ingredients (sweetened condensed coconut milk, dairy-free chocolate chips, and vanilla), you’ll have smooth, melt-in-your-mouth fudge with only 10 minutes of active cooking time. There’s no candy thermometer and no fussy technique, just a bain-marie and some patient stirring. I finished mine with a sprinkle of flaky salt, which balances the sweetness and adds a little crunch to every bite. It’s dense and rich, but never sickly sweet. Whether you’re building a holiday dessert tray or just want chocolate fudge tonight, this recipe delivers every time.
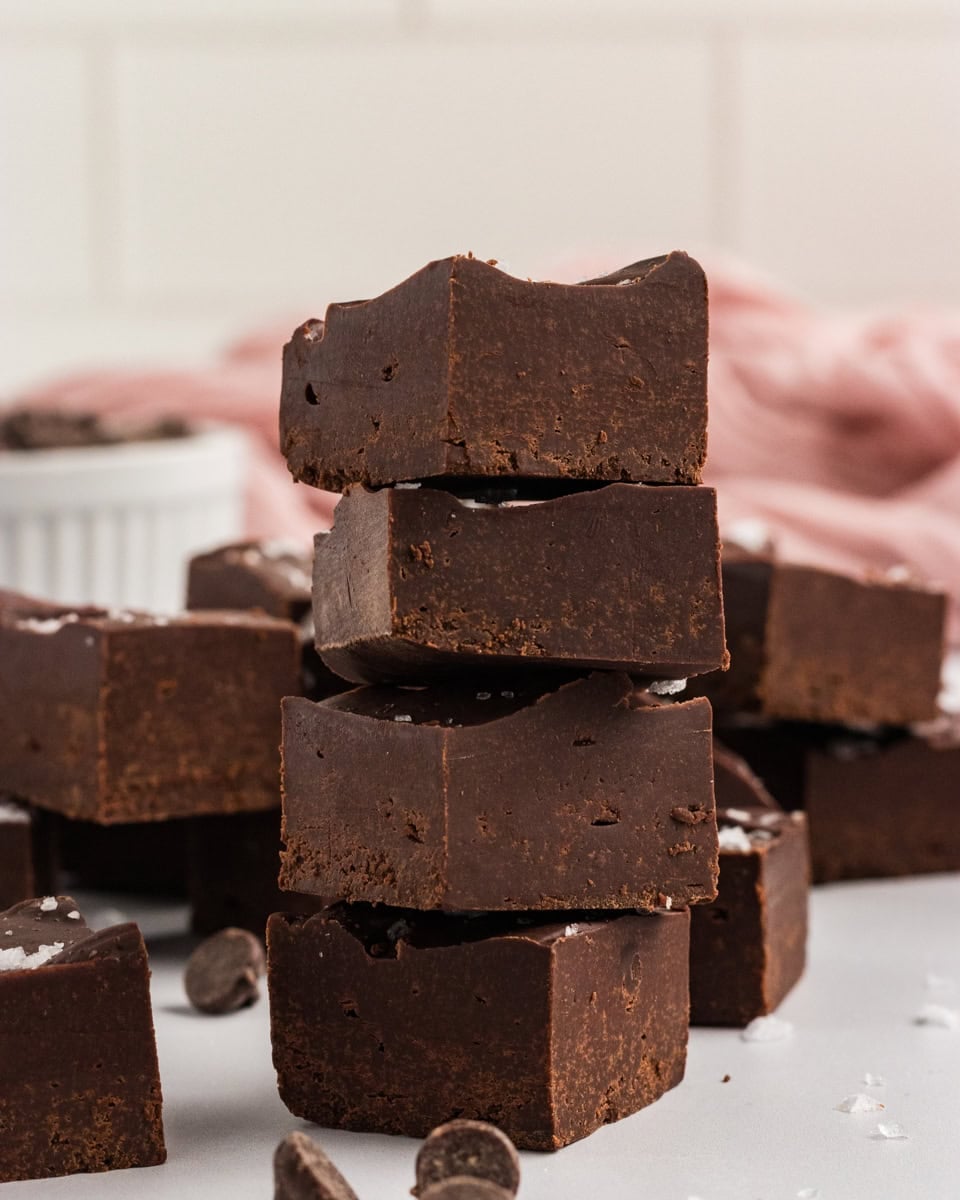
The Secret to Fudge That Sets Perfectly, Every Time
Growing up in North Carolina, fudge shops were everywhere, especially in the mountain towns we’d visit every summer, and that classic slab fudge always meant butter, sweetened condensed milk, and plenty of dairy. I wanted a version I could actually eat, so this recipe swaps in sweetened condensed coconut milk and dairy-free chocolate chips for the classic ingredients, without losing that same rich, glossy result.
Because sweetened condensed coconut milk is already thick and sweetened, all you’re really doing is melting dairy-free chocolate into it. No candy thermometer, no sugar stage to hit, and no risk of grainy fudge. I tested it with both semi-sweet and dark dairy-free chocolate chips, and semi-sweet was the closest match to that classic shop flavor: rich but not overwhelming, with a texture that’s dense yet still melts in your mouth.
The one thing I’d tell you before you start is not to rush the melting step. Stir patiently over the bain-marie until the mixture is completely smooth with no visible lumps. You’ll know it’s ready when it’s glossy, fully melted, and coats the back of your spoon evenly.
Gluten-Free Baking Tips
- Melt over a bain-marie, and keep the bowl clear of the water. I tested melting over direct heat, and it made a noticeable difference: the chocolate melted unevenly and started to seize before the coconut milk was fully incorporated. A bain-marie keeps the heat gentle and consistent, which is what gives you that smooth, glossy fudge instead of a grainy one, but it only works if the bowl isn’t touching the water. When I let even the edge of the bowl dip in, the chocolate along that section seized almost instantly. Keep an inch or two of clearance, and if the water level rises too high as it boils, carefully pour a little out.
- Be patient while melting. It’s tempting to crank up the heat to speed things along, but that’s the most common reason fudge turns grainy. The mixture needs gentle, even heat to melt all the way smoothly through. Give it a full few minutes of steady stirring over the bain-marie rather than rushing it, and you’ll end up with fudge that’s smooth from edge to edge.
- Give the fudge the full 4 hours to chill. I tested cutting into this fudge after just 2 hours in the fridge, and the squares didn’t hold their shape. A full 4 hours (or longer, if you have the time) lets the fudge firm up all the way through, not just around the edges, so your squares hold a clean shape when you cut them.
- Warm your knife before slicing. Run a sharp knife under hot water and dry it off before each cut. This is the difference between clean, sharp-edged squares and squares that drag and crumble at the edges. If your fudge feels too firm to cut cleanly straight from the fridge, let it sit out for 5-10 minutes first.
Gluten-Free and Dairy-Free Chocolate Fudge
Ingredients
- 15 oz. sweetened condensed coconut milk, (2x 7.4 ounce cans)
- 3 cups dairy-free semi-sweet or dark chocolate chips
- 2 tsp vanilla
- flaky salt, for garnish (optional)
Instructions
- First, line an 8×8 or 9×9 square dish with parchment paper. I like to leave a little over the sides for easy removal.
- Prepare a small pot with an inch or two of water and heat it on the stove on medium-high heat until boiling.
- Add your sweetened condensed coconut milk and chocolate chips to a large heat-safe bowl and place it over the top of the pot of water, making sure the bowl does not touch the water. If it does, safely pour out some of the water. This is called a bain-marie. Optionally, you can also melt your chocolate and milk together in the microwave in 30-second increments, but this method isn’t as reliable.
- Stir your chocolate mixture until evenly melted and there are no lumps of chocolate. This will take a few minutes, but be patient and keep stirring.
- Once done, add in your vanilla and give it a final mix before pouring it into your prepared pan. Be careful, as the fudge will begin to set immediately, but will still be very hot.
- Use a spoon or silicone spatula to spread the fudge to the edges of the pan and to smooth out the top. While still hot, sprinkle with flaky salt.
- Cover and refrigerate for 4 hours or until completely set.
- Then remove from the fridge and cut out squares using a sharp knife warmed with hot water. You may need to let the fudge sit out for a few minutes to soften up to make cutting the squares more manageable. I like to cut my fudge into fourths, then cut 9 squares out of each fourth.
Notes
- Don’t rush the melting step — too much heat is the most common cause of grainy fudge.
- Keep the bowl above the water, not touching it, or the chocolate can scorch.
- Chill for the full 4 hours so the squares hold their shape when cut.
- Warm your knife between cuts for clean, sharp-edged squares.
- Check your chocolate chip labels — not all are dairy-free.
- This fudge is high in sugar, so a little goes a long way.
- Want mix-ins? Stir them in as soon as the chocolate melts. See Variations below.
- Store in the fridge for 3-4 weeks, or freeze for up to 3 months. See Storage & Freezing below for details.
Nutrition
Nutrition information is automatically calculated, so should only be used as an approximation.
How to Make Gluten-Free and Dairy-Free Chocolate Fudge Step by Step
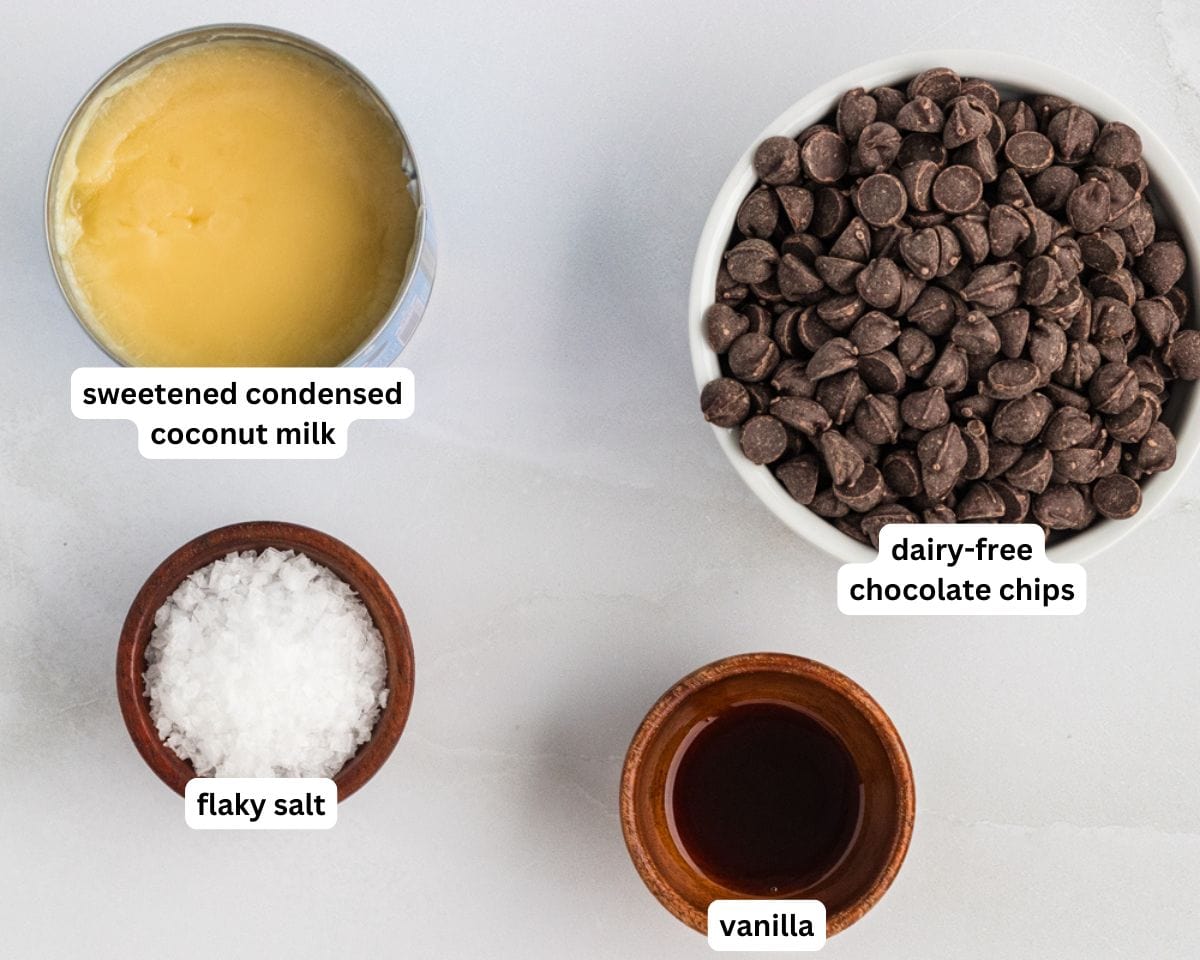
Gather the ingredients: Gather all the ingredients together. Line an 8×8 or 9×9 square dish with parchment paper, leaving a little overhang on the sides for easy removal later.
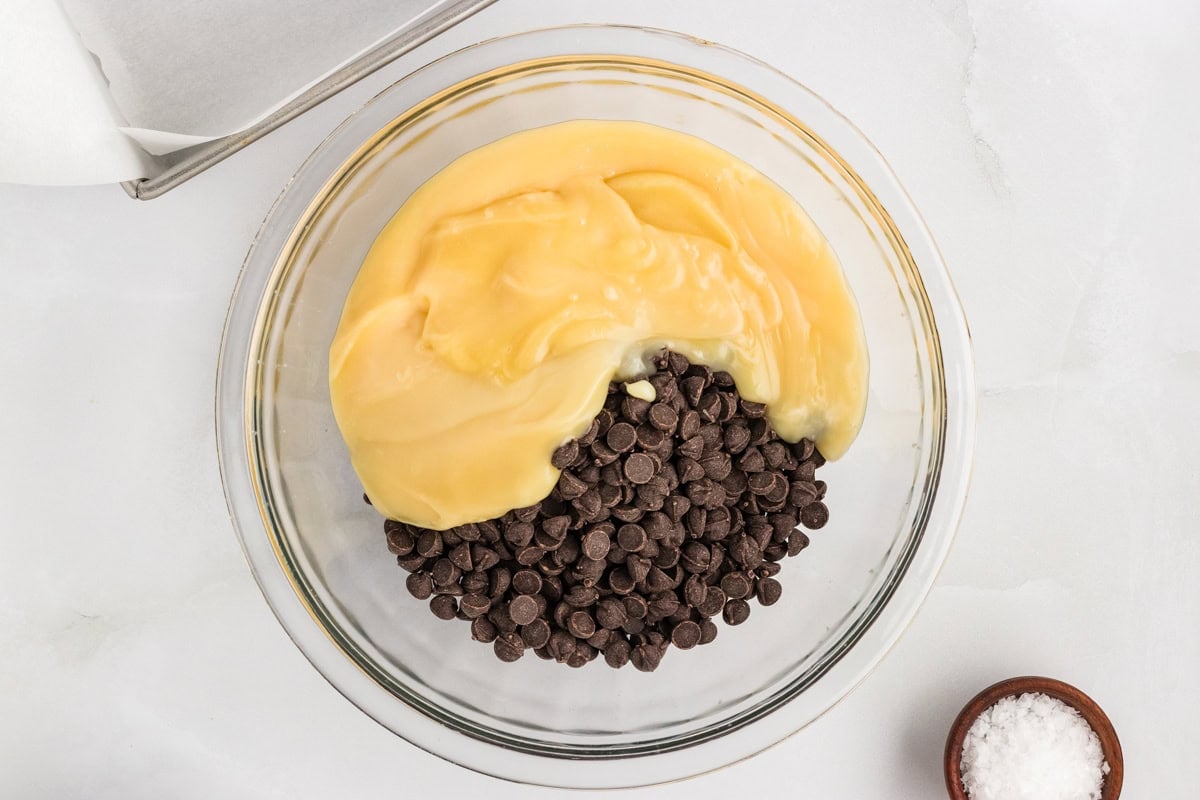
Set up the bain-marie: Fill a small pot with an inch or two of water and heat over medium-high until boiling. Add the 15 oz (or two 7.4-oz cans) (425g) of sweetened condensed coconut milk and 3 cups (510g) of dairy free chocolate chips to a large heat-safe bowl. Set the bowl over the pot of boiling water, making sure the bottom doesn’t touch the water. If it does, carefully pour some water out. (You can also microwave the chocolate and coconut milk together in 30-second increments, but it’s less reliable and easier to overheat.)
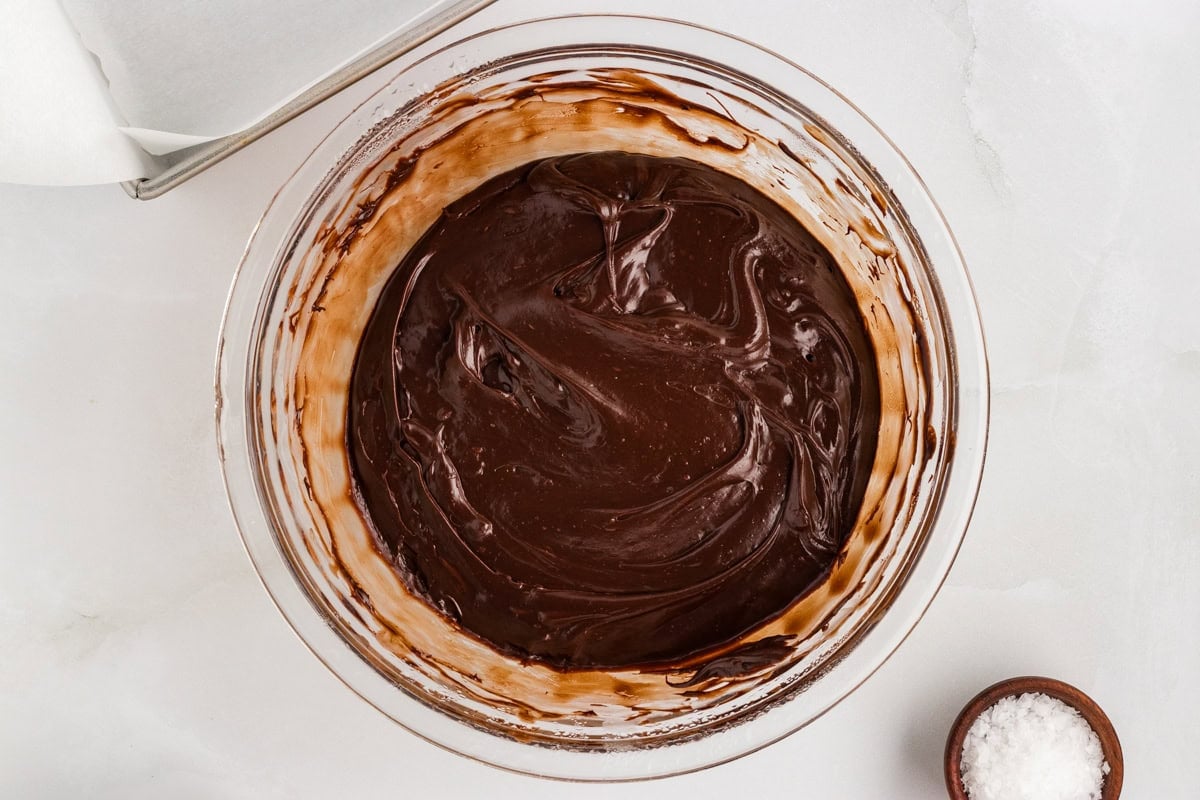
Melt the chocolate: Stir the mixture until it’s evenly melted with no lumps of chocolate remaining. This takes a few minutes of steady stirring, so be patient. The mixture is ready when it looks glossy and smooth.
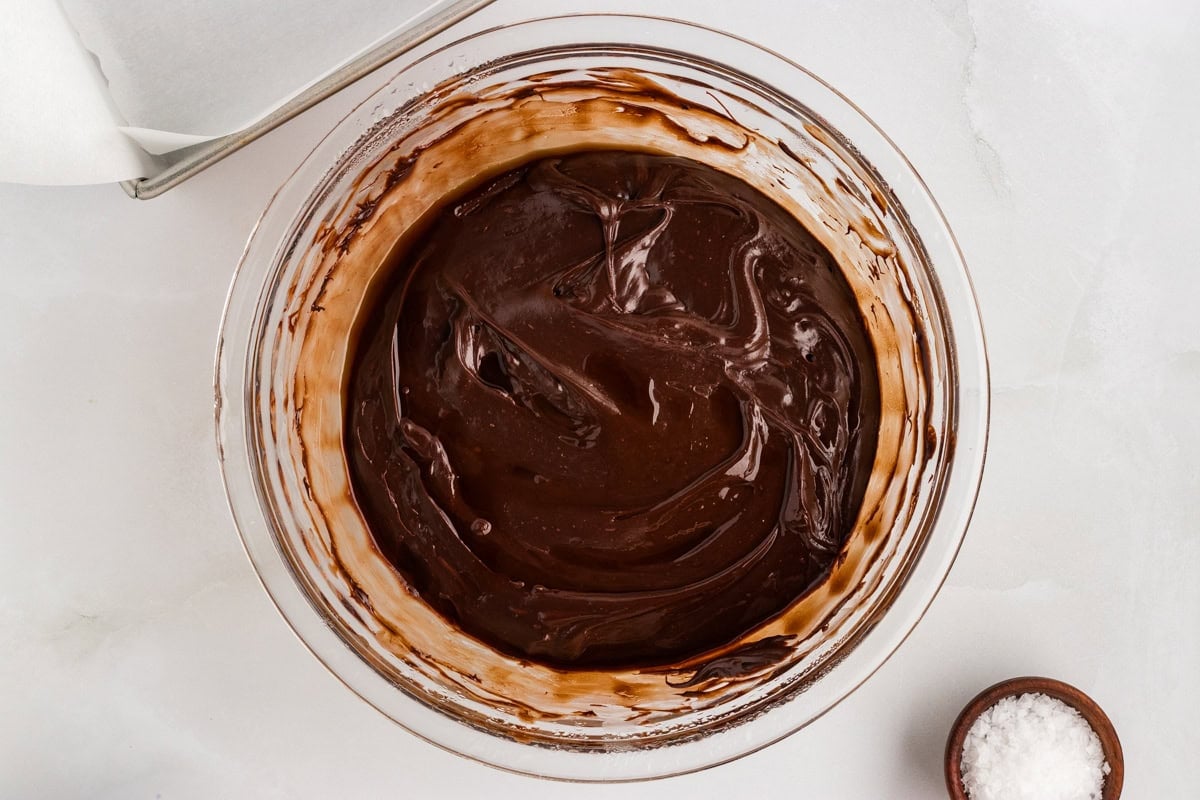
Add the vanilla: Stir in 2 tsp of vanilla (8g) and give the mixture one final mix before pouring it into your prepared pan. Work quickly but carefully. The fudge starts setting almost immediately and will still be very hot.
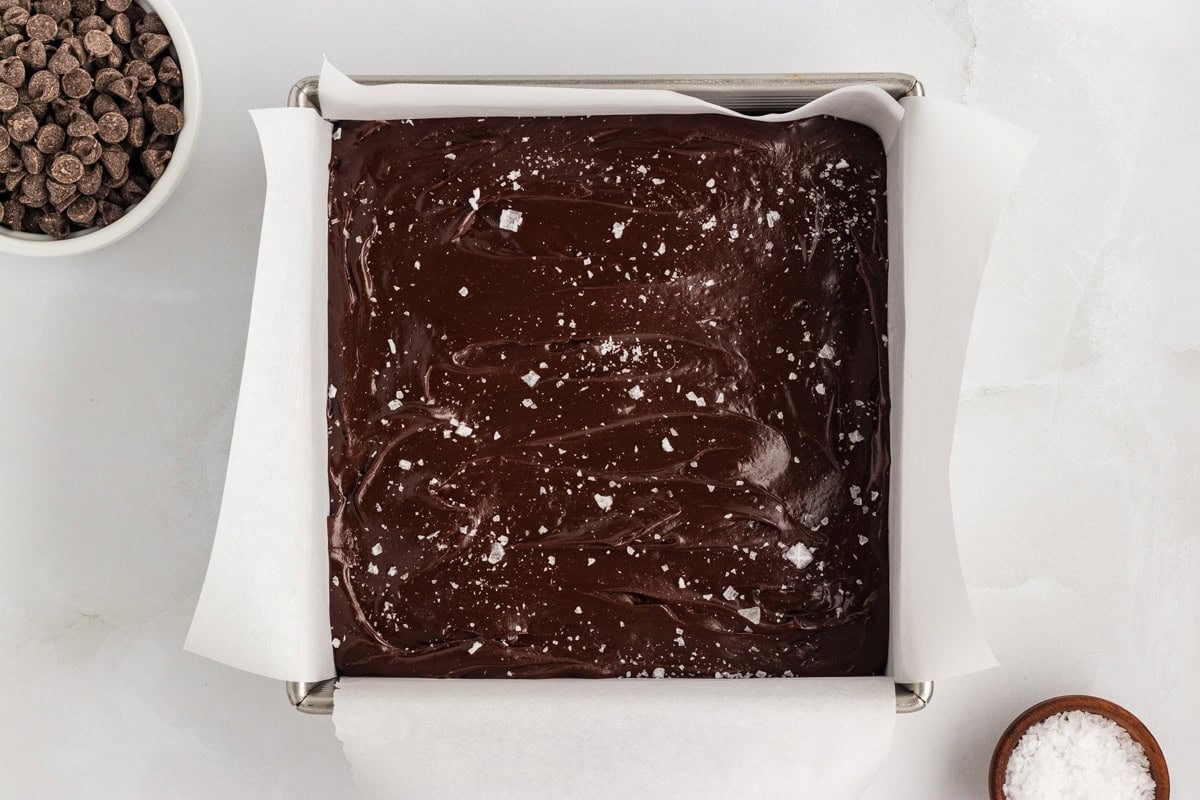
Spread and top: Use a spoon or silicone spatula to spread the fudge evenly to the edges of the pan and smooth the top. While it’s still hot, sprinkle with flaky salt (if using) so it sticks.
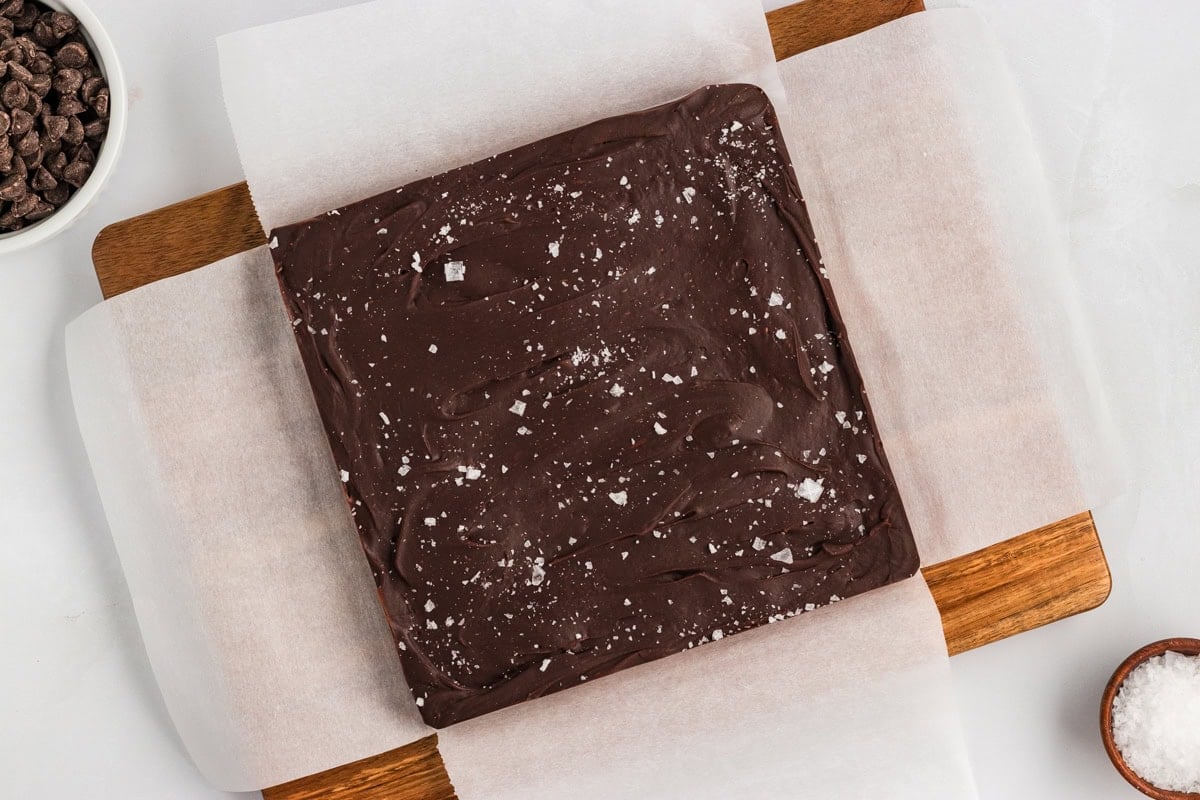
Chill and set: Cover and refrigerate for at least 4 hours, or until completely set.
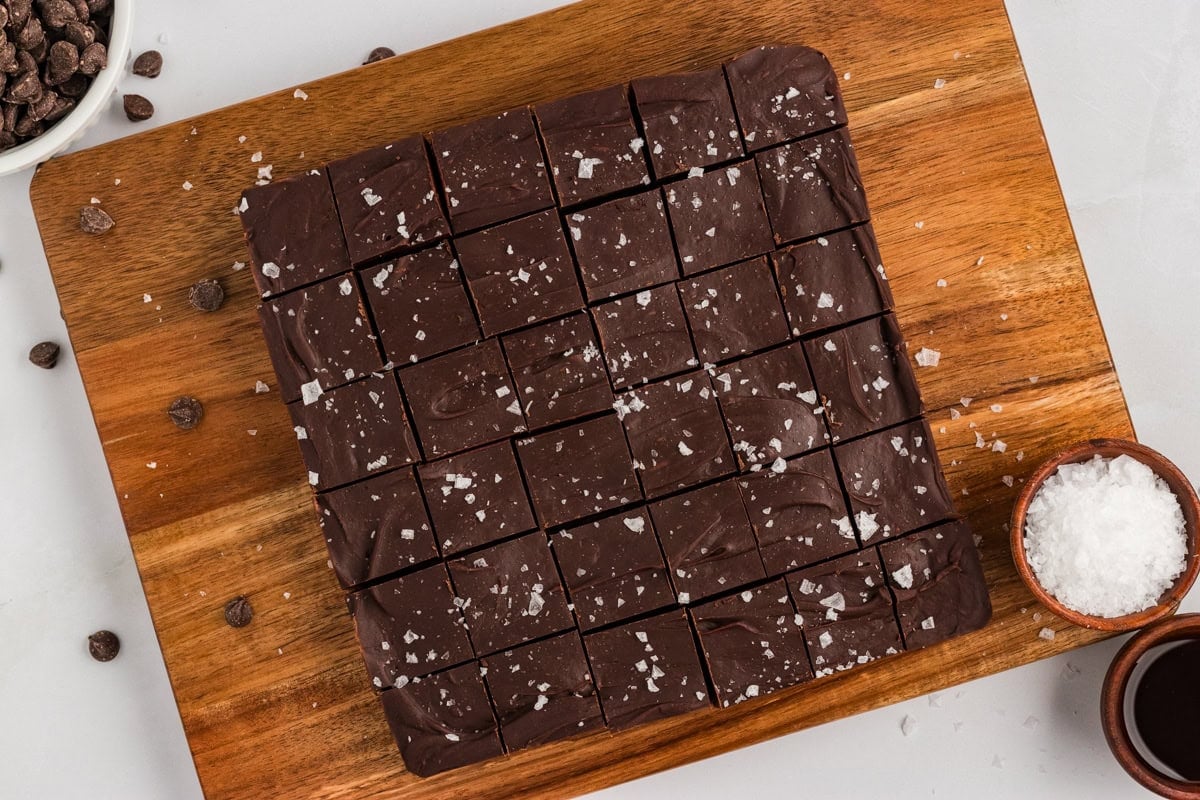
Slice and serve: Remove from the fridge and cut into squares using a sharp knife warmed with hot water, drying it between cuts. If the fudge feels too firm to cut cleanly, let it sit out for a few minutes to soften slightly. I cut mine into quarters, then cut 9 squares out of each quarter for 36 total.
Variations
- Change up the chocolate. Semi-sweet chocolate chips give you a balanced, crowd-pleasing sweetness, while dark chocolate makes a richer, more bittersweet fudge. You can also mix the two for something in between.
- Add nuts or dried fruit. Stir in your chopped nut of choice (almonds, peanuts, walnuts, pecans, and macadamia nuts are all popular) as soon as the chocolate looks melted, then add the vanilla and work quickly to get everything into the pan before it sets. Dried cranberries or dried cherries work well, too.
- Try a holiday mix-in. For a festive twist, fold in gluten-free chopped pretzels or crushed candy canes right along with the vanilla. Crushed candy canes on top instead of flaky salt also make for a pretty peppermint bark-style finish.
- Make it mocha. Stir 1 to 2 teaspoons of instant espresso powder into the mixture along with the vanilla for a subtle coffee flavor that deepens the chocolate.
- Add orange zest. A little fresh orange zest stirred in with the vanilla gives the fudge a bright, citrusy note that pairs especially well with dark chocolate.
Serving Suggestions
My favorite way to serve this fudge is the simplest: straight from the fridge, cut into small squares, and set out on a dessert tray alongside our other holiday treats. Because it’s so rich and dense, I find a little square goes a long way, which makes it an easy one to stretch across a crowd. For a bigger dessert spread, I’ll set out a scoop of one of our dairy-free ice cream recipes right next to a square of fudge, since the cold, creamy ice cream balances the dense richness so well. If I’m building a fruit board instead, I’ll put out a bowl of dairy-free fruit dip with fresh berries, where the tang cuts right through the richness.
On a cold night, I’ll curl up with a square of this fudge and a mug of dairy-free hot chocolate for a cozy, chocolate-on-chocolate pairing. And for a holiday cookie platter, I always tuck in a few gluten-free gingerbread cookies, made dairy-free with the Smart Balance Butter swap noted in the recipe, since their warm spices are a nice contrast to the rich chocolate.
Storage Instructions
Once cut, store the fudge in an airtight container or bag in the fridge for 3-4 weeks. Keeping it chilled helps it hold its shape and texture.
Freezer
Fudge freezes well. Store squares in an airtight, freezer-safe container with parchment paper between layers to prevent sticking, and freeze for up to 3 months.
Make Ahead
This is a great make-ahead dessert for holidays or parties. Make it up to 4 weeks in advance and keep it chilled in the fridge until you’re ready to serve or gift it.
More Gluten-Free Dairy-Free Treats
- Homemade Vegan Nutella: Another simple, dairy-free way to get your chocolate fix, and it’s just as good spread on toast as it is eaten by the spoonful.
- Vegan Chocolate Mousse: If you love the rich chocolate flavor of this fudge, this mousse gives you that same intensity in a lighter, spoonable form.
- Vegan White Chocolate: A dairy-free take on white chocolate that’s great for melting, dipping, or chopping into your own homemade candy.
- Dairy-Free Chocolate Pudding: Another rich, chocolatey dessert that comes together with pantry staples, no baking required.







While no one in my home has gluten or dairy issues, several people at my church need gluten free and one needs both gluten and dairy free. For our many fellowship meetings or share-all meals, I want to make sure there are foods that all can enjoy. I made this chocolate fudge recipe and it was a big hit – with everyone, both the gluten free and non-gluten free (who can pass over fudge!). Thank you for a great recipe.
That’s so kind of you Tee! We’re so happy this fudge was a hit!