Gluten-Free Play Doh

Published
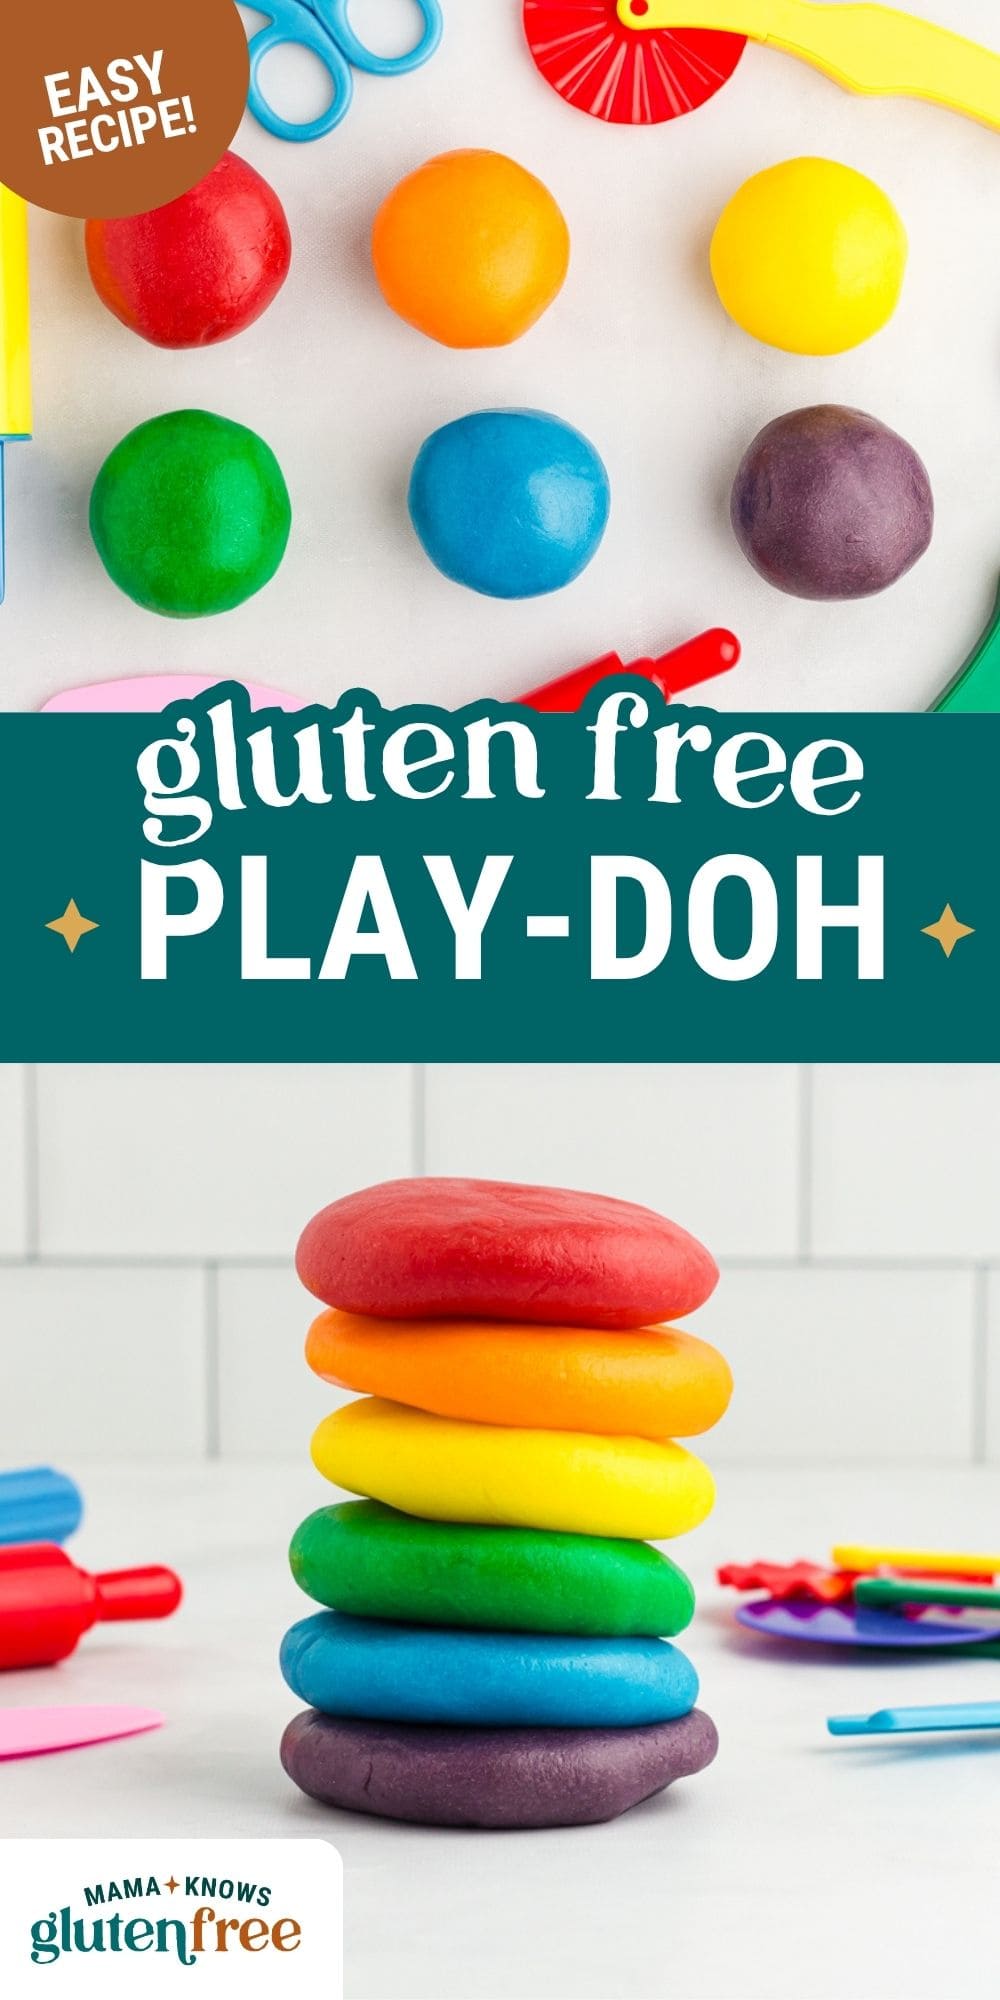
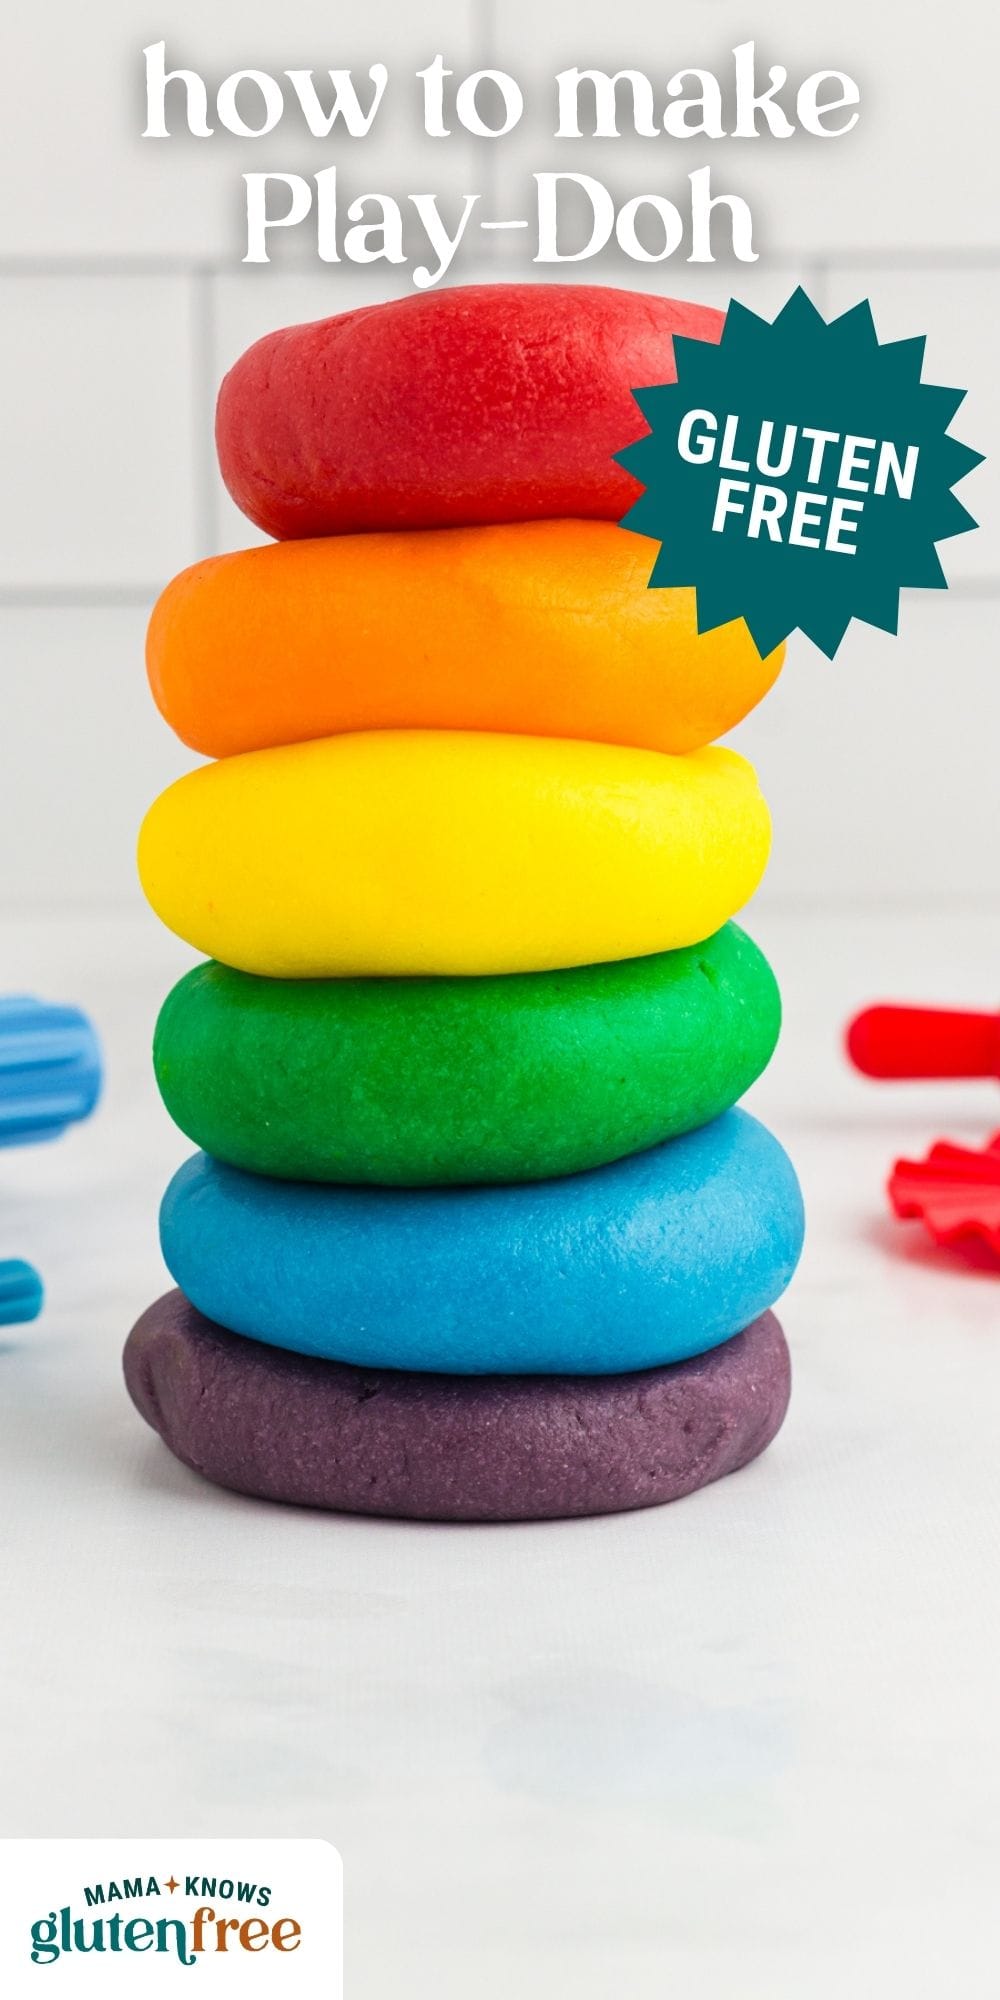
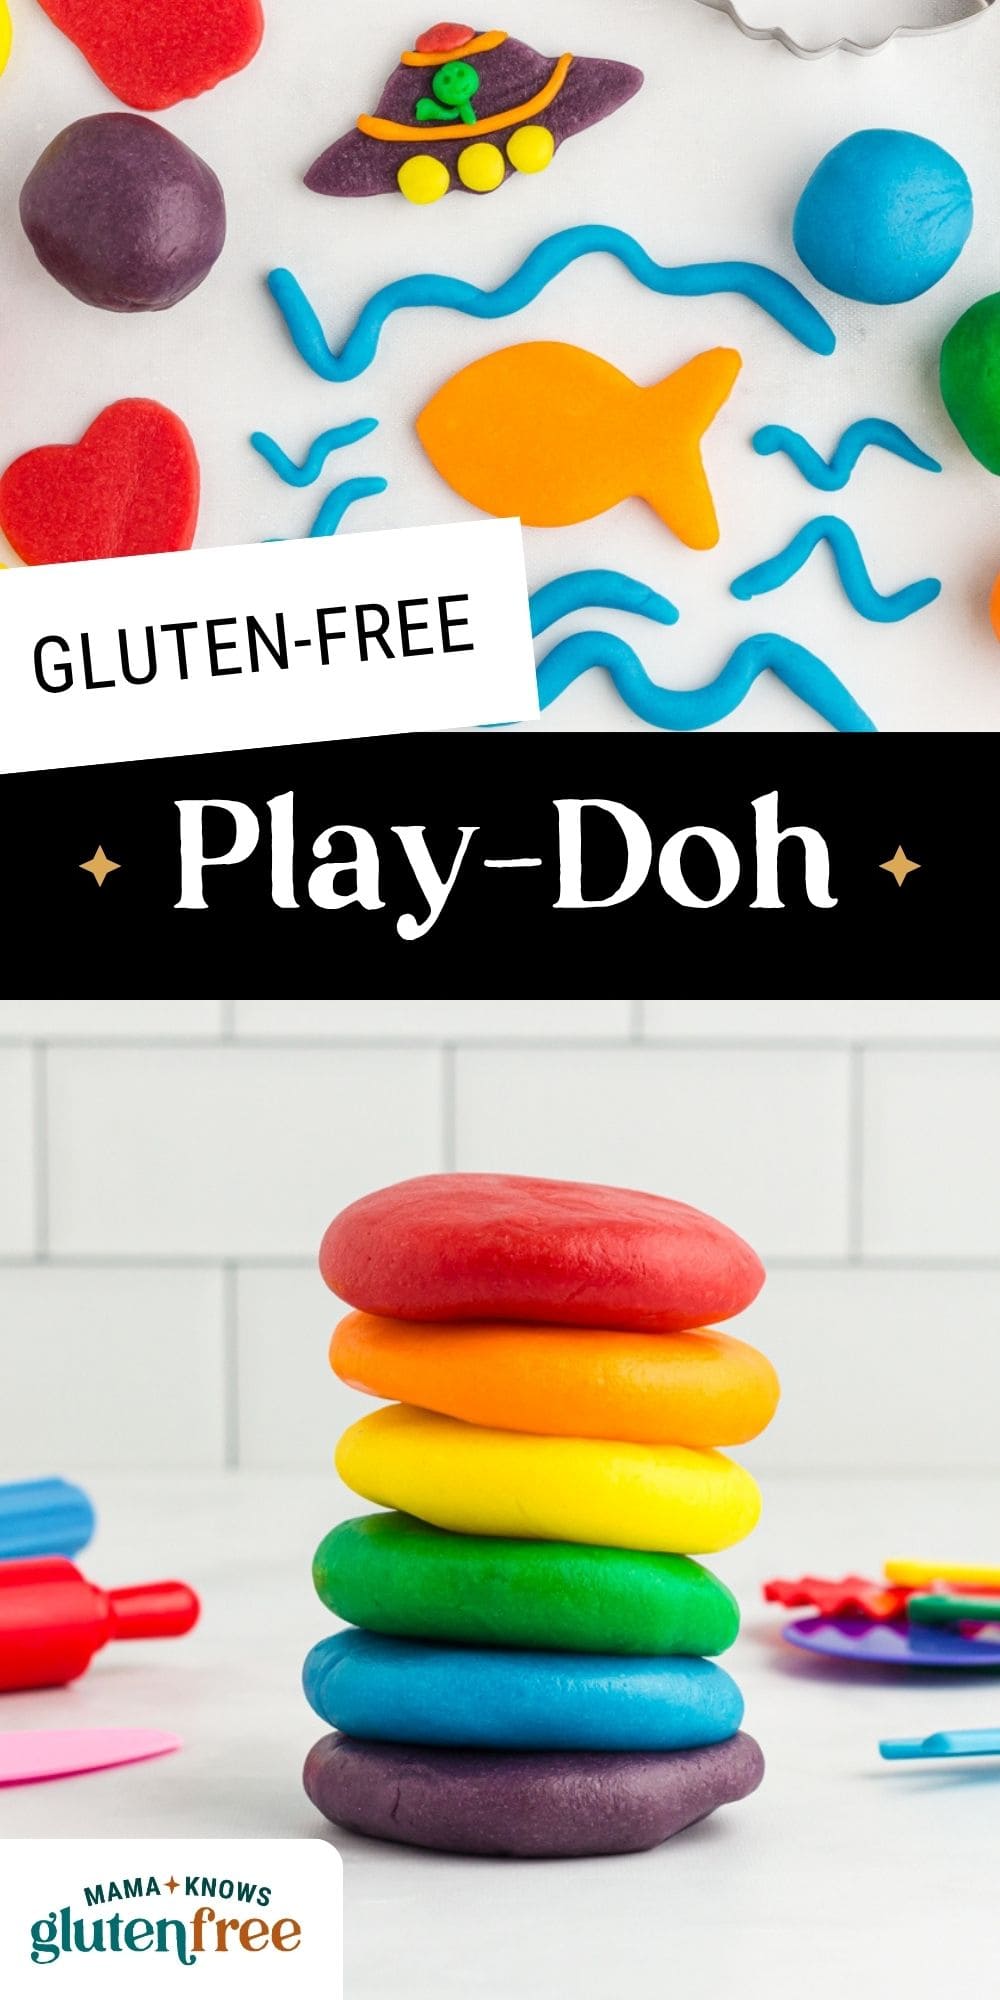
If you’ve been searching for a play doh recipe that’s actually safe for your gluten-free kiddo, this is it. This gluten-free play doh comes together on the stovetop in about 10 minutes using white rice flour and cornstarch, so there’s no cross-contamination worry and no waiting around for a store-bought tub that may or may not be safe. The dough cooks up smooth, stretchy, and soft, just like the classic stuff, and you can tint it any color you want with a drop of gel food coloring. It’s perfect for a rainy afternoon, a birthday party favor, or just keeping little hands busy while you make dinner.
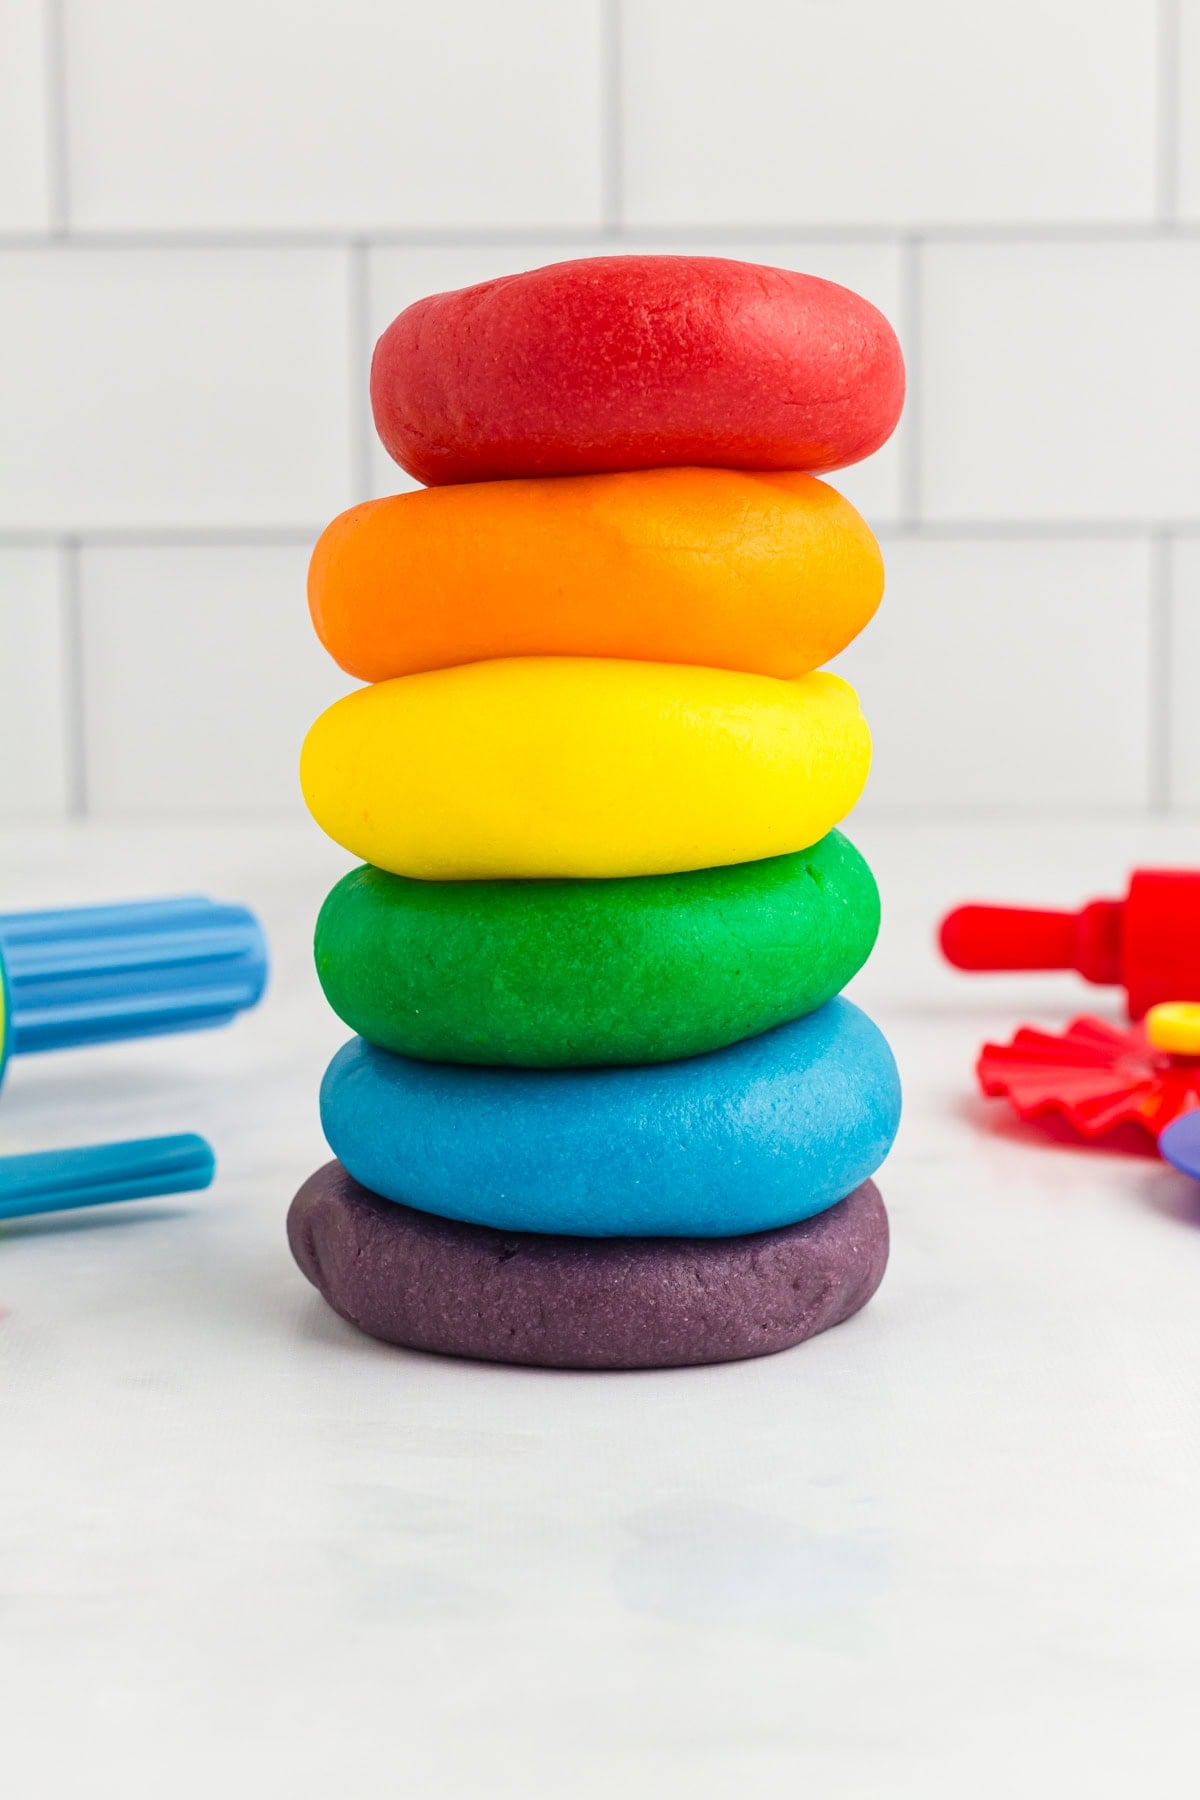
The Secret to Soft, Squishy, Truly Gluten-Free Play Doh
When I first set out to make a safe play doh for my gluten-free kiddo, I did what most parents do and reached for a gluten-free flour blend. It was a mess. Those blends are built for baking, so the xanthan gum and extra starches threw off the texture every time, leaving me with dough that was either sticky or crumbly and nothing like the real thing. After a few frustrating batches, I tried swapping in plain white rice flour and cornstarch instead, and it was an instant difference. The dough came together smooth and pliable, kneaded into any color beautifully, and finally felt like the Play Doh I remembered from childhood.
The other ingredient I won’t skip is cream of tartar. Leave it out, and the dough stiffens up within a day or two instead of staying soft and stretchy. I don’t want to be making Play Doh every day. It’s a small ingredient, but it’s doing a lot of the work here, so don’t be tempted to skip it just because it’s not something you usually keep on hand Between the right flour and the cream of tartar, this dough holds up to weeks of play instead of drying out after one afternoon.
What I Learned While Testing
- Measure your dry ingredients instead of eyeballing them. Too much rice flour or cornstarch makes the dough dry and crumbly, and it won’t come together no matter how long you knead it.
- Make the dough the night before you plan to play. I tested this both ways, and dough that rests overnight gives the rice flour more time to fully absorb the liquid, which means a softer, smoother texture the next day.
- Use gel food coloring instead of liquid. Gel gives you a more vibrant color without adding extra liquid to the dough, which can throw off the texture. My favorite for bold, saturated colors is Chefmaster in the Neon shades.
Gluten-free play doh
Ways to Play With It
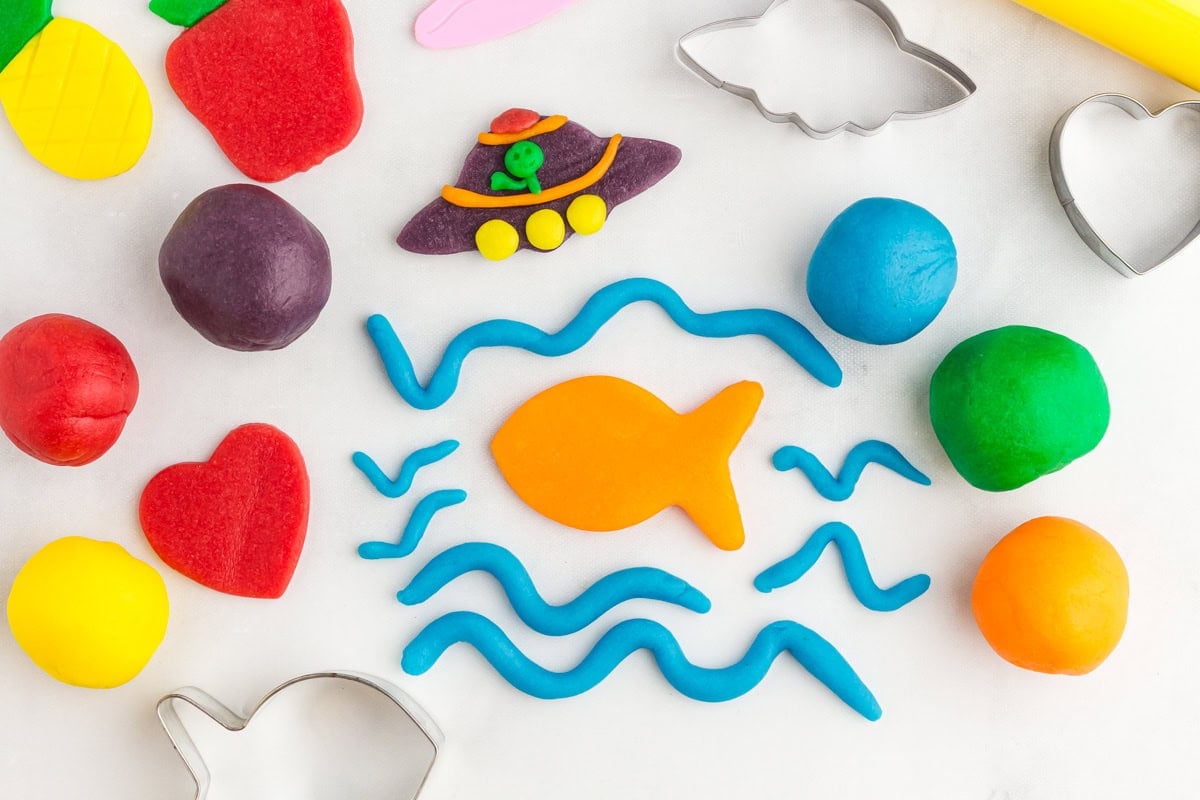
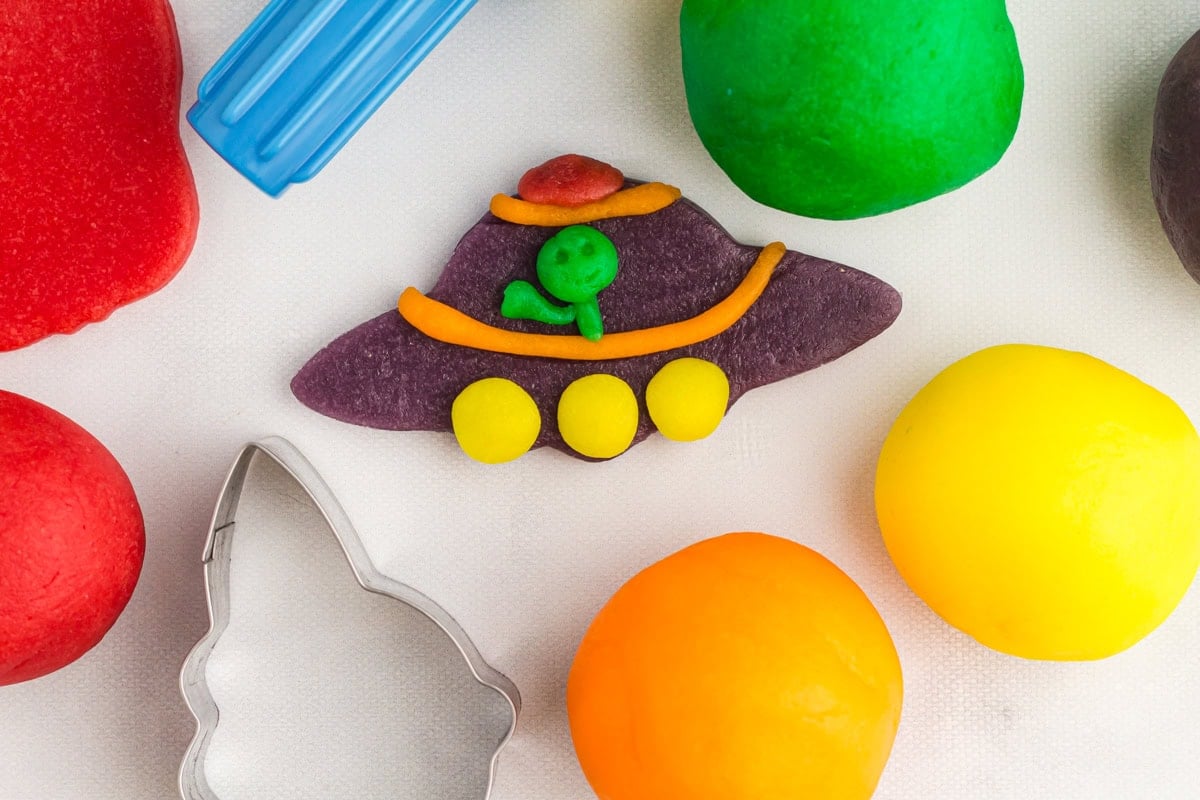
Once your dough is mixed and colored, set your kids up with a few simple tools to get the most out of it. Cookie cutters work great for shaping the dough into fun forms, especially if you already have a set from baking with your kids. A plastic knife and rolling pin let older kids “cut” and flatten the dough safely on their own. For younger hands, small bowls and measuring cups turn playtime into pretend baking, which pairs perfectly with the real thing once nap time hits and you want to bake something together.
Gluten-Free Play Doh
Equipment
- 1 saucepan
Ingredients
- ½ cup white rice flour
- ½ cup cornstarch
- ⅓ cup table salt
- 1 tbsp cream of tartar
- 1 cup water
- 1 tbsp vegetable oil
- 2-3 drops gel food coloring
Instructions
- In a medium saucepan, combine the white rice flour, cornstarch, table salt, and cream of tartar. Whisk to combine.
- Stir water and vegetable oil into the dry ingredients. Stir to mix well.
- Heat on stovetop over low-medium heat, stirring constantly using a silicone spatula, for about 5 minutes until the mixture starts to thicken and starts to gather around the spatula into a dough consistency. Remove from heat.
- Transfer doh to a piece of parchment paper or a silicone baking mat and allow to cool a few minutes until it’s cool enough to handle with your hands.
- Knead doh with hands until smooth.
- Separate doh into however many different colors you’d like to make.
- Place 1 drop of food coloring into each section of doh.
- Using hands (I’d highly recommend latex gloves or a sealable food-safe bag for this step), knead the color into each play doh ball until the color is completely mixed in with no white streaks of doh remaining.
- Play doh is now ready to play with!
Notes
- Too much rice flour or cornstarch makes dry, crumbly dough.
- A gluten-free flour blend changes the texture entirely, skip it.
- Cream of tartar is what keeps this dough soft instead of stiff.
- Making one color? Add the food coloring straight into the pot with the water.
- Dough dried out? Knead in a small drop of vegetable oil.
- Check every label, including cross-contamination warnings, before you start.
- High salt content helps prevent mold, but check for smell or mold if a batch has been sealed for a few weeks before giving it back to the kids.
How to Make Gluten-Free Play Doh Step by Step
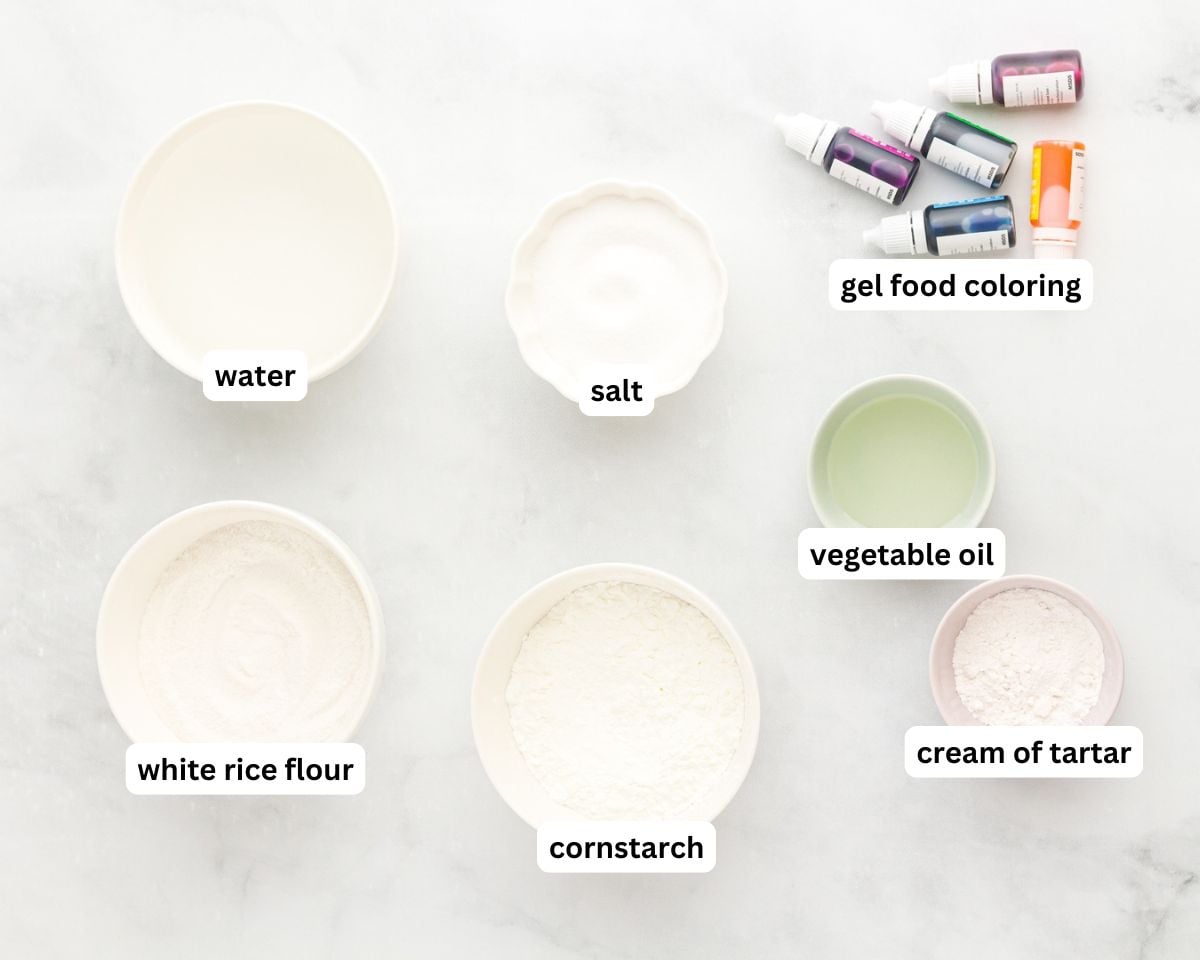
Gather all the ingredients together.
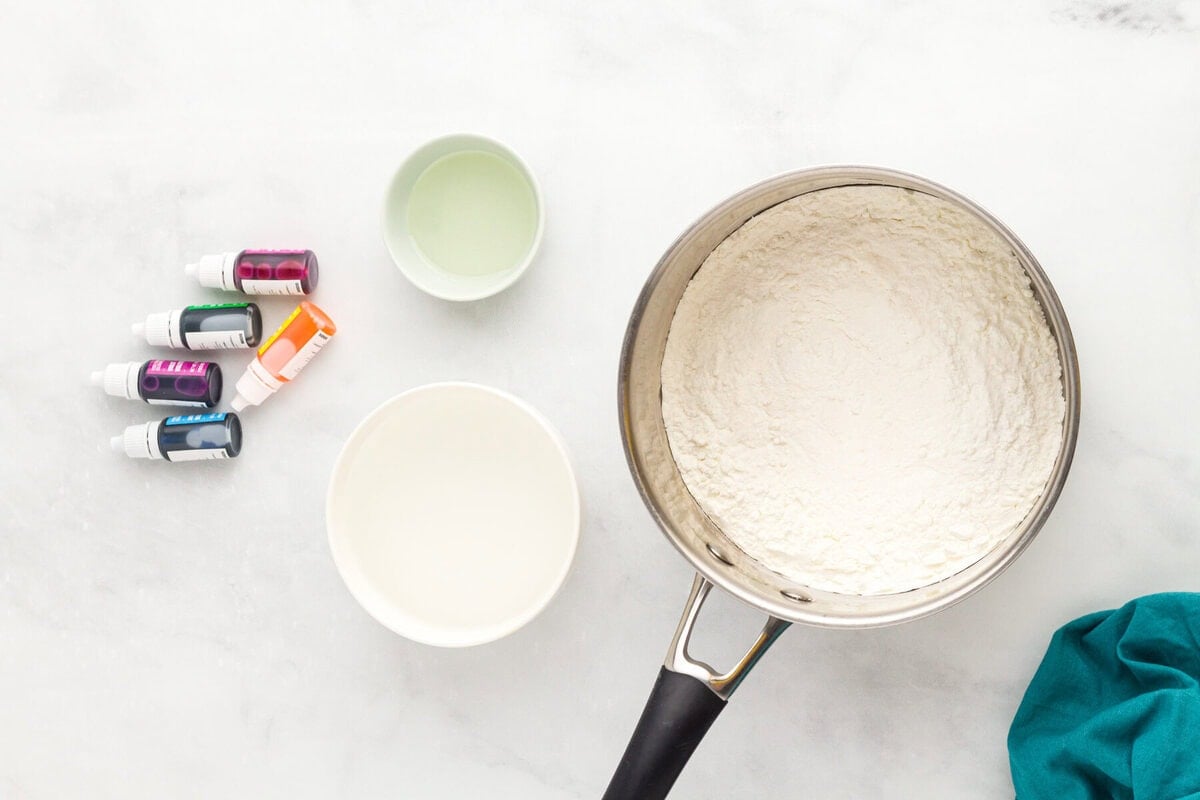
Mix the dry ingredients: In a medium saucepan, whisk together ½ cup white rice flour, ½ cup cornstarch, ⅓ cup table salt, and 1 tbsp cream of tartar until evenly combined.
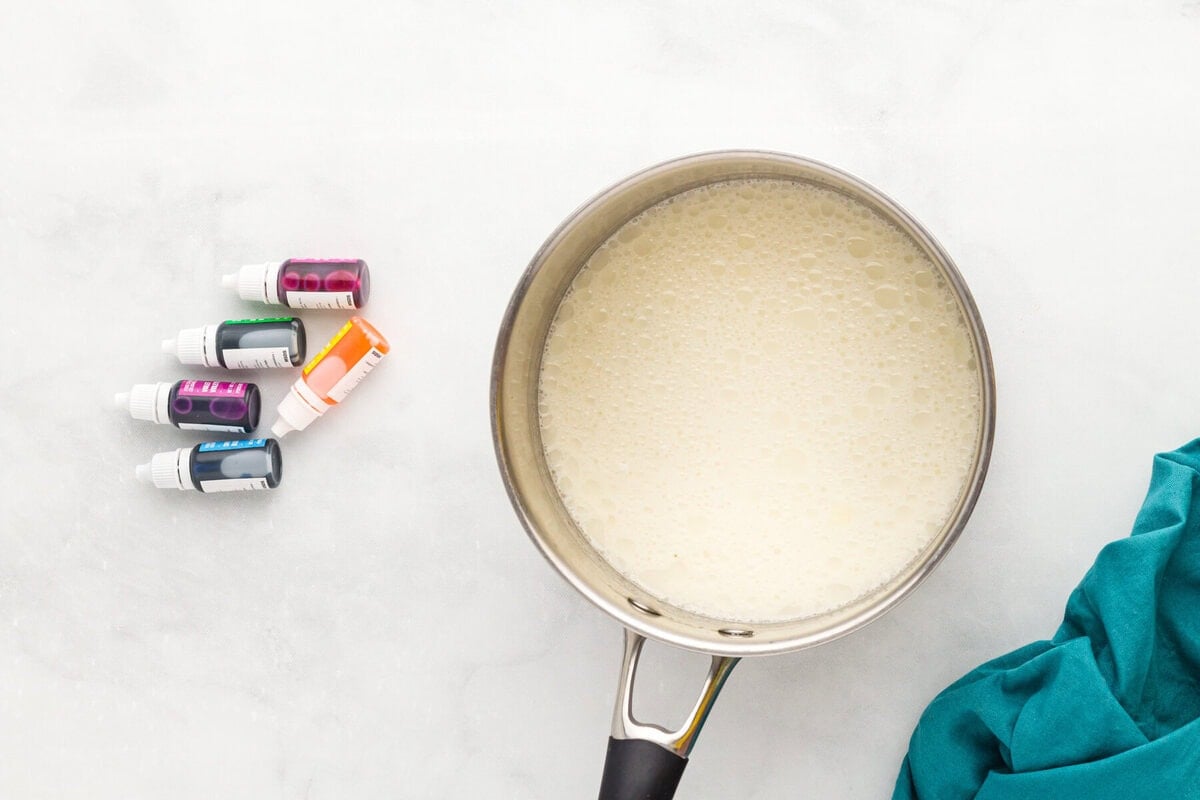
Stir in the water and oil: Stir in 1 cup water and 1 tbsp vegetable oil, mixing until no dry streaks remain.
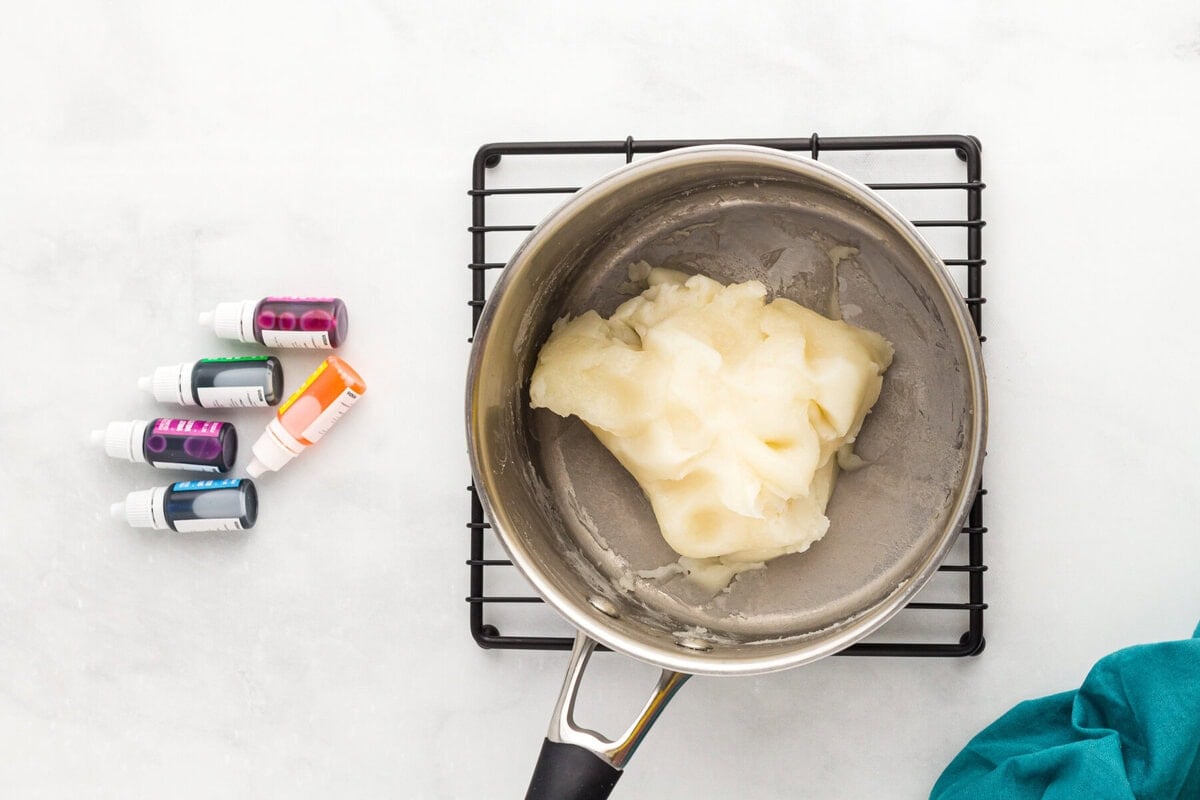
Cook the dough: Set the saucepan over low-medium heat. Stir constantly with a silicone spatula for about 5 minutes. The mixture will start to thicken, then pull away from the sides of the pan and gather around the spatula into a dough. Once it holds together like a soft ball, remove it from the heat.
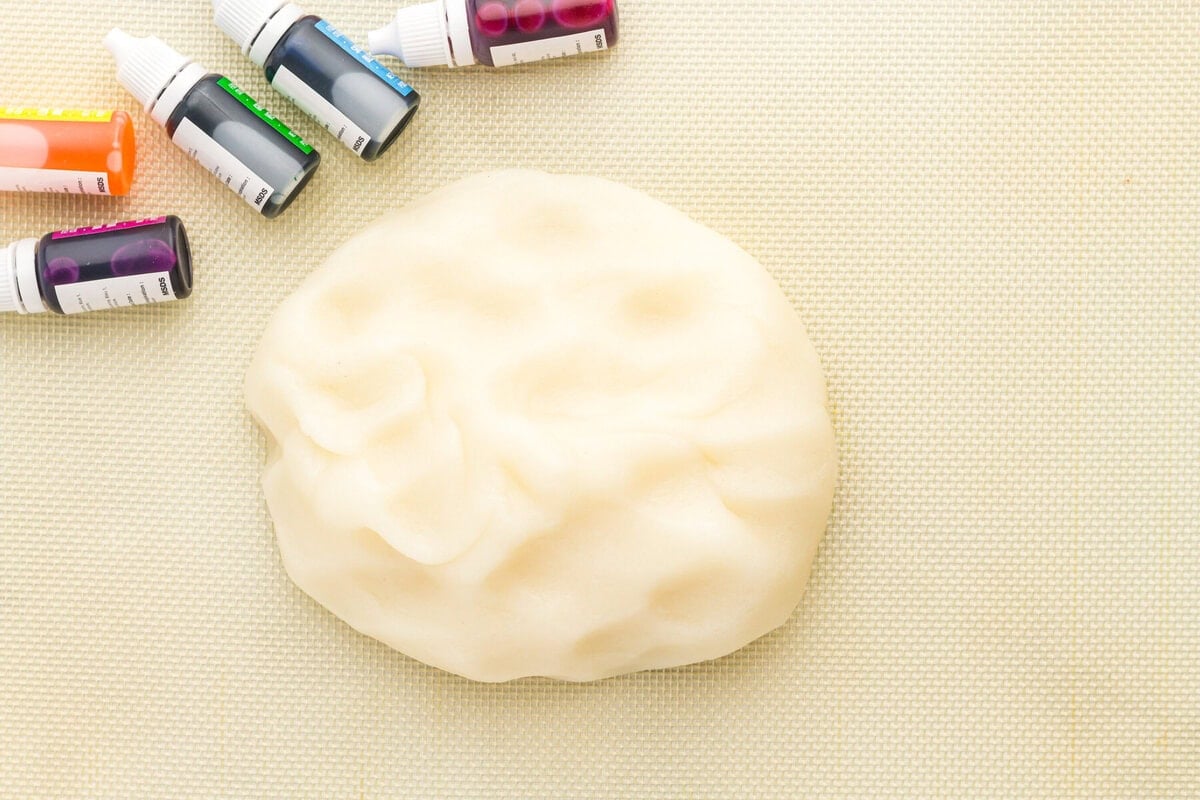
Cool the dough: Transfer the dough to a piece of parchment paper or a silicone baking mat. Let it cool for a few minutes, just until it’s cool enough to handle comfortably. Knead the dough with your hands until it’s smooth and no longer feels hot or tacky.
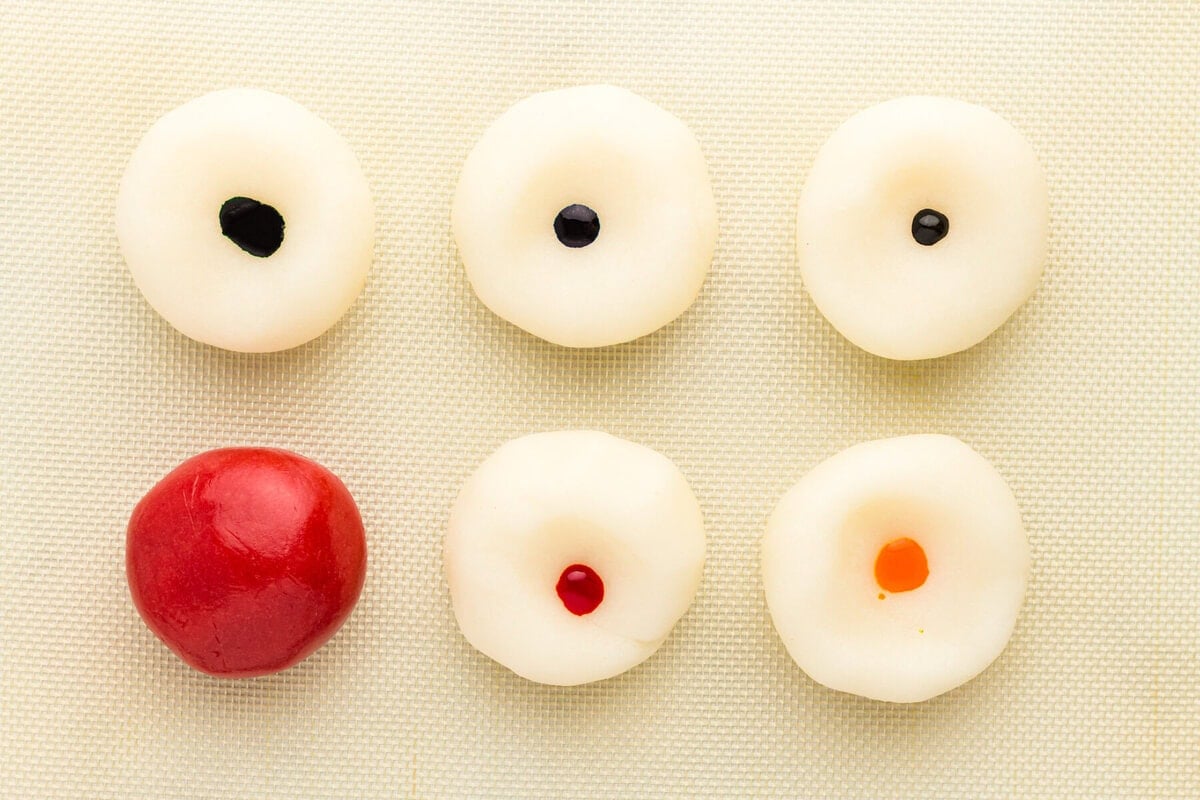
Divide and color the dough: Divide the dough into as many pieces as the colors you want to make. Add 1 drop of gel food coloring to each piece of dough.
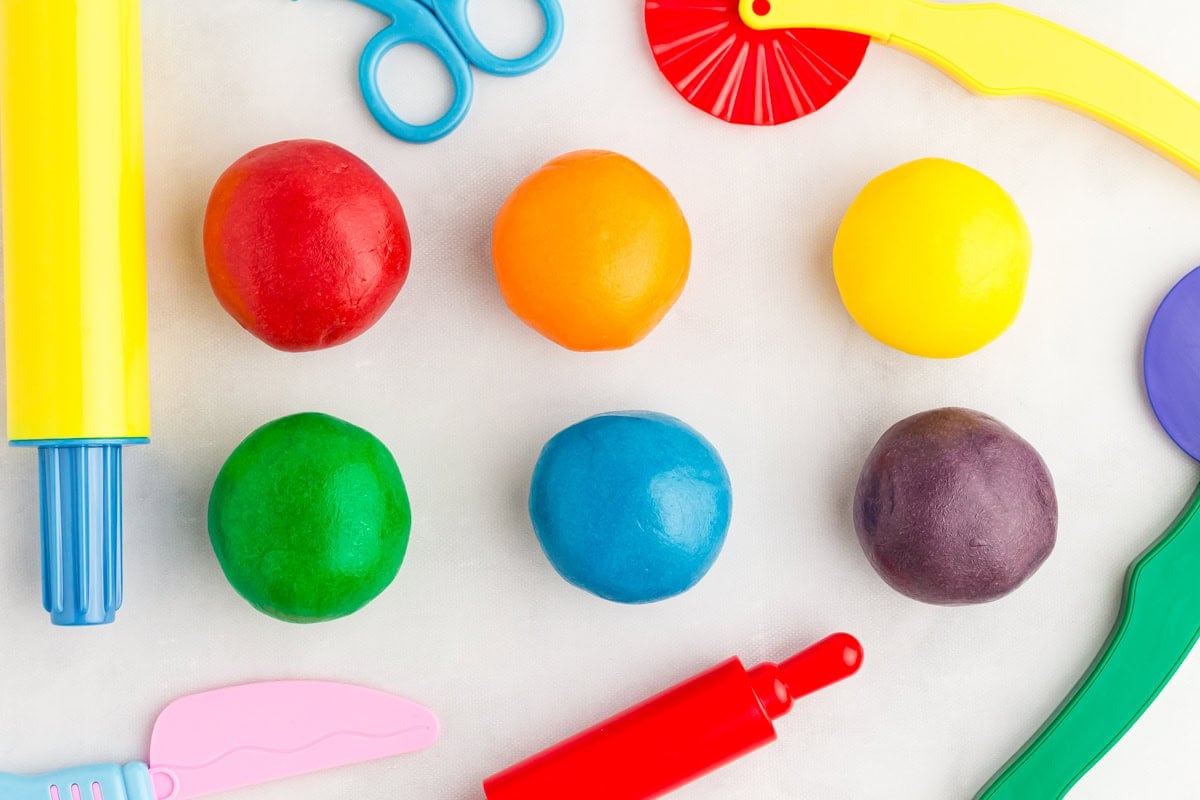
Knead in the color: Knead the color into each piece until it’s fully blended with no streaks of white left. I’d recommend wearing latex gloves or kneading inside a sealable food-safe bag for this step; gel food coloring stains hands. Your play doh is ready to play with.
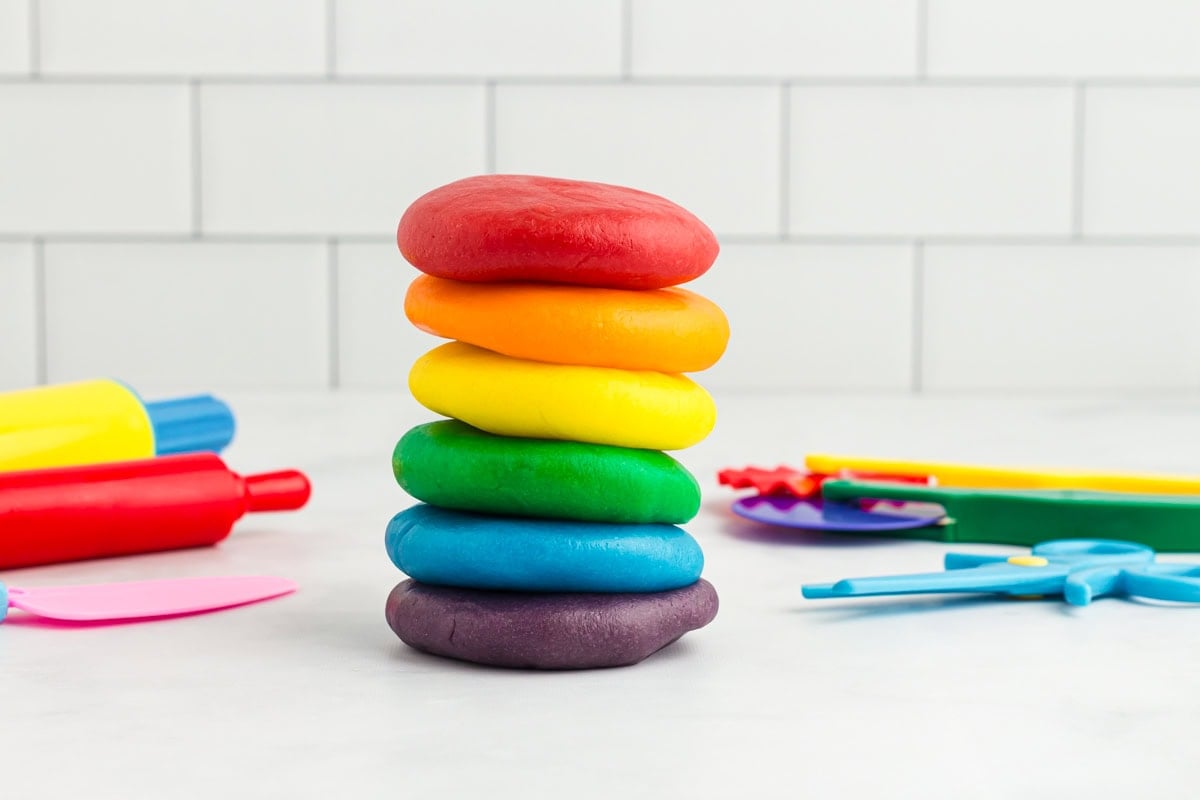
Cool completely before storing: Let the play doh cool completely before storing it in a sealed food-safe container or bag at room temperature.
Storage Instructions
Store cooled Play Doh in a sealed food-safe container or a resealable food-safe bag. Kept airtight, it stays soft and playable for 2-3 months.
Reviving Dried-Out Dough
If the dough starts to feel stiff or crumbly, knead in a tiny drop of vegetable oil until it softens back to its original texture.
Make Ahead
This dough actually improves with a rest. Make it the night before you plan to use it so the rice flour has extra time to absorb the liquid. You’ll notice a softer, smoother dough the next day.
A Note on Mold
The high salt content in this recipe helps prevent mold growth, which is part of what makes this dough shelf-stable for months. Even so, if a batch has been sealed for a few weeks, give it a quick look and smell before handing it back to the kids.
More Gluten-Free Recipes to Bake Together
- Gluten-Free Cut Out Sugar Cookies: Soft, buttery, and hold their shape well, making them another great cutter-and-decorate activity for little hands.
- The 20-Minute Gluten-Free Sugar Cookies: A faster option with no chilling required, coming together almost as fast as this Play-Doh does.
- Gluten-Free Gingerbread Cookies: Another dough for kids to cut, shape, and decorate around the holidays, just like they practiced with this Play-Doh.
- Gluten-Free Sugar Blossom Cookies: A fun, colorful project for a baking party that’s just as hands-on as this one.