This post may contain affiliate links. To learn more check my disclosure page.
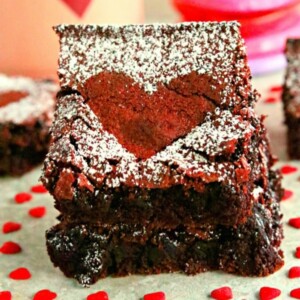
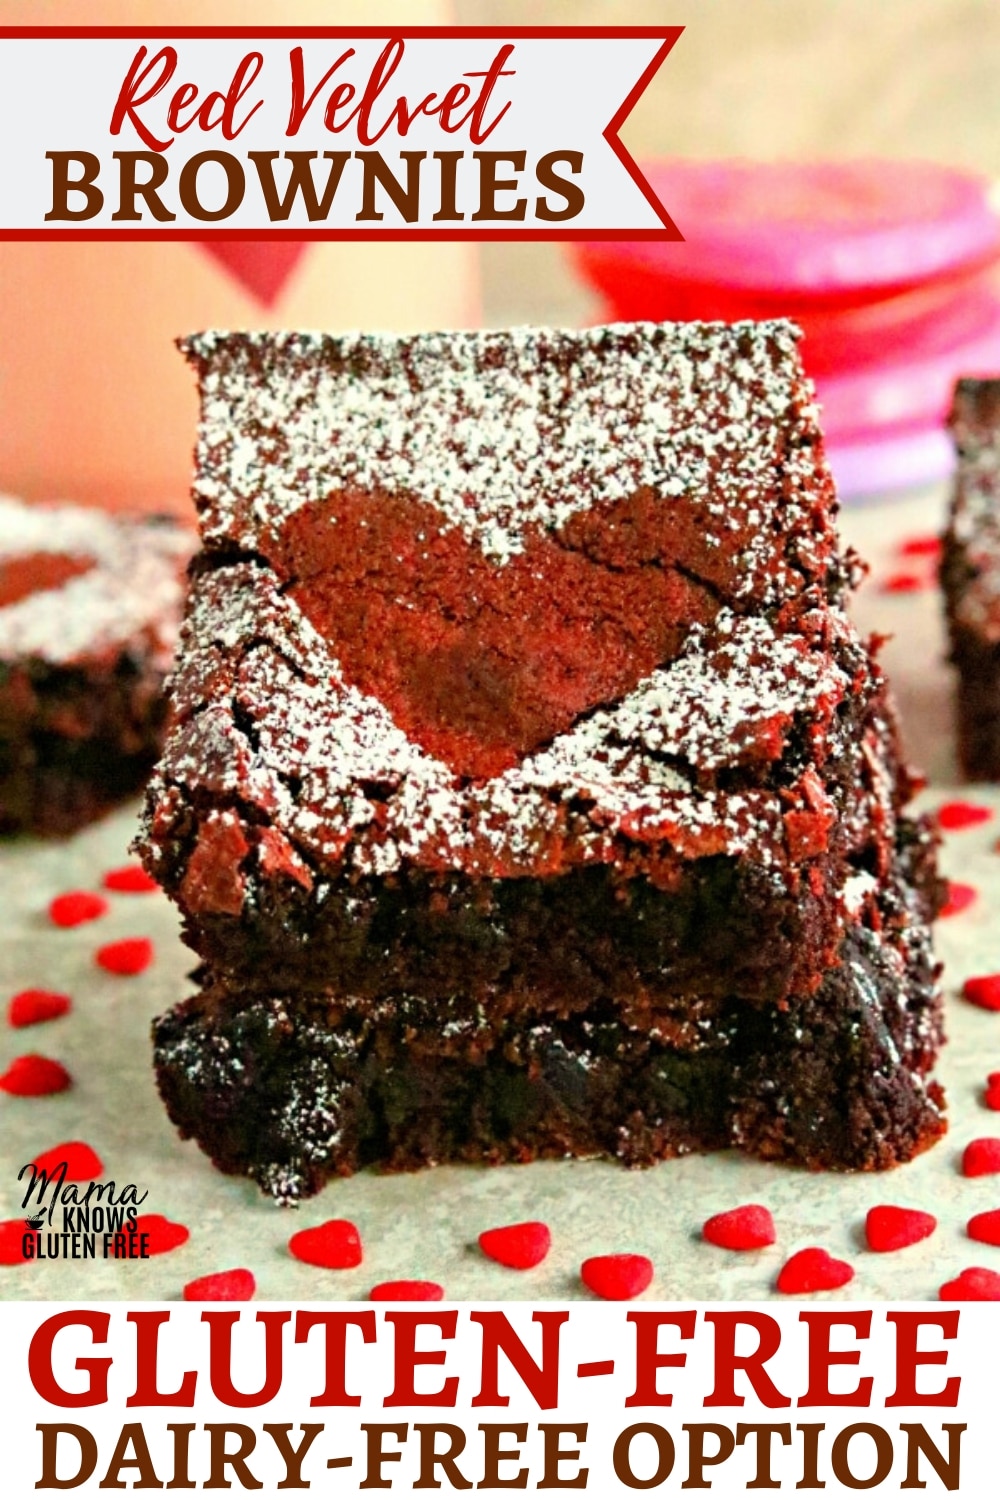
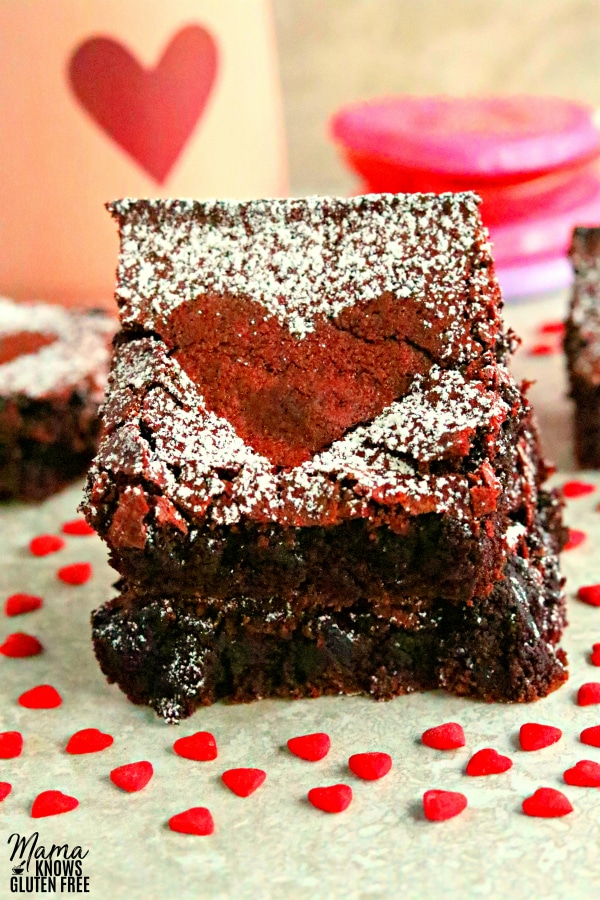
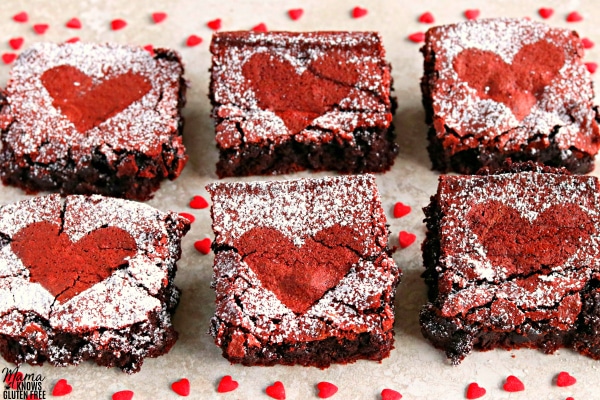
The best homemade Gluten-Free Red Velvet Brownies. Thick, chocolatey and chewy! With a dairy-free option.
 Gluten-Free Red Velvet Brownies
Chocolate and Valentine’s Day go hand and hand. One of my favorite flavors of baking chocolate treats is red velvet. There is something just so decent about red velvet.
These gluten-free red velvet brownies are so easy to make. It’s really just a fancier version of my Gluten-Free Brownies.
How To Make Red Velvet Brownies
- Preheat oven to 350º F.
- Spray the 8×8 square baking pan with gluten-free non-stick cooking spray or line the baking pan with parchment paper and coat the bottom and sides with gluten-free nonstick cooking spray or butter.
- In a large bowl, add melted butter, pure vanilla extract, granulated sugar, and brown sugar and mix until fully combined.
- Add in eggs one at a time and mix until fully combined.
- In a medium-sized bowl combine gluten-free flour, xanthan gum (leave out if your flour already has it), cocoa powder, baking soda, and salt and whisk together.
- Slowly add the gluten-free flour mixture to the wet ingredients and mix until fully combined and smooth.
- Add the tablespoon of the gluten-free red food coloring and mixed until fully combined.
- Pour the brownie batter into the greased 8×8 sized baking pan.
- Bake for 30-35 minutes, or until a toothpick inserted into the center comes out just barely clean. The sides of the brownies with start to pull away from the pan. Please watch your brownies because all ovens are different.
- Allow the brownies to completely cool before cutting them. Enjoy!
- Store leftovers in an airtight container.
Gluten-Free Flour
I like Pillsbury gluten-free flour. Not all gluten-free flours are created equal. You may experience different baking results depending on the gluten-free flour blend you choose.
Pro Tip For Measuring Gluten-Free Flour
The best way to measure gluten-free flour is the “spoon & level” method. Using a spoon, scoop the flour into the measuring cup. After you’ve spooned the flour into the measuring cup, use the back of a knife to level off the top of the measuring cup. Friends, please do not scoop the flour out of the bag with your measuring cup.
Dairy-Free Baking
I have also included a dairy-free option for the recipe. My husband, myself and youngest son are all dairy-free as well. So now, you too can enjoy a gluten-free and a dairy-free red velvet brownie.
For the dairy-free version of this recipe, I used Smart Balance butter.
Some of my favorite dairy-free alternatives that I like to bake with are almond, cashew or coconut milk. I also like baking with coconut oil or Earth Balance or Smart Balance butter.
More Gluten-Free Desserts Perfect For Valentines Day!
- Almond Flour Brownies
- Gluten-Free Red Velvet Chocolate Chip Cookies
- Easy Gluten-Free Chocolate Cake
- See all my Gluten-Free Valentine’s Day Desserts
Let’s Connect! You can FOLLOW ME on Facebook, Instagram, or Pinterest!
★Did you make this recipe? Please give it a star rating below in the comments!★
Gluten-Free Red Velvet Brownies
Ingredients
- 1/2 cup butter, melted, ,dairy-free use Smart Balance Butter
- 3/4 cup granulated sugar
- 1/2 cup brown sugar, ,packed
- 2 eggs, ,room temperature
- 1 tablespoon pure vanilla extract
- 3/4 cup all-purpose gluten-free flour, I like Pillsbury gluten-free. Not all gluten-free flours are created equal. You may experience different baking results depending on the gluten-free flour blend you choose.
- 1/4 teaspoon xanthan gum, ,leave out if your flour already has it
- 1/2 cup cocoa powder
- 1/2 teaspoon baking soda
- 1/2 teaspoon salt
- 1 tablespoon gluten-free red food coloring, I used Red Velvet Bakery Emulsion
Instructions
- Preheat oven to 350º F.
- Spray the 8x8 square baking pan with gluten-free non-stick cooking spray or line the baking pan with parchment paper and coat the bottom and sides with gluten-free nonstick cooking spray or butter.
- In a large bowl, add melted butter, pure vanilla extract, granulated sugar and brown sugar and mix until fully combined.
- Add in eggs one at a time and mix until fully combined.
- In a medium-sized bowl combine gluten-free flour, xanthan gum (leave out if your flour already has it), cocoa powder, baking soda and salt and whisk together.
- Slowly add the gluten-free flour mixture to the wet ingredients and mix until fully combined and smooth.
- Add the tablespoon of the red food coloring and mixed until fully combined.
- Pour the brownie batter into the greased 8x8 sized baking pan.
- Bake for 30-35 minutes, or until a toothpick inserted into the center comes out just barely clean. The sides of the brownies with start to pull away from the pan. Please watch your brownies because all ovens are different.
- Allow the brownies completely cool before cutting them. Enjoy!
- Store leftovers in an airtight container.
Notes
- I like Pillsbury gluten-free. Not all gluten-free flours are created equal. You may experience different baking results depending on the gluten-free flour blend you choose.
- The best way to measure gluten-free flour is the “spoon & level” method. Using a spoon, scoop the flour into the measuring cup. After you’ve spooned the flour into the measuring cup, use the back of a knife to level off the top of the measuring cup.
- For the dairy-free option I used Smart Balance butter.
- Store in an air-tight container.
- Mama says, "Please check all of your labels!"
Nutrition
Nutrition information is automatically calculated, so should only be used as an approximation.
 Gluten-Free Red Velvet Brownies





From the bottom of my heart, thank you for participating in our V-Day event and driving awareness to C4KC’s mission!
You are so welcome Julie! It was a real blessing for me to participate again this year. Thank you so much for organizing such an important event!