Homemade Gluten-Free Pasta
Updated
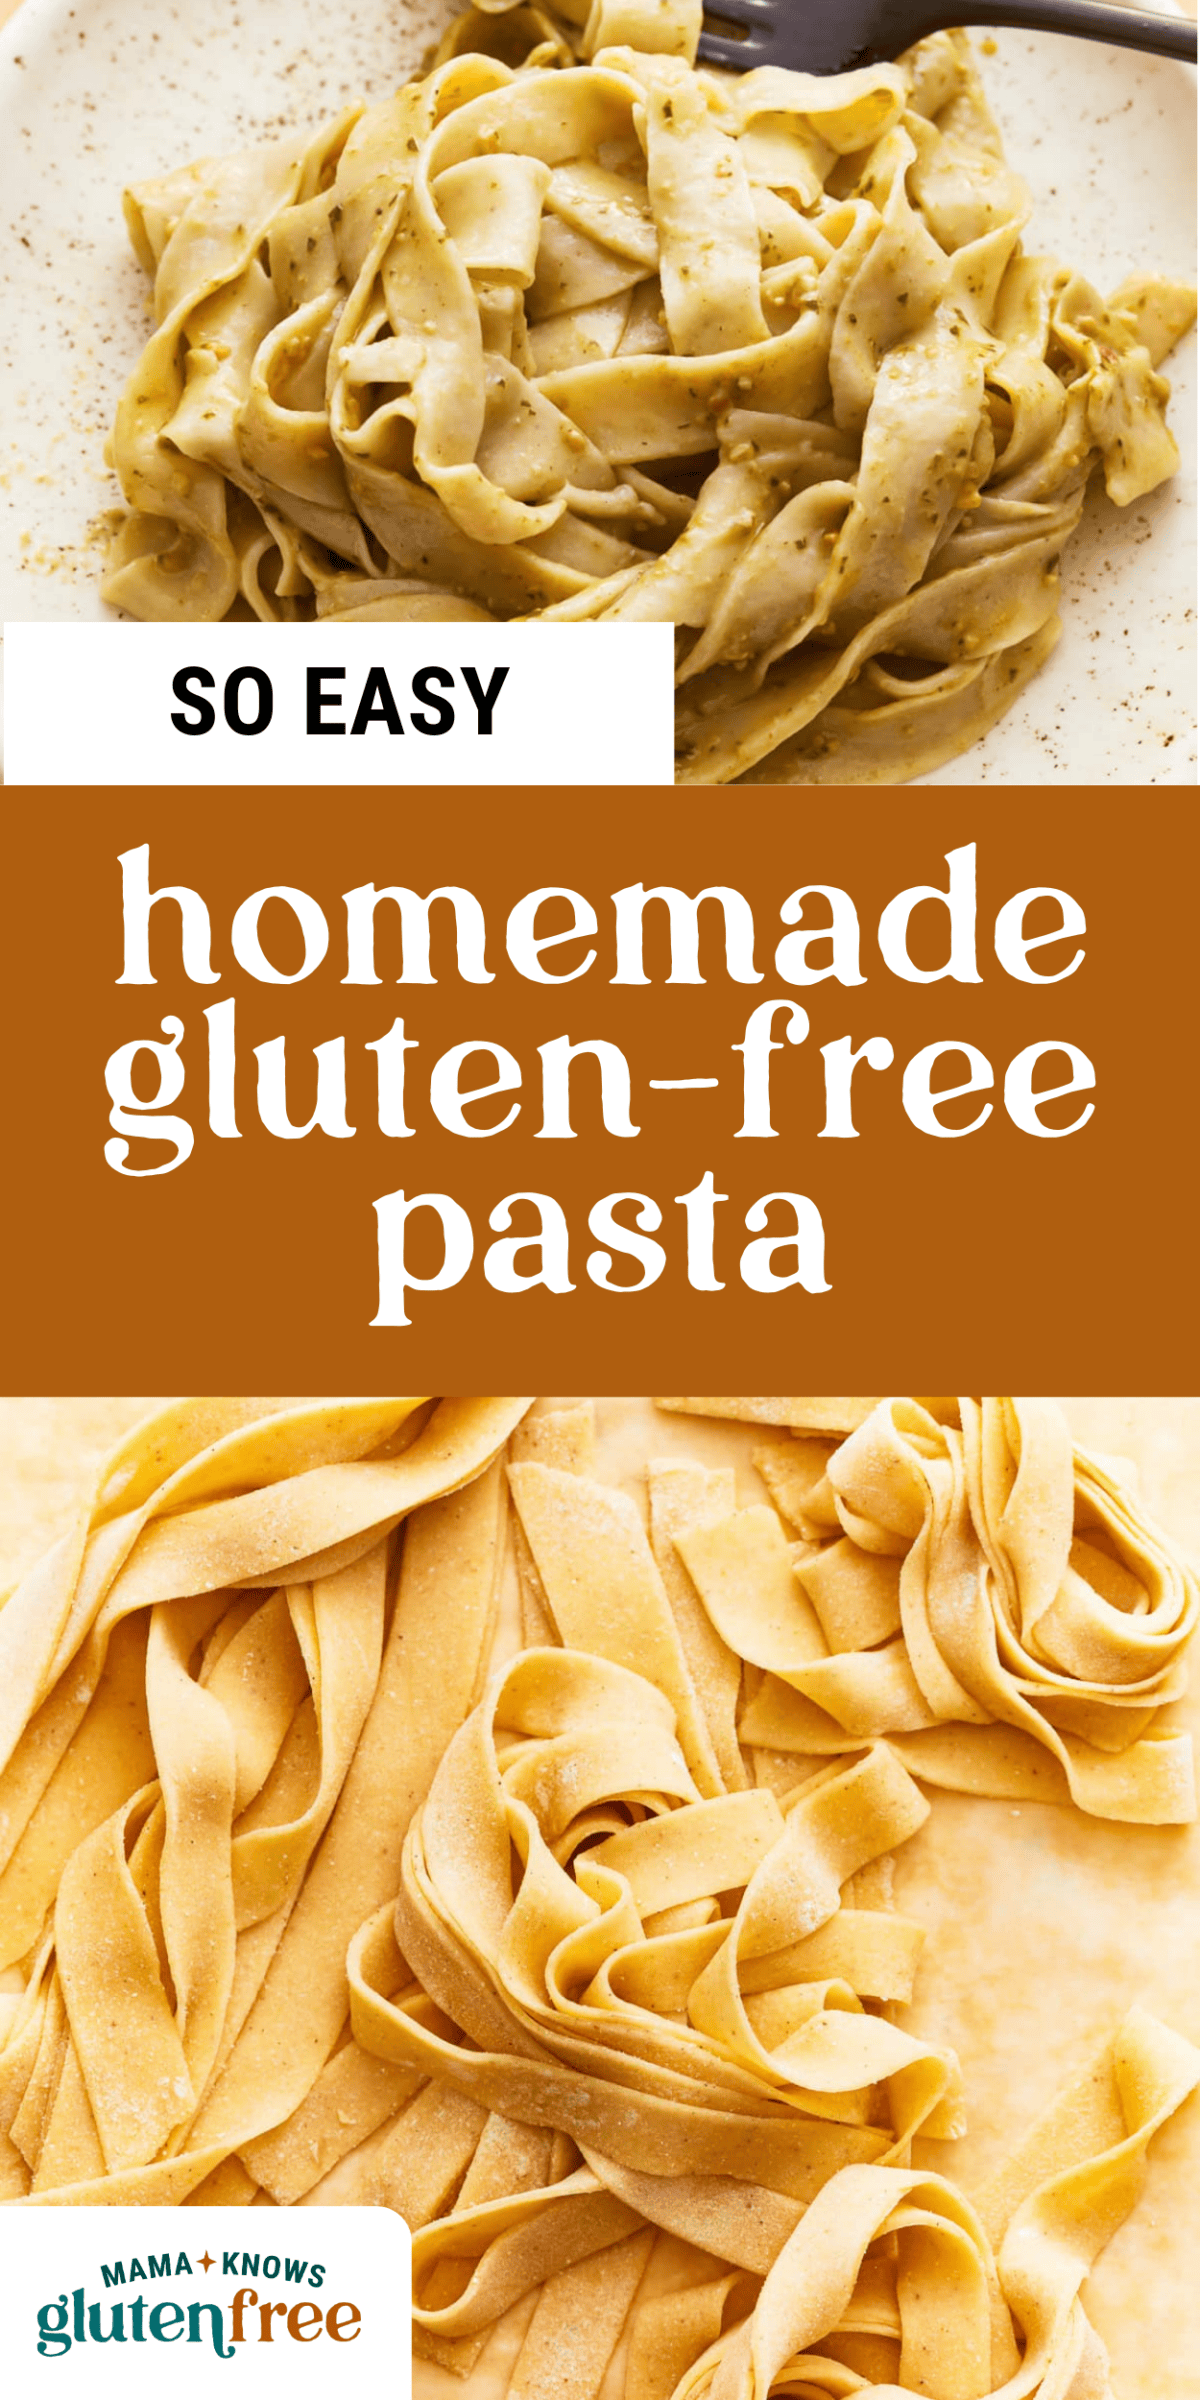
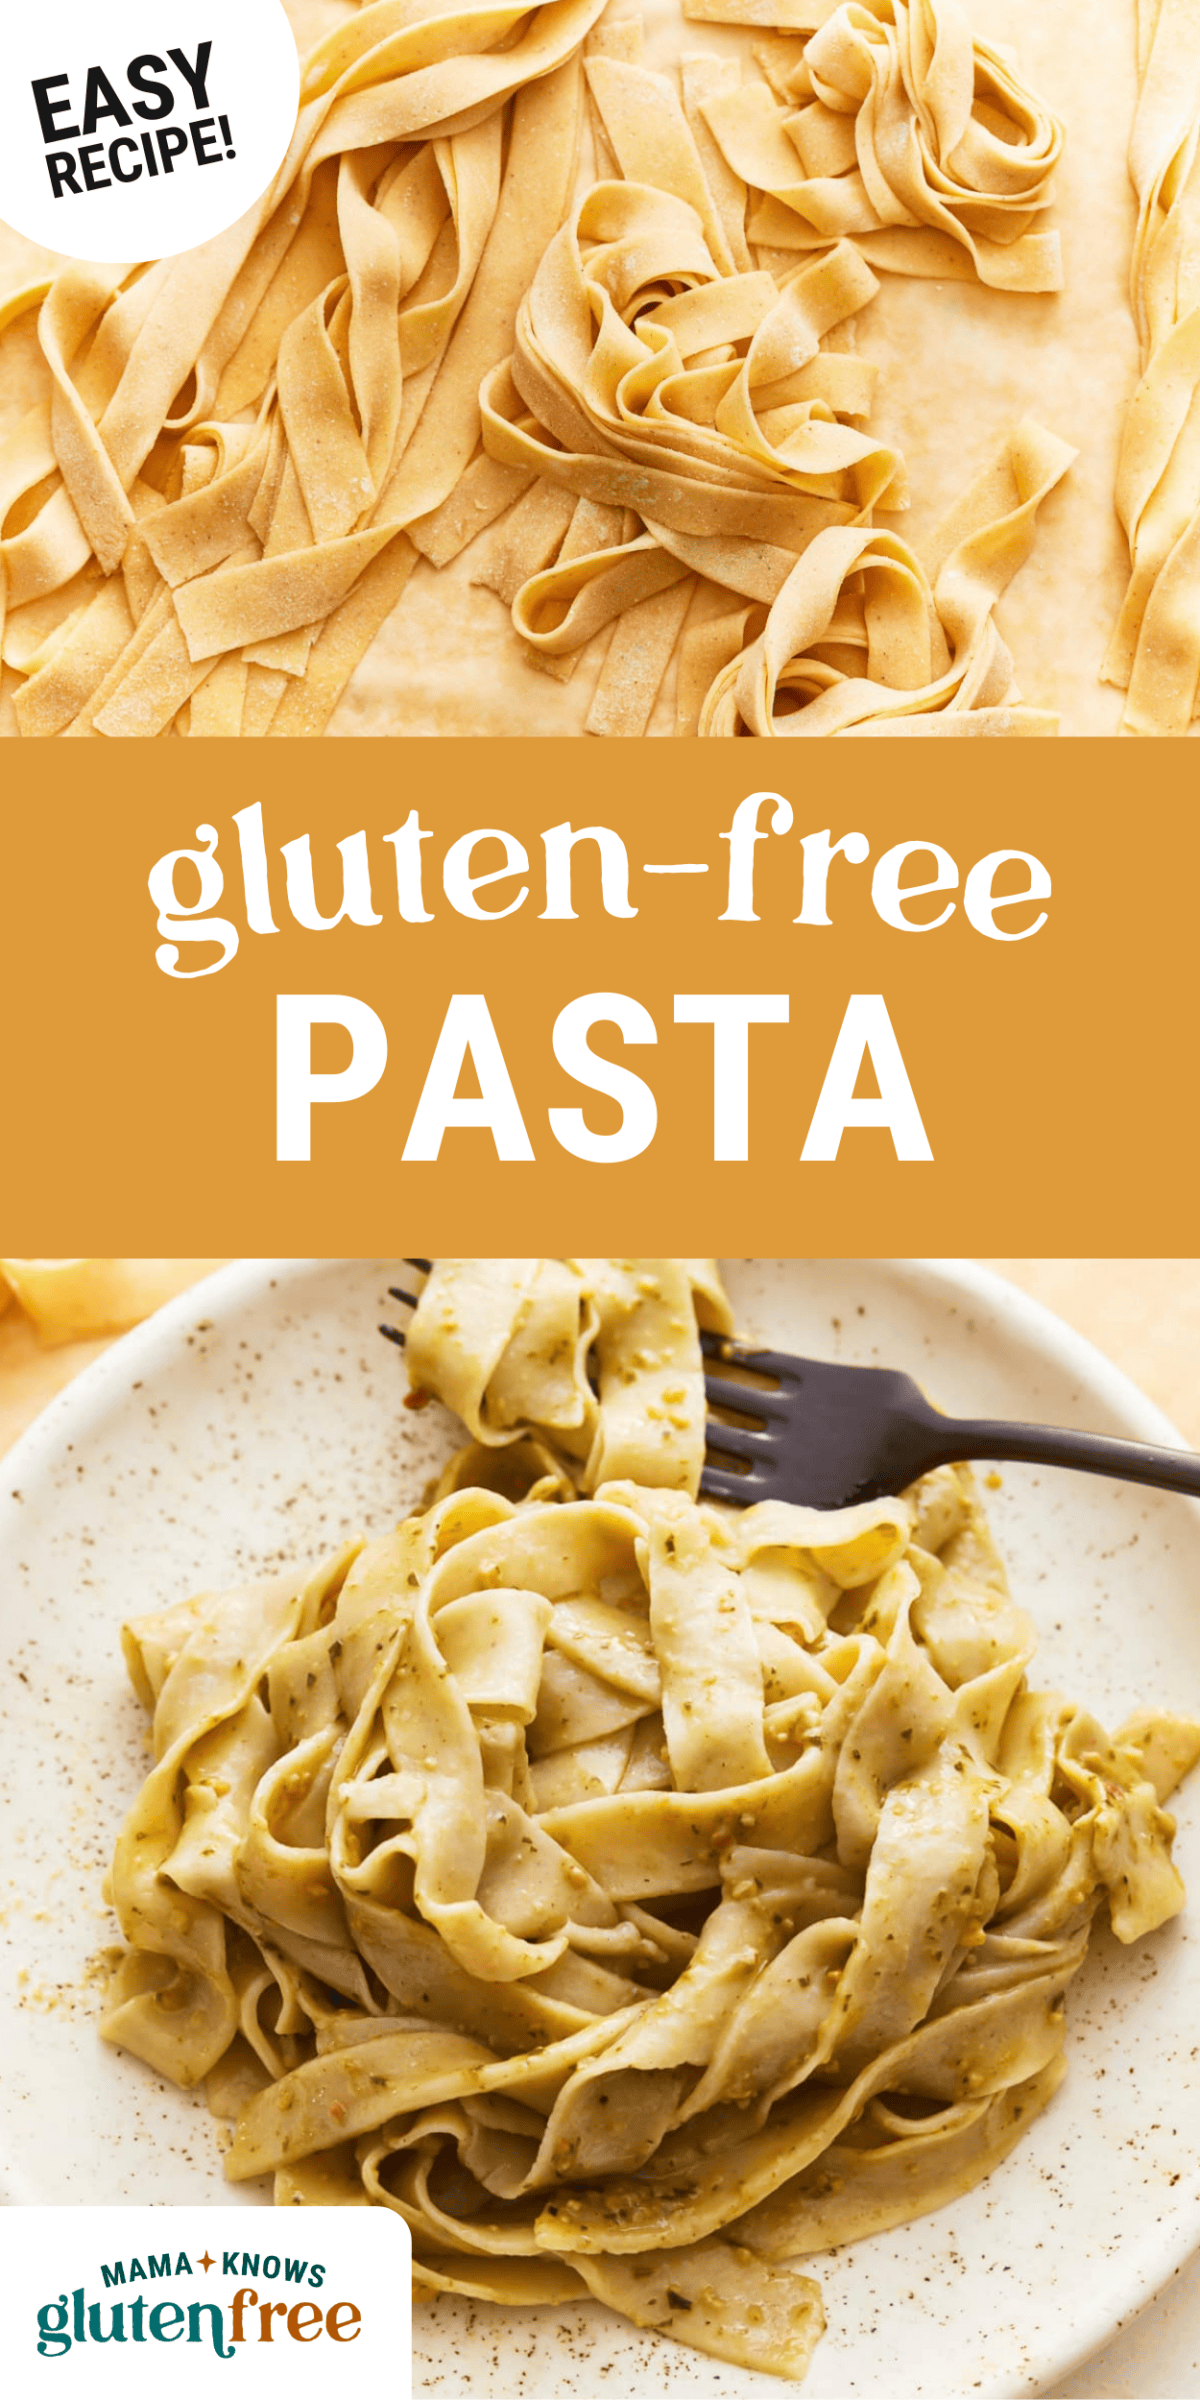
I can’t think of anything better than a pasta dish made with homemade noodles. It’s tough to find truly great homemade gluten-free pasta out at restaurants, so I knew I had to find a way to make it for myself. This gluten-free pasta recipe uses simple techniques to produce soft and silky noodles that cook up to perfection and taste amazing! My whole family likes to get involved in making this recipe!
“I have never made homemade noodles before but this dough came together beautifully and it was delicious in my chicken noodle soup! Felt like I was working with real flour.”
– Danae
Gluten-Free Pasta Recipe
Store-bought pasta is great in a pinch, but homemade is what really makes dinner special for me. It’s taken a lot of testing to get the flavor and texture of this homemade gluten-free pasta just right, but I think I’ve finally nailed it! And the best part is, you don’t need any complicated tools or a pasta machine to make it.
Homemade Gluten-Free Pasta
Ingredients
- 1¾ cups gluten-free all-purpose flour with xanthan gum
- 1 tsp xanthan gum, omit if your blend already contains it
- ½ tsp fine sea salt
- 3 large eggs
- 2 tbsp water
- 1 tbsp olive oil
Instructions
- In a large mixing bowl, combine the gluten-free flour, xanthan gum (if needed), and fine sea salt. Mix well to evenly distribute the ingredients.
- Create a well in the center of the flour mixture. Crack the eggs into the well. Add the water and olive oil to the well with the eggs.
- Using a fork or your fingers, gradually incorporate the flour mixture into the wet ingredients until a shaggy dough forms.
- Once the dough starts to come together, transfer it to a clean, lightly floured surface. Knead the dough for about 5-7 minutes until it becomes smooth and elastic. If the dough feels too dry, add a little more water, a teaspoon at a time. If it's too sticky, add a sprinkle of gluten-free flour.
- Once the dough is well kneaded, shape it into a ball and cover it with plastic wrap. Let it rest at room temperature for about 30 minutes to allow the gluten-free flour to hydrate and the dough to relax.
- After resting, divide the dough into 4 portions (about 104 g each) for easier handling. Flatten each portion into a disk with your hands.
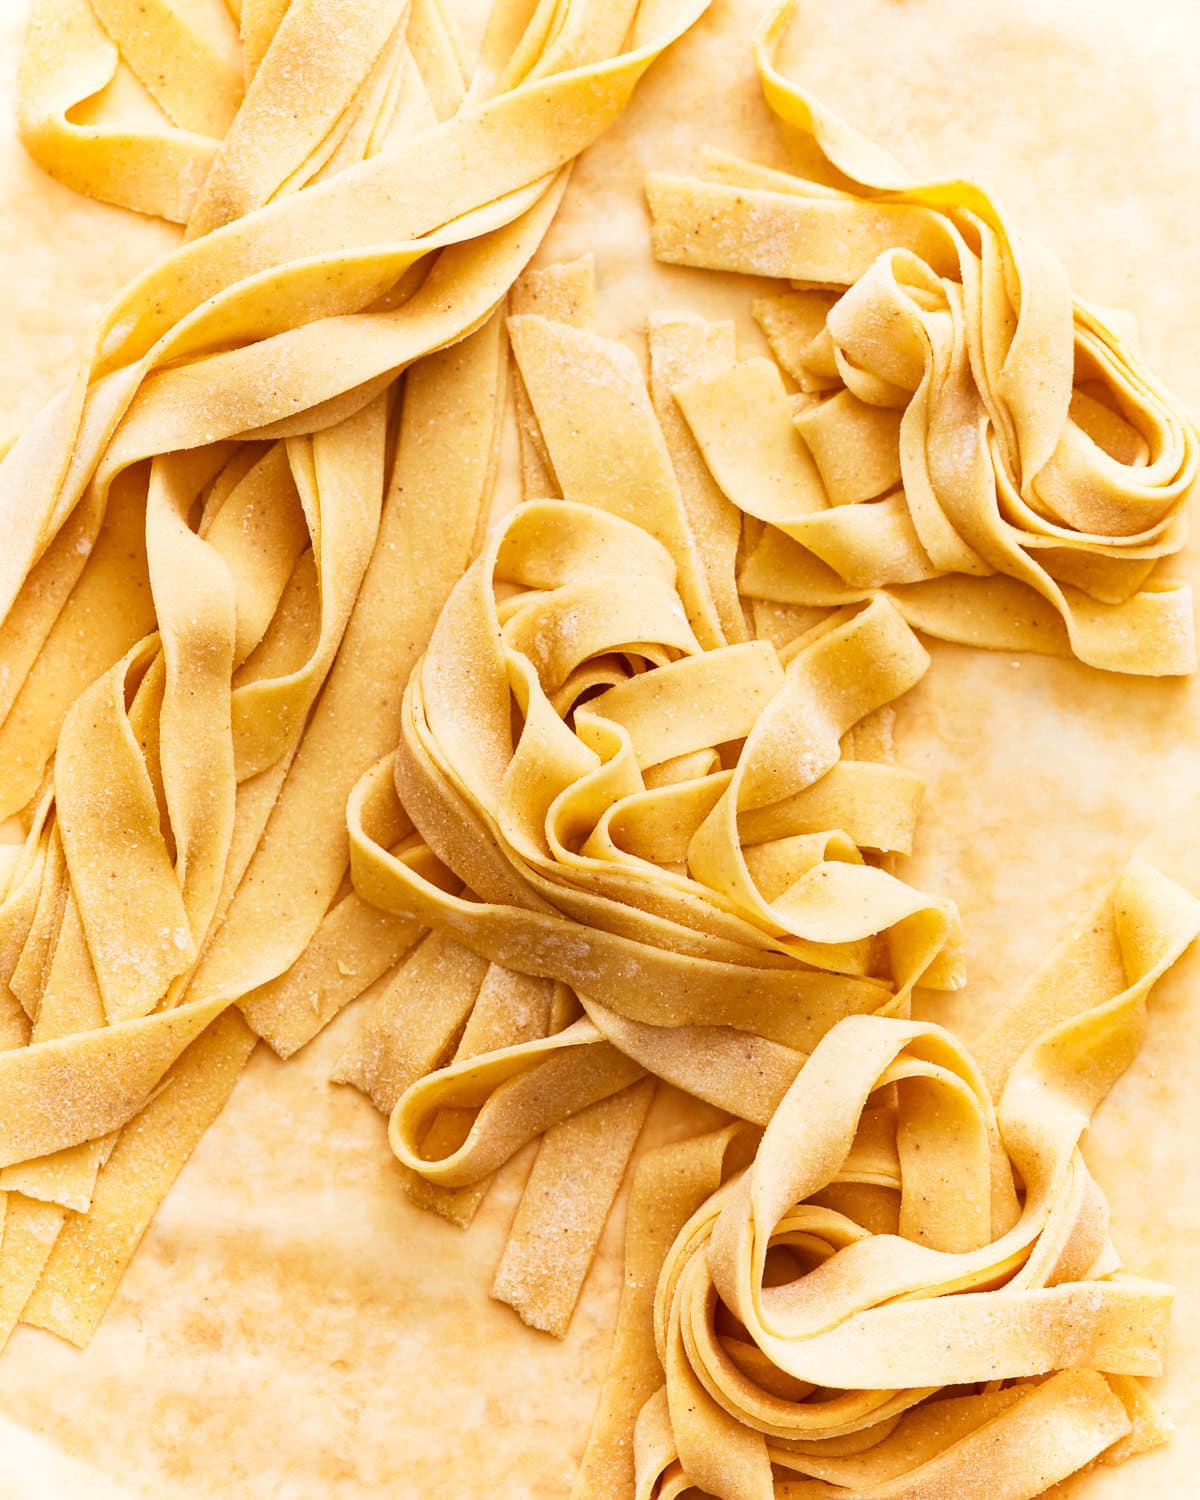
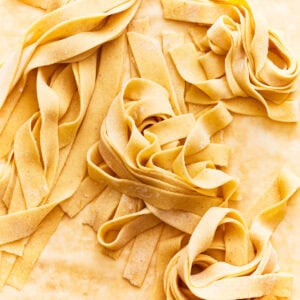
- Lightly dust a sheet of parchment paper and rolling pin with gluten-free flour. Roll out each portion of dough into a thin rectangular sheet, about 1/16 to 1/8 inch thick.
- Use a sharp knife or pizza cutter to cut the rolled-out dough into your desired shape and size of pasta, such as fettuccine, linguine, or lasagna sheets. Repeat the rolling and cutting process with the remaining portions of dough until all the pasta is formed.
- To cook the gluten-free pasta, bring a large pot of salted water to a rolling boil. Add the pasta and cook for about 2-3 minutes, or until al dente. Drain the cooked pasta and serve immediately with your favorite sauce or toppings.
Notes
Nutrition
Nutrition information is automatically calculated, so should only be used as an approximation.
How To Make Gluten-Free Pasta Step-by-Step
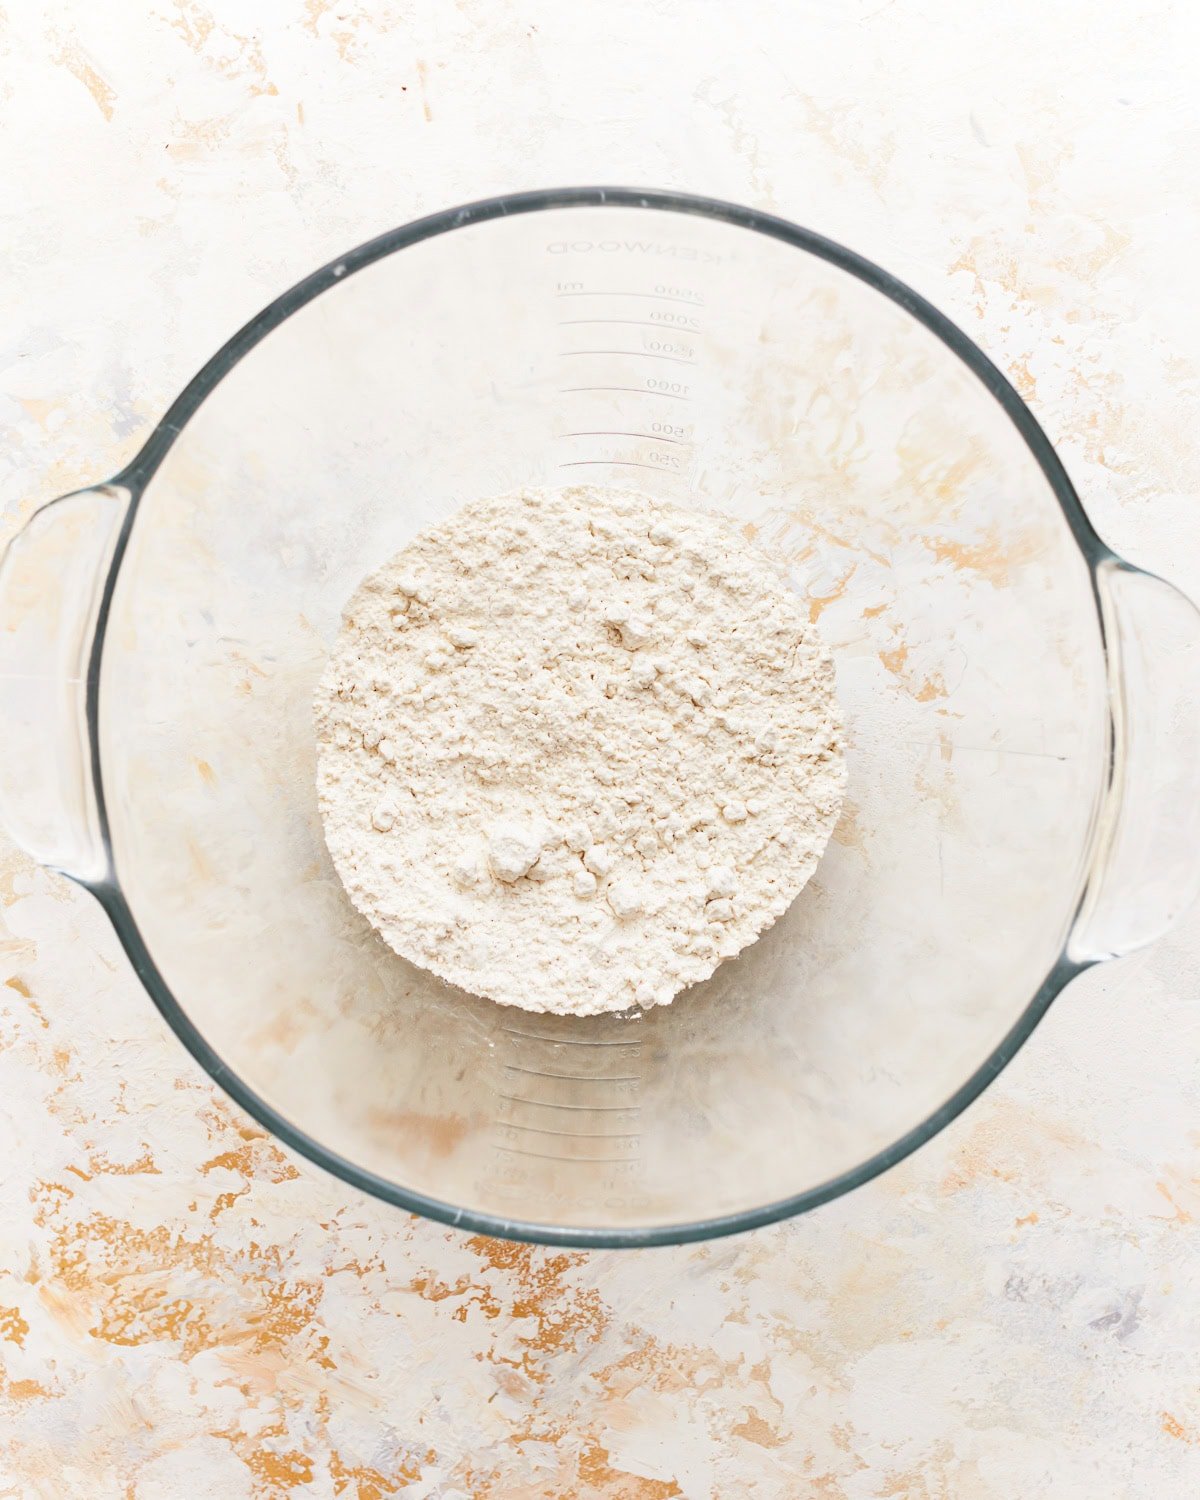
In a large mixing bowl, combine 1 3/4 cups of gluten-free flour with xanthan gum (add 1 teaspoon of xanthan gum if your blend doesn’t include it) and 1/2 teaspoon of fine sea salt. Mix well to evenly distribute the ingredients.
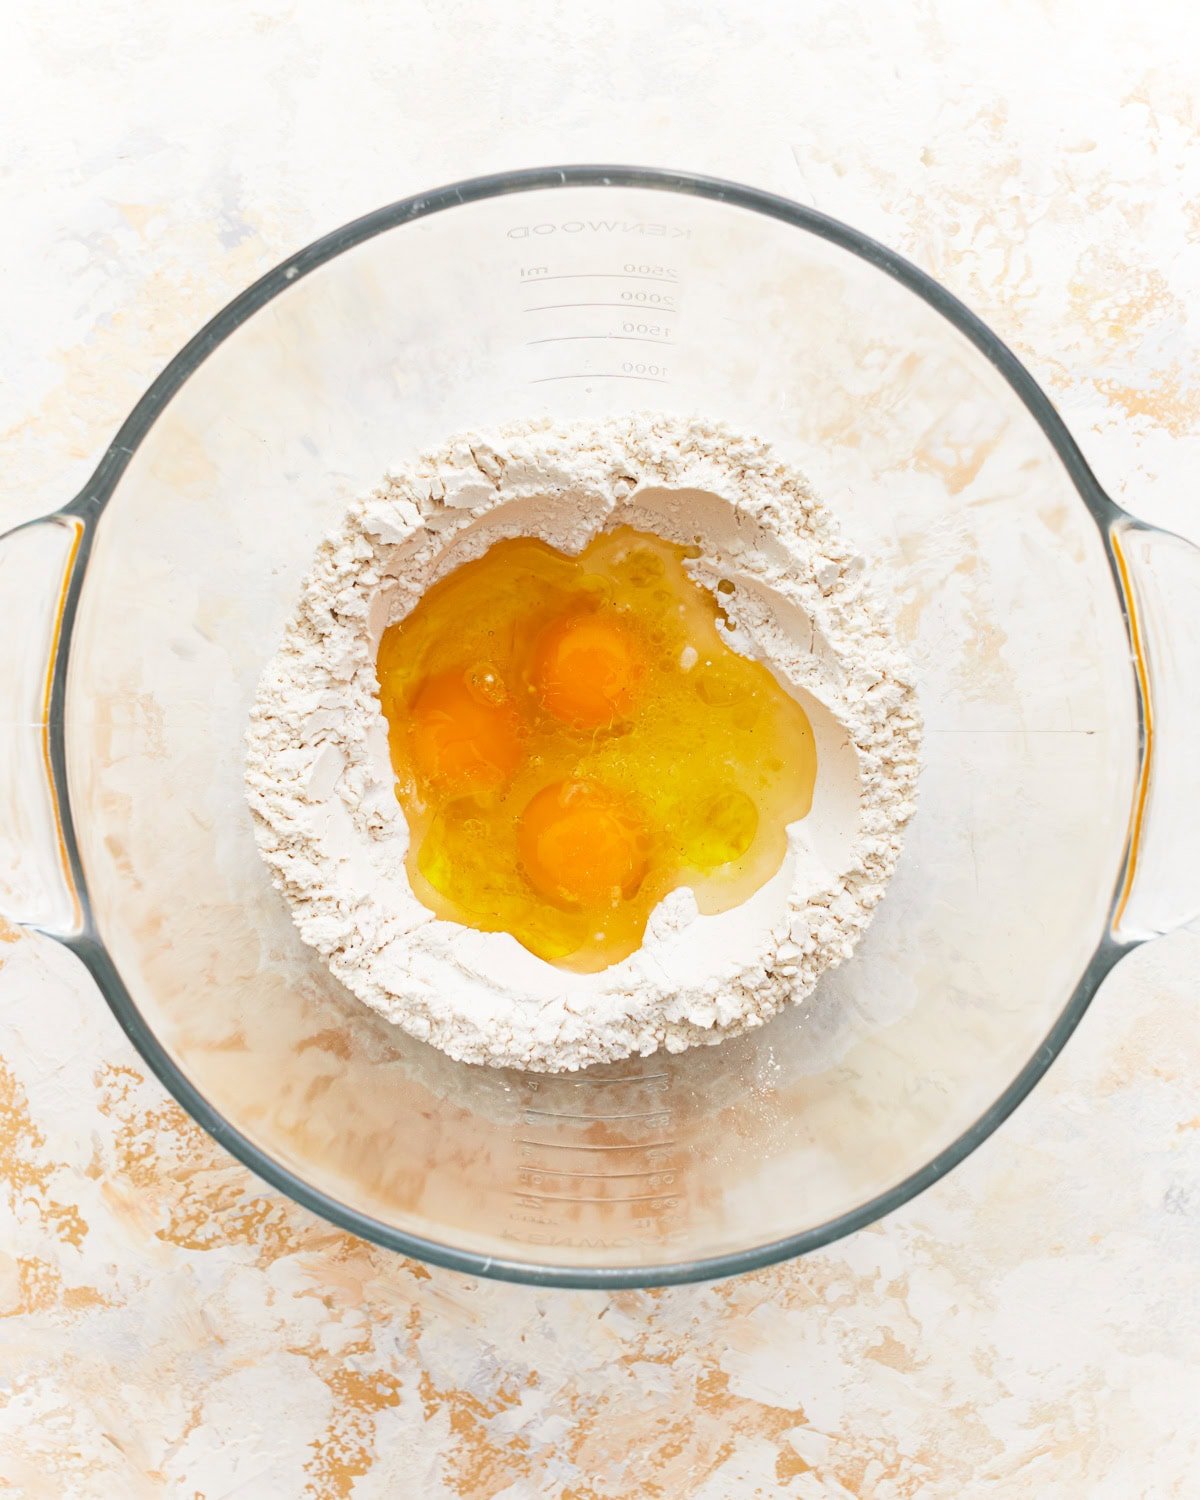
Create a well in the center of the flour mixture: Crack 3 large eggs into the well. Add 2 tablespoons of water and 1 tablespoon of olive oil to the well with the eggs.
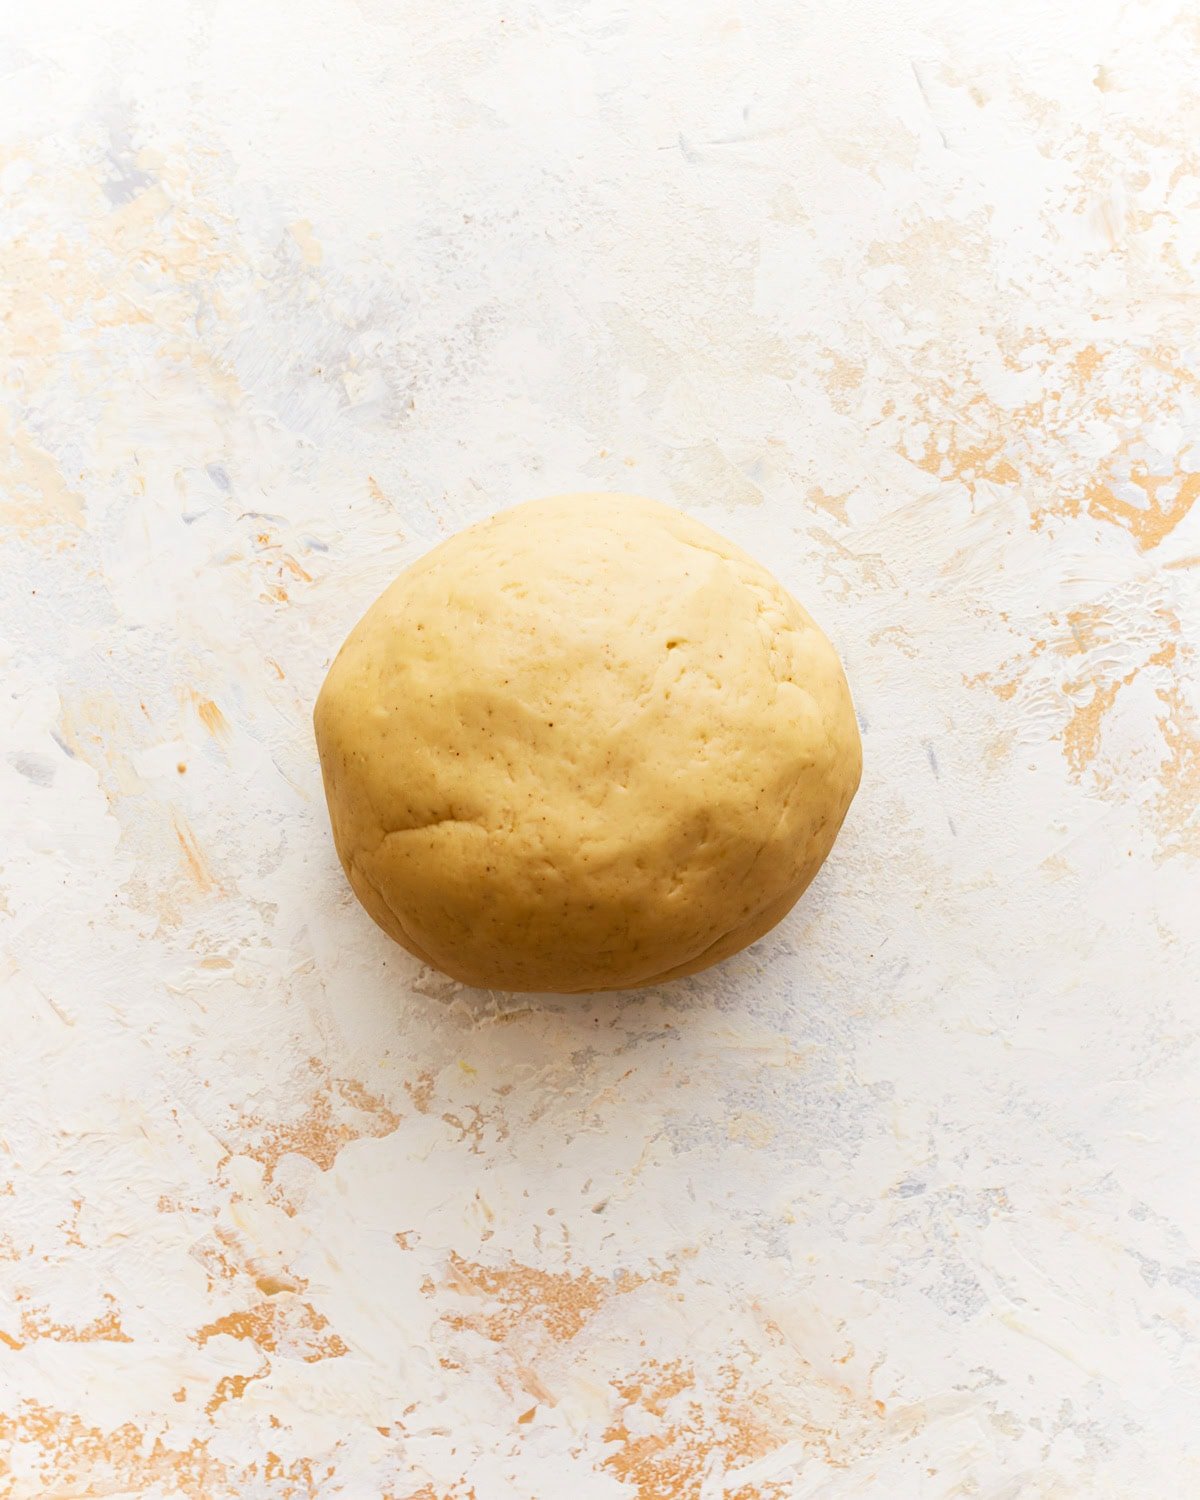
Using a fork or your fingers, gradually incorporate the flour mixture into the wet ingredients until a shaggy dough forms. Once the dough starts to come together, transfer it to a clean, lightly floured surface. Knead the dough for about 5-7 minutes until it becomes smooth and elastic. If the dough feels too dry, add a little more water, a teaspoon at a time. If it’s too sticky, add a sprinkle of gluten-free flour.
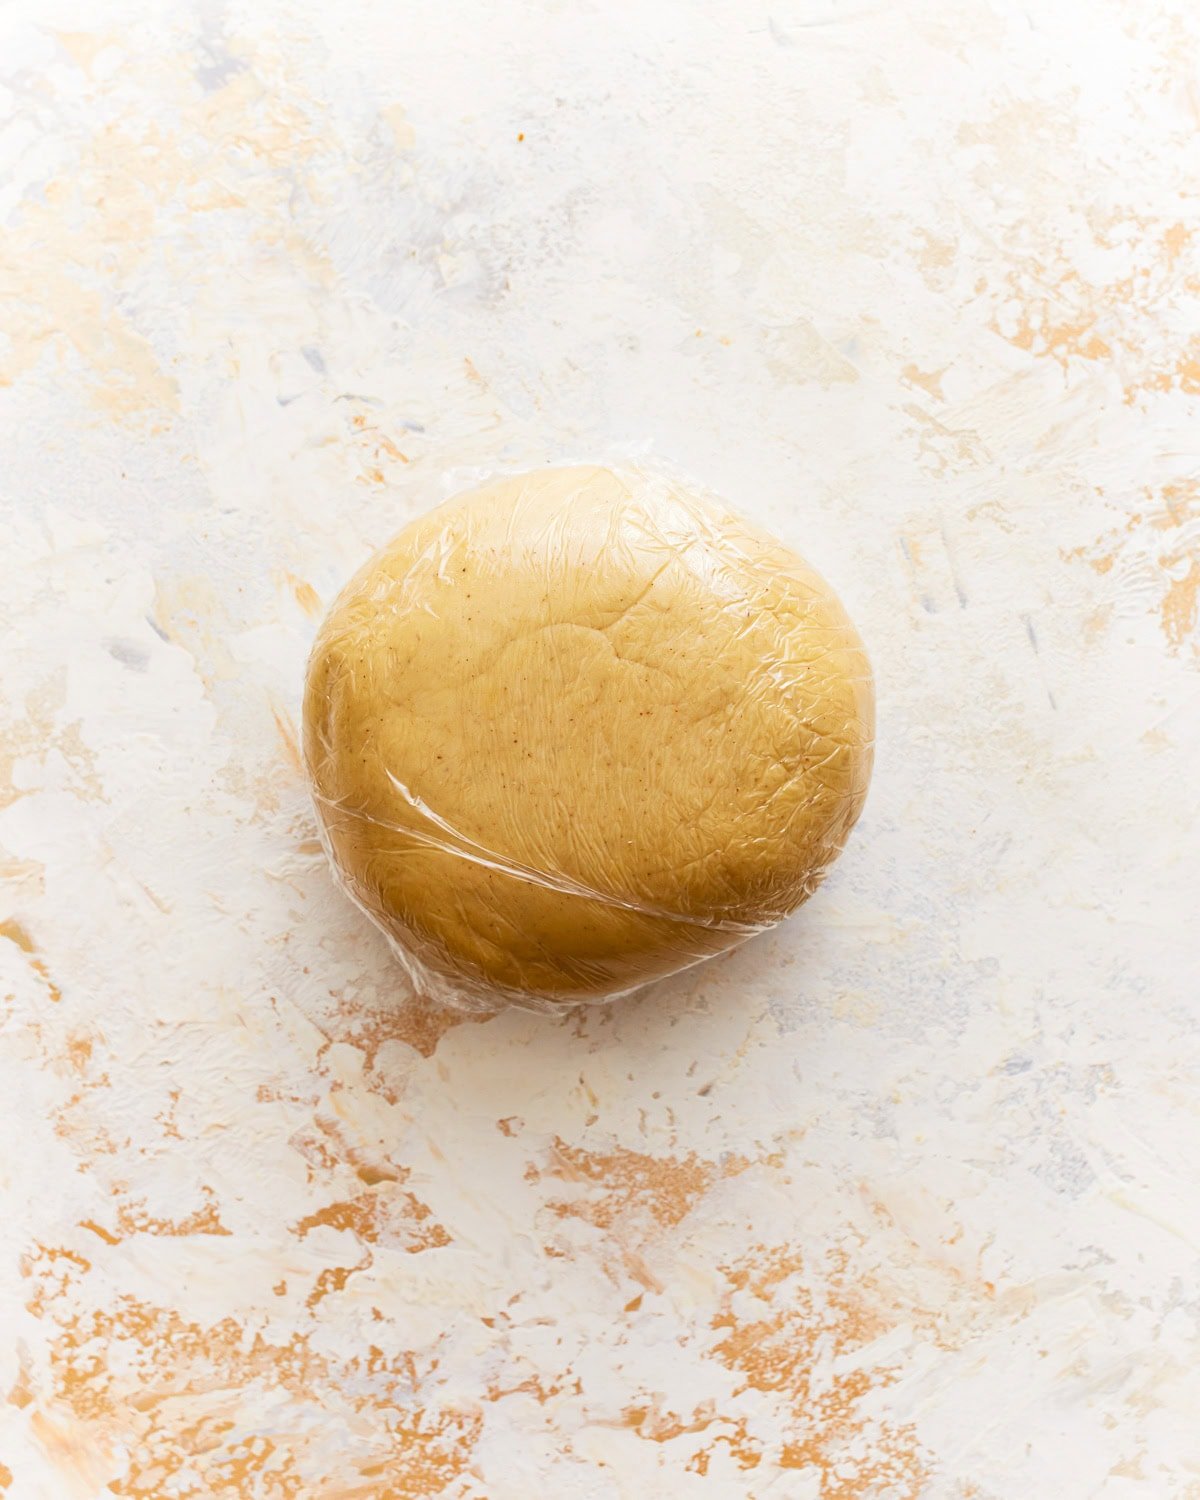
Let dough rest: Once the dough is well kneaded, shape it into a ball and cover it with plastic wrap. Let it rest at room temperature for about 30 minutes to allow the gluten-free flour to hydrate and the dough to relax.
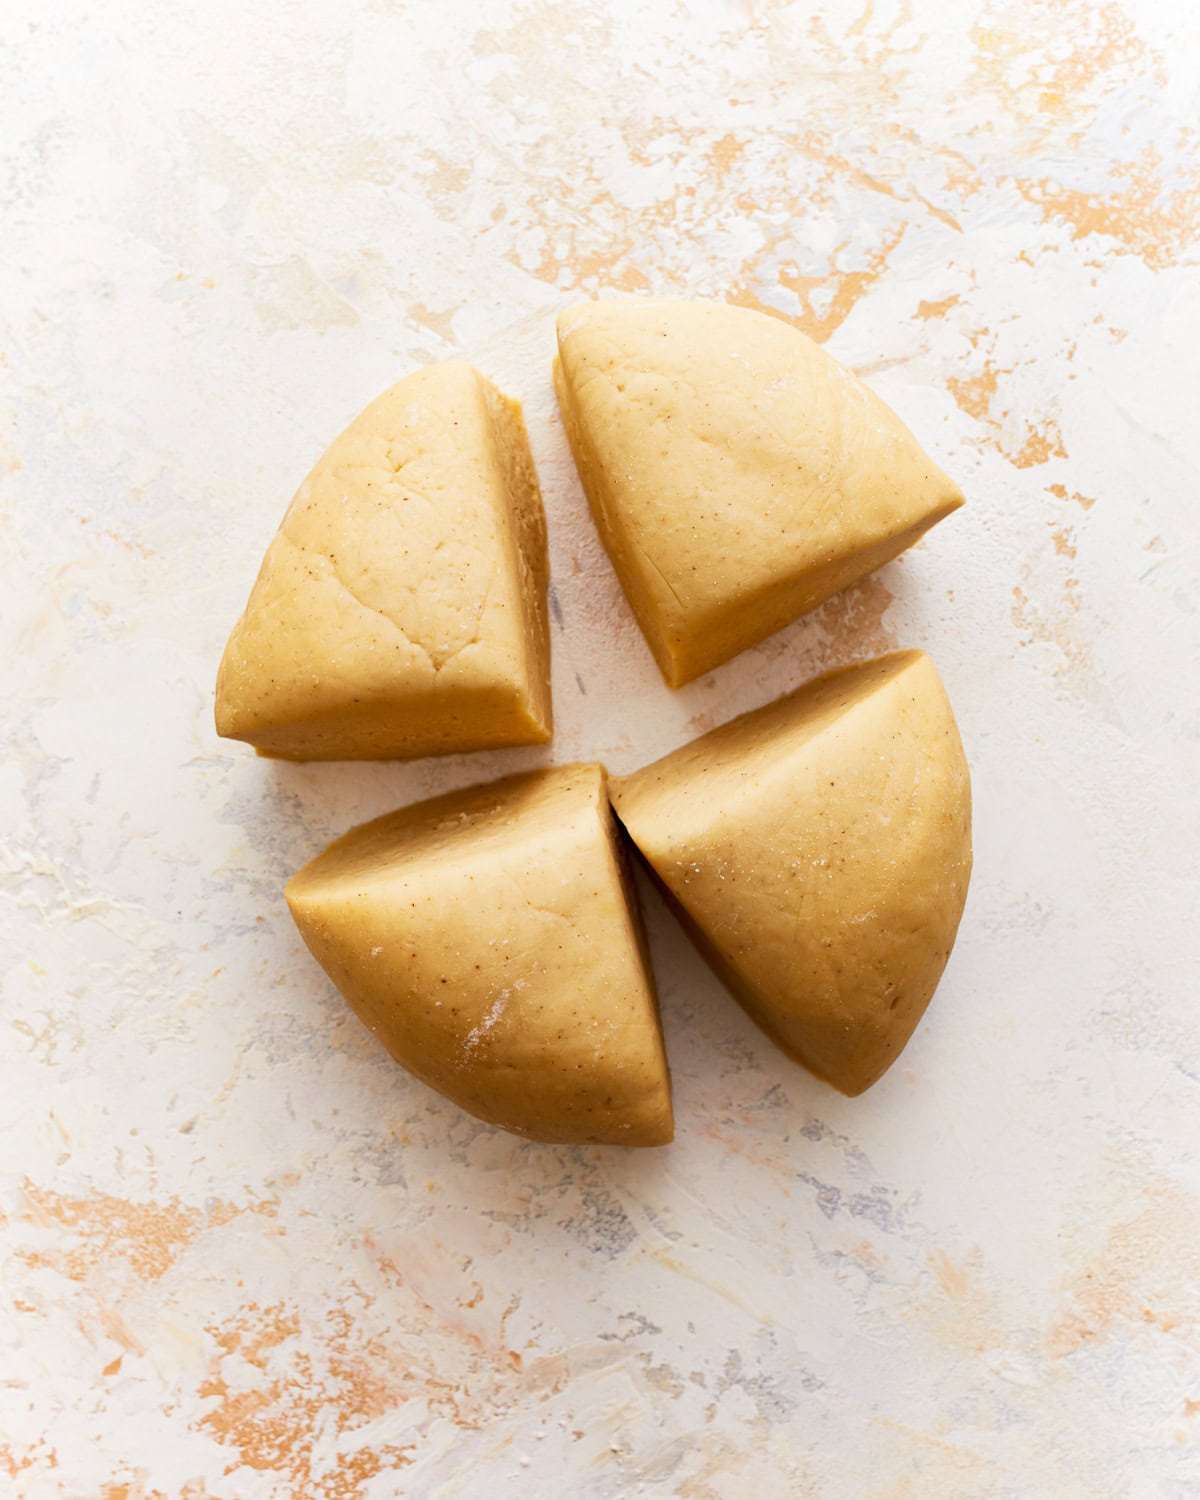
After resting, divide the dough into 4 portions (about 104 g each) for easier handling. Flatten each portion into a disk with your hands.
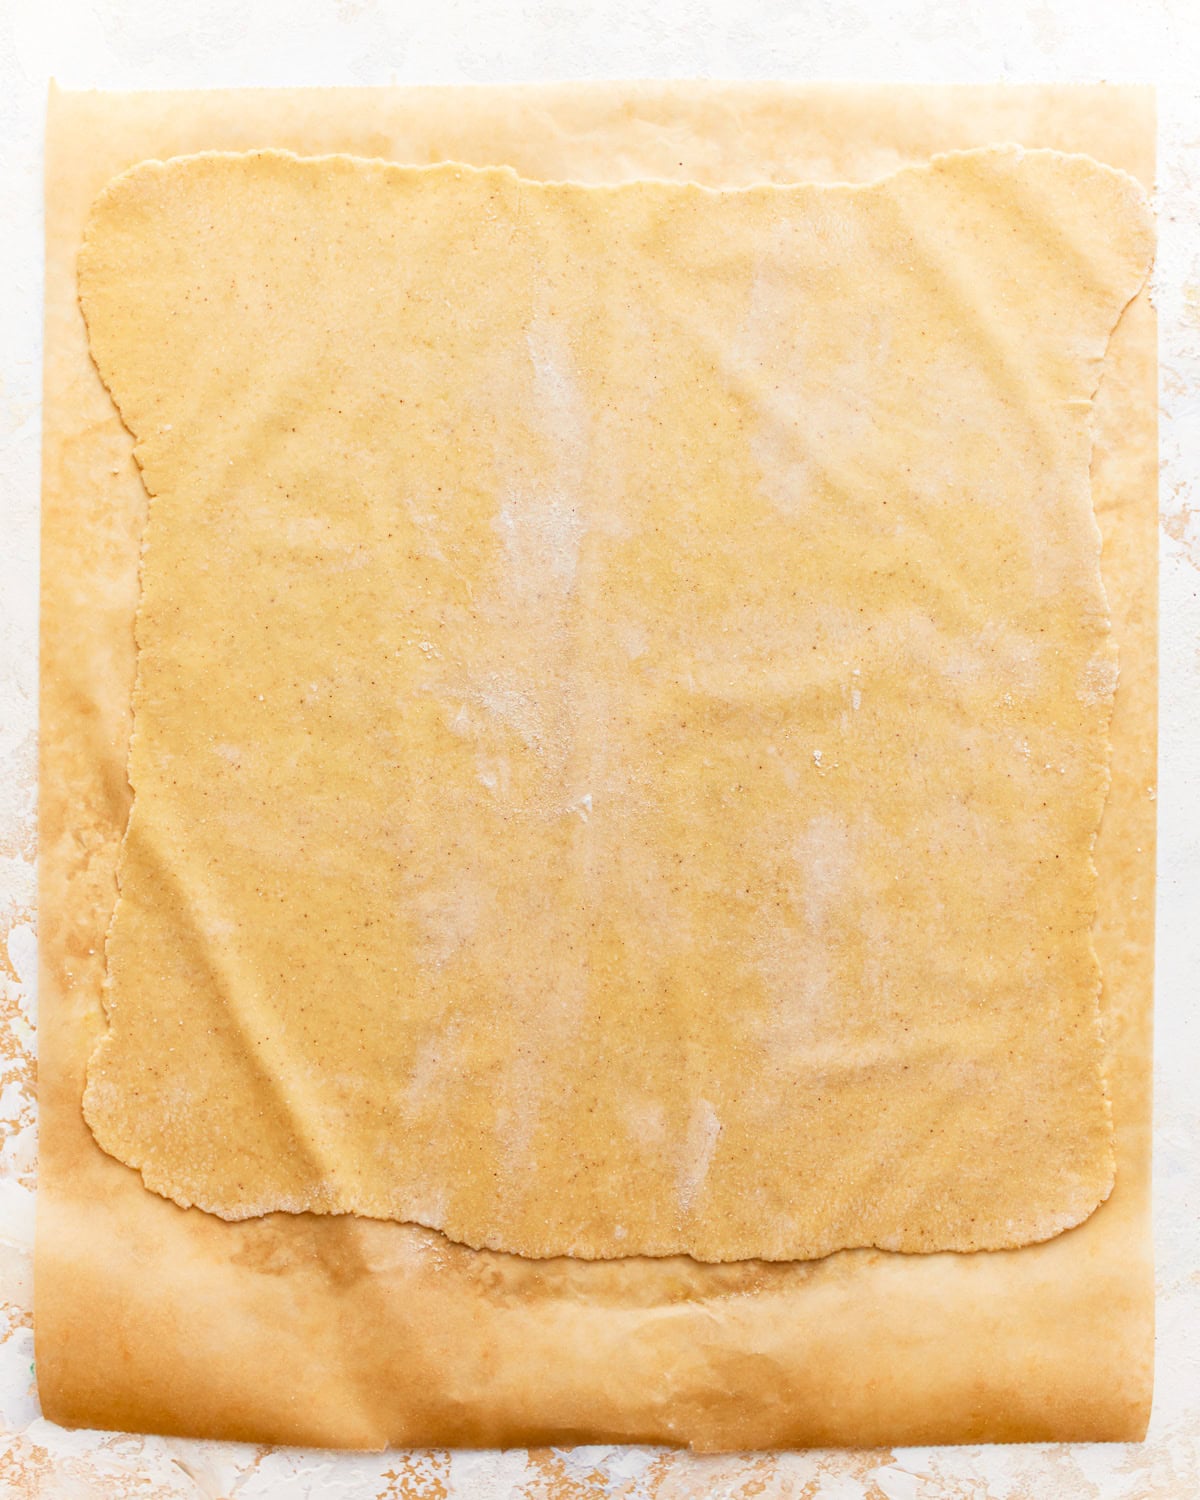
Roll dough: Lightly dust a sheet of parchment paper and rolling pin with gluten-free flour. Roll out each portion of dough into a thin rectangular sheet, about 1/16 to 1/8 inch thick.
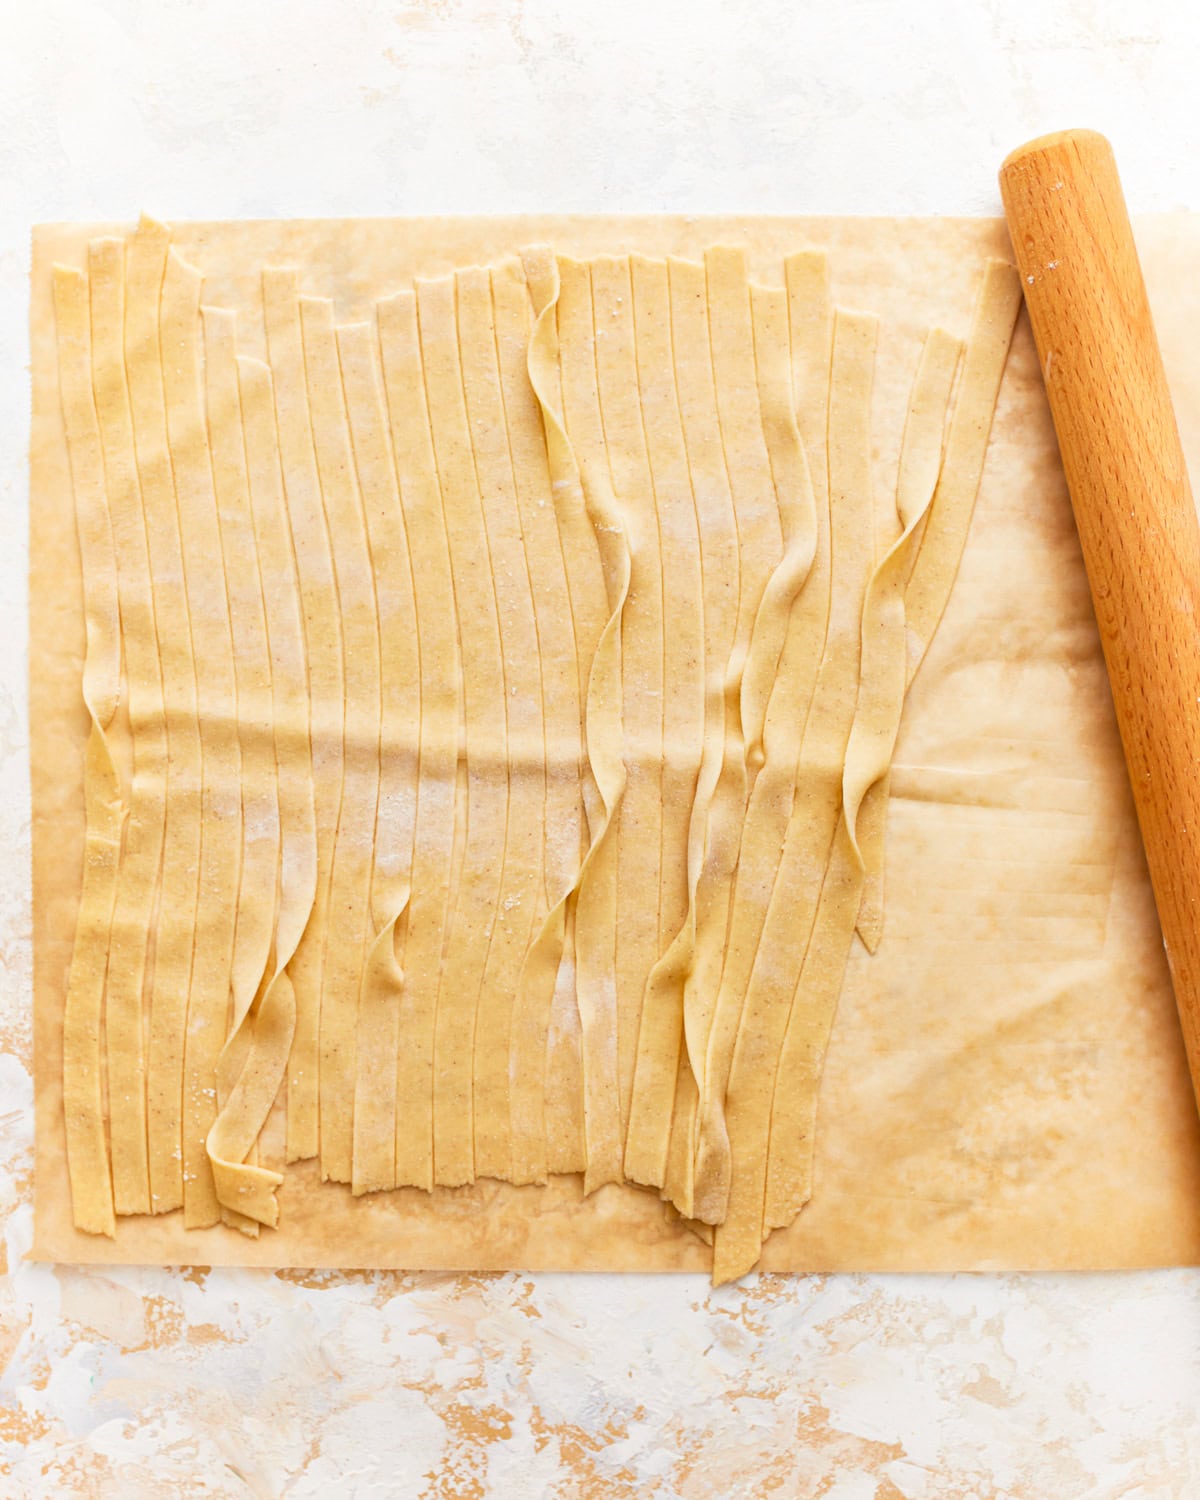
Use a sharp knife or pizza cutter to cut the rolled-out dough into your desired shape and size of pasta, such as fettuccine, linguine, or lasagna sheets. Repeat the rolling and cutting process with the remaining portions of dough until all the pasta is formed.
Gluten-Free Cooking Tips
- Use tested brands. I recommend Pillsbury Gluten-Free All-Purpose flour or Better Batter Cup for Cup flour for this recipe. I cannot guarantee results with other brands.
- Adjust water and flour. The dough should feel neither dry nor sticky, so adjust with flour and water until you reach the desired consistency.
- The pasta dough should be smooth, elastic, and slightly tacky to the touch after kneading. It should hold its shape when formed into a ball and bounce back when gently pressed with your finger. Knead the dough for about 5-7 minutes until it reaches this consistency.
- Don’t overcook the pasta. Fresh pasta takes way less time to cook than dried.
- Dry pasta. Dy pasta by hanging it on a pasta drying rack or laying it flat on a lightly floured surface. Allow the pasta to dry completely, then store in an airtight container in a cool, dry place for up to 2 weeks. Rehydrate the dried pasta by cooking it in boiling water for about 6-7 minutes until tender.
Serving Suggestions
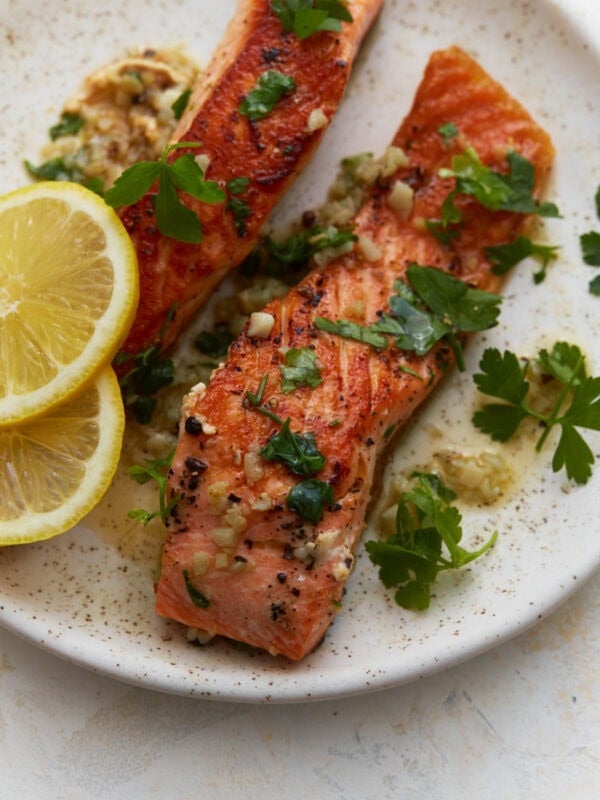
You can pair this homemade gluten-free pasta with just about any sauce you love! It’s perfect with a classic gluten-free spaghetti sauce for a hearty, comforting meal, or you can dress it up with a creamy Alfredo sauce or vegan vodka sauce for something a little more indulgent. The beauty of this pasta is that it holds up beautifully, so whether you’re craving red or white sauce, it’s a delicious base for both.
Storage Instructions
Store homemade gluten-free pasta dough tightly wrapped in the refrigerator for up to 3 days or in the freezer for up to 3 months. Let thaw overnight in the refrigerator before shaping and cooking.
Store cooked gluten-free pasta in an airtight container in the refrigerator for up to 3 days.


Can you make this pasta and use an Italian pasta maker? I don’t have a kitchen aide
Hi Jennifer, we haven’t tested it with a different pasta maker but I think it would be okay! Let us know how it turns out!
Excelente
This worked fabulously. You wouldn’t know GFree
Thank you
Super easy to make come together in 10 minutes using my kitchen aide. Added to my homemade chicken noodle soup.
My daughter is gluten free/ dairy free we love your recipes! Thank you
Omg this was amazing! My husband is celiac and we’ve talked about attempting GF pasta for years and finally tried it tonight! It was absolutely delicious! I bought a pasta attachment for my stand mixer and it worked great.
Love this pasta. Just finished making it and it was so delicious. It’s also very easy to make! Thank you!
Awesome!! I just rolled out this pasta using my marcato atlas roller. Then I cut it using the marcato into linguine. I can’t believe it. Great recipe!!
Does this dough work in a pasta machine or should it be cut by hand? (I have the pasta attachment for my kitchen-aid mixer)
Yes, just follow the same directions you’d use for regular pasta dough with the machine.
Hi! I saw the nutrition info but do you know the serving size?! Thanks!
The dish makes 4 servings total.
I just found this and haven’t tried it yet, but would this recipe be appropriate for making ravioli? I really miss my butternut squash ravioli and perogies 🙂
Hi Allison, it should work!