Coconut Flour Waffles
Published
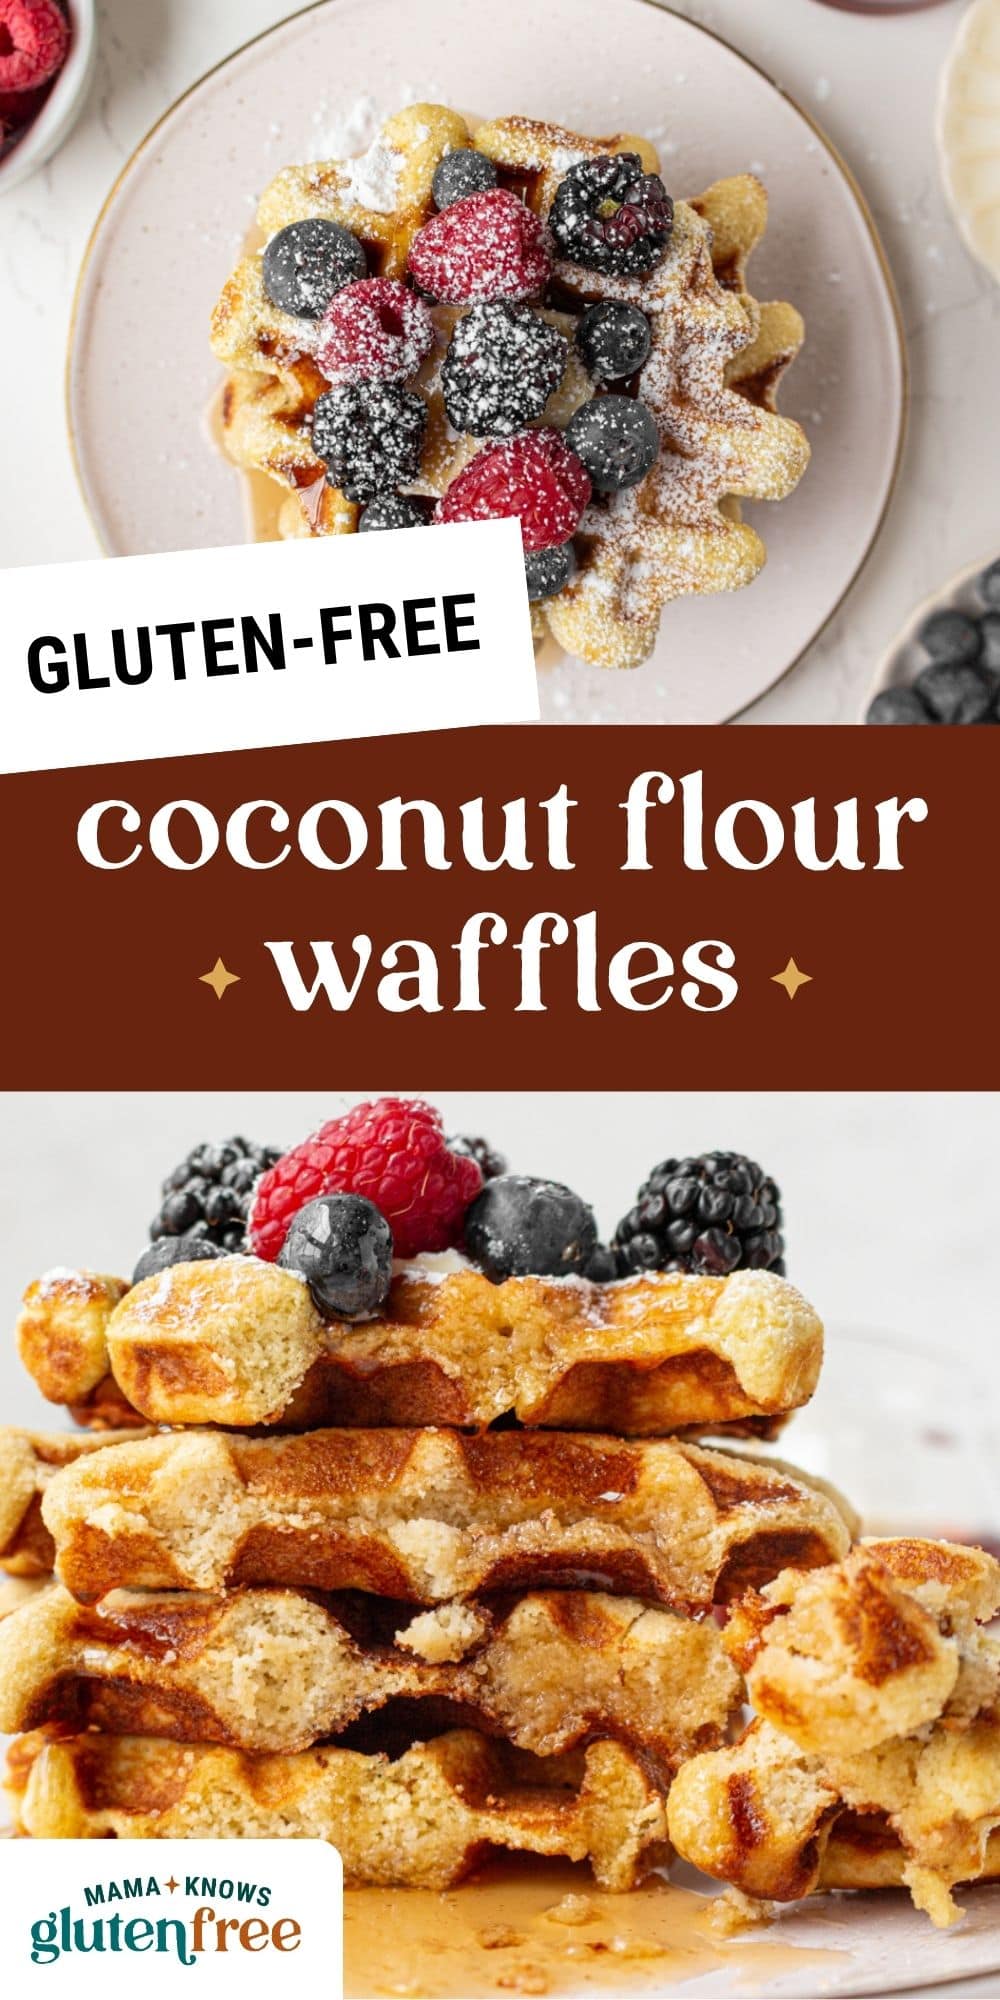
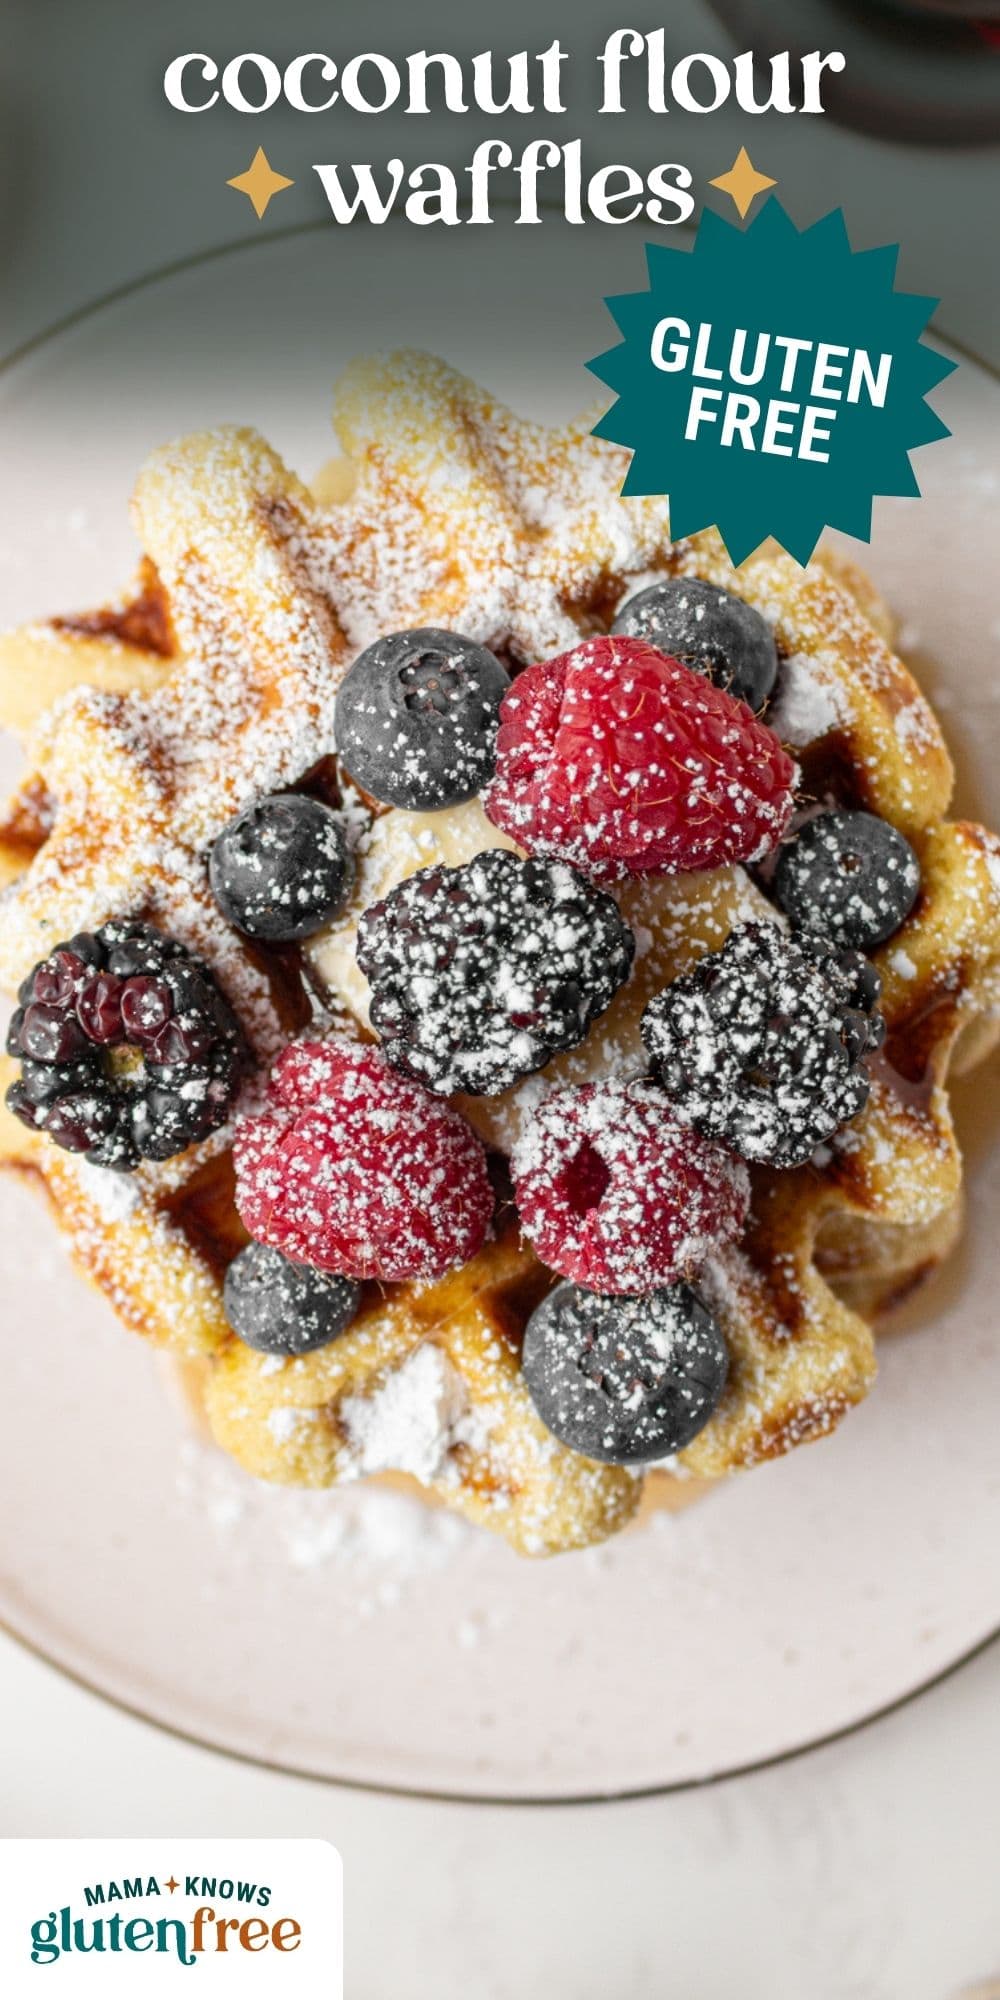
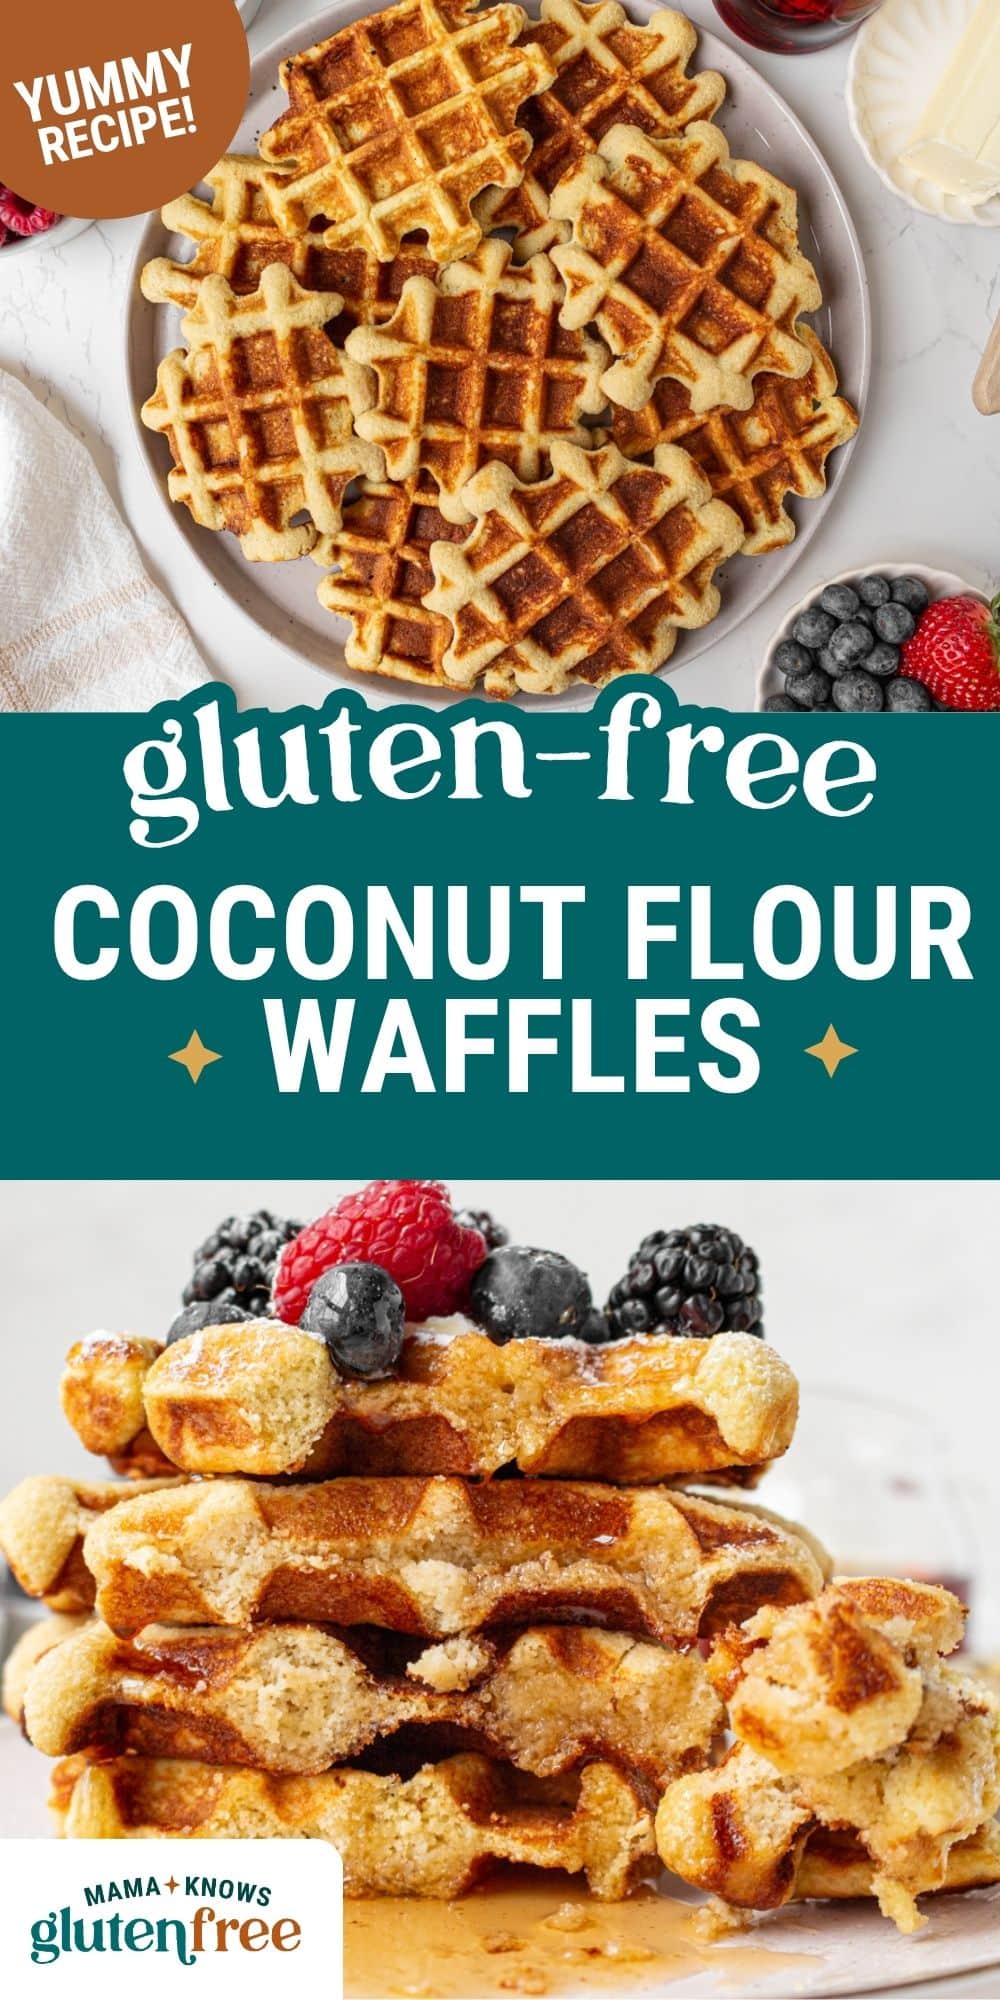
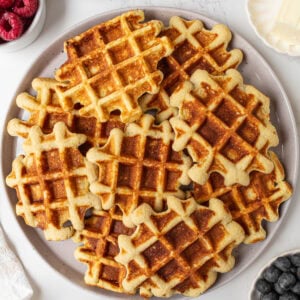
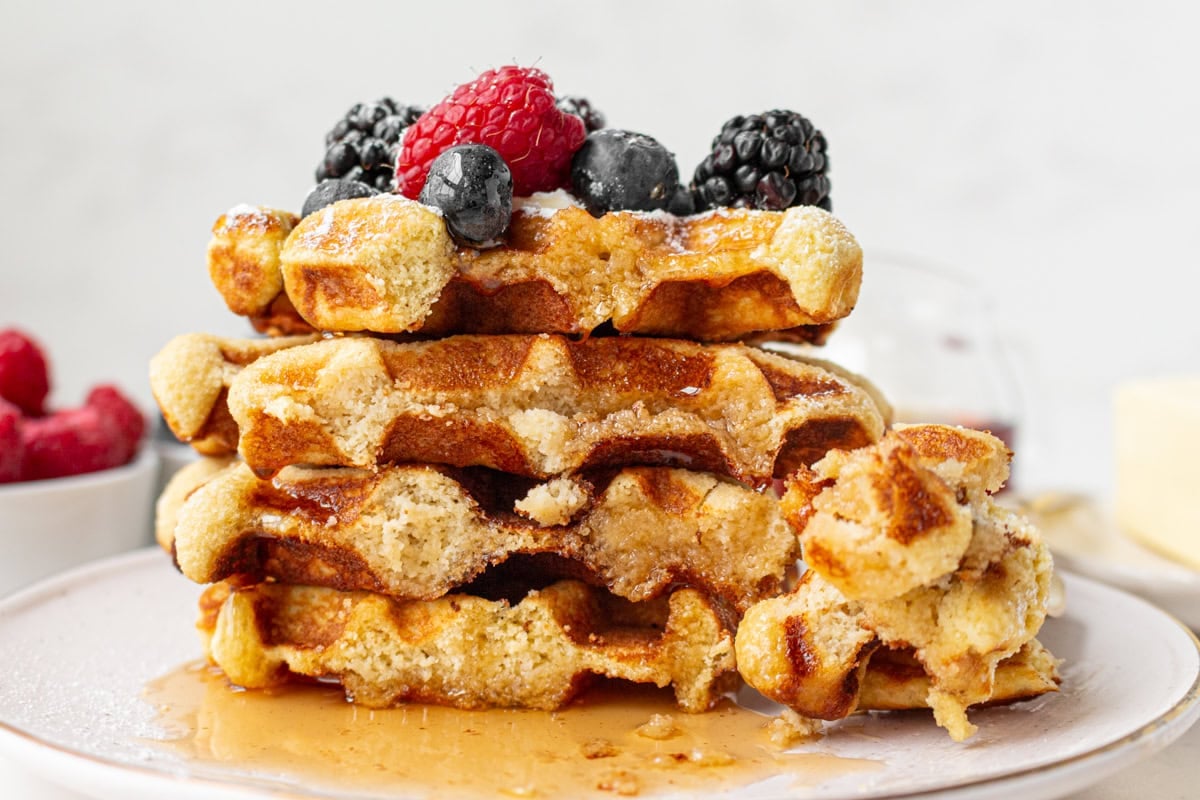
These gluten-free coconut flour waffles are light, fluffy, and naturally low carb. Made with simple ingredients like coconut flour, eggs, and milk, they cook up quickly for an easy gluten-free breakfast. This recipe is perfect if you’re looking for a grain-free waffle that’s fast, satisfying, and great for busy mornings.
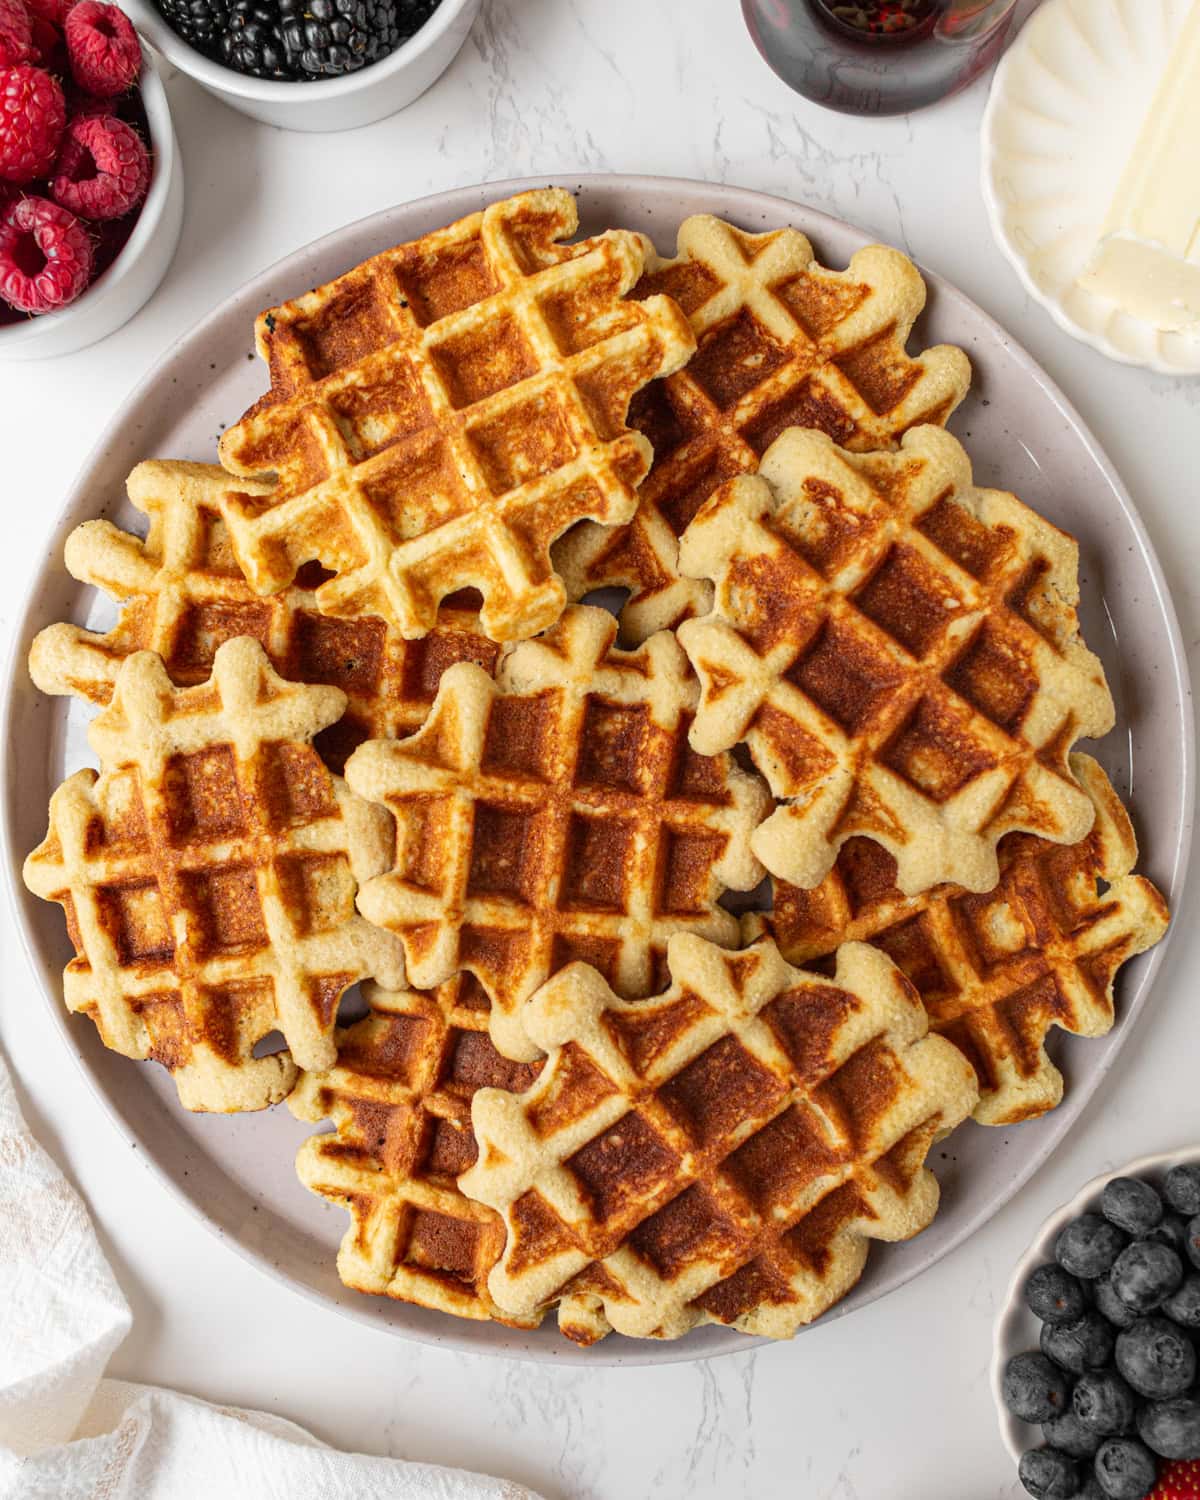
I’m always whipping up waffles on the weekends and wanted to try a low-carb version with coconut flour. These coconut flour waffles are light and fluffy with a delicious, mild coconut flavor, but they do take a slightly different approach than other gluten-free waffles. Coconut flour is highly absorbent, so the batter thickens quickly and is best cooked right away. The eggs are essential here for structure and can’t be reduced, and I’ve found that pulling the waffles as soon as they stop steaming keeps them from drying out. I also like to lightly grease the waffle iron to help them release cleanly and get those crisp edges. If you try them, I’d love to hear how they turn out for you in the comments.
What I Learned While Testing
- Coconut flour works very differently. It absorbs a lot of liquid, so the batter will be thick and almost sponge-like, not pourable. It also thickens as it sits, so once everything is mixed, go straight to cooking for the best texture.
- Timing matters more than you think. Coconut flour waffles can go from perfectly fluffy to dry pretty quickly. Keep an eye on them toward the end of cooking so you don’t lose that soft interior.
- Smaller waffles cook more evenly. I’ve found that using less batter per waffle helps them cook through without drying out the edges. They also hold together better and are easier to remove.
- The eggs are non-negotiable here. Coconut flour relies heavily on eggs for structure. I tested using fewer, and the waffles fell apart and turned out too soft. Stick with all 3 eggs for the best results.
- Pull them as soon as the steaming stops. This is the easiest doneness cue. Once the waffles stop releasing steam, they’re done. Leaving them longer will dry them out.
- Let them rest for a minute before removing. They firm up slightly as they cool, which makes them easier to lift out of the waffle iron without breaking.
- Lightly grease your waffle iron every time. Even if it’s nonstick, a light coating of butter or oil helps prevent sticking and gives you those crisp, golden edges.
Coconut Flour Waffles
Equipment
- 1 waffle iron
Ingredients
- ½ cup coconut flour
- 1 tbsp sugar
- ¼ tsp baking soda
- ⅛ tsp salt
- ½ cup milk
- 3 tbsp butter, melted and room temp
- 3 large eggs
- ¾ tsp vanilla
Instructions
- Preheat your waffle iron.
- In a medium bowl, whisk together the coconut flour, sugar, baking soda, and salt.
- In a 2-cup measuring cup, whisk together the milk, melted butter, eggs and vanilla.
- Whisk the milk mixture into the coconut flour mixture until well combined and no longer lumpy.
- Portion 3-4 tbsp onto the center of each waffle cavity. (Mine has 4 squares.)
- Cook the waffles according to your specific waffle iron instructions, until golden brown and no longer steaming. Serve warm with your favorite waffle toppings.
Nutrition
Nutrition information is automatically calculated, so should only be used as an approximation.
How to Make Coconut Flour Waffles Step by Step
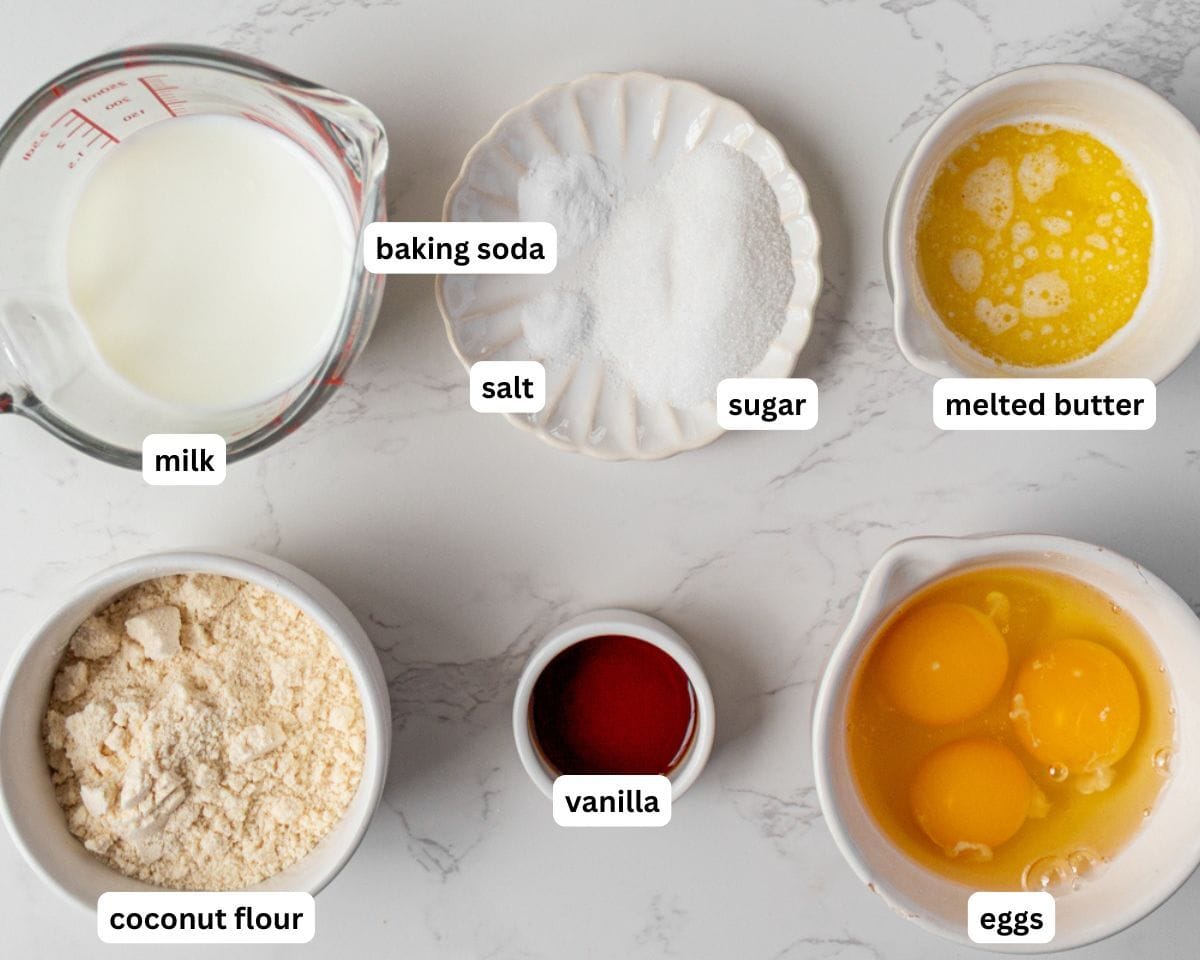
Gather the ingredients: Gather all the ingredients together. Preheat your waffle iron according to the manufacturer’s instructions until fully hot, so the waffles start cooking immediately when the batter hits the surface.
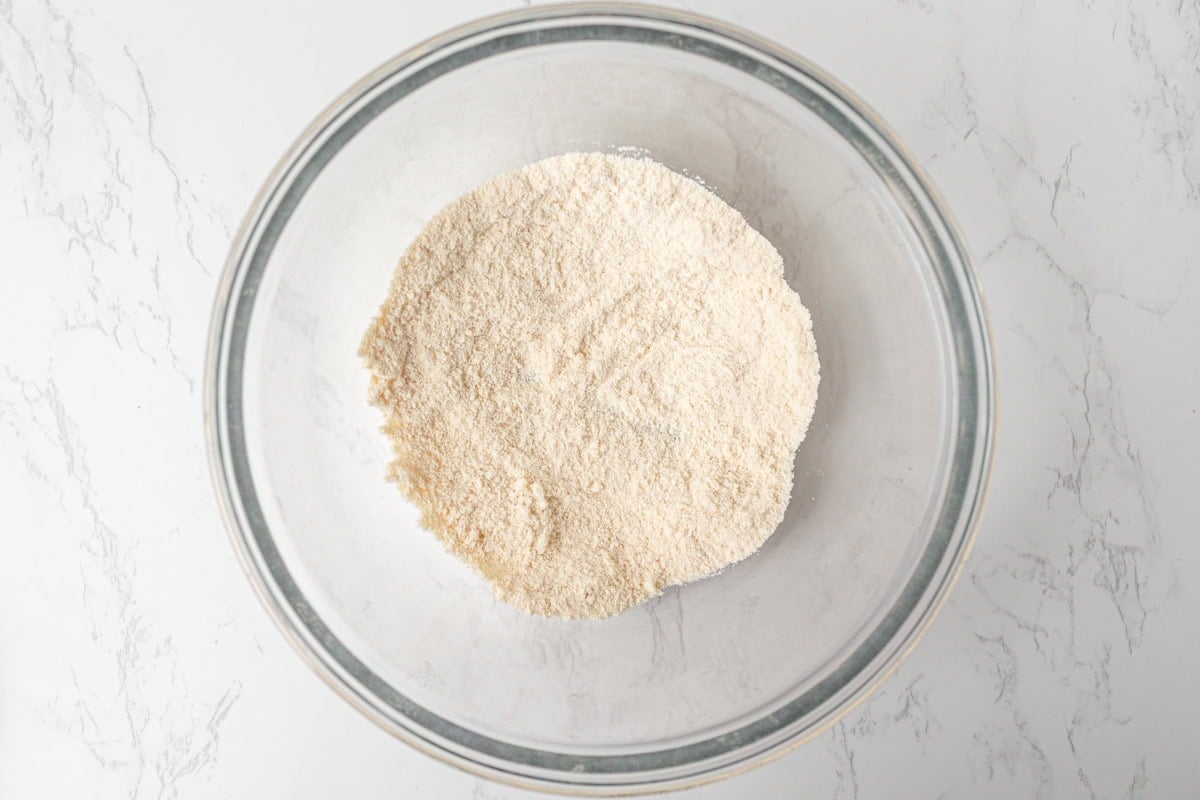
Mix the dry ingredients: In a medium bowl, whisk together ½ cup (64g) coconut flour, 1 tbsp sugar, ¼ tsp baking soda, and ⅛ tsp salt until the mixture looks evenly combined with no visible clumps.
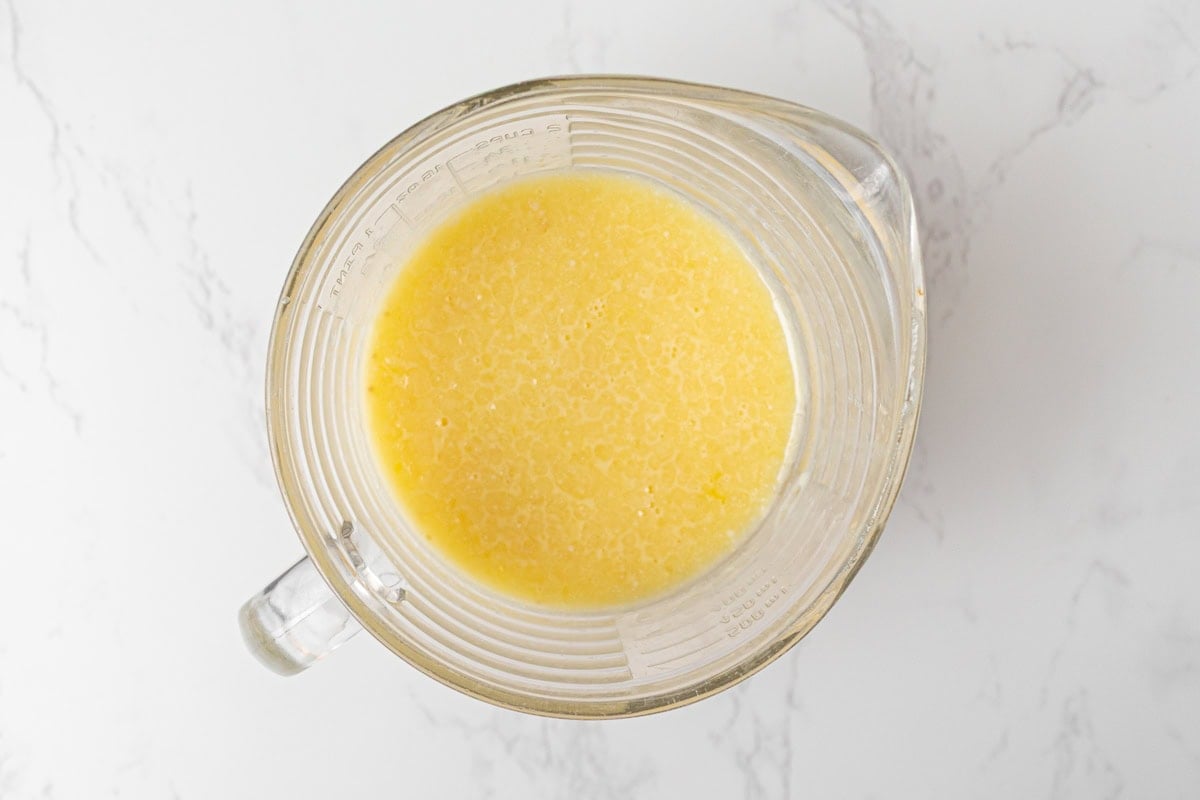
Mix the wet ingredients and combine: In a separate measuring cup or bowl, whisk together ½ cup (114ml) milk, 3 tbsp melted butter (cooled to room temperature so it doesn’t scramble the eggs), 3 large eggs, and ¾ tsp vanilla extract until the mixture is smooth, fully blended, and slightly frothy. Pour the wet ingredients into the dry ingredients and whisk until completely combined and smooth, stopping once no lumps remain, and the batter is thick and sponge-like rather than thin or pourable.
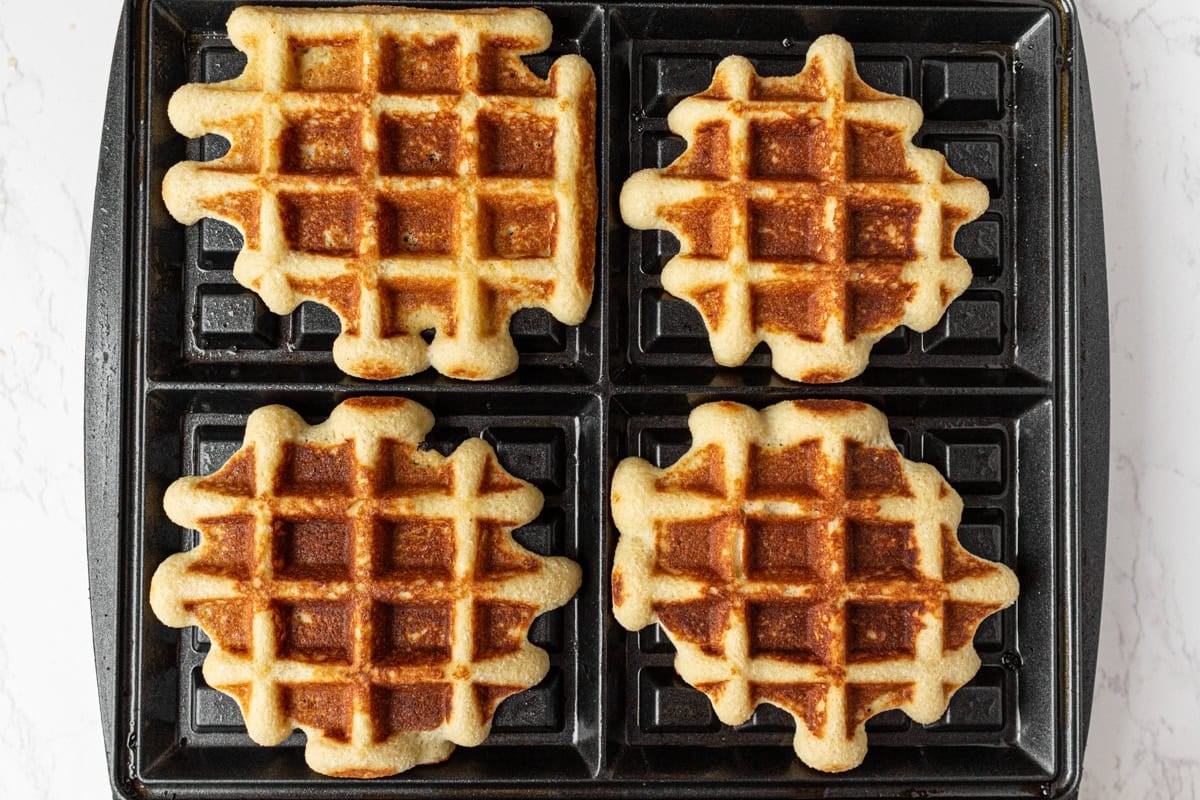
Cook the waffles: Spoon 3–4 tbsp of batter into the center of each waffle cavity, letting it spread slightly on its own without forcing it to the edges since the batter will expand as it cooks. Close the waffle iron and cook according to your machine’s instructions until the waffles are golden brown and stop releasing steam, which indicates they are cooked through without drying out.
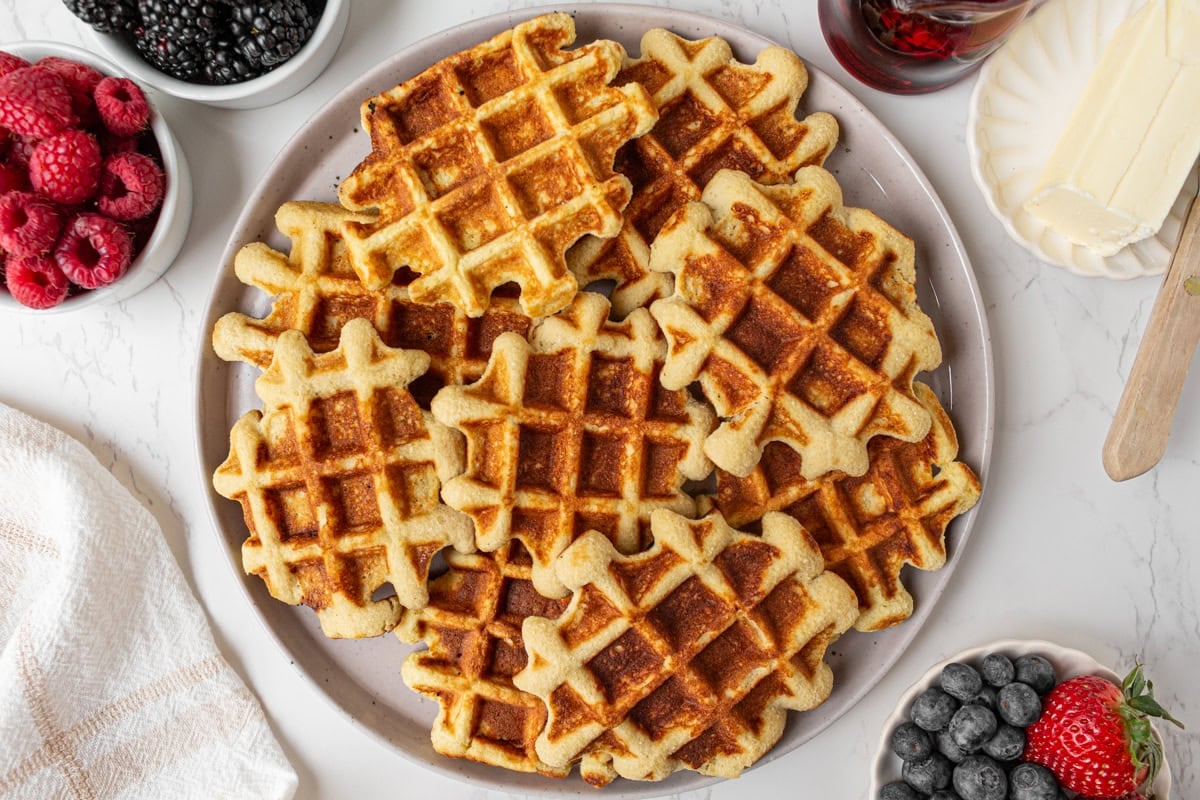
Remove and serve: Let the waffles sit in the waffle iron for about 30–60 seconds after cooking so they can firm up slightly, then gently remove and serve warm with your favorite toppings.
Serving Suggestions
These coconut flour waffles are perfect for quick weekday breakfasts, relaxed weekend brunch, or even meal prep for the week ahead. I love serving them warm with butter and maple syrup for something classic, or pairing them with a crustless ham and cheese quiche for a more filling, savory breakfast. You can also keep things fresh and simple with berries and whipped cream, or go for something a little more hearty with nut butter and banana slices. For an easy dairy-free option, serve them with your favorite dairy-free yogurt and a sprinkle of keto granola for added texture.
Recipe Variations and Substitutions
- Make it dairy-free: Swap the butter for melted coconut oil for a fully dairy-free option with a slightly richer coconut flavor.
- Adjust the sweetness: You can use maple syrup or honey in place of the sugar. Just note this will slightly increase moisture, so the batter may be a bit looser.
- Add warm spices: A pinch of cinnamon or nutmeg adds extra depth and pairs really well with the mild coconut flavor.
- Mix in add-ins: Fold in blueberries or chocolate chips just before cooking for a simple flavor variation.
- Make mini waffles for meal prep: Smaller waffles cook more evenly and are perfect for freezing and reheating throughout the week.
Storage Instructions
Store leftover waffles in an airtight container in the refrigerator for up to 3 days. For longer storage, freeze the waffles in a single layer until solid, then transfer them to a zip-top bag and store for up to 2 months.
To reheat, pop them in the toaster or back into the waffle iron to bring back those crisp edges and warm them through. I recommend avoiding the microwave if possible, since it tends to make them soft instead of crisp.
More Gluten-Free Breakfast Recipes to Try
- Coconut Flour Pancakes: These coconut flour pancakes use the same base ingredient and have a similar fluffy, low-carb texture, making them a great stovetop alternative to waffles.
- Almond Flour Waffles: A great option if you want a waffle with fewer eggs and a slightly lighter, more traditional texture compared to coconut flour waffles.
- Easy Gluten-Free Pancakes: This is a classic gluten-free pancake recipe made with a flour blend, perfect if you’re looking for a more traditional breakfast option with similar prep and cook time.
- Gluten-Free French Toast: Another easy, cozy breakfast option made with simple ingredients like eggs and milk, great when you want something similar but not waffle-based