Cassava Bread
Published
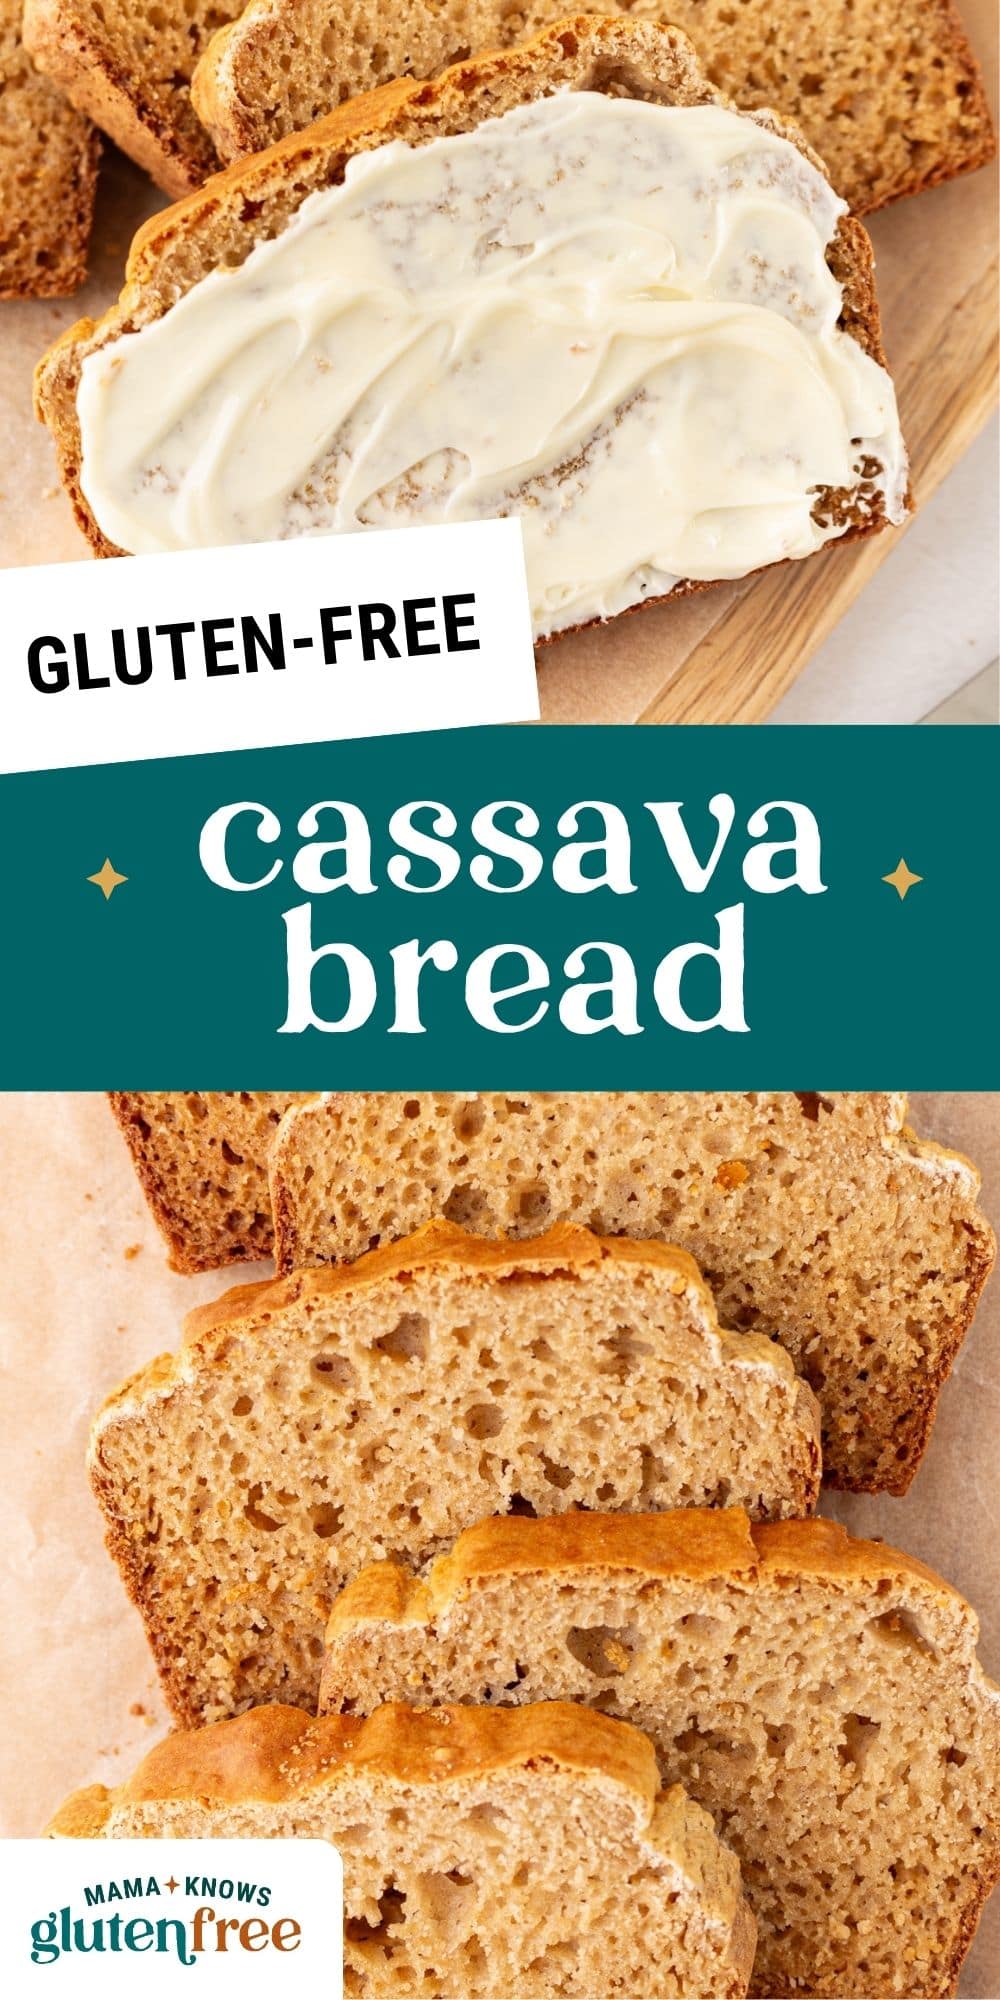


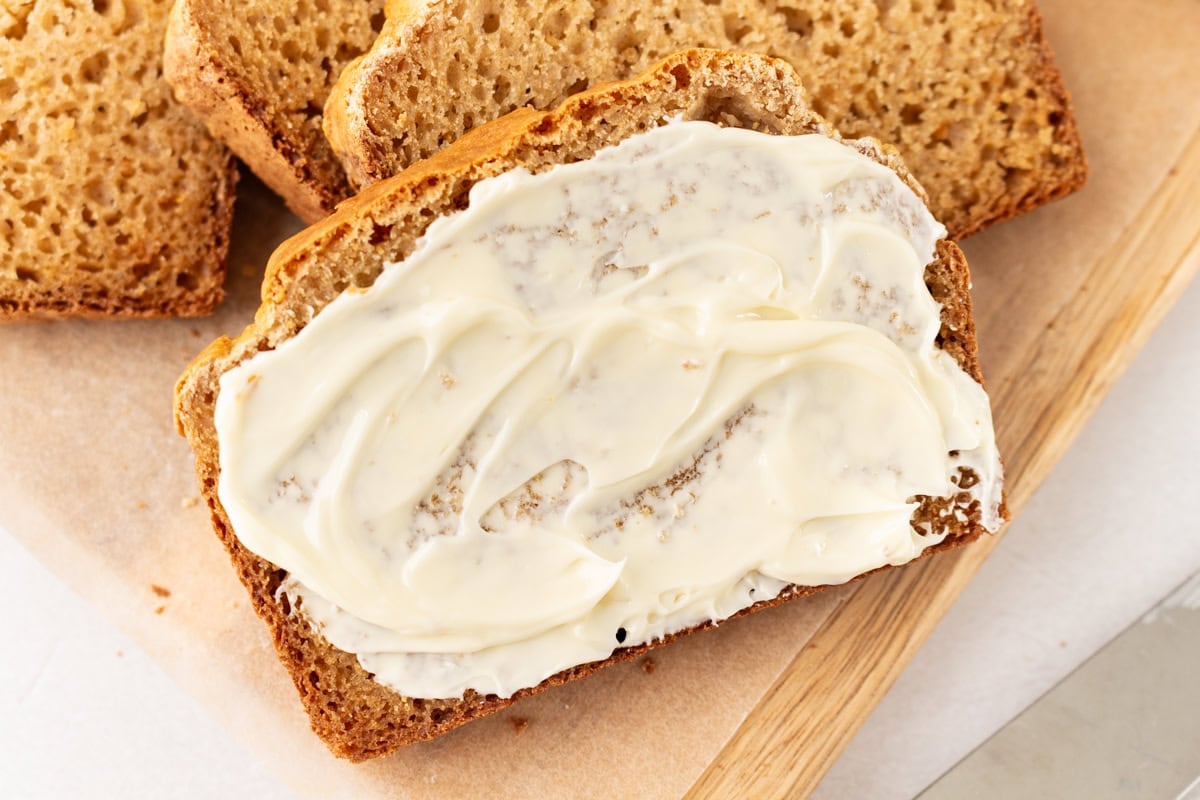
I’ve been on a cassava flour kick lately, and this easy cassava bread is the latest obsession in my kitchen. It’s naturally gluten-free, grain-free, and made with just a handful of pantry staples—no yeast or rising time needed. The texture is soft and chewy with just the right amount of crispness around the edges. I love it warm out of the oven with a smear of butter or sliced up for sandwiches and toast.
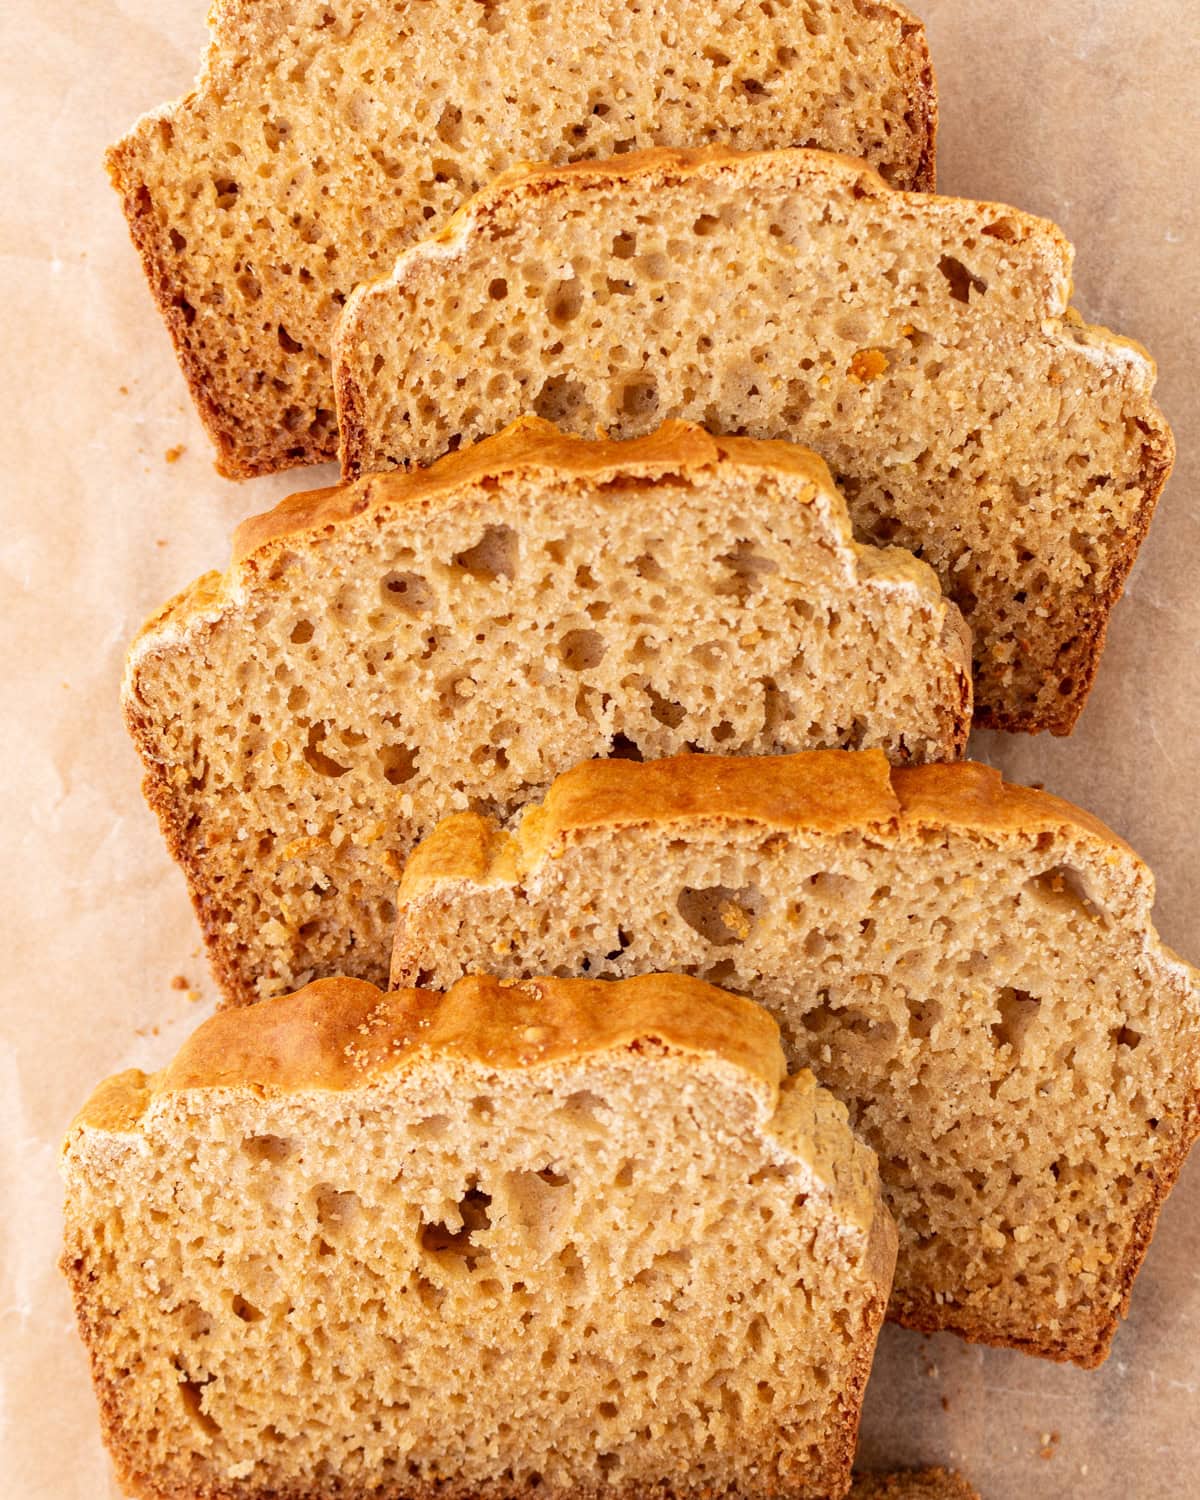
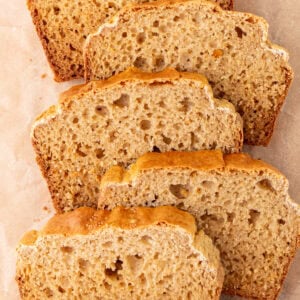
After I realized how much of a hit my cassava flour tortillas turned out, I knew I had to try baking a loaf of cassava bread—and it did not disappoint. I love how soft and just slightly springy it is, thanks to the combo of cassava flour and a little tapioca flour. The cassava gives it structure and a slight chew, while the tapioca keeps it crumbly. I also add buttermilk and Greek yogurt—two ingredients I almost always have on hand—to keep the loaf moist and fluffy. There’s a bit of honey for a touch of sweetness and just enough oil to make it tender without feeling heavy. Honestly, every time I make a loaf, it disappears within hours.
Cassava Bread
Equipment
- 1 4×8-inch loaf pan or 5×9-inch loaf pan
Ingredients
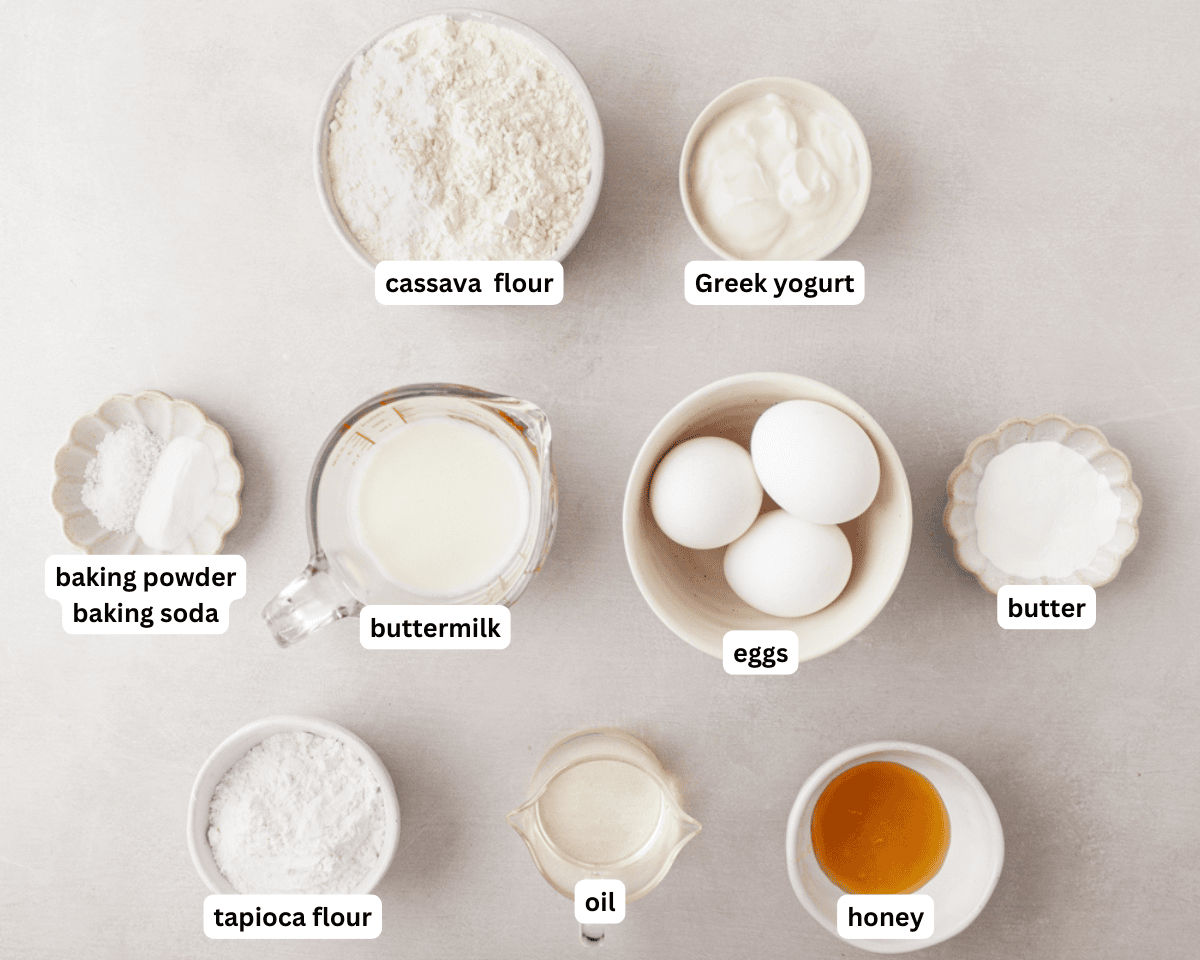
- 1 ½ cups cassava flour*
- 1/3 cup tapioca flour**
- 2 teaspoons baking powder
- 1 teaspoon baking soda
- ¾ teaspoons kosher salt
- 3 large eggs
- ½ cup buttermilk
- 1/3 cup Greek yogurt***, or sour cream
- 2 tablespoons olive oil, vegetable, canola, avocado or olive
- 1 ½ tablespoons honey
Instructions
- Preheat the oven to 350°F (177°C) and line a 4×8 or 5×9 loaf pan with parchment paper.****
- In a medium bowl, whisk together the cassava flour, tapioca flour, baking powder, baking soda and salt.
- In a large measuring cup, whisk together the eggs, buttermilk, Greek yogurt, oil and honey, until well combined.
- Pour the egg mixture into the dry flour mixture and stir until well combined and no pockets of flour remain. Make sure not to overmix as it can mess with the rise.
- Evenly spread the batter into the prepared pan.
- Bake for 35-40 minutes. Keep an eye on the center when baking. The top can look done before the middle is fully cooked. I always use the toothpick test—when it comes out clean from the center, you’re good to go.
- Let the bread cool in the pan for about 10 to 15 minutes, then transfer it to a rack to finish cooling.
Notes
Nutrition
Nutrition information is automatically calculated, so should only be used as an approximation.
How to Make Cassava Bread Step by Step
Gather the ingredients: Gather all the ingredients together. Preheat your oven to 350°F. Line a 4×8-inch or 5×9-inch loaf pan with parchment paper, making sure the paper covers the bottom and sides to help the bread release easily after baking.
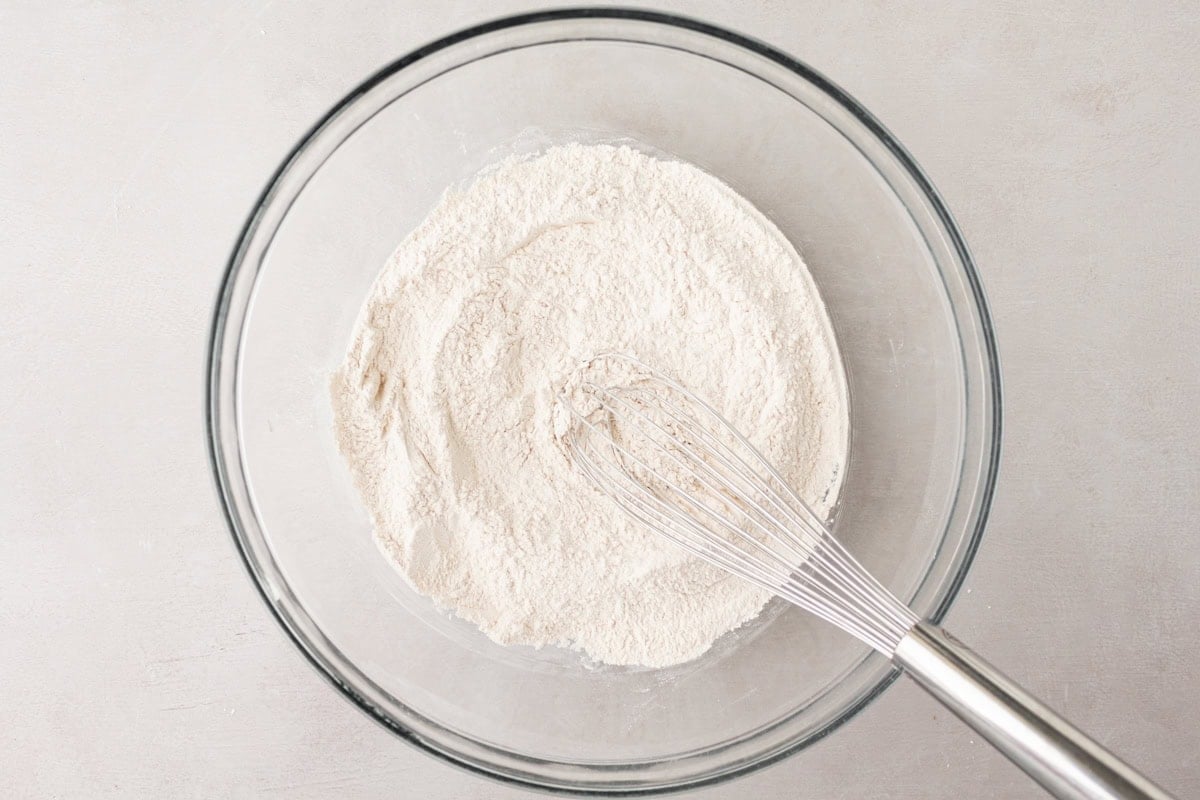
Whisk the dry ingredients: In a medium bowl, whisk together 1½ cups of cassava flour, ⅓ cup of tapioca flour, 2 tsp of baking powder, 1 tsp of baking soda, and ¾ tsp of kosher salt. Mix well.
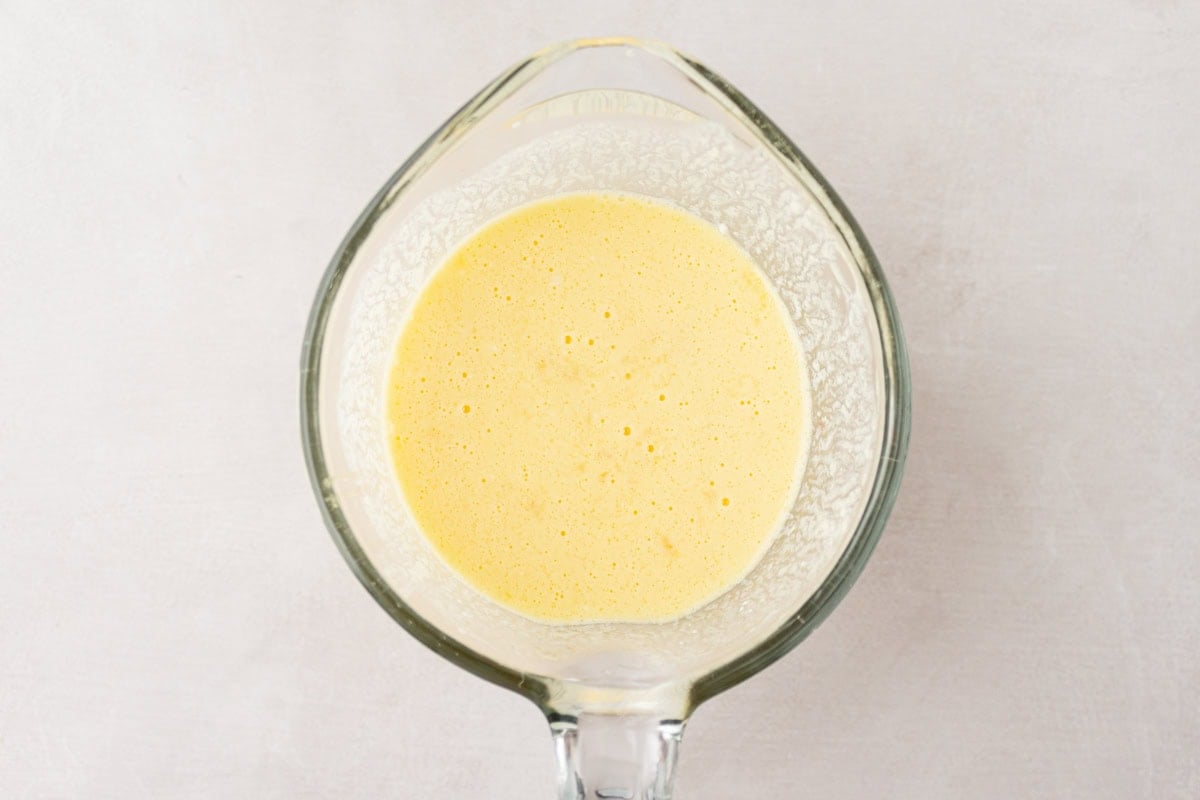
Blend the wet ingredients: In another mixing bowl, combine 3 large eggs, ½ cup of buttermilk, ⅓ cup of Greek yogurt (or sour cream), 2 tbsp of your preferred oil (such as vegetable, canola, avocado, or olive), and 1½ tablespoons of honey. Whisk until the mixture is smooth.
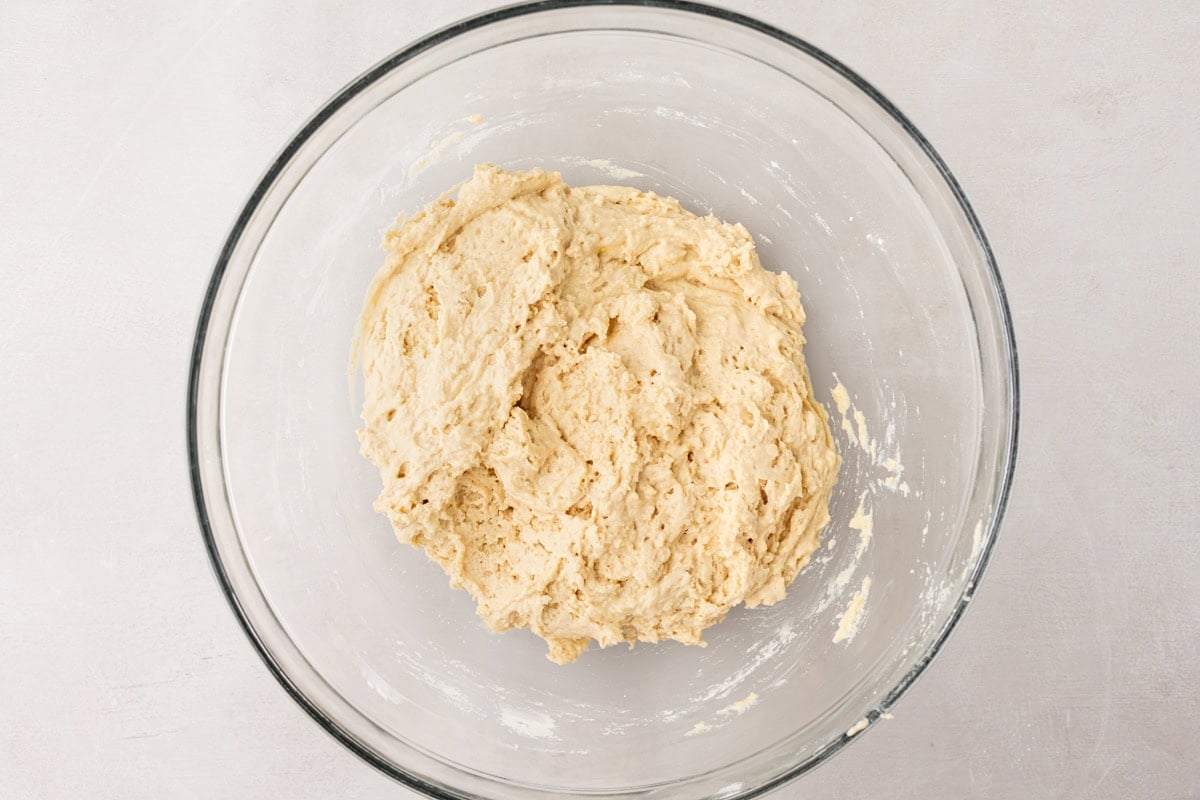
Combine wet and dry: Pour the wet ingredients into the bowl of dry ingredients. Stir the mixture gently but thoroughly until no dry flour remains and the batter looks cohesive. Be careful not to overmix—just stir until everything is combined.

Fill the Pan: Transfer the batter into the prepared loaf pan, spreading it evenly and smoothing the top with a spatula.

Bake the bread: Place the pan in the oven and bake for 35 to 40 minutes or until a toothpick inserted into the center of the loaf comes out clean. Keep an eye on the center when baking. The top can look done before the middle is fully cooked.
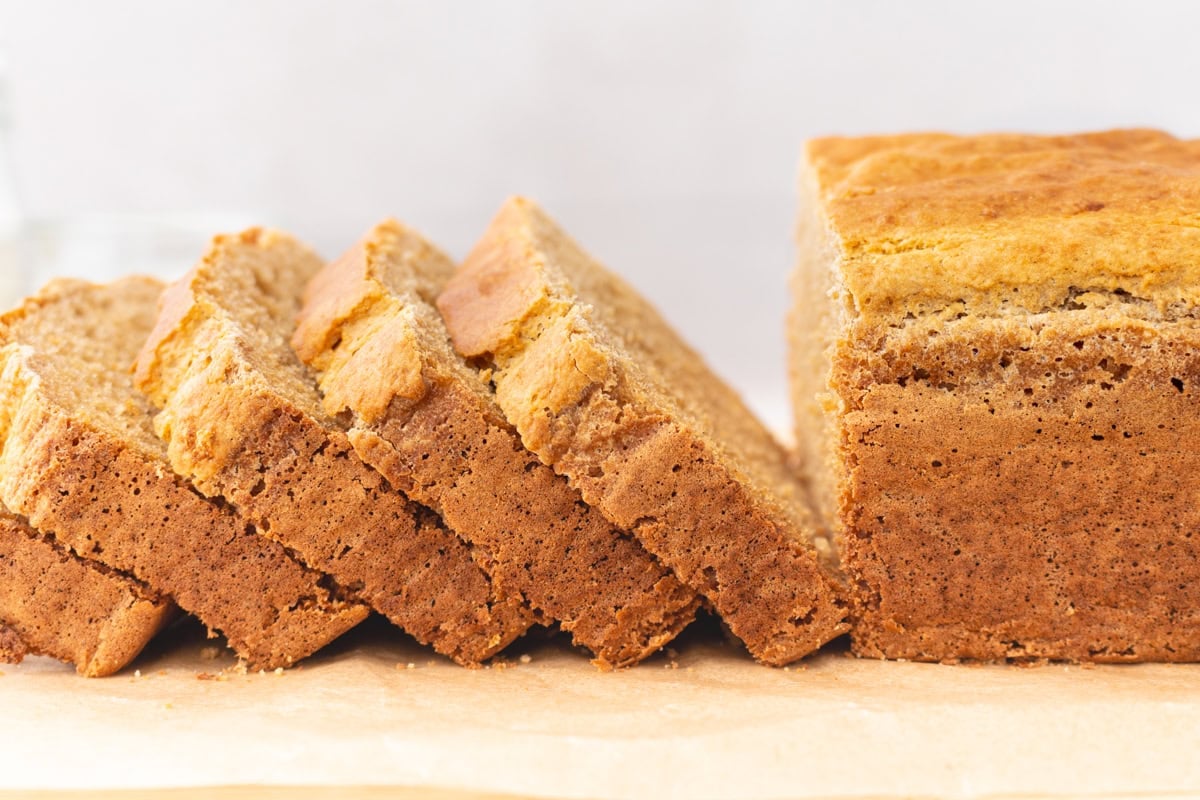
Cool and slice: Once baked, remove the loaf from the oven and let it cool in the pan for about 10 to 15 minutes. Then, lift it out using the parchment and set it on a wire rack to cool completely. Wait until it’s fully cooled before slicing to ensure the best texture. Enjoy!
Serving Suggestions
I like to enjoy this cassava bread warm—either fresh out of the oven or toasted the next day. It’s delicious with a little butter or honey if you’re in the mood for something sweet or topped with avocado or eggs for a savory option. Use it as sandwich bread for a grilled cheese to go with gluten-free tomato soup or a side for gluten-free chili. However you serve it, this is one of those breads that disappears fast!
Storage Instructions
Once the bread has completely cooled, wrap it tightly in plastic wrap or store it in an airtight container at room temperature for up to 2 days.
For longer storage, keep it in the fridge for up to a week—it holds up well and toasts beautifully. You can also freeze individual slices for up to 3 months. Just pop them in the toaster straight from the freezer when you’re ready to enjoy.


Excellent recipe! I was surprised at how moist this actually turned out to be. Thank you! Best cassava bread recipe I’ve had. Thank you!
This recipe works!!!! I can tell you first hand. I have tried a few GF bread recipes using cassava flour and this one is the best! I followed the instructions exactly and it came out fluffy and tasty! Thank you for a great recipe!
Good and easy! Thanks.
I am very tempted to make this but I can’t have yogurt/dairy. what can I use instead to keep it moist?
thanks!
Hi, you can try dairy-free yogurt or use mashed banana or applesauce.