Homemade Gluten-Free Flour Blend
Published
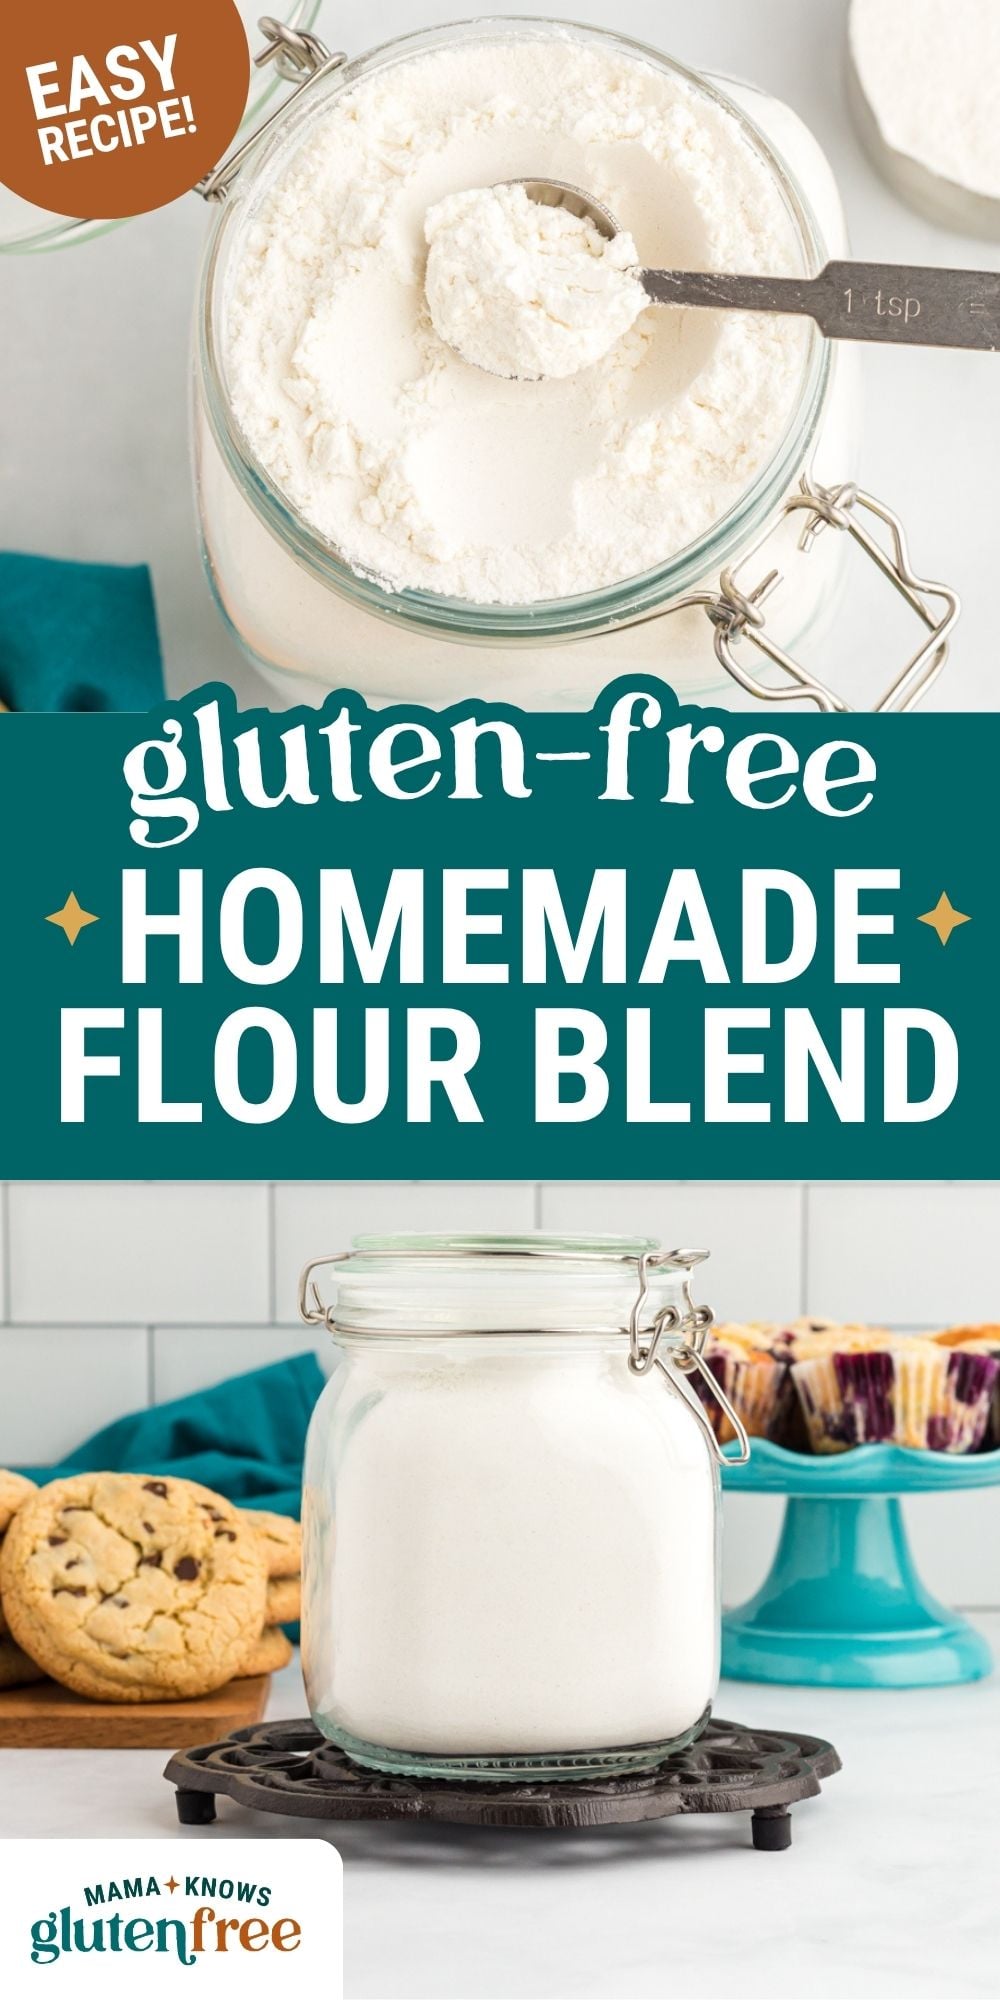

This homemade gluten-free flour blend is a well-balanced, Cup4Cup-style mix made with simple ingredients and a superfine texture. I use it as an all-purpose gluten-free flour for baking, creating soft, tender results without any grit. Designed to mimic the performance of store-bought blends, this easy gluten-free flour blend comes together in minutes and is perfect for everything from cakes and cookies to muffins and quick breads.
I started making my own gluten-free flour blend after getting frustrated with how inconsistent store-bought options could be. Some were too gritty, others too dense, and a few just didn’t bake the same way twice. Cup4Cup has always been my go-to, so I set out to recreate that same texture and consistency at home. After testing, I landed on a balanced mix of rice flours for structure, starches for lightness and softness, plus milk powder and xanthan gum for better texture and binding. Unlike single-ingredient options like almond flour or oat flour, this blend is designed to be well-balanced and behave like a true all-purpose flour. The double sifting step makes a huge difference in creating that smooth, superfine texture. This is the blend I reach for when I’m baking cakes, muffins, cookies, and even quick breads because I know it will turn out every time. If you’ve struggled with gluten-free baking before, I’d love to hear what’s worked (or hasn’t!) for you in the comments.
What I Learned While Testing
- Weigh your ingredients. For the most accurate results, I always use a kitchen scale. Measuring cups can pack down flour and throw off the balance of the blend.
- Use superfine flours. If your baked goods turn out gritty, it’s usually because the flours weren’t fine enough. A superfine texture makes a big difference. If any of your ingredients aren’t a superfine texture, use a food processor to blend the ingredient into a light powdery texture before combining it with the other ingredients.
- I used all Bob’s Red Mill products. For this blend, I used Bob’s Red Mill, except for the milk powder (I used Carnation) and the xanthan gum (I used Texturestar).
- Sift the blend twice. I always double sift to fully combine the ingredients and create a smooth, uniform flour with no clumps.
- Check for certified gluten-free labels. Even naturally gluten-free ingredients can have cross-contamination, so I always double check packaging.
- This gluten-free flour blend makes a total of 530 grams. When measuring this for baking, 1 cup of this homemade gluten-free flour blend is 140 grams.
Homemade Gluten-Free Flour Blend
Equipment
- 1 Sieve
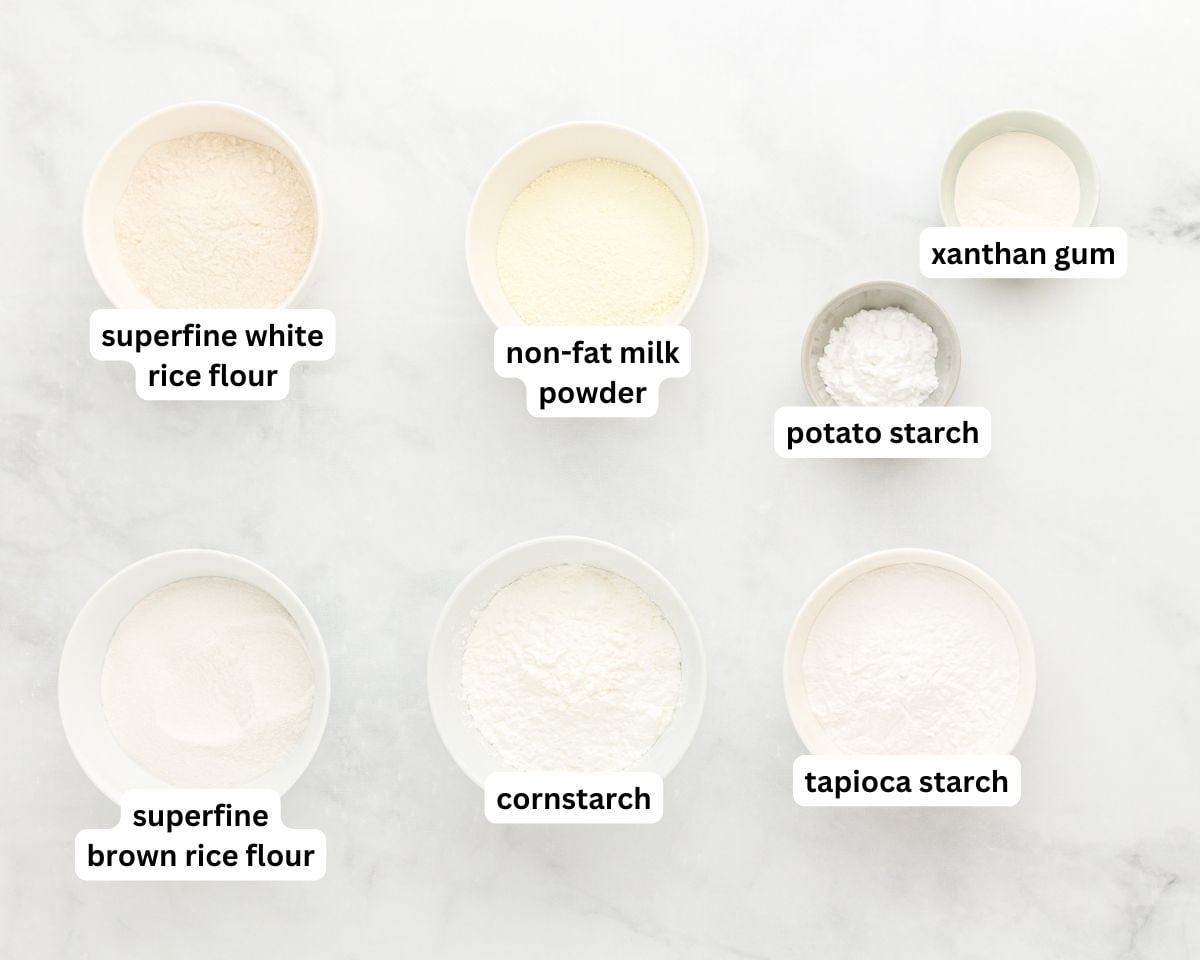
Ingredients
- 1 cup superfine white rice flour
- 1 cup cornstarch
- ¾ cup tapioca starch*
- ½ cup superfine brown rice flour
- ½ cup non-fat milk powder
- 1 tbsp potato starch**
- 1 tbsp xanthan gum
Instructions
- Combine all ingredients in a superfine mesh strainer and sift over a large bowl.
- Stir the mixture then sift it a second time.
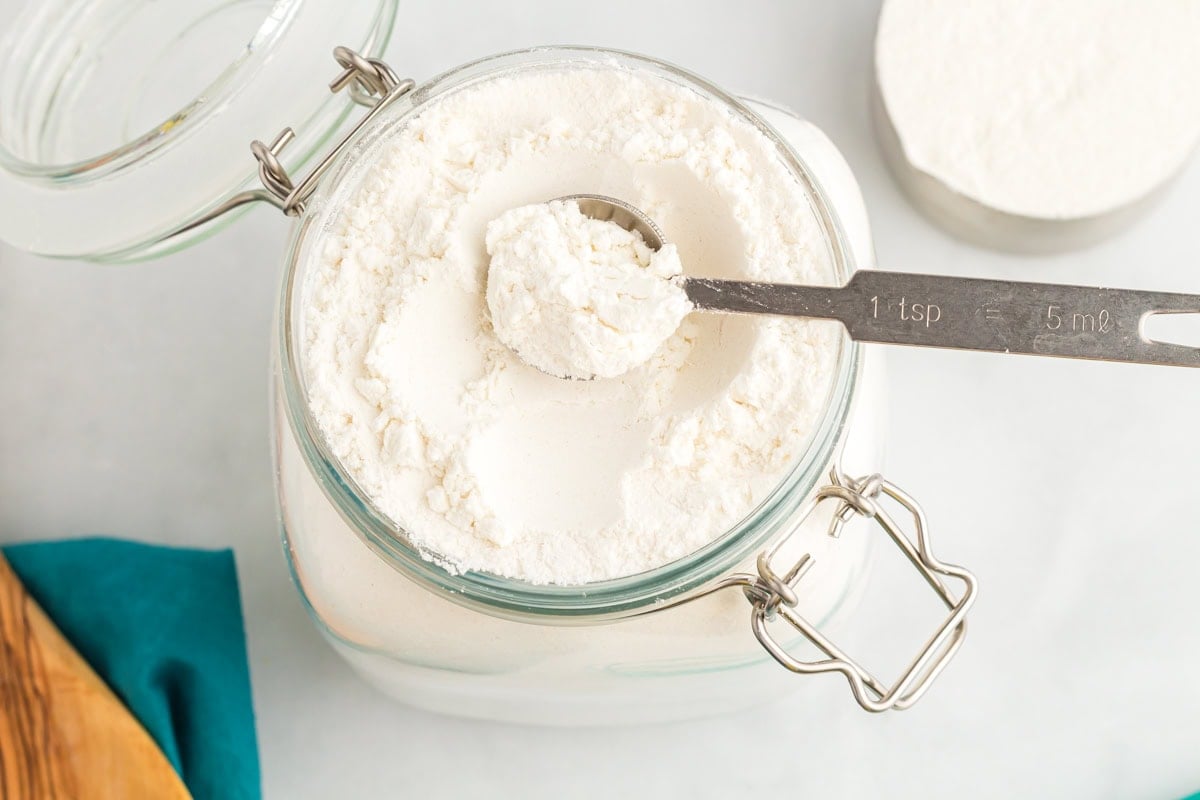
- Store the homemade gluten free flour blend in an airtight container.
Notes
Nutrition
Nutrition information is automatically calculated, so should only be used as an approximation.
How to Make Homemade Gluten-Free Flour Blend Step by Step
Gather all the ingredients together.
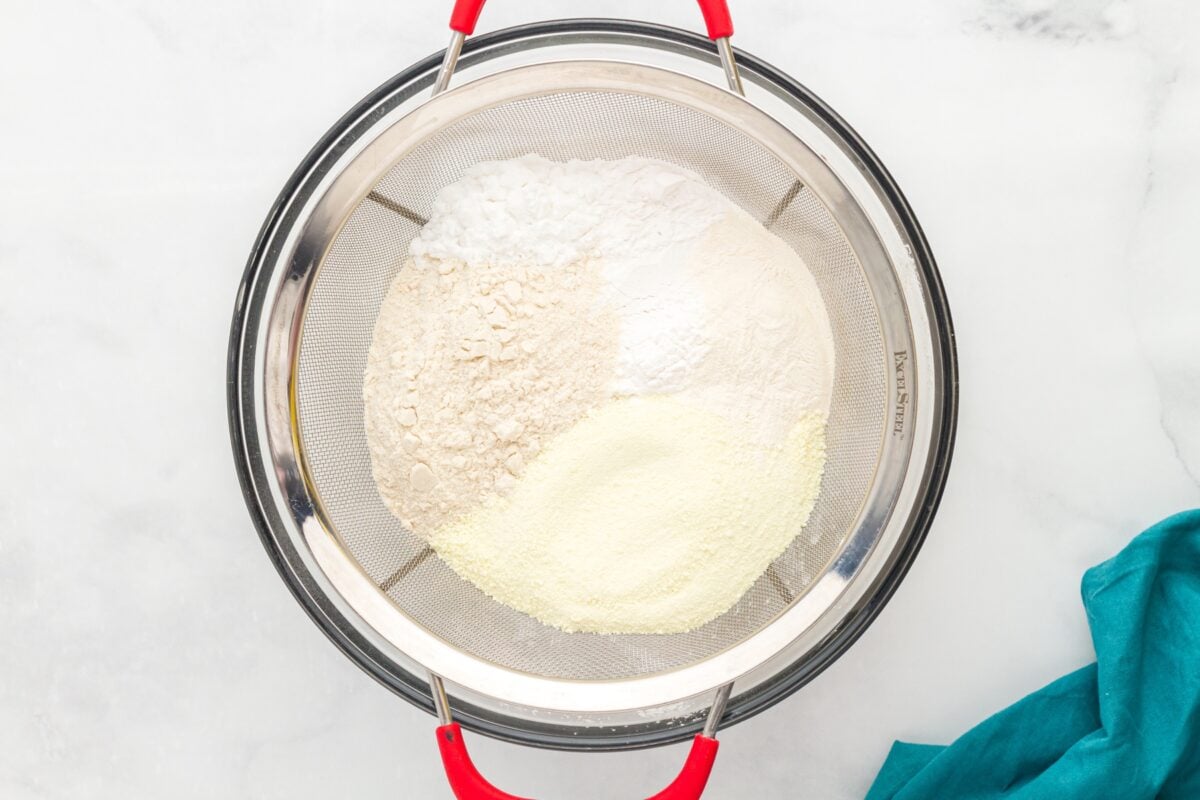
Combine the ingredients: Add 1 cup (160g) superfine white rice flour, 1 cup (128g) cornstarch, ¾ cup (90g) tapioca starch, ½ cup (80g) superfine brown rice flour, ½ cup (50g) non-fat milk powder, 1 tbsp (12g) potato starch, and 1 tbsp (9g) xanthan gum to a superfine mesh strainer set over a large bowl. Sift the mixture into the bowl. The flour should look light, airy, and evenly combined with no visible clumps.
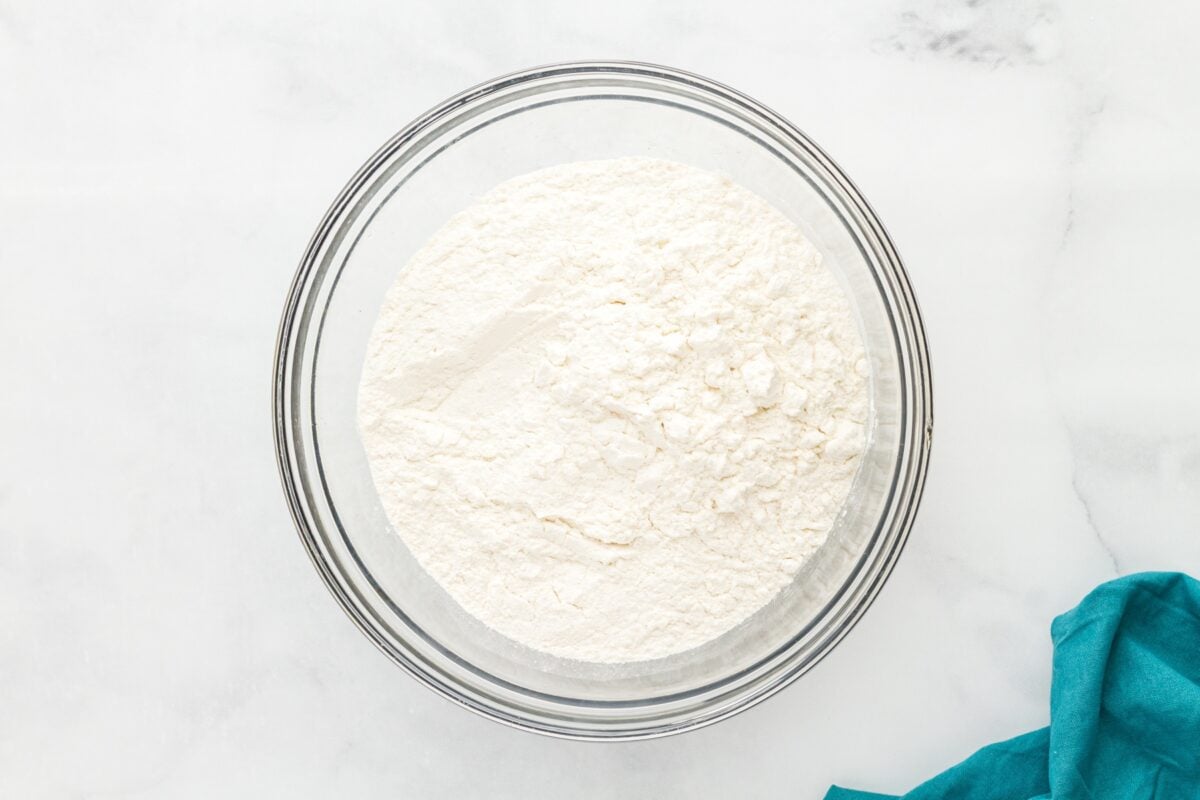
Second sift: Gently stir the mixture, then sift it a second time to ensure a smooth, uniform texture. This step helps prevent any gritty results when baking.

Store and use: Transfer the gluten-free flour blend to an airtight container. Store in a cool, dry place until ready to use.
Serving Suggestions
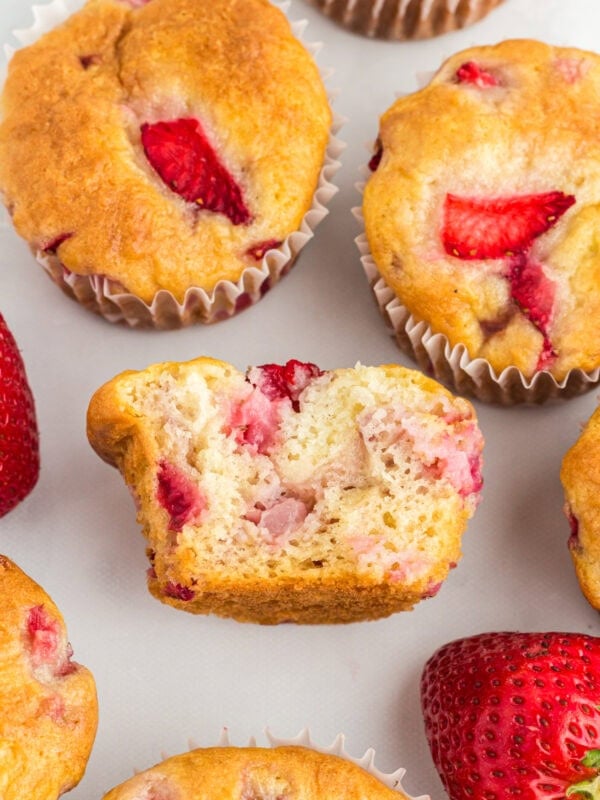
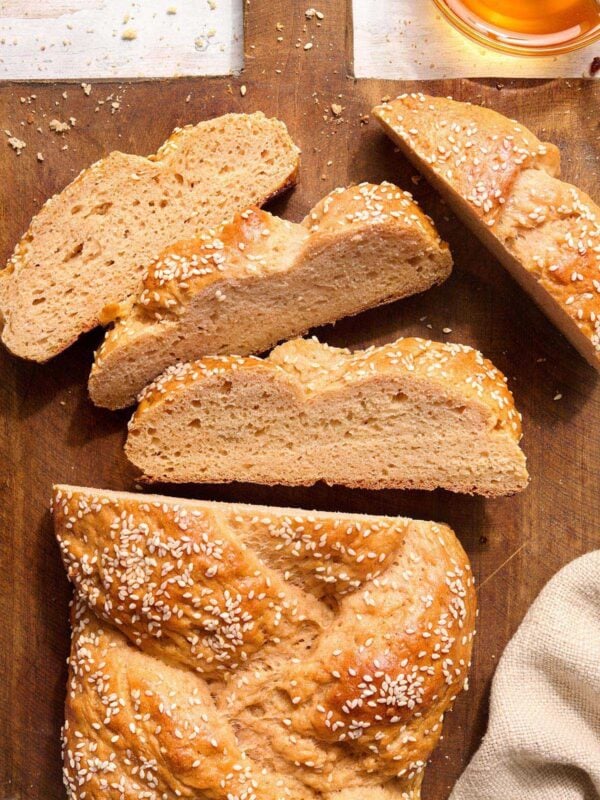
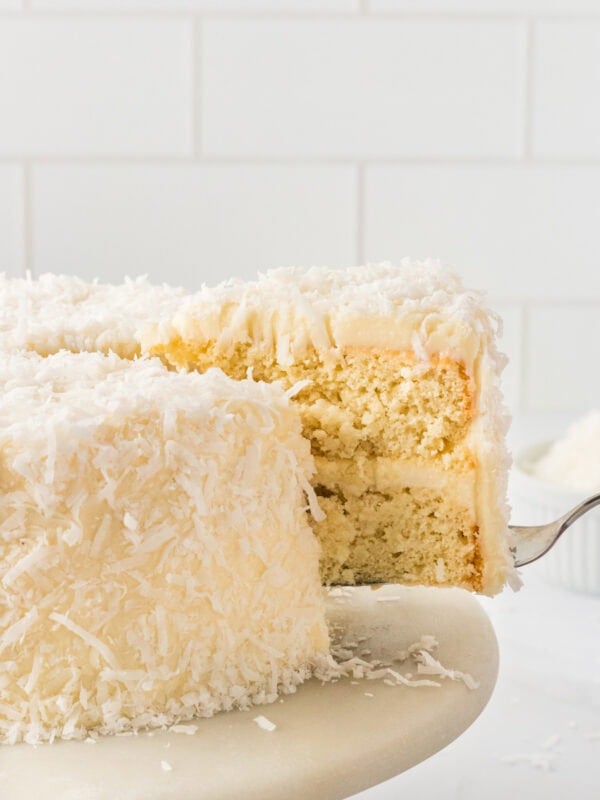
I use this homemade gluten-free flour blend in everything from cakes and muffins to pancakes and quick breads. It works especially well in recipes where you want a soft, tender texture without any grit. I love using it for things like gluten-free lemon poppy seed muffins and quick breads like gluten-free cinnamon bread. I also rely on it for cookies and brownies because it gives that classic bakery-style crumb. If I’m baking for guests who don’t eat gluten-free, this is the blend I reach for because no one can tell the difference.
Storage Instructions
I like to make a large batch of this gluten-free flour blend and keep it on hand so I can bake anytime without measuring out multiple flours. Store the blend in an airtight container in a cool, dry place for up to 3 months.
For longer storage, you can keep it in the refrigerator. To freeze, transfer the flour to a sealed container or zip-top bag and freeze for up to 6 months. Let it come to room temperature before using for the best results.
More Ways to Use Homemade Gluten-Free Flour
- Gluten-Free Pie Crust: This gluten-free pie crust is a great example of how a well-balanced flour blend creates a tender, flaky texture that holds together without crumbling. It relies on a reliable all-purpose gluten-free flour to produce a buttery, easy-to-work dough.
- Easy Gluten-Free Pancakes: These easy gluten-free pancakes show how a good flour blend makes a big difference in achieving a light, fluffy texture every time. Using a balanced gluten-free flour ensures consistent results without dense or gummy pancakes.
- Gluten-Free Croissants: Gluten-free croissants highlight how important the right flour blend is for structure, flexibility, and soft, flaky layers. A well-formulated blend helps create dough that can be rolled, folded, and baked into bakery-style results.
- Gluten-Free Yeast Donuts: Gluten-free yeast donuts depend on a balanced flour blend to create a soft, airy interior with just the right amount of structure. A consistent blend helps the dough rise properly and fry up light instead of dense.