Homemade Gluten-Free Hoisin Sauce
Published

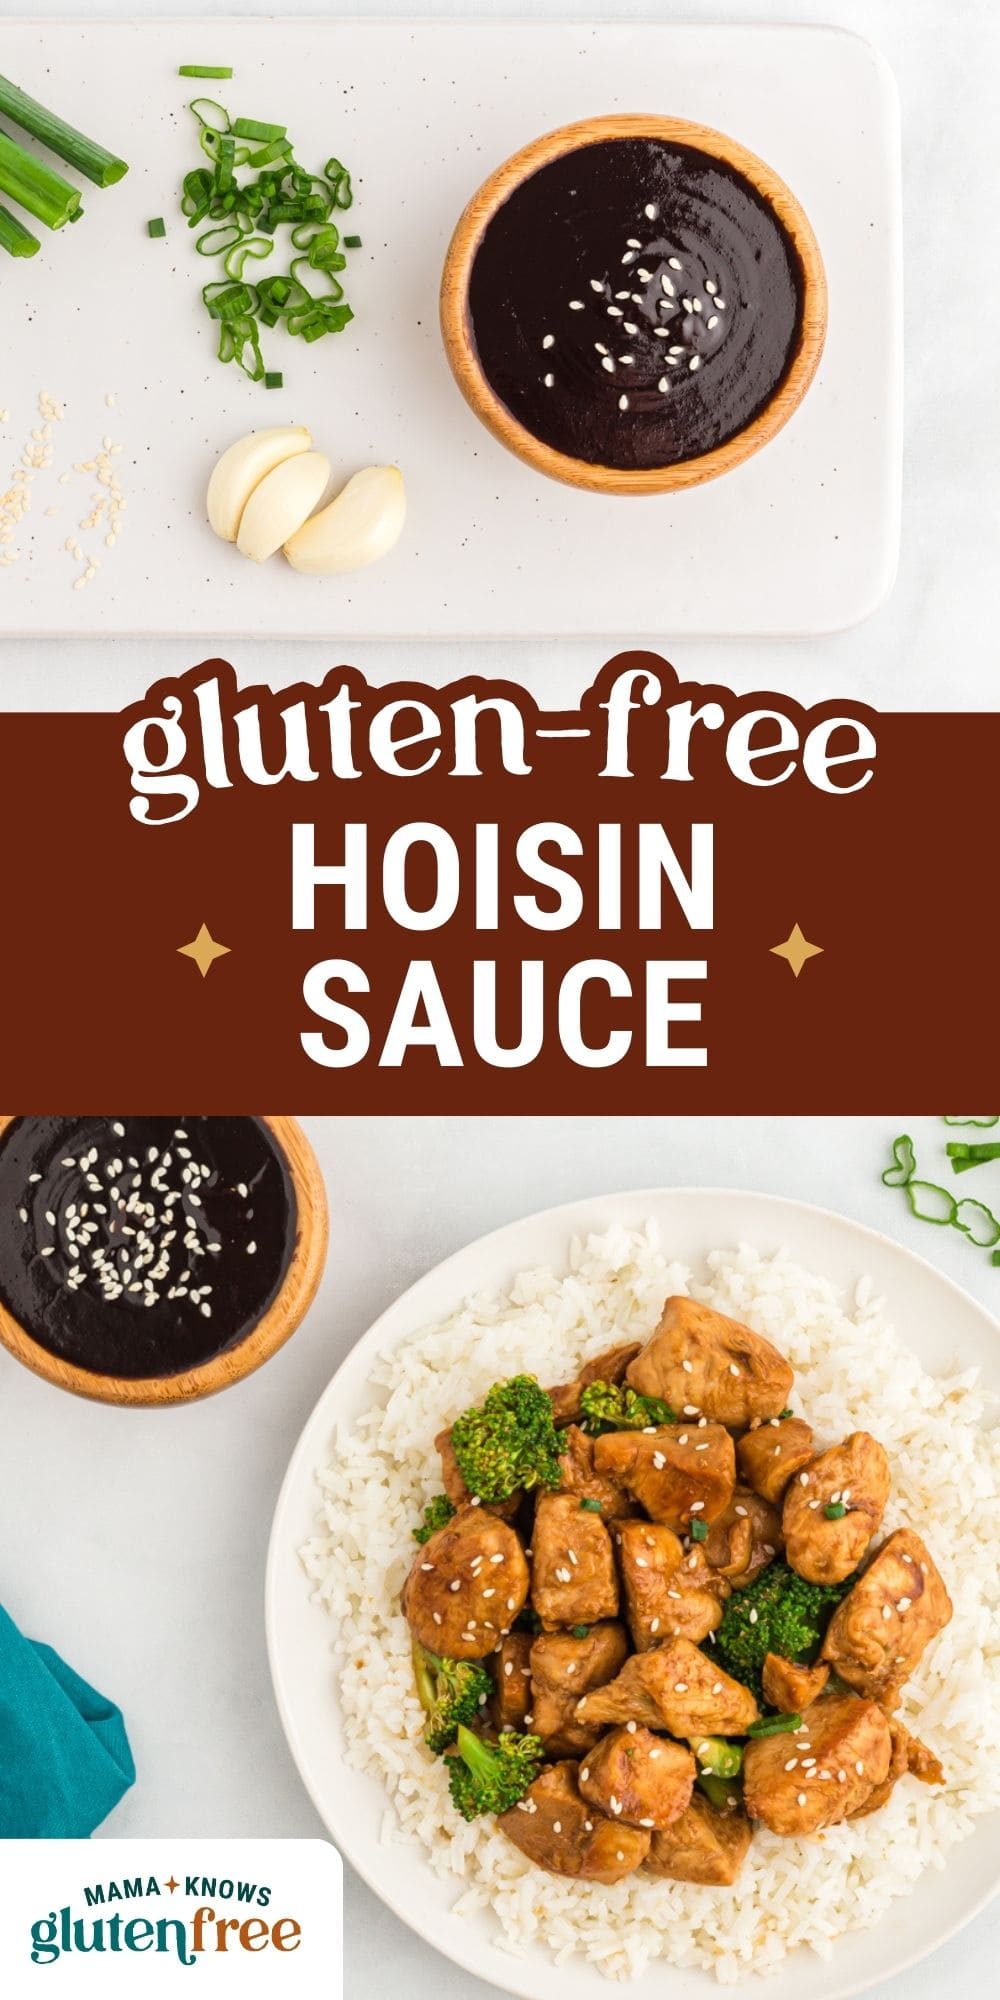
Hoisin has always been one of my favorite sauces to get with Chinese takeout, but unfortunately, most versions contain wheat and soy, which makes them off-limits for me. This homemade gluten-free hoisin sauce uses simple pantry ingredients and comes together in just 10 minutes. It’s sweet, salty, and rich—perfect for stir-fries, marinades, and all your dipping needs.

If you’ve ordered Chinese or Vietnamese takeout before, then you’ve probably had some hoisin sauce. My personal favorite is Peking duck, yum! Unfortunately, I had to stop ordering it once I found out most versions are made with soy sauce that contains gluten. This homemade version has been my go-to ever since. Just like my gluten-free stir fry sauce, I like to make a big batch and keep it in the fridge to add bold, savory flavor to all my Asian-inspired meals.
Homemade Gluten-Free Hoisin Sauce
Ingredients
- ¼ cup gluten-free soy sauce
- 3 tablespoons creamy peanut butter
- 1 ½ tablespoons honey
- 2 teaspoons rice vinegar
- 2 teaspoons toasted sesame oil
- ½ teaspoon garlic powder
- ¼ teaspoon Chinese five spice powder
- ¼ teaspoon crushed red pepper flakes
Instructions
- Combine all ingredients in a small saucepan.
- Heat sauce on the stove on low heat. Whisk until mixture starts to lightly simmer then let simmer over low heat for 2 to 3 minutes until sauce thickens.
- Remove from heat.
- Once cool, store in a sealed container in the fridge for up to two weeks.
Notes
- Always double-check labels for gluten-free certification.
- Let cool before storing to preserve texture.
- Stir before each use if it thickens too much.
- For nut-free, replace peanut butter with creamy Wow butter.
- Customize the flavor to your liking—add a splash of vinegar for extra tang or a pinch of red pepper flakes for a bit of heat. Don’t be afraid to adjust until it’s just right for you.
Nutrition
Nutrition information is automatically calculated, so should only be used as an approximation.
How to Make Homemade Gluten-Free Hoisin Sauce Step by Step
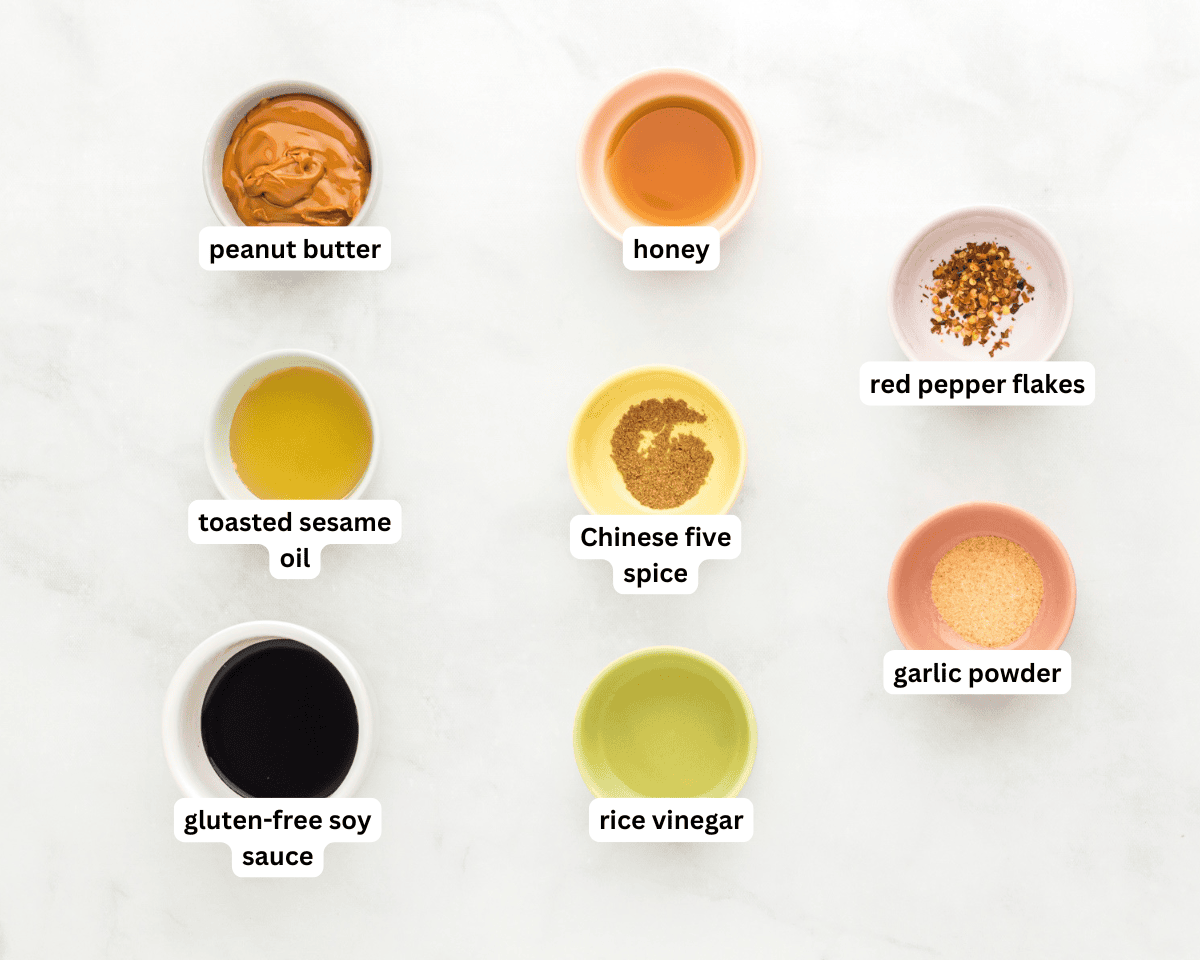
Gather all the ingredients together.

Combine the ingredients: In a small saucepan, combine ¼ cup gluten-free soy sauce, 3 tbsp creamy peanut butter, 1 ½ tbsp honey, 2 tsp rice vinegar, 2 tsp toasted sesame oil, ½ tsp garlic powder, ¼ tsp Chinese five spice powder, and ¼ tsp crushed red pepper flakes.

Simmer the sauce: Heat the sauce over low heat, whisking continuously, until it begins to gently simmer. Allow the sauce to simmer over low heat for 2-3 minutes until it thickens.
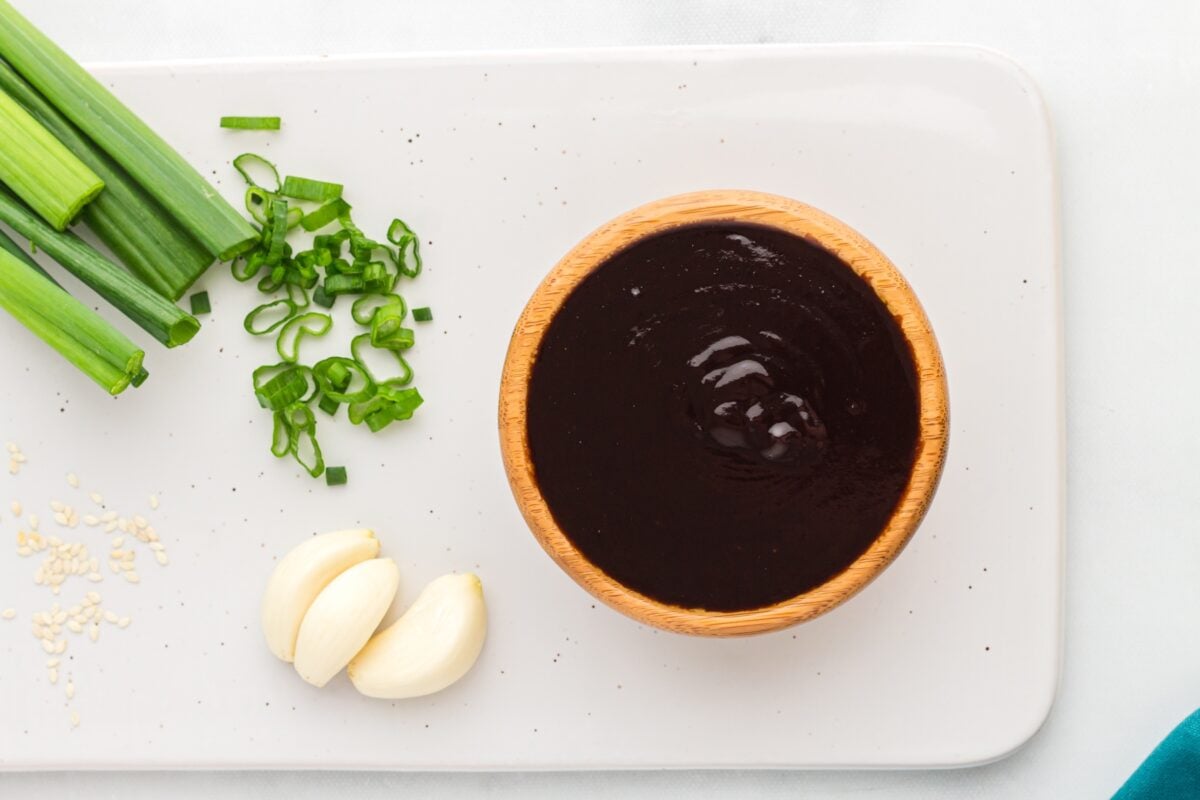
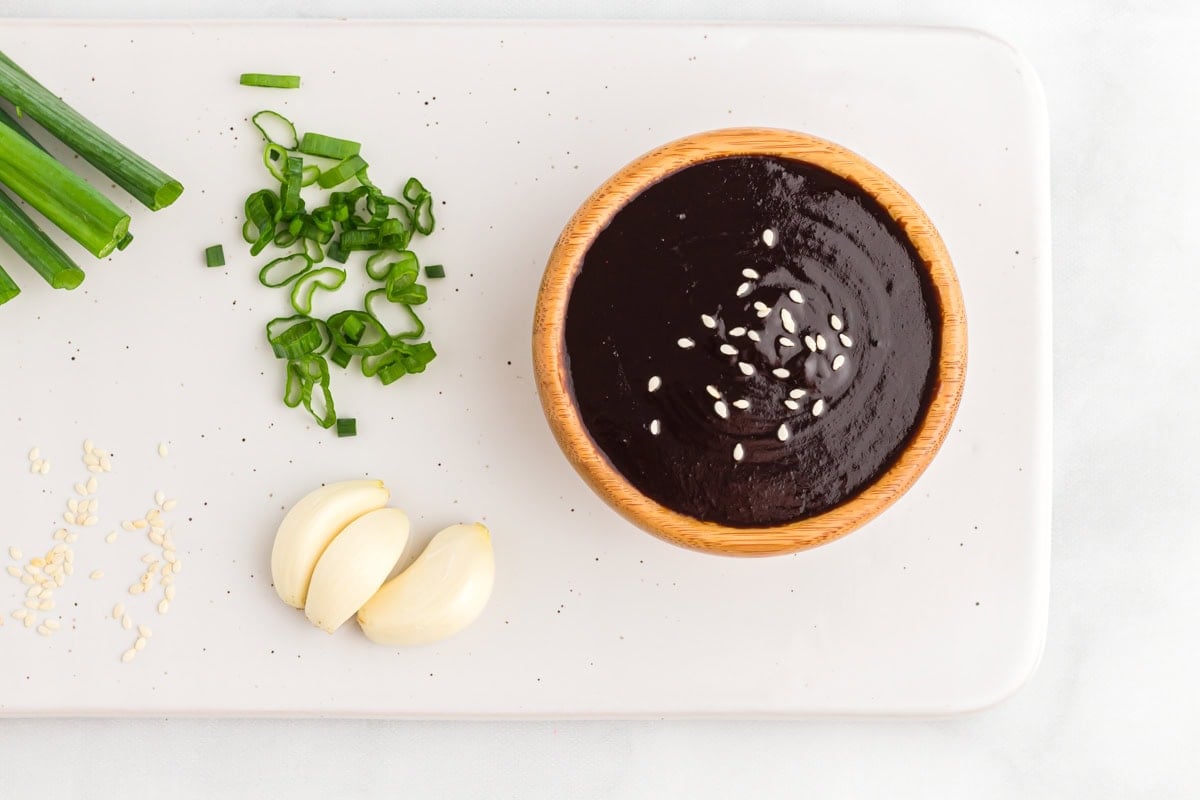
Remove and cool: Take the sauce off the heat and let it cool completely. Once cool, transfer to a sealed container. Enjoy!
Gluten-Free Cooking Tips
- Since the sauce includes sugar and peanut butter, it can easily stick to the bottom of the pan and burn. Keep whisking over low heat to ensure a smooth, even texture and to avoid that bitter, burnt flavor.
- This sauce naturally thickens as it simmers, and even more as it cools. If it’s too thick for your liking, gently whisk in a bit of water—just a teaspoon at a time—until it reaches your desired consistency.
Serving Suggestions
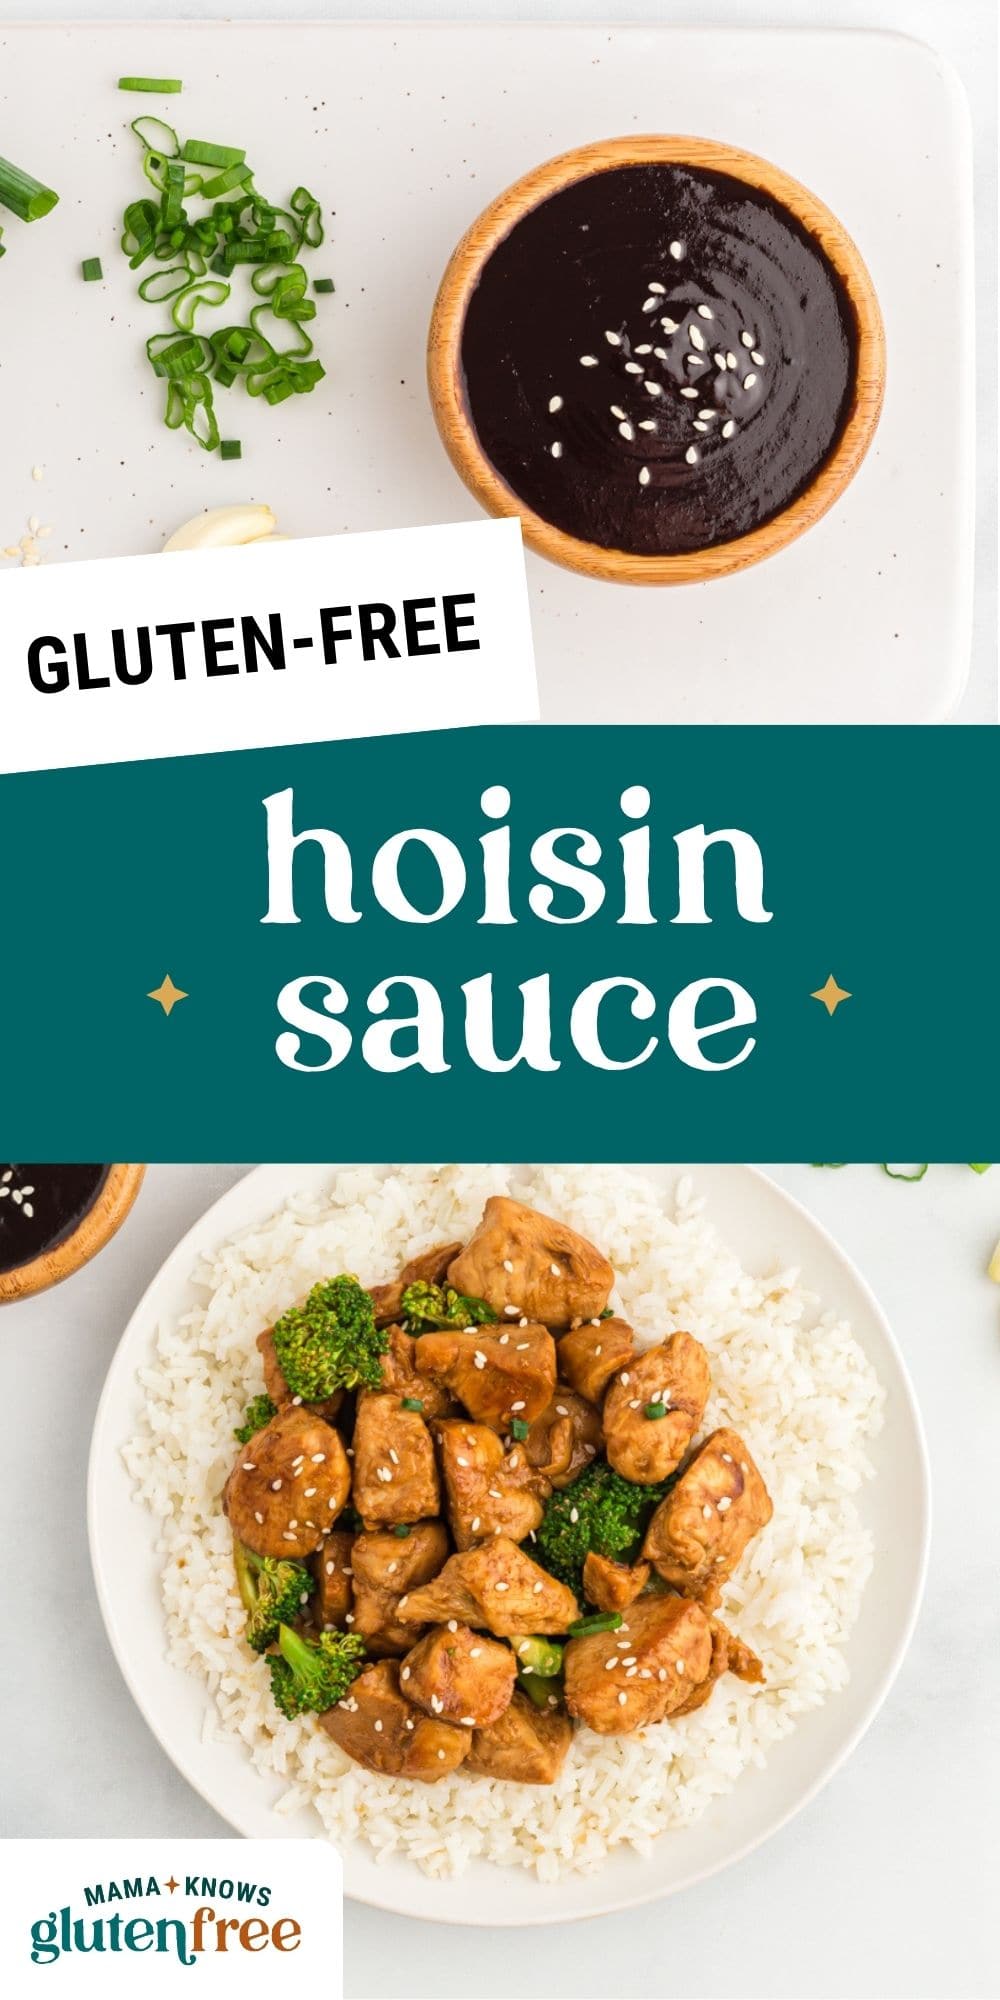
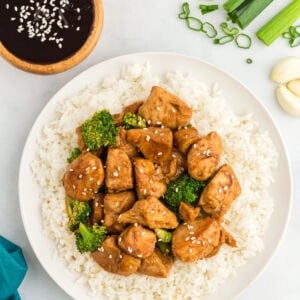
I love using this gluten-free hoisin sauce in all kinds of ways—it’s seriously become a staple in my kitchen. I’ll stir it into beef or tofu stir-fries, mix it into marinades for grilled meats, or drizzle it over my gluten-free fried rice and lettuce wraps for a quick flavor boost. It’s also great as part of a dipping sauce for dumplings or gluten-free egg rolls.
Storage Instructions
Store your homemade hoisin sauce in a sealed jar in the fridge for up to two weeks. If it thickens as it sits, just give it a good stir before using.
I don’t recommend freezing it, as the texture can change and become grainy once thawed.