Gluten-Free Bao Buns
Published


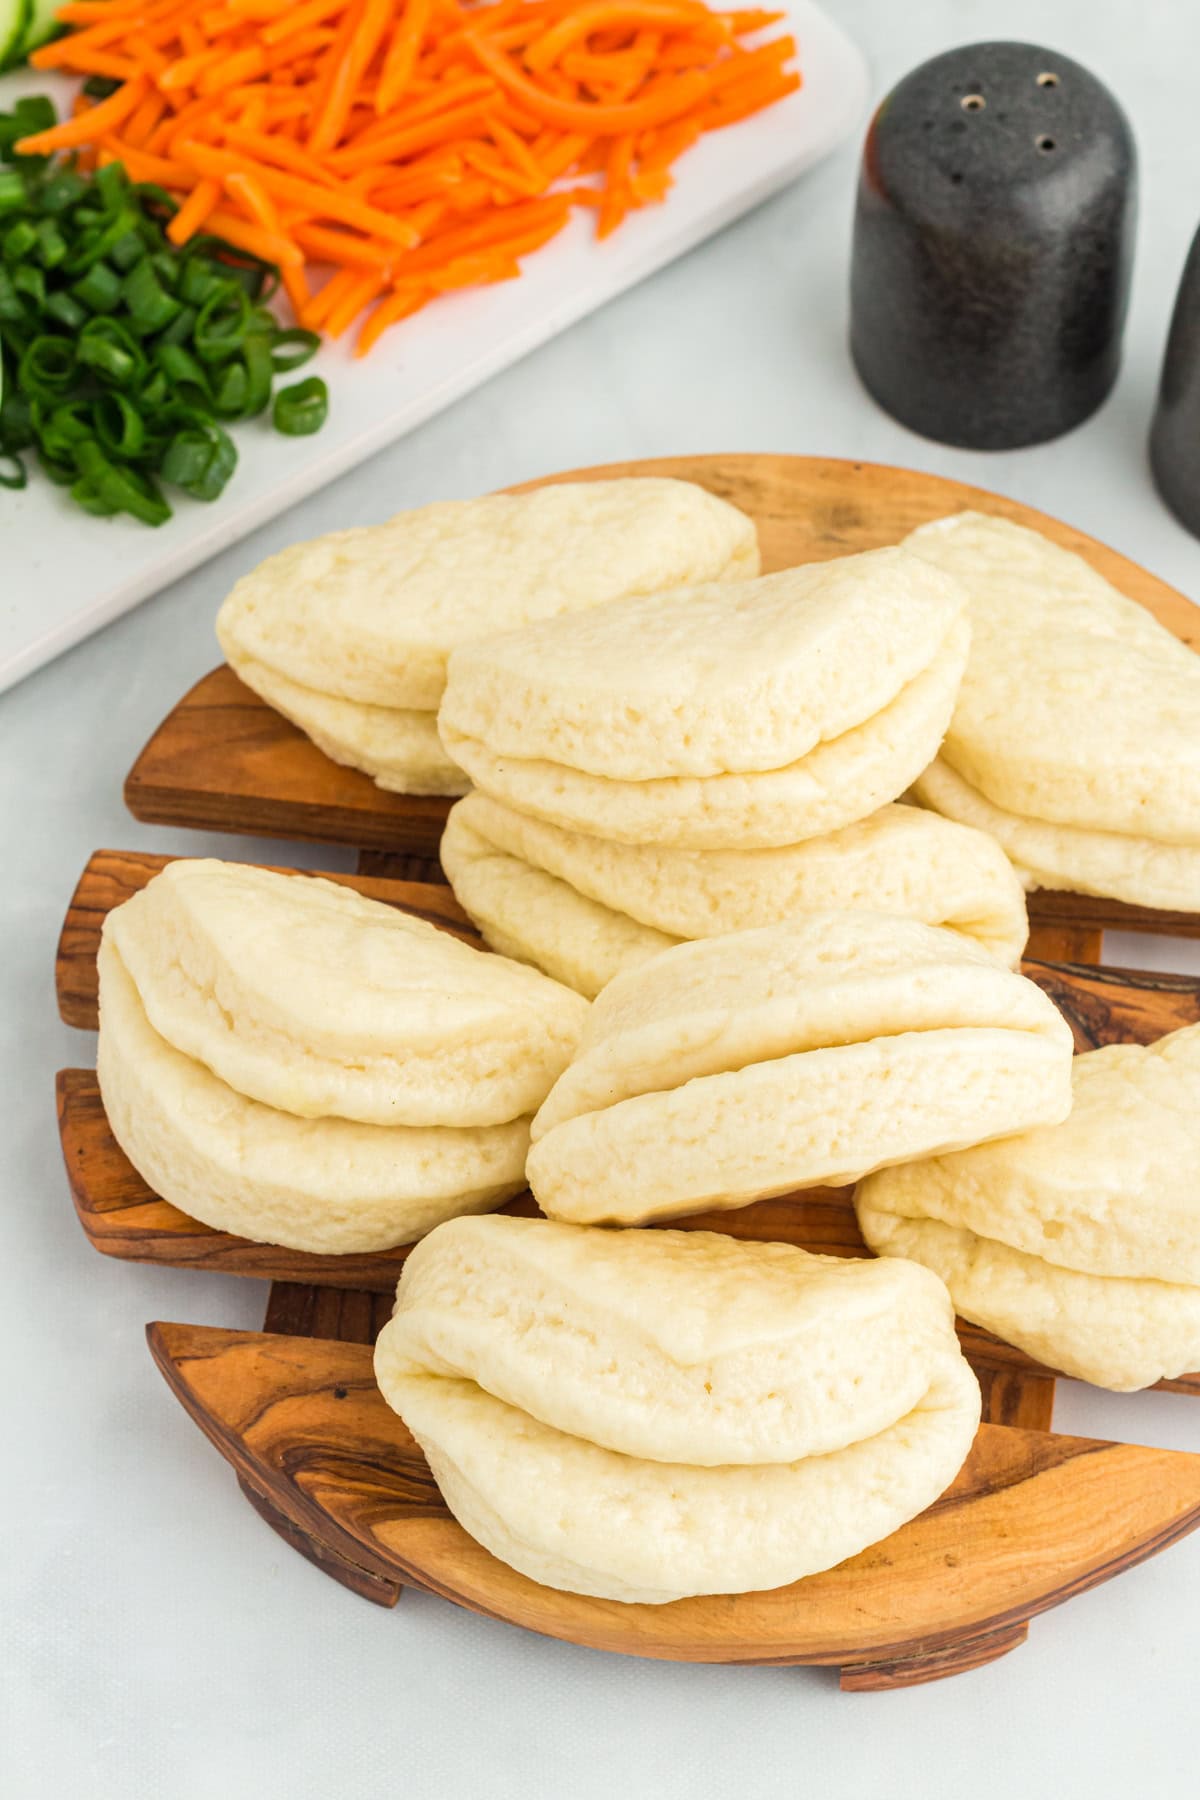
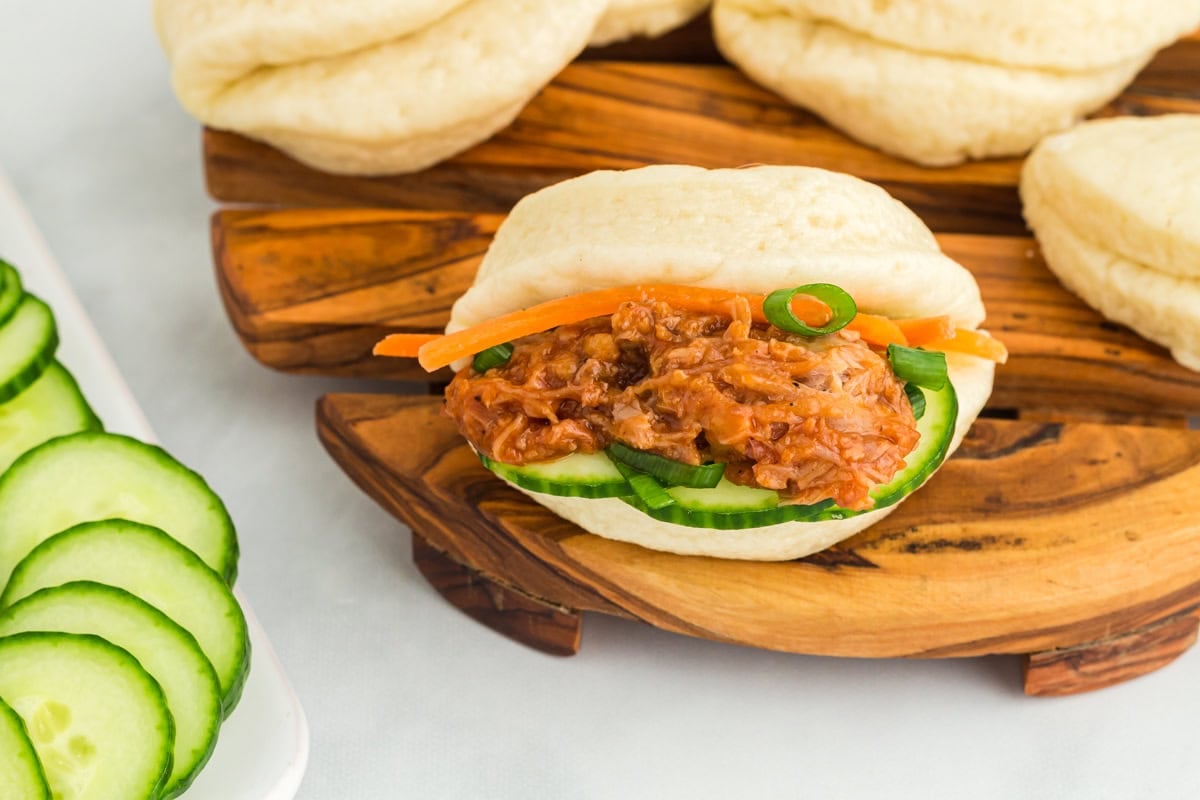
Warm, fluffy, and sweet, gluten-free bao buns are perfect for all your savory fillings. I’m partial to bao buns, so a gluten-free version was a must, and wow! Do these hit the mark. They are the best of Chinese steamed buns without the gluten.
Gluten-Free Bao Bun Recipe
Bao bun dough is slightly sweeter than dumpling dough, making them the perfect vessels for any savory and spicy fillings. I’m a dim sum lover and was finding it hard to enjoy all my favorites when going out after going gluten-free. Gluten-free Asian food is a bit harder to find, mainly because soy sauce (which is brewed in wheat) is so prevalent in Asian cooking. So to ease any cravings of mine, I set off on crafting a homemade gluten-free bao bun.
Finally, after a bit of trial and error and some tweaking, I’ve nailed the recipe. It’s made with a mixture of gluten-free flour and active dry yeast to give it that signature light and fluffy texture. This recipe is super easy and requires ingredients you most likely already have if you’re on this gluten-free path with me!
Ingredients
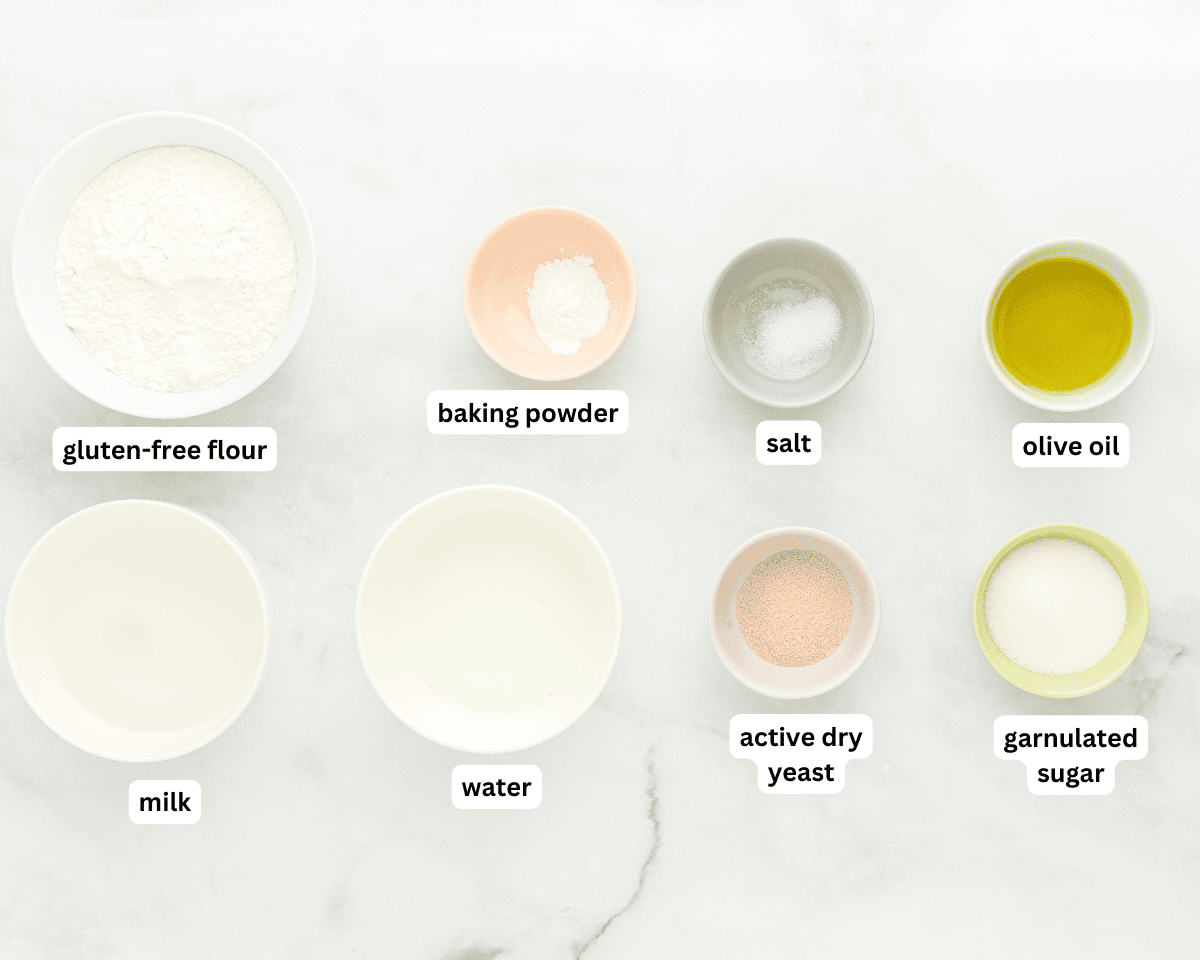
- Water and Milk: Warm water and milk are used to activate the active dry yeast.
- Granulated Sugar: Sugar is food for the yeast and adds sweetness to the dough.
- Active Dry Yeast: I usually have instant yeast on hand, but you can also use fast-rising yeast.
- Gluten-Free All-Purpose Flour: Use your favorite gluten-free all-purpose flour, I use Cup 4 Cup.
- Xantham Gum: Xantham gum is a gluten replacement. You don’t need this if your flour already contains xantham gum.
- Baking Powder: Baking powder helps the dough puff up and stay fluffy.
- Salt: Salt is a crucial ingredient in gluten-free baking. It can help strengthen the dough and enhance the natural flavors of the other ingredients.
- Olive Oil: I brushed olive oil on top of each bun to lock in moisture and prevent the folded size from sticking. You can also use avocado oil.
Tips and Suggestions
- When shaping, try gently stretching and folding the dough over rather than just pressing it. This technique can give a slightly smoother surface and improve texture.
- When steaming, make sure the water level stays below the buns. They should be steamed, not boiled, so check that the water isn’t touching the steamer bottom.
- Avoid lifting the steam lid before the 12 minutes is up. If you prefer a slightly firmer bao, turn off the heat after 12 minutes and let them sit covered for another 1-2 minutes.
- Ensure the water and milk are at the right temperature (100-110°F). Too hot can kill the yeast, and too cool will not activate it fully. If you don’t have a thermometer, aim for a warm—not hot—temperature when touching the liquid.
- Gluten-free doughs are typically stickier than traditional doughs, but avoid overmixing; this can make them tough. Mix until just combined and the dough pulls away from the sides of the bowl.
- Check the expiration date on your yeast before starting.
- It is important to measure your flour accurately. I recommend using a food scale. Too much flour will make your dough crumbly and won’t blend together properly, while too little will make it too sticky.
Serving Suggestions
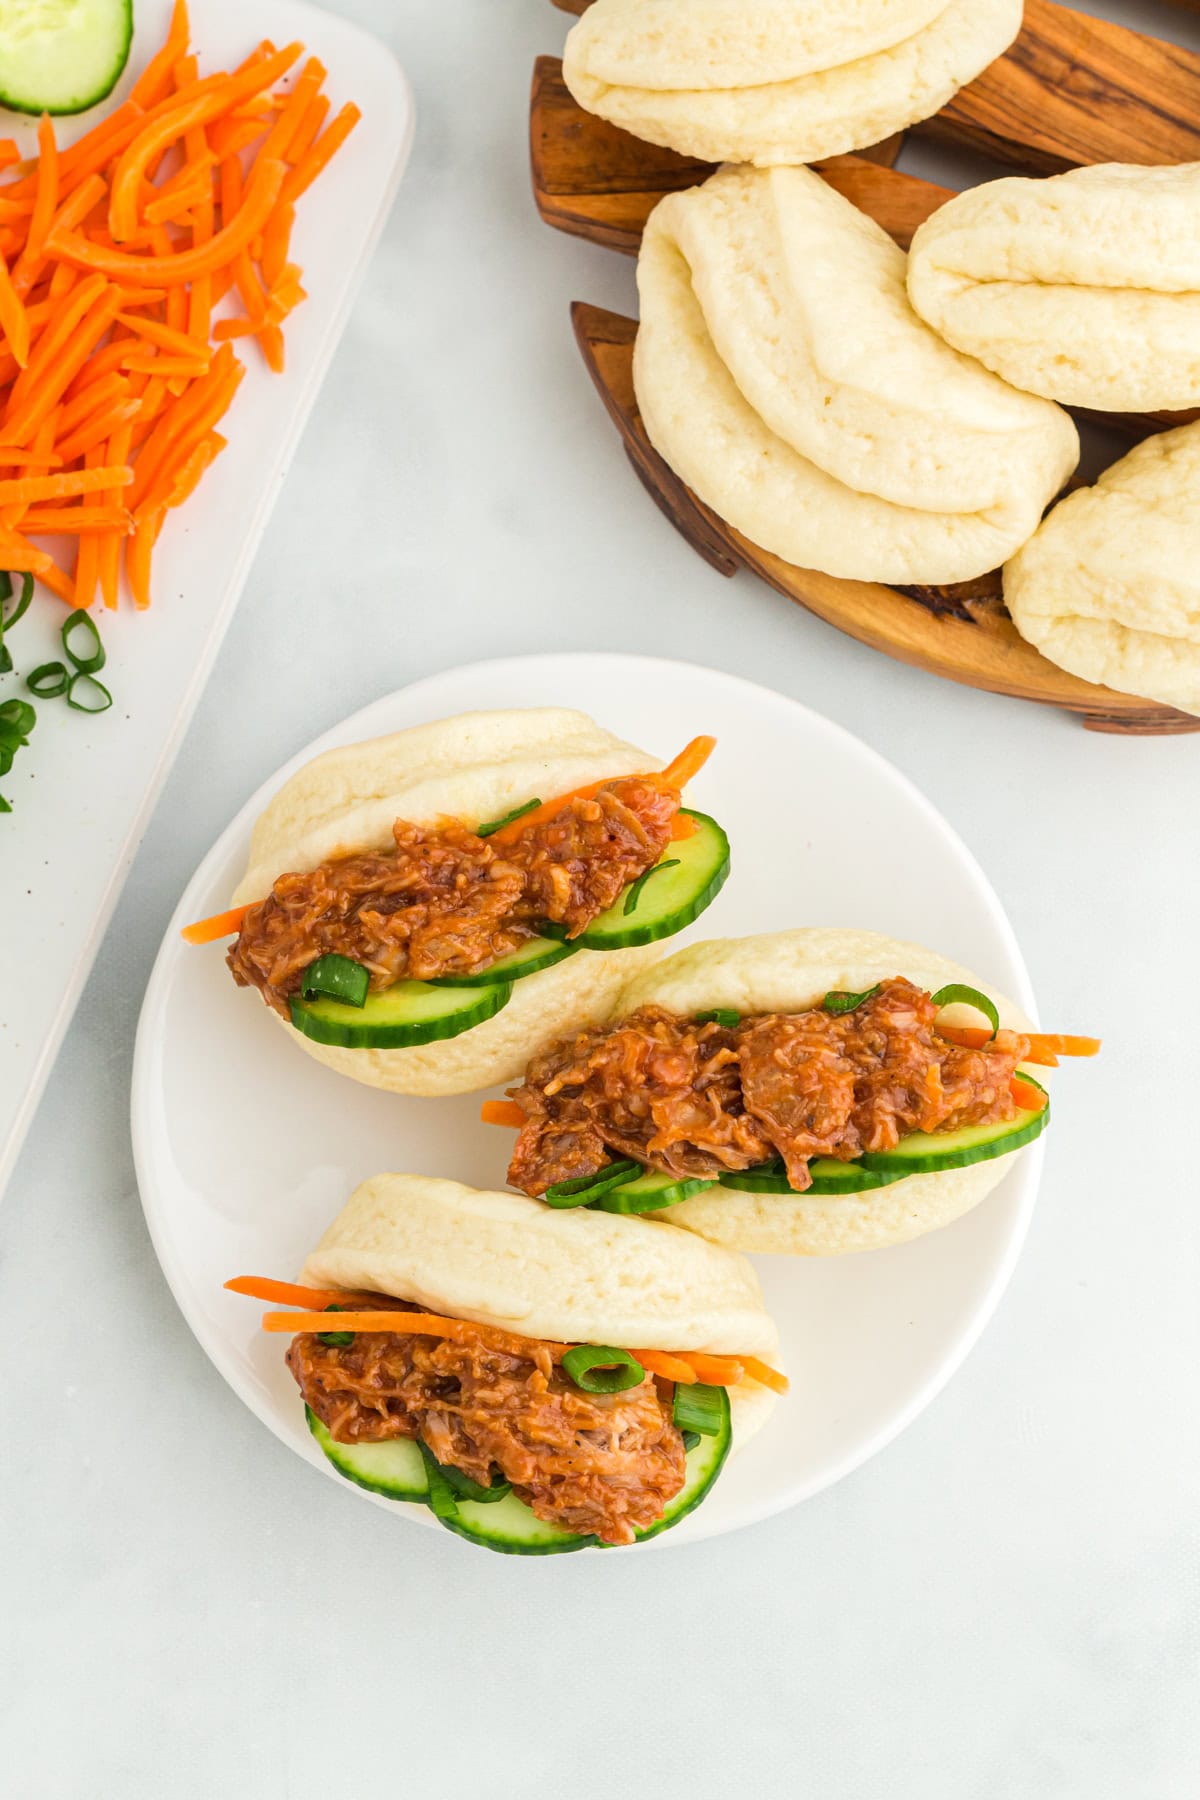
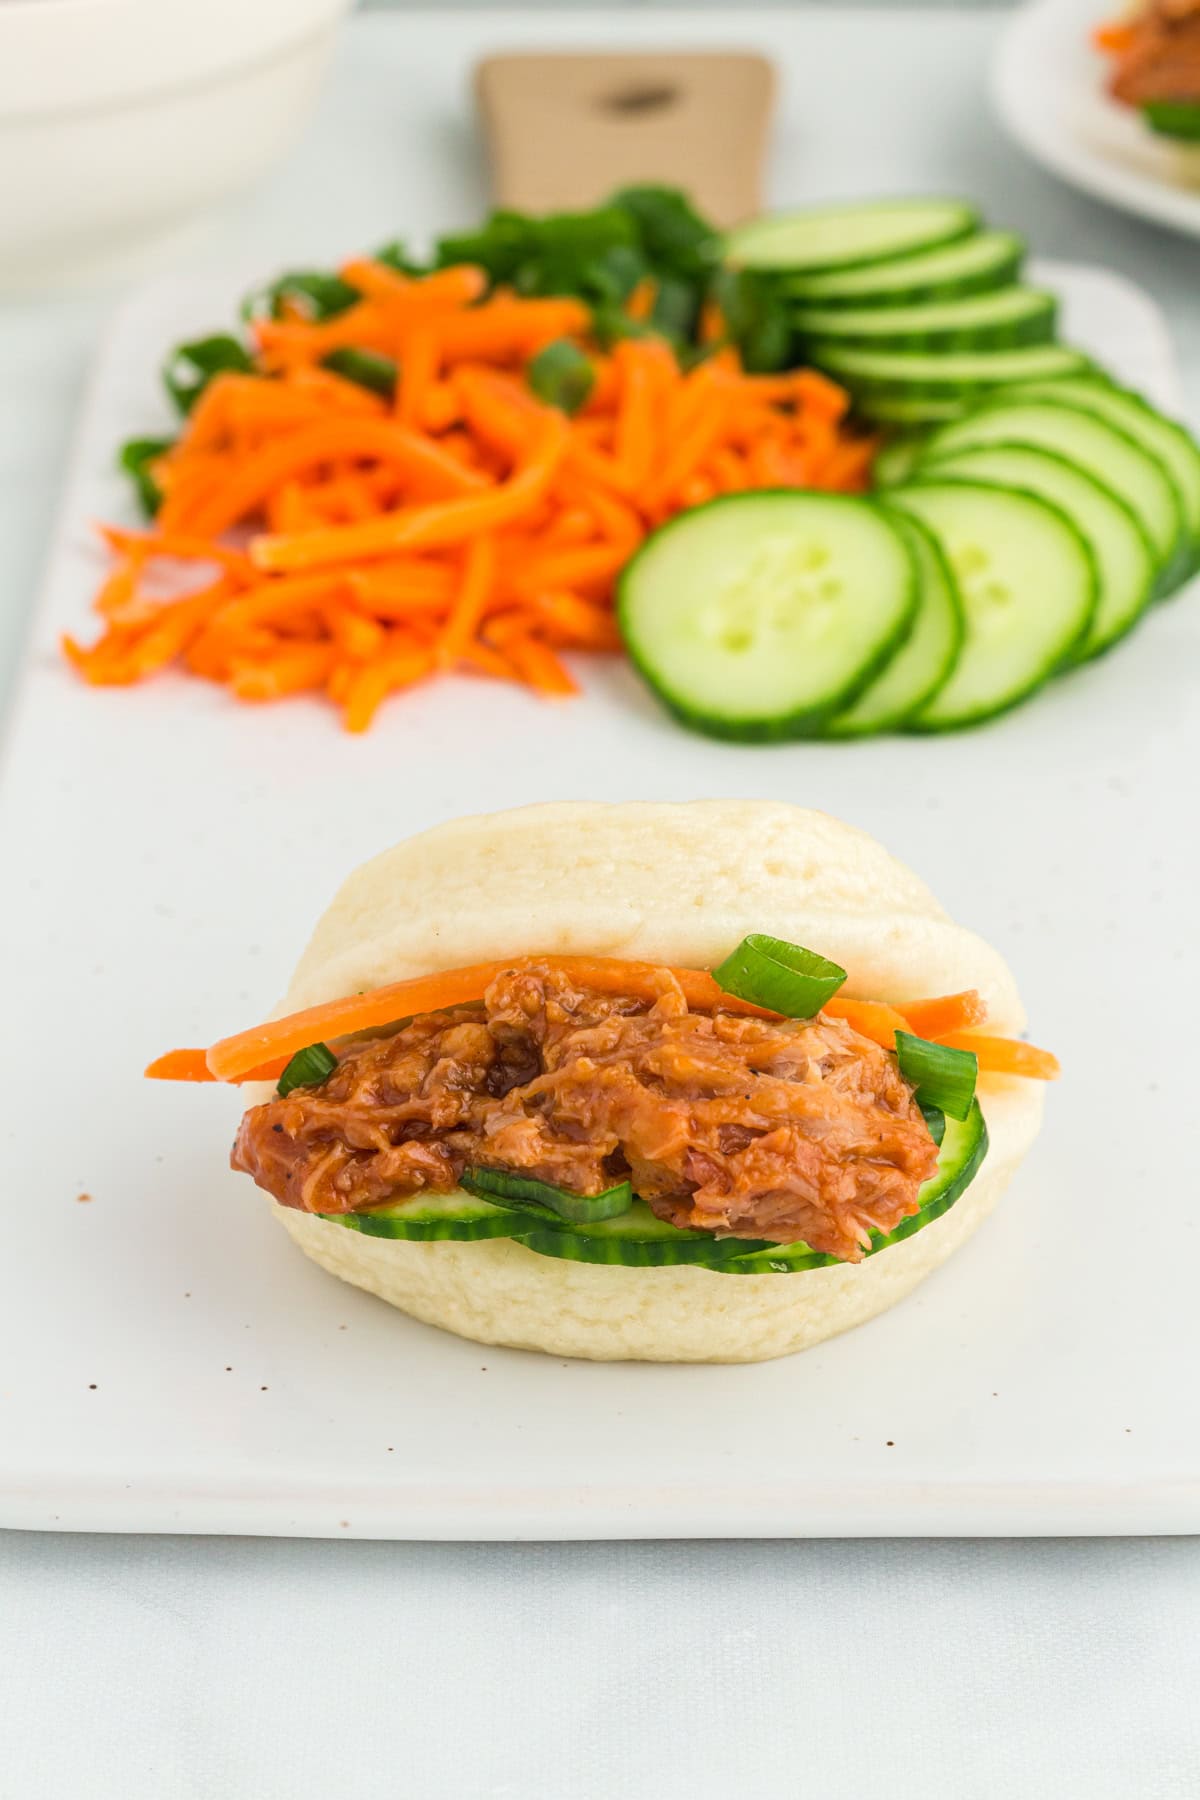
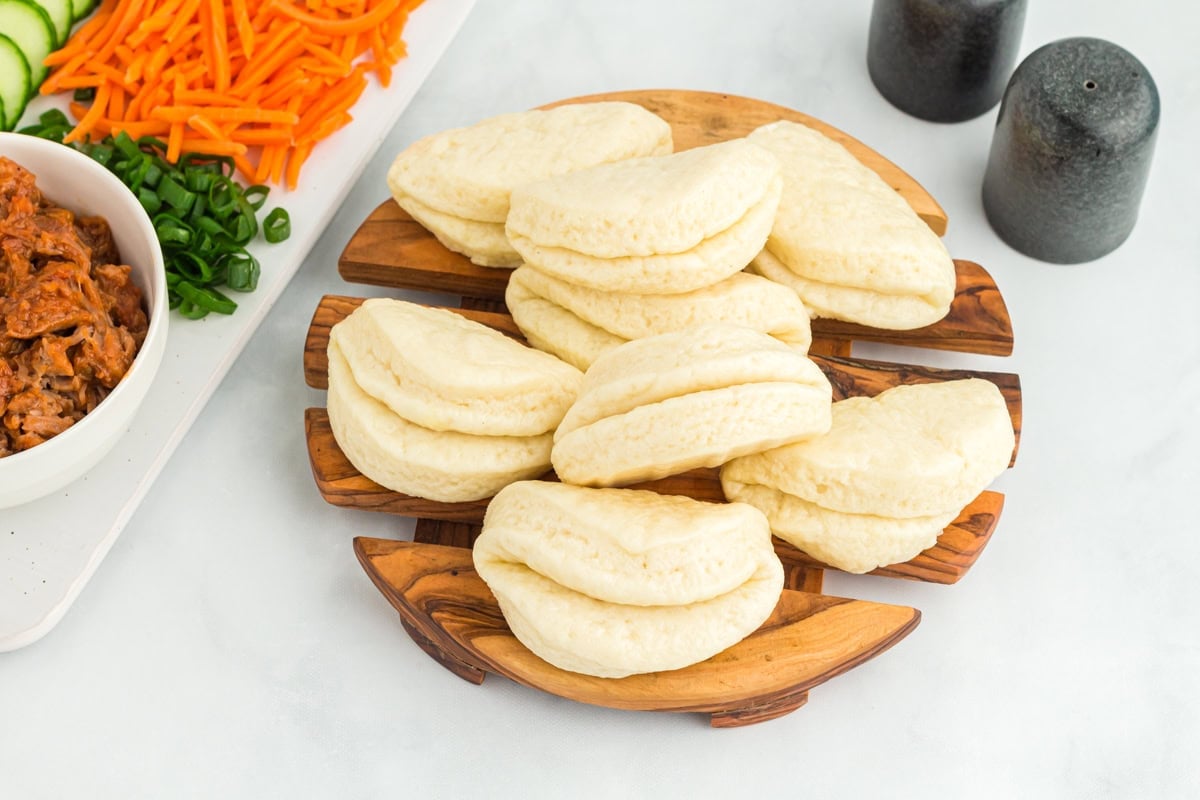
These gluten-free bao buns are the perfect appetizer, and they’re extremely versatile! You can make them vegetarian with marinated tofu or cauliflower. I love them with my apricot chicken, chicken with homemade teriyaki sauce, or crispy pork. I always add sliced cucumbers and shredded carrots, along with a sprinkle of fresh cilantro.
Storage Instructions
Once cooled, wrap each leftover bun individually in plastic wrap or place parchment paper between each bun in an airtight container to prevent sticking. Store in the refrigerator for up to 4 days.
To reheat, steam the buns again for a few minutes instead of microwaving; steaming will preserve the soft texture while microwaving can make them chewy.
More Asian-Inspired Recipes
- Gluten-Free Wonton Wrappers
- Gluten-Free Egg Rolls
- Gluten-Free Fried Rice
- Gluten-Free Pad Thai
- Gluten-Free Naan
Gluten-Free Bao Buns

Equipment
- 1 Stand Mixer with dough hooks
- 1 Bamboo Steamer
Ingredients
- ½ cup warm water, between 100 degrees F to 110 degrees F
- ¼ cup warm milk, between 100 degrees F to 110 degrees F
- 2 tablespoons granulated sugar
- 2 teaspoons active dry yeast, fast rising or instant yeast
- 1 ½ cups gluten-free all purpose flour, (210 grams)
- 1 teaspoon xanthan gum, only if your flour blend doesn’t already include it
- ½ teaspoon baking powder
- ¼ teaspoon salt
- ½ tablespoon olive oil
Instructions
- In a medium bowl, gently stir together warm water, warm milk, sugar and yeast. Set aside in a warm area (room temperature) and let sit for 10 minutes. The yeast will start to form foam on the top showing it’s activating.
- In a separate large bowl, whisk together the flour, xanthan gum (if using) baking powder and salt. Set aside for now.
- Add the activated yeast mixture to the dry ingredients and mix with dough hooks on low speed until the mixture starts to come together well and is no longer sticking to the edges of the bowl (about 2 to 3 minutes).
- Using your hands, form the dough into a ball and place dough ball into a clean large bowl. If the dough is sticking to your hands a bit, lightly wet your hands. If the dough is extremely sticky, you may not have added enough flour or the dough isn’t mixed enough yet.
- Cover that bowl with food safe plastic wrap and set aside in a warm area (room temperature) for 30 to 60 minutes until it doubles in size.
- Cut eight 4-inch squares of parchment paper and place on a large baking sheet.
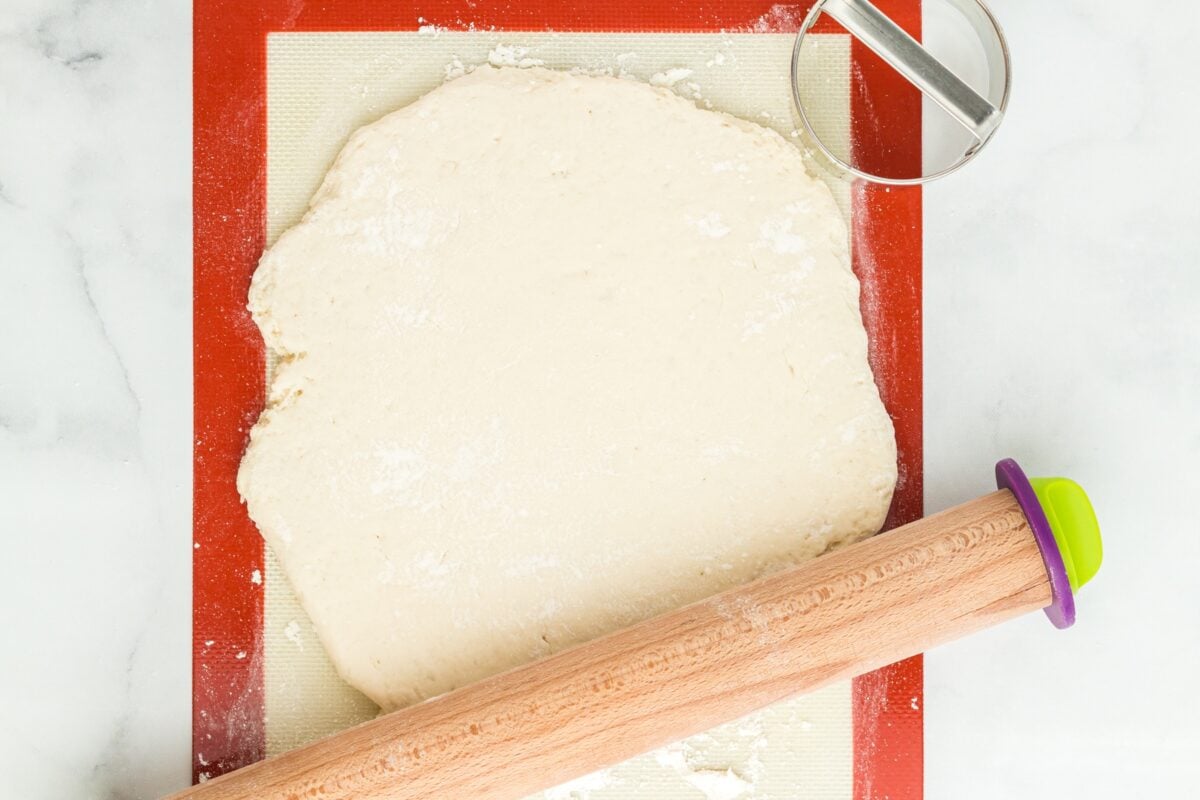
- Remove dough from bowl and place on a lightly floured surface (using extra gluten-free flour).
- Use a rolling pin to roll the dough out to a ½-inch thickness.
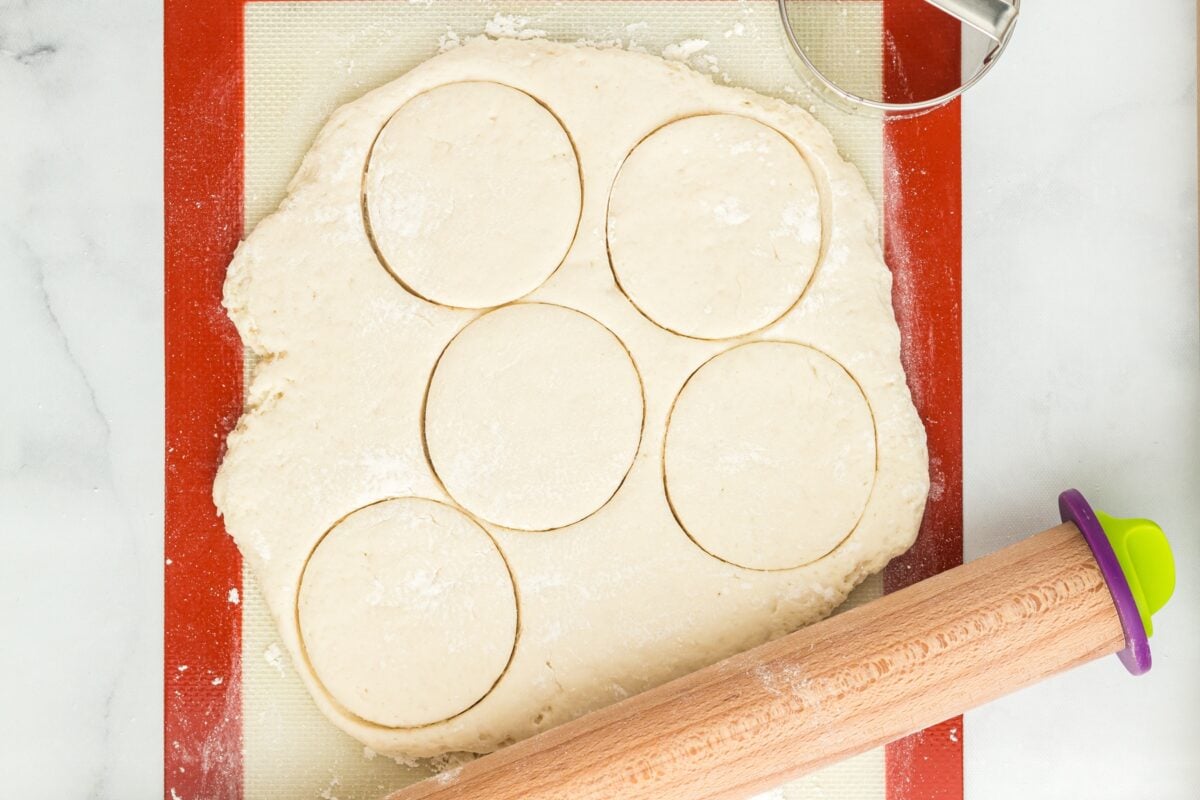
- Use a 3 ½-inch cookie cutter to cut circles out of the dough. You should get 8 circles out of the dough.
- Place dough circles onto the squares of parchment paper.
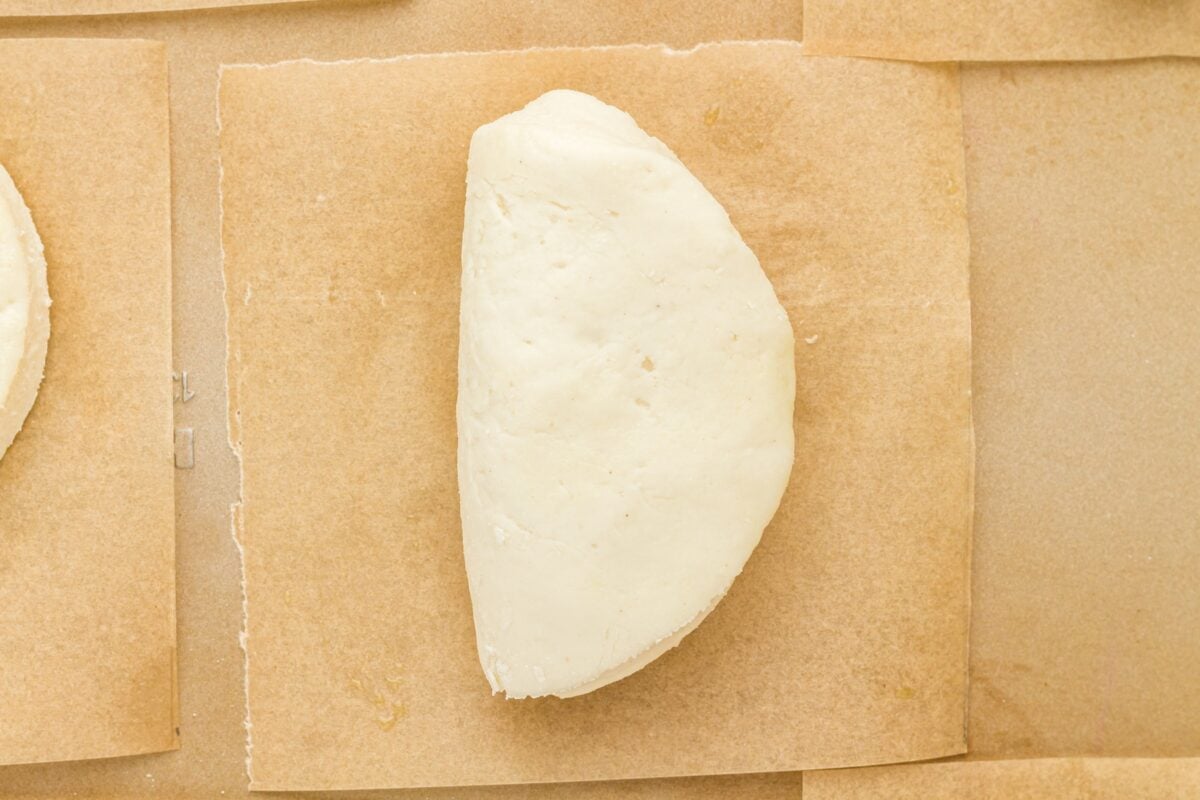
- Lightly brush the tops of each bun with a small amount of olive oil then fold each bun over creating half circle shapes.
- Cover the baking sheet with food safe plastic wrap and let sit for 30 minutes in a warm area (room temperature) to allow buns to rise a bit more.
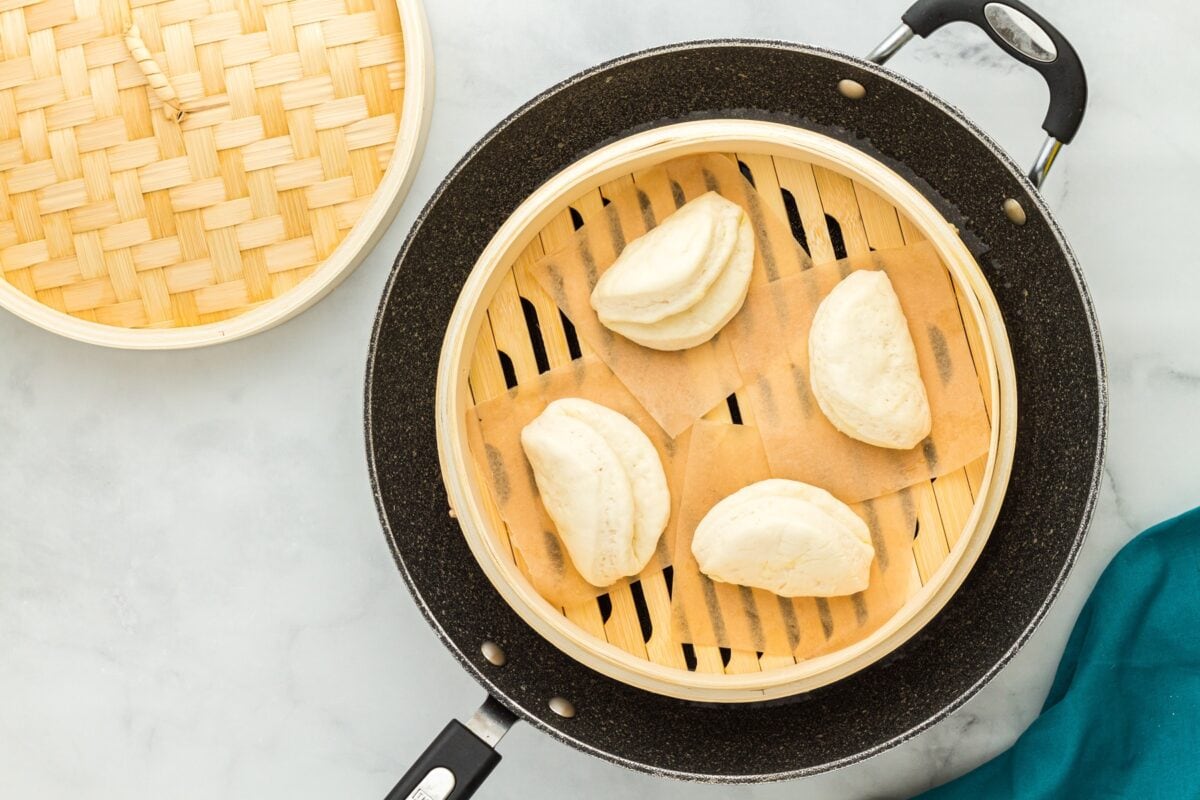
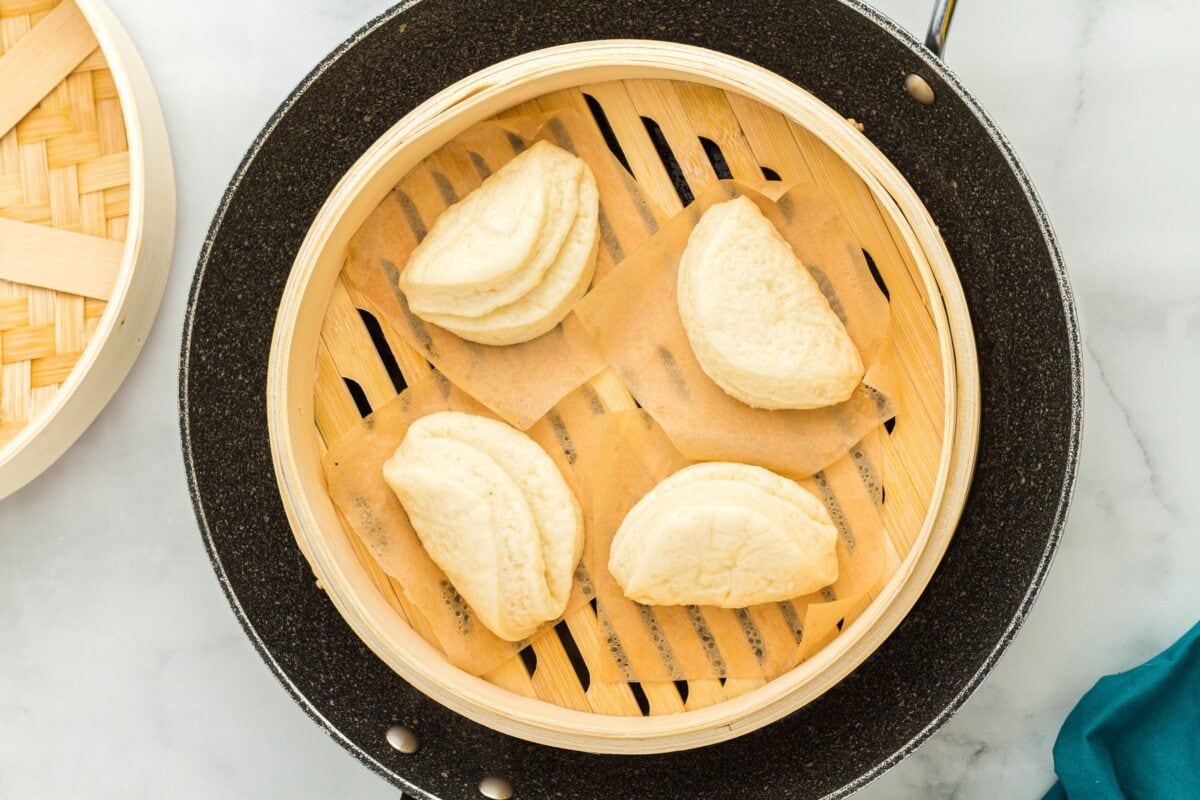
- Take each bun, still on parchment paper, and place the bun with parchment paper into a bamboo steamer. Depending on the size of your steamer (pictured here is a 10” steamer) you should be able to fit 4 buns without overcrowding them. The buns should not be touching each other. Most steaming baskets come with multiple levels. Only cook one level (layer) of buns at a time to ensure an even baking temperature for all.
- Place about ½ inch of water into a deep frying pan or wok. This pan must be large enough to fit your bamboo steamer.
- On the stovetop, bring the water to a boil on high heat then reduce heat to medium.
- Place the bamboo steamer into the deep frying pan or wok. Be sure that the water isn’t too high that it’s touching the buns. The buns should never be submerged in water. They cook with steam only.
- Place lid on the steamer and let the buns steam over low-medium heat for 12 minutes. When you start running out of water in the pan, add more as needed. Never let the pan run out of water while steaming. Adding room temperature water is fine – it will heat up quickly.
- After 12 minutes, carefully remove the lid from the steamer. Be careful as the steam will be extremely hot.
- Remove buns (with parchment paper) from steamer and repeat the steps to cook the remainder of the buns.
- Allow buns to cool completely before storing leftovers. Store leftovers in a sealed food-safe container in the fridge for up to 4 days.
Notes
- When shaping, try gently stretching and folding the dough over rather than just pressing it. This technique can give a slightly smoother surface and improve texture.
- When steaming, make sure the water level stays below the buns. They should be steamed, not boiled, so check that the water isn’t touching the steamer bottom.
- Avoid lifting the steam lid before the 12 minutes is up. If you prefer a slightly firmer bao, turn off the heat after 12 minutes and let them sit covered for another 1-2 minutes.
- Ensure the water and milk are at the right temperature (100-110°F). Too hot can kill the yeast, and too cool will not activate it fully. If you don’t have a thermometer, aim for a warm—not hot—temperature when touching the liquid.
- Gluten-free doughs are typically stickier than traditional doughs, but avoid overmixing; this can make them tough. Mix until just combined and the dough pulls away from the sides of the bowl.
- Check the expiration date on your yeast before starting.
- It is important to measure your flour accurately. I recommend using a food scale. Too much flour will make your dough crumbly and won’t blend together properly, while too little will make it too sticky.
- Once cooled, wrap each leftover bun individually in plastic wrap or place parchment paper between each bun in an airtight container to prevent sticking. Store in the refrigerator for up to 4 days.
- To reheat, steam the buns again for a few minutes instead of microwaving; steaming will preserve the soft texture while microwaving can make them chewy.
Nutrition
Nutrition information is automatically calculated, so should only be used as an approximation.
How to make Gluten-Free Bao Buns Step-by-Step
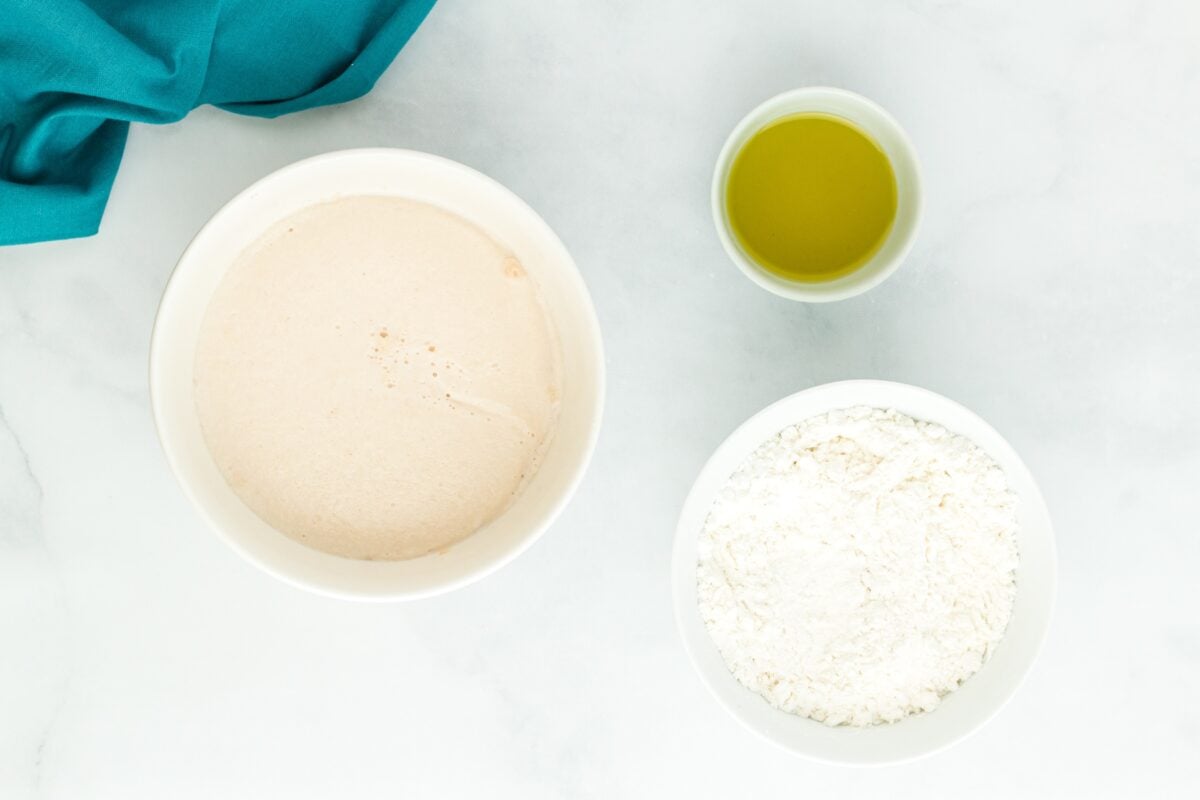
Activate the yeast by adding ½ cup warm water, ¼ cup warm milk, 2 tbsp of granulated sugar, and 2 tsp activated yeast to a bowl. Stir the ingredients together gently. Let the mixture sit for 10 minutes and allow the yeast to activate. The yeast will start to form a foam on the top showing it’s activating.
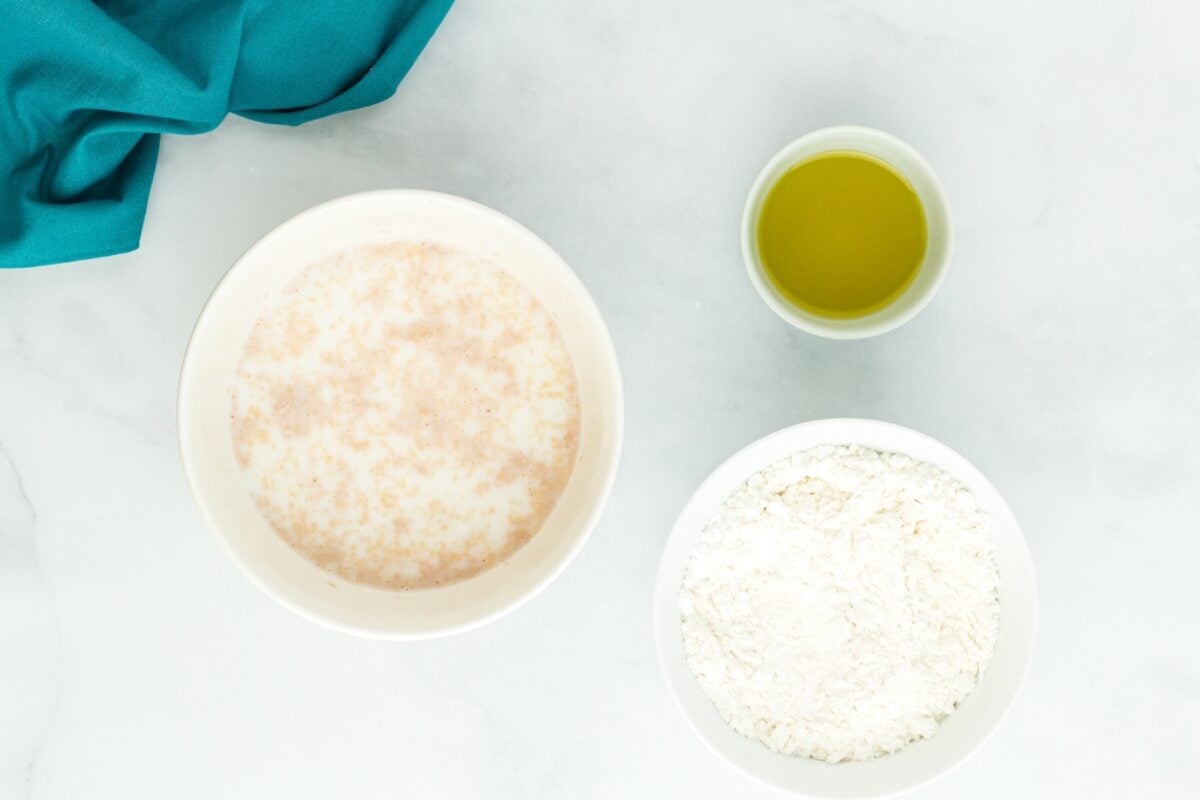
In your mixer bowl, combine 1 ½ cups gluten-free flour, 1 tsp xantham gum (if using), ½ tsp baking powder, and ¼ tsp salt.
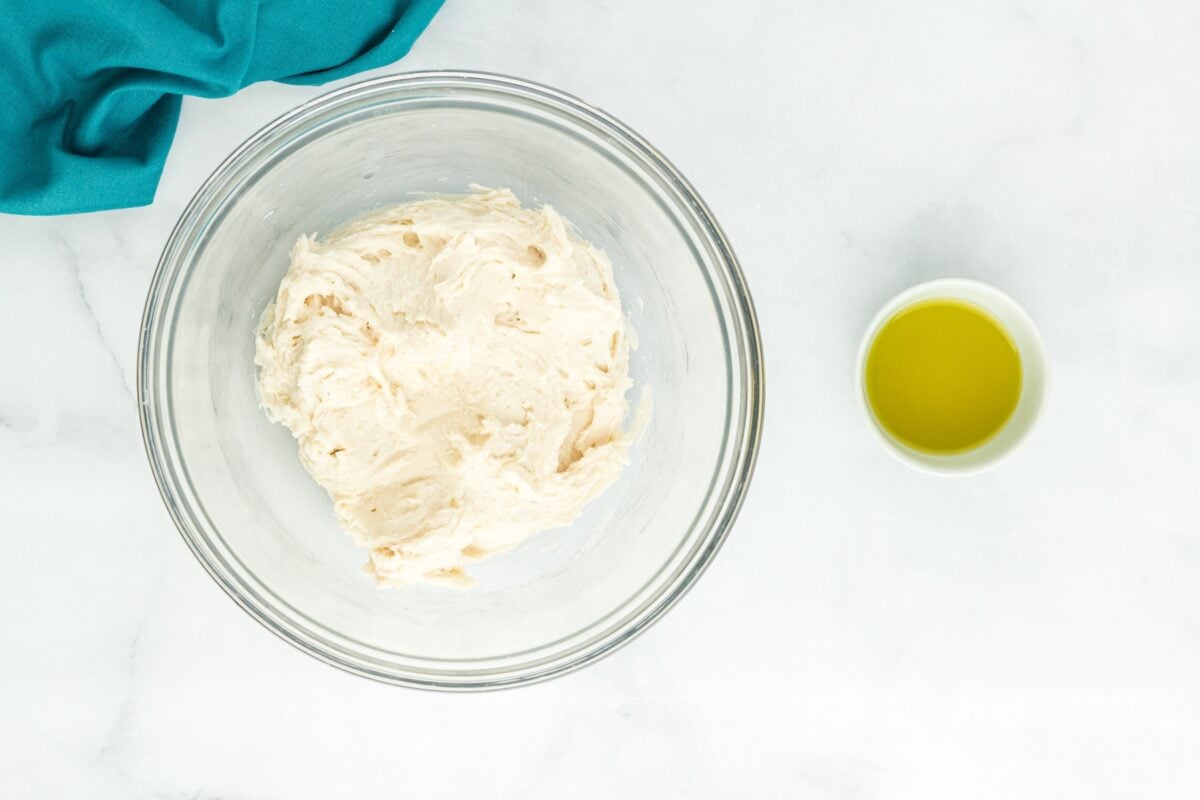
Grab the activated yeast and add it to the dry ingredient bowl. Use your stand mixer and the dough hooks on low speed until the mixture starts to come together. Mix until the dough is no longer sticking to the sides of the bowl, usually about 2-3 minutes.

Form the dough into a ball with your hands and place it in a clean large bowl. If the dough sticks to your hands, lightly wet them. If the dough is extremely sticky, you may not have added enough flour, or the dough hasn’t been mixed enough yet.
Set the dough aside in a bowl, covered with plastic wrap, in a warm room. The room should be between 75 degrees F and 80 degrees F. Let the dough proof for 30-60 minutes until it doubles in size.

Cut out 8 x 4-inch parchment paper squares and place them on a large baking sheet. When the dough is ready, place it on a lightly floured surface. Roll the dough out with a rolling pin to about ½ inch thickness.
Use a 3 ½ inch cookie cutter to cut circles out of the dough. This recipe should yield 8 circles when using this size cutter.
Place each dough circle on the square parchment paper pieces, on the baking sheet. Brush each dough circle with a small amount of olive oil and fold it in half to create half circles.

Cover the baking sheet with plastic wrap and proof again for 30 minutes in a warm room. The dough should rise just a little more.
Place each bun into a bamboo steamer basket, keeping them on their parchment paper. A 10” steamer should fit 4 without overcrowding. They should not be touching each other. I only cook one level of buns at a time to ensure an even cook. You will have to cook in a couple of batches. Add about ½ inch of water to a deep frying pan or wok. You need a pan big enough to fit you bamboo steamer and deep enough for the water. Bring the water to a boil on the stovetop and then reduce the heat to medium.
Place the steamer in the pan. Be sure the water is not touching the buns. We want to steam the buns not boil them. Place the lid on the steamer and steam the buns for 12 minutes on low-medium heat. Keep an eye on the water and add more as needed. You can add room temperature water as it will heat up quickly or use and electric kettle to keep the water hot.

Carefully remove the lid from the steamer. I like to use a towel or tongs because the steam is extremely hot.
Remove each gluten-free bao bun and its parchment paper liner. Repeat these steps until you’ve cooked all 8 steamed buns.


Is 2 tbsp sugar really needed I don’t really care abut taste I just need the baos to look normal and rise and be fluffy lol
Hi Christine, the sugar feeds the yeast to help it activate and leavens the dough.
Goodmorning!
I was just wondering if I can make up the bao bun dough and then leave it in the fridge overnight to steam in the morning? I was hoping to make them for mums birthday breakfast with some egg and bacon but don’t want to be too busy in the morning 🙂 Thank you so much for your help. I hope you have a lovely day.
Yes you can. But, you should let it rise first. Tightly wrap it and then before forming the buns let the dough come to room temperature for about 30-60 minutes
These were fantastic!! My dough was a little sticky so did have to add extra flour when rolling – but just enough to handle them. ( I used my favourite GF flour Cup4Cup) Fed them to my non Gluten Free family, along with Chinese bbq pork, shredded carrots, cucumber & cilantro. Thank you for this amazing recipe!!
Do you think these could be baked like a biscuit instead of being steamed?
Hi Daisy, we have not tried that. We recommend baking our classic GF buttermilk biscuits (click here!).
Looks wonderful—I look forward to tasting these😋. Can you please fix a few typos though— third paragraph says nutritional yeast which confused AND intrigued me🤷🏼♀️ and your photo of the filled bao seems to have chives instead of cilantro, as stated. Thanks for posting a recipe that is needed and not commonly done!
Great recipe. My family enjoyed them greatly. Already added to the list of yummy gluten free food.
Great recipe. My family enjoyed them greatly!!