Vegan Chocolate Mousse
Published

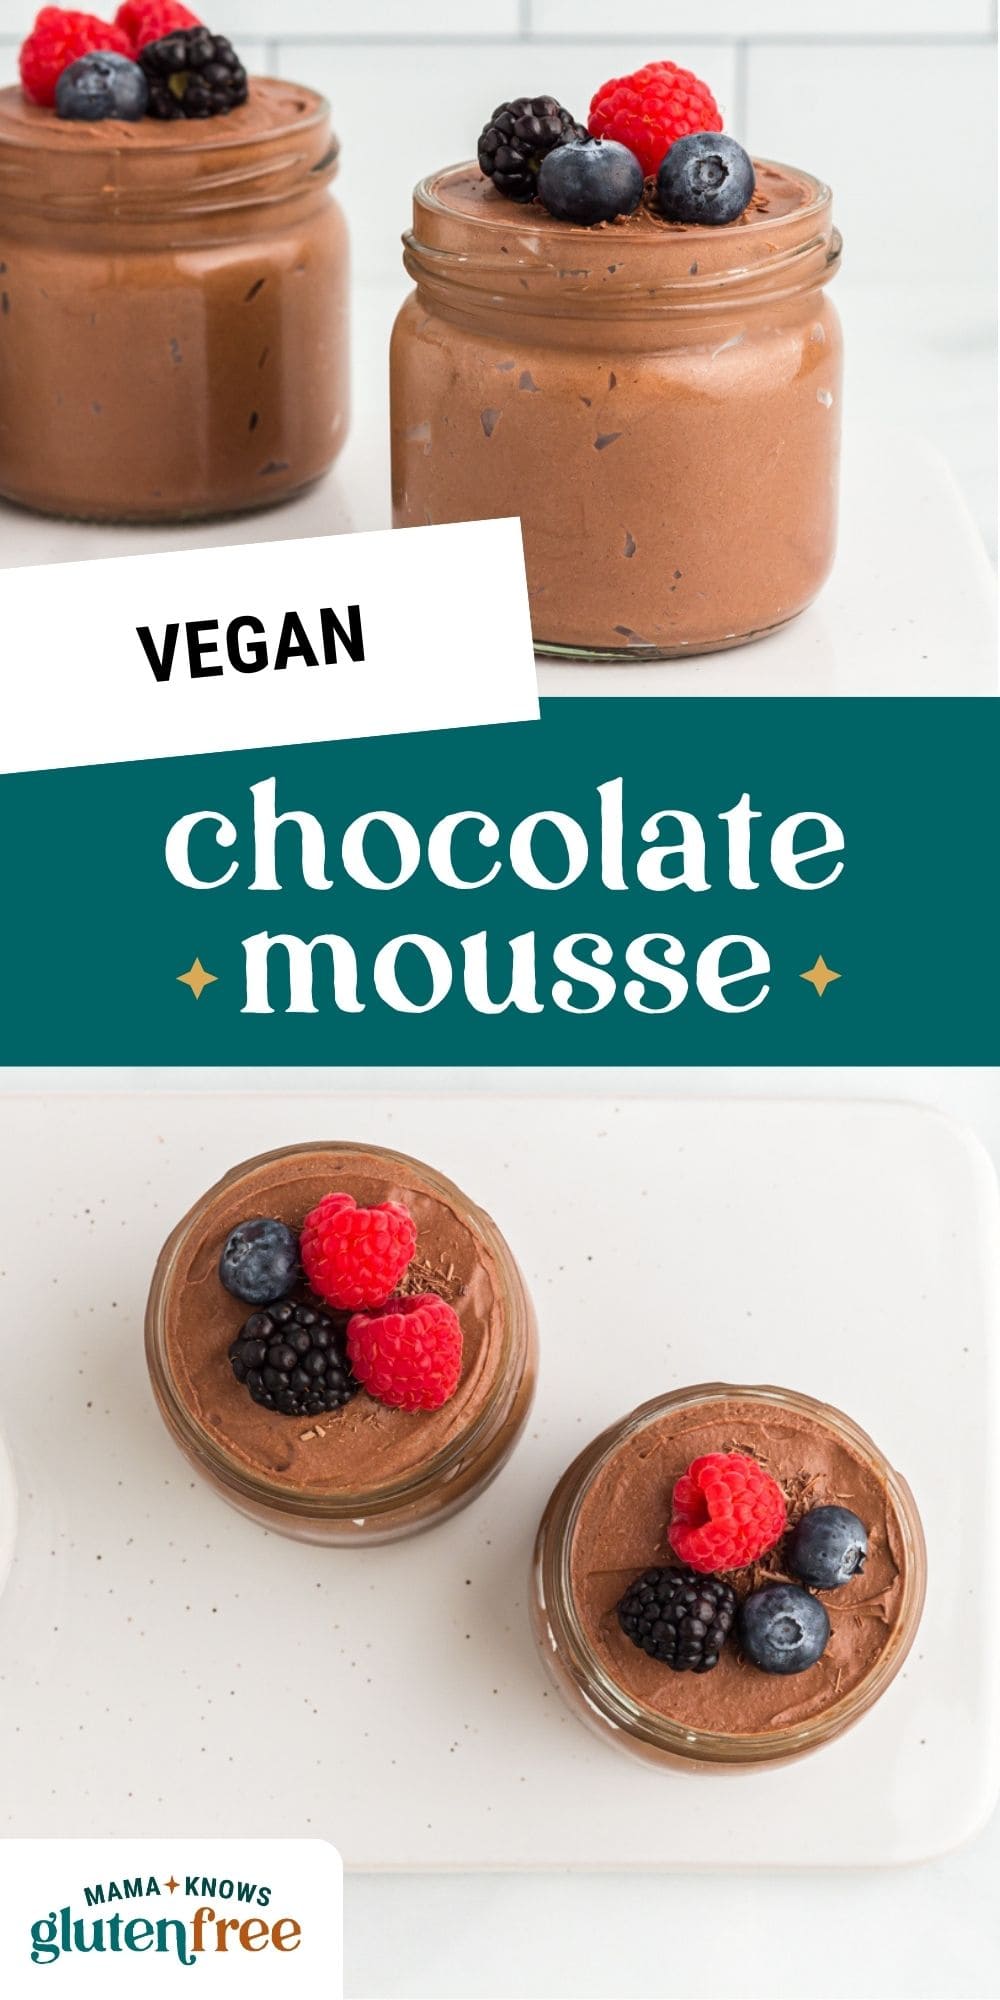
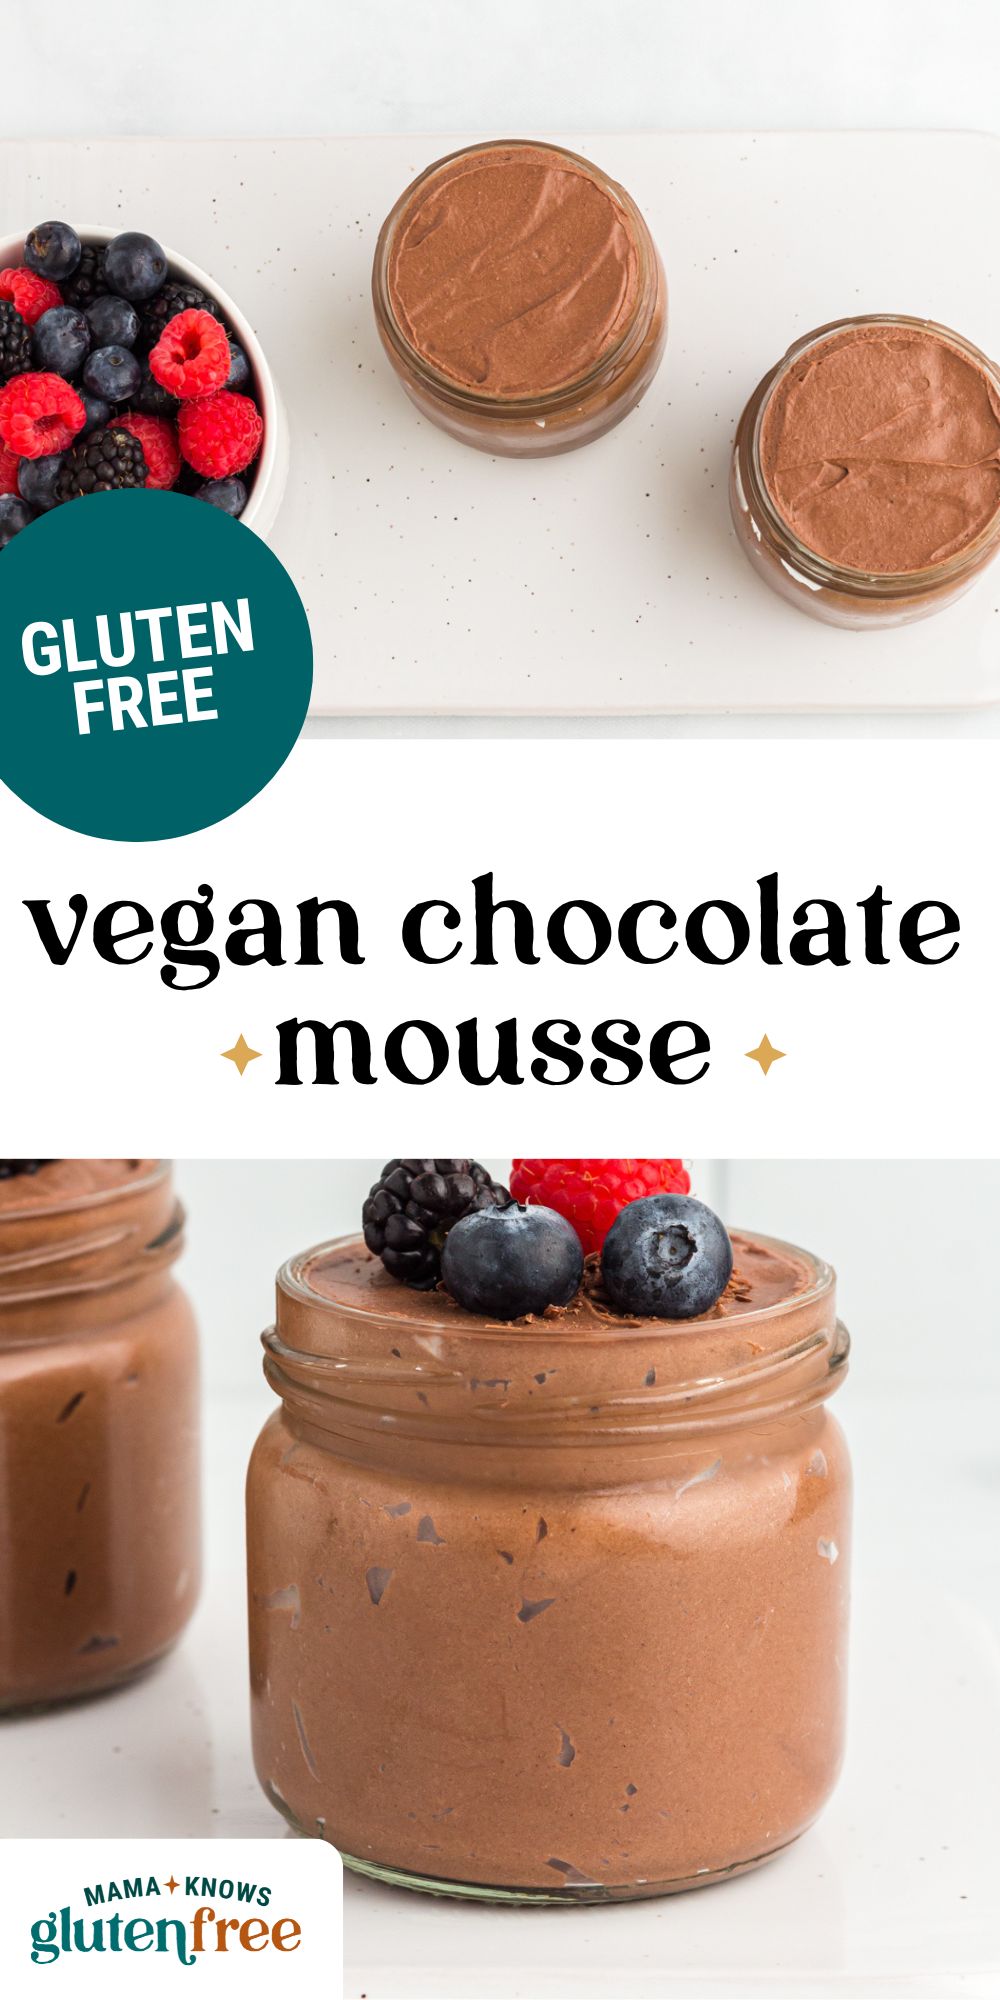
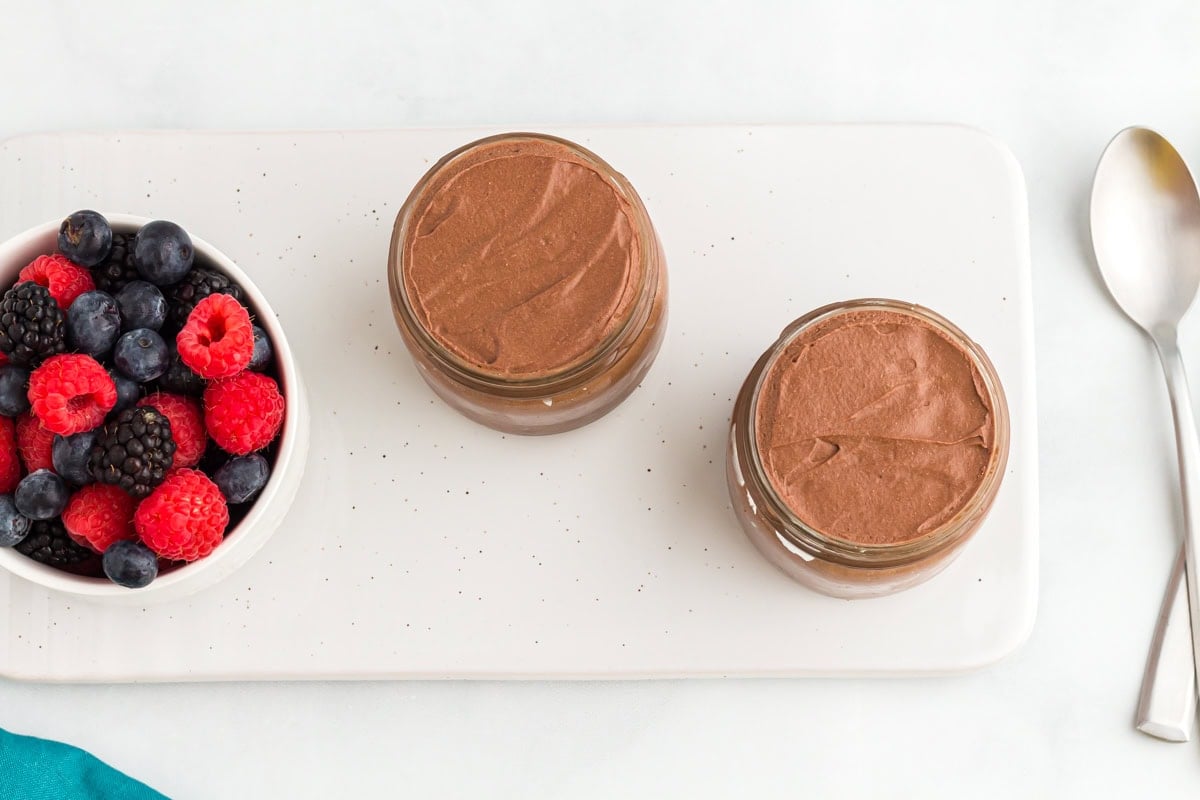
This vegan chocolate mousse is a light and fluffy dairy-free dessert made with whipped coconut cream, cocoa powder, and a little powdered sugar. It has a smooth, creamy, melt-in-your-mouth texture and a deep chocolate flavor, all from just four simple ingredients. The recipe makes two servings, but you can easily double or triple it for guests, holidays, or a larger dessert spread. It’s completely no-bake and comes together quickly, making it perfect for weeknight cravings, a small date-night treat, or a simple dessert to share after dinner.
Chocolate mousse has always been one of my favorite desserts because it’s light, decadent, and rich enough to satisfy any chocolate craving. This vegan chocolate mousse gives me that same classic texture and flavor, and honestly, I can’t even tell the difference. Whipped coconut cream makes the perfect base, and it only needs a little powdered sugar, cocoa powder, and vanilla to create that smooth, velvety finish. Make it for holidays, date nights, or for a solo dessert to enjoy! You can even add instant espresso powder for a mocha version.
Gluten-Free Baking Tips
- Keep everything cold. Chill the bowl, beaters, and coconut cream before whipping. The cold temperature helps the cream aerate and turn light and fluffy. Set a timer and don’t leave the coconut cream in the freezer for more than 10 minutes. If it starts to freeze, it becomes grainy instead of smooth.
- Use only the thick, full-fat cream on top. Scoop out just the solid, scoopable part of full-fat coconut cream from the top of the can. Even a small amount of liquid from the bottom can prevent the mixture from forming stiff peaks. Some cans contain more liquid than others, so it’s often helpful to buy two to ensure you get enough thick cream for 1 cup. The cream should look smooth and buttery, not lumpy or flaky.
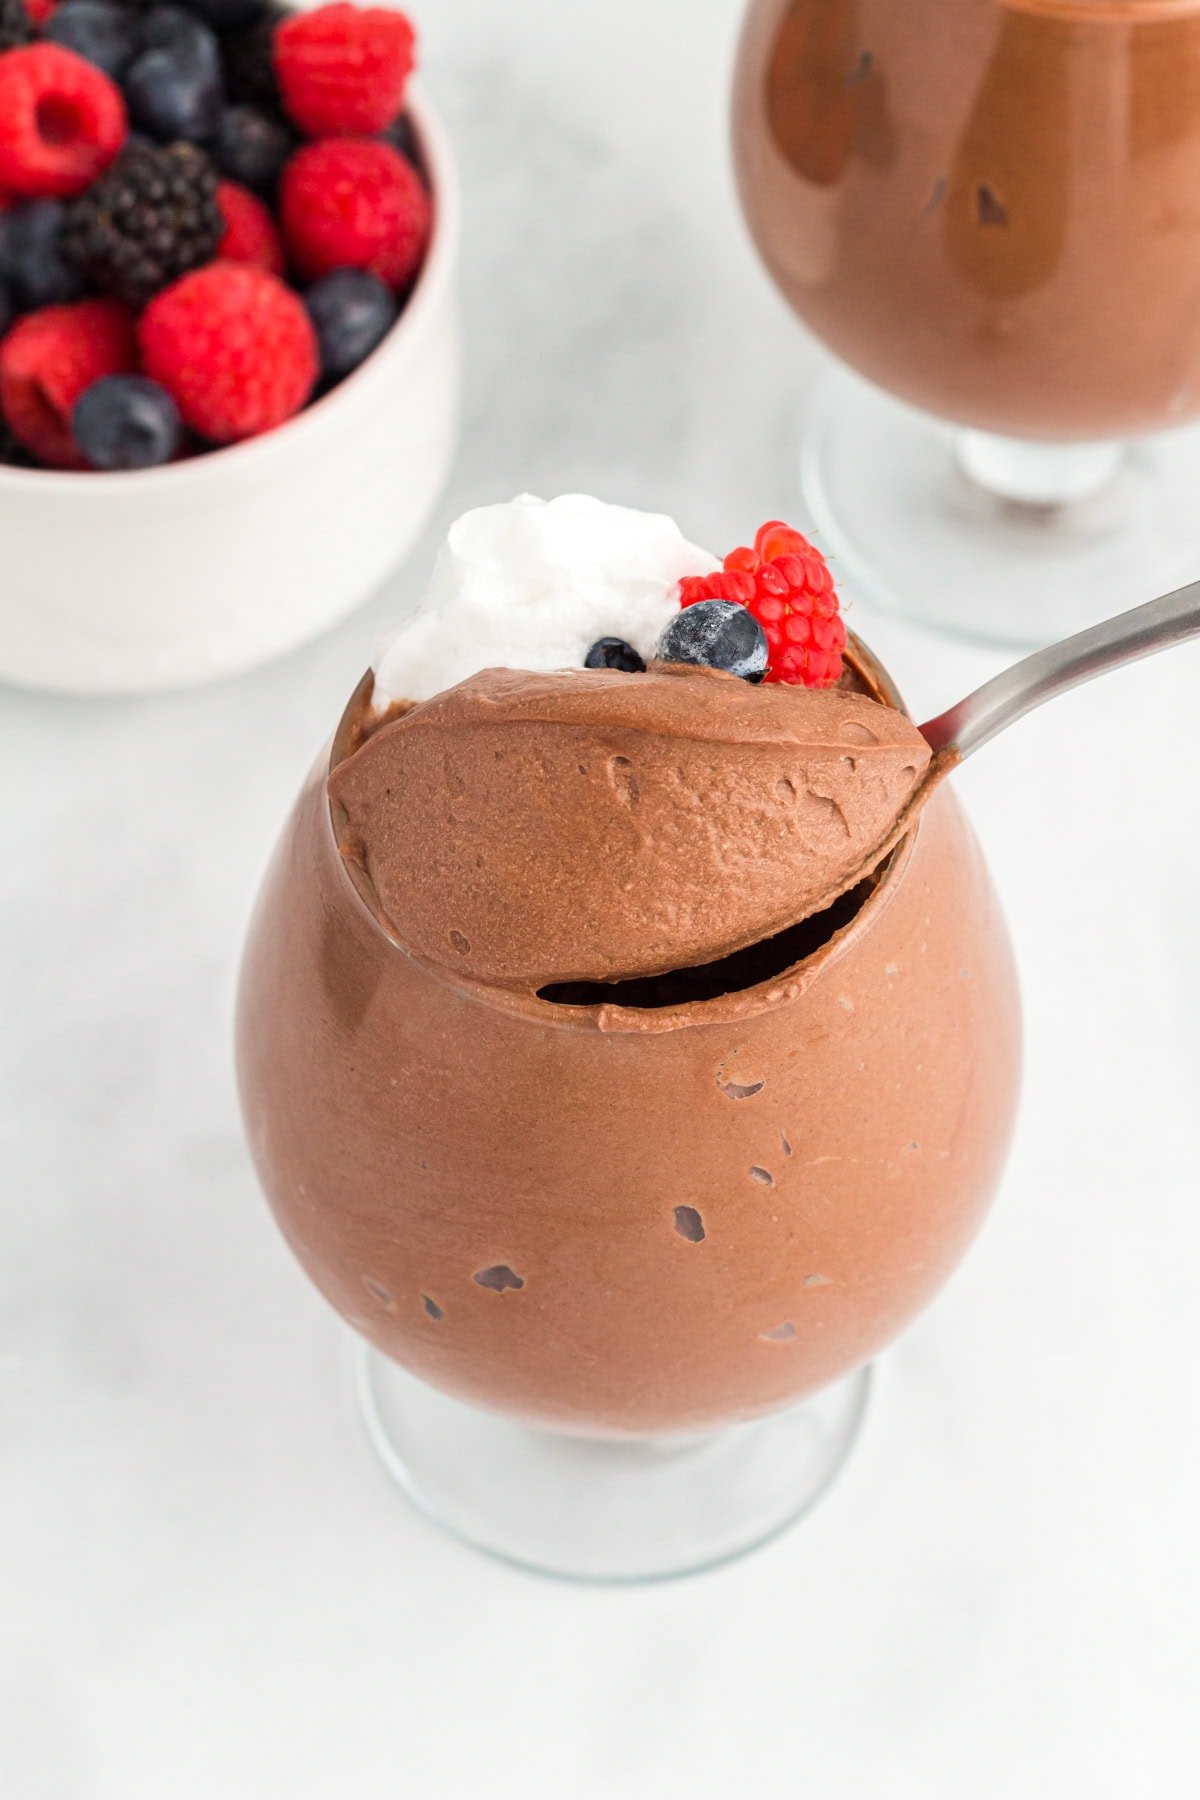
- Watch for the right whipped texture. When you start whipping, the coconut cream will already be thick, but that’s not the goal. You want it to become lighter, airier, and fluffy, similar to whipped cream but slightly thicker. Properly whipped coconut cream should hold stiff peaks, feel airy, and keep its shape. It should be thicker than whipped cream but not as dense as softened butter.
- Always sift the cocoa powder. Sifting breaks up any clumps so the mousse mixes evenly and stays silky without little specks of dry cocoa.
Vegan Chocolate Mousse
Equipment
- 1 hand or stand mixer
Ingredients
- 1 cup canned coconut cream*, thick smooth part at the top of the can only, full fat
- ¼ cup cocoa powder, sifted
- ¼ cup powdered sugar
- ½ tsp vanilla extract
Instructions
- Place a medium-sized glass bowl and the beaters for the electric mixer in the freezer for 30 minutes.
- Scoop the solid part of the coconut cream into a small bowl—just the solid part at the top and not any of the liquid in the bottom of the can.
- With 10 minutes left on the timer, place the coconut cream in a separate bowl in the freezer (do not leave coconut cream in freezer longer than 10 minutes).
- Place the coconut cream into the cold medium-sized glass bowl and beat on high speed for 7 to 10 minutes. It is done when it is light and fluffy and holds stiff peaks. Scrape down sides of bowl with silicone spatula.
- On low speed, beat in cocoa powder, powdered sugar, and vanilla extract. Beat on low speed (scraping down sides of bowl with silicone spatula) until fully combined.**
- Serve immediately or refrigerate for a thicker consistency before serving.
Notes
Nutrition
Nutrition information is automatically calculated, so should only be used as an approximation.
How to Make Vegan Chocolate Mousse Step by Step
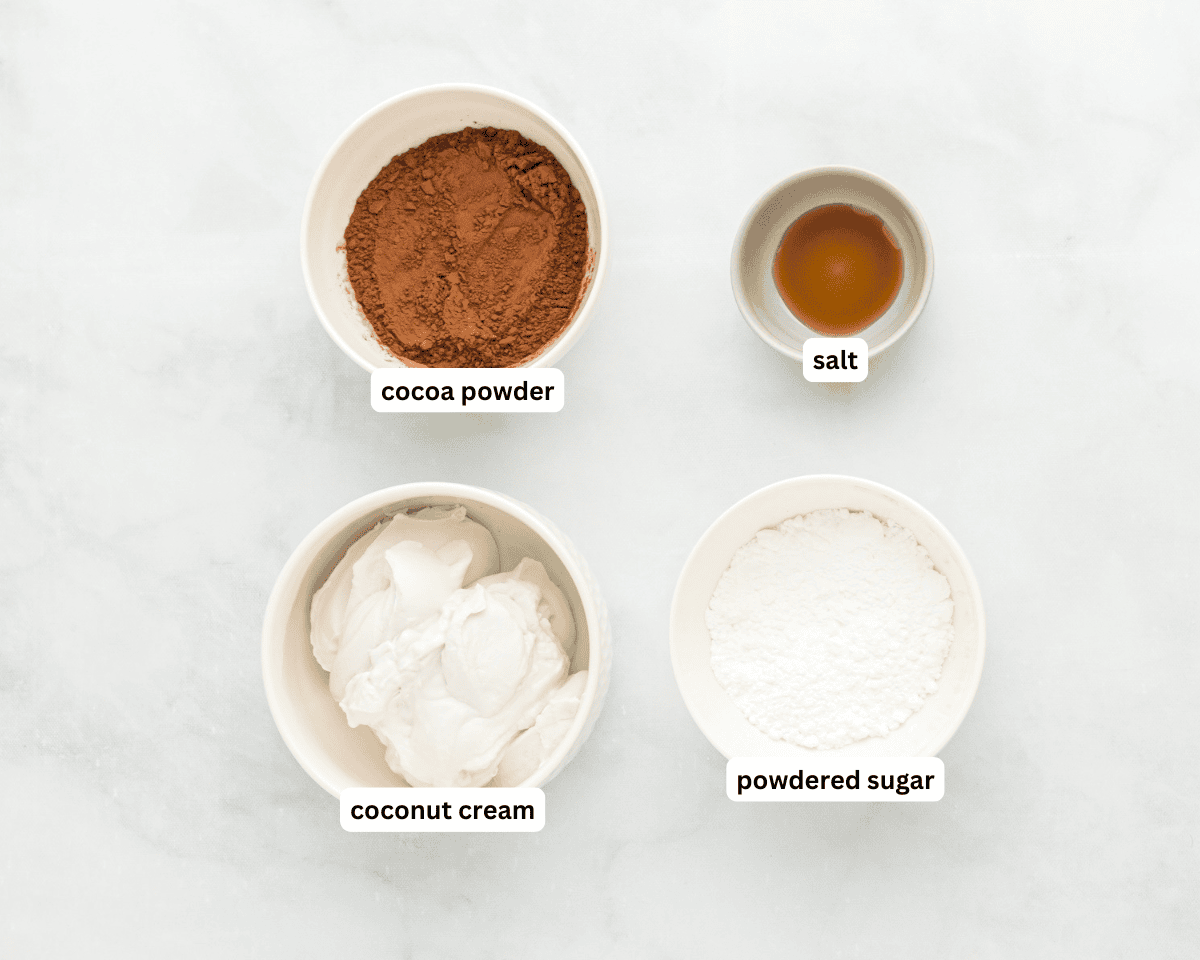
Gather the Ingredients: Gather all the ingredients together. Place a medium-sized glass mixing bowl and the electric mixer beaters in the freezer for 30 minutes.
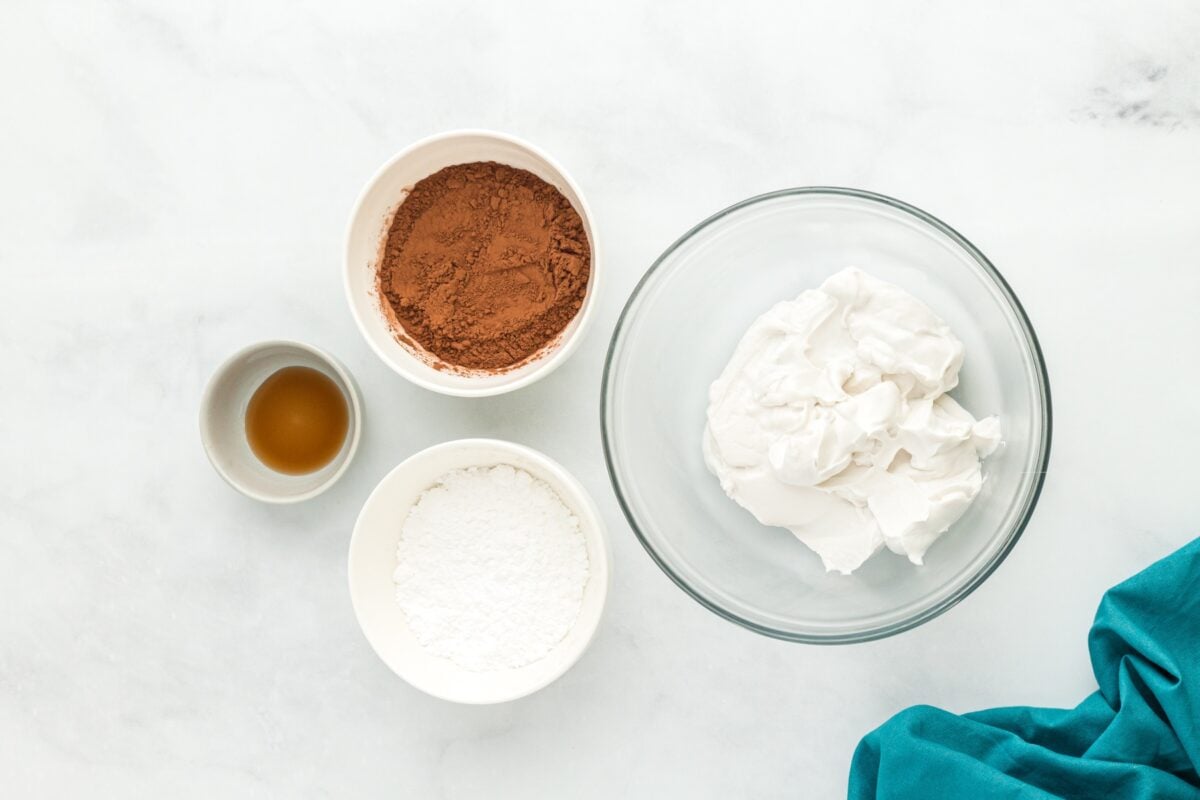
Prepare the coconut cream: Scoop 1 cup of the thick, solid coconut cream from the top of a full-fat can into a small bowl, making sure to avoid all liquid from the bottom. With 10 minutes left on your timer, place the bowl of coconut cream in the freezer for 10 minutes only, so it gets extra cold without freezing.
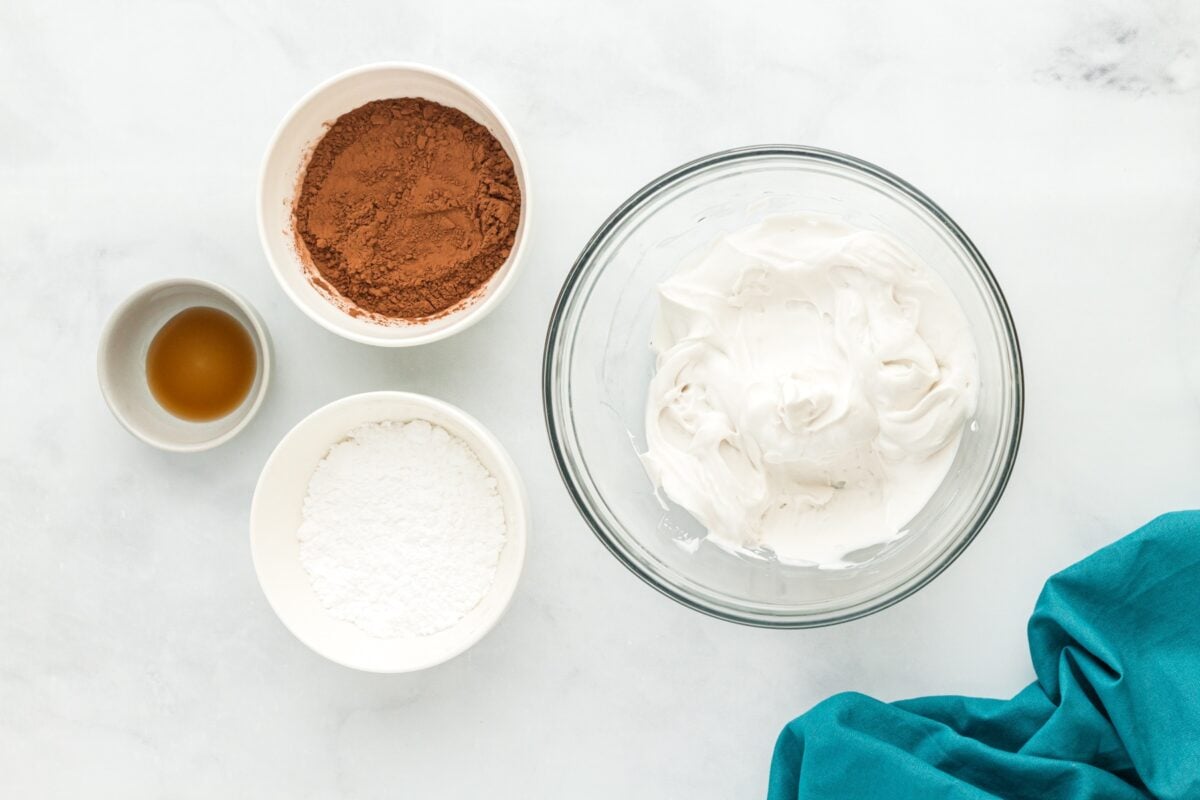
Whip the coconut cream: Transfer the chilled 1 cup of coconut cream to the cold mixing bowl. Beat on high speed for 7–10 minutes until it becomes light, fluffy, and holds stiff peaks, scraping down the sides of the bowl with a silicone spatula as needed.
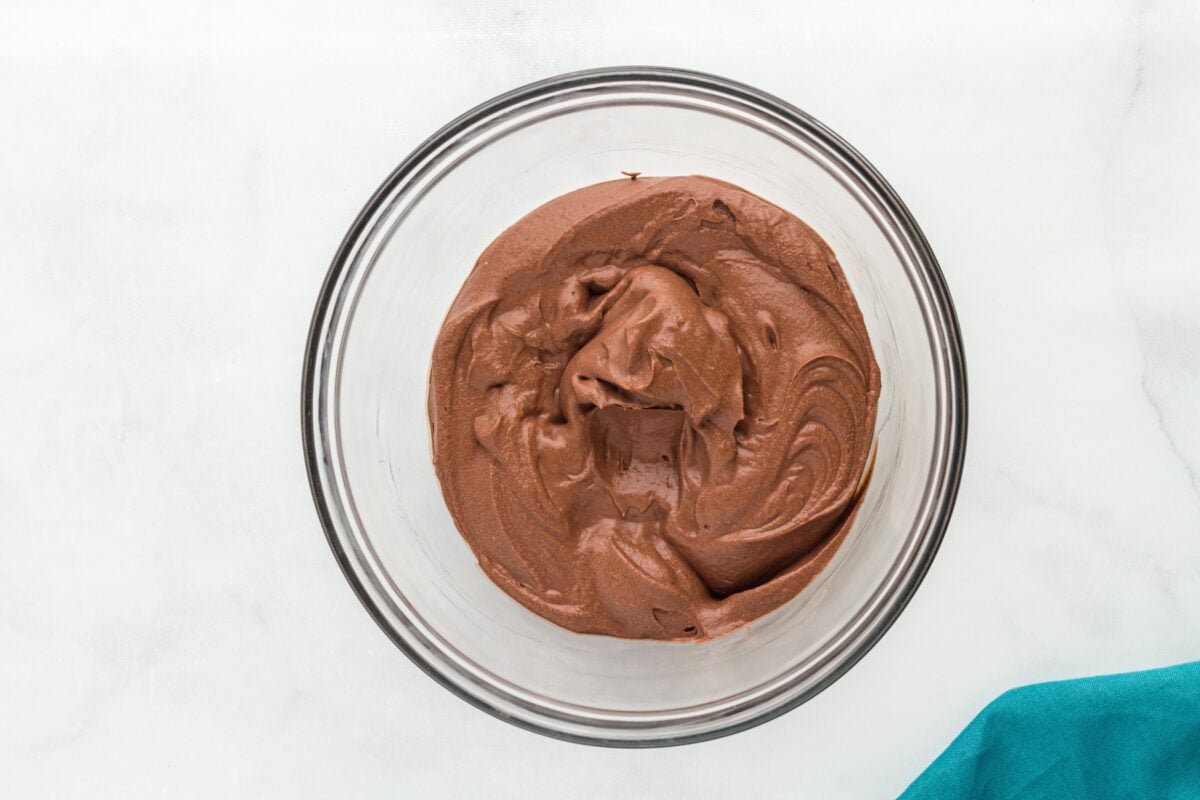
Add the dry ingredients and vanilla: Reduce the mixer speed to low and beat in ¼ cup sifted cocoa powder, ¼ cup powdered sugar, and ½ tsp vanilla extract. Mix until fully combined, scraping the bowl again to incorporate everything evenly.
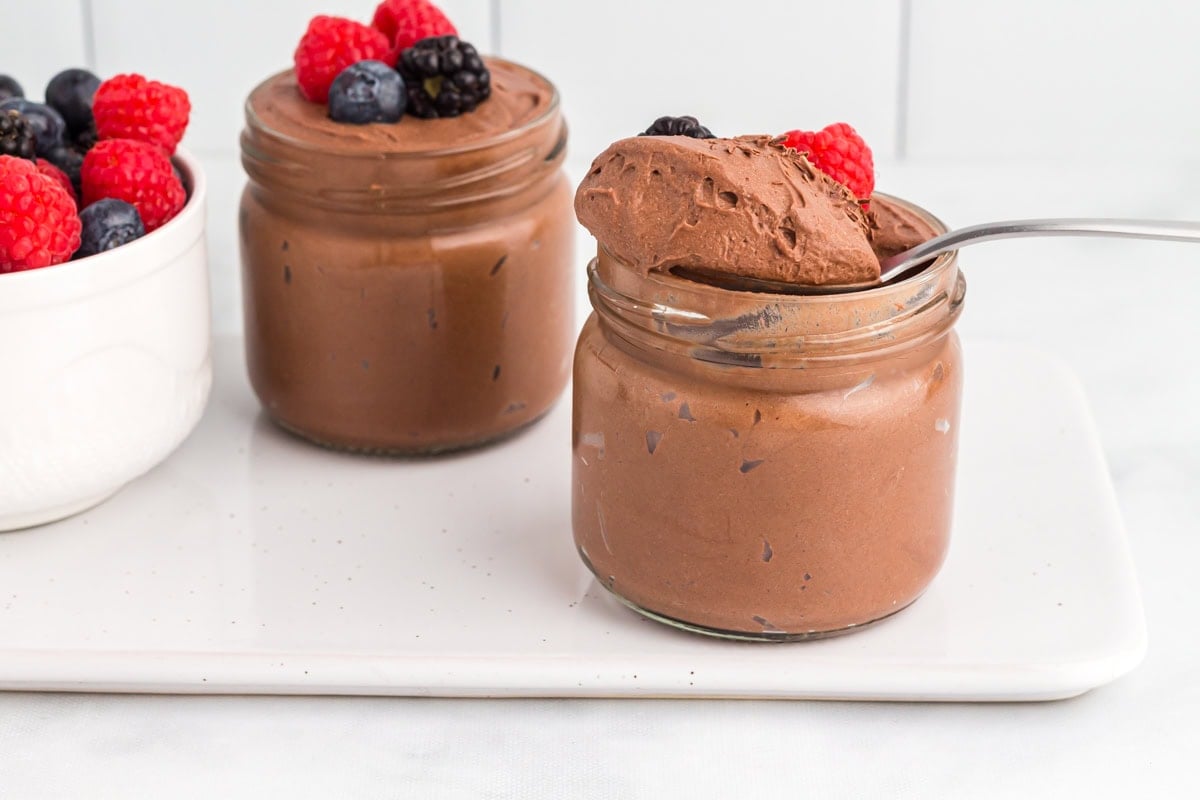
Serve or chill: Serve the mousse immediately for a soft, airy texture, or refrigerate it for 30–60 minutes for a thicker consistency.
Serving Suggestions
I usually bring this vegan chocolate mousse out for holidays or small dinner parties because it fits so well on a dessert table alongside my other gluten-free treats like tiramisu. I like to serve it in little jars or glasses with a spoonful of shaved vegan chocolate, a dollop of vegan whipped cream, or a few fresh berries on top. The rich chocolate pairs really nicely with fruit desserts, gluten-free shortbread cookies, and anything with a little crunch, so it’s an easy addition to a holiday spread.
Storage Instructions
Store any leftover vegan chocolate mousse in a sealed, food-safe container in the refrigerator for up to 3 days. The mousse will continue to thicken as it chills, so give it a quick stir if it firms up more than you like.
I don’t recommend freezing the mousse. The whipped coconut cream becomes icy and grainy once frozen and loses that smooth, velvety texture. If you want to make it ahead for a dinner or holiday gathering, you can prepare it the day before and keep it chilled until serving.


What type of powdered sugar do you use that is labeled gluten free? (Our daughter has Celiac Disease, and we are gluten free as a family. Mama Knows Gluten Free is my go to place for recipes. ) Thank you!
Heather Stelmok
Hi Heather, we like Domino!