Gluten-Free Protein Balls
Published


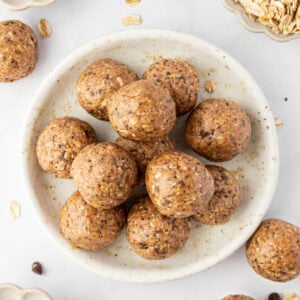
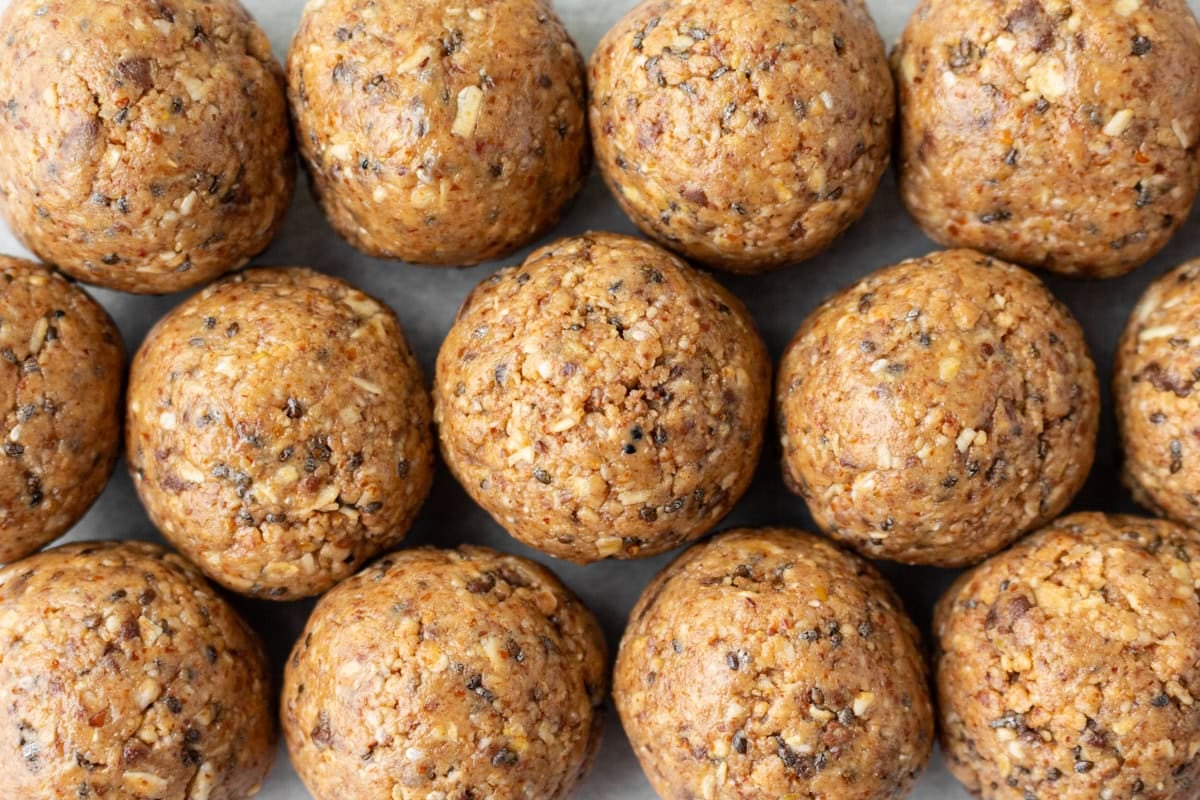
When I need a quick snack that’s healthy but still feels like a treat, these gluten-free protein balls are my go-to. They’re soft, chewy, and just sweet enough to curb my afternoon cravings. Made with almond butter, oats, protein powder, and a sprinkle of chocolate chips, they’re the perfect mix of comforting and satisfying.

Easy Gluten-Free Protein Balls Recipe
When I’m running out the door but still want something homemade, these protein balls are a lifesaver. They’re naturally gluten-free, no-bake, and ready in about 10 minutes, so I can whip up a batch anytime. I love utilizing chia seeds wherever I can. I always prep chia seed pudding for the week and now love to make these quick snacks. I can switch up the nut butter, toss in my favorite add-ins, or make them dairy-free if I need to. Whether I’m grabbing one before a workout, packing a few in my bag for later, or stashing them in the freezer for those extra busy days, they never let me down.
Gluten-Free Protein Balls
Equipment
- 1 blender or food processor
Ingredients
- ½ cup natural nut butter
- ½ cup gluten-free rolled oats
- ¼ cup honey, for vegan, substitue maple syrup
- 3 tbsp gluten-free protein powder, I like Orgain Organic Plant Based Protein Powder
- 2 tbsp flaxseed meal
- 1 tbsp chia seeds
- 1 tsp vanilla
- ¼ tsp salt
- 2½ tbsp mini chocolate chips, for dairy-free, use dairy-free chocolate chips like Enjoy Life
Instructions
- Combine the nut butter through salt into a food processor and pulse until well combined.
- Add the chocolate chips and pulse a few more times.
- Roll into balls, using about 1½ tbsp for each ball.
Notes
- I used almond butter, but peanut or cashew butter works. For nut-free, try sunflower seed butter.
- Protein powder: Any flavor works; vanilla pairs well. Check the label for gluten-free certification.
- You can also use a high-powered blender. Just use the pulse function and be sure to scrape down the sides when needed.
Nutrition
Nutrition information is automatically calculated, so should only be used as an approximation.
How to Make Gluten-Free Protein Balls Step by Step
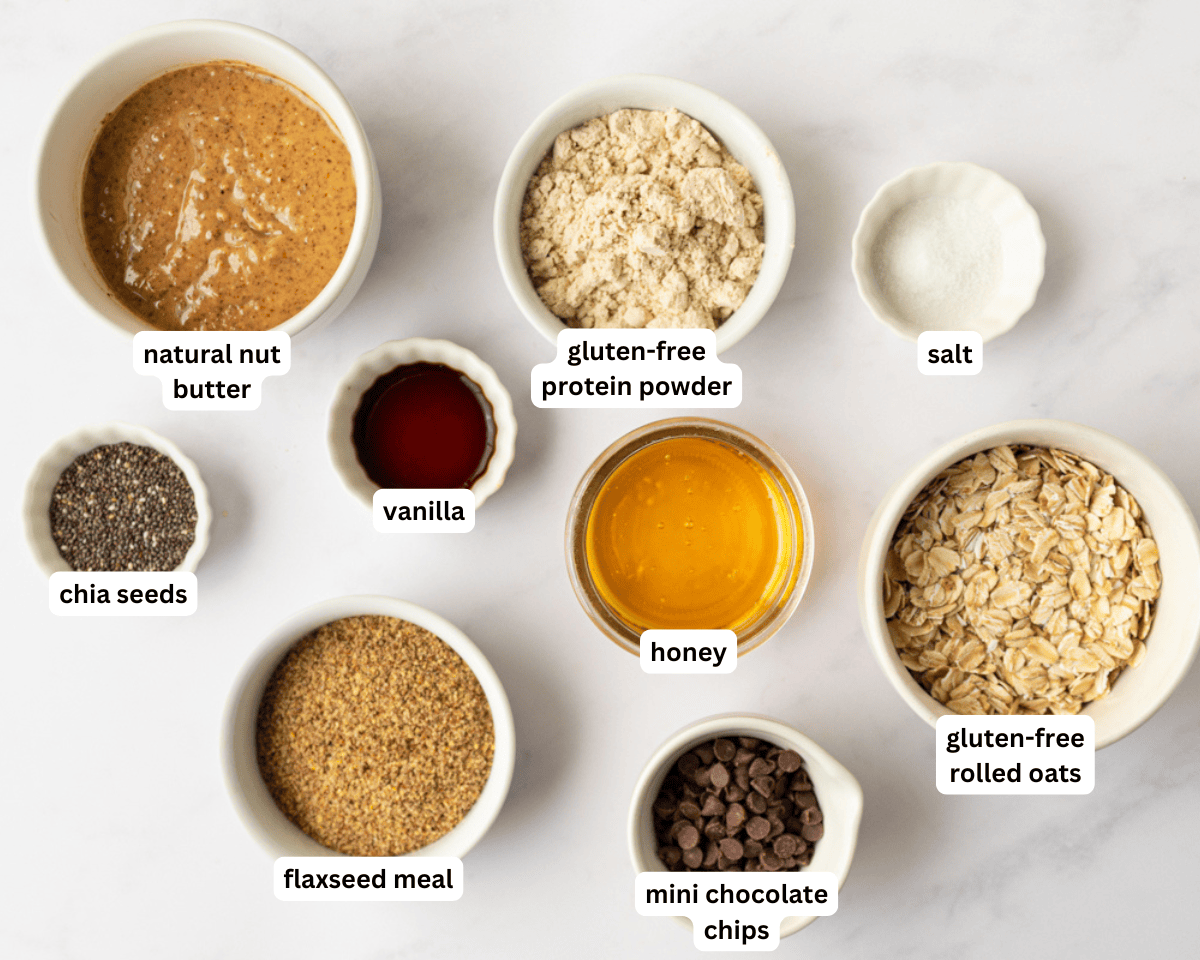
Gather all the ingredients together.
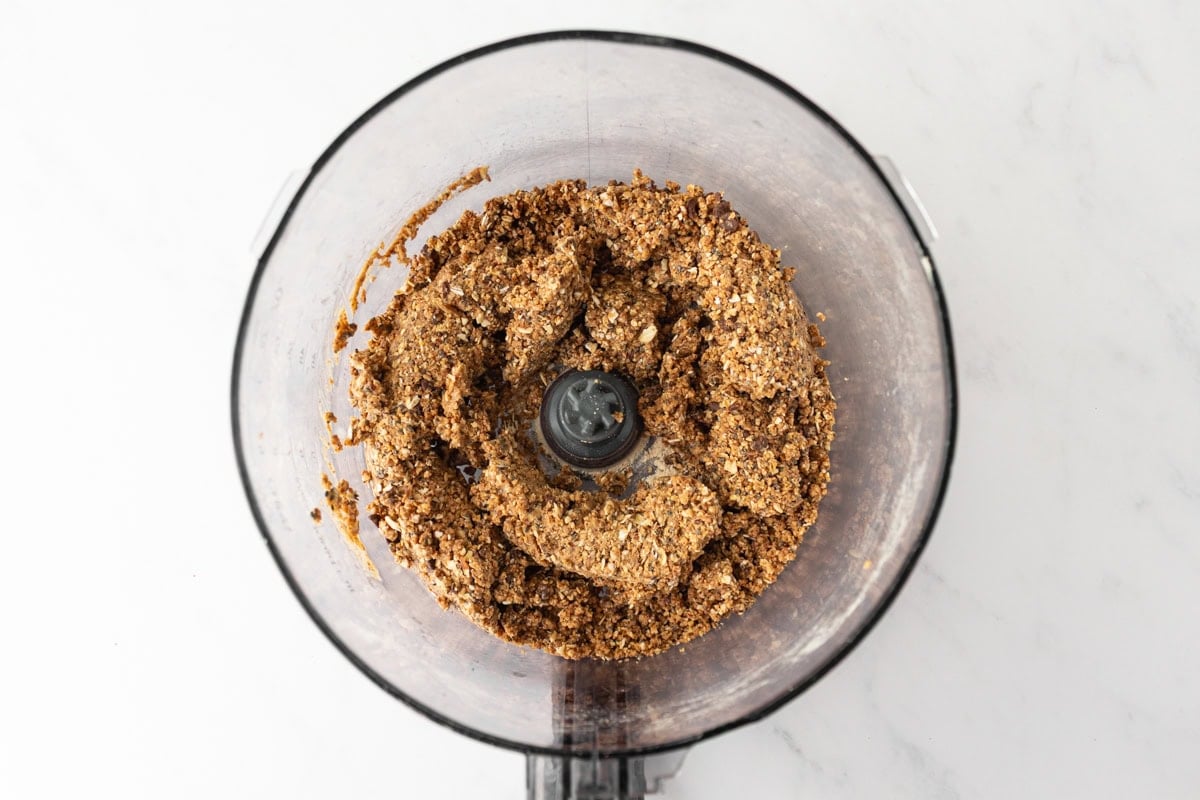
Combine the base ingredients: Add ½ cup almond butter, ½ cup gluten-free rolled oats, ¼ cup honey, 3 tbsp gluten-free protein powder, 2 tbsp flaxseed meal, 1 tbsp chia seeds, 1 tsp vanilla, and ¼ tsp salt to a food processor. Pulse until fully combined and the mixture holds together.
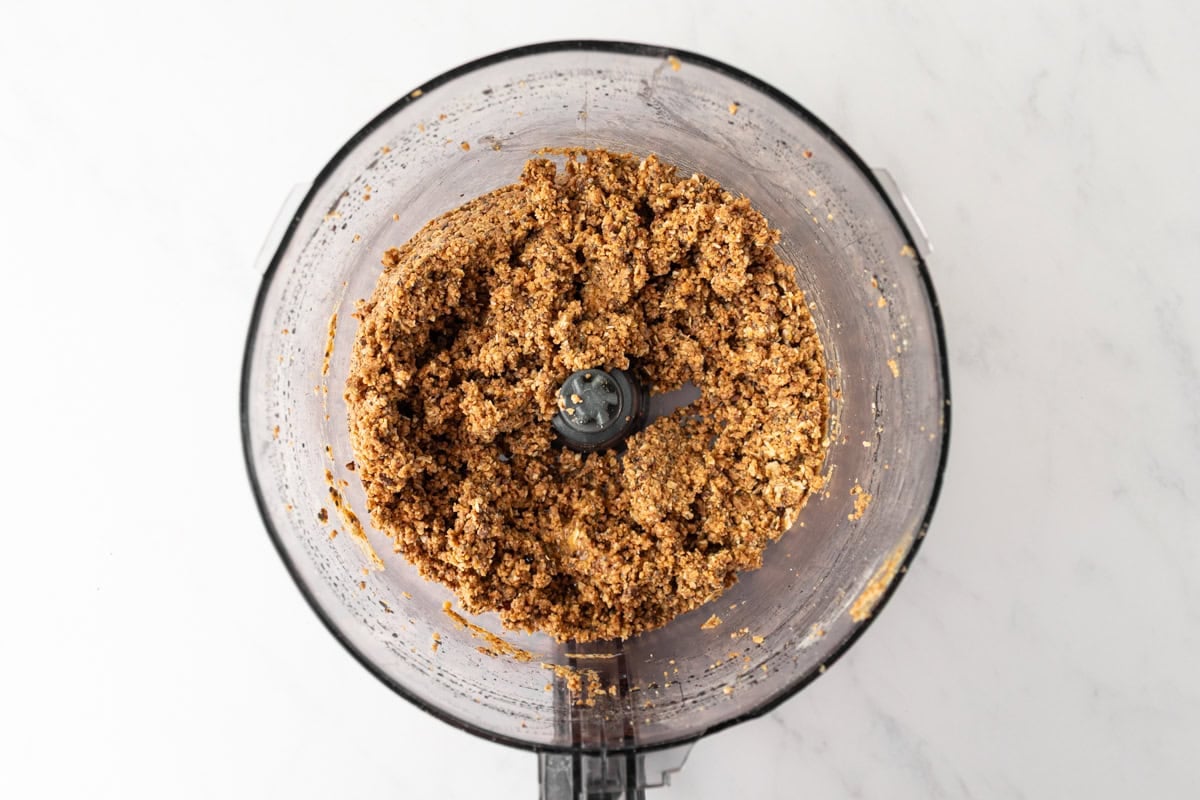
Add the chocolate chips: Pour in 2½ tbsp mini chocolate chips and pulse just a few times to mix them through without chopping too much.
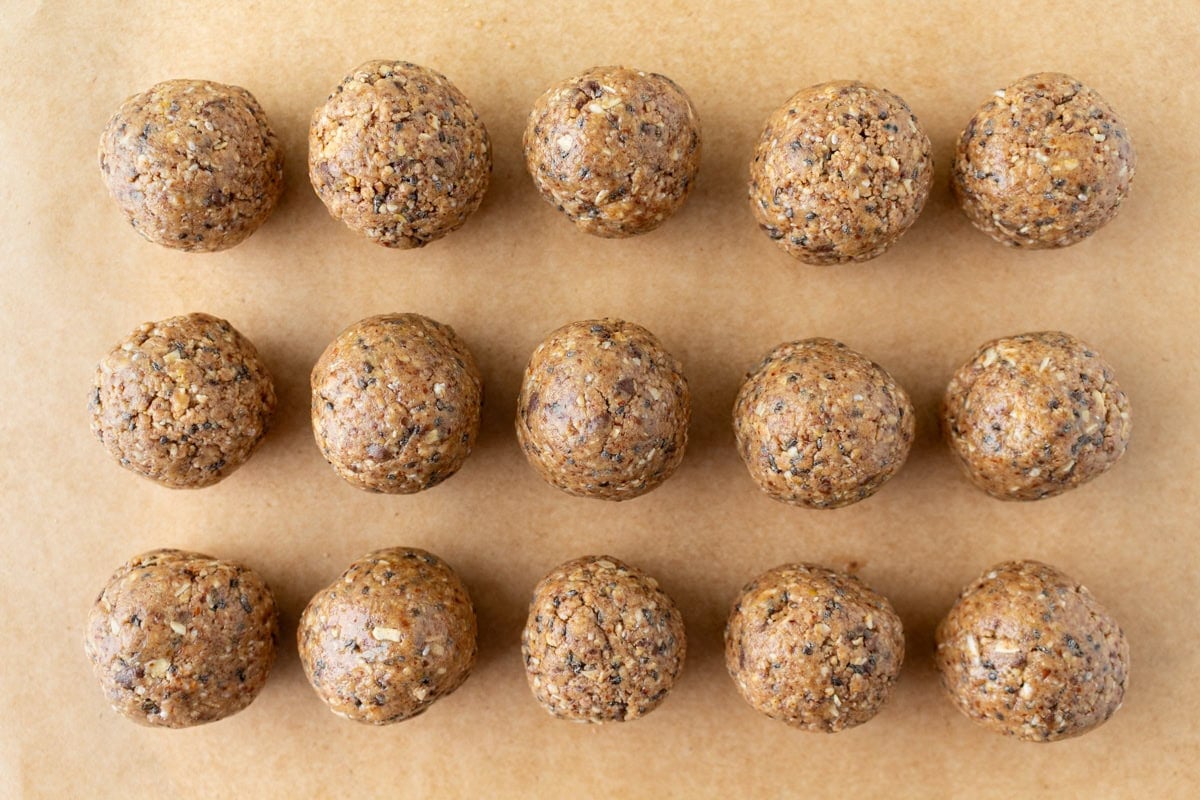
Shape the protein balls: Using a 1½ tbsp scoop or spoon, roll the mixture into balls. Place on a parchment-lined tray.
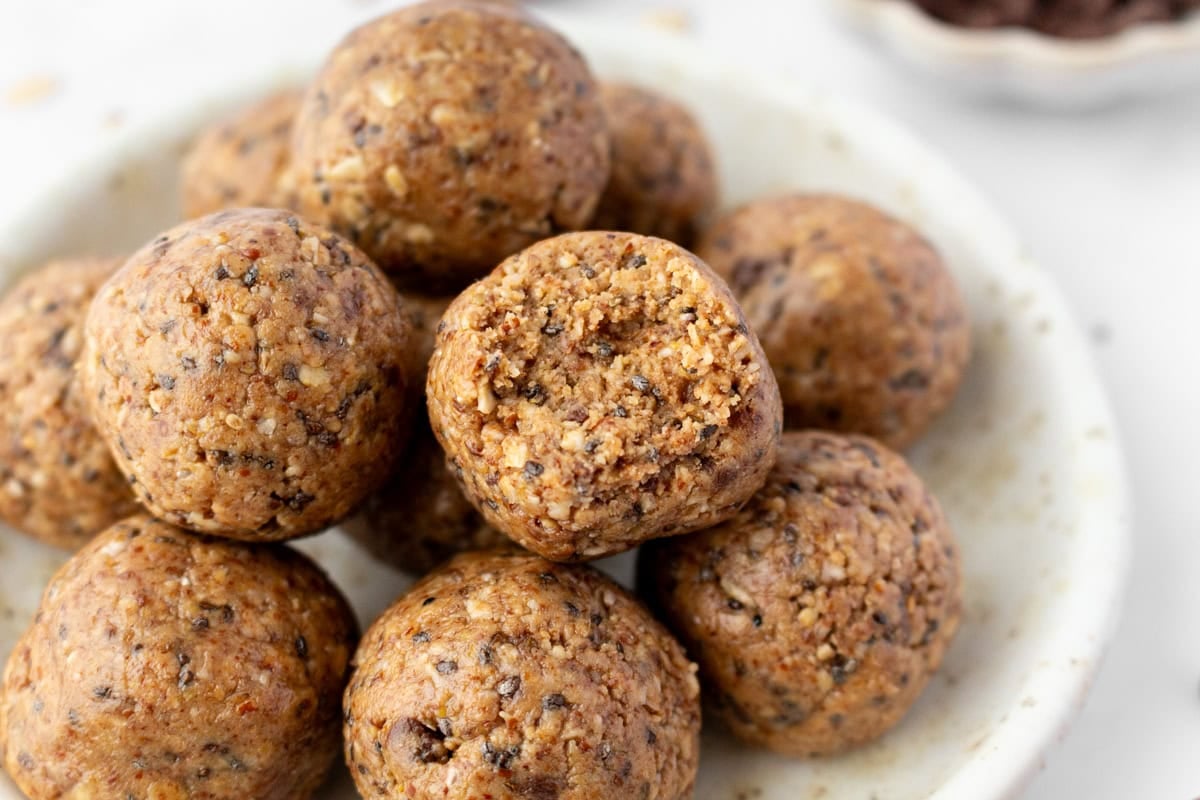
Chill & store: Refrigerate in an airtight container for up to 3 days, or freeze for up to 1 month.
Tips for Success
- If you feel the mixture is too dry, it’s easily fixable. Add 1–2 teaspoons of nut butter or honey, then mix again until the dough easily sticks together when pressed. Start small, as you can always add more if needed.
- Pop the mixture into the fridge for about 10 minutes before shaping. This firms up the nut butter and honey, making it much easier to handle without sticking to your hands.
- Boost the protein. Replace 2–3 tablespoons of oats with an equal amount of protein powder. Just note that you may need a splash of nut butter or honey to maintain the right texture.
Serving Suggestions
These gluten-free protein balls are incredibly versatile and fit into your day in so many ways. I like to enjoy them as a quick boost before or after a workout, or grab them for an afternoon snack. For a fun twist, crumble a few over coconut yogurt to turn breakfast into a high-protein parfait that’s ready in minutes. They’re also perfect as an afternoon snack for kids next to a gluten-free uncrustable.
Storage Instructions
Store them in an airtight container in the fridge, where they’ll stay fresh for up to 3 days.
For longer storage, arrange them in a single layer on a baking sheet and freeze until solid, then transfer to a freezer-safe bag or container for up to 1 month. When you’re ready to enjoy, simply thaw them in the fridge until soft enough to eat.