Gluten-Free Bread Machine Bread {Dairy-Free Option}

Published
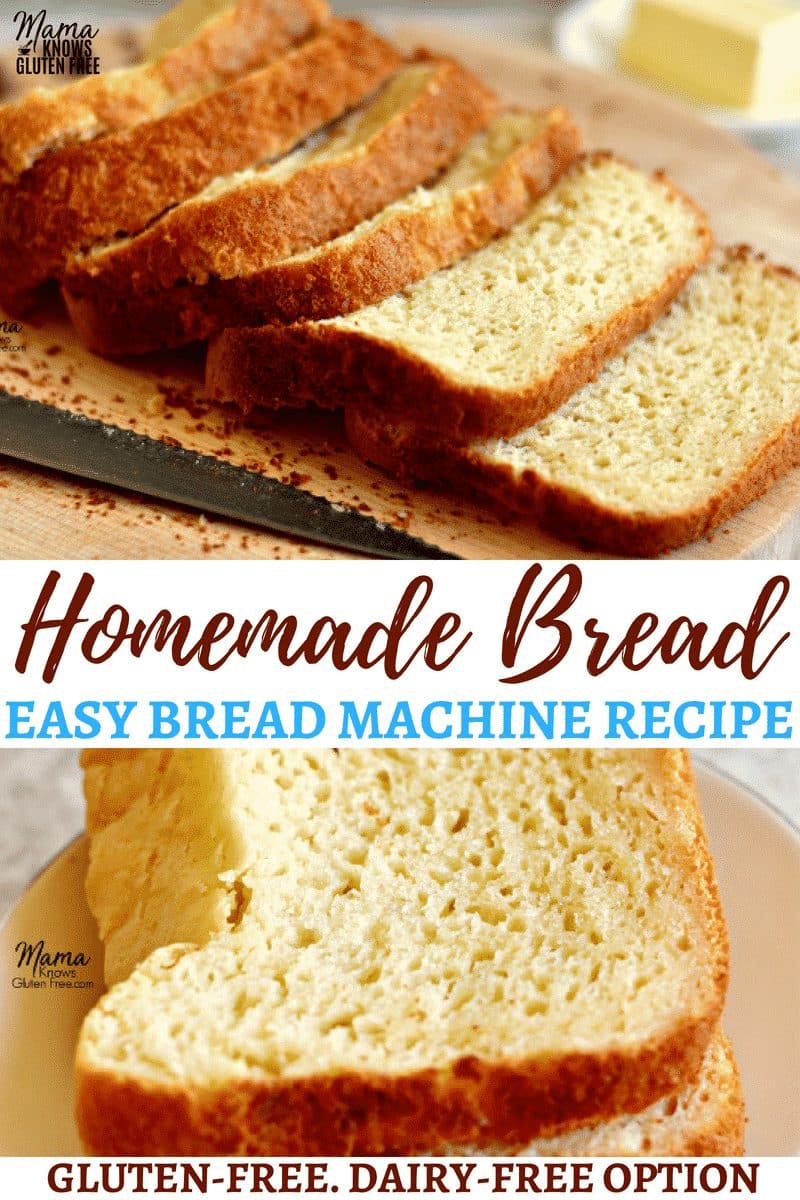
Looking for that perfect loaf of homemade gluten-free bread? Try my easy gluten-free bread machine recipe that will satisfy cravings for soft and tasty bread. Includes a dairy-free option.
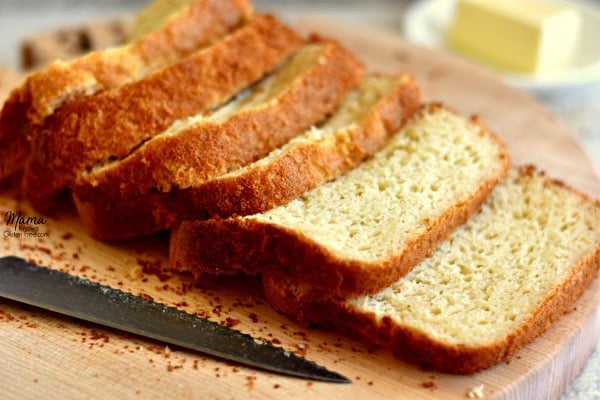
Click HERE to save recipe to Pinterest!
Recipe originally posted April 2017, photos updated April 2018.
Easy Gluten-Free Bread Machine Bread with a Dairy-Free Option
Finding good gluten-free bread can be challenging. I have tried just about every gluten-free brand of bread on the market.
Personally, I am not a big sandwich person (unless it’s big fatty sub like a cheesesteak) and I have a hard time paying over $5 for a very small loaf of bread.
I do really like bread with pasta dishes and soup, so what’s a mama to do?
I broke down went out a bought a bread machine that had a gluten-free setting. The bread machine that I have is an Oster bread machine with a gluten-free setting. When I set the machine to the gluten-free setting it no longer allows me to choose between a 1.5lb or a 2lb loaf. So, I’m assuming it’s a 2lb loaf.
I ended up modifying a recipe on the back of Gluten Free Mama’s flour blend a bit to find the perfect bread machine bread recipe for my family. I have also made this recipe using Pillsbury gluten-free flour.
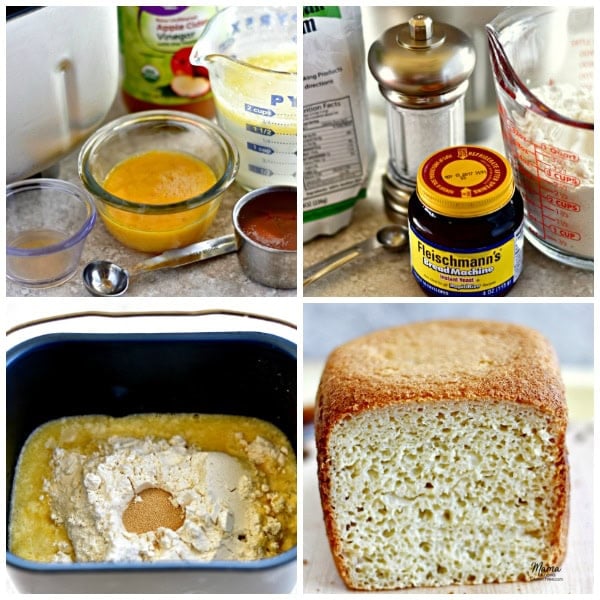
How To Make Bread Machine Bread in 3 Easy Steps
The bread machine with a gluten-free setting is super easy to use.
- The first step is to put all of your wet ingredients into the pan.
- The second step is to add all of the dry ingredients, except for the yeast.
- The final step is to make a little hole in the flour with your finger and then pour the yeast into the center.
Making gluten-free homemade bread in a bread machine is as easy as that! Just make sure your bread machine is set to the gluten-free mode.
I have not tried to make bread by hand because honestly, I don’t have time for all of that. I just add all the ingredients into my bread machine and walk away until it’s done.
Pro Tips
- I usually store the leftover bread in an airtight container, once it’s completely cooled. It may be kept on the counter (at room temperature).
- It is also best not to slice the bread before you store it, so just store the left-over portion of the loaf.
- I like to reheat my bread the next day because the gluten-free bread is best when warm.
What if my bread machine does not have a gluten-free setting?
If your bread machine does not have a gluten-free setting, you will want the setting that only has one mixing cycle (it’s often the quick, rapid, rapid rise, one rise or basic feature). Gluten-free bread does not need a second rise.
If you don’t have a feature with only one mixing cycle, try to see if you can override the pre-programmed settings for a 20-minute mix cycle, 1-hour rise cycle, and 1 hour-bake cycle.
You can also check out your bread machine’s manufacturer website to see if they have a gluten-free setting suggestion for their bread machine. Some bread machine makers have instructions for a gluten-free bread setting for their older models.
Gluten-Free All-Purpose Flour
I like Pillsbury gluten-free flour. Not all gluten-free flours are created equal. You may experience different baking results depending on the gluten-free flour blend you choose.
Pro Tip For Measuring Flour
The best way to measure gluten-free flour is the “spoon & level” method. Using a spoon, scoop the flour into the measuring cup. After you’ve spooned the flour into the measuring cup, use the back of a knife to level off the top of the measuring cup. Friends, please do not scoop the flour out of the bag with your measuring cup.
Dairy-Free Baking
I have also included a dairy-free option for the recipe. My husband, myself and youngest son are all dairy-free as well. So now you too can enjoy a gluten-free and dairy-free homemade bread.
I promise it is just as delicious made with the dairy-free butter and milk. Some of my favorite dairy-free alternatives that I like to bake with is almond, cashew or coconut milk. I also like baking with coconut oil or Earth Balance or Smart Balance butter.
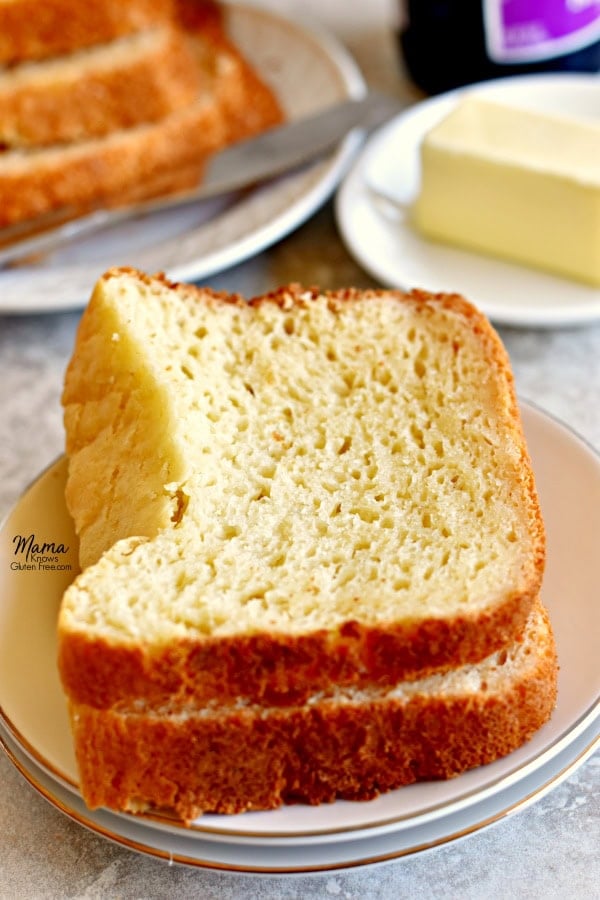
This gluten-free bread is so soft and is so full of flavor, unlike some of the cardboard tasting store-bought brands. I always serve this bread warm and my family eats it all in one sitting.
Gluten-Free Bread Recipes
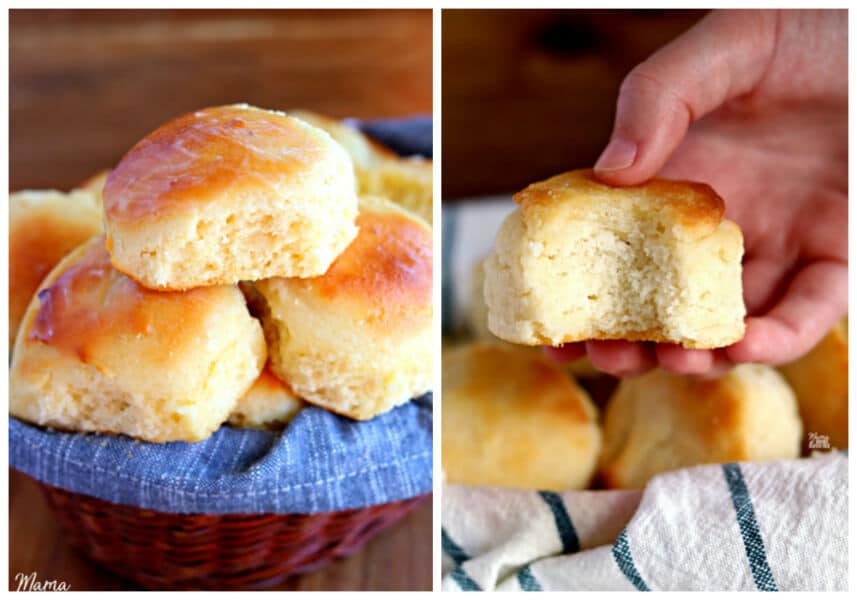
Another one of my favorite gluten-free bread recipes is my Gluten-Free Rolls {Dairy-Free Option} and Gluten-Free Buttermilk Biscuits {Dairy-Free Option }. These recipes are super easy to make!
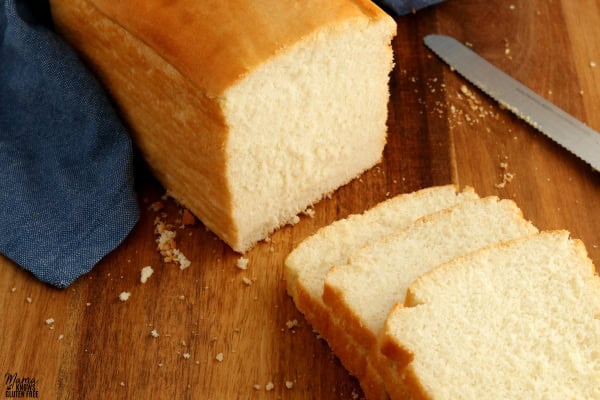
Looking for a gluten-free bread recipe baked in an oven? Try my NEW recipe for Easy Gluten-Free Bread {Dairy-Free}
Check out a few of my most popular gluten-free recipes.
- Easy Gluten-Free Banana Bread
- Easy Gluten-Free Pancakes {Dairy-Free & Vegan Option}
- Gluten-Free Cinnamon Roll Cake
- Easy Gluten-Free Banana Blueberry Muffins

Let’s Connect! You can FOLLOW ME on Facebook, Instagram, or Pinterest!
★Did you make this recipe? Please give it a star rating below in the comments!★
Recipe adapted from Old Fashioned White Bread from Gluten Free Mama.
Homemade Gluten-Free Bread {bread machine, dairy-free option}
Ingredients
- 1 1/2 cups (360 ml) warm milk, ,dairy-free use cashew, almond or coconut milk
- 1/4 cup (57 g) unsalted butter, ,dairy-free use Earth Balance or Smart Balance
- 2 eggs, ,beaten
- 1 teaspoon apple cider vinegar
- 1/2 cup (170 g) honey
- 3 cups (408 g) all-purpose gluten-free flour, I like Pillsbury gluten-free flour. Not all gluten-free flours are created equal. You may experience different baking results depending on the gluten-free flour blend you choose. Bob's Red Mill 1 for 1 and King Arthur Measure for Measure state on their website and/or package that their blends are not recommended for yeast baking.
- 1 teaspoon salt
- 1 1/2 teaspoons xanthan gum, ,leave out if your flour already has it in it
- 1 3/4 teaspoons rapid yeast/instant yeast, ,I use Fleischmann's Bread Machine Instant Yeast
Instructions
- The first step in making bread in your bread machine is to add all the wet ingredients first to the bread baking pan.
- Warm the milk and melt butter. I combine this step and add the milk and butter to a large glass measuring cup and heat in the microwave. Pour warm milk and melted butter in the bread baking pan.
- Pour the honey into the bread baking pan.
- Pour the beaten eggs into the bread baking pan.
- Add the apple cider vinegar to the bread baking pan.
- Now it's time to add your dry ingredients.
- Add the flour, salt, and xanthan gum (leave out if your flour already has it) to the bread baking pan.
- The last step is to add your yeast. First, make a little hole with your finger in the flour. Pour the yeast into the hole.
- Start the bread machine and set to the gluten-free setting.
- As your bread machine is mixing, you may need to go in and scrape the sides down into the batter with a spatula. The dough will be similar in texture to cake batter. Your bread machine may be different and you may not need this step.
- Cool before slicing. Enjoy!
Notes
- I like Pillsbury gluten-free flour. Not all gluten-free flours are created equal. You may experience different baking results depending on the gluten-free flour blend you choose. Bob's Red Mill 1 for 1 and King Arthur Measure for Measure state on their website and/or package that their blends are not recommended for yeast baking.
- The best way to measure gluten-free flour is the “spoon & level” method. Using a spoon, scoop the flour into the measuring cup. After you’ve spooned the flour into the measuring cup, use the back of a knife to level off the top of the measuring cup. Friends, please do not scoop the flour out of the bag with your measuring cup.
- I usually store the leftover bread in an airtight container, once it's completely cooled. It may be kept on the counter (at room temperature).
- It is also best not to slice the bread before you store it, so just store the left-over portion of the loaf.
- I like to reheat my bread the next day because the gluten-free bread is best when warm.
- I have an Oster bread machine that has a gluten-free setting.
- If your bread machine does not have a gluten-free setting, you will want the setting that only has one mixing cycle (it's often the quick, rapid, rapid rise, one rise or basic feature). You can also override the pre-programmed settings for a 20-minute mix cycle, 1-hour rise cycle, and 1 hour-bake cycle.
- Mama says "Check all of your labels!"
Nutrition
Nutrition information is automatically calculated, so should only be used as an approximation.








When I need an easy to make (and quicker) bread, I use this recipe. I like it although it’s not my favorite. (But the convenience more than makes up for it) I use Bobs Red Mill 1-1 flour and it works well for me. The bread is soft and has a good crumb. I bake all of our bread in a bread machine and this recipe works well in my KitchenArm. I put the dry ingredients (minus the yeast) in a quart canning jar and keep it on my shelf. Then it’s even faster to put the liquids in the pan, top with my jar of dry ingredients, add yeast and let the machine do its thing. Thank you for this recipe.
Thank you for walking through your whole method, Paula. That’s really helpful. Prepping the dry mix ahead in a jar so it’s ready to dump in is such a smart shortcut, and it’s good to know Bob’s Red Mill 1 to 1 works well in your KitchenAid. Appreciate you taking the time to share it.
Made the bread today. The recipe worked well, though the bread was a little dense. Otherwise it was great
Help! My bread came out doughy and gummy. Any idea why? It seems like it didn’t rise all the way either.
So sorry to hear that, let’s see if we can figure out what happened. Gummy or doughy bread that didn’t rise all the way usually comes down to one of a few things. It could be underbaked, gluten-free bread doesn’t brown the same way regular bread does, so it can look done on the outside before the inside actually is, an instant read thermometer reading around 205 to 210°F in the center is the most reliable way to check. It could also be a yeast issue, if the water was too hot or too cold when it hit the yeast, or the yeast itself was older, it may not have activated properly, which would explain the weak rise too. Also worth double checking you used the gluten-free or dough cycle rather than a regular bread cycle, since the timing is different. If you can tell me which of these might apply, I’m happy to help narrow it down further.
In case other visitors are confused, the recipe creator’s about King Arthur M4M flour and others being labeled as unsuitable for yeasted breads is misleading. (Maybe she didn’t know as much about them back when she posted this?) Those labels mean you shouldn’t use the blends as a one-to-one replacement for wheat flour in yeasted recipes. Because they are marketing themselves as direct replacements, they need to let people know about the exception. But that doesn’t at all mean you can’t or shouldn’t use them in gluten-free-specific recipes. I’ve seen a lot of confusion and misinformation about this online and hope more gluten-free bakers will come to understand this.
Hi Virginia, Thanks so much for pointing this out, and for explaining the distinction so clearly. You’re right that those disclaimers are about using the blends as a straight one-to-one swap for wheat flour in a recipe that wasn’t developed for gluten-free baking, not a blanket warning against using them in yeasted recipes built specifically for gluten-free flour. That’s an important nuance, and we can see how the wording in the post could read as more absolute than intended. We recommend Pillsbury in this particular recipe because it’s what we tested and got the best results with, not because King Arthur or Bob’s Red Mill can’t work in a gluten-free yeasted bread. We’ll take a look at updating the wording so it’s clearer for other readers. Thanks again for helping clear up the confusion. There’s a lot of misinformation floating around about gluten-free flour blends, and comments like yours genuinely help.
I have used Pilsbury Gluten Free flour for this recipe for a bread machine as well baked goods and it works very well.
Hi Yvonne! So glad to hear that you like working with Pillsbury GF flour as much as we do!
Ive just put everything in my machine, im really really hoping this will be a winner recipe. All I can find in my area is Caputo GF flour that had a thickening agent in it already so I did not add Xanthum gum in the recipe.
Holding thumbs and crossing all my fingers and toes this works.
Im wondering how long dose thos loave last on the counter or must it be refrigerated
Can it be sliced and frozen?
Storage and shelved life would be greatly appreciated.
Many thanks for the recipe.
Im looking forward to tye results baking right now
Hi Louise, We hope it was a winner too! Store it at room temp for 2–3 days. You can slice and freeze it as well for up to 3 months.
Thank you for the recipes and detailed notes to insure success. I am in the process of researching bread machine with gluten free settings for the purpose of baking for my husband with Celiac disease. Do you have recommendations for what the gluten free cycle should look like? Some have only one knead with a rise and bake following. Others have 2 knead cycles with a rise in between and another after the second rise and before the bake. What are your recommendation for the length of time for each stage of an optimum gluten free cycle? I appreciate any advice you can give me.
Hi Heidi, Great question! Gluten-free bread doesn’t need a second knead or rise like wheat bread does, so one mixing cycle really is best. Look for a setting on your machine with just one knead, one rise, and a bake (it’s often labeled quick, rapid, rapid rise, one rise, or basic). If your machine only offers a two-knead gluten-free cycle, see if you can override the settings. I’d aim for about 15 to 20 minutes of kneading, a 45 to 60 minute rise (or until the dough nearly doubles), then bake. A second knead can actually work against gluten-free dough since it doesn’t have gluten’s structure to bounce back from being deflated a second time.
The first time I made this, I noticed that my bread maker didn’t mix in the top layer. So as I scraped the sides down I used my spatula to quickly mixx in the top. The whole time crossing my fingers the whole time. That loaf was fine. The second loaf I decided not to do that. That loaf didn’t mix well and came out with clumps of flour. The third loaf I decided to mix the ingredients together first and then add to the machine. My house filled with smoke and I am still cleaning out overly risen bread dough from the heating coils of my bread maker. HAHAHA…. Please share what I should do next?
I love the bread-baking saga! Your first loaf actually nailed the right approach: sticking with the recipe’s order (wet ingredients, then dry, then yeast poured into a hole in the flour) and scraping down the sides/top as your machine mixes. Some machines just don’t reach every corner of the pan, so that scrape is normal and not something to skip.
Awesome, will just do that. Thank you!
I wanted to ask if I can use gluten-free bread flour in this recipe?
Hi Carol, this recipe was developed and tested with a gluten-free all-purpose flour blend. I’m not sure how it will work with a bread flour.
wonderful recipe! i’ve made it twice now and it makes lovely bread. i reduced the honey by two tablespoons as the original recipe was too sweet for me.
I purchased Pillsbury Gluten Free Flour as the recipe suggests. Though I’m just reading the label and there is xanthan gum already in the flour. Should I add the 2 teaspoons xanthan gum as instructed?
Hi, No you can leave it out if your flour already has it in it!